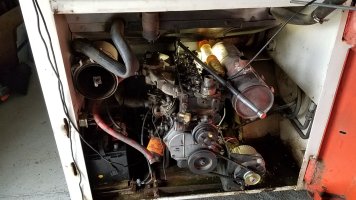
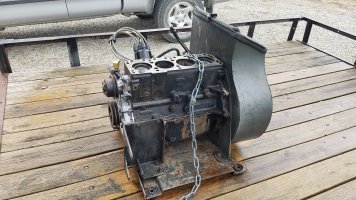
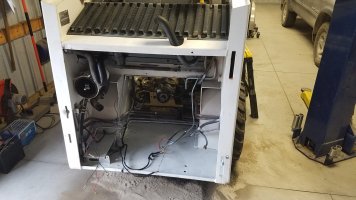
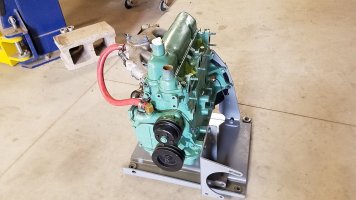
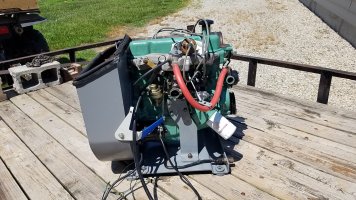
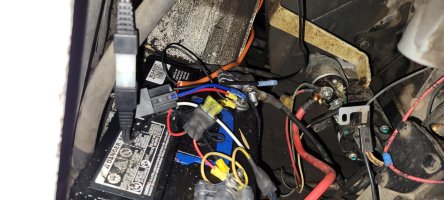
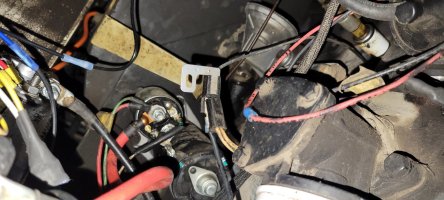
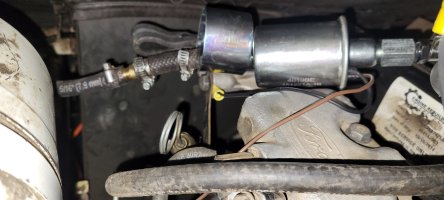
My 632 looked like a black hole when you would open the door. Once the engine was out, I used putty knives, wire brushes, paper towels and most of a case of brake clean to clen up the machine... then sprayed it all with white paint. I also cleaned the engine ( outside ) and painted it and all the parts once rebuilt. It makes a huge difference. You can see in there now! I used 2 shades of gray, green, and black on the engine and attachments. It was worth the time spent. Overall, I did head work, rings, all the seals, fuel pump, fuel lines, timing chain, and cleaned up the battered wiring harness where needed. Good luck and stay at it.

") WOOHOO!
WOOHOO!