OP
OP
bobcatzack
Well-known member
- Joined
- Oct 16, 2022
- Messages
- 122
Thanks!Yep 12 point.
Thanks!Yep 12 point.
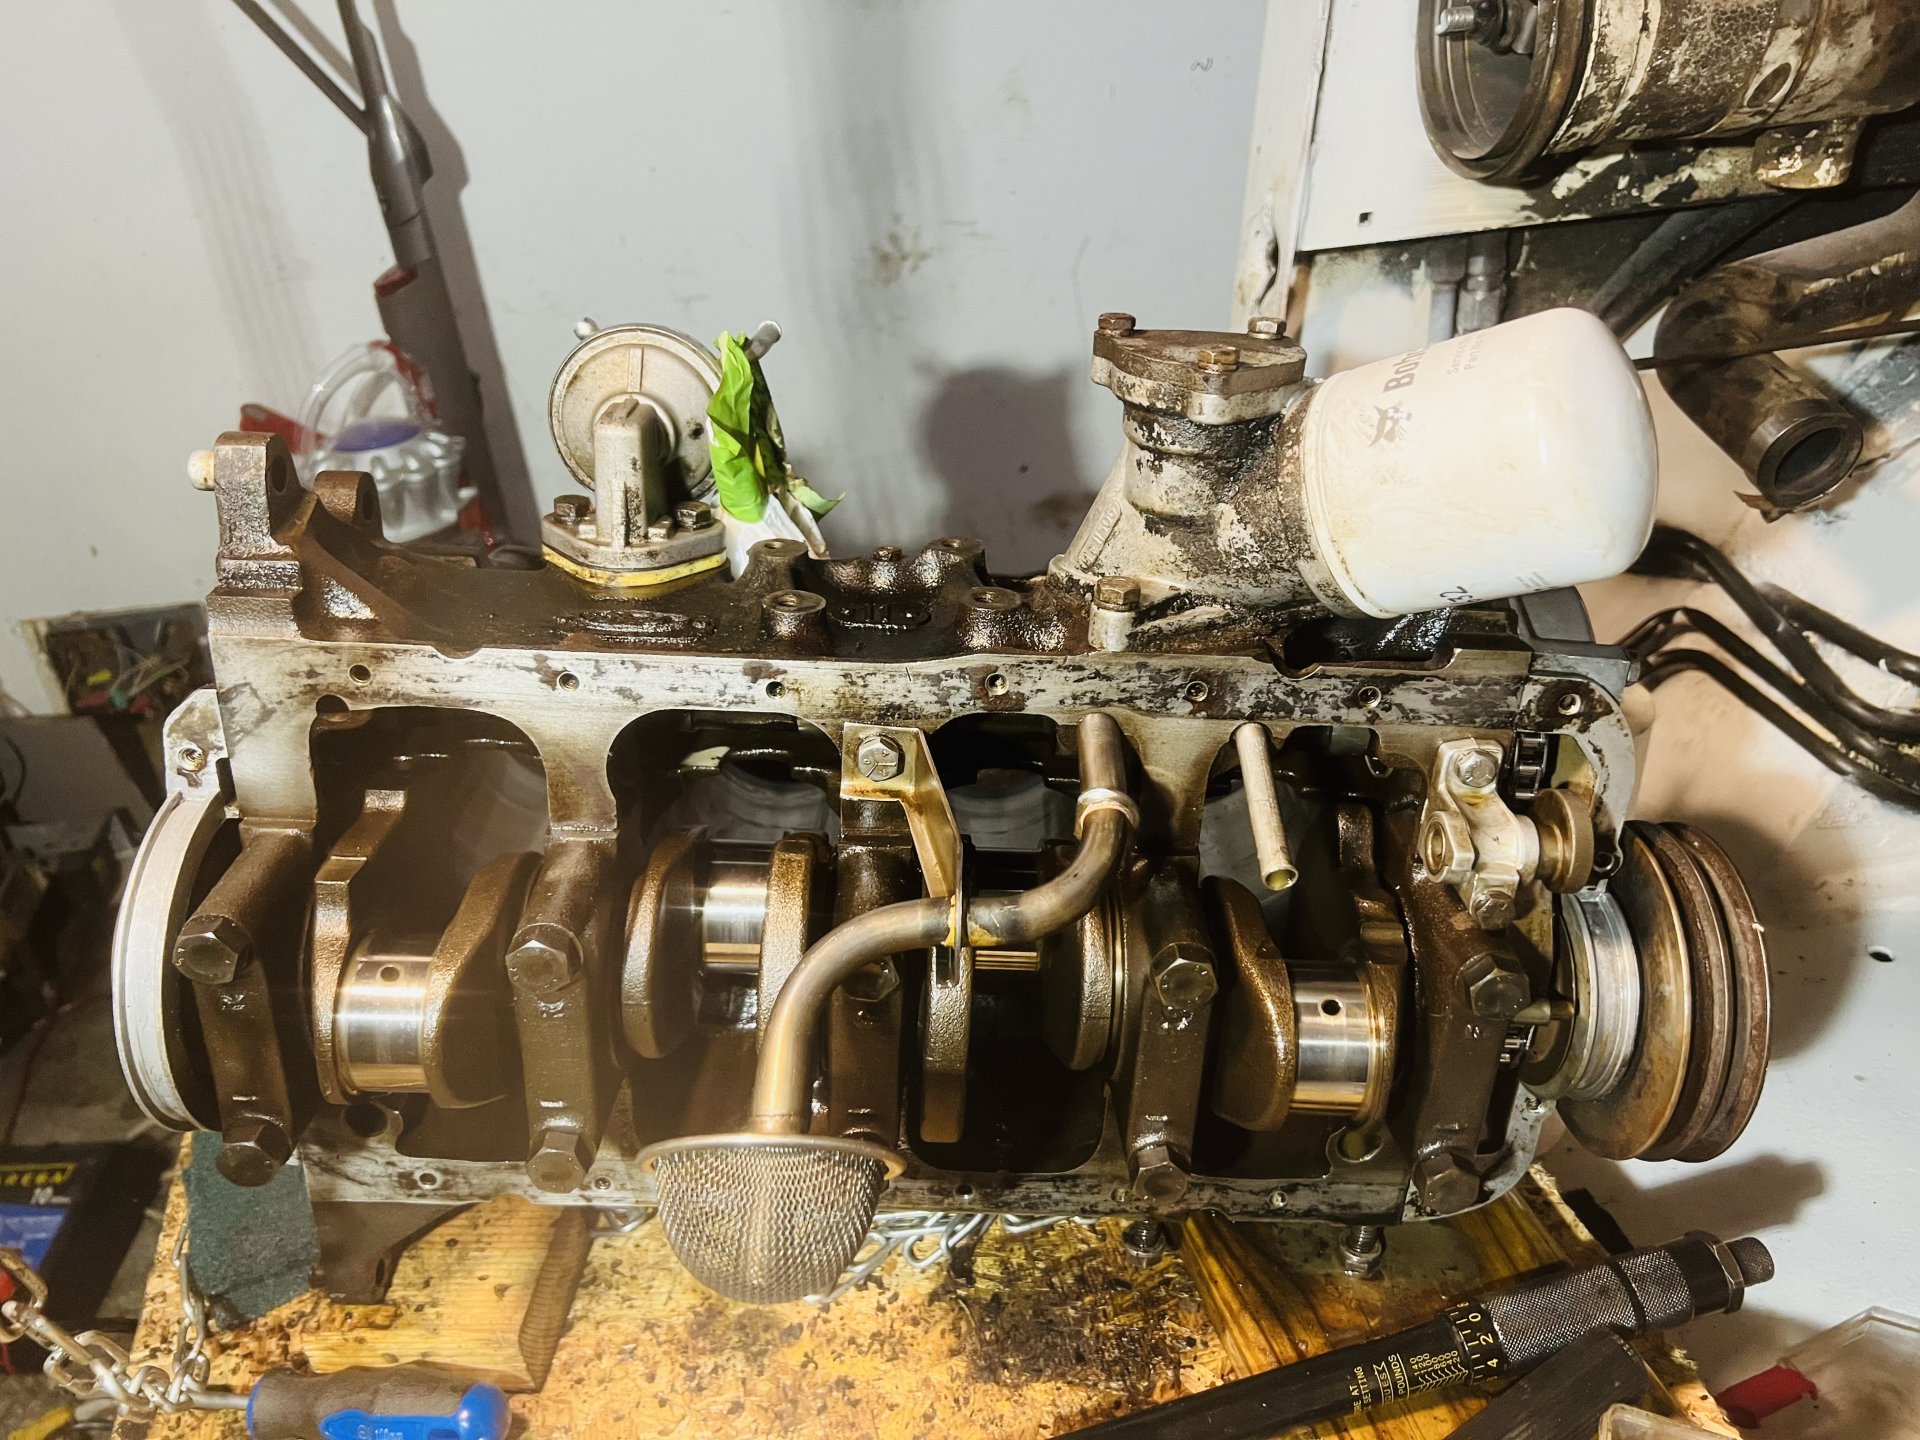
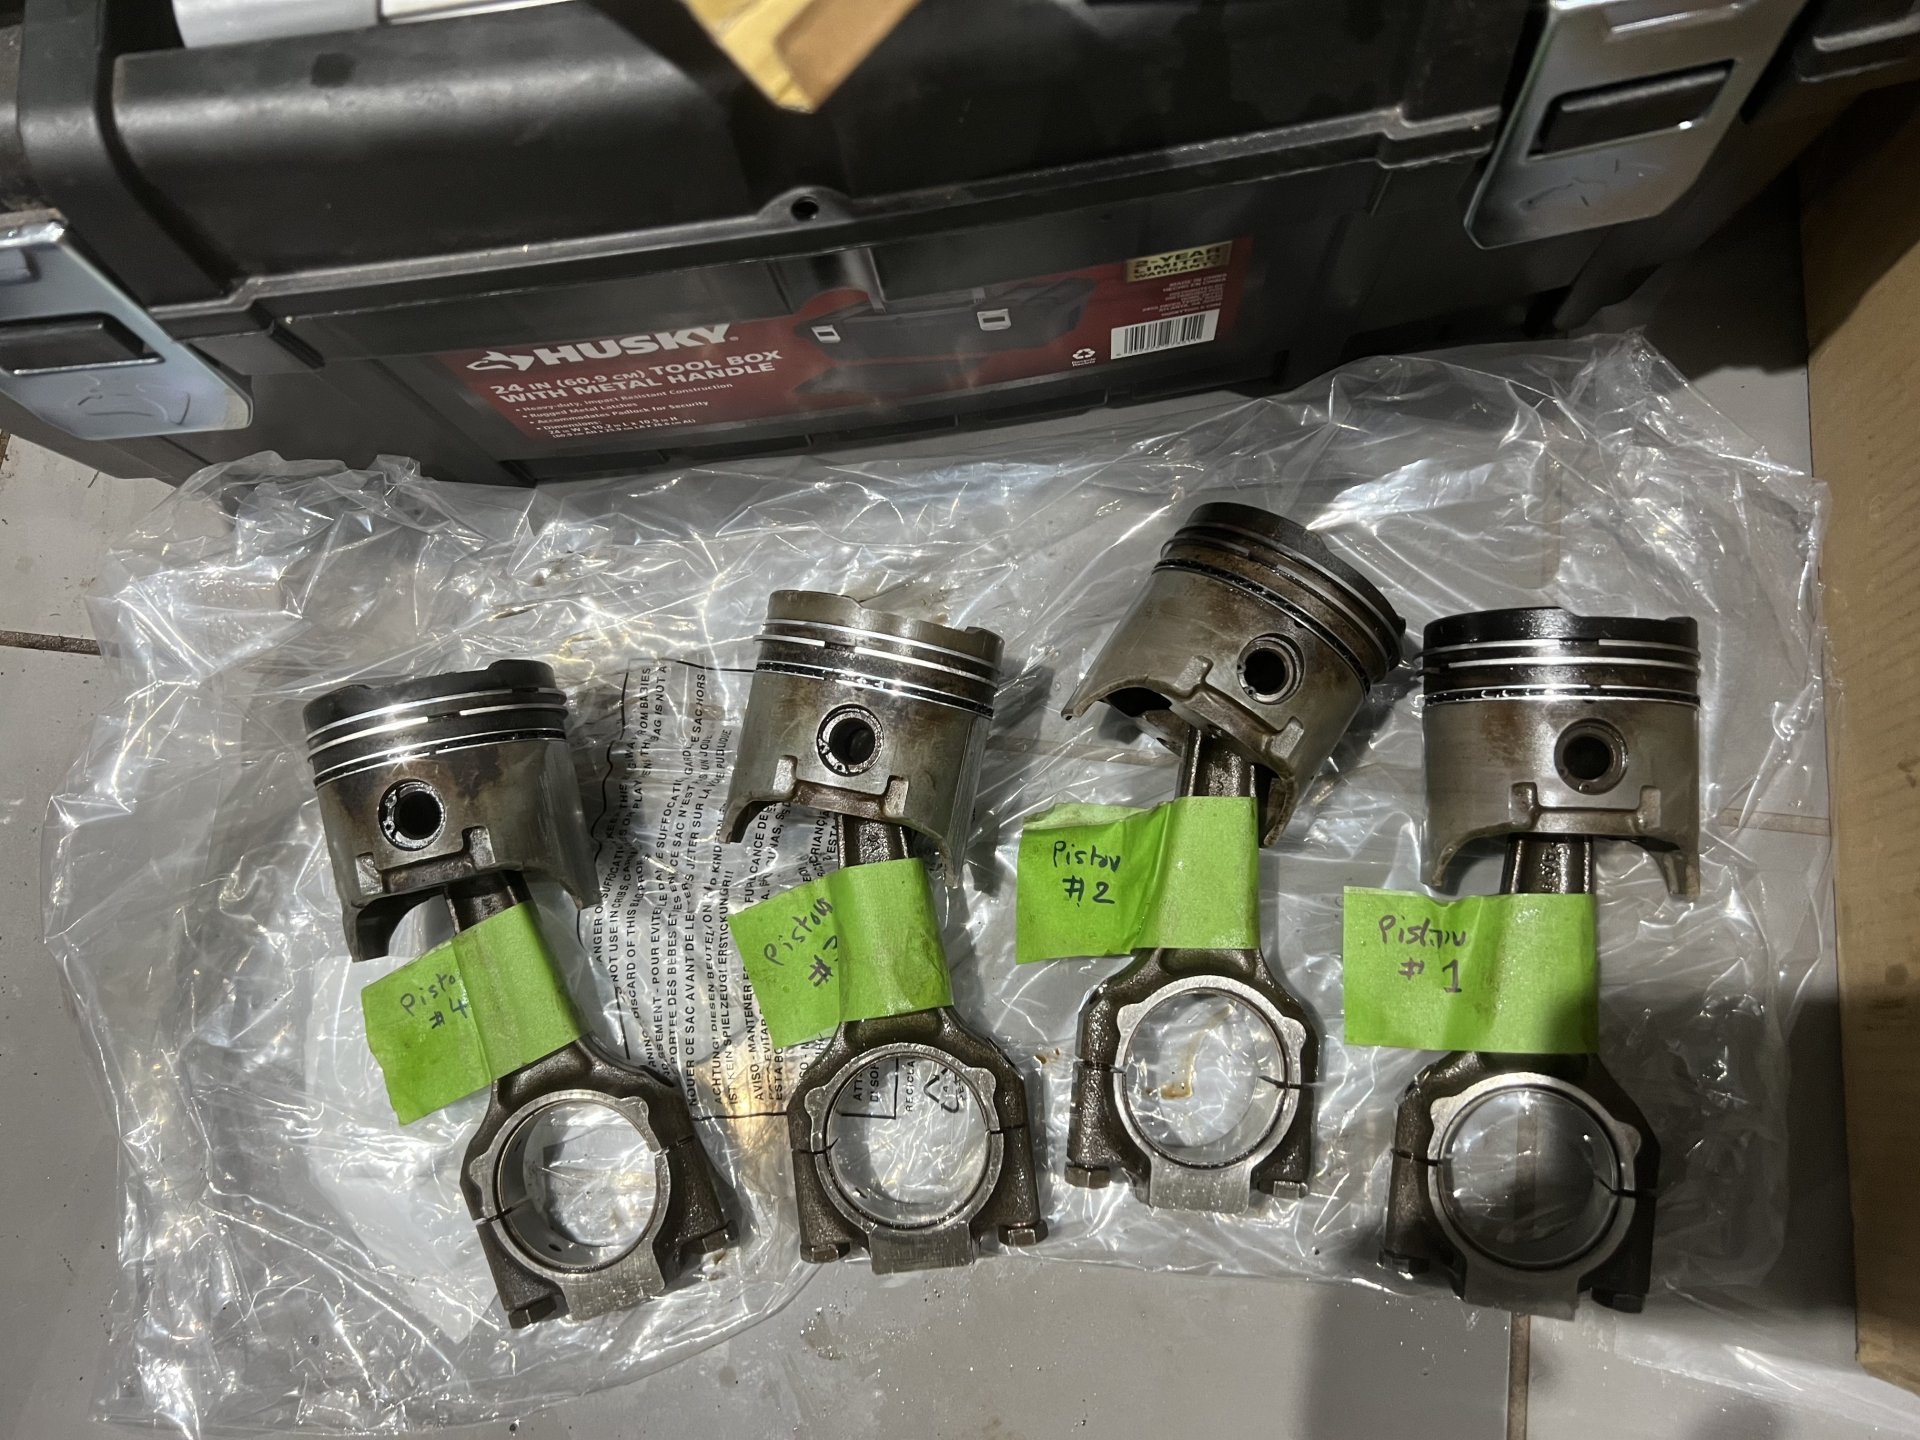
A little too late now but you should have cleared the tops of the bores with a ridge reamer before pushing out the pistons. It is very easy to break the second ring lan if there is much carbon build-up or bore wear at the tops. Do have a knowledgeable inspection of this area for damage. Replace parts as/if necessary.Was able to get the oil pan out finally - pulled the 4 pistons out from the cylinders. Tomorrow plan to take the pistons to a local mechanic who had agreed to take a look at these to suggest piston ring sizes etc.
Was able to do this with the engine laying on the side -
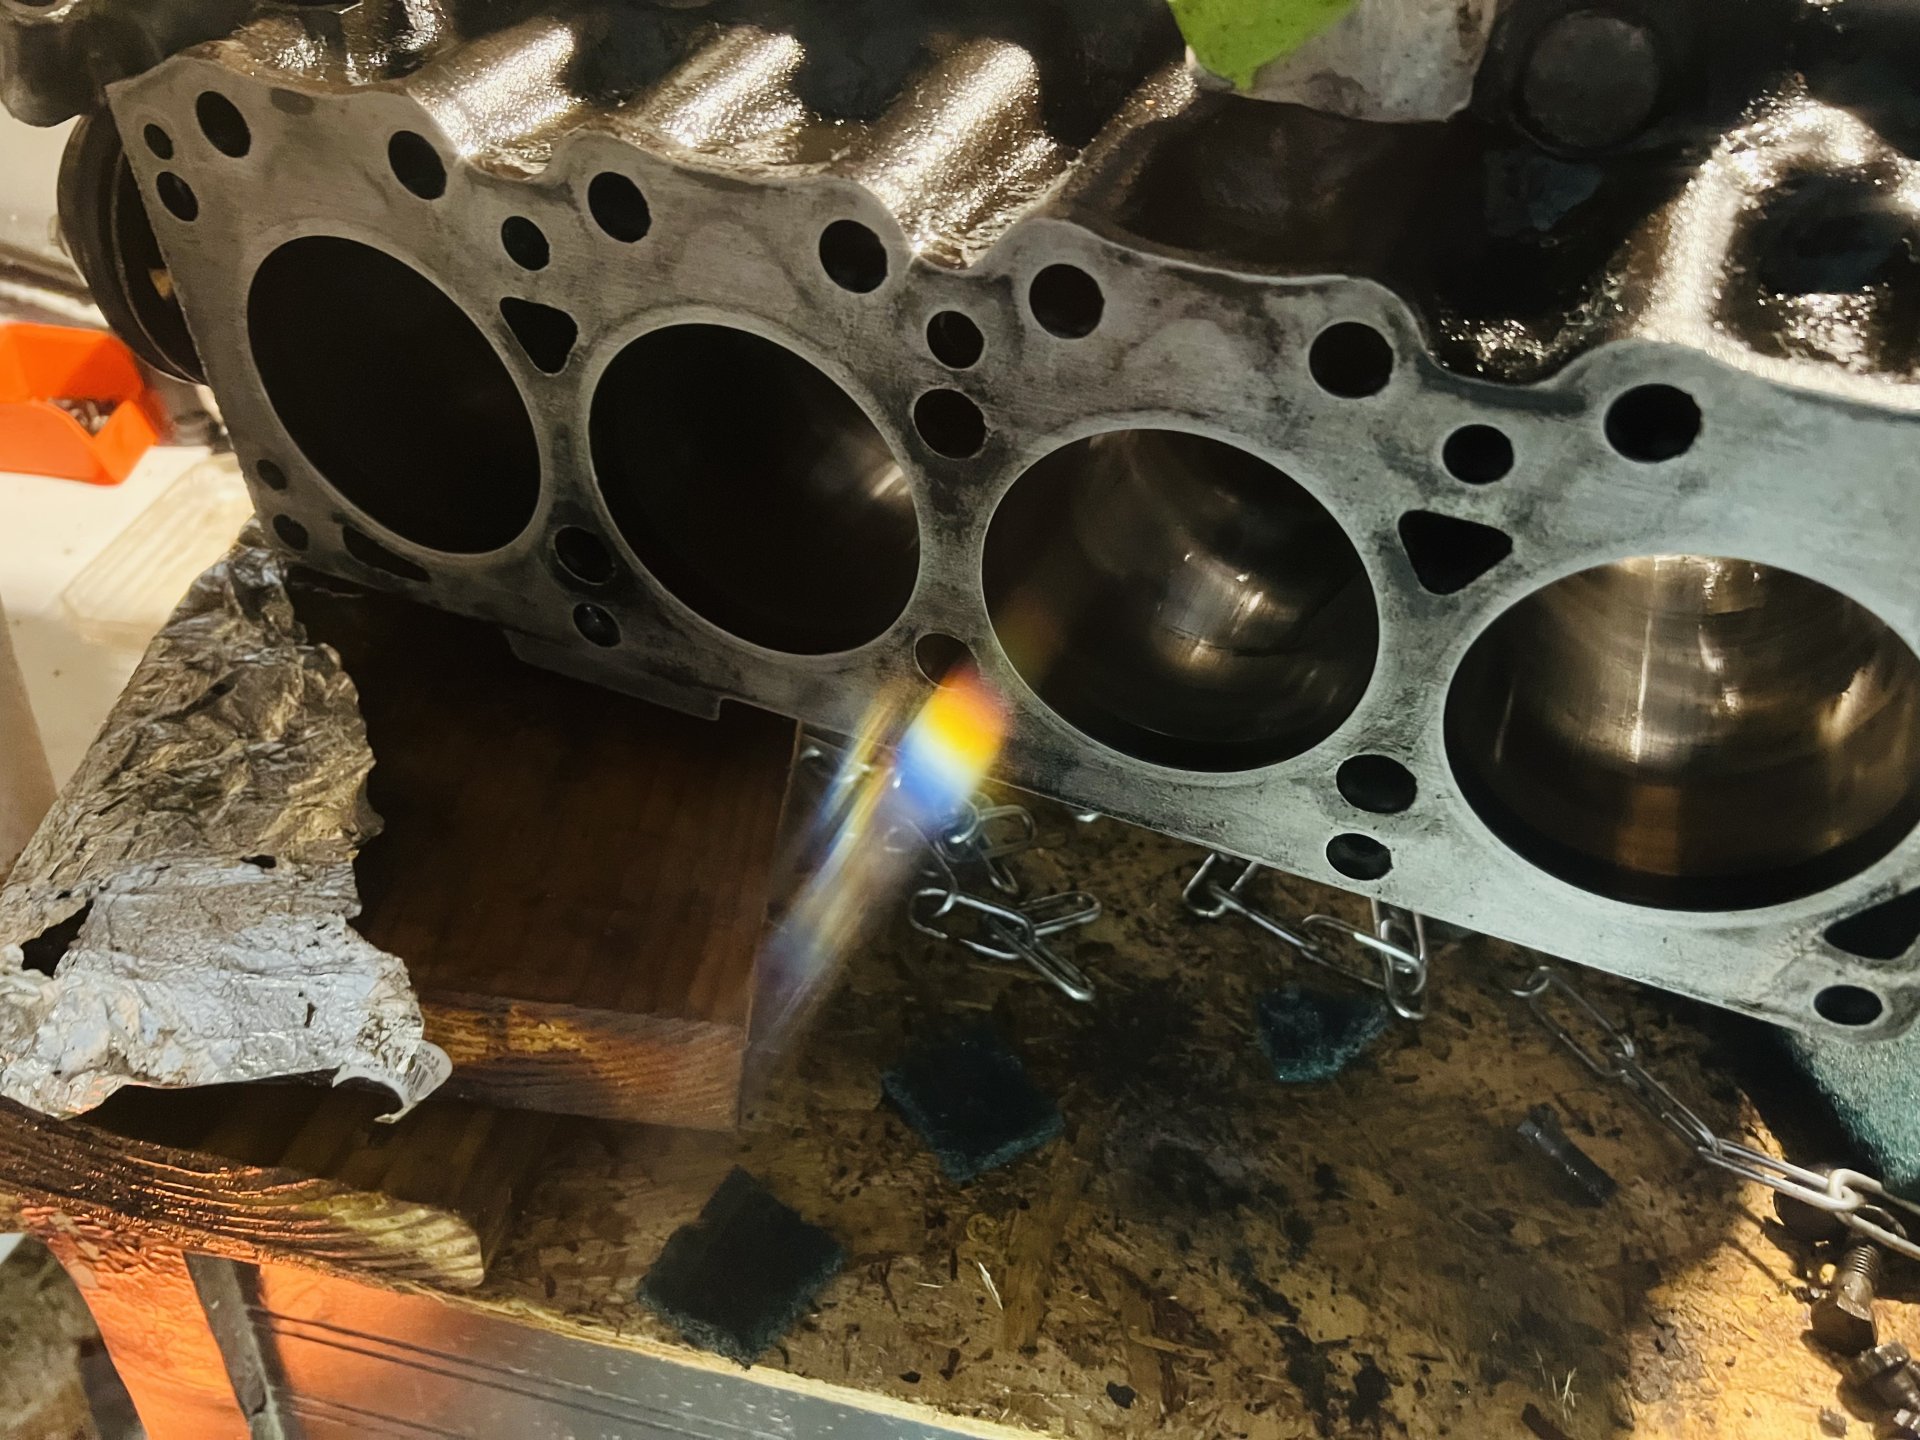
Thanks for the advise Dick! Yes a bit late as I had pushed the pistons out already. I had started with piston#4 and went sequentially.. I did struggle a bit to get piston#1 out, something seemed have been blocking it. Not sure if you know my whole story but I am having no luck riding a machine shop to work on the engine block - they are all backed up at least 2 months to even inspect anything. So this evening I just took the risk, watched a couple of youtube videos and went ahead and honed the 4 cylinders myself (winged it, to put it another way). I have no clue if I did this honing thing right - used a ball hone that I had bought earlier on Amazon. Results are in this video I am sharing below. The buildup at the bore appears to have been removed, but I am unsure if my first (and perhaps last) honing produced anything close to the desired 45 degree crosshatch on the cylinder wall. Any expert advise would be appreciated. I did this with the engine block laid sideways and and I did wash everything with plenty of hot water and soap. The glow behind the cylinders is a heating unit I put up to dry the block (plenty of WD-40 used) .. the temperature in the garage here (chicago) is around 30 degrees, so the space heater helped!A little too late now but you should have cleared the tops of the bores with a ridge reamer before pushing out the pistons. It is very easy to break the second ring lan if there is much carbon build-up or bore wear at the tops. Do have a knowledgeable inspection of this area for damage. Replace parts as/if necessary.
Use a ring groove tool to assure cleaning the full depth of each groove.
The carbon build-up on the pistons is indicative of blow-by, particularly #1 & 2.
I would recommend **removing the crankshaft and cleaning up the bores with a straight cylinder hone.
This is the only way to remove the cylinder glaze and restore the original cross-hatch bore pattern so that new rings will seal. This should increase the bore only a fraction, maybe 0.0005". Nothing the new ring set can't handle.
** No piston ring manufacturer condones honing with the crank in place. It is impossible to clean the honing grit out of an engine without a thorough scrubbing with HOT water and soap( like Tide). Any residual grit is the equivalent of adding valve grinding compound to the engine oil.
Newer designs of oil control rings since these engines were built do not result in as much glazing and carbon build-up typically seen in these engines.
-Dick
Thanks!!Well, better than they were!
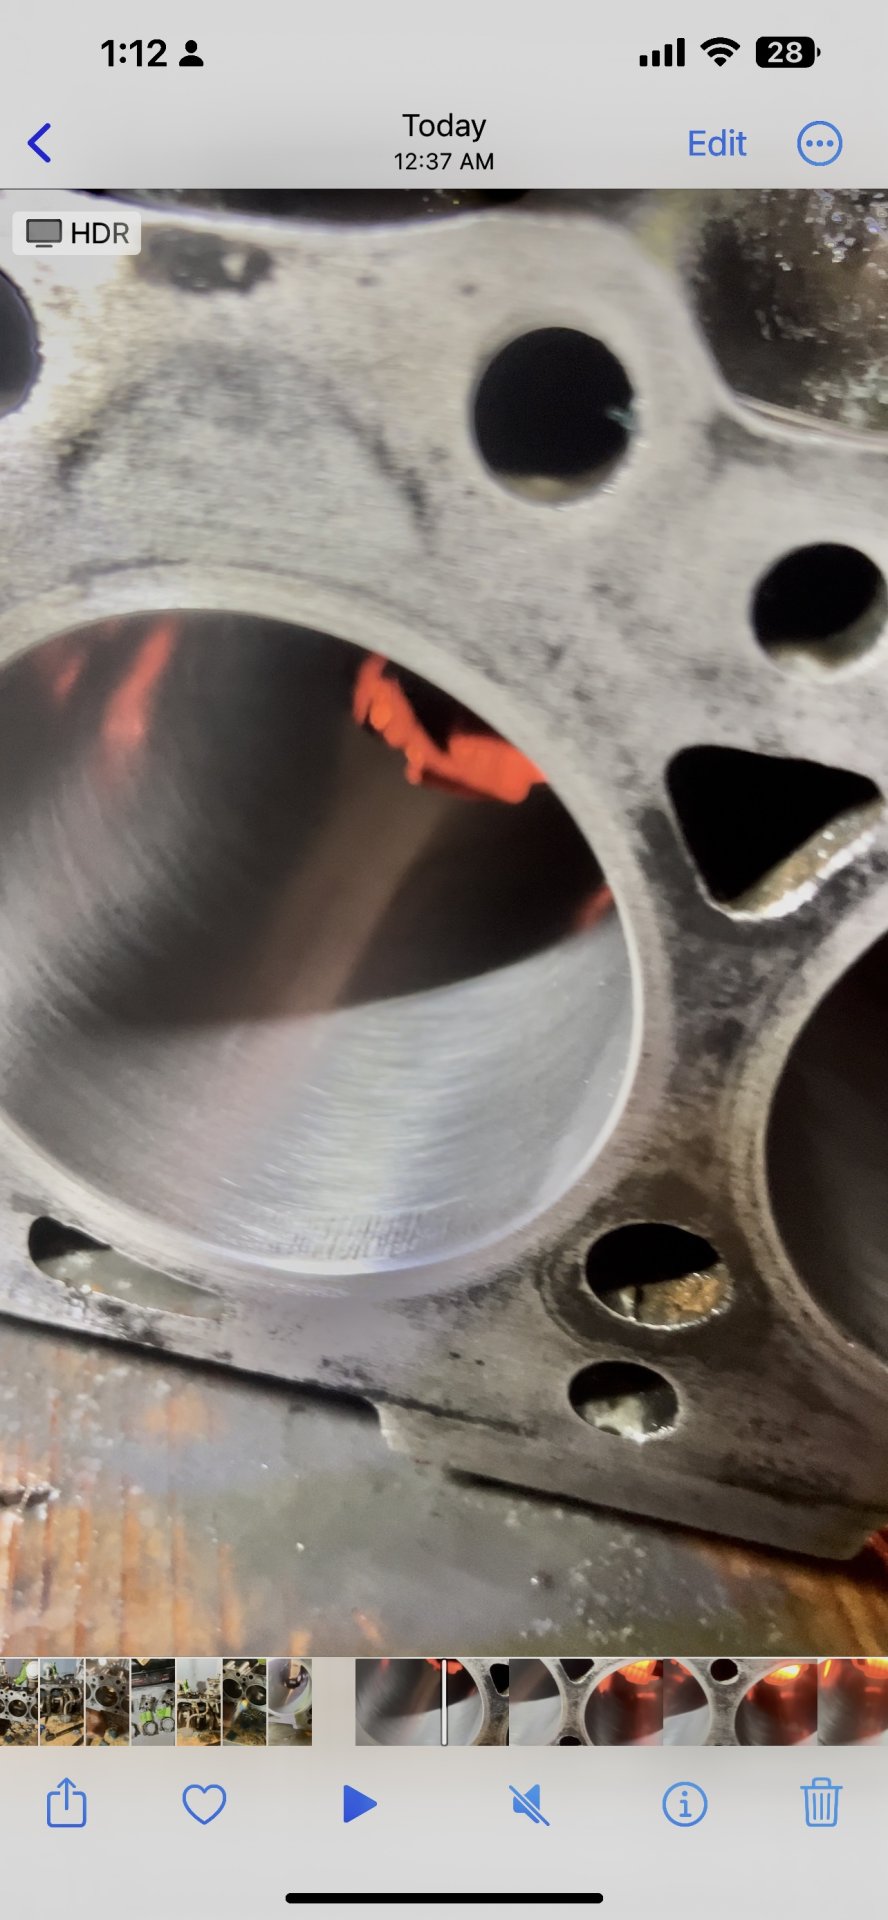
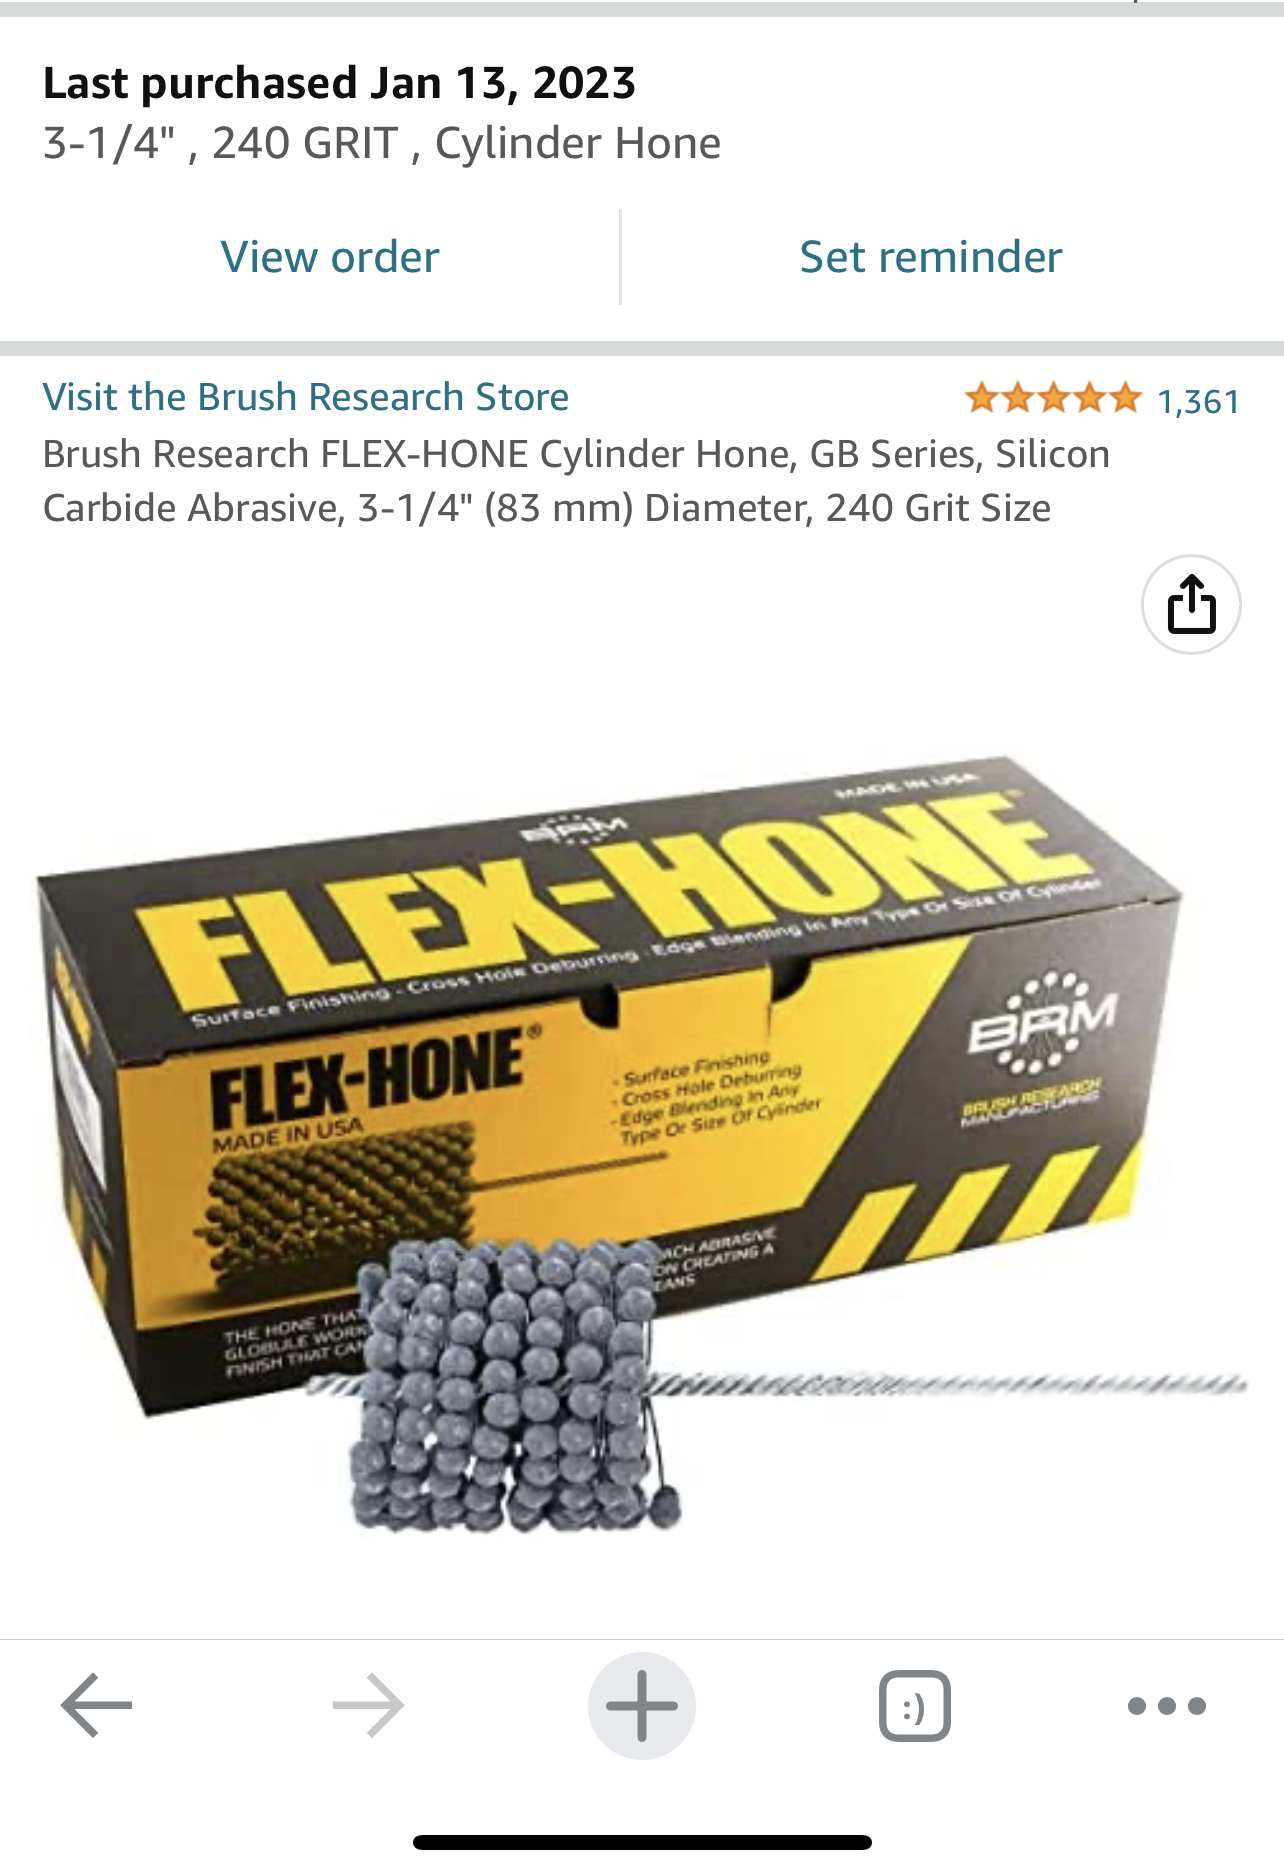
Thank you for the detailed analysis, much appreciated! Looking for a local tech school for possible advise is a great suggestion. I will also measure for the potential hourglass issue. I believe I did use the correct size bottle brush (pic attached) the bore diameter was exactly 3 1/4”Went back and looked at your picture. The cross hatching angle is a little shallow, but that's the idea. There is a lot of vertical wiping at the very top of the stroke... I bet if you were to gauge the cylinders you'd find them hourglass shaped, and that the pistons have been cocking side to side at the top and bottom of the stroke.
I'm of the mind that it's better than it was... But an engine builder would tell you it isn't worth it.
I don't know what to tell you without actually looking at it..
Since you're having trouble finding a shop to look at it, call around to the local tech colleges. One of them might be willing to use it as a teaching tool and tell you what they find. Then at least you know what you're looking at for wear?
A bottle brush hone has its place, but you mint get better results in truing the cylinders by using a three block hone. The blocks might do a better job of taking down the middle of the hourglass? You'll never get "line bored" with a hone, but it might get you closer.
Your bottle brush - did you buy it for the correct bore diameter? First time I looked into using one of those I was shocked how little size range they covered.
Well, there ya go!I believe I did use the correct size bottle brush (pic attached) the bore diameter was exactly 3 1/4”
The “correct” cross hatch is the issue! Not sure what happens if the pistons (with new rings) are installed on a potential “incorrect” cross hatch - will that cause the combustion to not work correctly? Or would the head gasket blow again due to incorrect cross hatching?Congratulations on your progress so far, be careful with spending too much time in the cylinders with that hone. You are not trying to change the size of them just break the glaze to establish the correct cross hatch.
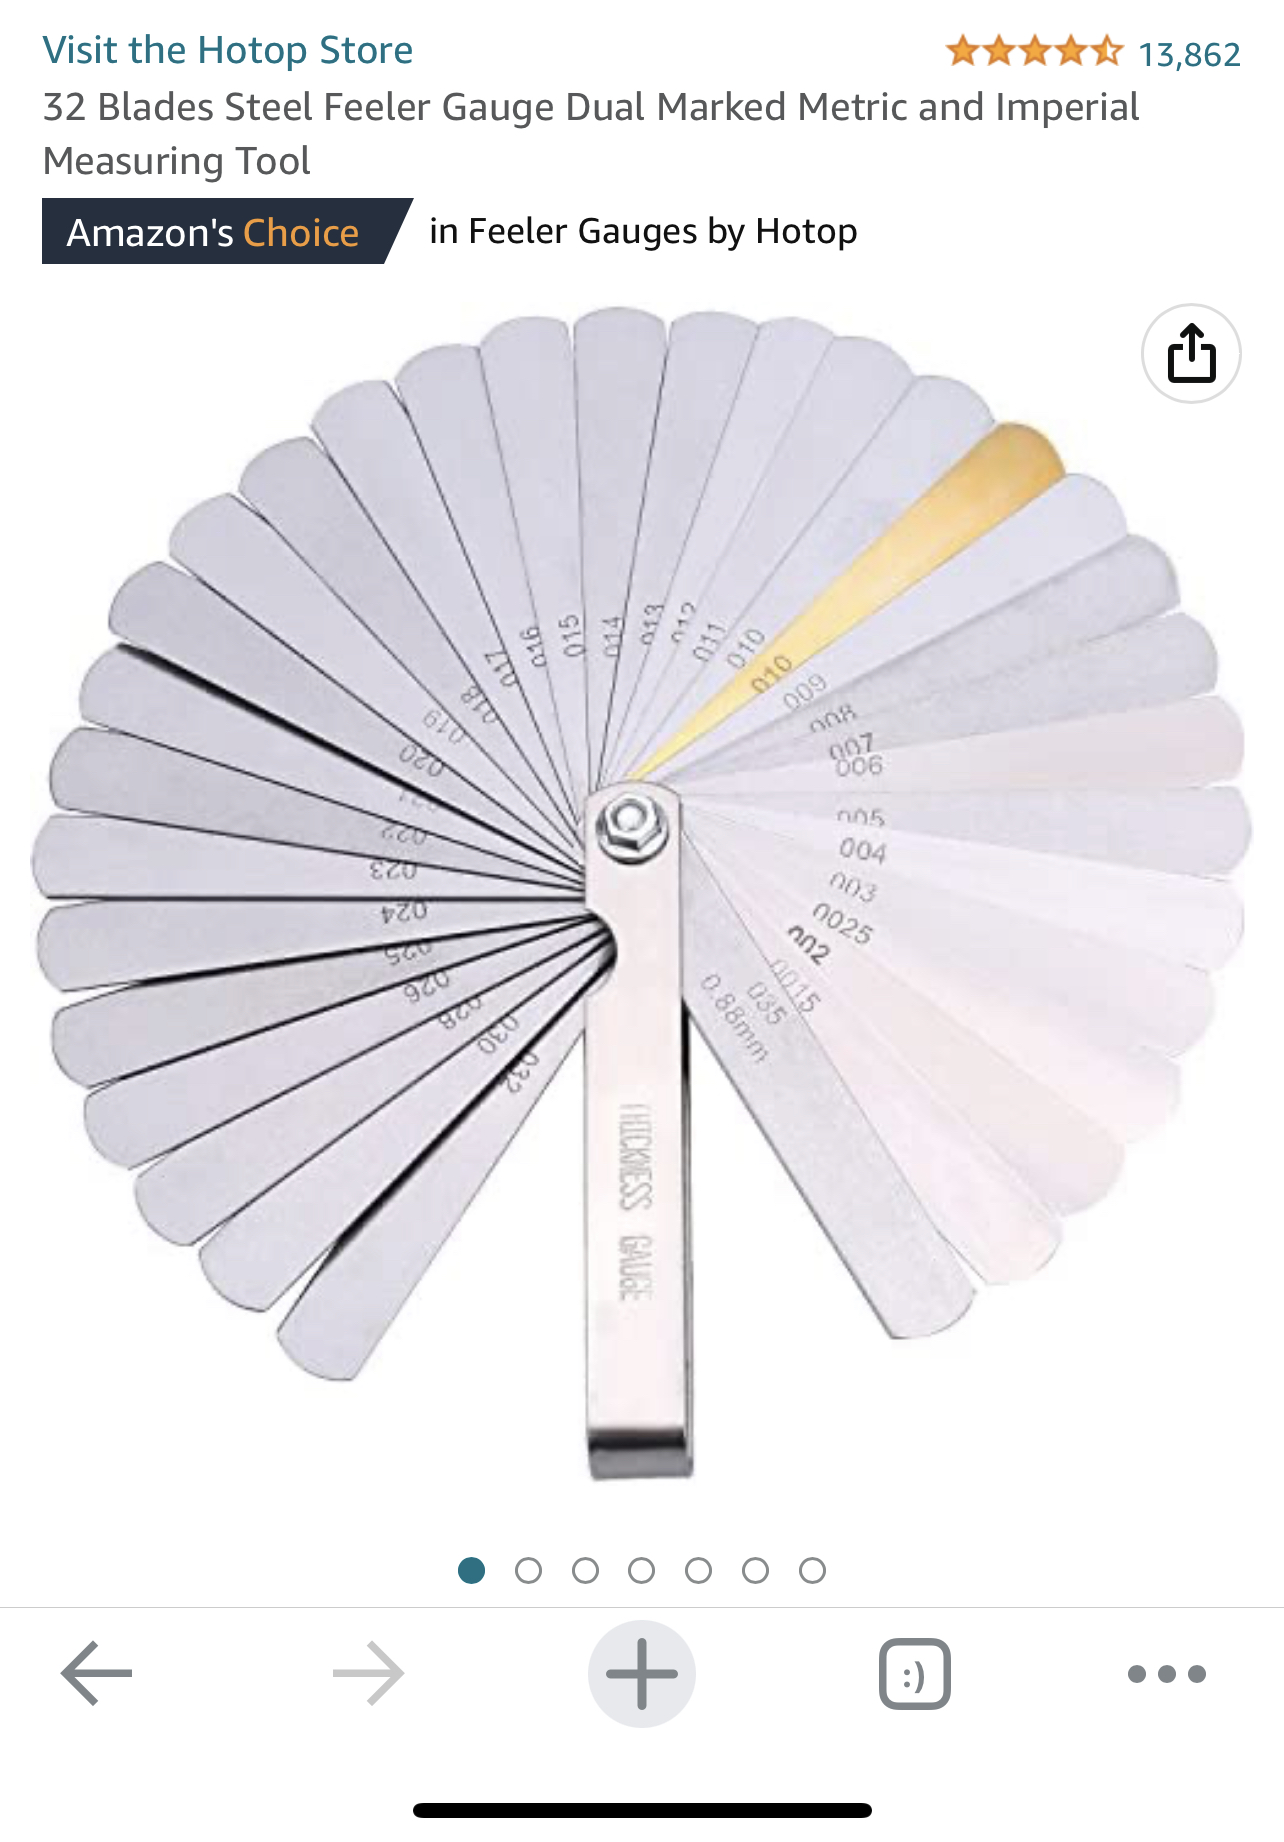
Considering how bad that head gasket was blown I would be particularly interested in how flat the mating surfaces are at the top of the block{deck} and cylinder head. Resurfacing might be necessary to avoid blowing out another gasket.
The idea of finding a trade school to check it out is a good one. I might also inquire with some of the larger auto, agricultural or diesel repair shops that do engine work for a recommendation on who they use for machine shop work.
I have an auto repair shop and find that several of my local machine shop treat cylinder head work as their bread and butter with very reasonable turn around times{availability of parts always being the wild card}.
Thanks for the overview on the need to have cylinder roughness for the new piston rings to settle in! Makes sense now .. all the info you provided gives me some peace of mind.Those are the tools (give or take) that a shop will use to measure the flatness of the deck and head, yes.
As for the cross hatch... You want some roughness to the cylinder walls (not polished mirror finish) to give the new piston rings a proper surface to seat into. I think it is that first, if the surface is mirror polish it is too hard to wear away slightly, AND second the idea that if the walls are too hard, the new rings won't also polish to a mating exact same shape.
I didn't get much past that level of detail in tech school, as my goal wasn't to be a machinist. You obviously don't want to too rough that you feel it, that will cause too much wear to the rings. But you don't want it too smooth because then the rings won't wear in.
It will NOT affect the head gasket.
Internal engine work is always a game of how much is enough and how much is correct/perfect.
It mostly ran when it died, right? So you only HAVE to fix what broke. It will obviously still run as good (or as bad) as it did when you tore it down. But, see how much work this has been to get this far? When do you stop? If you change just the gasket, and in 100 hours you suddenly have super low compression in one cylinder, you have to pull it all back out and do it over again. If you only change the gasket and hone the cylinders, and then get a rod knock from a bad bearing, now you have to do it all over again, again.
So... Anything you do is better than doing nothing... Right?
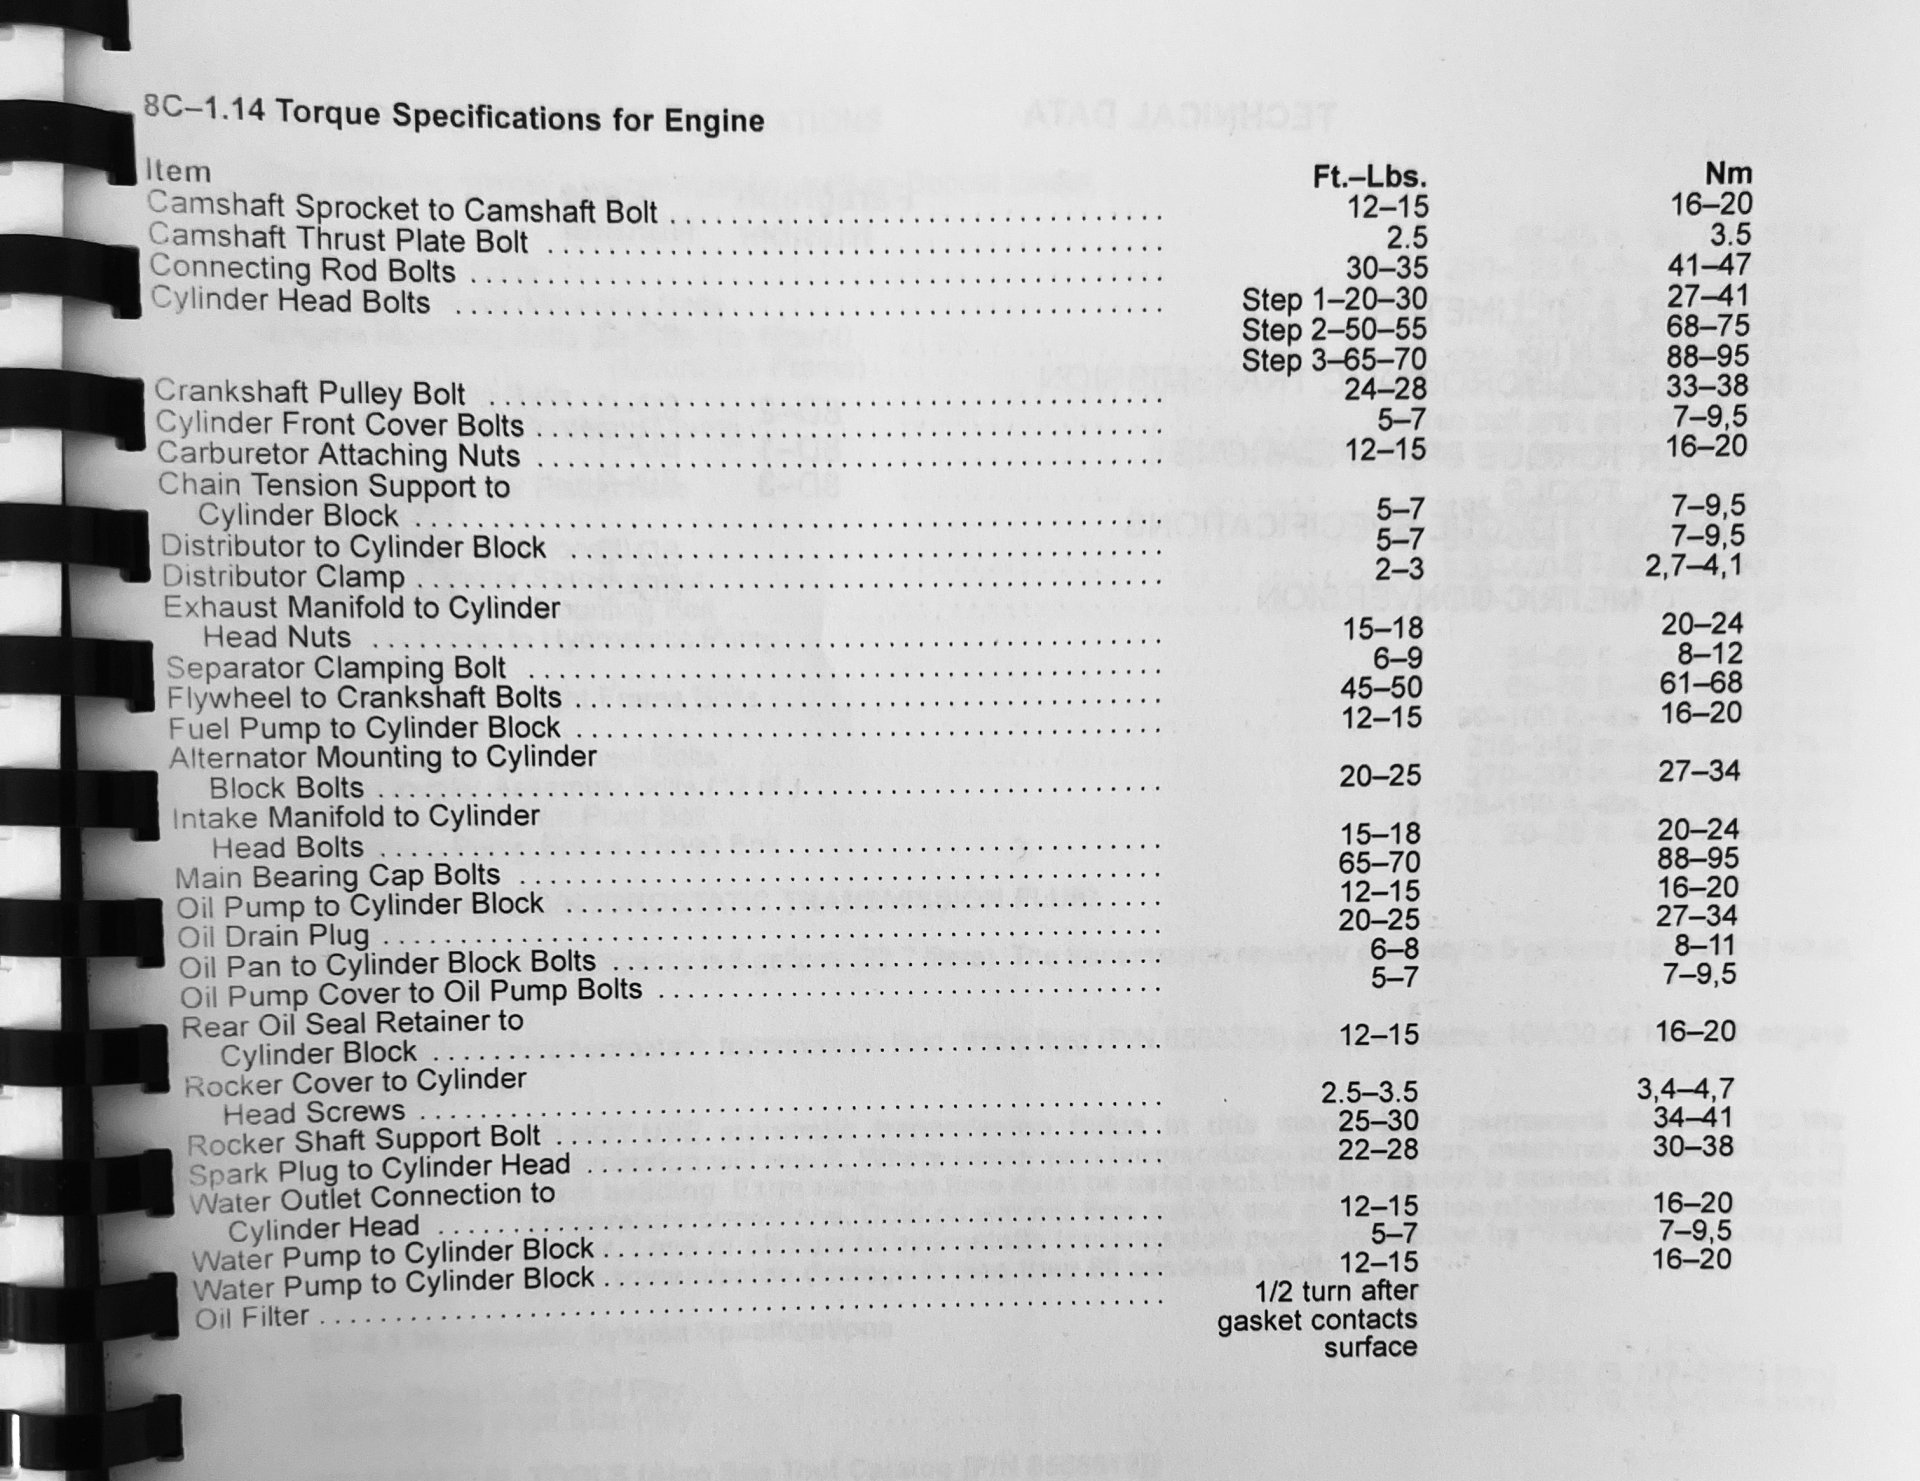
Also, I am sort of thinking ahead to when I might get around to put the engine back together. Never had worked with the concept of Torque .. I am attaching a pic from the bobcat 632 manual .. Cylinder Head Bolts are specified as Step 1-20-30 for Ft.-Lbs. and 27-41 as Nm. I am totally confused on what this is saying??Those are the tools (give or take) that a shop will use to measure the flatness of the deck and head, yes.
As for the cross hatch... You want some roughness to the cylinder walls (not polished mirror finish) to give the new piston rings a proper surface to seat into. I think it is that first, if the surface is mirror polish it is too hard to wear away slightly, AND second the idea that if the walls are too hard, the new rings won't also polish to a mating exact same shape.
I didn't get much past that level of detail in tech school, as my goal wasn't to be a machinist. You obviously don't want to too rough that you feel it, that will cause too much wear to the rings. But you don't want it too smooth because then the rings won't wear in.
It will NOT affect the head gasket.
Internal engine work is always a game of how much is enough and how much is correct/perfect.
It mostly ran when it died, right? So you only HAVE to fix what broke. It will obviously still run as good (or as bad) as it did when you tore it down. But, see how much work this has been to get this far? When do you stop? If you change just the gasket, and in 100 hours you suddenly have super low compression in one cylinder, you have to pull it all back out and do it over again. If you only change the gasket and hone the cylinders, and then get a rod knock from a bad bearing, now you have to do it all over again, again.
So... Anything you do is better than doing nothing... Right?
")
I got real lucky today! Managed to get the engine block and head to an extremely helpful auto engine mechanic (Randy). He had about 30 engines lined up in his extremely organized 1-man garage/shop. Extremely busy as well! But he took the time to greet me and inspect the bores (did some measurements) .. okayed the honing, examined the pistons/piston rings, checked the engine head for straightness, demoed to me how a torque wrench is used etc. He suggested that it would be ok to go ahead and install new piston rings and put the engine back together. After reviewing some Ford engine manuals and based on his measurements, the piston rings he suggested are Hastings brand part #2C677. Found these available only on Summit Racing website - placed an online orderThe blow by is worn rings. So, you'll get slightly less blow by now with new rings. Slightly better again with honing.
The only question is how out of square (hourglass) the cylinders are. Too much difference in size top to bottom, and the rings will have difficulty maintaining constant contact with the cylinder walls. You'll still have blow by. But, new rings are better than not.
You might get away with it, you might live with it if you skip the block work.
It's a hard call. I don't know what I would do in your shoes. In MY shoes, AND if it was spring time, I know I'd go the distance and have it done. I use my machine much more in the winter than in the summer, so a spring tear down and overhaul would make sense to me. Your mileage will vary.