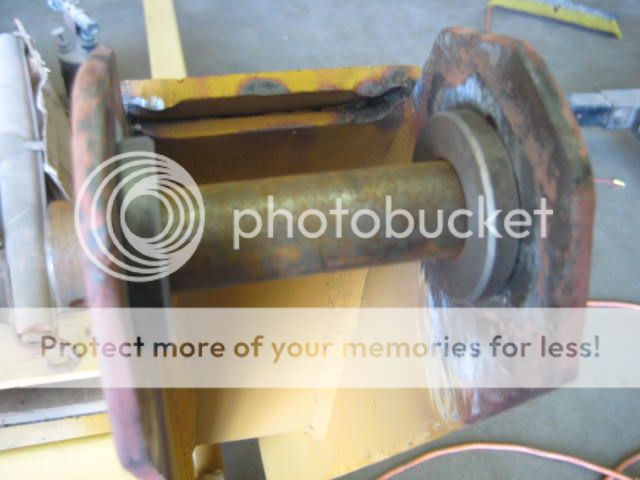
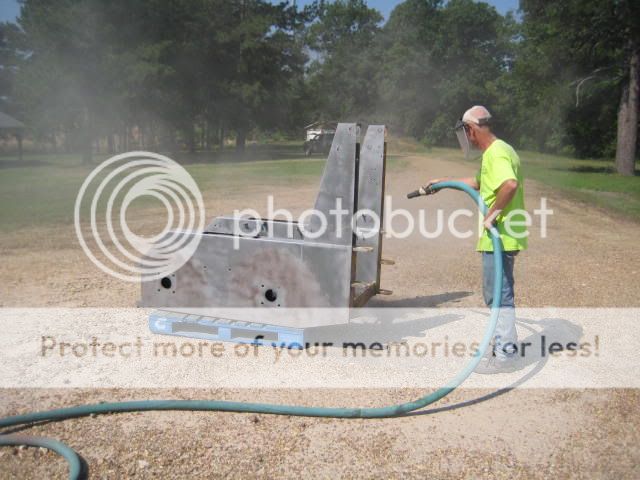
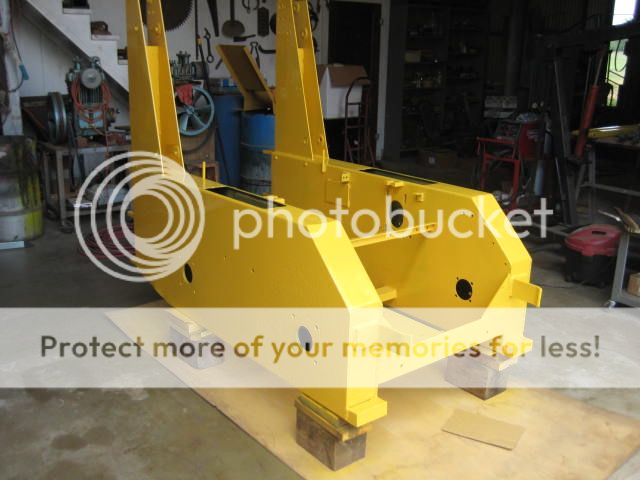
Well, I reckon it's time to get back to this project. I had to sell some things on Craigslist to build up my "play money" sock and scrounge some parts for the engine. The only bad bushings were in the lower ones in the side arms where the bucket pivots. After grinding the rest of the weld I'll test fit all components to insure alignment.
http://i76.photobucket.com/albums/j13/rustywheels/Ford%20CL30%20Skid%20Loader/IMG_1912.jpg
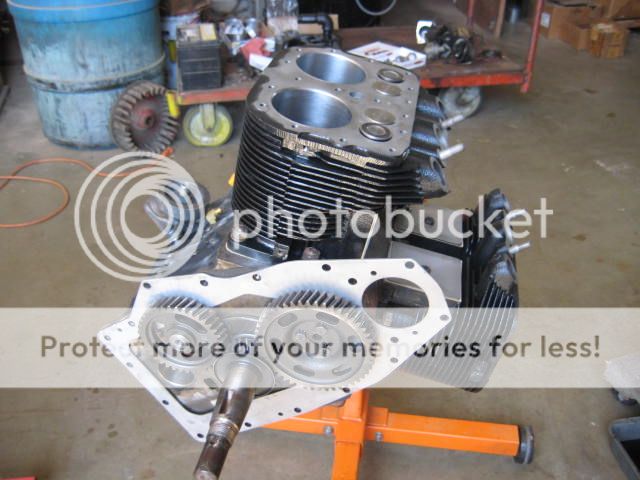
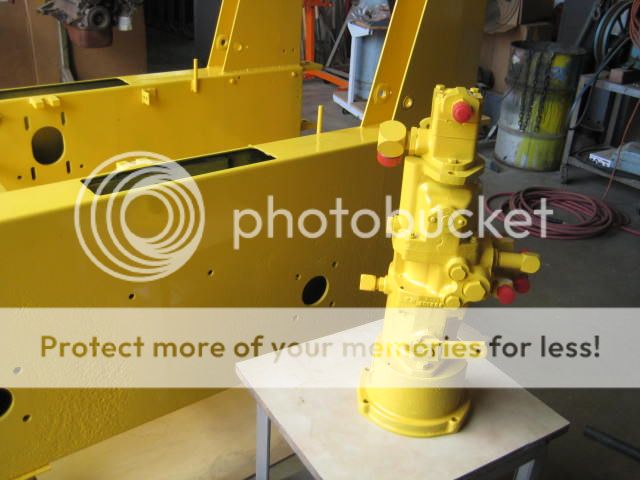
This engine, (Wisconsin VH4D) was a bad smoker and would use about a quart per 5 gallons of gas. Otherwise, it started and ran perfectly. On teardown I found a beautiful standard crank and standard cylinders with only about .0005" ring ridge at the top of the cylinder. The rings were not badly worn but had .110" end gap!! I reassembled with standard rod bearings, fresh valve guides with the same valves, (perfect stems), and the same pistons with new standard rings. These new rings measured the proper .015" end gap. This engine was made in 1993 and appears to have been built with the wrong set of rings to begin with,,,,,,, you just never know what you will run across with an unknown, used equipment. Anyways, it's going together nicely and will make a dandy engine.
http://i76.photobucket.com/albums/j13/rustywheels/Ford%20CL30%20Skid%20Loader/IMG_1928.jpg
http://i76.photobucket.com/albums/j13/rustywheels/Ford%20CL30%20Skid%20Loader/IMG_1911.jpg
")