Bobcat 632 - Blown Head Gasket?

Help Support SkidSteer Forum:

OP
OP
bobcatzack

bobcatzack

Well-known member
Joined
Oct 16, 2022
Messages
122
I think what Jyuma1 is saying boils down to:

"Clean the threads in the block, clean the bolts, clean the head. Then follow the instructions in the manual, or in the head gasket packaging, on how to torque each bolt. Use oil only if the instructions call for it."

Chase the threads in the block with a good quality sharp tap. Ideally a "bottoming" tap. Blow air into and across the holes to blow them clear (watch your eyes, and ears).

Check the gasket packaging for torque spec and instructions... Yes, the engine was designed to be built a specific way, but the gasket was made much more recently. I would follow current gasket instructions over old printed manual ones.

Generally, you'll want to bring the bolts down to spec in stages. Following the torque pattern and order, (or following a cris-cross pattern starting in the center of the gasket and working outward if not defined), torque each bolt first to 1/3rd the torque, then 2/3rd, then the final 3/3rd (20, 40, 60 pounds, for example). If the spec then shows to turn the final 90 degrees, do that as a 4th step. I don't know for sure, but that engine is such an old design I would doubt it uses that 4th step.

Be careful when turning the wrench... The difference between 90 pounds and 100 pounds is NOT even a half turn, likely not even a quarter turn of the bolt. Torque will build quickly.
Thank you! Getting clearer and clearer 🙂
 

craigb93

Well-known member
Joined
Nov 9, 2010
Messages
163
It hasn't been mentioned but you should obtain a full engine gasket set that includes front and rear Crankshaft Seals and Valve Stem Seals. At this age all of these will be too hard/brittle to not leak. Especially if it has run hot.
You will need a Valve Spring Compressor. Rentable locally I am sure if your machinist won't do all of the head work for you. I recommend you make peace with him to the point that he will do a valve job for you. The valve stems and head ports will be carboned up even if the valve seal is good. These engines do not wear the Valve guides much so you will be good there. Just the clean up is needed.

You will want to check the Sprockets, Timing Chain and Chain Tensioner. Replace all 4 if wear is evident.

These items are surely 'scope creep' but so much easier/cheaper to do now than later. While it was on the stand I took out the crankshaft and cam to wash everything on mine. The more dirt you remove the less is present to circulate in the oil and cause wear.
When you get to the assembly stage use the STP to lube any bearings or points that move. Fill the oil pump when you put it back together. The stuff is thick enough to not drain away and will quickly prime the pump. This goes for any components that rub together:, bearings, cam, lifters, rocker arms, etc. -Dick


A Front Crank Seal is not always part of the kit but they are definitely available.
 

TooMuchTin

Member
Joined
Dec 3, 2022
Messages
18
I think what Jyuma1 is saying boils down to:

"Clean the threads in the block, clean the bolts, clean the head. Then follow the instructions in the manual, or in the head gasket packaging, on how to torque each bolt. Use oil only if the instructions call for it."

Chase the threads in the block with a good quality sharp tap. Ideally a "bottoming" tap. Blow air into and across the holes to blow them clear (watch your eyes, and ears).

Check the gasket packaging for torque spec and instructions... Yes, the engine was designed to be built a specific way, but the gasket was made much more recently. I would follow current gasket instructions over old printed manual ones.

Generally, you'll want to bring the bolts down to spec in stages. Following the torque pattern and order, (or following a cris-cross pattern starting in the center of the gasket and working outward if not defined), torque each bolt first to 1/3rd the torque, then 2/3rd, then the final 3/3rd (20, 40, 60 pounds, for example). If the spec then shows to turn the final 90 degrees, do that as a 4th step. I don't know for sure, but that engine is such an old design I would doubt it uses that 4th step.

Be careful when turning the wrench... The difference between 90 pounds and 100 pounds is NOT even a half turn, likely not even a quarter turn of the bolt. Torque will build quickly.
I had water in the oil, and thought I had a bad head gasket on my 753. Took it apart The gasket didn't look bad but I replaced it and put on a a new head. Followed manufactures recommendation. Ran the engine to warm up. When I went back to re-torque the head bolts, I saw water was back in the oil. I am going to take the engine out and look for other problems. When I finally reassemble the engine, can I reuse the head gasket?
 

cdmccul

Well-known member
Joined
Jun 18, 2013
Messages
504
I had water in the oil, and thought I had a bad head gasket on my 753. Took it apart The gasket didn't look bad but I replaced it and put on a a new head. Followed manufactures recommendation. Ran the engine to warm up. When I went back to re-torque the head bolts, I saw water was back in the oil. I am going to take the engine out and look for other problems. When I finally reassemble the engine, can I reuse the head gasket?
IMO, once a gasket is compressed, it's done. The gasket crunches down and fills all final imperfections. It won't crush down right a second time.

You might have a cracked block, could be a cracked head (but you said you put new on... Used?). Could be a bad water pump or timing case gasket, depending on design... I haven't had one of these tore down to that point. I know they aren't related to SB Ford, but with 289/302/351w the water pump and timing case bolts go through the water jacket, and can leak water into the oil. Just an idea to look at.
 

TooMuchTin

Member
Joined
Dec 3, 2022
Messages
18
IMO, once a gasket is compressed, it's done. The gasket crunches down and fills all final imperfections. It won't crush down right a second time.

You might have a cracked block, could be a cracked head (but you said you put new on... Used?). Could be a bad water pump or timing case gasket, depending on design... I haven't had one of these tore down to that point. I know they aren't related to SB Ford, but with 289/302/351w the water pump and timing case bolts go through the water jacket, and can leak water into the oil. Just an idea to look at.
Thank you. I hoped I wouldn' t need a new gasket, after only "a little use" but compressed is compressed. Thanks again.
 
OP
OP
bobcatzack

bobcatzack

Well-known member
Joined
Oct 16, 2022
Messages
122
It hasn't been mentioned but you should obtain a full engine gasket set that includes front and rear Crankshaft Seals and Valve Stem Seals. At this age all of these will be too hard/brittle to not leak. Especially if it has run hot.
You will need a Valve Spring Compressor. Rentable locally I am sure if your machinist won't do all of the head work for you. I recommend you make peace with him to the point that he will do a valve job for you. The valve stems and head ports will be carboned up even if the valve seal is good. These engines do not wear the Valve guides much so you will be good there. Just the clean up is needed.

You will want to check the Sprockets, Timing Chain and Chain Tensioner. Replace all 4 if wear is evident.

These items are surely 'scope creep' but so much easier/cheaper to do now than later. While it was on the stand I took out the crankshaft and cam to wash everything on mine. The more dirt you remove the less is present to circulate in the oil and cause wear.
When you get to the assembly stage use the STP to lube any bearings or points that move. Fill the oil pump when you put it back together. The stuff is thick enough to not drain away and will quickly prime the pump. This goes for any components that rub together:, bearings, cam, lifters, rocker arms, etc. -Dick


A Front Crank Seal is not always part of the kit but they are definitely available.
Hi Dick - many thanks for the suggestions! I am a bit overwhelmed currently where I am sitting .. starting to get a bit anxious if I can put back together what I have pulled apart so far. With additional pull (as per your excellent suggestions) I think I might perhaps get overwhelmed to the point where I might not be able to get the engine back together (sounds very weird!) .. I also have a slight urgency to get the bobcat working again to lift the 900 lb round bales for my horses soon! Extremely cold out in the garage (chicago!) .. in other words .. I am pretty much saying hey get the piston rings in, focus on torquing the engine head back correctly, then see if i can put the rest of the components back together to see if the engine starts. It may not be any close to what all I could fix (and replace) but perhaps it will start back to be useful again?
 

Jyuma1

Well-known member
Joined
Oct 23, 2022
Messages
74
I think what Jyuma1 is saying boils down to:

"Clean the threads in the block, clean the bolts, clean the head. Then follow the instructions in the manual, or in the head gasket packaging, on how to torque each bolt. Use oil only if the instructions call for it."

Chase the threads in the block with a good quality sharp tap. Ideally a "bottoming" tap. Blow air into and across the holes to blow them clear (watch your eyes, and ears).

Check the gasket packaging for torque spec and instructions... Yes, the engine was designed to be built a specific way, but the gasket was made much more recently. I would follow current gasket instructions over old printed manual ones.

Generally, you'll want to bring the bolts down to spec in stages. Following the torque pattern and order, (or following a cris-cross pattern starting in the center of the gasket and working outward if not defined), torque each bolt first to 1/3rd the torque, then 2/3rd, then the final 3/3rd (20, 40, 60 pounds, for example). If the spec then shows to turn the final 90 degrees, do that as a 4th step. I don't know for sure, but that engine is such an old design I would doubt it uses that 4th step.

Be careful when turning the wrench... The difference between 90 pounds and 100 pounds is NOT even a half turn, likely not even a quarter turn of the bolt. Torque will build quickly.
One minor change to your otherwise excellent suggestions, I would never chase threads with a tap, to do so runs the risk of cutting the threads deeper or uneven. A better method is to use a thread restorer. I bought a Craftsman thread restorer kit from Sears years ago and it works well to this day.
 

cdmccul

Well-known member
Joined
Jun 18, 2013
Messages
504
One minor change to your otherwise excellent suggestions, I would never chase threads with a tap, to do so runs the risk of cutting the threads deeper or uneven. A better method is to use a thread restorer. I bought a Craftsman thread restorer kit from Sears years ago and it works well to this day.

VERY good point.
 
OP
OP
bobcatzack

bobcatzack

Well-known member
Joined
Oct 16, 2022
Messages
122
One minor change to your otherwise excellent suggestions, I would never chase threads with a tap, to do so runs the risk of cutting the threads deeper or uneven. A better method is to use a thread restorer. I bought a Craftsman thread restorer kit from Sears years ago and it works well to this day.
Will see if I can find one at Home Depot, thanks!
 

Ster1

Well-known member
Joined
Feb 8, 2022
Messages
90
Your torquing sequence is 20-30 then 50-55, then 65-70 Tighten them in a crisscross pattern as shown in the manual (you do have a manual for this engine?). First pattern to 30, second pattern to 55, last pattern to 70, as an example.

Those are straight torques not yield torques. Don't kill your self cleaning out threads. Before you put the head on, clean off the bolts a little with a wire brush, and run them into the block. If they go in easy, which they should, you're golden. Don't go running taps into there unless you have to, and by all means start slow and easy if you do, by hand. It's easy to get a tap out of alignment and wreck the threads in the block. Best to use a thread chaser anyway, but again you probably won't have to.

The manual doesn't specify dry threads or oiled threads. Usually that means threads need to be clean and dry. In our engine, I don't think it matters much. Mine had oil on em, so they were wet. I torqued them to the lower value of the range. I'm other words, I torqued them to 20-50-65. If your bolts are oily, use the lower range. If they're dry, use the upper range.

Keep clicking the wrench until the bolt stops turning.
 
OP
OP
bobcatzack

bobcatzack

Well-known member
Joined
Oct 16, 2022
Messages
122
Your torquing sequence is 20-30 then 50-55, then 65-70 Tighten them in a crisscross pattern as shown in the manual (you do have a manual for this engine?). First pattern to 30, second pattern to 55, last pattern to 70, as an example.

Those are straight torques not yield torques. Don't kill your self cleaning out threads. Before you put the head on, clean off the bolts a little with a wire brush, and run them into the block. If they go in easy, which they should, you're golden. Don't go running taps into there unless you have to, and by all means start slow and easy if you do, by hand. It's easy to get a tap out of alignment and wreck the threads in the block. Best to use a thread chaser anyway, but again you probably won't have to.

The manual doesn't specify dry threads or oiled threads. Usually that means threads need to be clean and dry. In our engine, I don't think it matters much. Mine had oil on em, so they were wet. I torqued them to the lower value of the range. I'm other words, I torqued them to 20-50-65. If your bolts are oily, use the lower range. If they're dry, use the upper range.

Keep clicking the wrench until the bolt stops turning.
Wonderful! Starting to feel more comfortable now! Yes I do have the manual.
I am now definitely getting the torque idea .. especially with your last sentence "keep clicking the wrench until …".
Makes total sense to me now, so if I set the wrench to let's say 50, then regardless how much I turn, it will stop turning the bolt. Thanks!!
 

cdmccul

Well-known member
Joined
Jun 18, 2013
Messages
504
Wonderful! Starting to feel more comfortable now! Yes I do have the manual.
I am now definitely getting the torque idea .. especially with your last sentence "keep clicking the wrench until …".
Makes total sense to me now, so if I set the wrench to let's say 50, then regardless how much I turn, it will stop turning the bolt. Thanks!!
Um... No. If you pull the wrench past the "click" it will just keep loading the bolt up. You pull till it clicks and then you stop pulling. What he meant is to pull it and it clicks, you stop and let go... Then pull again. If the bolt turns slightly when you pull to the click, release and pull again till it clicks. When it stops turning before the click, you're there.

I'll try to upload a video for you...
 
OP
OP
bobcatzack

bobcatzack

Well-known member
Joined
Oct 16, 2022
Messages
122
Um... No. If you pull the wrench past the "click" it will just keep loading the bolt up. You pull till it clicks and then you stop pulling. What he meant is to pull it and it clicks, you stop and let go... Then pull again. If the bolt turns slightly when you pull to the click, release and pull again till it clicks. When it stops turning before the click, you're there.

I'll try to upload a video for you...
Ah so it got a bit complex again for me : )
A video would be cool!

On a separate note, a bit of a setback today - tried to install the piston with new rings and didn't go well. I managed to mess up the first oil ring that is supposed to go into the cylinder (pics attached). Will have to order a new set of piston rings again from Hastings .. around $110 including shipping.. and lost days 🙁
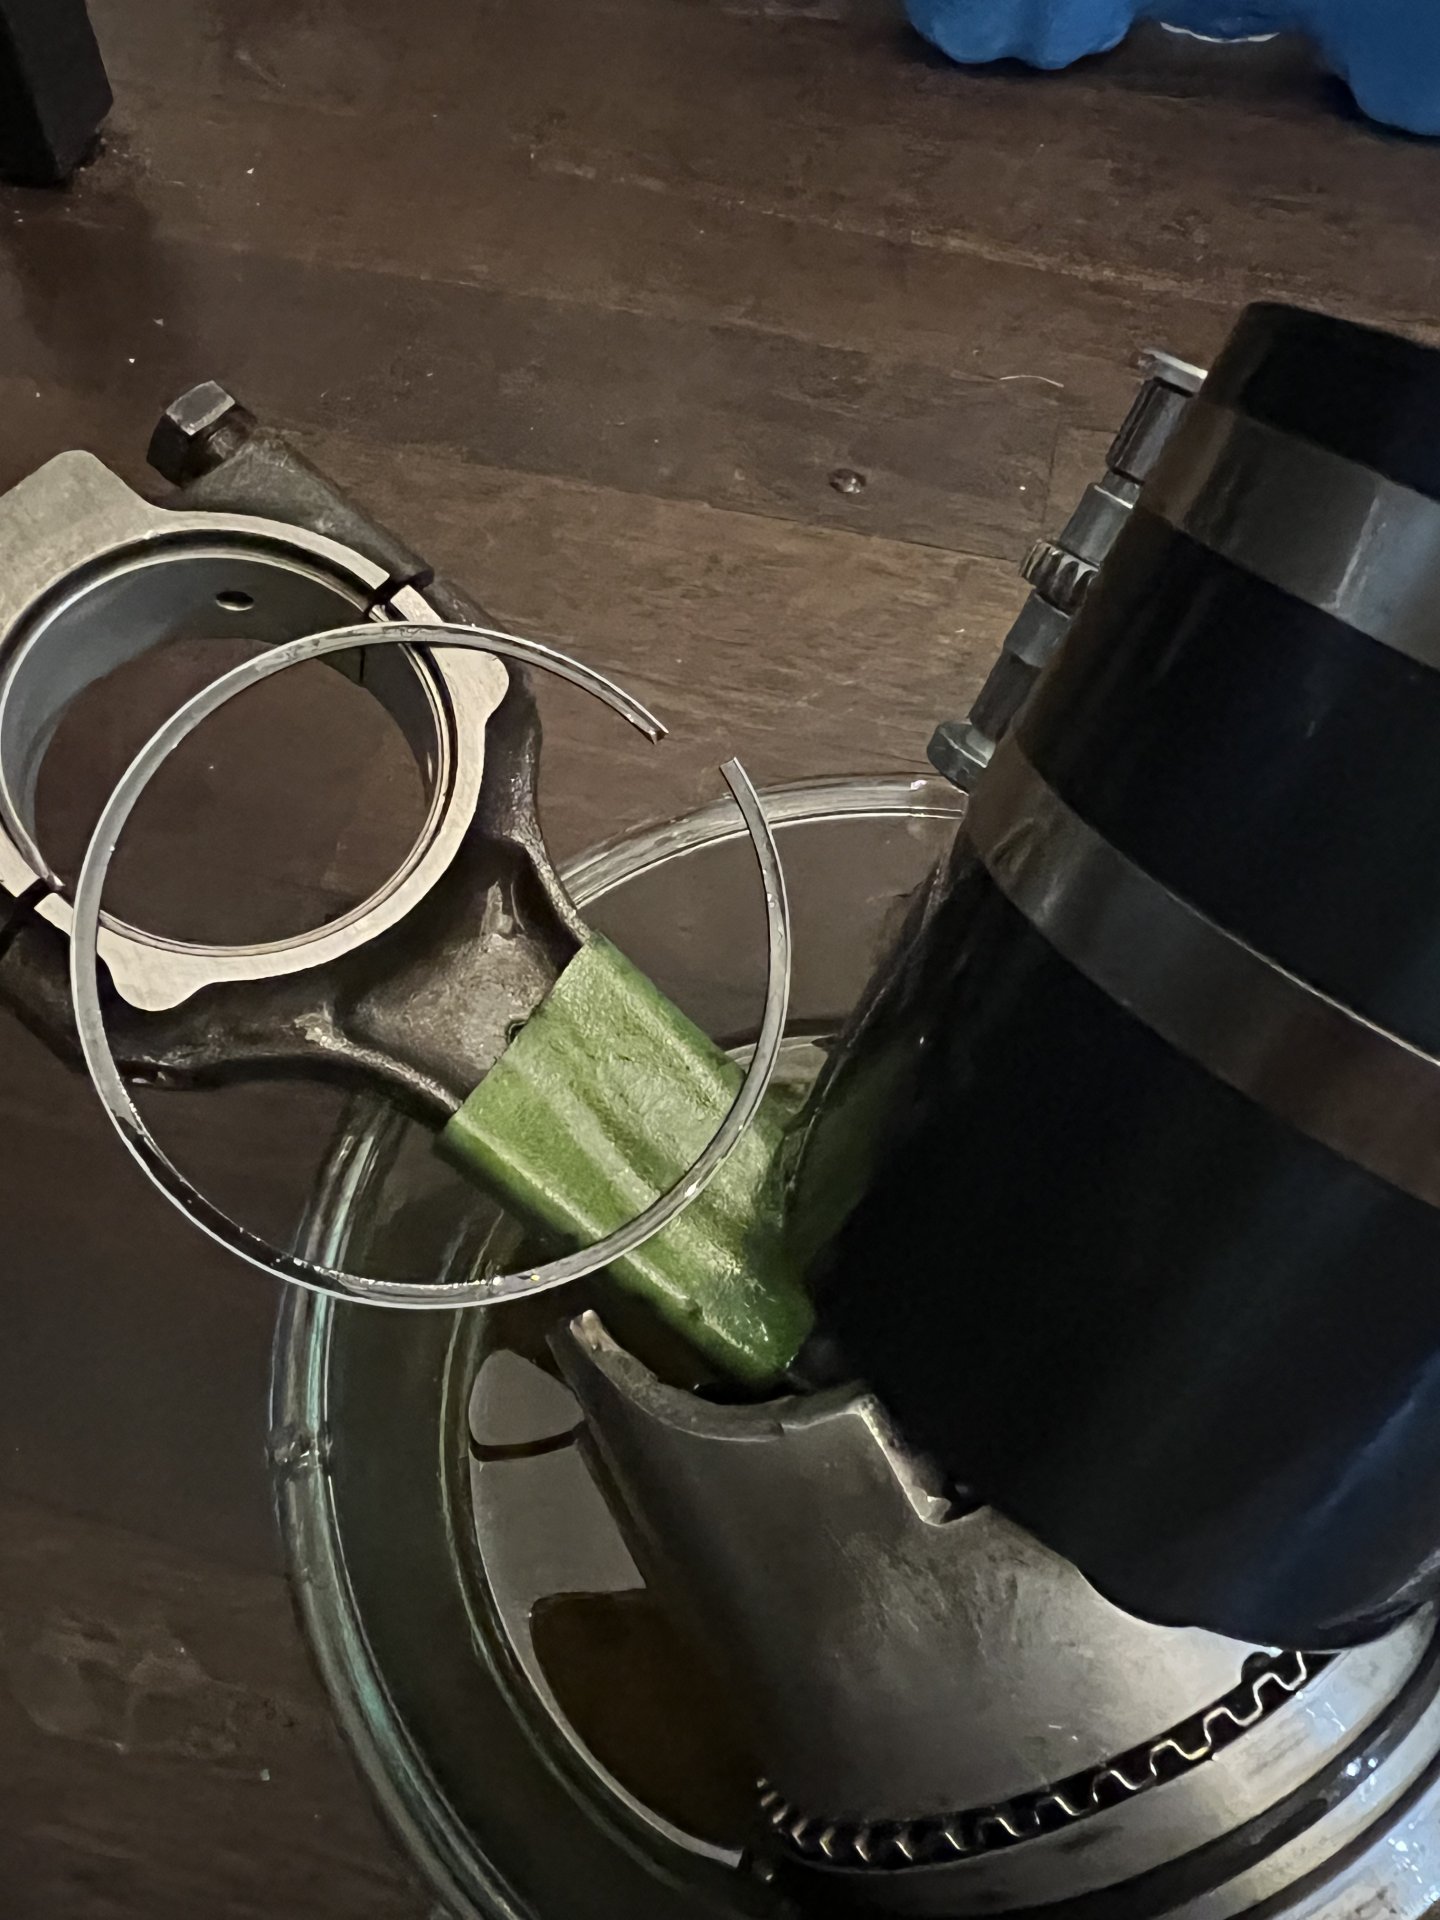
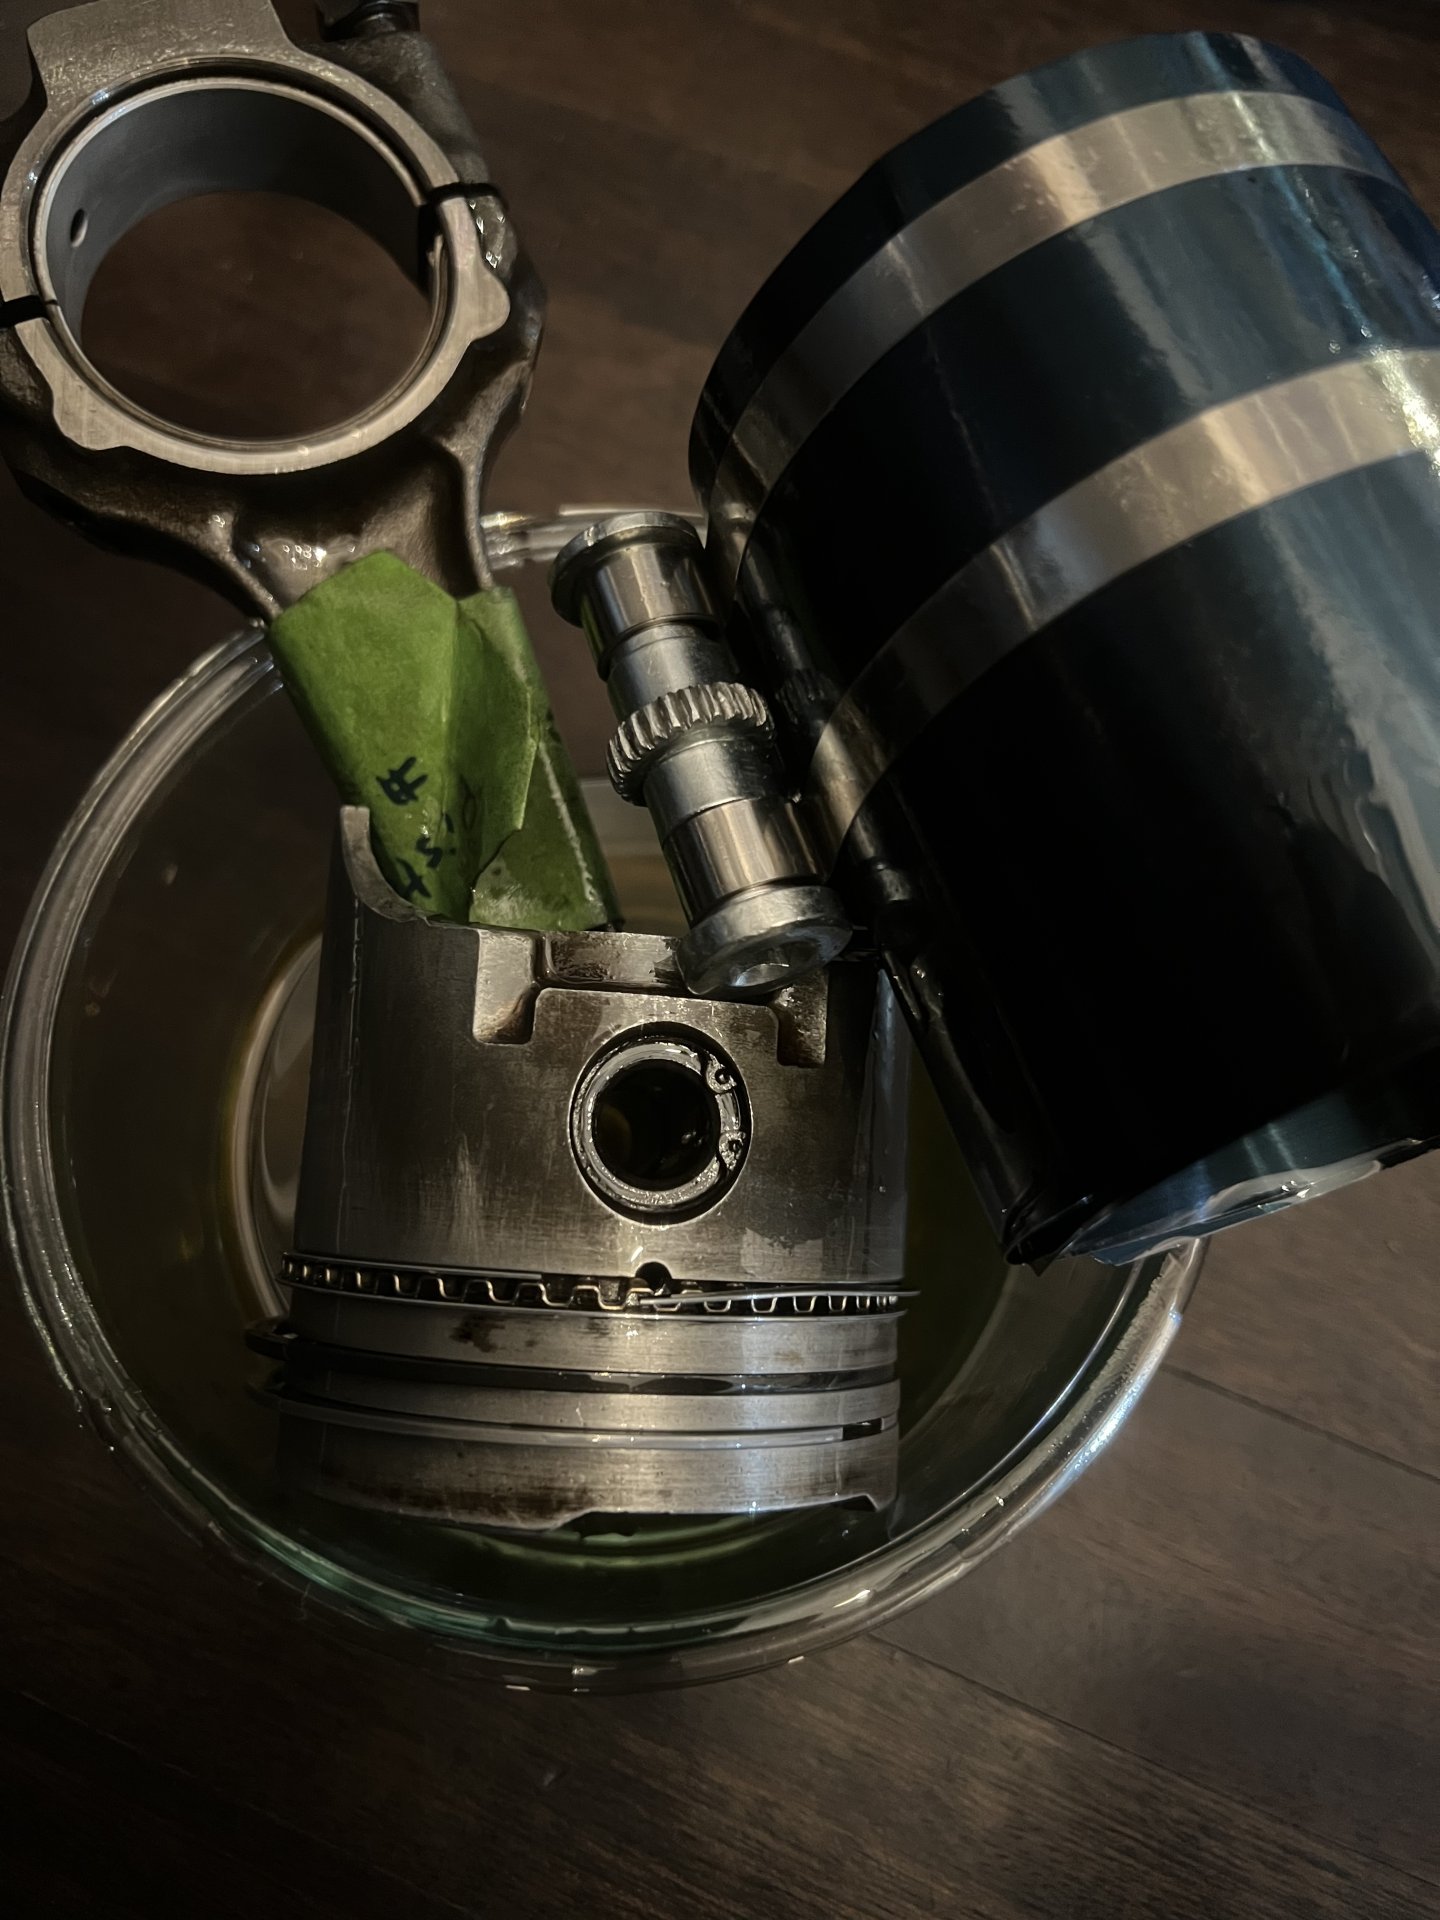
. I may also need to invest in a good quality piston ring installer.
 

Attachments

  • A059A85E-8CBD-48B0-AF36-C9F4A0F868AB.jpeg
    A059A85E-8CBD-48B0-AF36-C9F4A0F868AB.jpeg
    319.2 KB · Views: 62
  • 2B1945A2-0891-4D8A-BE90-E209169521B1.jpeg
    2B1945A2-0891-4D8A-BE90-E209169521B1.jpeg
    307.7 KB · Views: 56

cdmccul

Well-known member
Joined
Jun 18, 2013
Messages
504
Hrrrrrmmmmmm.you might be able to just buy single rings...very worth a call to ask.

That is a fine ring compressor. I'm guessing you had he m the compressor cranked down too tight on the piston. Try again before you place your order. Get the hang of it and re-order replacements all at once.

I'll get you a video, I have three different types of torque wrenches and I'll demo them all for you... But it's dropping to -40 with wind chill tonight - I'll go do it tomorrow when the sun is out and it's slightly warmer.
 

Ster1

Well-known member
Joined
Feb 8, 2022
Messages
90
Yeah, that's what I meant. Just up to the click and not beyond. I have to re-torque a head today. Ill be glad to make a vid cdmccul if you can't find one.
 

Ster1

Well-known member
Joined
Feb 8, 2022
Messages
90
Also I'll add that installing rings is a bit of an art. It's easy to mess it up, and particularly easy to mess up those oil rings. You want to knock them in there hard enough to get em in, but not hard enough to break em. The ring compressor has to be square against the block and not cone shaped. How can I describe this? So with the rings in the piston, piston in the bore, compressor tool installed, the oil ring shouldn't be holding the piston up. In other words, the ring compressor should extend below the bottom ring just a little. Like 1/4". Set that whole thing in the bore and square up the compressor with the top of the block. Tap the compressor around on top to make sure it's "seated" squarely against the block. Then start tapping with the handle of a hammer or something. Don't try to drop the whole thing in on one tap. Just try to get it in there one ring at a time. Firm quick taps.

I like that compressor for diesels, but I have not had good luck with shorter pistons with that one. I find it's too easy to not install it straight. This is the type I use with smaller pistons:


Plus, with the "pliers" tool, it lets you better handle the piston and have finer control of the tension you put on the rings. That's just my opinion. Nothing wrong with the one you have, I just like this one better.

Hell, I used to use hose clamps. So, really it probably is just a matter of learning to use the tool.

Also, oil. LOTS OF IT. No such thing as too much. Your floor is already a mess right? 😂
 

cdmccul

Well-known member
Joined
Jun 18, 2013
Messages
504
Yeah, that's what I meant. Just up to the click and not beyond. I have to re-torque a head today. Ill be glad to make a vid cdmccul if you can't find one.
Mine will be on a lugnut... If you've got a head bolt re torque, go for that. :) I'll still do one though.
 
OP
OP
bobcatzack

bobcatzack

Well-known member
Joined
Oct 16, 2022
Messages
122
Also I'll add that installing rings is a bit of an art. It's easy to mess it up, and particularly easy to mess up those oil rings. You want to knock them in there hard enough to get em in, but not hard enough to break em. The ring compressor has to be square against the block and not cone shaped. How can I describe this? So with the rings in the piston, piston in the bore, compressor tool installed, the oil ring shouldn't be holding the piston up. In other words, the ring compressor should extend below the bottom ring just a little. Like 1/4". Set that whole thing in the bore and square up the compressor with the top of the block. Tap the compressor around on top to make sure it's "seated" squarely against the block. Then start tapping with the handle of a hammer or something. Don't try to drop the whole thing in on one tap. Just try to get it in there one ring at a time. Firm quick taps.

I like that compressor for diesels, but I have not had good luck with shorter pistons with that one. I find it's too easy to not install it straight. This is the type I use with smaller pistons:


Plus, with the "pliers" tool, it lets you better handle the piston and have finer control of the tension you put on the rings. That's just my opinion. Nothing wrong with the one you have, I just like this one better.

Hell, I used to use hose clamps. So, really it probably is just a matter of learning to use the tool.

Also, oil. LOTS OF IT. No such thing as too much. Your floor is already a mess right? 😂
Definitely appreciate the tips!
 

cdmccul

Well-known member
Joined
Jun 18, 2013
Messages
504
Here's your torque wrench video!
(Link in next post, oops!)

Sorry it is 10 min. I did NOT do this for ad revenue. I do not think it will get ads, I'm sorry if it does. I have YouTube Premium, so when I watch any video I don't see ads... Your millage may vary.

There is some odd background noise and the lights in the shop flicker. The camera work was all done single handed, so there's some odd spots in the recording.

The audio will also vary in volume a bit.

As Doc Brown might say: "Please excuse the crudity of this model. I didn't have time to build it to scale or to paint it."

Feel free to share the video. Ask me questions here or there, I'll do what I can for you (anyone).
 
Last edited:
Top