peebeeaitch
Well-known member
- Joined
- Dec 3, 2012
- Messages
- 115
10 Mar 2013Tazza, they were $7.16 each. Not cheap, but cheaper than $9.54 for used ones I found on another site.
Here are a couple of comparitive shots (the original bush is the best one I could find on the machine, from under one of the pump mounts):
The big difference is that the new ones don't feel like slightly frozen snot when one picks them up. Another small difference between the two is the thickness of the bolt spacer tube which on the after market one is quite a bit thinner than on the original. I don't think this will matter as I'm not going to be putting a tommy bar on the socket when tightening.
Yesterday I went to the that very inexpensive tool shop to buy some stuff for my Saturday job. While wandering around the lot sale, I picked up a angle grinder (for chain removal) for $8.99 (or something). I also picked up a little arc welder to remove the bolts from my manifold.
Despite my best efforts, Tazza's suggestion of welding a bolt to the stub and striking with a chisel (+ helper) didn't help. What did happen is the the seized stud (ex bolt) would shear a little below the welding's heat affected zone, making the stub progressively shorter. When the stud was so short I couldn't get the rod in to weld it to the bolt, I realised that drilling and tapping was, finally, the only option:
While drilling out the obstinate little things, one of them broke loose. This is not a good thing. The bolt on the left is slightly loose (the one that broke loose), while the retapped right hand one is snug. We'll have to see how this lasts.
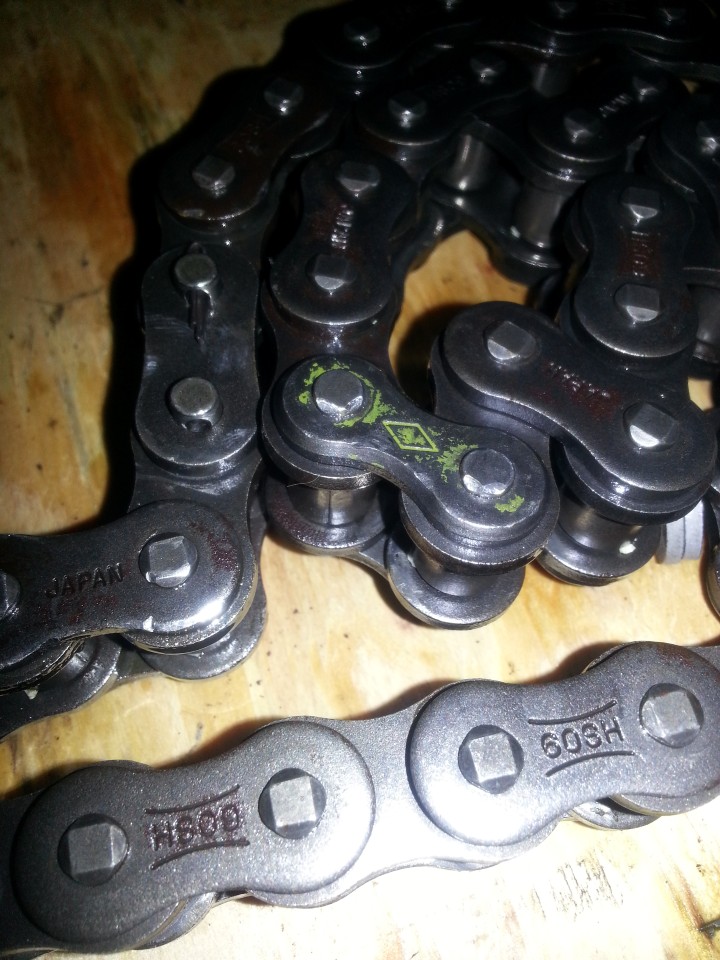
The new master links came in. I can confirm that my Bobcat has a heavy series chain. In the photo below one can see the yellow painted link (from Diamond) that was replaced by a previous owner, my new Tsubaki link is to the left:
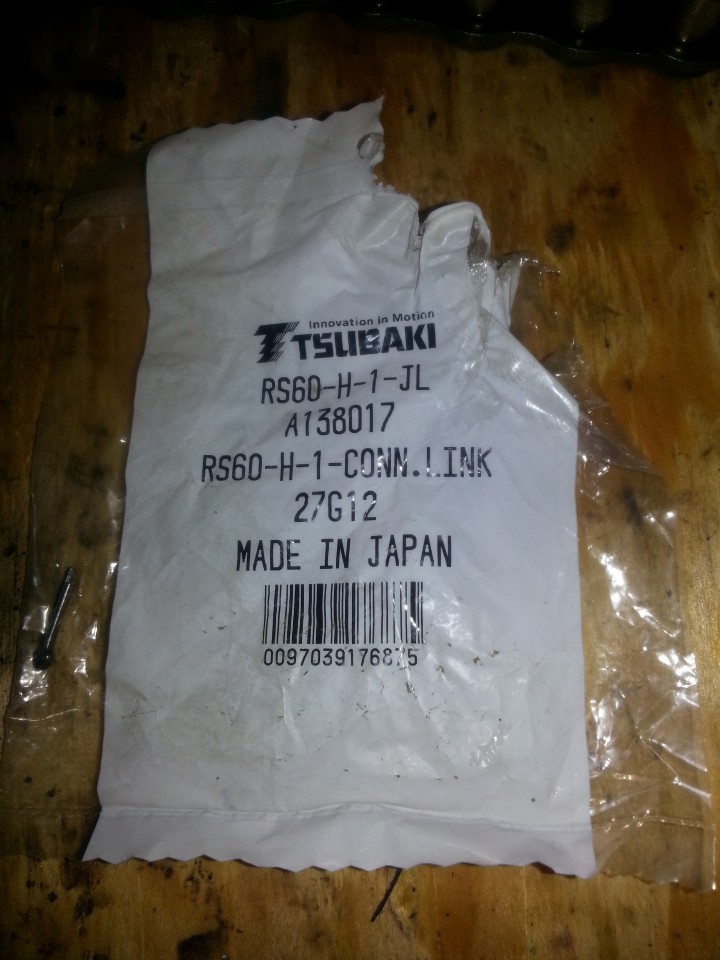
The packet for a Bobcat 630 master link that works:
My wife, very considerately, when collecting the brass filter, picked up some Bobcat magazines for me. I've been wanting to write about this for a while - so here it is (sensitive folds uninterested in off topic subjects, skip the next paragraph):
So, for fear of being consigned to eternal damnation and law suits, I'd like to apologise for using a common term "Bobcat" to refer to my 'Bobcat skidsteer loader, model 630, from 198? with a Wisconsin VH4D and #60 heavy series chains' (I hope that's complete enough for the Doosan marketing folks). Doosan, if you read this, please copy and paste the section between the single quotes and replace all occurences in this post where I have helped lead to the demise of your treasured name. Please just remember that people are reading this post, 30 years after the machine was made, and the reason you have a brand that is so aggressively copied is precisely because your quality was so high that a machine like mine, with all of its faults and lack of maintenance, WAS STILL WORKING. YOU branched out into all sorts of other yellow hydraulics and so compromised your brand - we adoring Bobcat skid-steer loader folks just continued using a term which YOU FOLKS, by your admision, invented. So save your condescension for the people that are fans of other brands. Imagine telling Hoover customers that they should vaccuum the living room floor with the "Hoover household upright vacuum cleaning time saving machine" - bizarre. Oh yes, and while we're at it, thanks for the English lesson about adjectives. From what I've been taught, proper nouns start with a capital letter. So, in your English lesson, Bobcat is a proper noun preceding an adjective preceding a noun. I could call it a skid-steer loader (adjective-noun) or a Bobcat loader (proper noun-noun). Rant over.
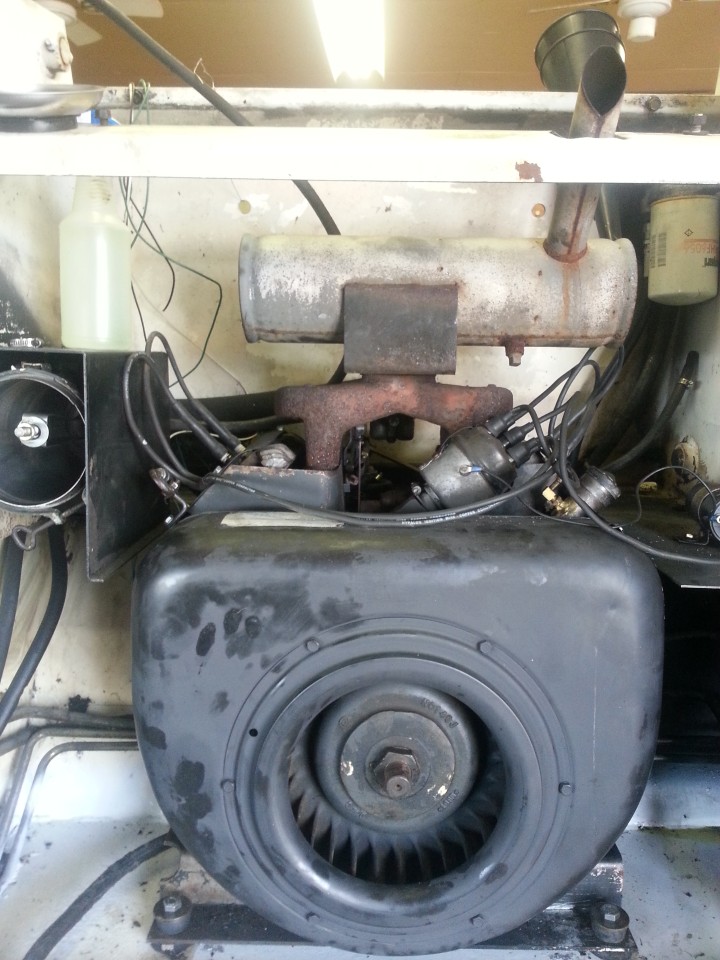
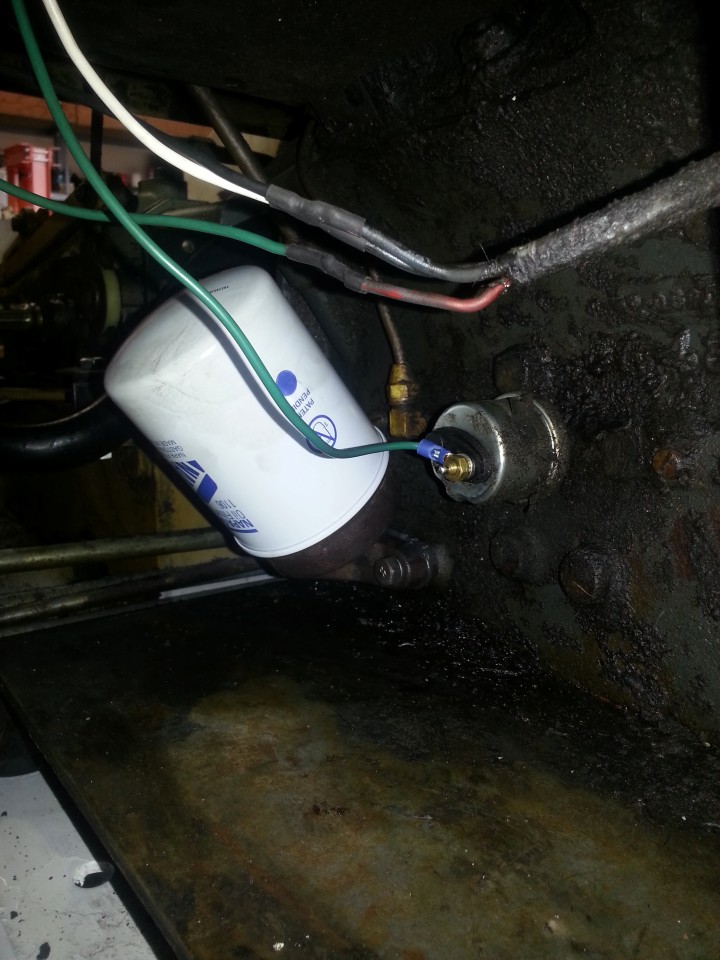
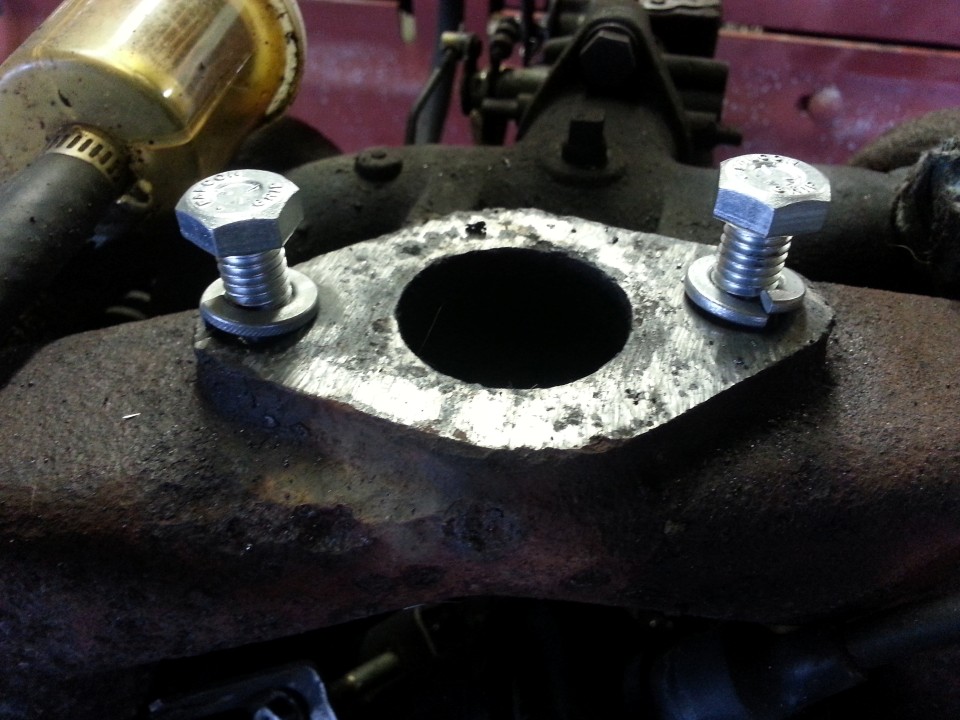
In my manual it speaks of the engine oil filter being located at the back of the engine, easy to access. Mine is not. The oil filter is in the traditional position - inaccessible half way into the engine bay, behind the battery and other knuckle skinning protrusions. I've wanted to get an after market remote oil filter kit, so decided to remove the filter, so that I could remove the housing, to match it. This is what awaited:

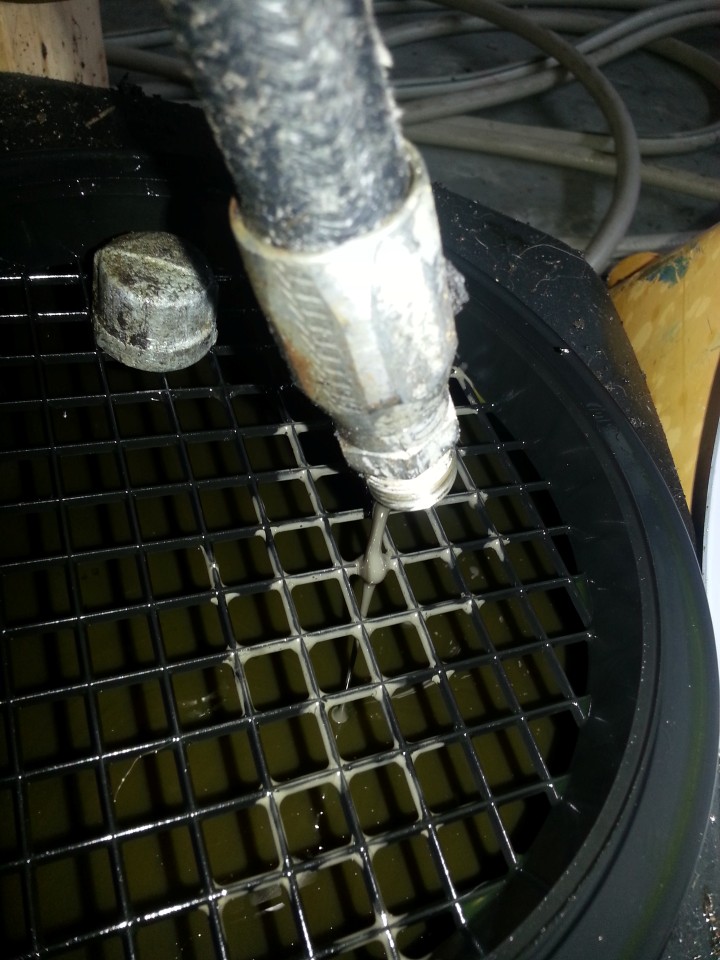
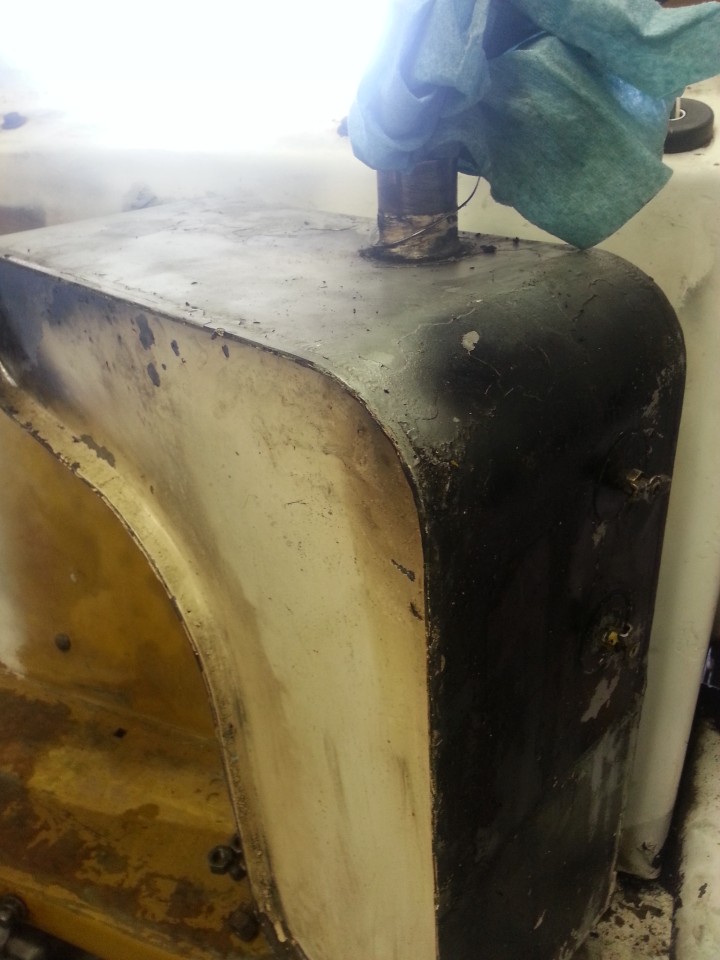
Oil does float - this was after a couple of seconds of water had come out. Mmm, looks like there may be some additional repairs to engines ahead...
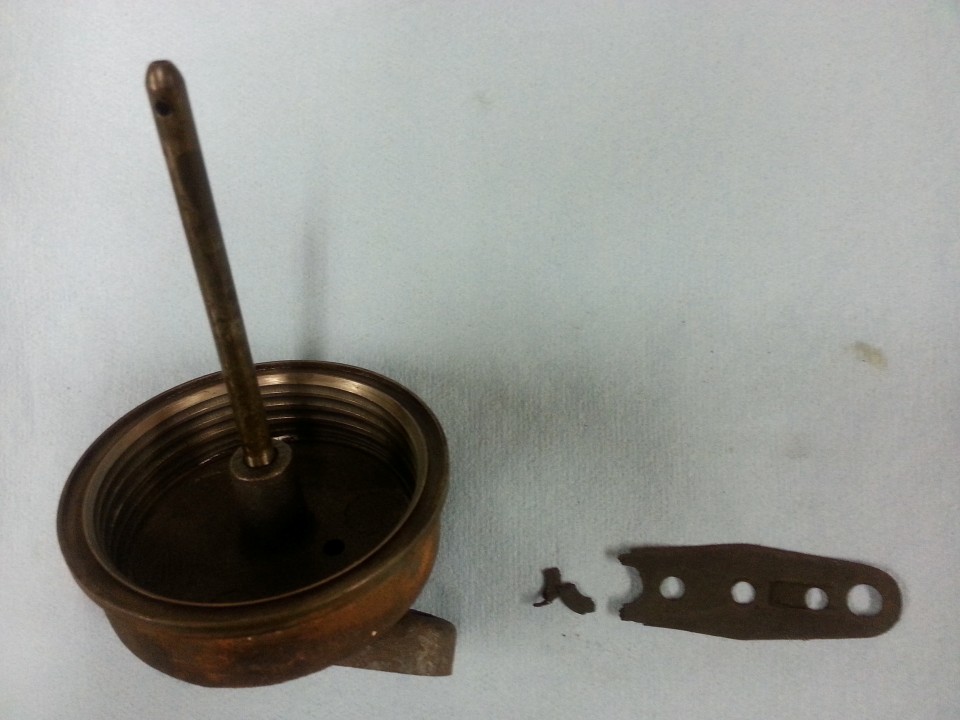
Here is the oil filter holder:
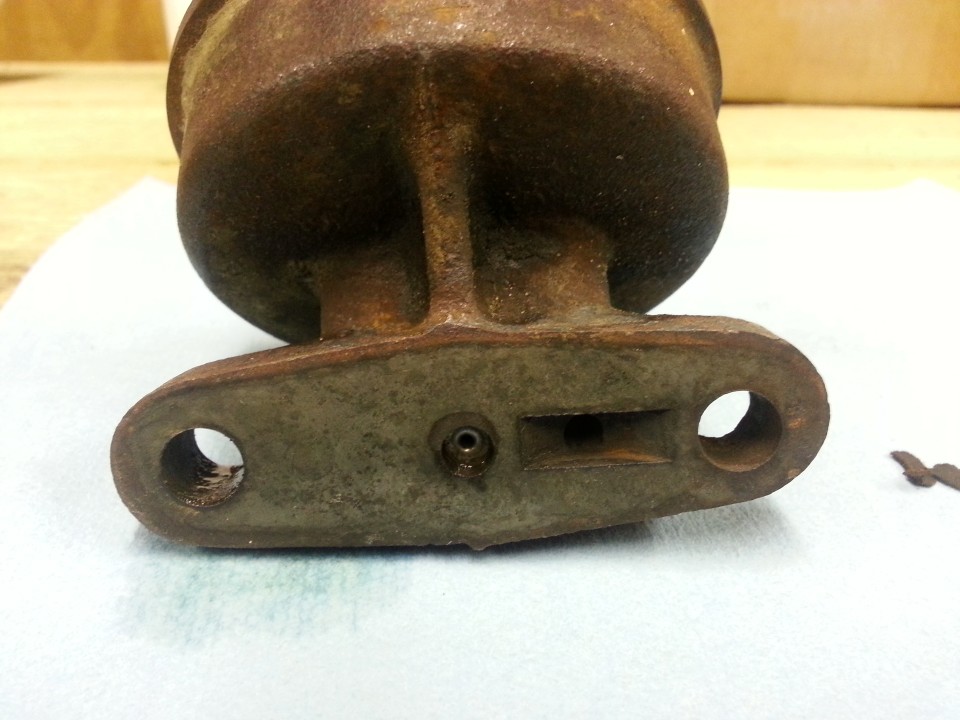
I'll see if I can fab up so type of remote thingy at work.
For anyone interested in the brake setup of a ''Bobcat skidsteer loader, model 630, from 198? with a Wisconsin VH4D with #60 heavy series chains', please see below:
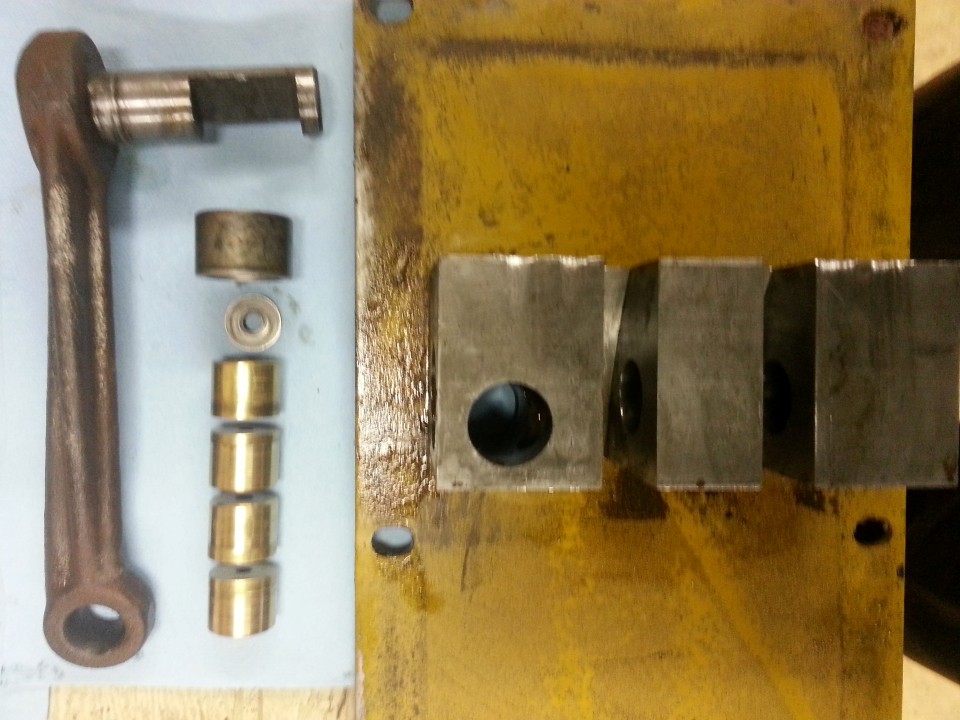
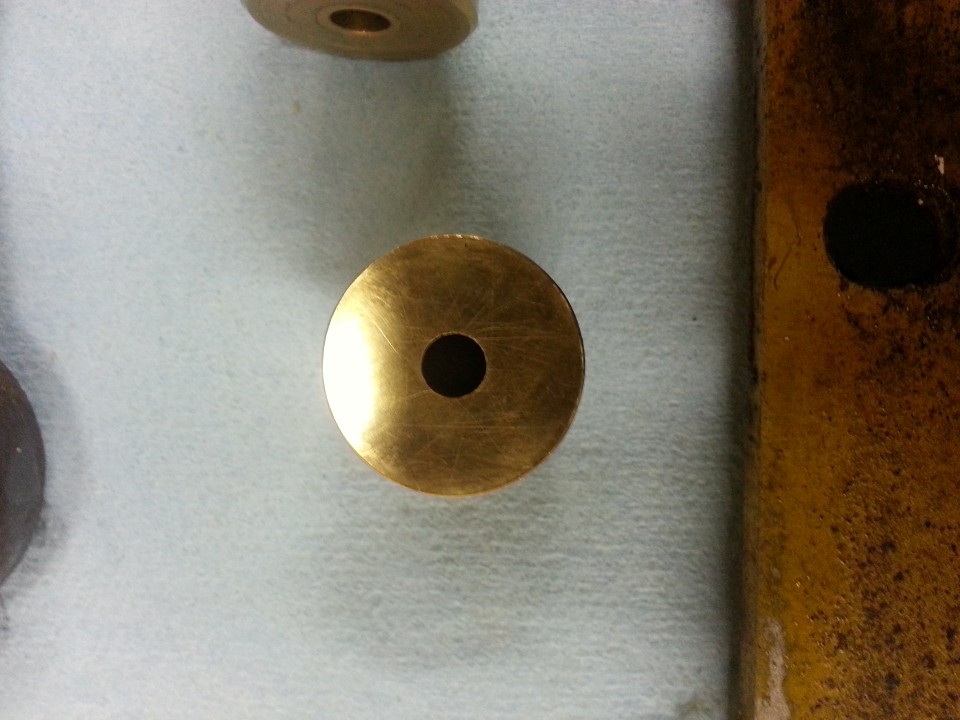
(Sorry for the photo quality). The bottom shoe goes into the caliper housing at the right. I suspect that the spacer is a service item added later.
I assume this is good wear on the shoe (they all look like this and are all within 0.2mm width of each other):
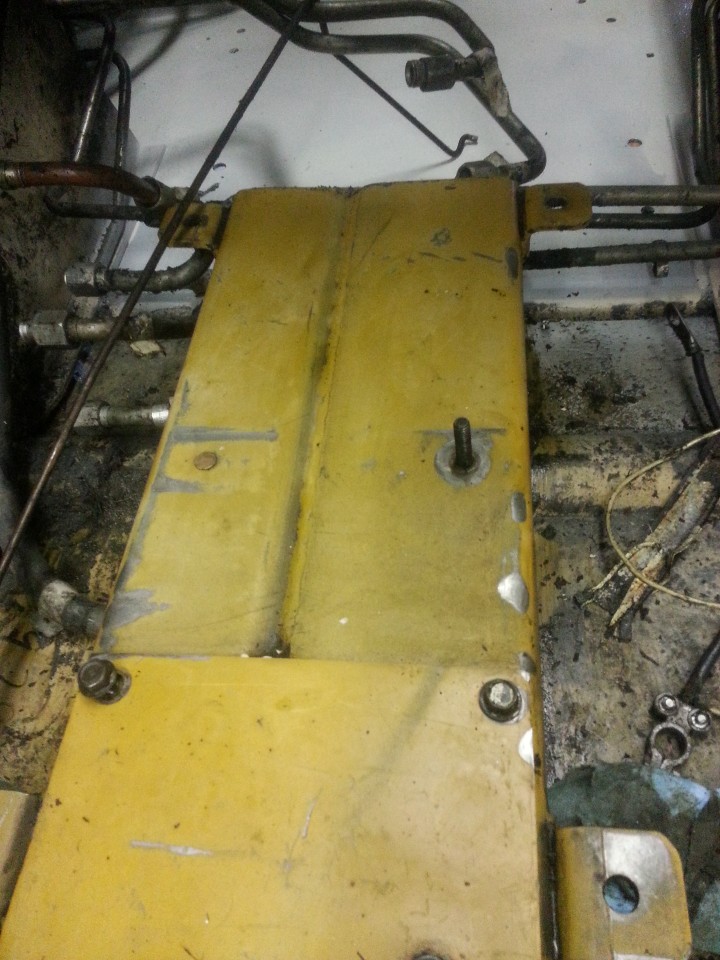
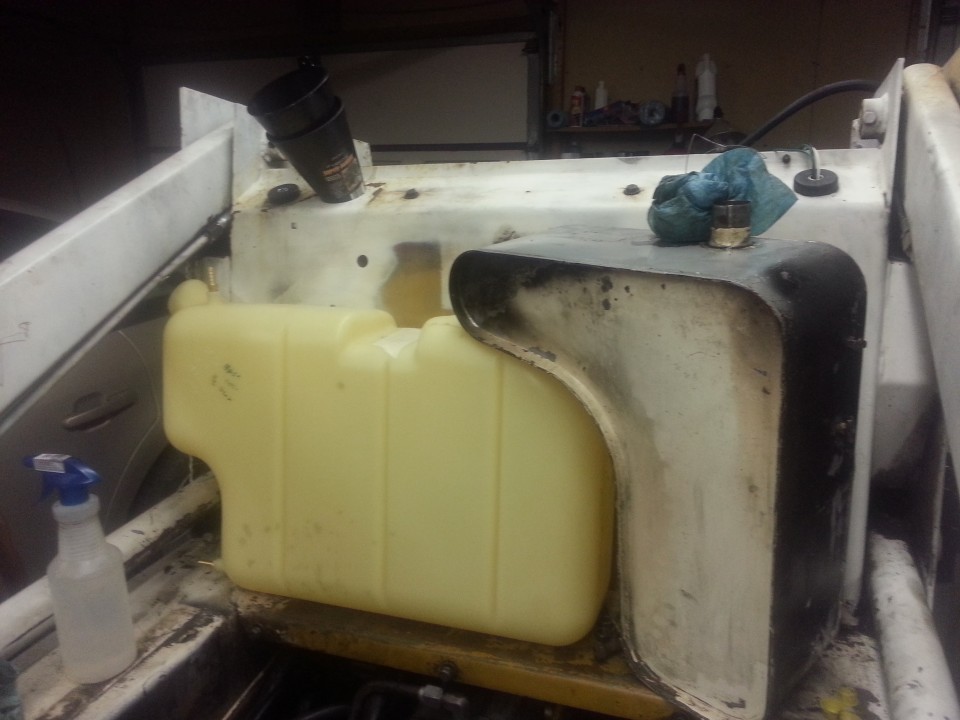
I lubed up everything and re-installed. In the photos below the covers are in place so that I can finish the cleaning without worrying about getting grime into the chain housing. I also don't want to close the thing up finally until the hydraulics have been fully tested:
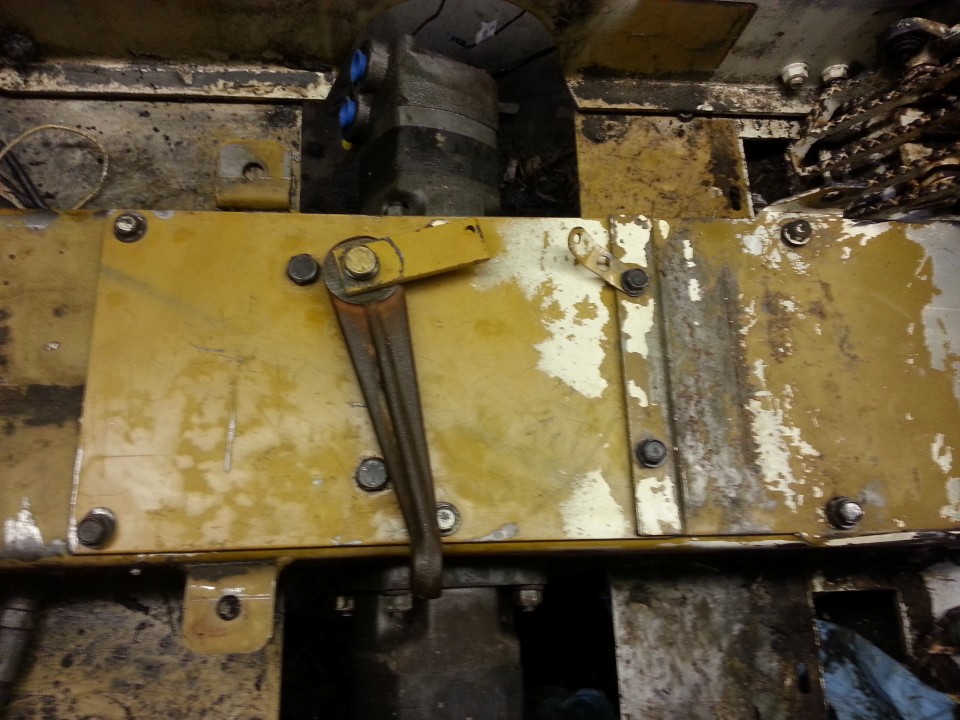
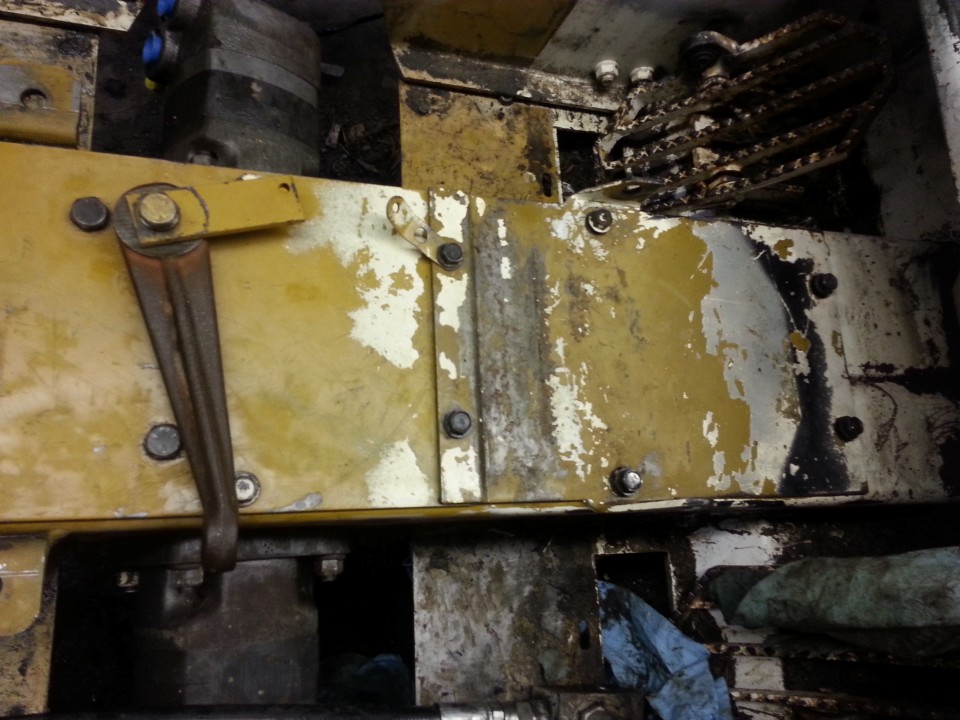
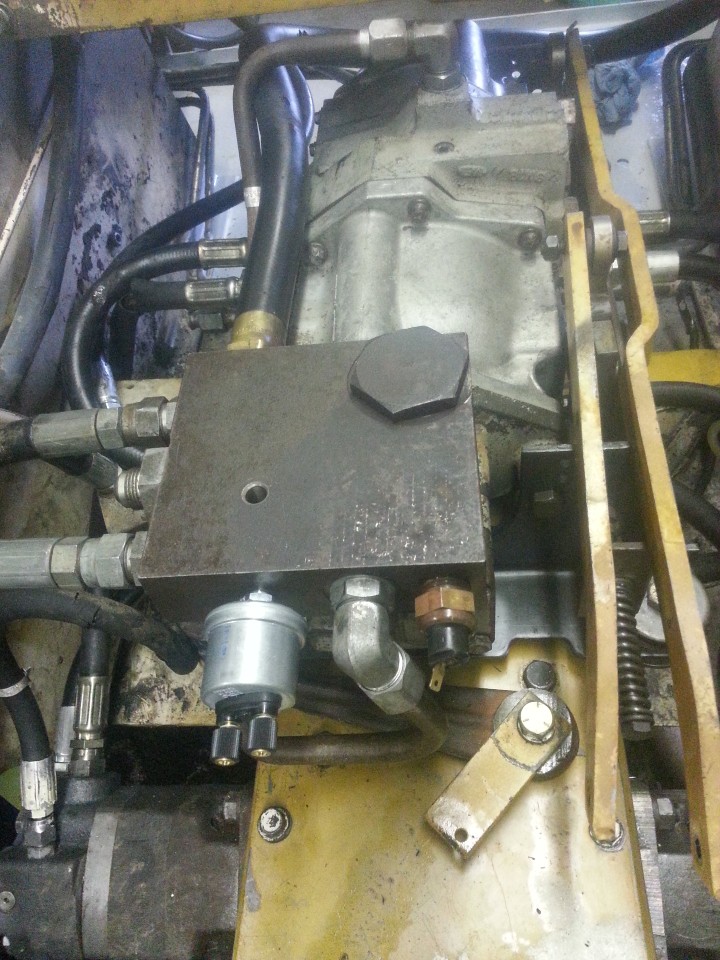
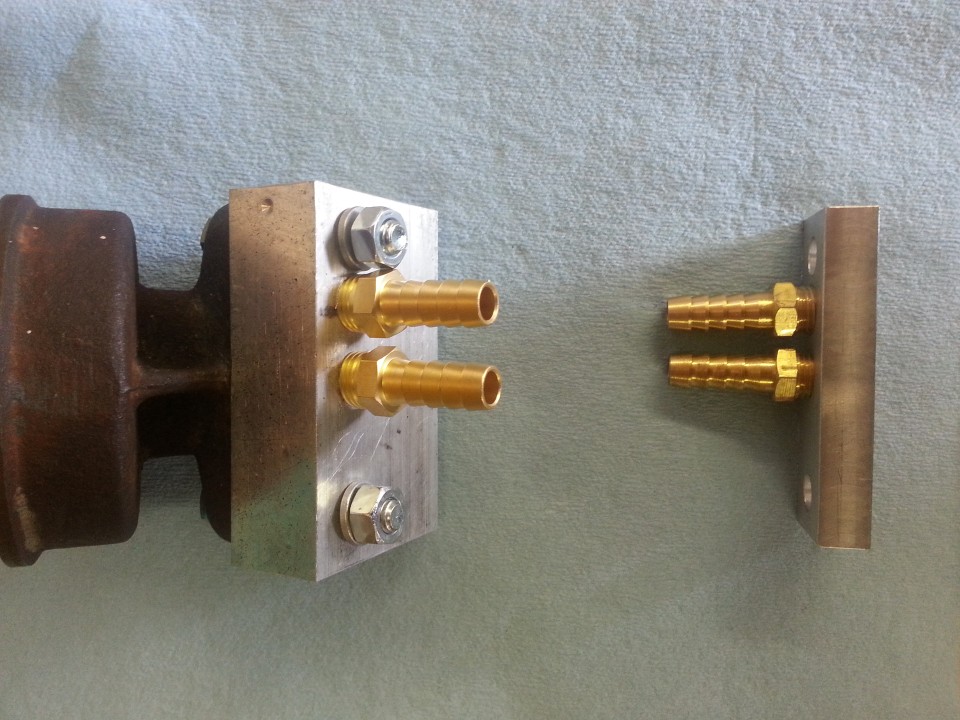
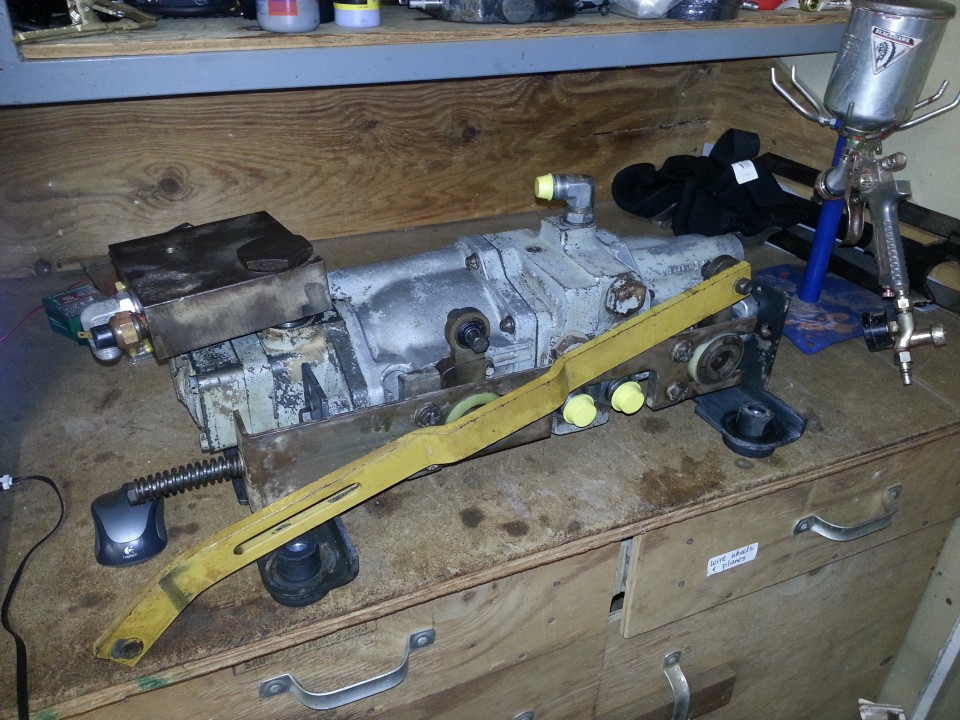
I aslo decided to complete the pump assembly to the state it was before this saga:
The next two weeks are business travel, so I'll use the time to get the spares I need.
More at the end of the month.
")