I have received no answers to some of my previous posts, so hopefully putting them upfront may spark some more knowledgable to help me out:
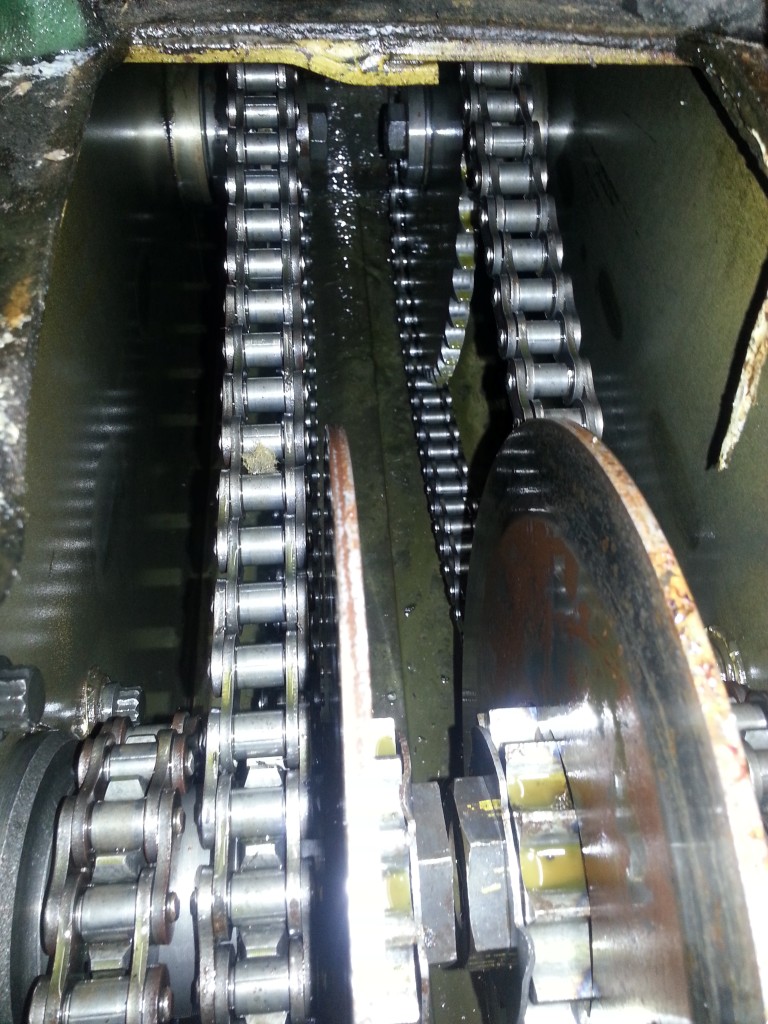
* I have tried to find out the specification for the chain size on my 630. Measuring the links and consulting a couple of sites, I believe it is ANSI 60. Is this correct?
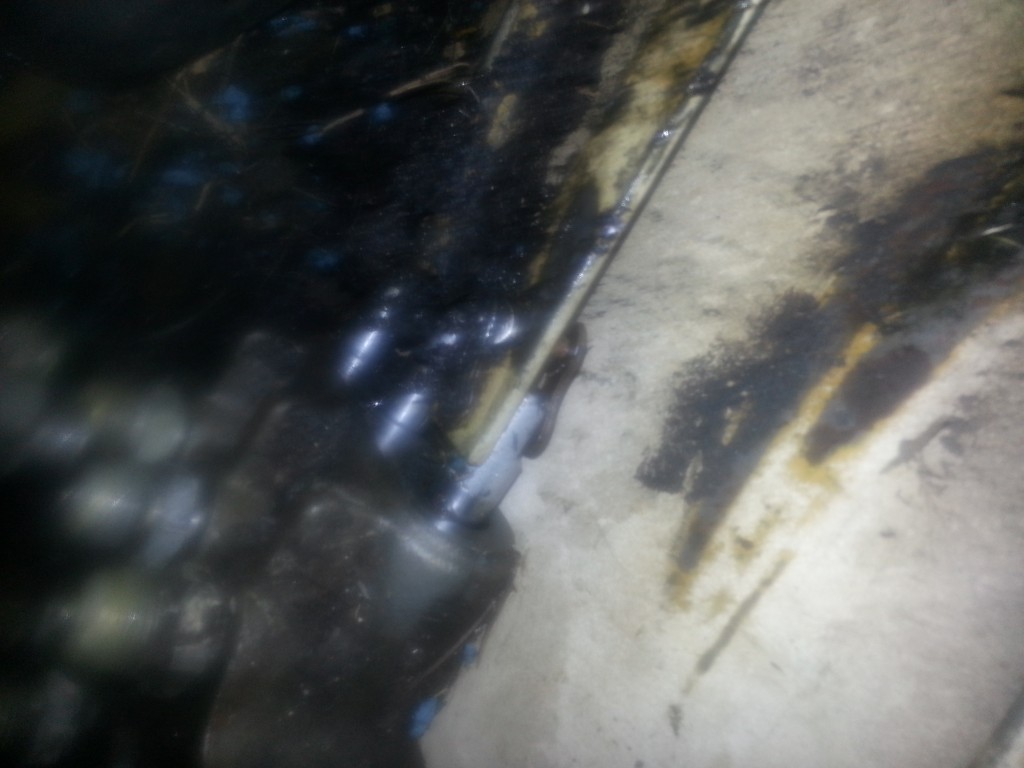
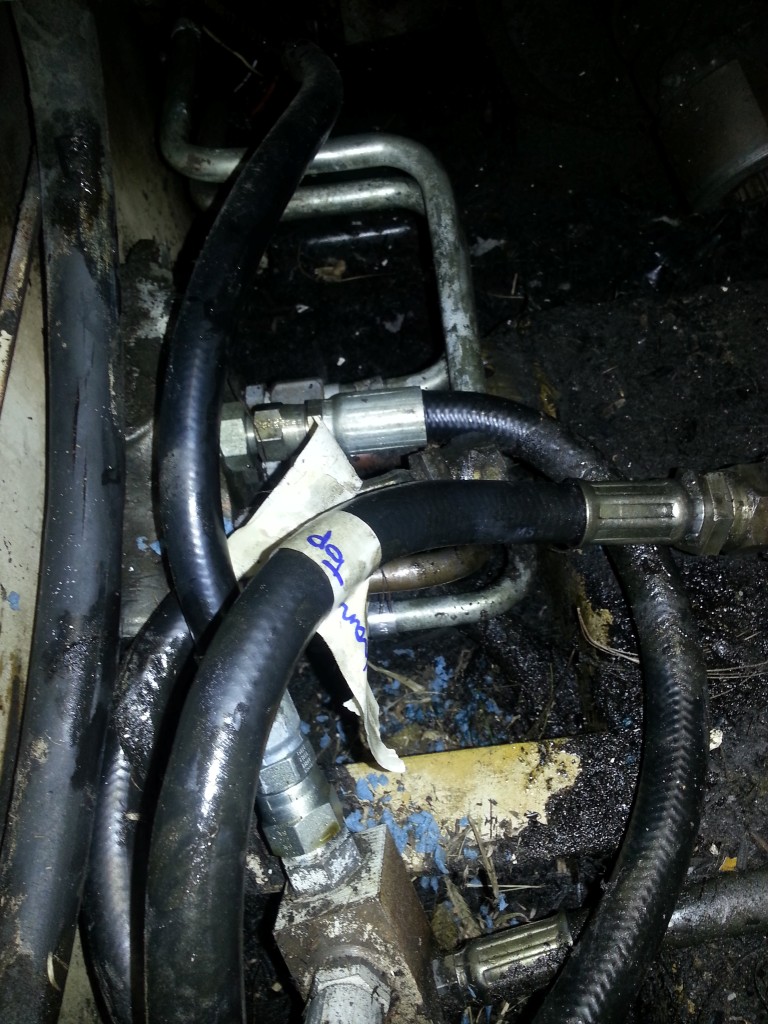
* Please see the last photo, there are a couple of small slits in the "top" hydraulic line. Is this line worth replacing as it seems to be quite dry?
* Should I do the control valve seals as well? It is not a cost issue (I've read that the cost is about $15, it is the aggravation).
31 Dec 2012
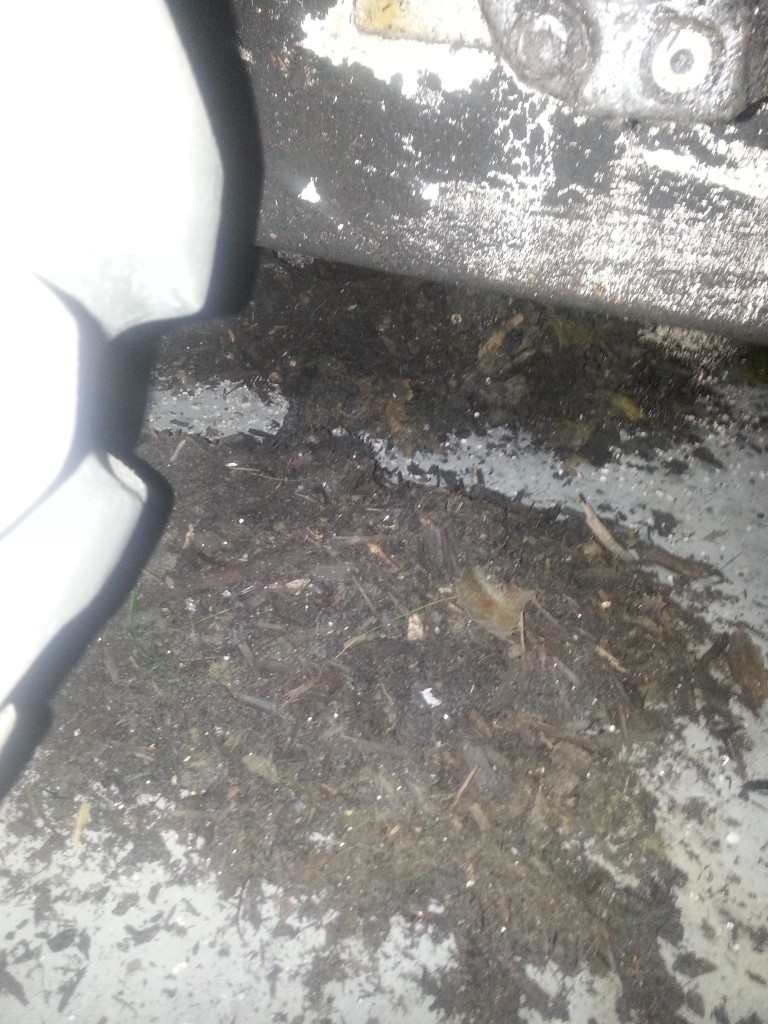
I needed to drain the chaincase oil (obviously). Reading another forum, one very ingenious poster came up with the Suck Bucket. 40 litres of sharky oil later:
Clearly the sludge is equal opportunity (the rear of the case):
Clearly there is some unpleasant work ahead of me cleaning gunge.
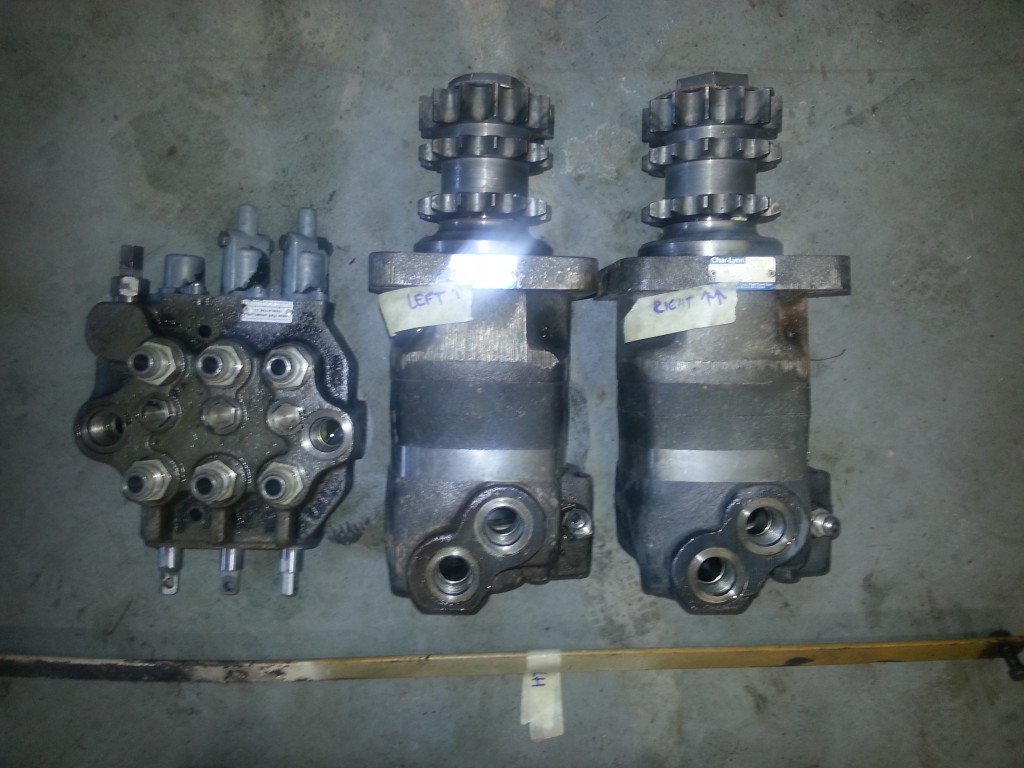
I decided to rip the pump as reading some other posts it seemed likely that this needed some new seals. Note to others: take the manual's advice and do this with a chain block. I can barely lift this with one arm and so maneuvering this out of the confines of a (very) difficult to work on Bobcat is not pleasant. Combined with a very sticky coupling caused some choice words to be exchanged with the rafters.
After the choas, my little pipe-marking helper appeared (and provided a pretty handy visual scale: 1/2 height average Homo Sapiens Female Age 12 years = 1 Bobcat 630 hydraulic pump stack [both in height and probably more weight for the pump]):
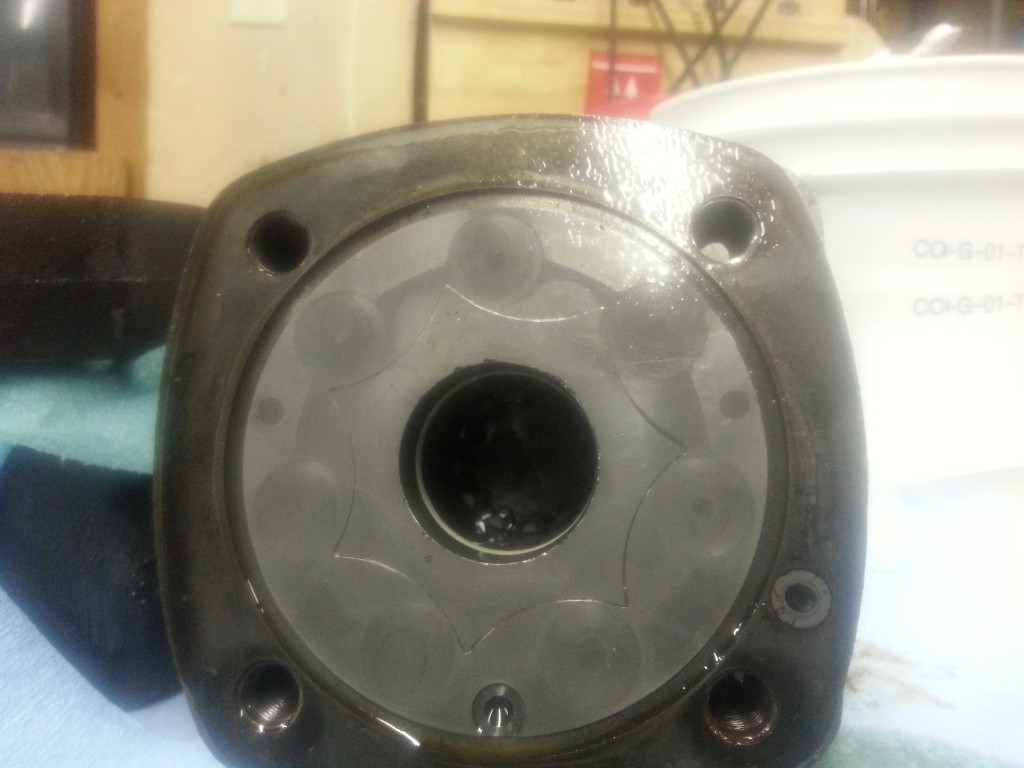
For reference, I decided to subdue the coupler by taking a photo of it (it can never hide away in the darkness pretending to be more complex than it really is and wait for unsuspecting newbie's like me again):
Here the little beast's pintle setup (notice the plastic slide on the front ring is missing the retainer - I found the plastic spacer in the mulch between the motor and the pump):
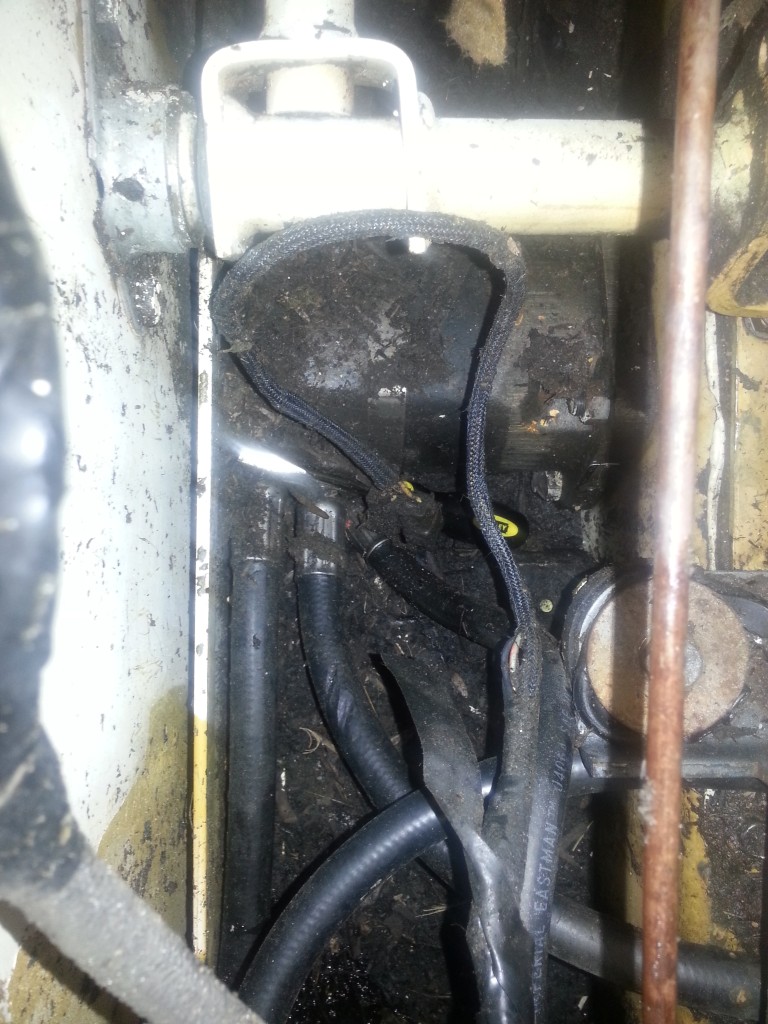
So, now the final shot for the day (my arms are so sore I couldn't lift the camera for more anyway):
So now I'm waiting for the chain splitter, the master link, the seal kits, the new brass filter, and probably 20 different Torx sockets to get the correct one to remove the motors

")
")
")
")
")
")
")
")