Hello

Skidsteer Forum - Bobcat, New Holland, Case, John Deere

Help Support Skidsteer:

Im assuming the wires were spliced together and bypassed that resistor??? Is that good or bad and can one be replaced if bad?
I would agree going electronic is the way to go today. But just to get it going the resistor is not required. It's purpose is to save the points. It would be bypassed to give full voltage to the points when starting then go through the resistor when running to make the points last. Many, many years ago I had a '55 Chevy truck with a 235 in it. To this day, the sweetest running engine I've ever owned.......unless I put a resistor on it. Then it wouldn't start. I got to where I could change the points on the side of the road in total darkness. By the time I figured out my mistake (no bypass) I had learned to keep spare points in the glovebox. Points were less than $2 at the time. Probably 10 times that today. If you decide to keep the current ignition system and need a new resistor; Mopars used that style resistor.
 
I would agree going electronic is the way to go today. But just to get it going the resistor is not required. It's purpose is to save the points. It would be bypassed to give full voltage to the points when starting then go through the resistor when running to make the points last. Many, many years ago I had a '55 Chevy truck with a 235 in it. To this day, the sweetest running engine I've ever owned.......unless I put a resistor on it. Then it wouldn't start. I got to where I could change the points on the side of the road in total darkness. By the time I figured out my mistake (no bypass) I had learned to keep spare points in the glovebox. Points were less than $2 at the time. Probably 10 times that today. If you decide to keep the current ignition system and need a new resistor; Mopars used that style resistor.
I had a few vehicles with points, the worst was my 72 Honda CB350, it never stayed in time, wouldnt run in the slightest humidity. I used a bulb with alligator clips to time it while rotating the backing plate.... such a pita to constantly adjust them. I just want to get this machine running now and upgrade later ( actually looked at a Honda direct swap engine last night $1000 and just need the "door" extended 4" to clear the motor... but I dont have a lot of $$$ to throw around.
 
That appears to be the starter solenoid. The points would be inside the distributor under the cap. I have an Onan engine from a 444 Bobcat out back. I will try to investigate and get back to you later.
I found that the cover is missing from the points... found a complete replacement from plate to cover on ebay.
 
I found that the cover is missing from the points... found a complete replacement from plate to cover on ebay.
Yes; after I got zoomed in and looked from a new perspective those are indeed the points! When I first looked at it I thought it looked like the starter switch they used when you had to step on a "button" on the floor. Glad you found what you are needing.
 
As an Amazon Associate we earn from qualifying purchases. Product prices and availability are accurate as of the date/time indicated and are subject to change.
Seems we are all misidentifying things on this thread. But we'll get there. I'm ready to hear this Ole' gal run!
Me 3....LOL I did post a vid of it cranking but never really hit other than a few sputters and puffs here and there before I got it home. I just siphoned about 15 gallons of old gas out of it, no smells really and clean/clear, no debris in the tank.
 

shankatank58 thank you for correcting my goof.... distributor not condenser​

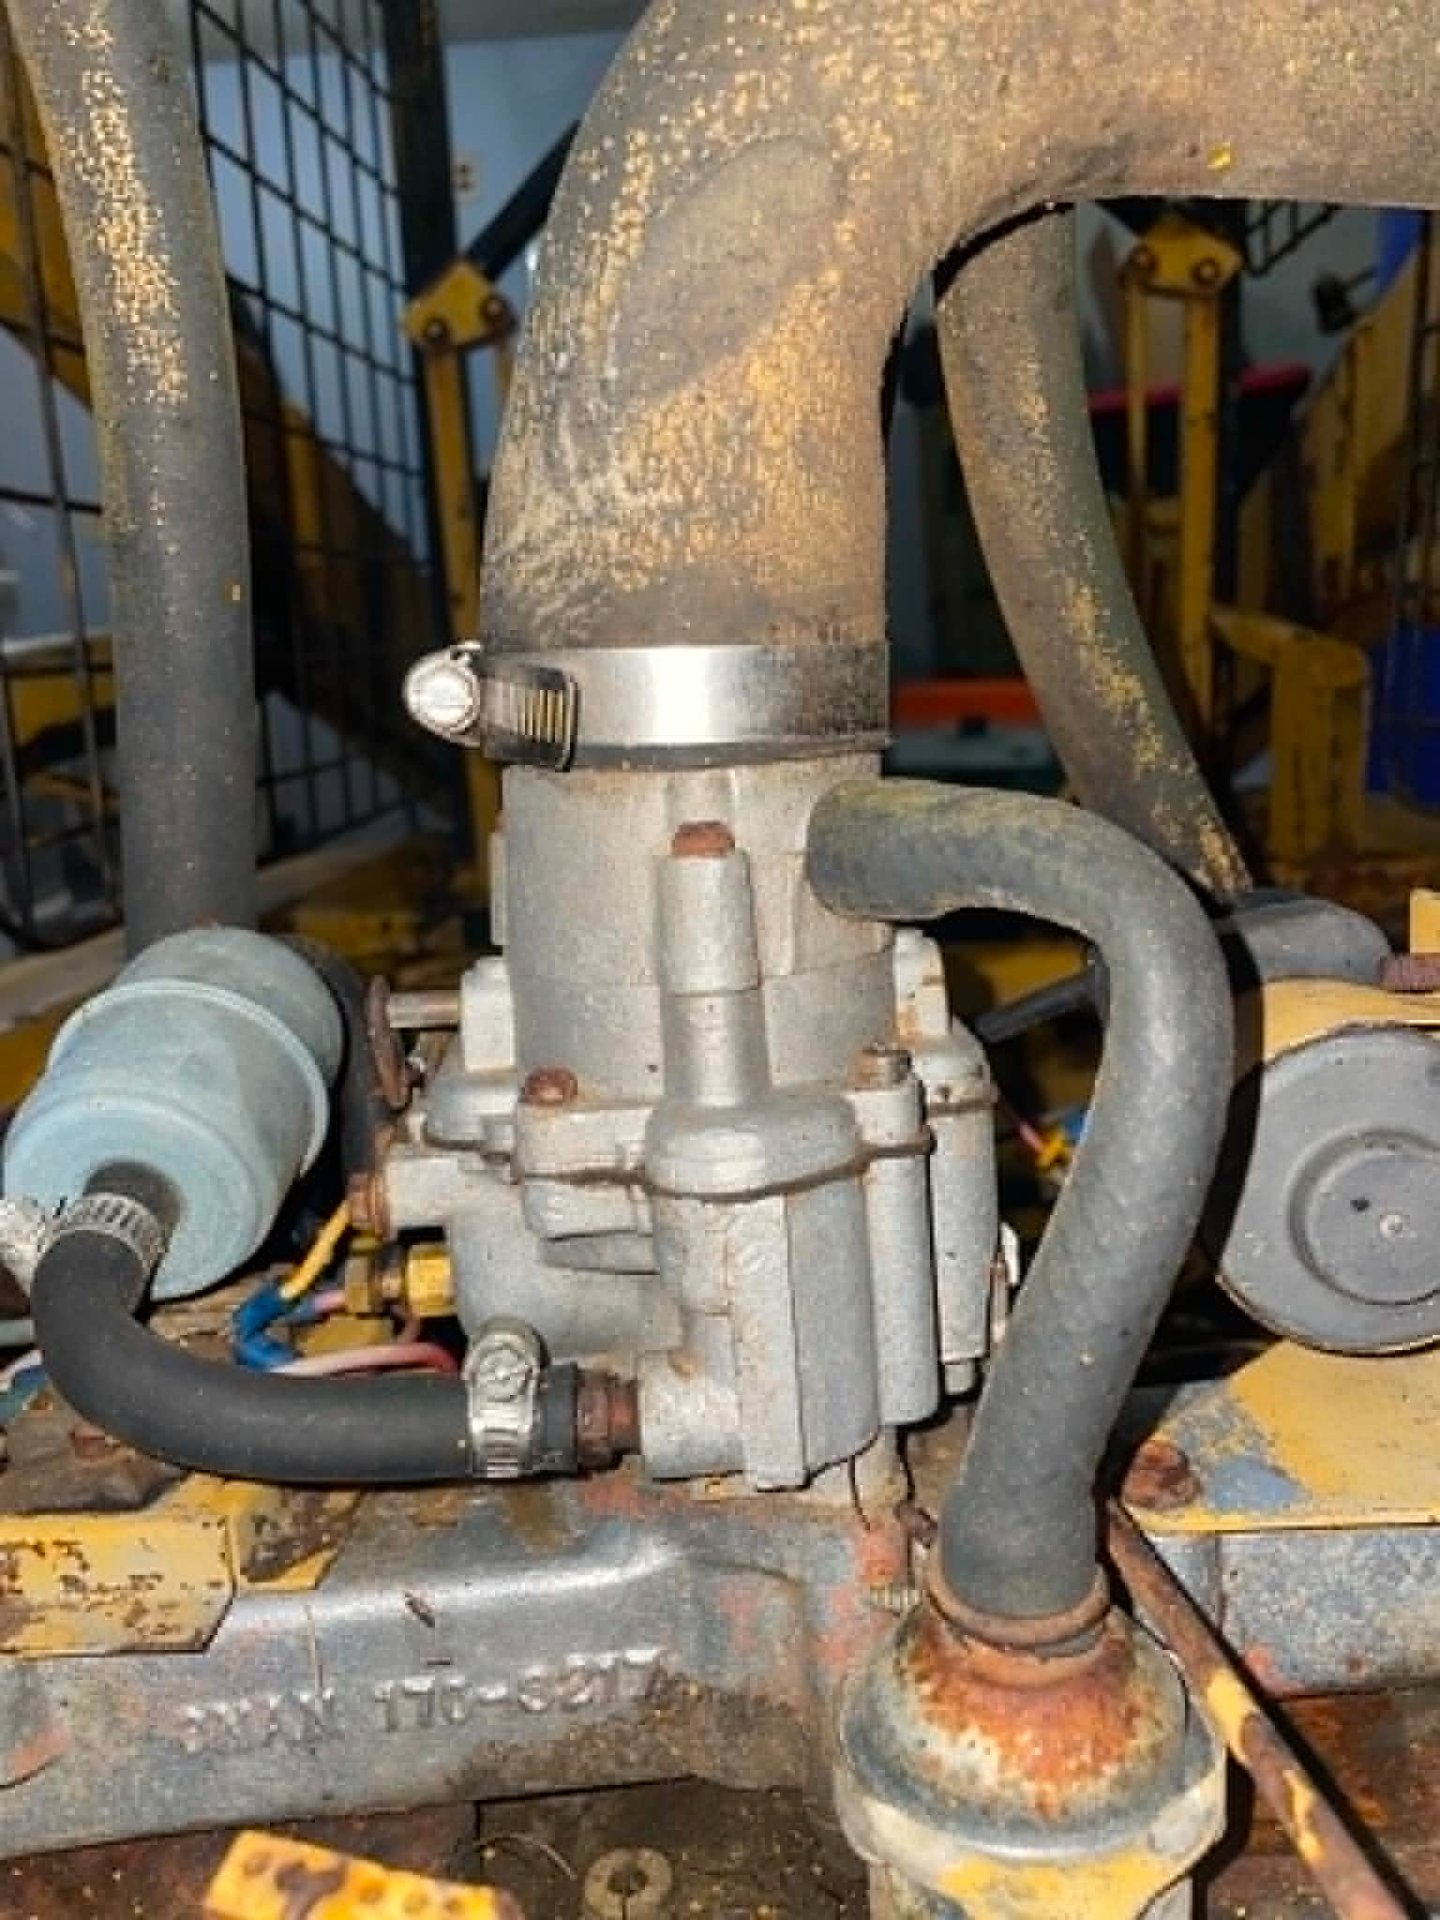
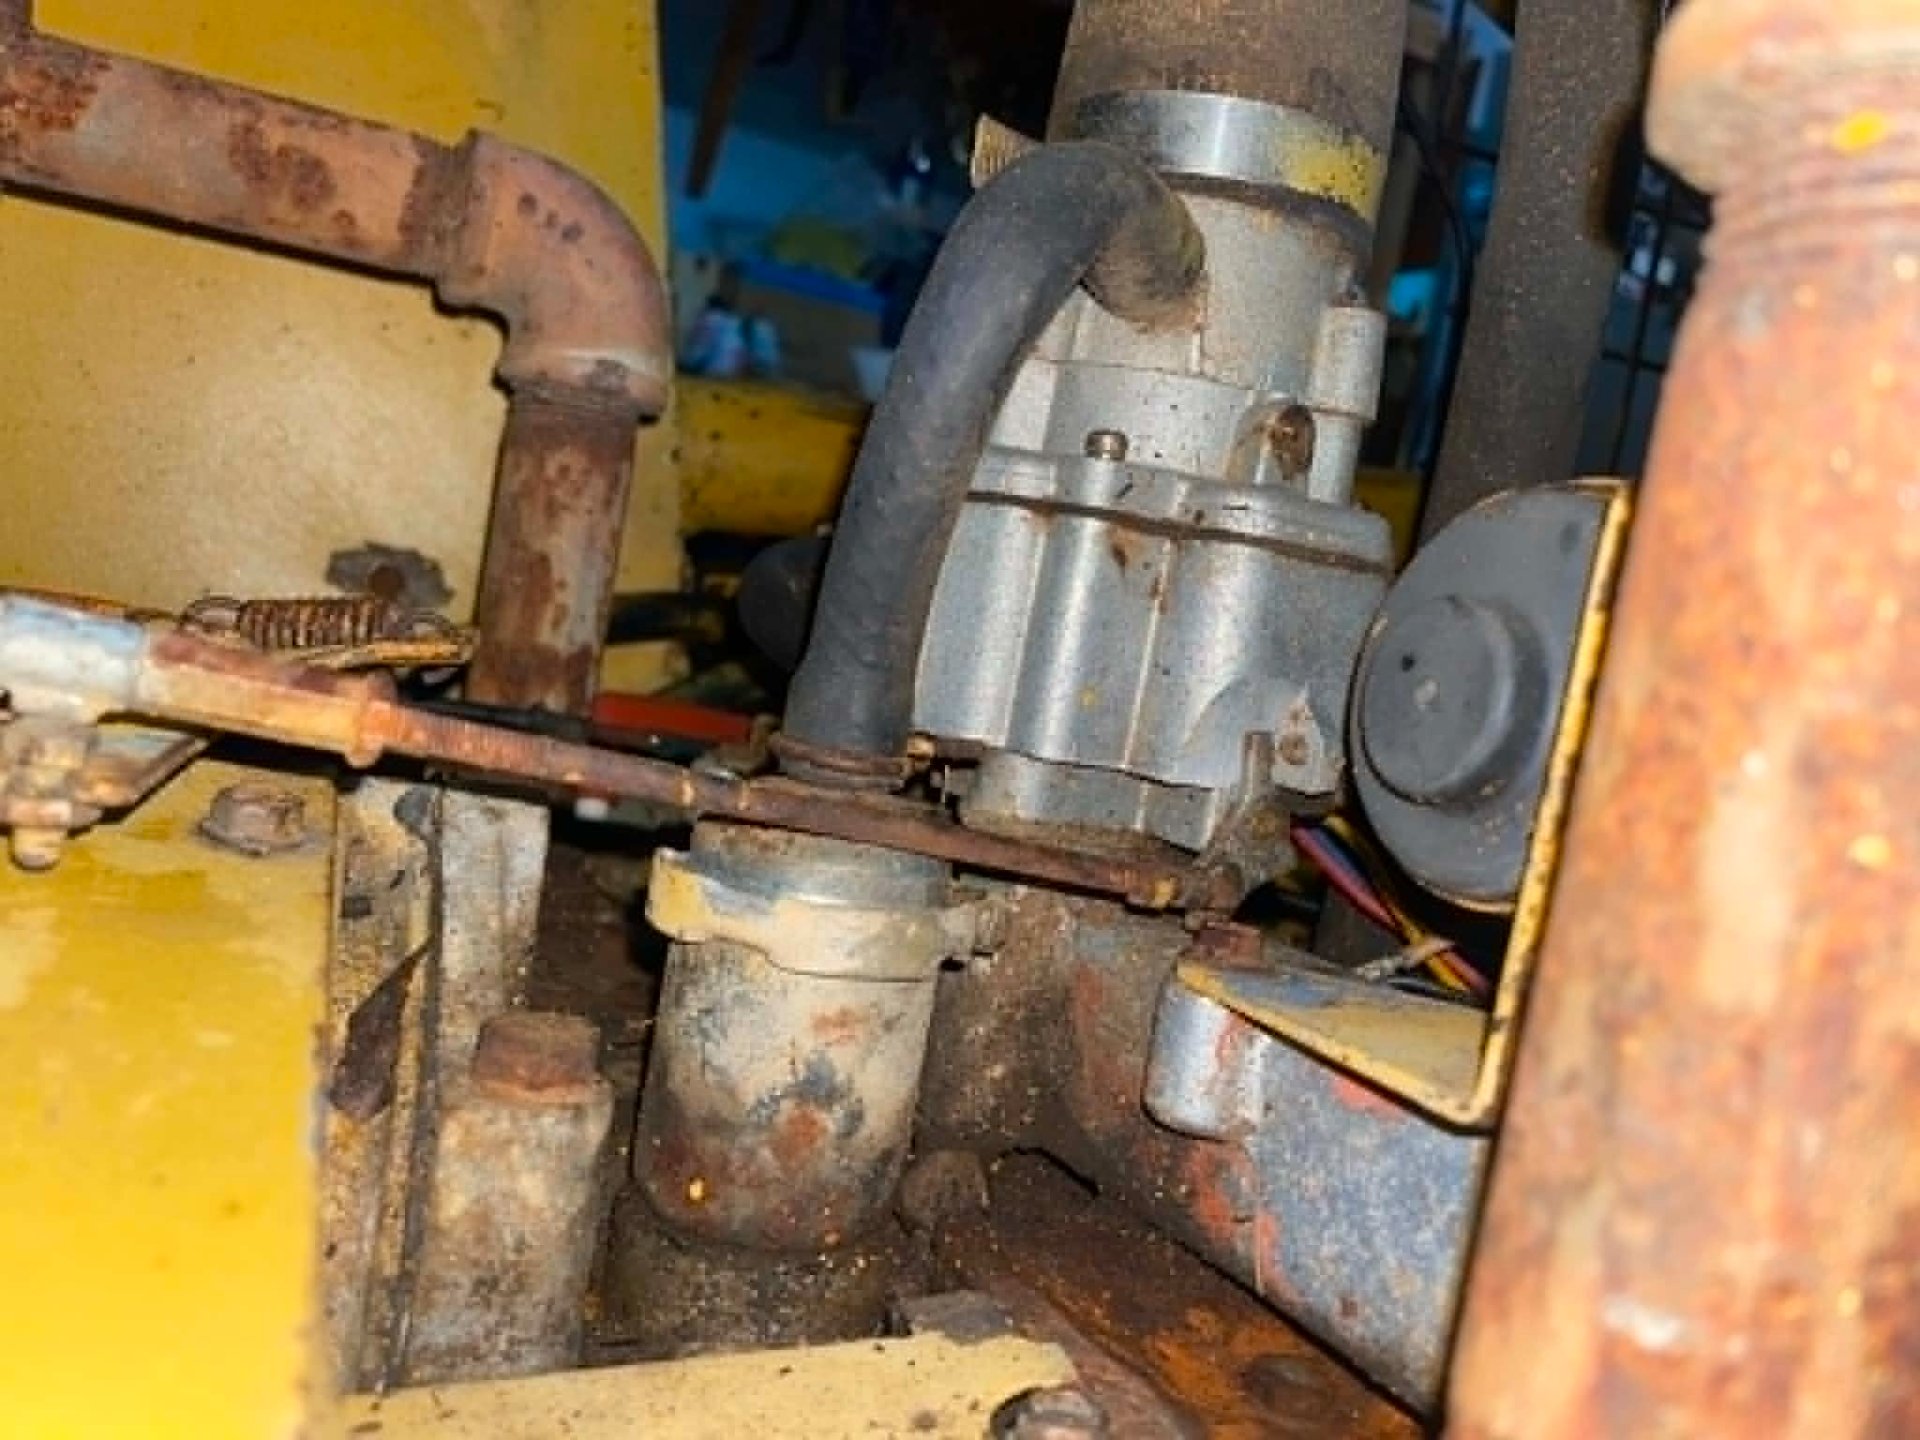
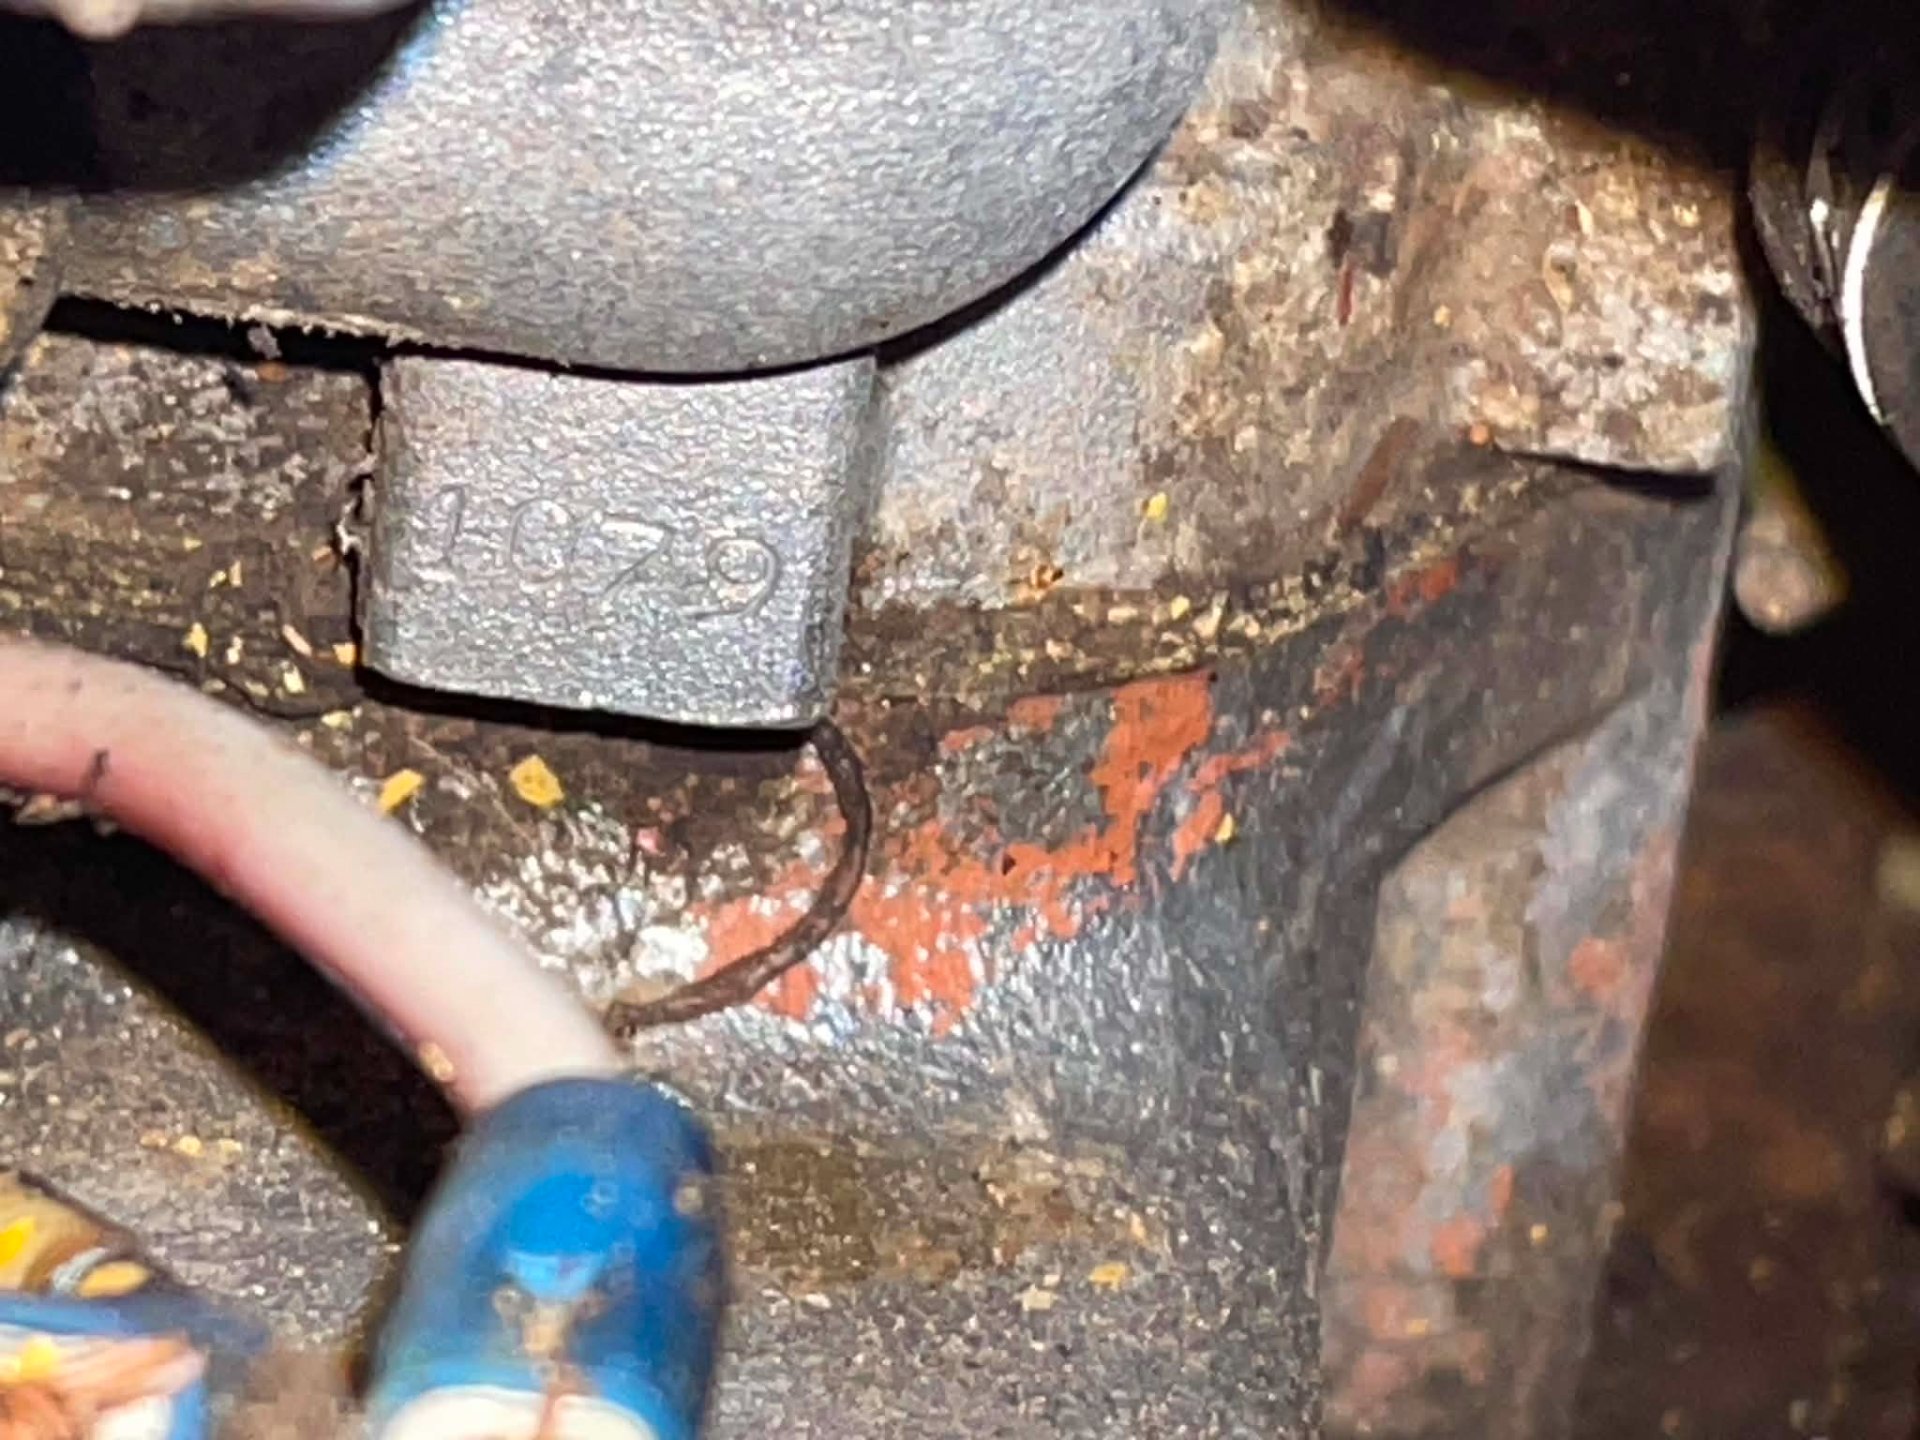
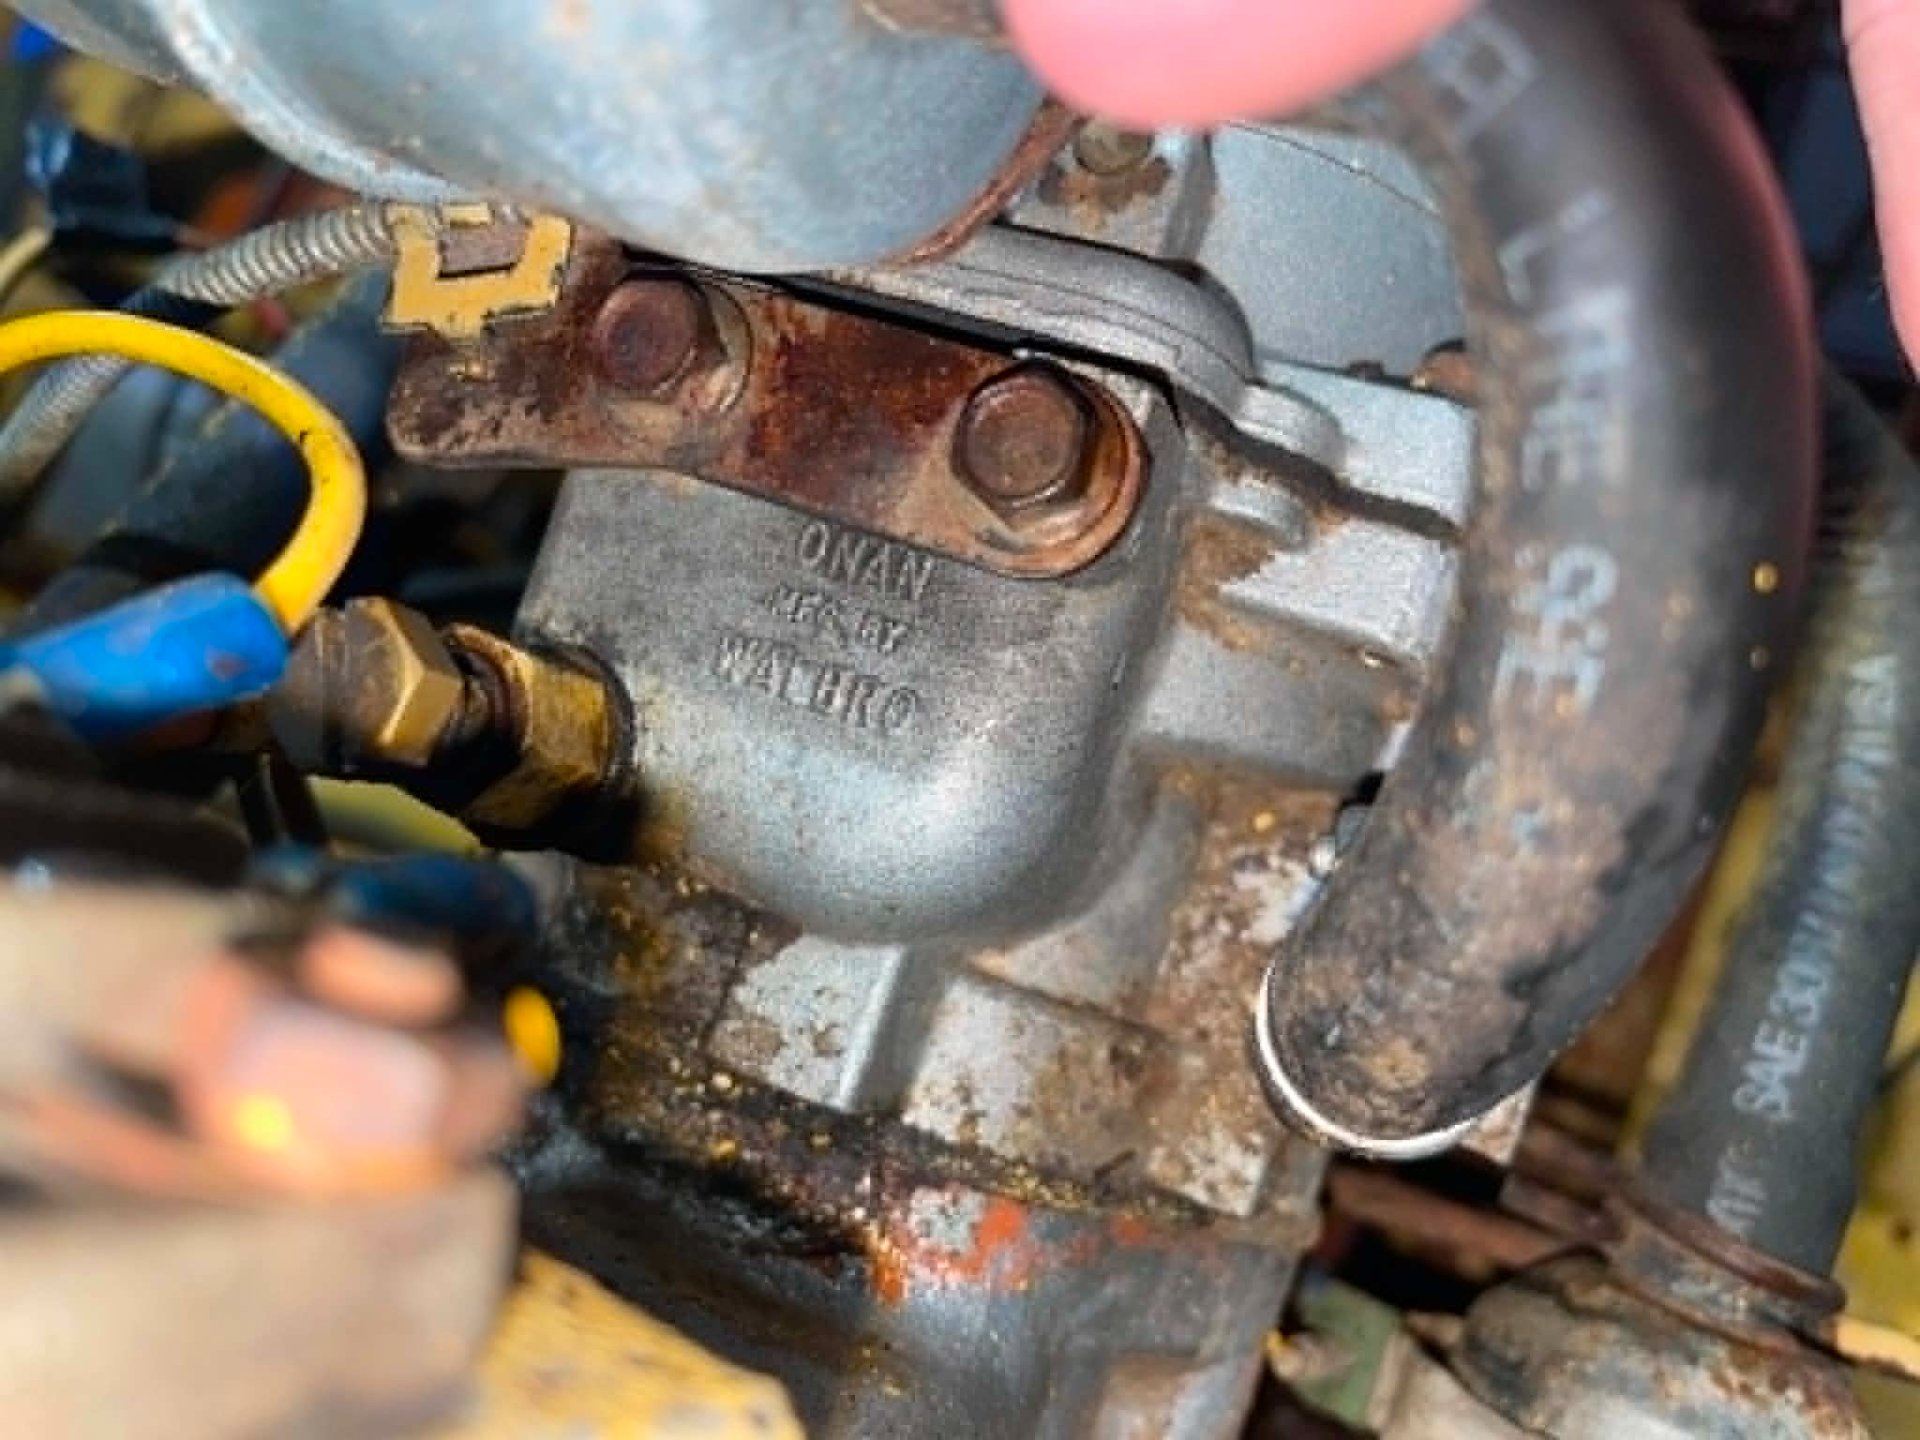
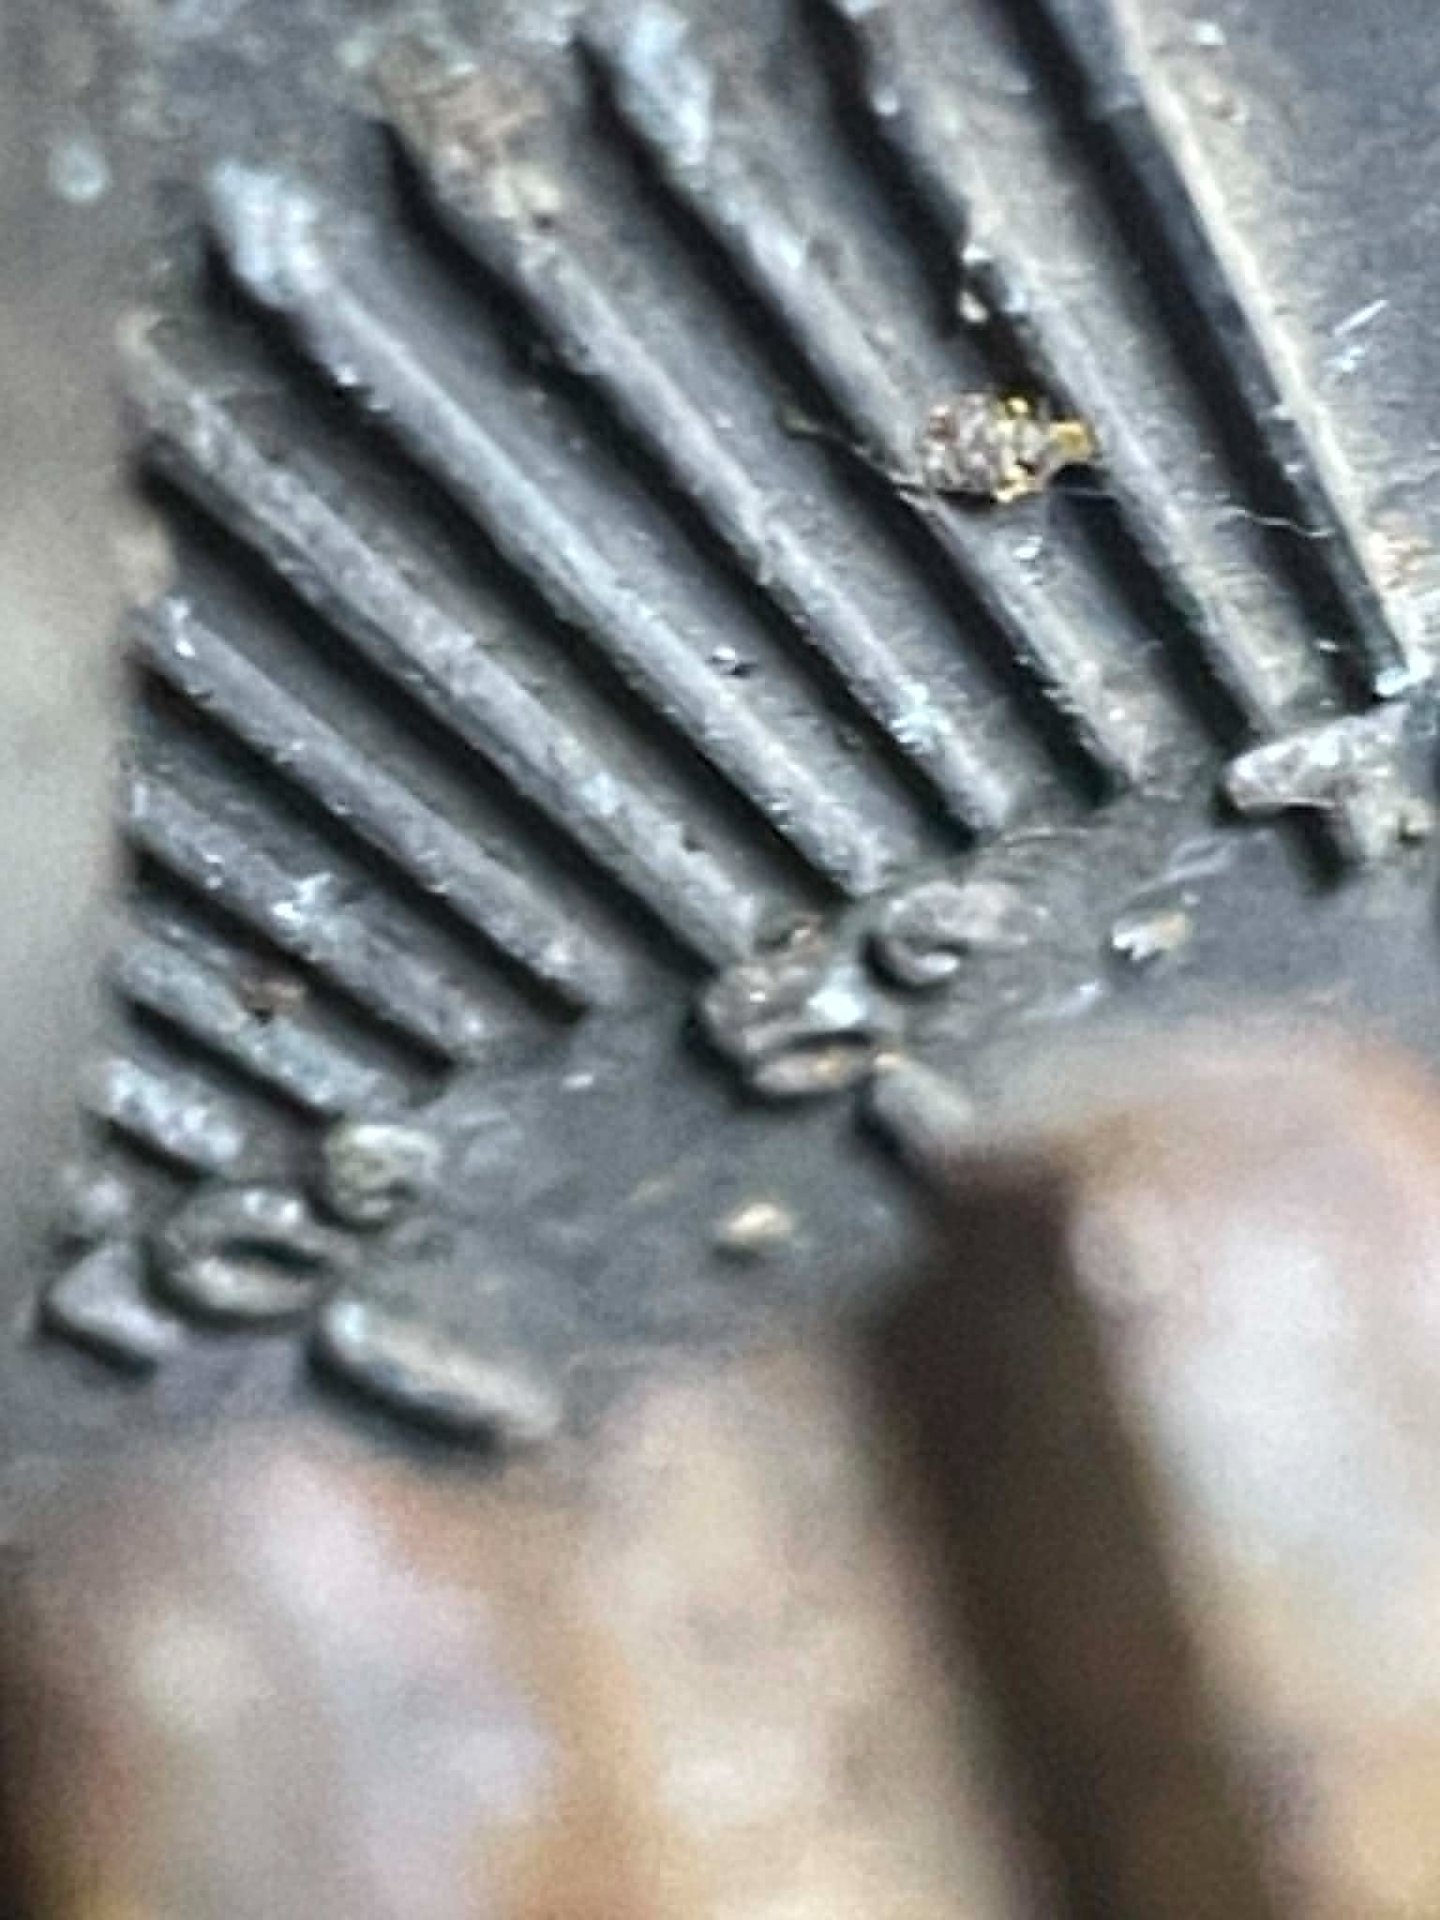
I dont see a Distributor ? Just points/condensor leading up to the spark coil with 2 plug wires going to the spark plugs? Anyways, I am trying to identify the carb for a rebuild kit. It is embossed Onan Mfg by Walbro with a number stamped on a pad below that 1079... I cant find anything not even the exact carb anywhere ?
 

Attachments

  • c4257352-018a-4364-88ff-fa6f28b57406.jpg
    c4257352-018a-4364-88ff-fa6f28b57406.jpg
    393.2 KB
  • 07baa1cb-7423-42cf-9925-66e06713b8e3.jpg
    07baa1cb-7423-42cf-9925-66e06713b8e3.jpg
    328.4 KB
  • 6be6586d-9643-4469-bfdd-22e8dae0d678.jpg
    6be6586d-9643-4469-bfdd-22e8dae0d678.jpg
    392.4 KB
  • 660fe710-0b98-48e6-8709-3613806328bf.jpg
    660fe710-0b98-48e6-8709-3613806328bf.jpg
    321.4 KB
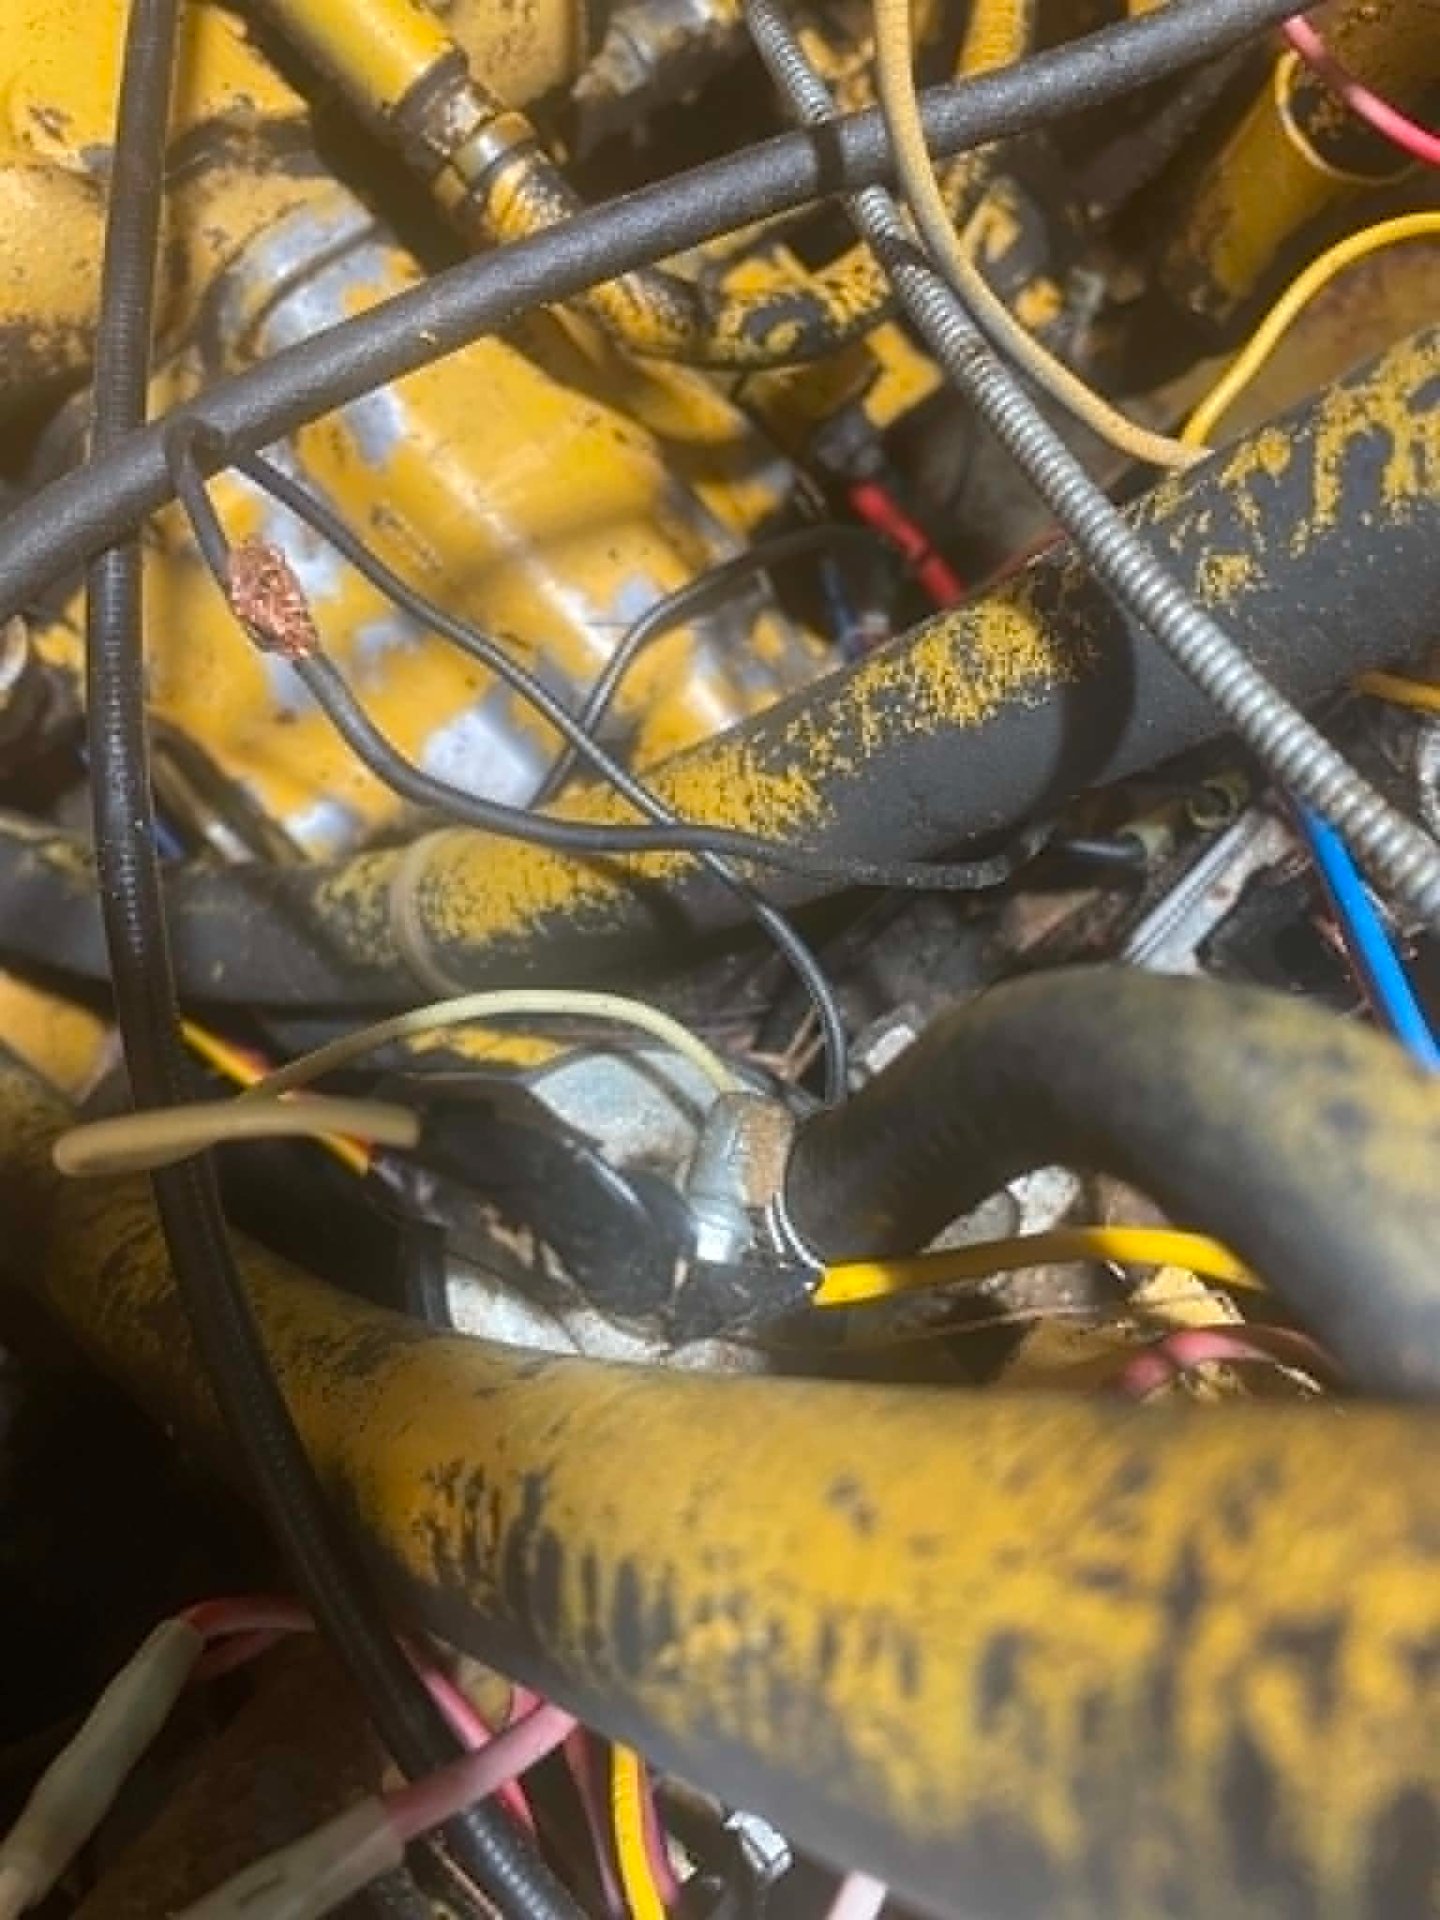
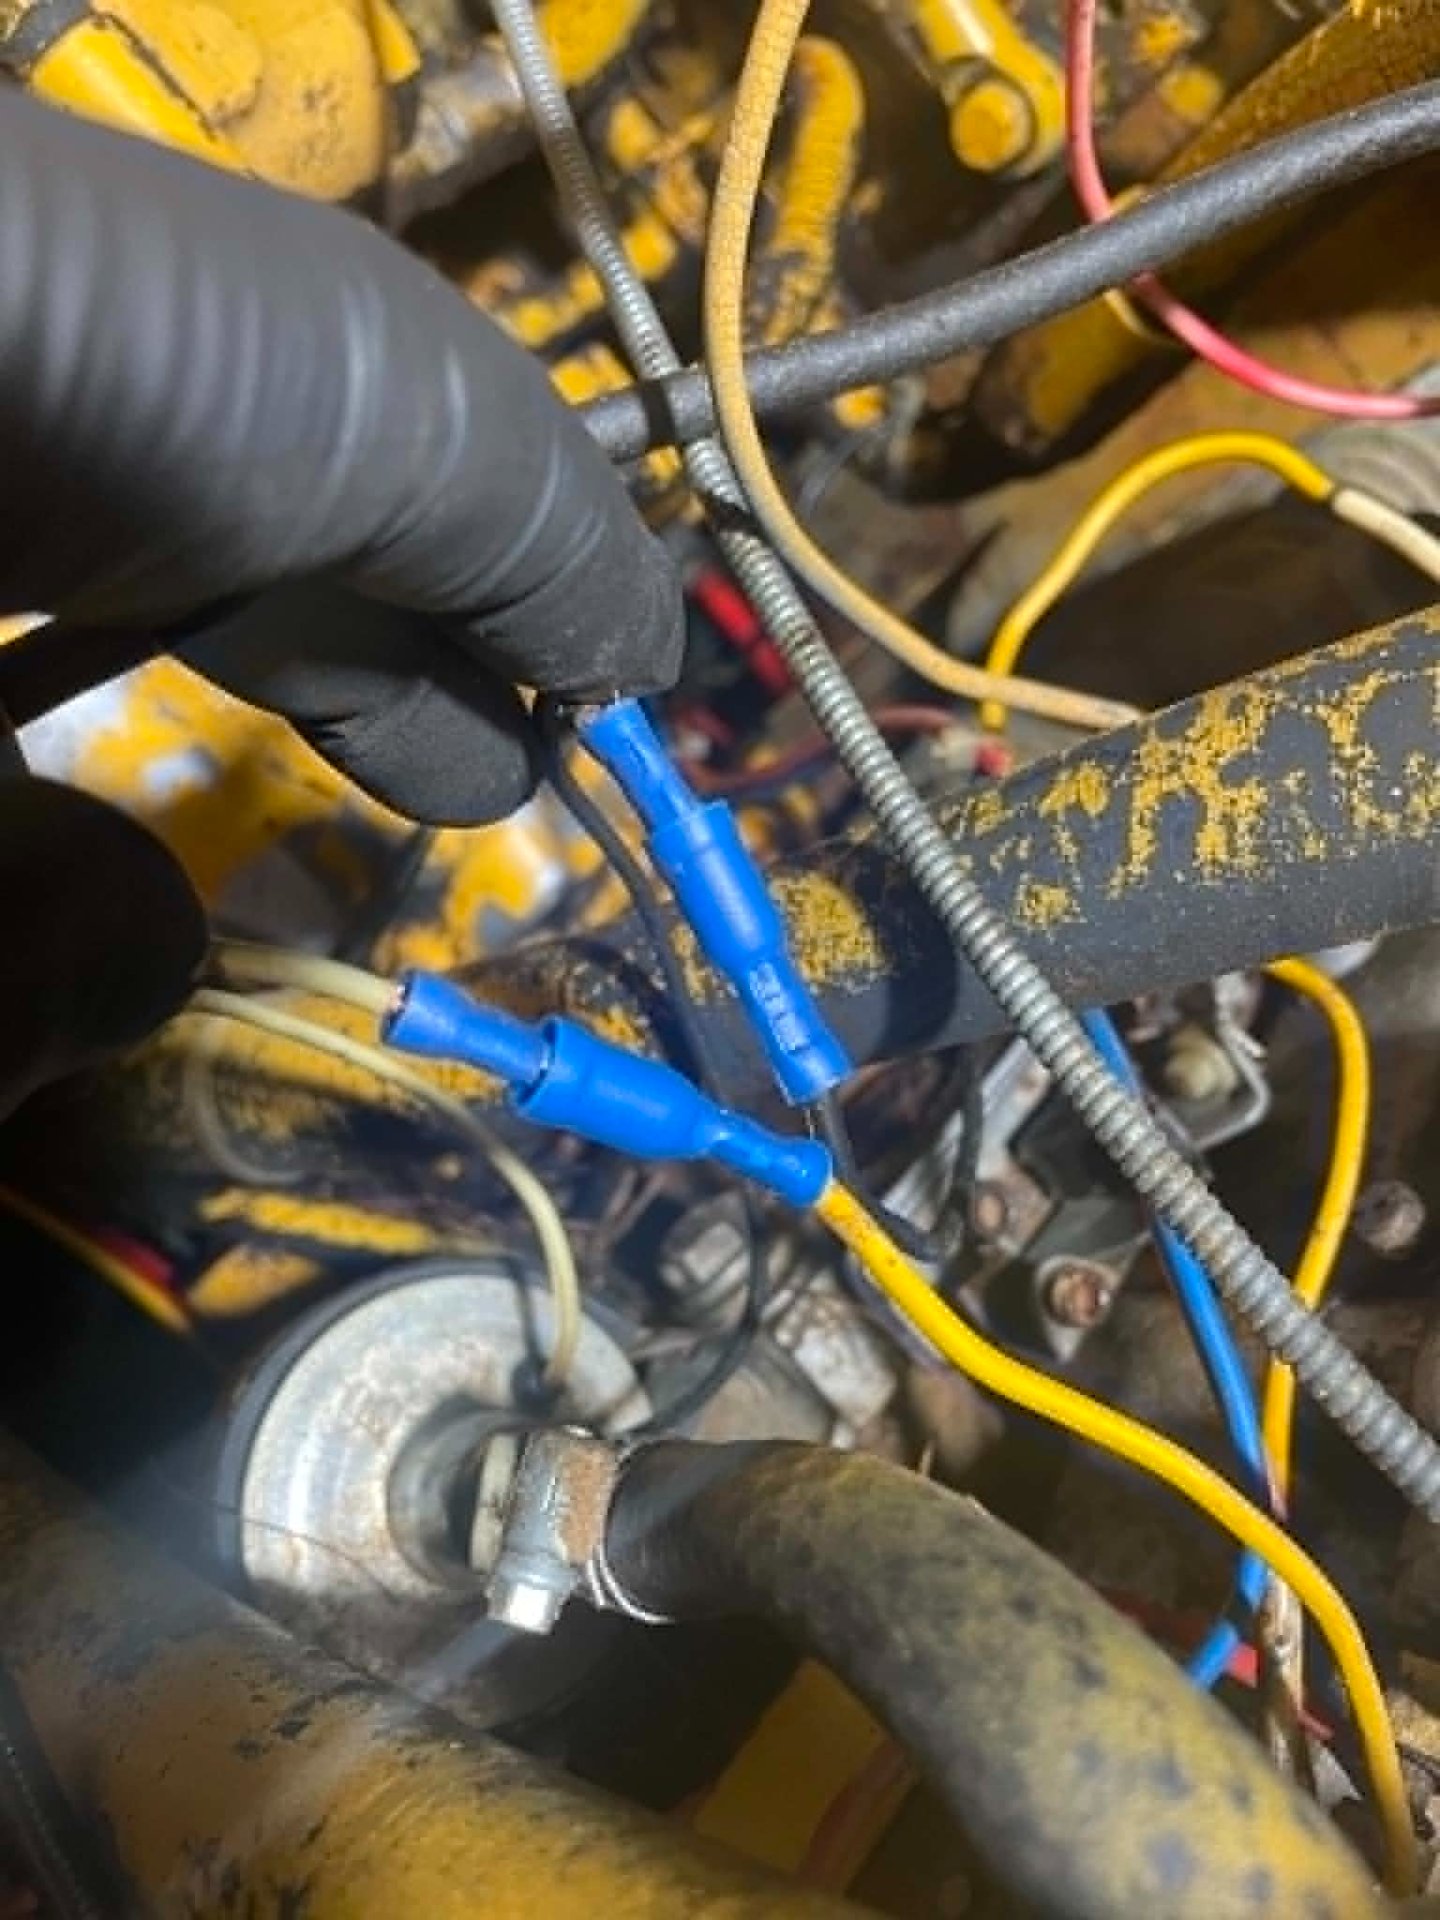
Took a break from the heat and cleaning ( need to figure out how to get the gunk out of the bottom as its like Tar from years of dirt and oil ) anyways fixed some bad wire splicing , just twisted and taped for fuel pump. I added bullet connectors in case its bad and needs changed later.
 

Attachments

  • c332c64d-4efb-42c8-82c5-2c2aacefe613.jpg
    c332c64d-4efb-42c8-82c5-2c2aacefe613.jpg
    323.9 KB
  • 17ebaa49-8611-4d3e-a7c6-a1149fc70070.jpg
    17ebaa49-8611-4d3e-a7c6-a1149fc70070.jpg
    325 KB
You will want to verify this before ordering.
---------
For your Onan engine equipped with the Walbro 1079 carburetor (often found on Walbro LUA-1 or LUA-2 series carbs), you need the Walbro K1-LUA repair kit (or its Onan OEM equivalent, part 146-0290). [1, 2, 3, 4, 5]
Onan has officially discontinued their branded kits, but the OEM Walbro version and high-quality aftermarket replacements are still widely available. [1]
Here are the best places to source and verify your kit:

  • OEM Walbro Kit: Grab the genuine Walbro K1-LUA Repair Kit on eBay which includes gaskets, diaphragms, and specific replacement internals required for the LUA series. [1, 2, 3]
  • Onan Part Alternative: If cross-referencing, the original Onan part numbers include 146-0290, 146-0291, and 146-0292. You can frequently find New Old Stock (NOS) Walbro K1-LUA Kit on Randys Engine Repair. [1, 2]
  • Comprehensive Fitments: Check out Walbro Parts Service to review the schematics for your specific carburetor family to ensure all internal jets align before ordering.
 
See attached, page 28, para 2.....no distributor. Which has me questioning the Pertronix ignition system. Would certainly contact Pertronix to verify before ordering, if you decide to go that route.
 

Attachments

You will want to verify this before ordering.
---------
For your Onan engine equipped with the Walbro 1079 carburetor (often found on Walbro LUA-1 or LUA-2 series carbs), you need the Walbro K1-LUA repair kit (or its Onan OEM equivalent, part 146-0290). [1, 2, 3, 4, 5]
Onan has officially discontinued their branded kits, but the OEM Walbro version and high-quality aftermarket replacements are still widely available. [1]
Here are the best places to source and verify your kit:

  • OEM Walbro Kit: Grab the genuine Walbro K1-LUA Repair Kit on eBay which includes gaskets, diaphragms, and specific replacement internals required for the LUA series. [1, 2, 3]
  • Onan Part Alternative: If cross-referencing, the original Onan part numbers include 146-0290, 146-0291, and 146-0292. You can frequently find New Old Stock (NOS) Walbro K1-LUA Kit on Randys Engine Repair. [1, 2]
  • Comprehensive Fitments: Check out Walbro Parts Service to review the schematics for your specific carburetor family to ensure all internal jets align before ordering.
Thank you
 
See attached, page 28, para 2.....no distributor. Which has me questioning the Pertronix ignition system. Would certainly contact Pertronix to verify before ordering, if you decide to go that route.
Ive read that both cylinders fire at the same time but only one will be on the compresson/fire stroke at a time..... odd almost like a 2 stroke engine but its a 4 stroke.
 
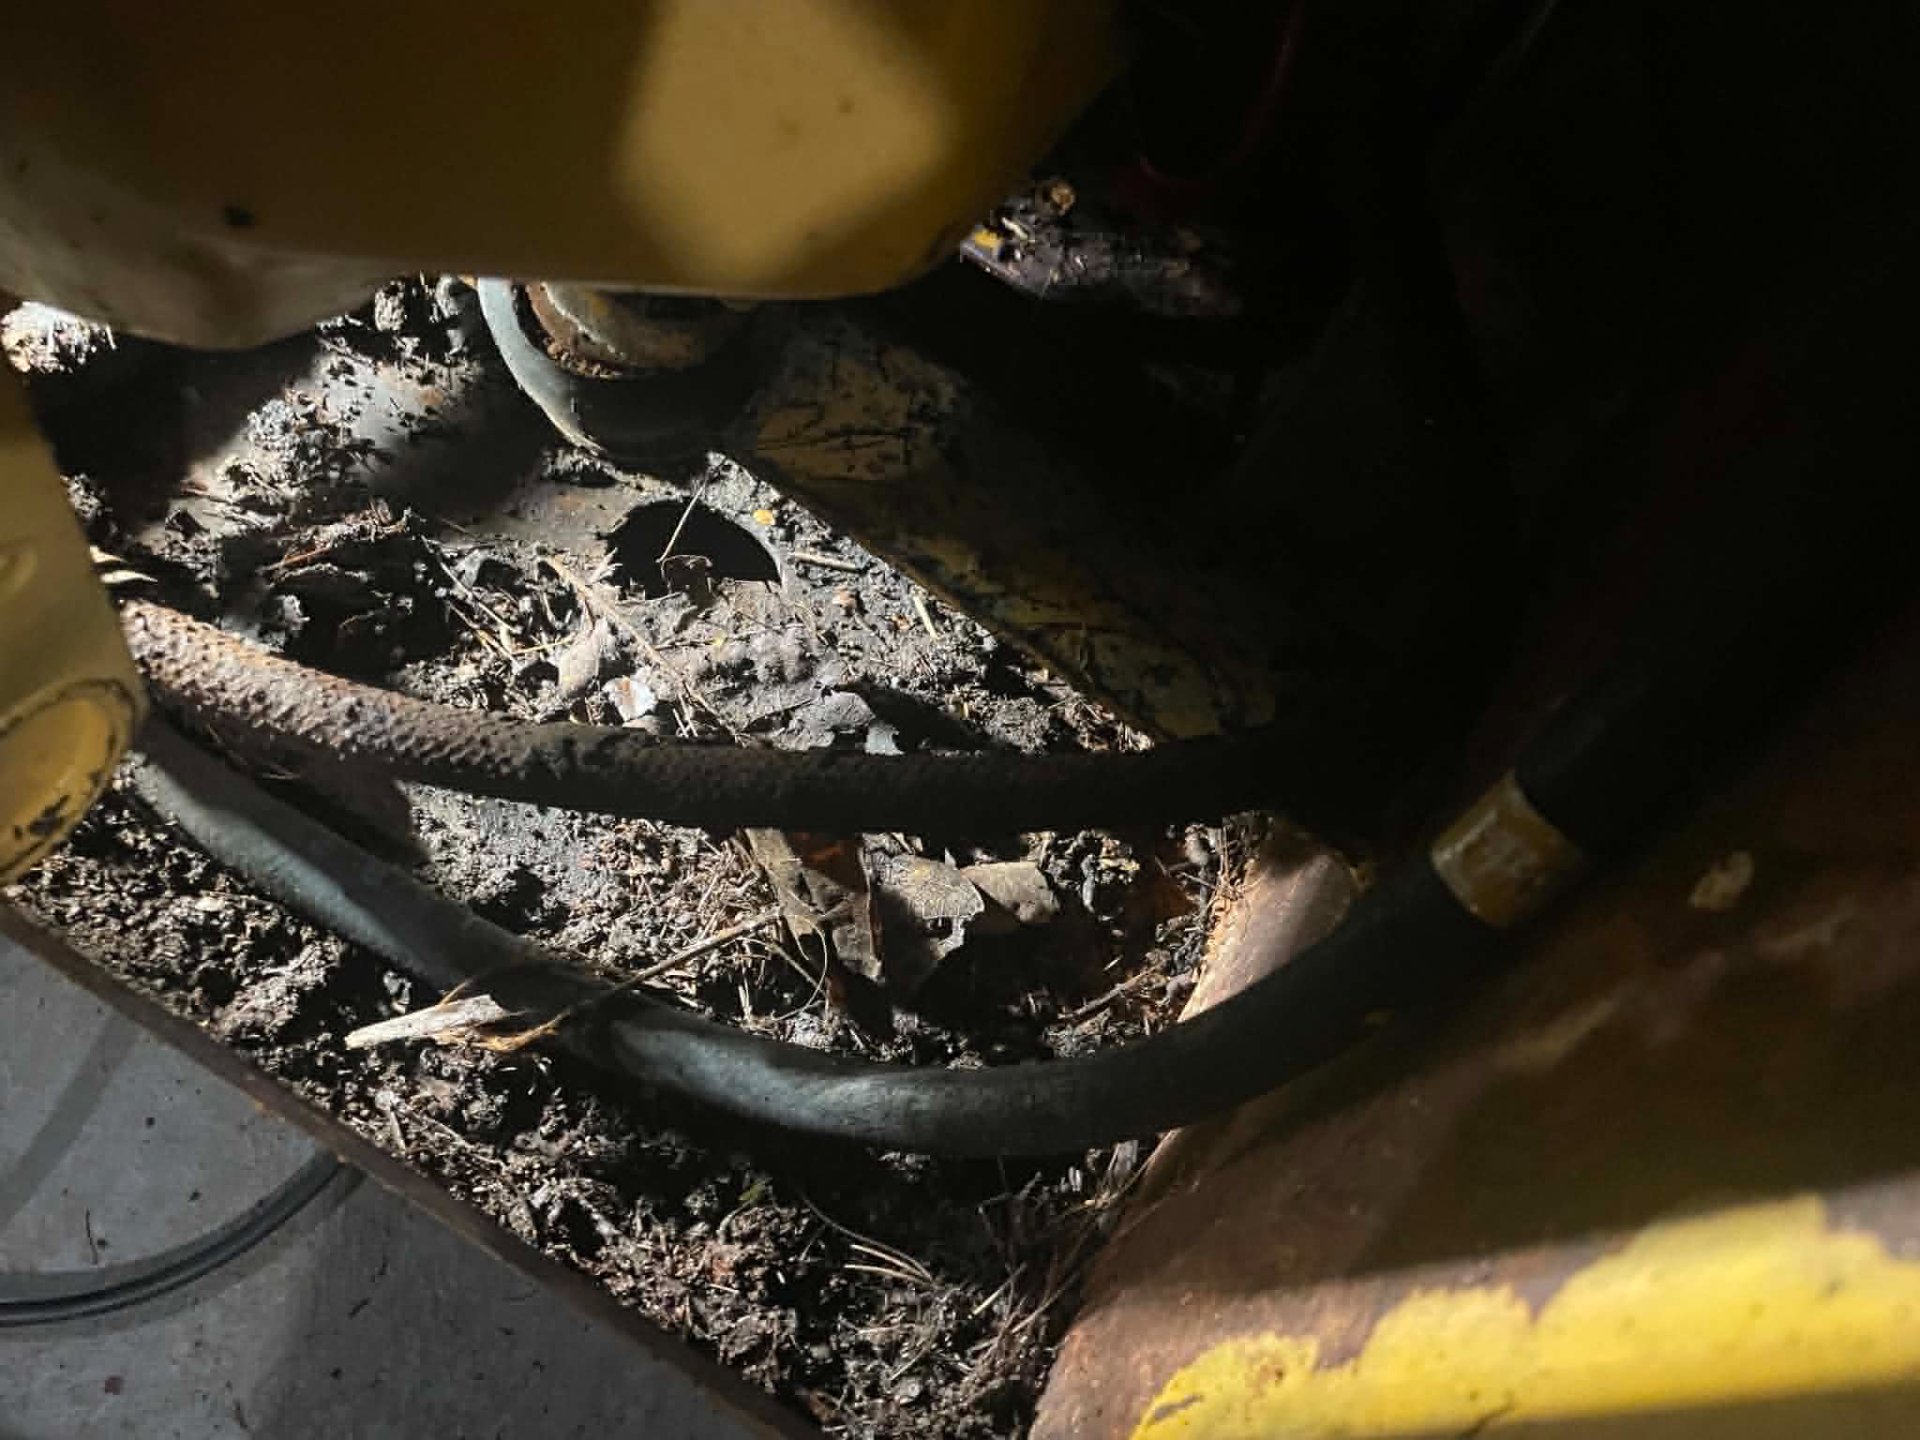
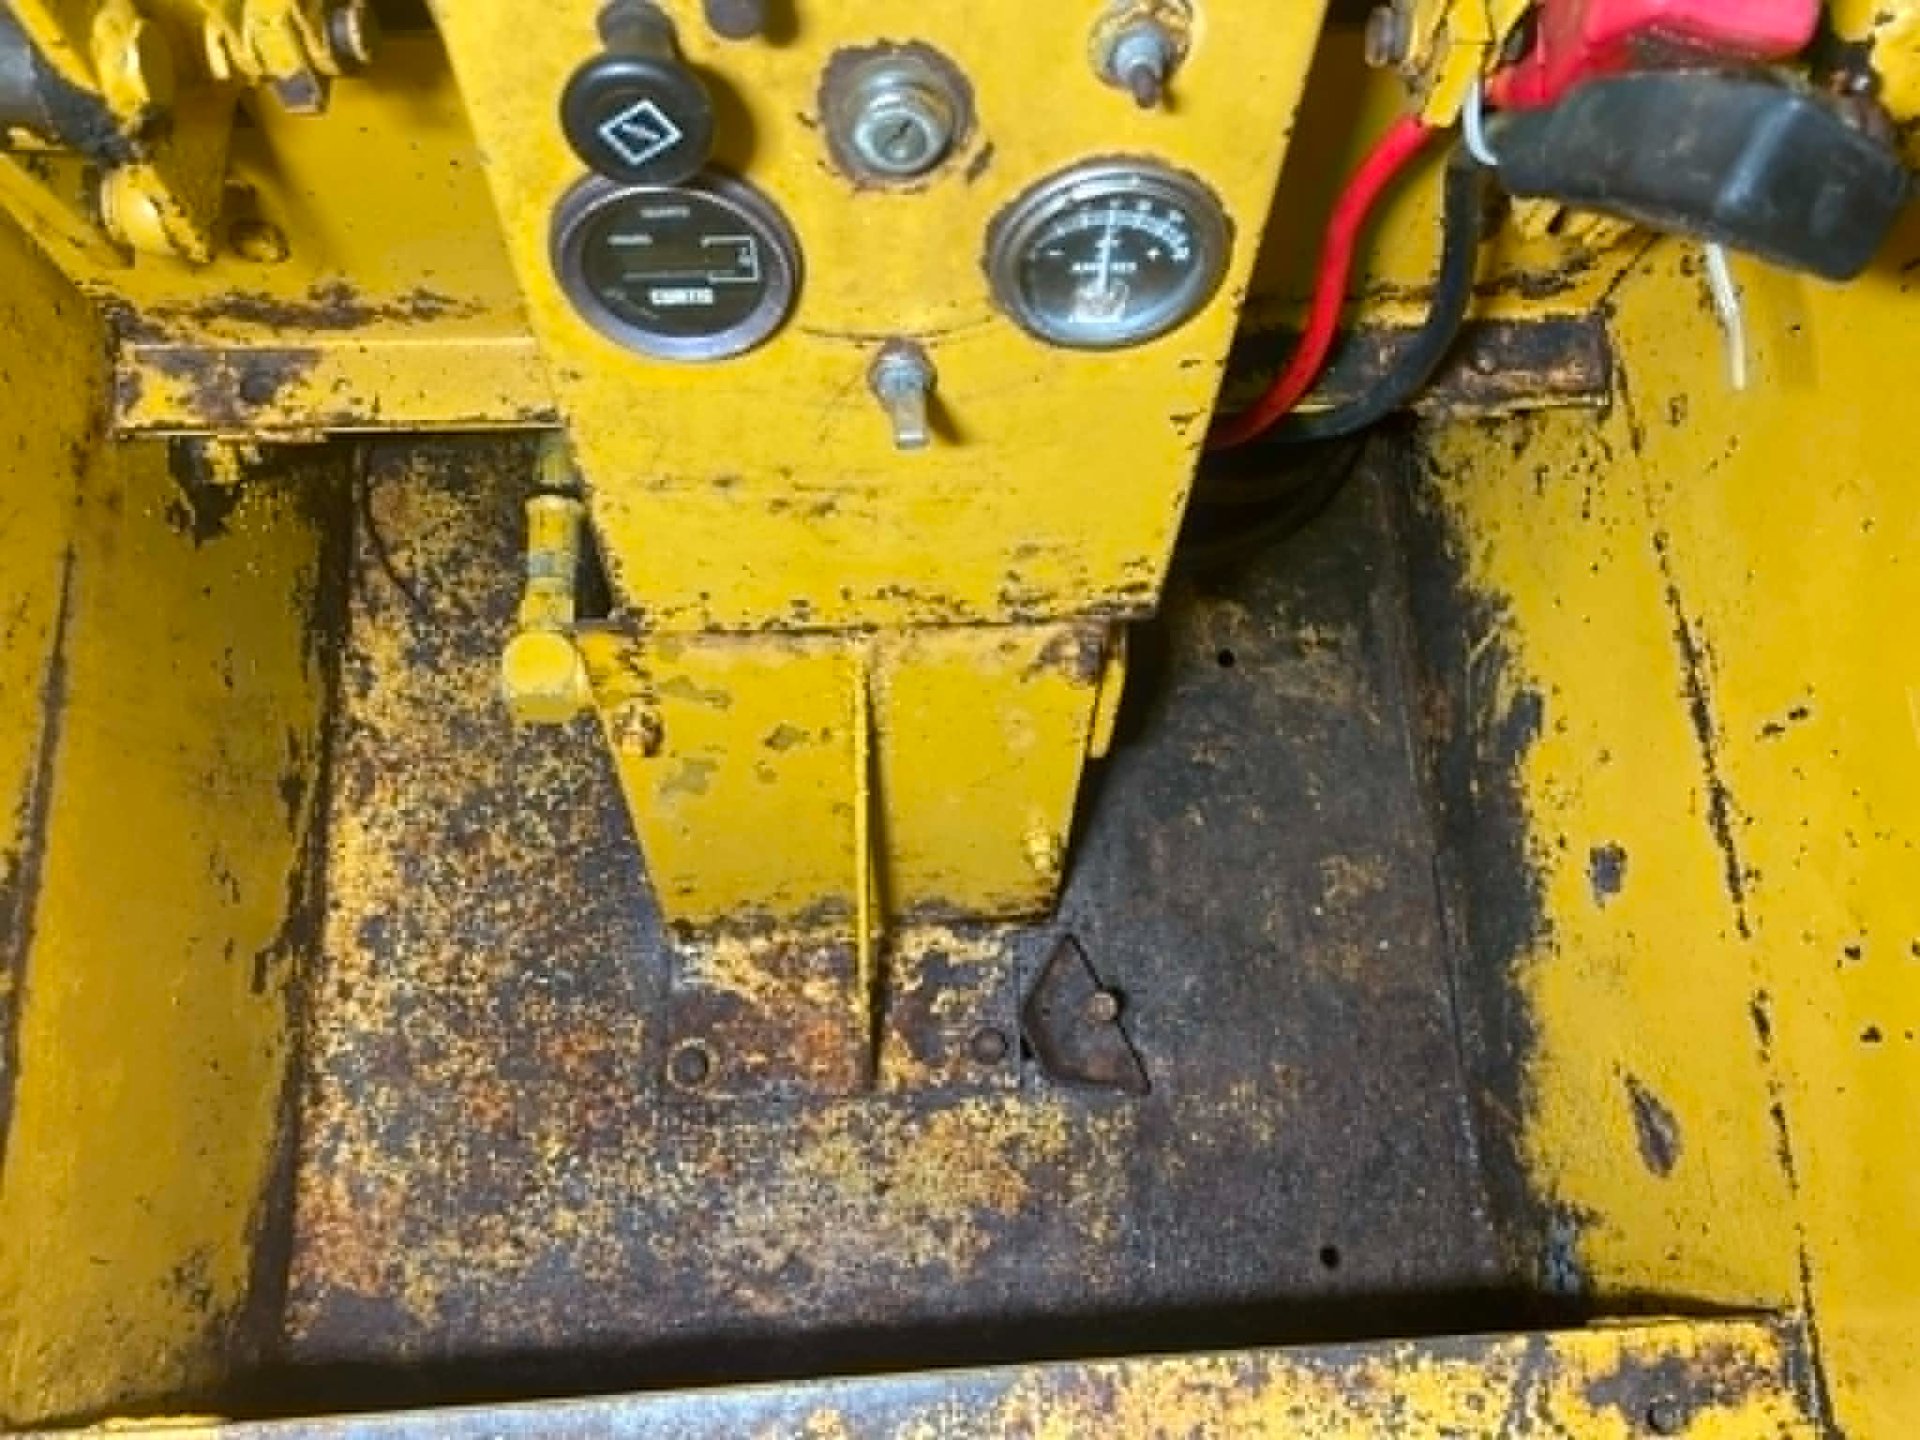
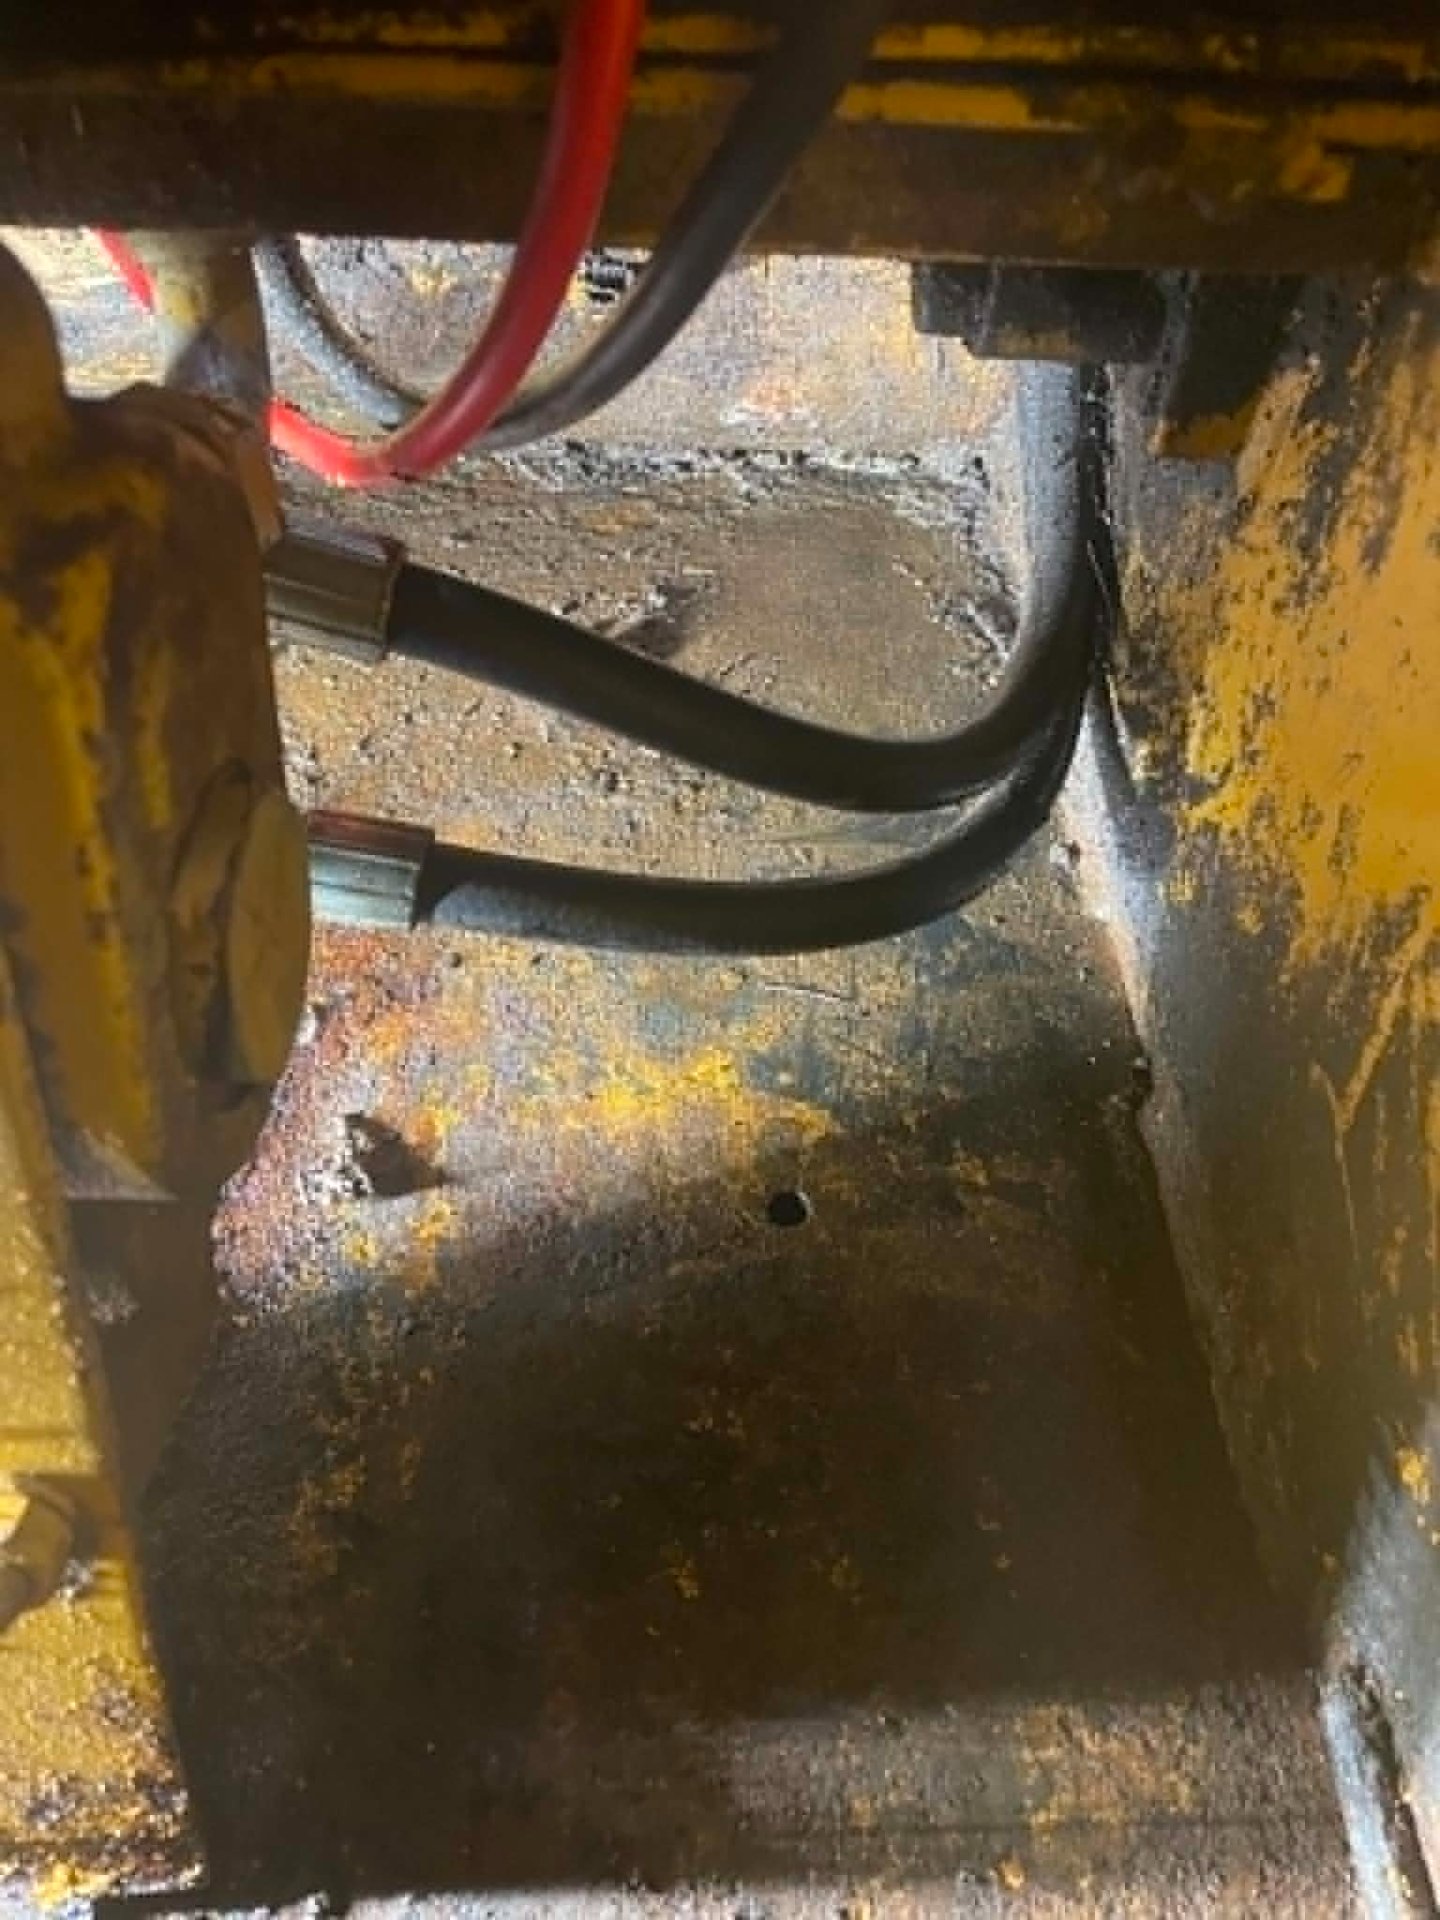
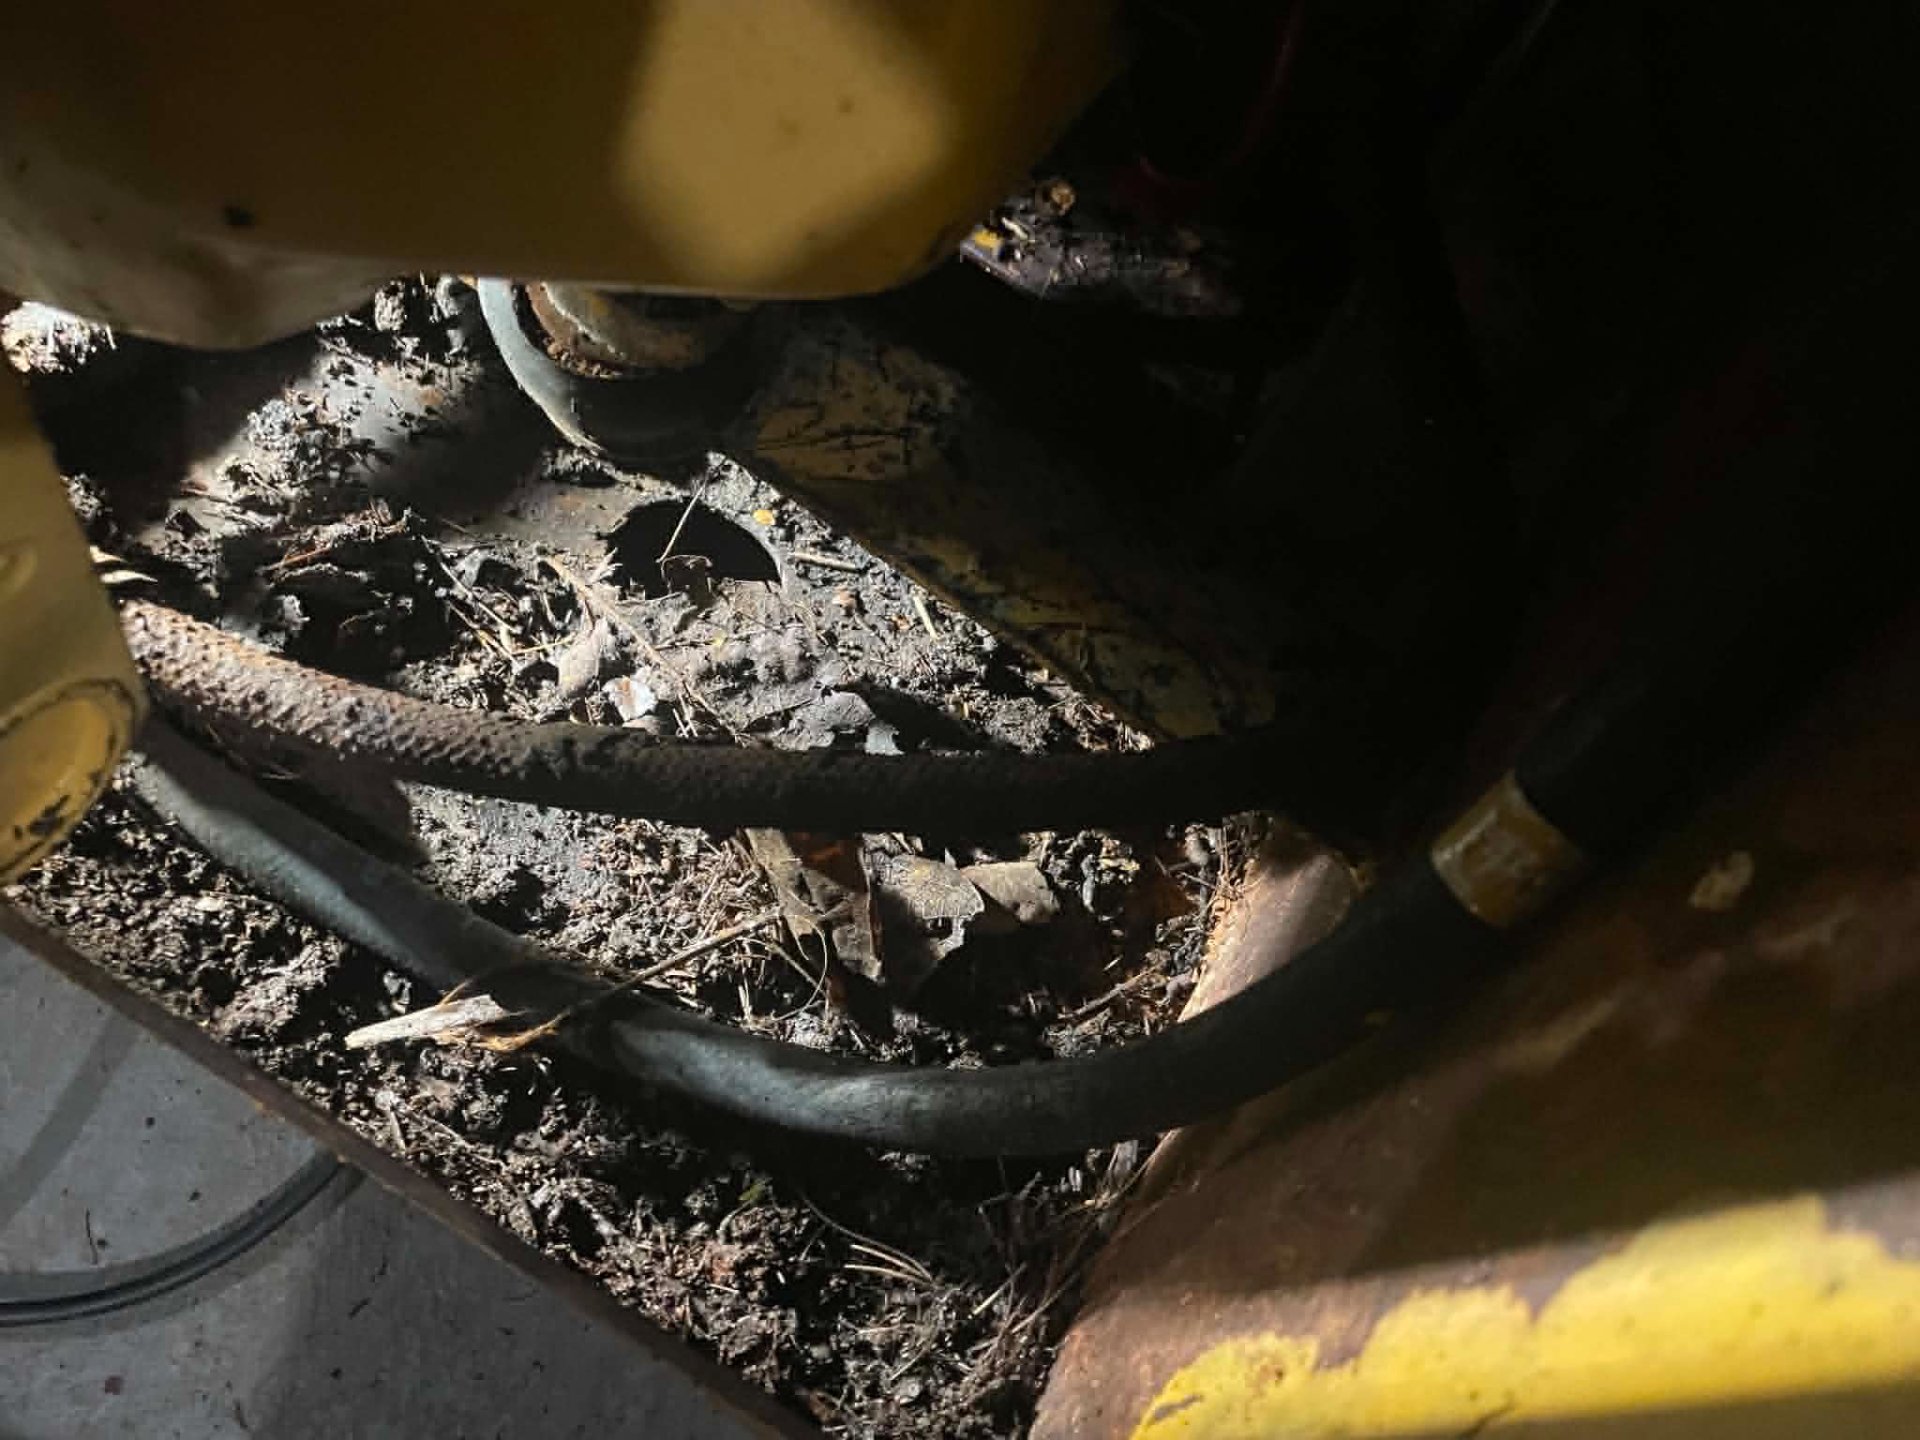
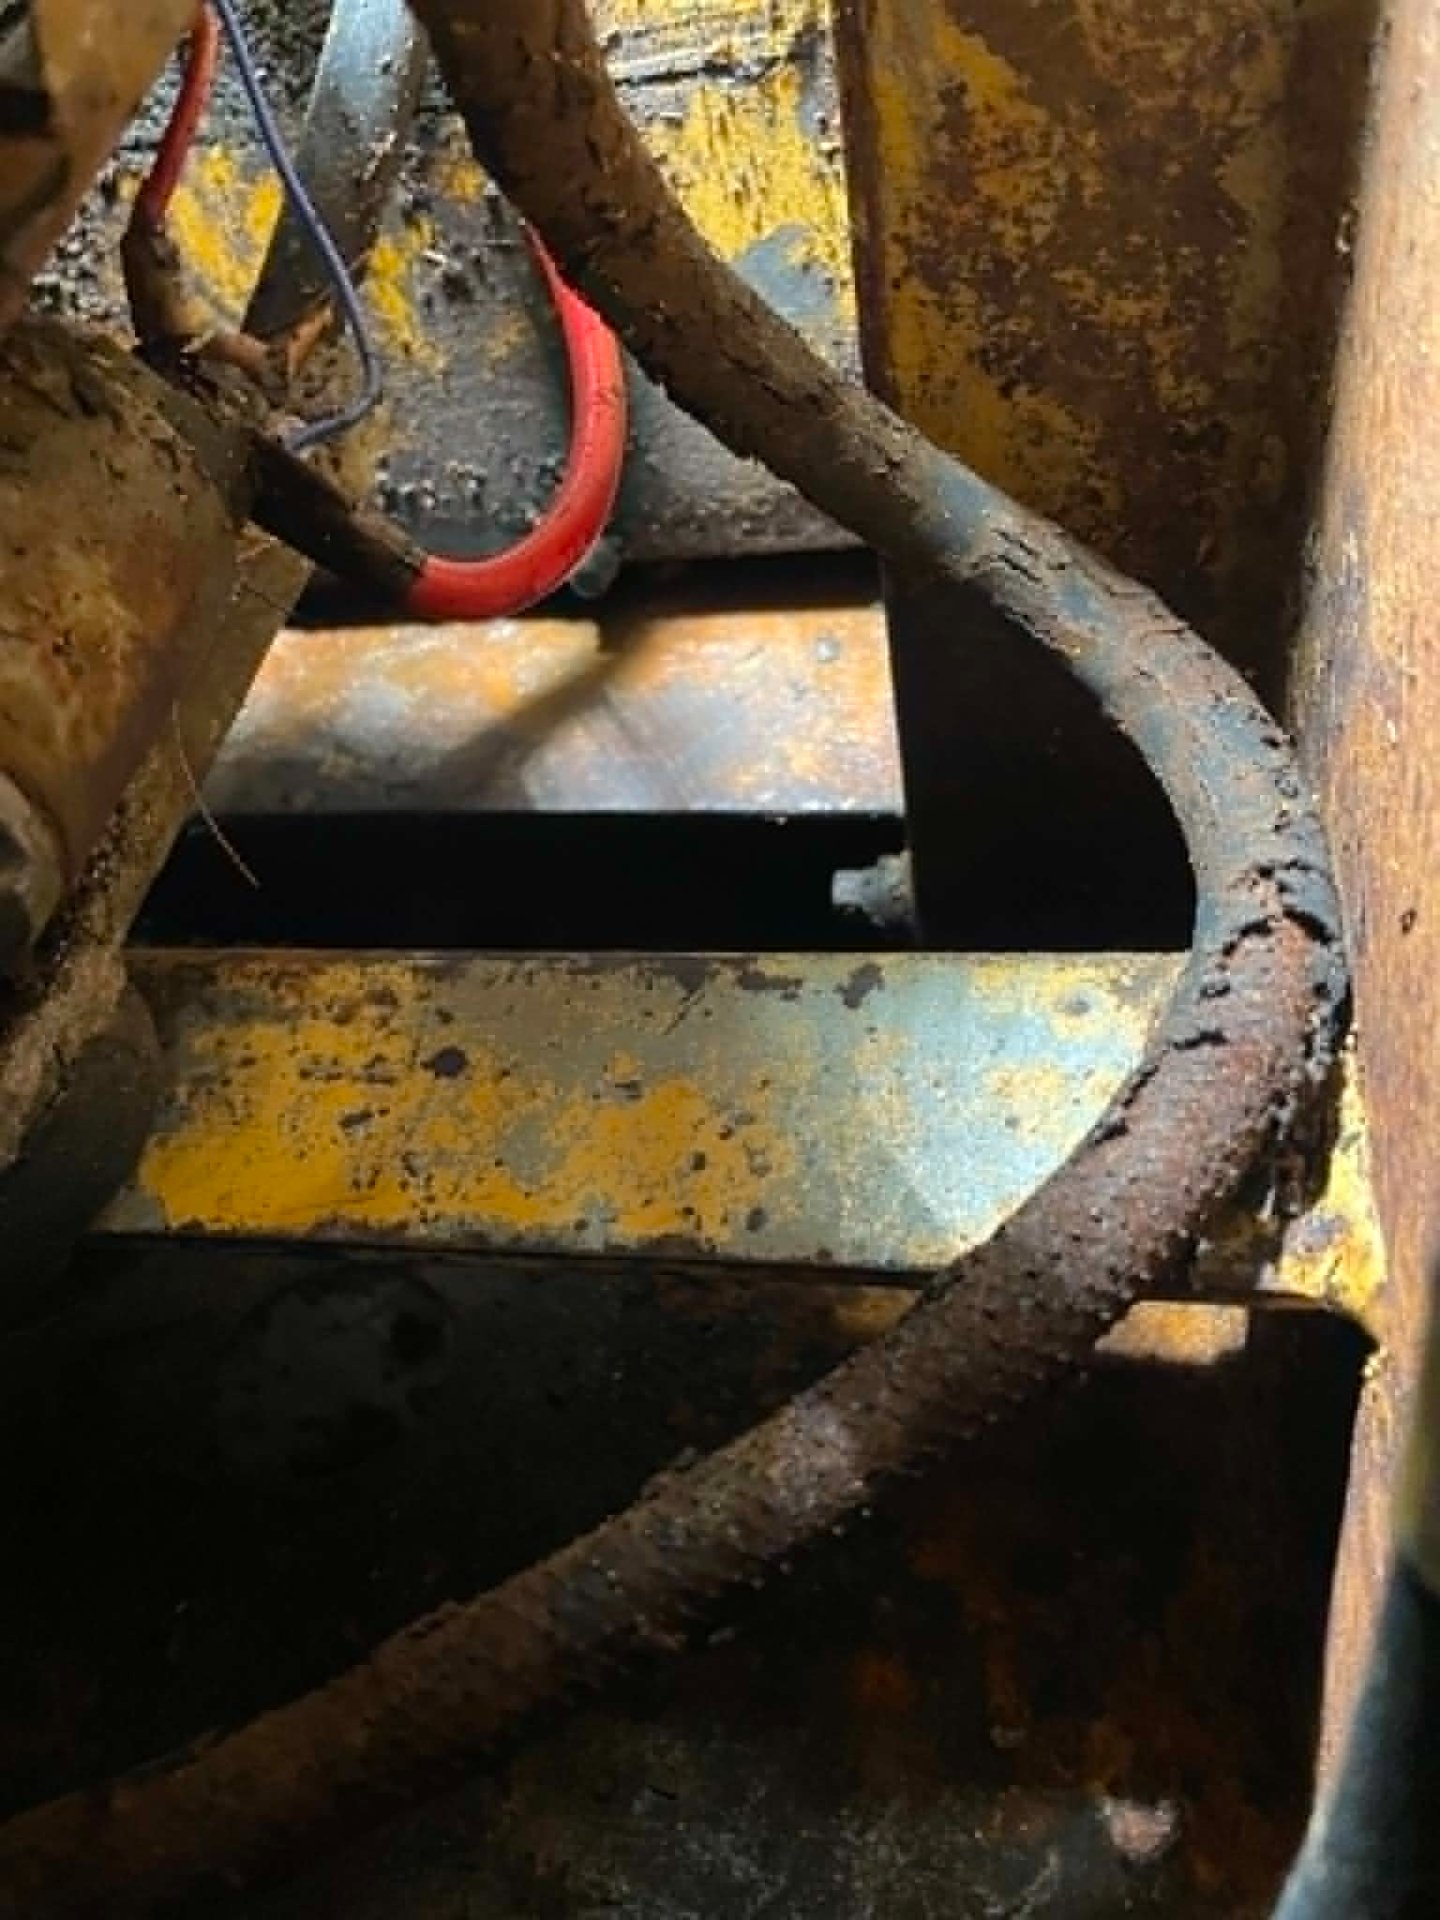
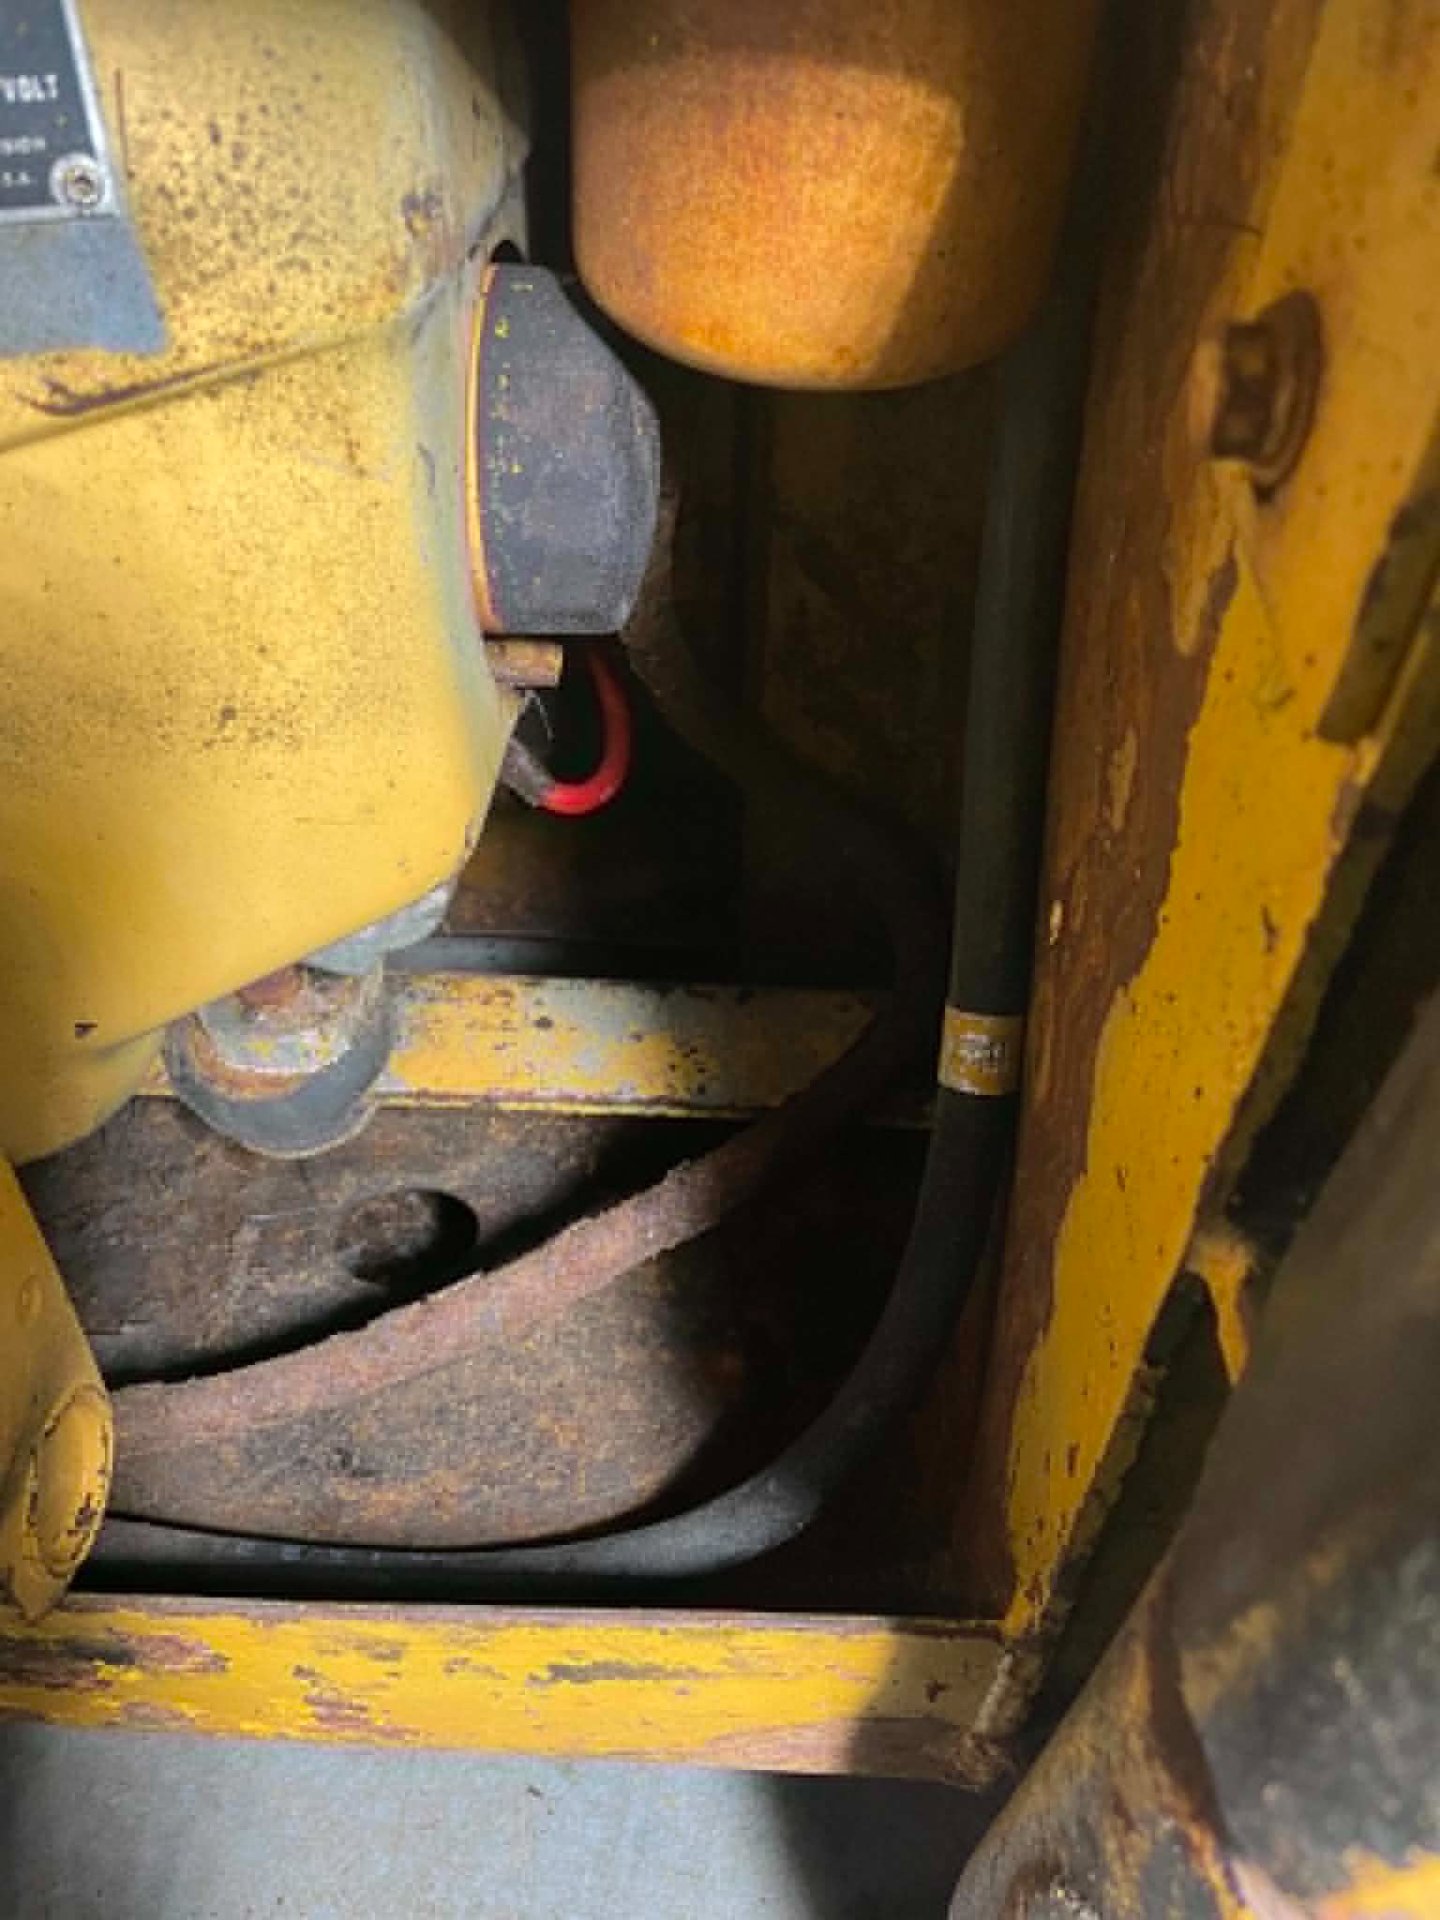
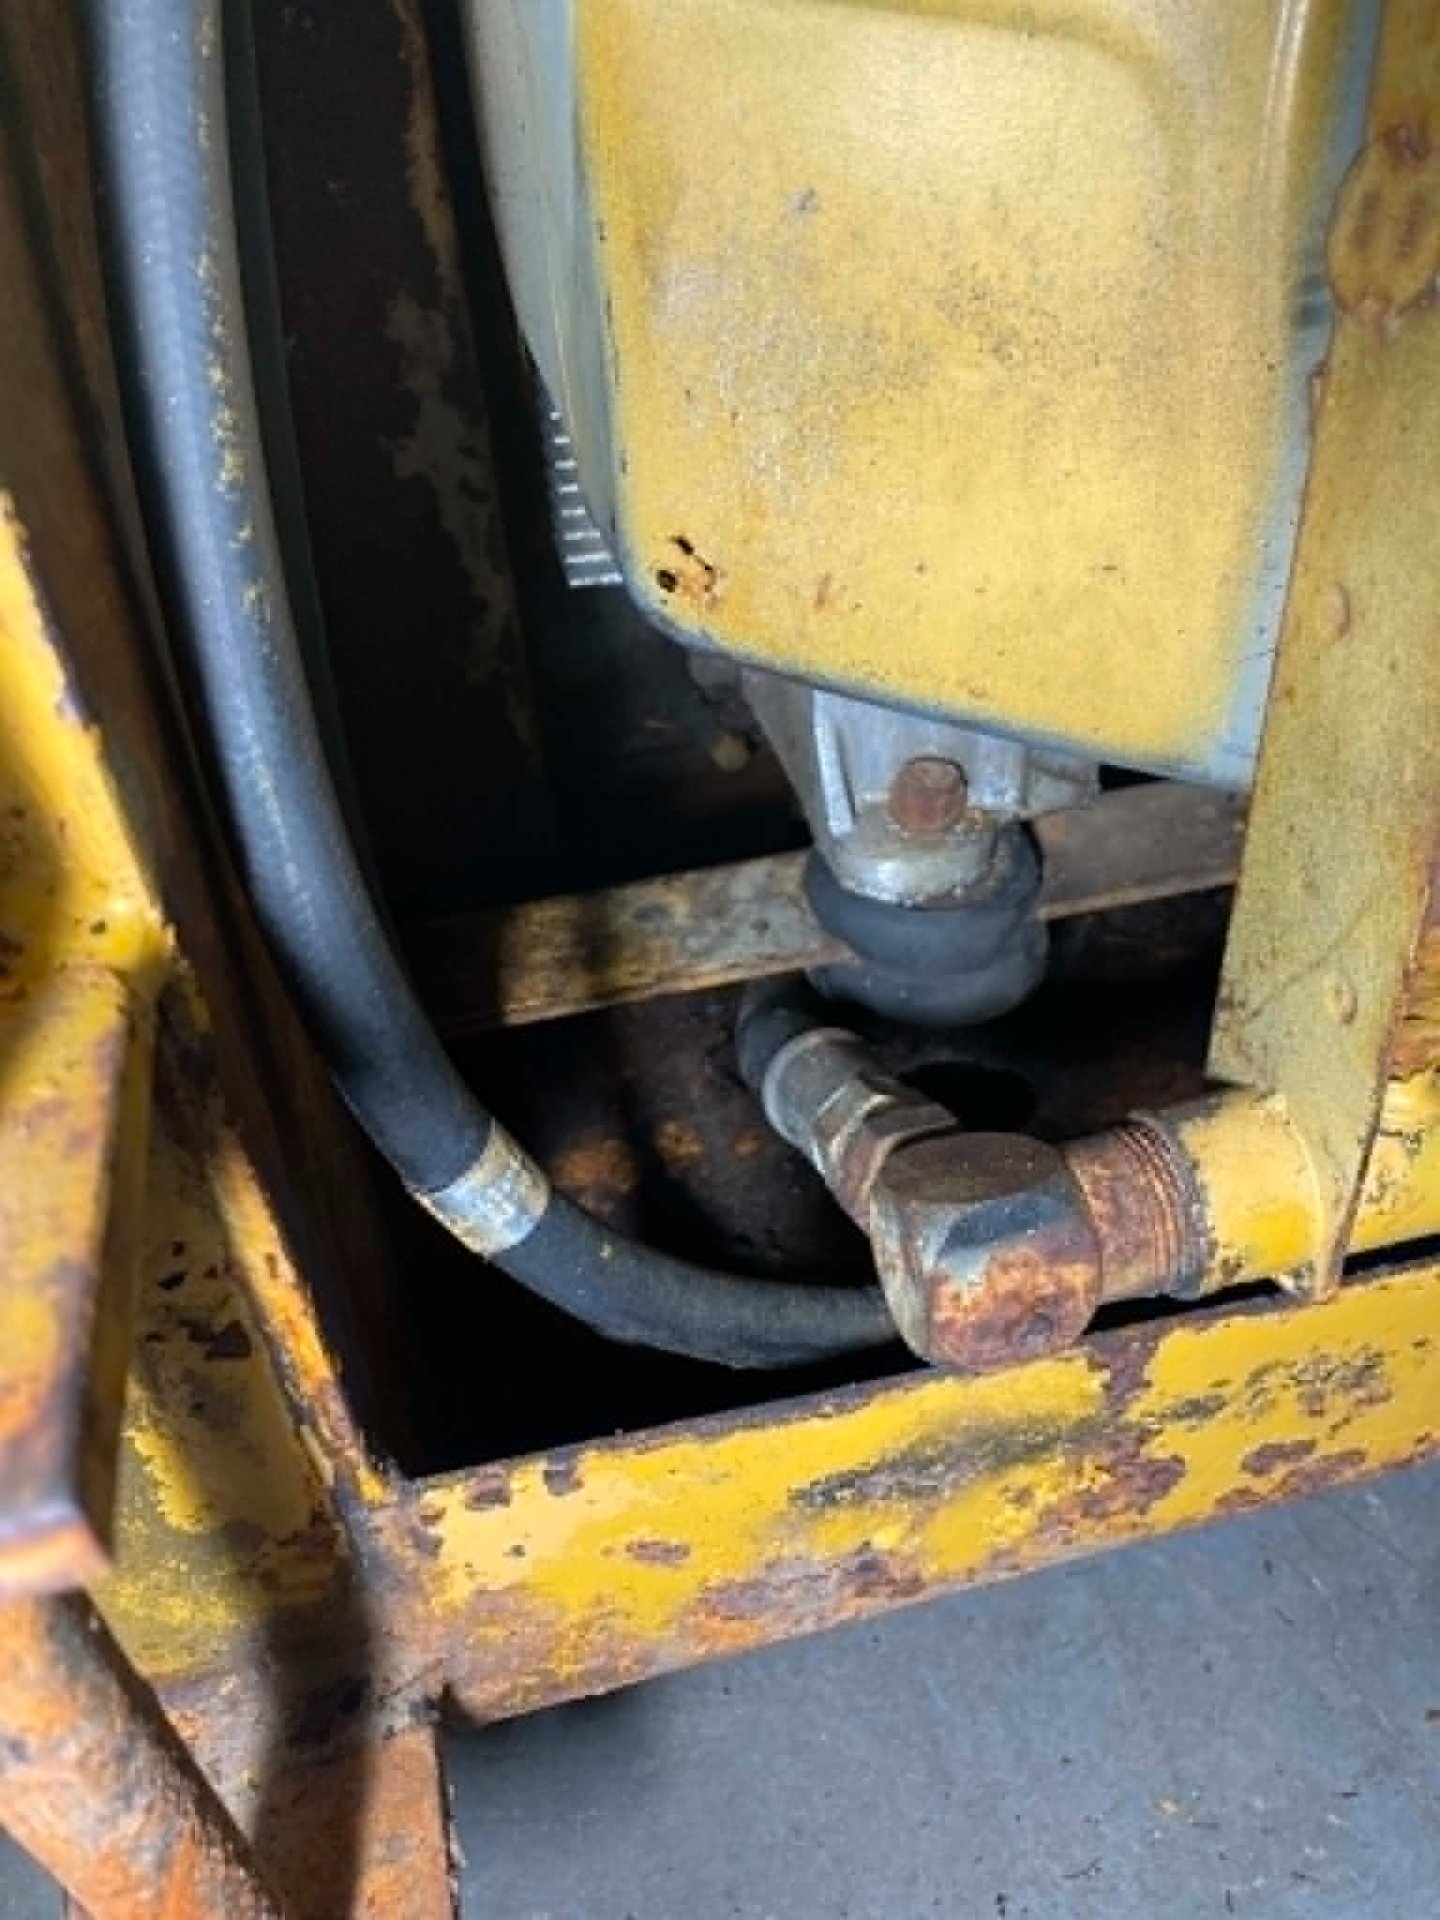
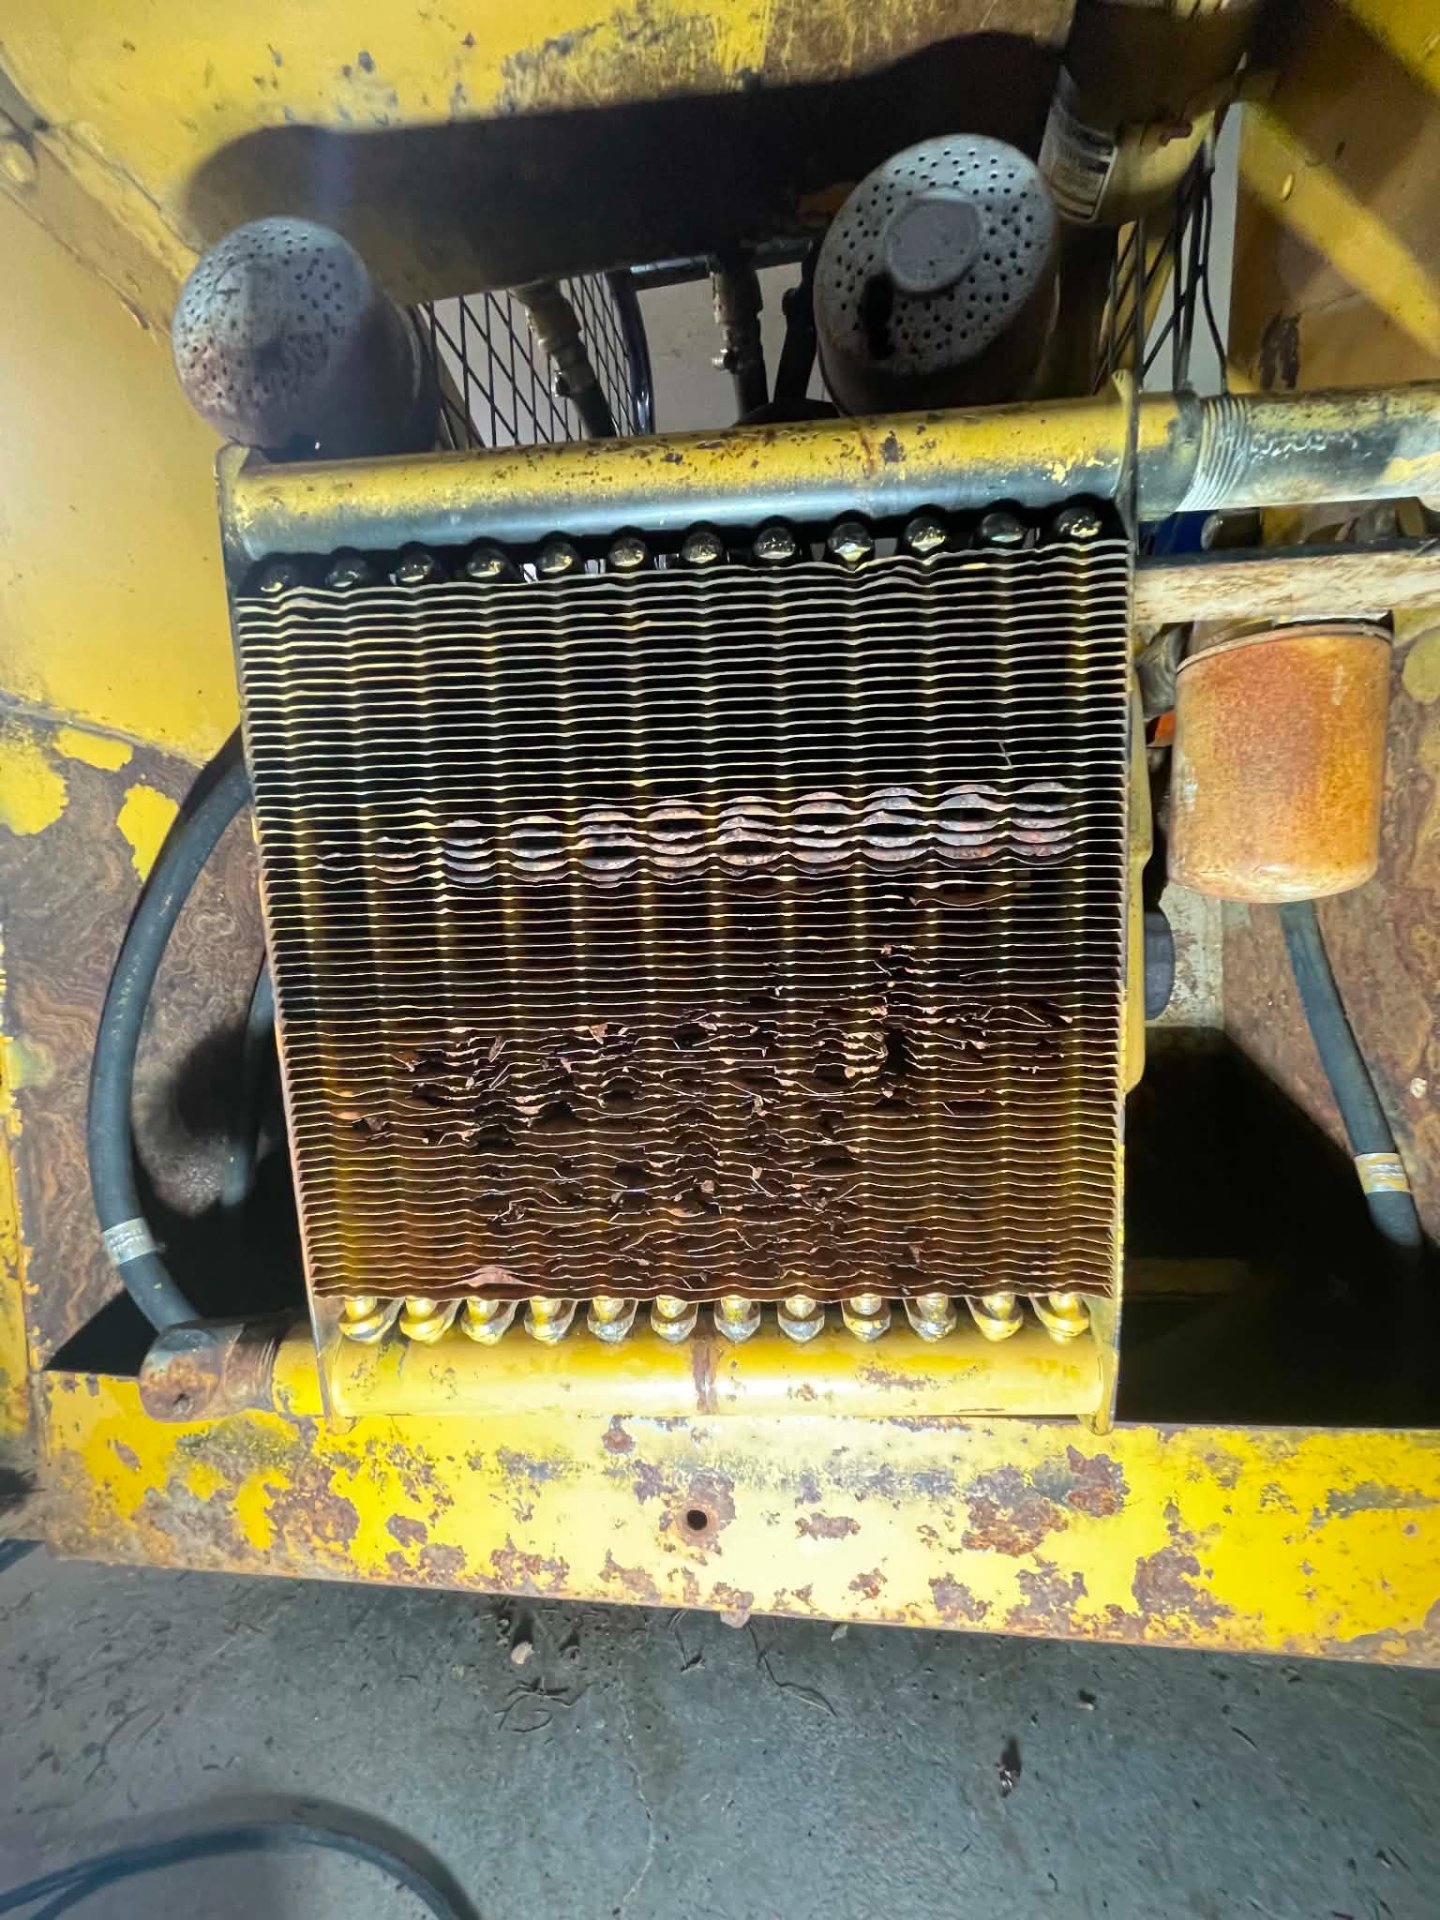
So even after power washing the heck out of the innards of this machine, the thick tar-like gunk in the bottom would not budge and it also held water from draining... I dumped a bunch of simple green in the water and swished before putting back in the shop which has since drained out and I kept spraying cleaner on it as time went but the gunk remained very stiff and Tar-like. Today I decided it was time to get dirty and grabed the ole trusty 7 in 1 scraper and put some elbow grease into it, it put up a pretty good fight but got a lot of it cleaned out, wasnt any fun but had to be done. There are some oil leaks inside, which I found 1 of the rear hoses wasnt replaced and basically hidden under the other newer hoses so thats one I need to do, Im also wondering about the radiator as its got some rot but no leaks? And I believe both of the drive motor covers are leaking up front as they are wet and new puddles under the machine... and al the hoses feeding the front end needs replaced for bucket cylinders. Contacted Petronix on the electronic ignition with all the machines info, just waiting to hear back?
 

Attachments

  • a2316937-fed6-498a-885c-f8f9f922bc64.jpg
    a2316937-fed6-498a-885c-f8f9f922bc64.jpg
    329.6 KB
  • 01f163f0-68ee-42f7-917e-3fb9a562fb44.jpg
    01f163f0-68ee-42f7-917e-3fb9a562fb44.jpg
    414.7 KB
  • 49c40005-c96c-42c6-8779-b4b56b6d3964.jpg
    49c40005-c96c-42c6-8779-b4b56b6d3964.jpg
    341.2 KB
  • a2316937-fed6-498a-885c-f8f9f922bc64.jpg
    a2316937-fed6-498a-885c-f8f9f922bc64.jpg
    329.6 KB
  • 817e7973-4204-4038-a3e4-cbaf24537d5b.jpg
    817e7973-4204-4038-a3e4-cbaf24537d5b.jpg
    321.8 KB
  • d64e9dd7-3806-45cf-9fbc-3eefd6eb331f.jpg
    d64e9dd7-3806-45cf-9fbc-3eefd6eb331f.jpg
    288.9 KB
  • f13f60a7-c8cd-4140-806e-5437295e375f.jpg
    f13f60a7-c8cd-4140-806e-5437295e375f.jpg
    315.6 KB
Try using some industrial cleaner - it goes by a few names - Purple Stuff, Morado, Purple Industrial Cleaner. Last time I got it, it came from ZEP. It's very caustic, so make sure to wear PPE, but works great on old greasy gunk. Spray it on heavily, wait 10 minutes and wash it off. Sometimes takes more than one application, but always has worked well.
 
Try using some industrial cleaner - it goes by a few names - Purple Stuff, Morado, Purple Industrial Cleaner. Last time I got it, it came from ZEP. It's very caustic, so make sure to wear PPE, but works great on old greasy gunk. Spray it on heavily, wait 10 minutes and wash it off. Sometimes takes more than one application, but always has worked well.
I have some caustic industrial cleaner, kinda afraid to use it especially on this old stuff... as it will make an aluminum can disappear in a matter of minutes, but it will surely eat grease and grime and may even remove the paint? I just dont want to damage hoses, seals or gaskets. but I do want it clean as I plan to paint it later and it will leave the surface paint ready. I need to get a battery and see if I can get this started, next replace the leaky hoses and fix any leaks. I got a new key switch and connectors / wire coming so I can fix and clean up sone of the wiring issues and make it nice and tidy. Looking a lot better than when I first got it home. Still waiting to hear from both Cummins and Pentronix on the electronic point conversion
 
Question on rotating this motor, I cant find any access to rotate this motor and to find TDC so I can adjust and set the points if needed to get this thing started as Im not sure if they are set or if someone has messed with them since there is no history on it other than my FIL saying it ran when they got it but only on one cylinder... which I cant rely on, the radiator blocks the front and looks that the pumps are bolted directly to the back of the motor as one complete unit so no visible connector/shaft or flywheel.
 
Per AI

Timing an Onan NHC 25-horsepower, 2-cylinder engine requires setting the breaker points precisely at 0.016 inches and statically timing the flywheel marks to 20° Before Top Dead Center (BTC) using a test light. Dynamic timing can also be checked with a timing light while the engine is running. [1, 2]

1. Preparation and Access

  1. Safety First: Ensure the equipment is in neutral, park is engaged, and the spark plug wires are disconnected to prevent accidental starting.
  2. Locate Timing Marks: Remove the air intake hose that connects to the blower housing to expose the flywheel and timing cover. Clean off the flywheel and the cover so you can easily see the stamped timing marks. [1]
2. Finding Top Dead Center (TDC)

  1. Both pistons fire simultaneously on this engine, meaning TDC for one cylinder is TDC for both.
  2. Remove both spark plugs to relieve engine compression so the crankshaft turns freely.
  3. Rotate the engine's flywheel manually (clockwise when facing it) until the "TC" (Top Dead Center) mark on the flywheel aligns exactly with the raised reference mark on the engine block/gear cover. [1, 2]
3. Setting the Breaker Point Gap (Static Timing)

  1. Remove the breaker box cover to access the points.
  2. Rotate the crankshaft until the fiber rubbing block of the points is resting on the highest point (peak) of the camshaft lobe. This is the point of full separation.
  3. Measure the gap with a feeler gauge. It should be exactly 0.016 inches.
  4. If it is incorrect, loosen the retaining screws slightly, adjust the points to achieve the 0.016-inch gap, and re-tighten the screws. [1, 2]
4. Adjusting the Ignition Timing

  1. To confirm or adjust the static timing, turn the flywheel clockwise until the 20° BTC (Before Top Dead Center) mark aligns with the pointer on the cover. [1, 2, 3]
  2. Connect a 12-volt test light to the ignition coil's negative terminal (the lead going to the points) and to a good engine ground. [1, 2]
  3. Turn the ignition switch to the "ON" position.
  4. Slightly loosen the screws holding the breaker point assembly and gently rotate or shift the point base. You are looking for the exact moment the test light turns on or off (the points just open). [1]
  5. Lock the breaker point screws down at this exact position.
5. Dynamic Timing Verification (Running)

  1. Reinstall the spark plugs, connect the wires, and put the breaker box cover back on.
  2. Start the engine and let it warm up to normal operating temperature.
  3. Connect an inductive timing light to either spark plug lead.
  4. Shine the timing light onto the flywheel. The 20° BTC mark should line up perfectly with the mark on the engine cover while the engine is running. [1, 2]
 
Per AI

Timing an Onan NHC 25-horsepower, 2-cylinder engine requires setting the breaker points precisely at 0.016 inches and statically timing the flywheel marks to 20° Before Top Dead Center (BTC) using a test light. Dynamic timing can also be checked with a timing light while the engine is running. [1, 2]

1. Preparation and Access

  1. Safety First: Ensure the equipment is in neutral, park is engaged, and the spark plug wires are disconnected to prevent accidental starting.
  2. Locate Timing Marks: Remove the air intake hose that connects to the blower housing to expose the flywheel and timing cover. Clean off the flywheel and the cover so you can easily see the stamped timing marks. [1]
2. Finding Top Dead Center (TDC)

  1. Both pistons fire simultaneously on this engine, meaning TDC for one cylinder is TDC for both.
  2. Remove both spark plugs to relieve engine compression so the crankshaft turns freely.
  3. Rotate the engine's flywheel manually (clockwise when facing it) until the "TC" (Top Dead Center) mark on the flywheel aligns exactly with the raised reference mark on the engine block/gear cover. [1, 2]
3. Setting the Breaker Point Gap (Static Timing)

  1. Remove the breaker box cover to access the points.
  2. Rotate the crankshaft until the fiber rubbing block of the points is resting on the highest point (peak) of the camshaft lobe. This is the point of full separation.
  3. Measure the gap with a feeler gauge. It should be exactly 0.016 inches.
  4. If it is incorrect, loosen the retaining screws slightly, adjust the points to achieve the 0.016-inch gap, and re-tighten the screws. [1, 2]
4. Adjusting the Ignition Timing

  1. To confirm or adjust the static timing, turn the flywheel clockwise until the 20° BTC (Before Top Dead Center) mark aligns with the pointer on the cover. [1, 2, 3]
  2. Connect a 12-volt test light to the ignition coil's negative terminal (the lead going to the points) and to a good engine ground. [1, 2]
  3. Turn the ignition switch to the "ON" position.
  4. Slightly loosen the screws holding the breaker point assembly and gently rotate or shift the point base. You are looking for the exact moment the test light turns on or off (the points just open). [1]
  5. Lock the breaker point screws down at this exact position.
5. Dynamic Timing Verification (Running)

  1. Reinstall the spark plugs, connect the wires, and put the breaker box cover back on.
  2. Start the engine and let it warm up to normal operating temperature.
  3. Connect an inductive timing light to either spark plug lead.
  4. Shine the timing light onto the flywheel. The 20° BTC mark should line up perfectly with the mark on the engine cover while the engine is running. [1, 2]
a few things is, in order to access the front cover The radiator needs removed, the points are on a base with a plunger so you dont see the cam lobes and the point base doesnt rotate because there is no distributor in this case... so a bit different set up and Im trying to figure it out as I dont really want to pull the radiator in fear of it breaking and then leaking without having a replacement ? just nervous messing with everything as its new to me and I dont want to put a lot into it until I know itll run and operate to be worthwhile in restoring it and using around the property. Would be nice to have some friends to tinker on this thing with like when I used to build street rods...
 
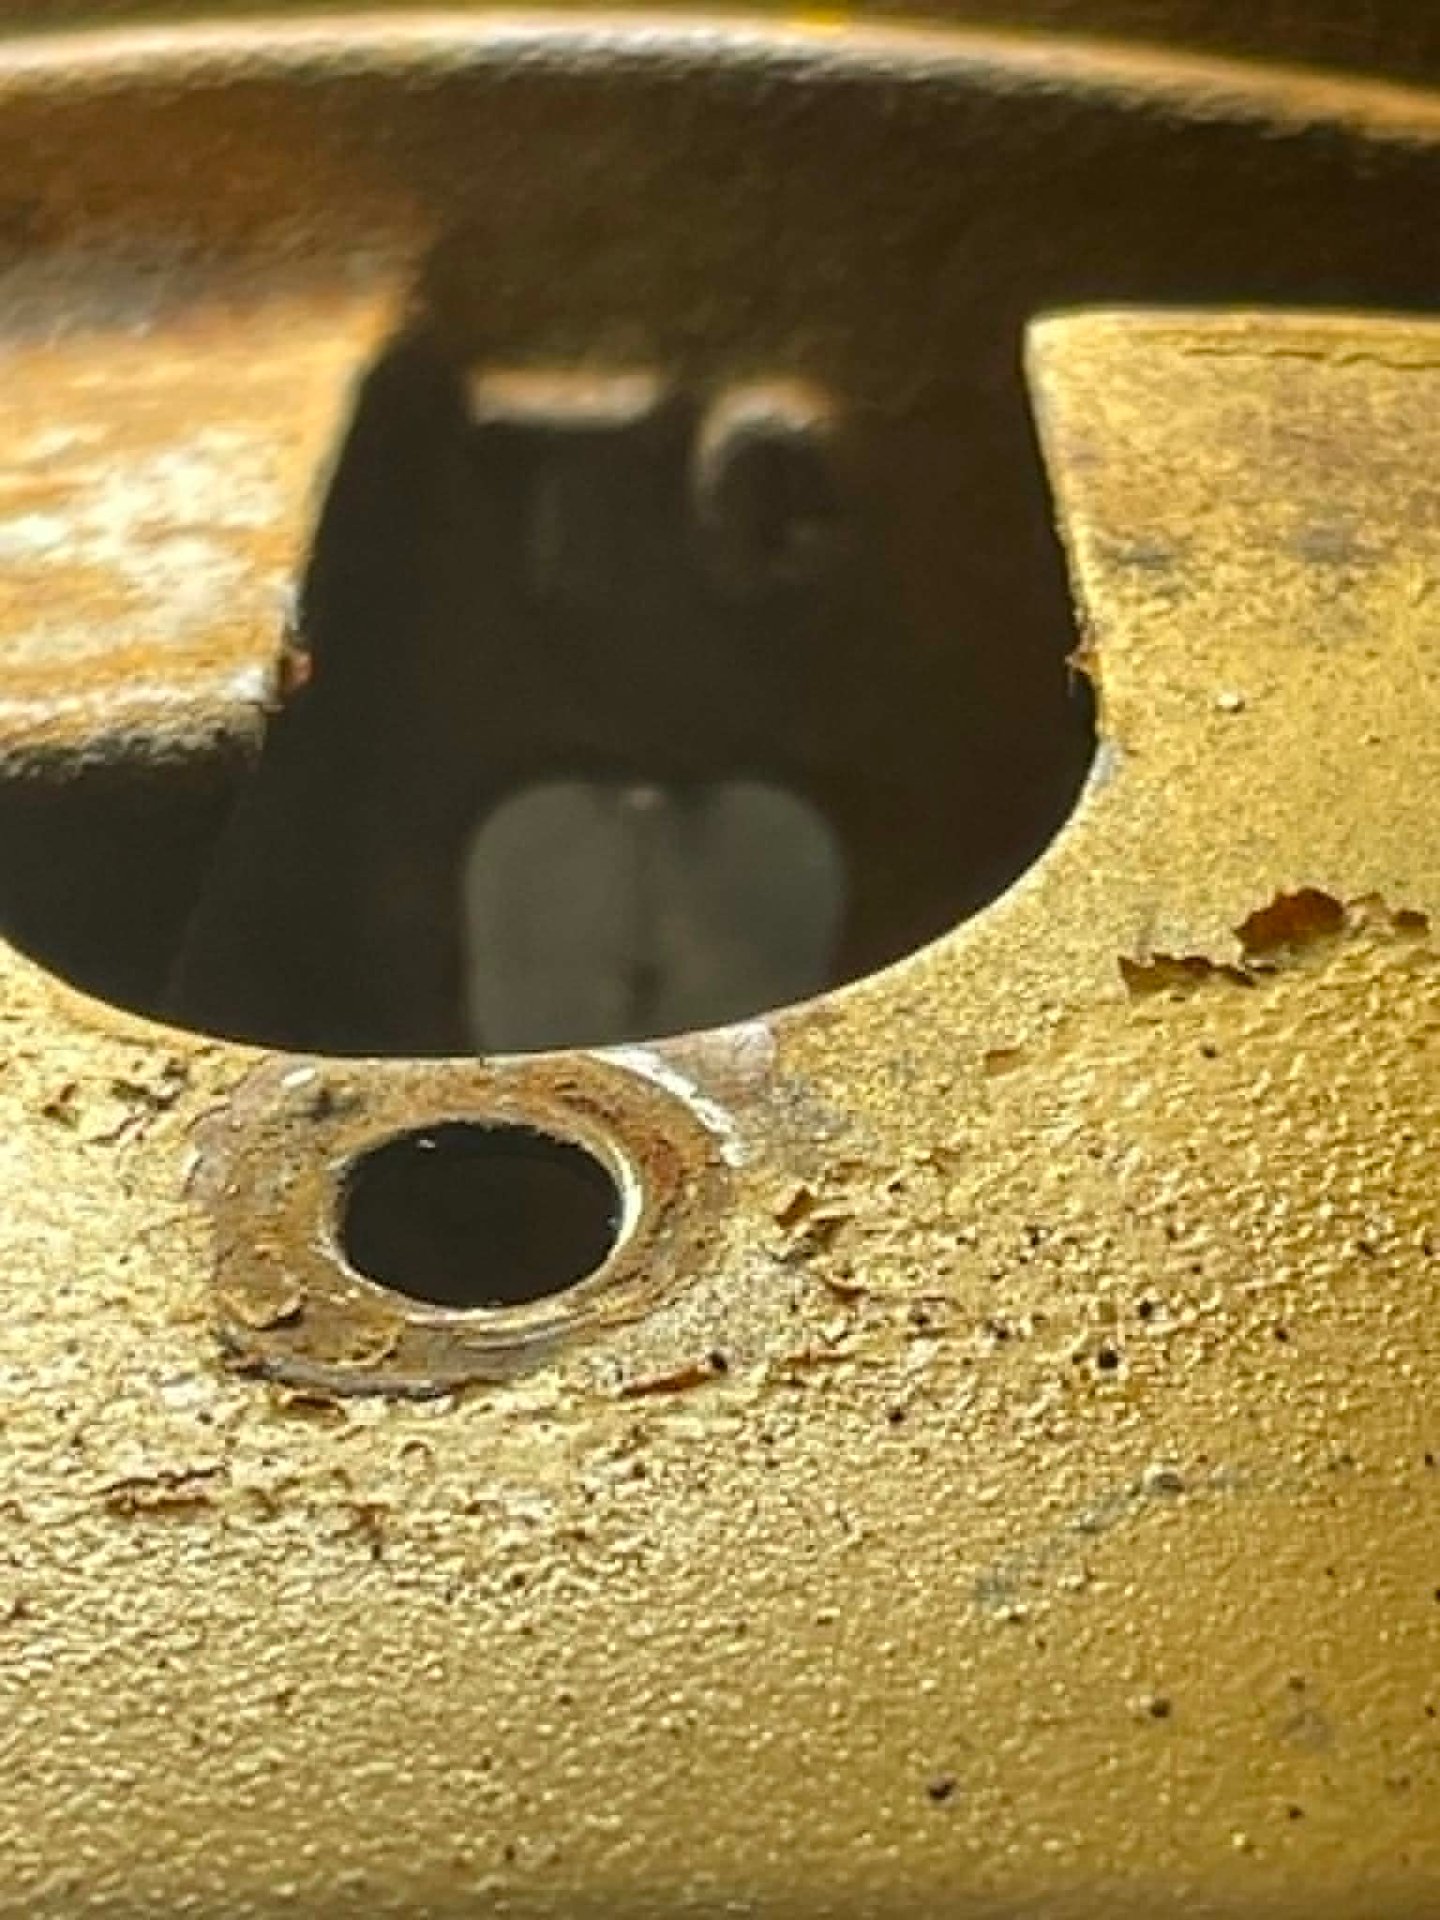
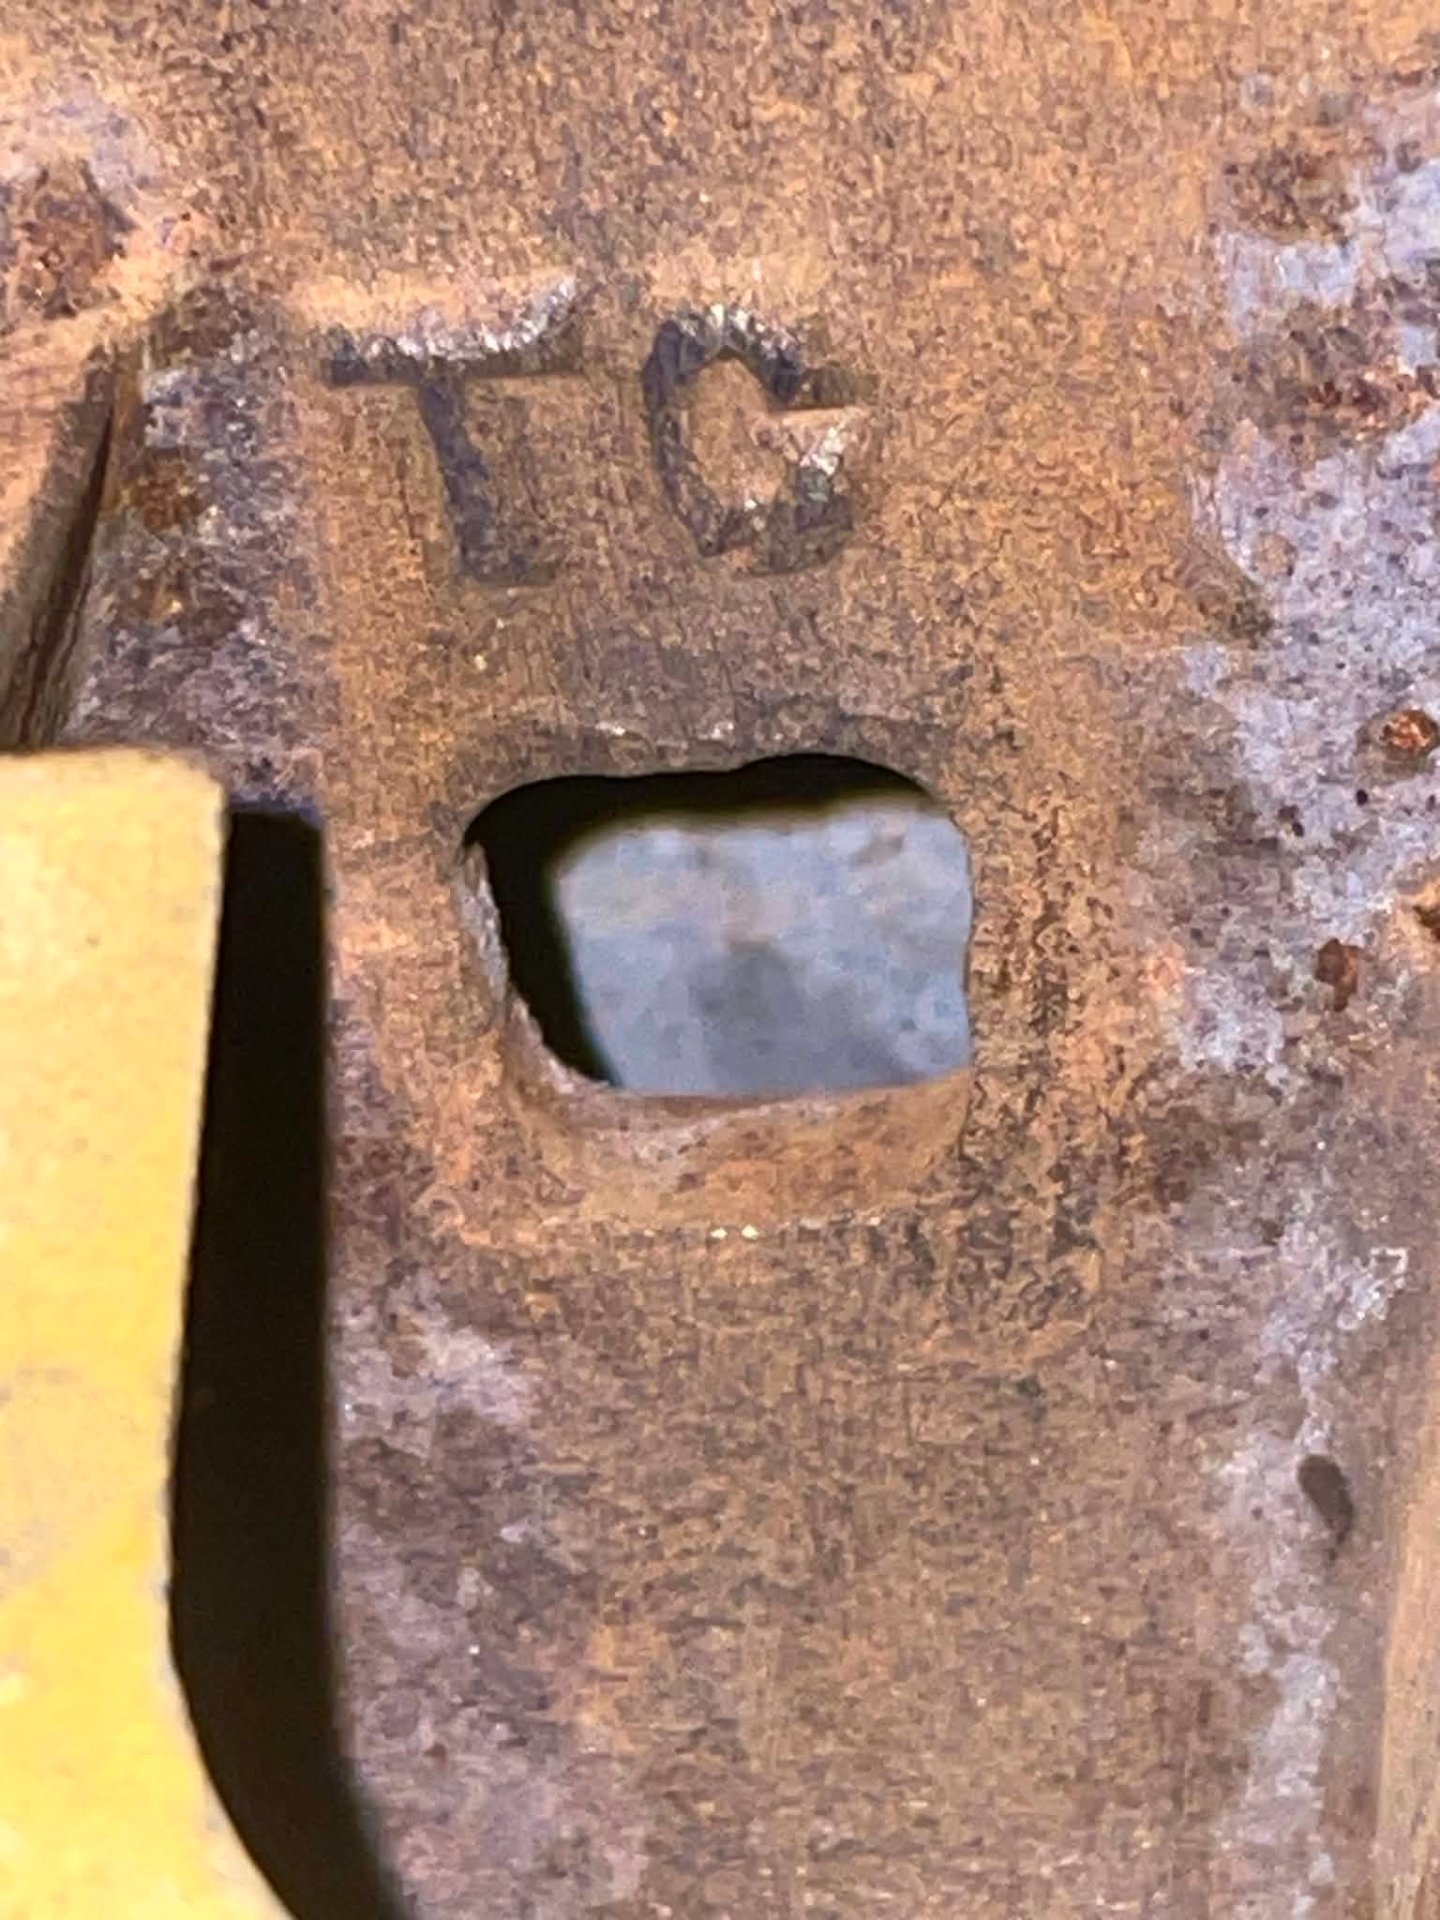
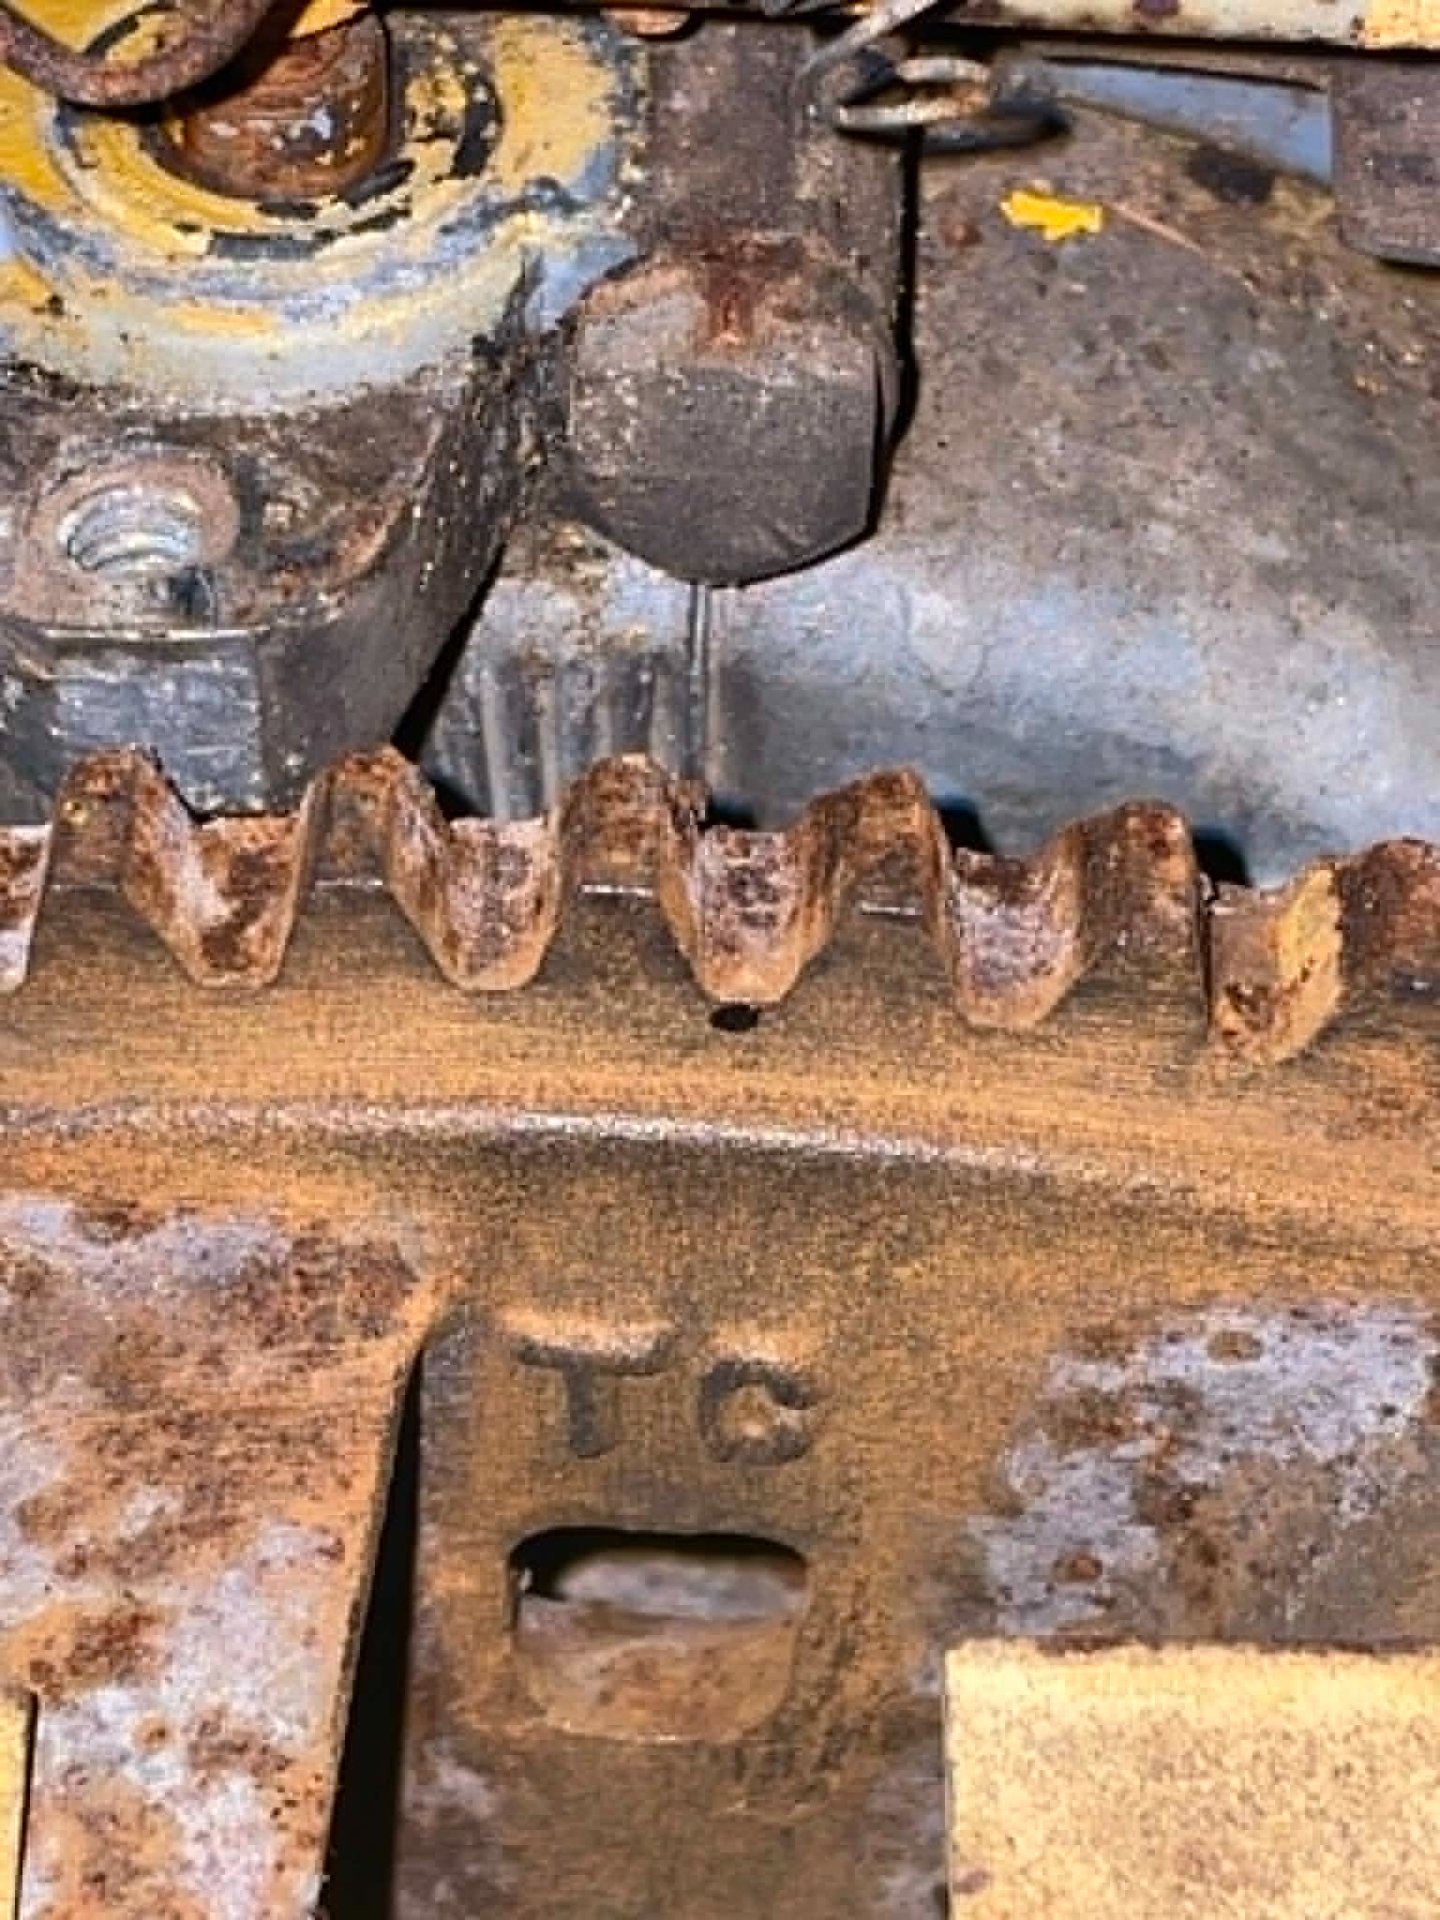
So I dove into italthough I was hesitant to do so. Pulled the radiator and muscled the front cover as much as I could, found the timing marks and lined everything up... the first go the points were completely closed so it was 180 out, cranked it around and the gap was too tight so I adjusted it to .016. The spark plugs were also gapped too far so I adjusted them to .025
Now I need to get a battery so I can test the fuel pump and see if it will fire up... I cleaned up the cooling fins on the heads, the radiator is pretty rusted up in the fin area but not leaking, going to treat it to prevent further rusting for the time being.

Now that Im thinking about it.... was I supposed to set the points at .016 on the 20 degree mark or TDC.... as I adjusted it at TDC... hope I didnt goof it... otherwise I know what Im doing tomorrow.
 

Attachments

  • 3a1f06c7-476e-40bd-b091-68e849cc3c35.jpg
    3a1f06c7-476e-40bd-b091-68e849cc3c35.jpg
    388.8 KB
  • e8247d63-83d1-46ed-b7e9-de7f9d6c0c20.jpg
    e8247d63-83d1-46ed-b7e9-de7f9d6c0c20.jpg
    422.7 KB
  • 053b9ea9-7ab7-4c3d-b796-7bd6abd52908.jpg
    053b9ea9-7ab7-4c3d-b796-7bd6abd52908.jpg
    483.8 KB
  • cd8bb5fc-bb21-4c58-ab2e-a1bb9b1dd8d4.jpg
    cd8bb5fc-bb21-4c58-ab2e-a1bb9b1dd8d4.jpg
    269.1 KB
  • 16ebefba-babc-46ea-b77d-ce940dd7ba2e.jpg
    16ebefba-babc-46ea-b77d-ce940dd7ba2e.jpg
    525.7 KB

Latest posts

Back
Top