Acreage T250
Active member
- Joined
- Dec 21, 2022
- Messages
- 26
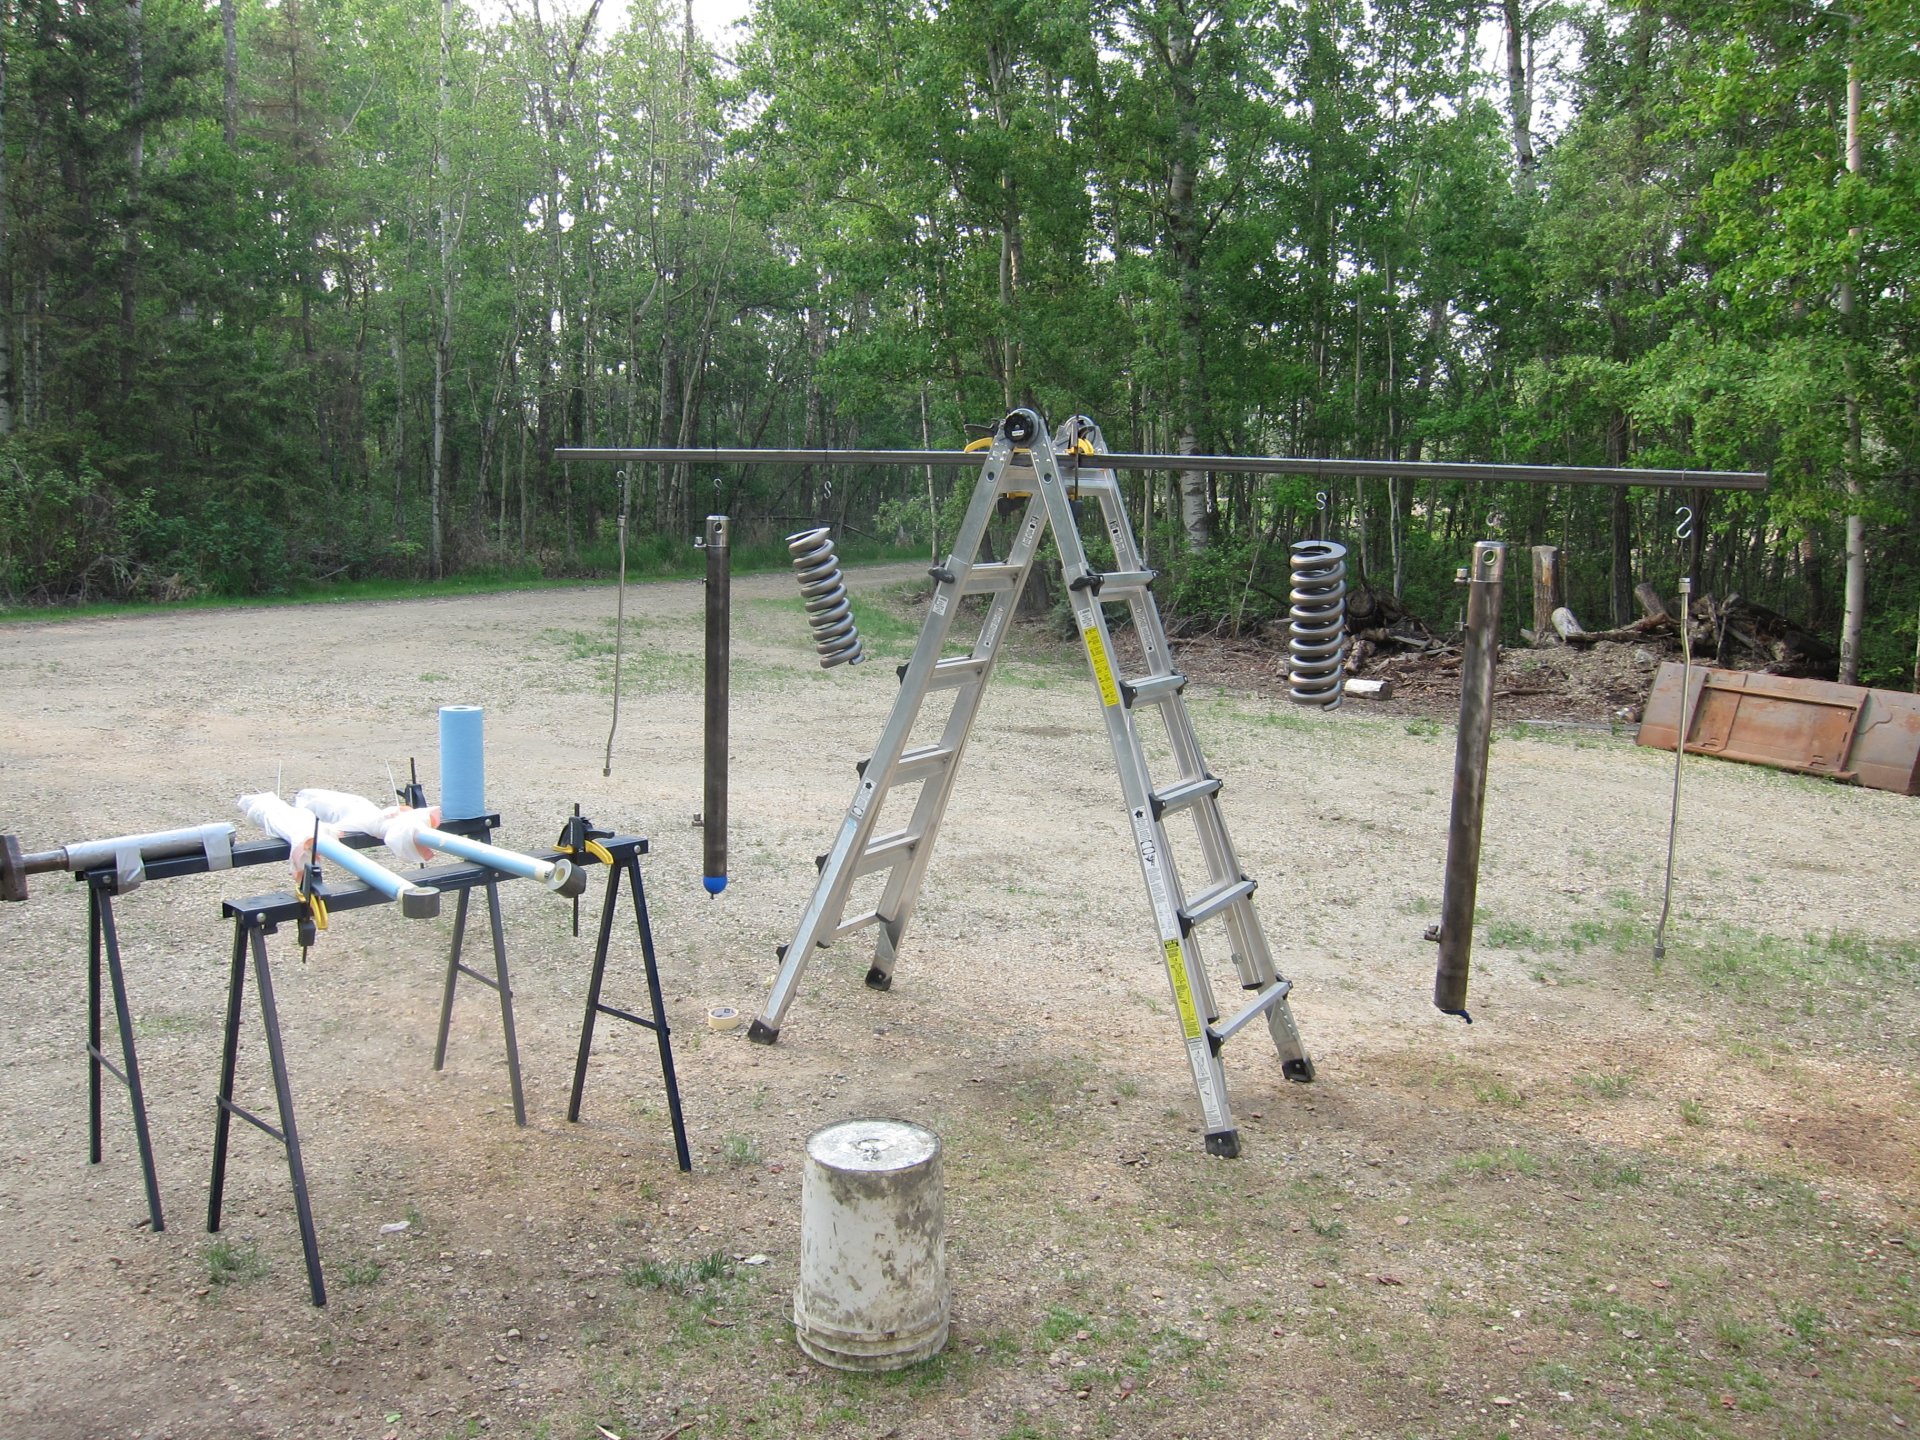
I thought I would post on the recon of the lift cylinders on my T250.
I have never worked on hydraulics before this, so I claim to be no expert on hydraulics.
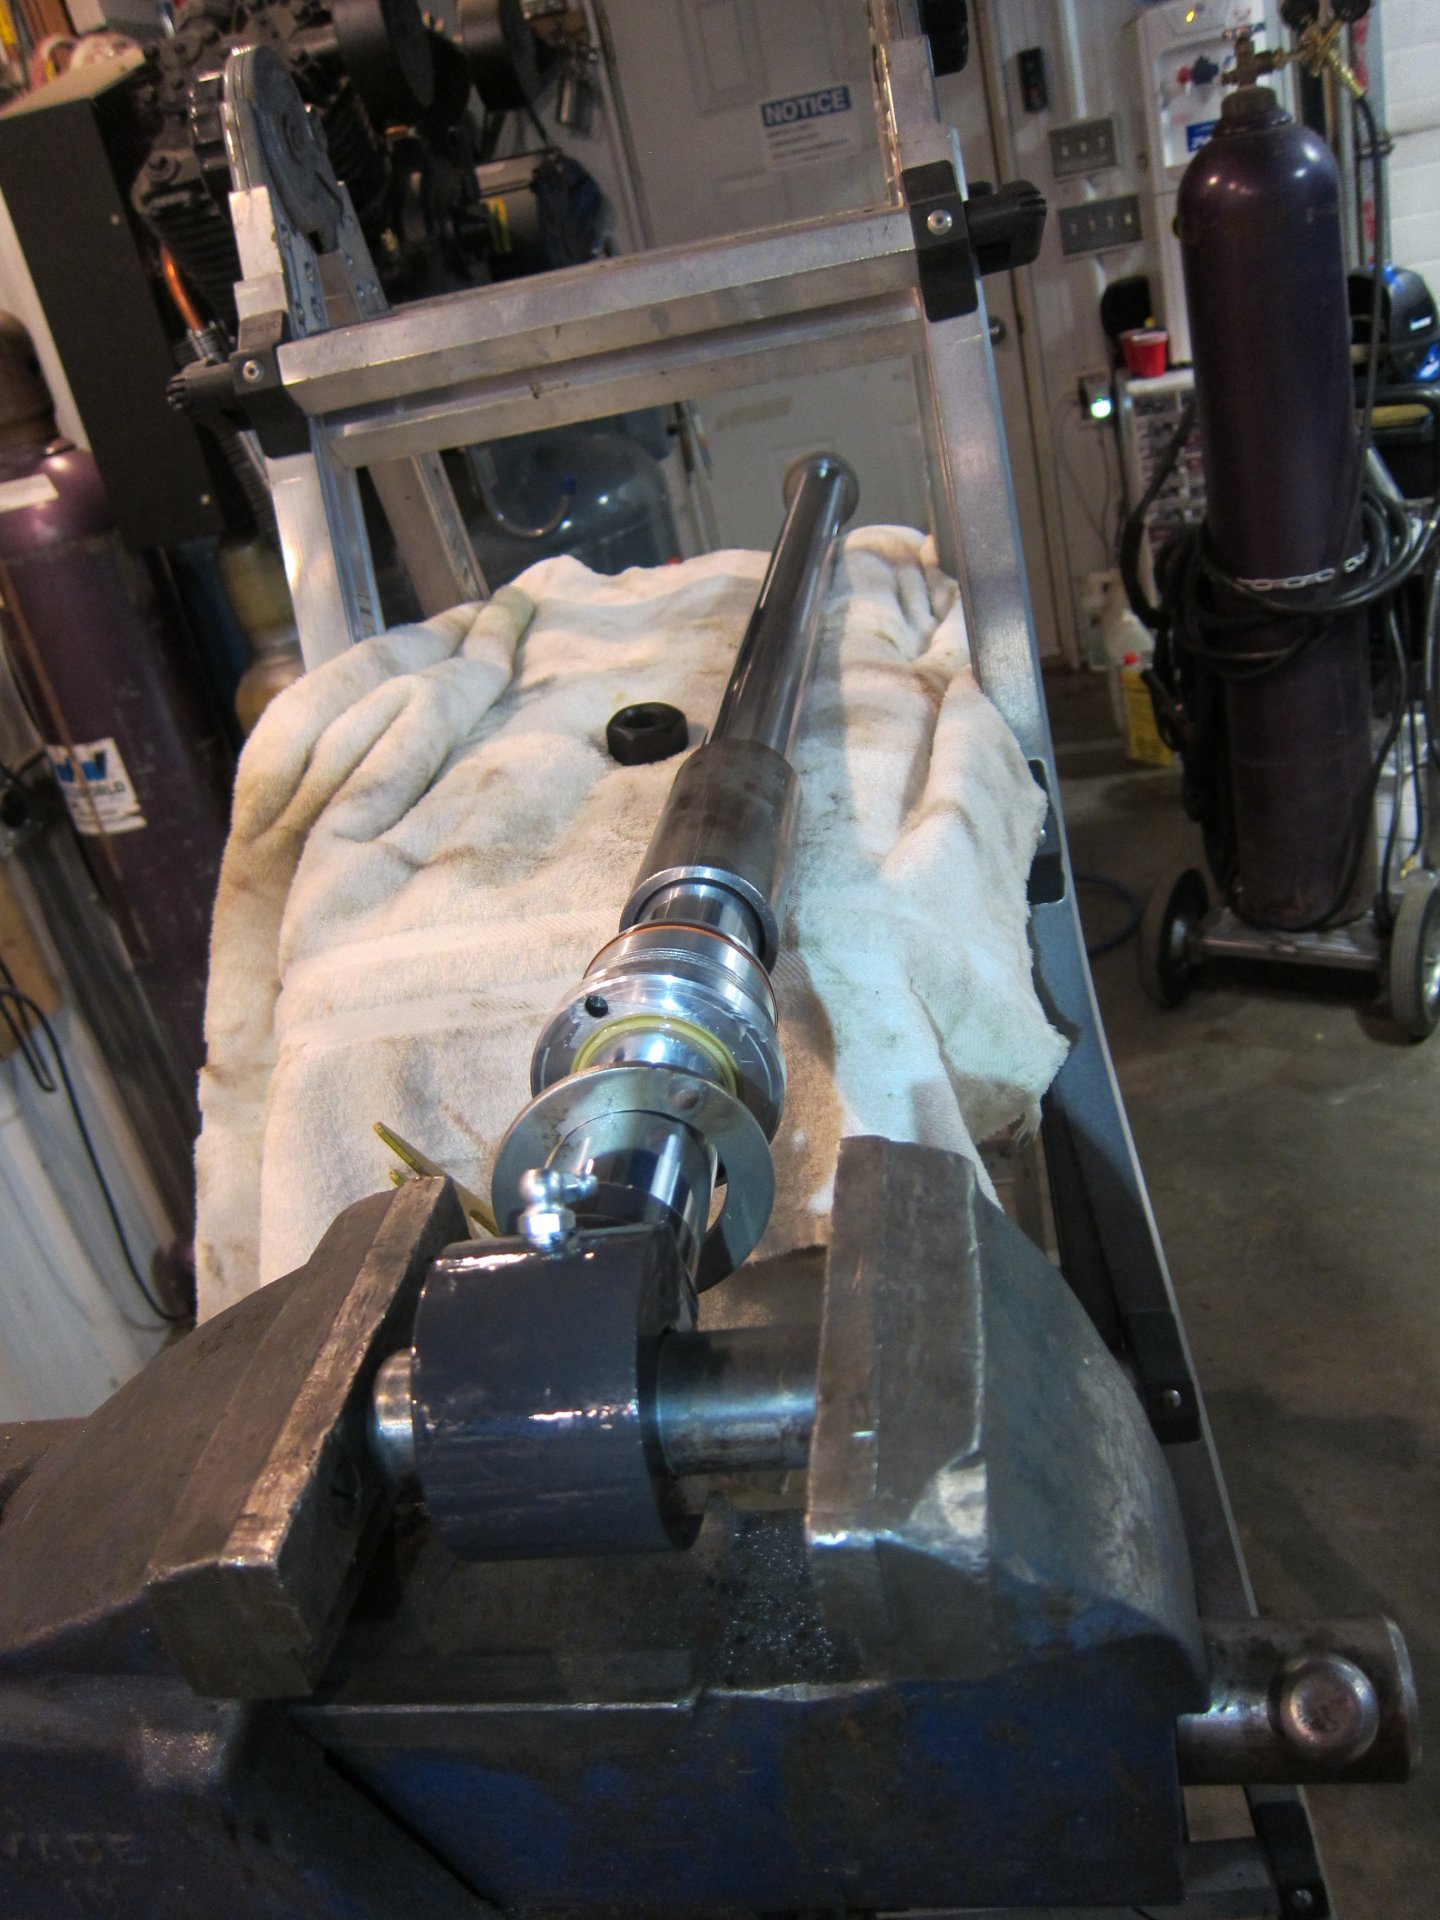
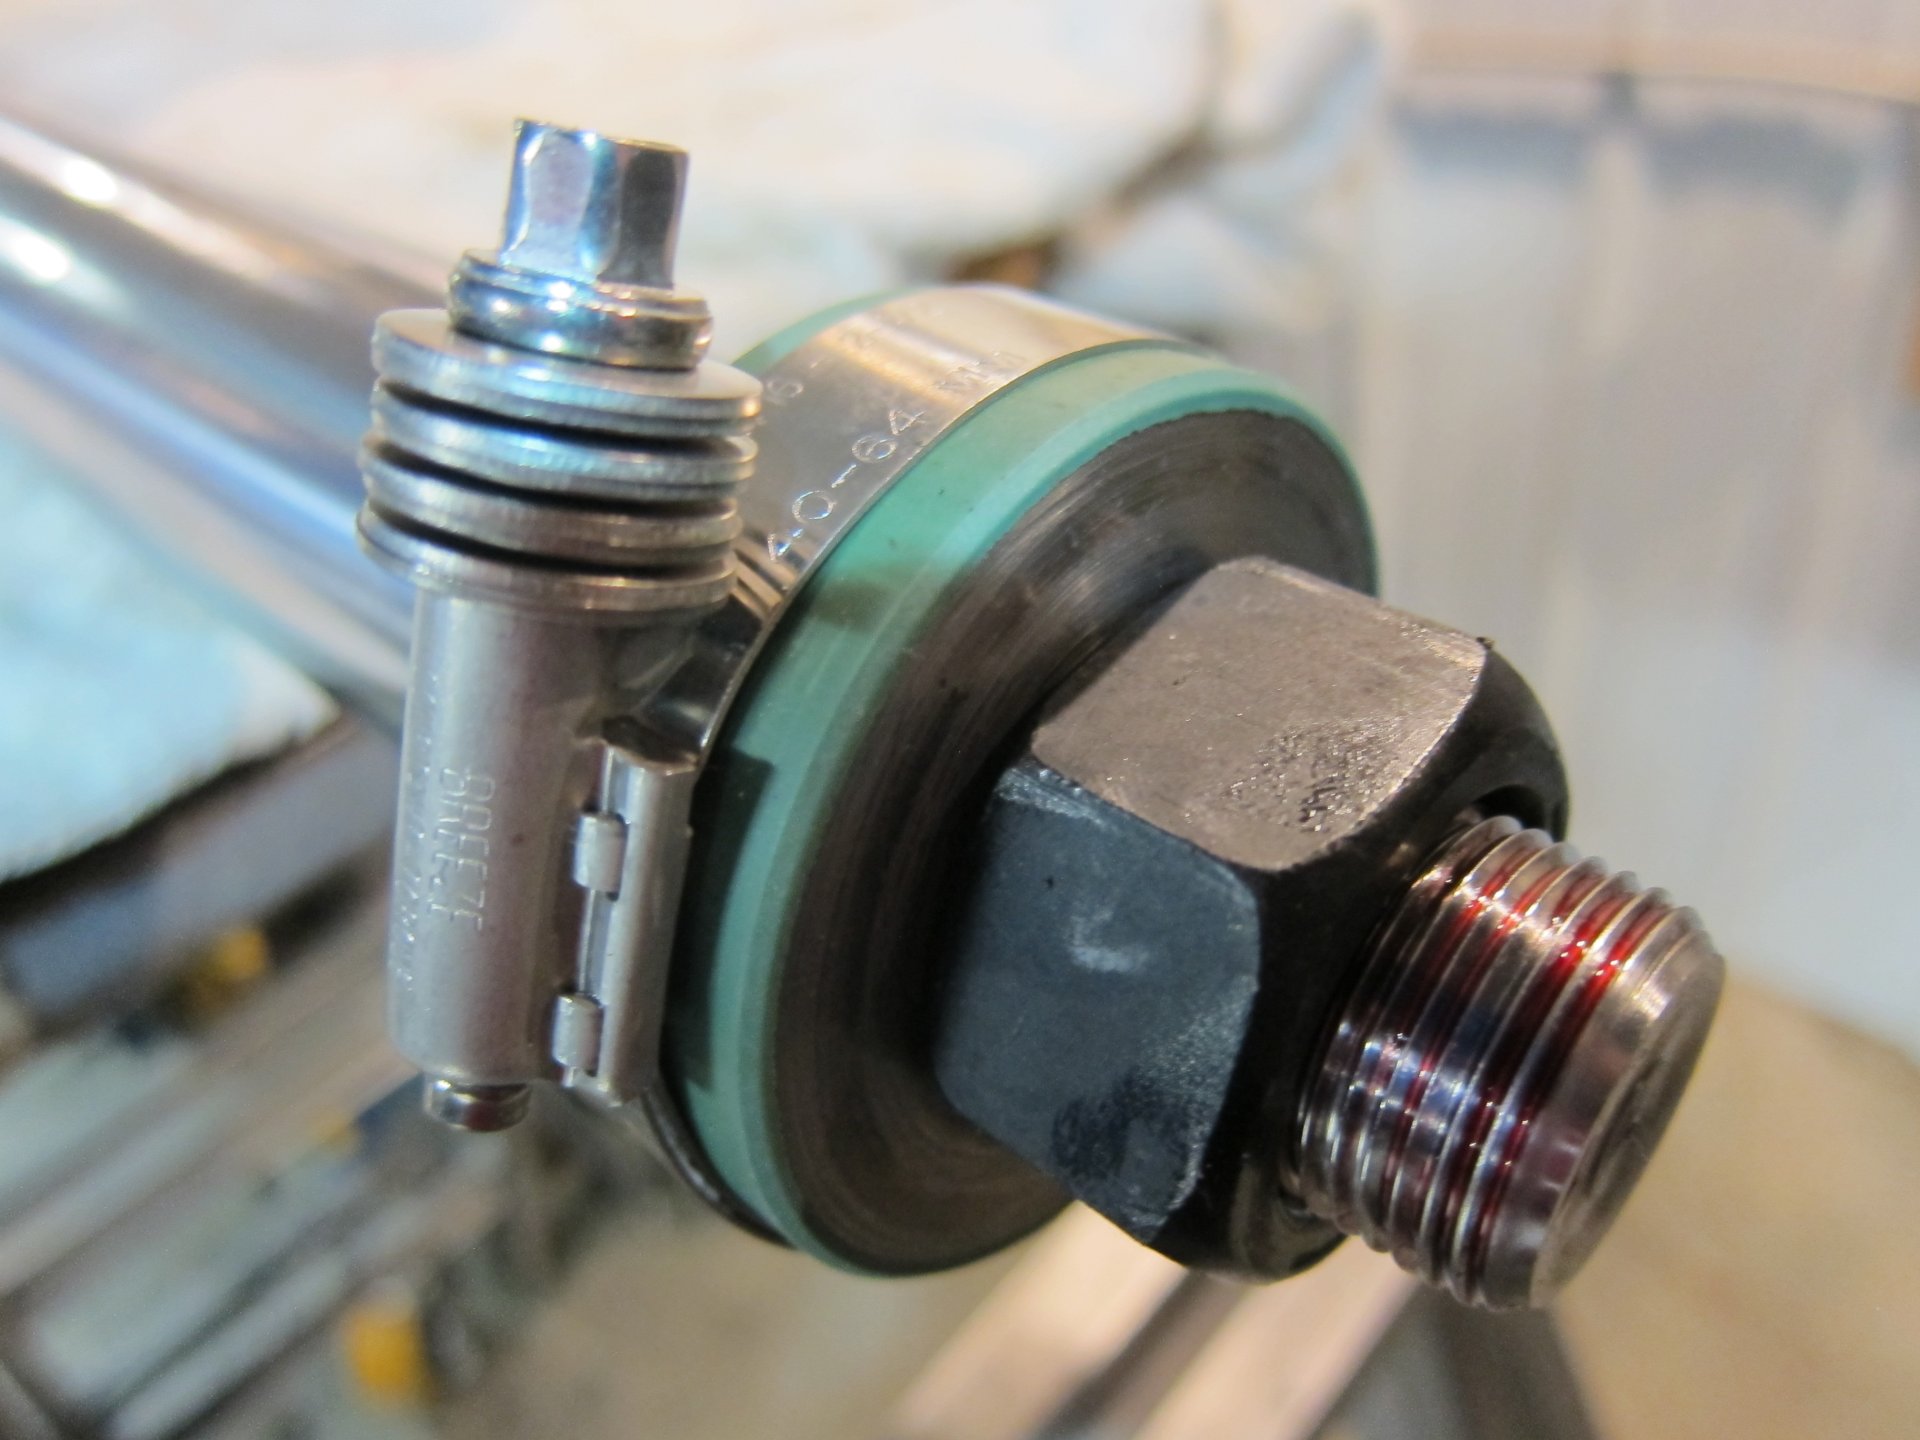
The right hand side had a small oil leak so I decided to do the seals for both sides. I never torqued a bolt to 600 ft-lbs so a pipe was required on the 3/4" breaker bar along with one of those digital torque gages and some red Locktite did the trick. A smooth , non serated pipe clamp was helpful in getting the piston seal to "compress" enough to go into the cylinder bore.
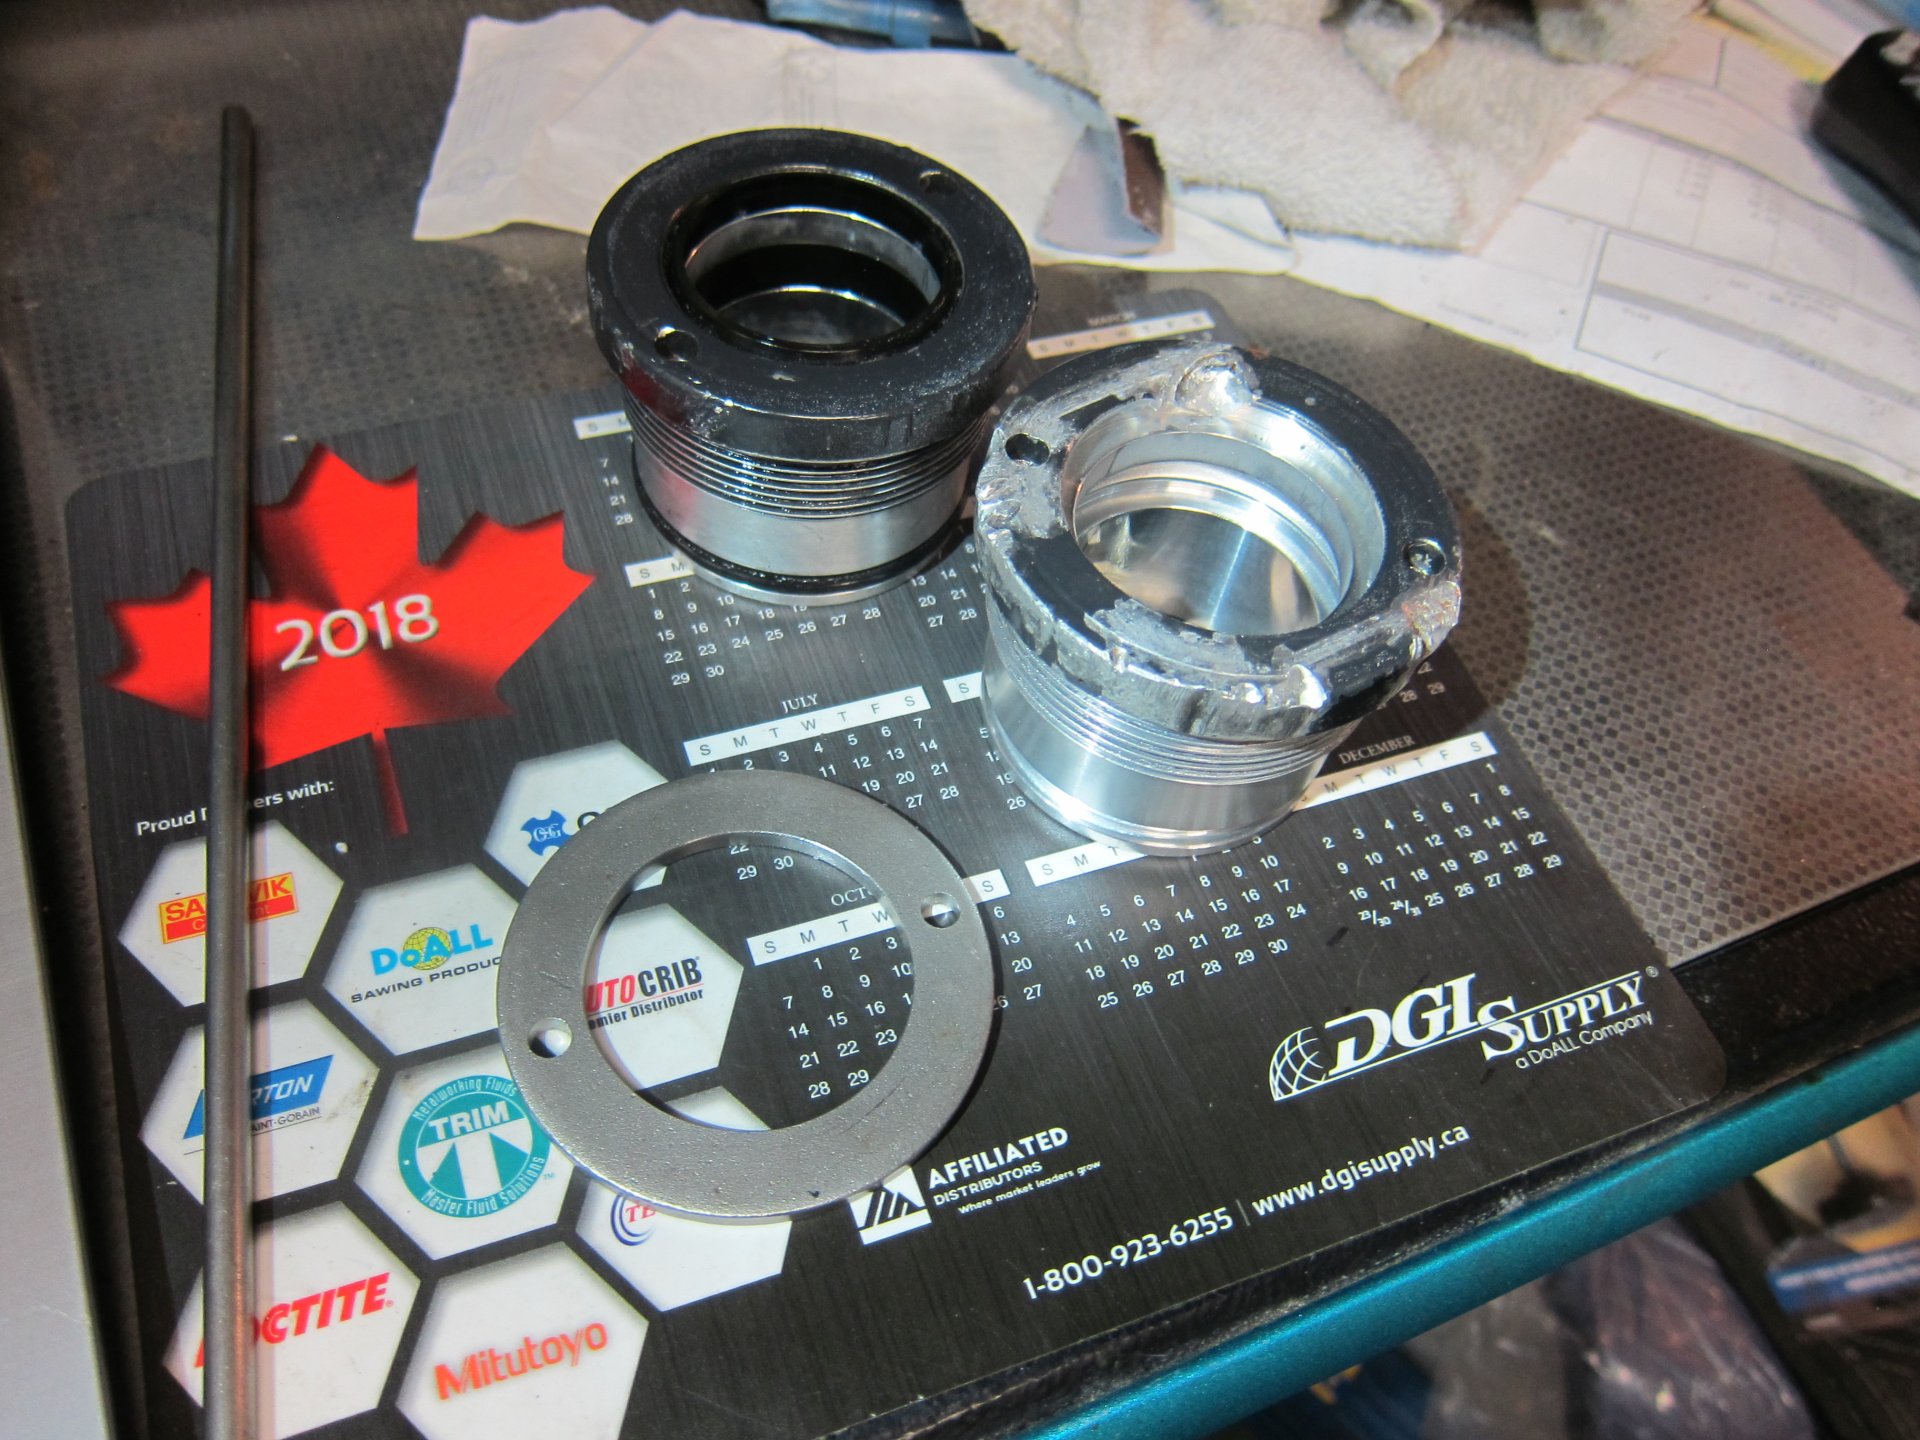
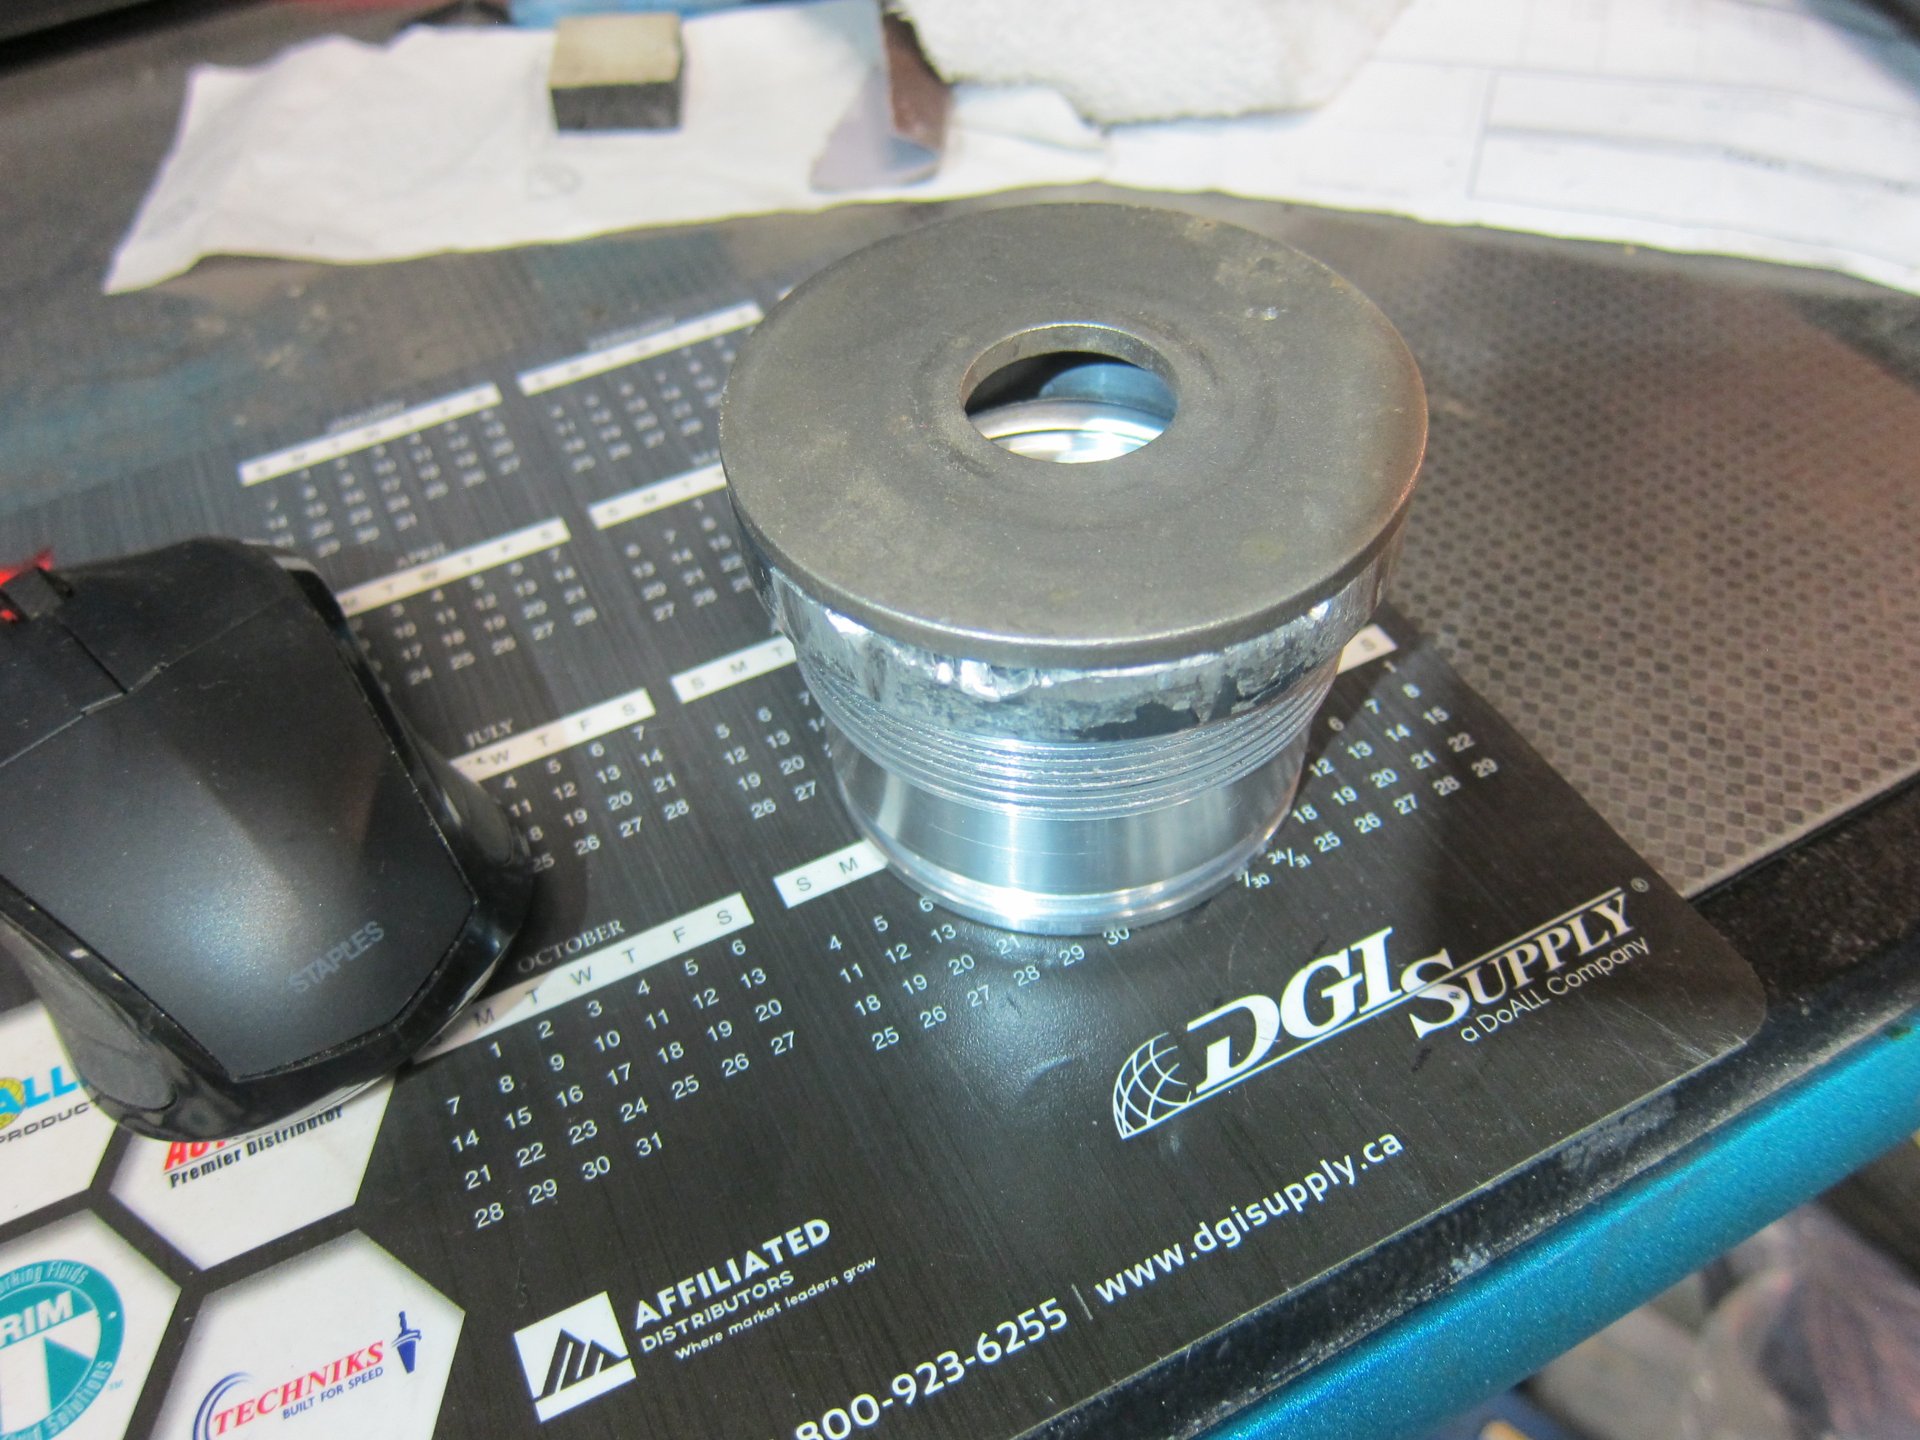
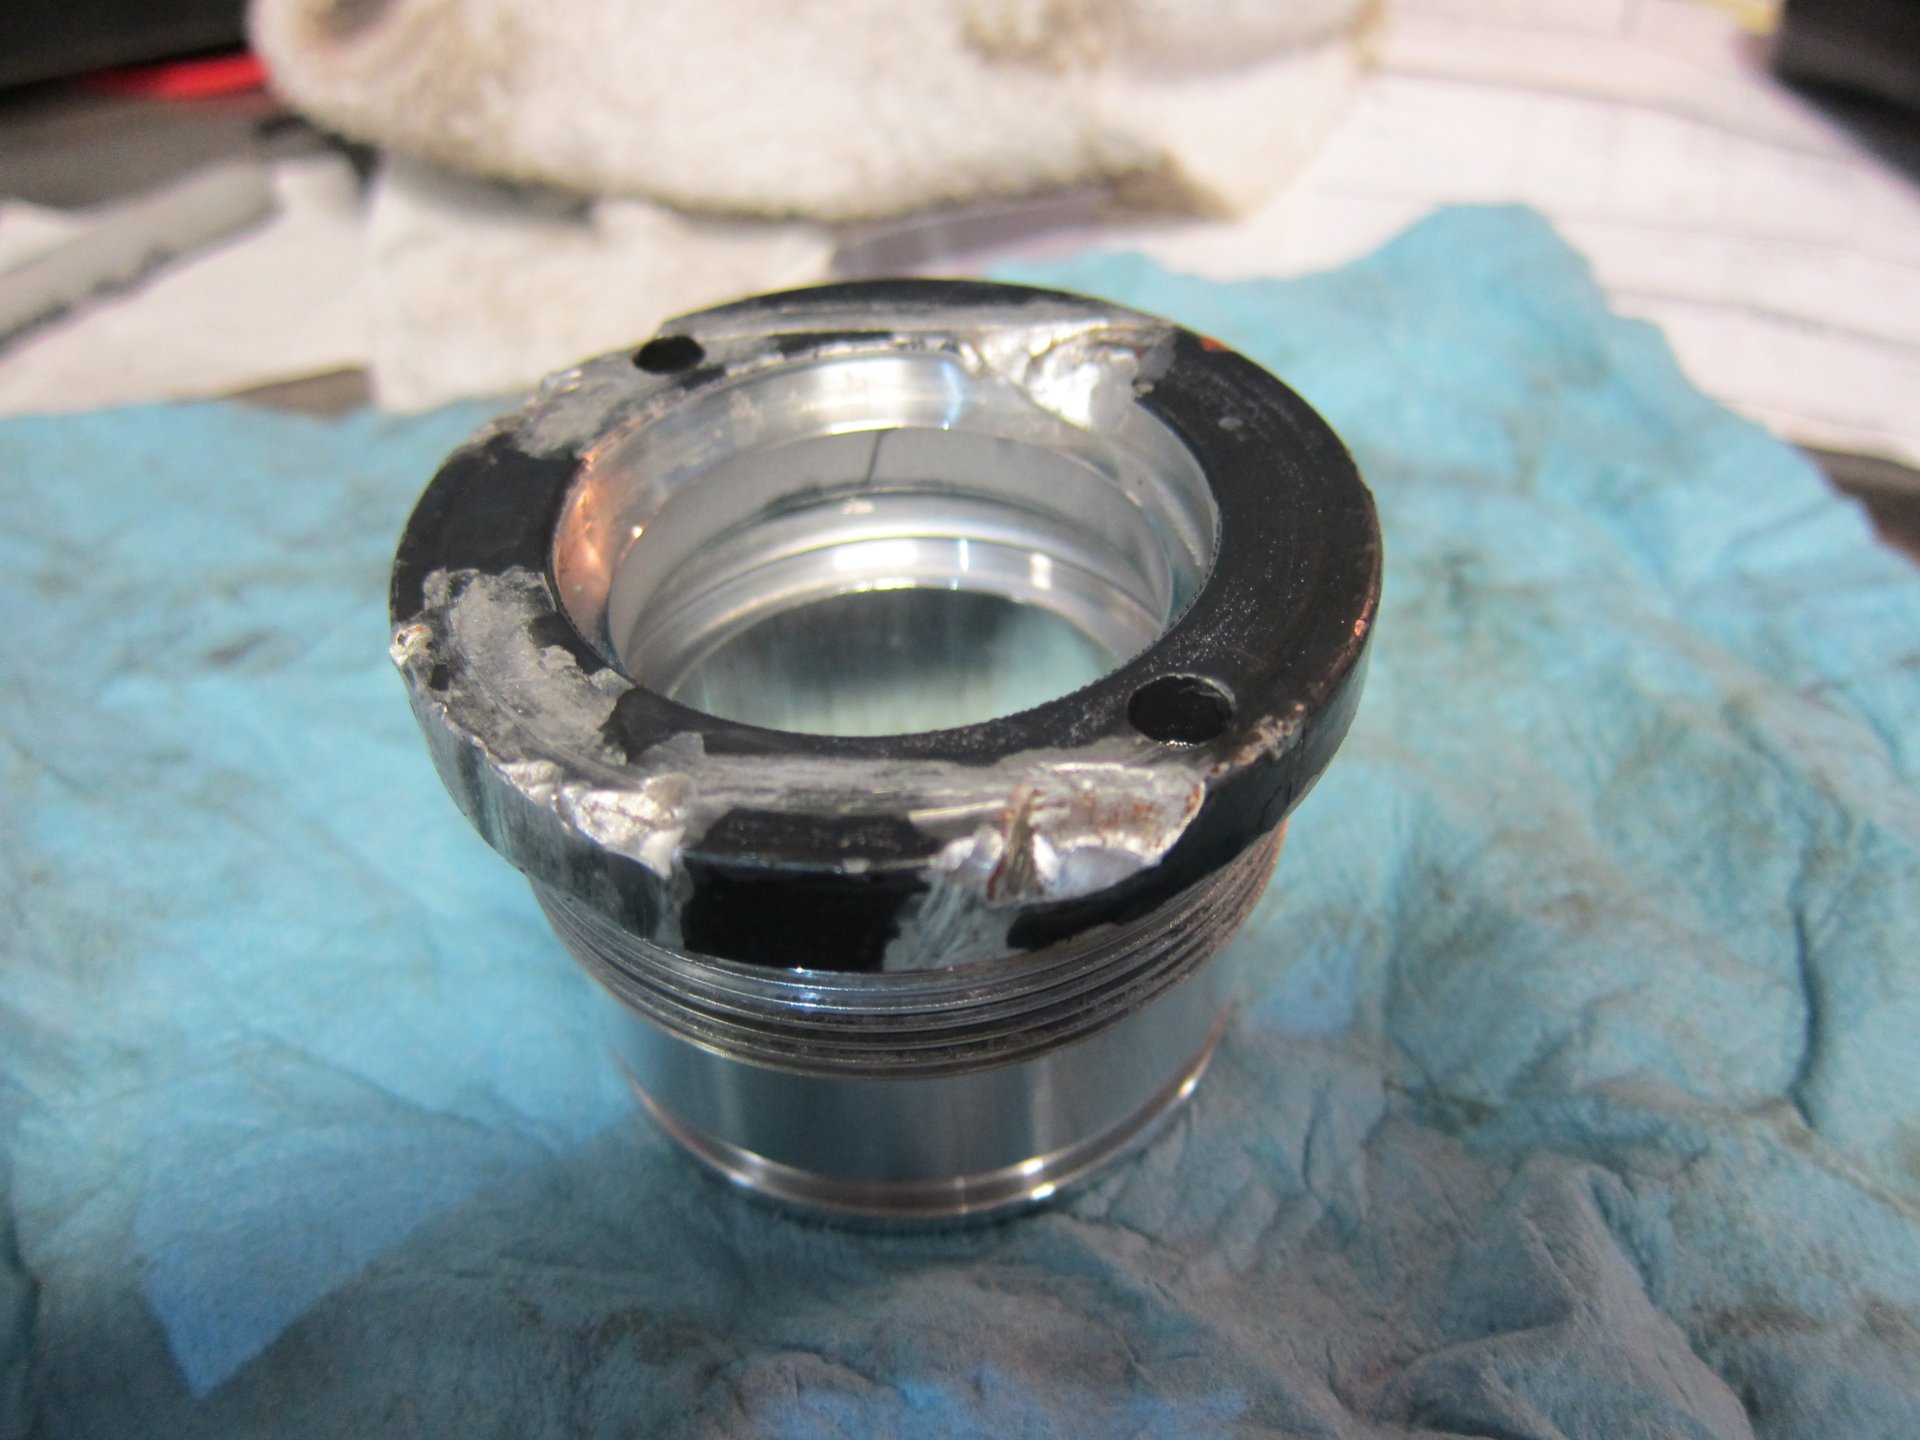
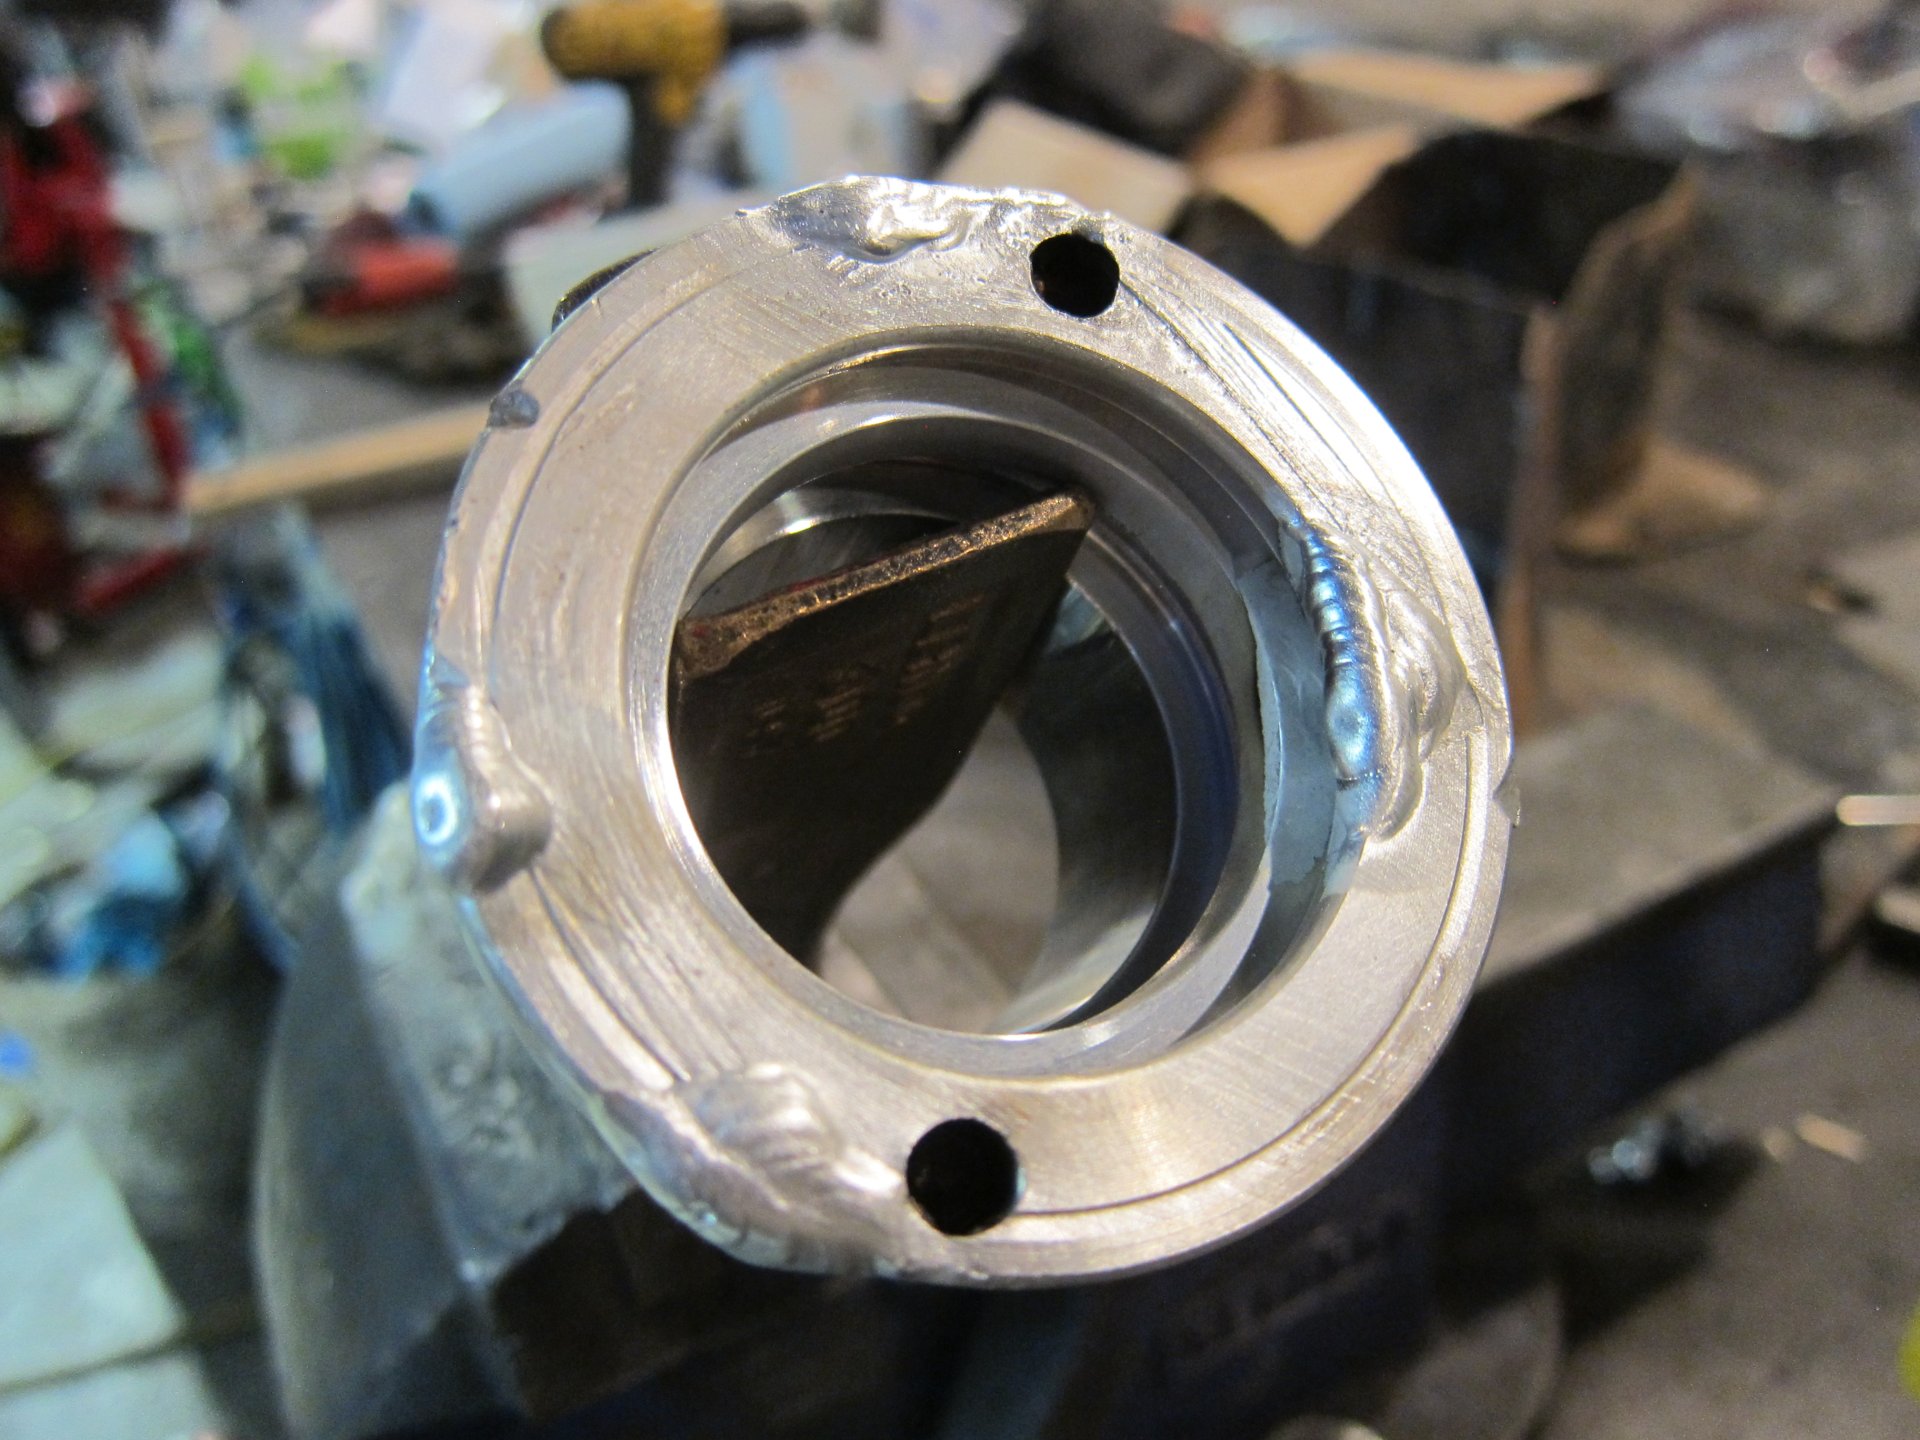
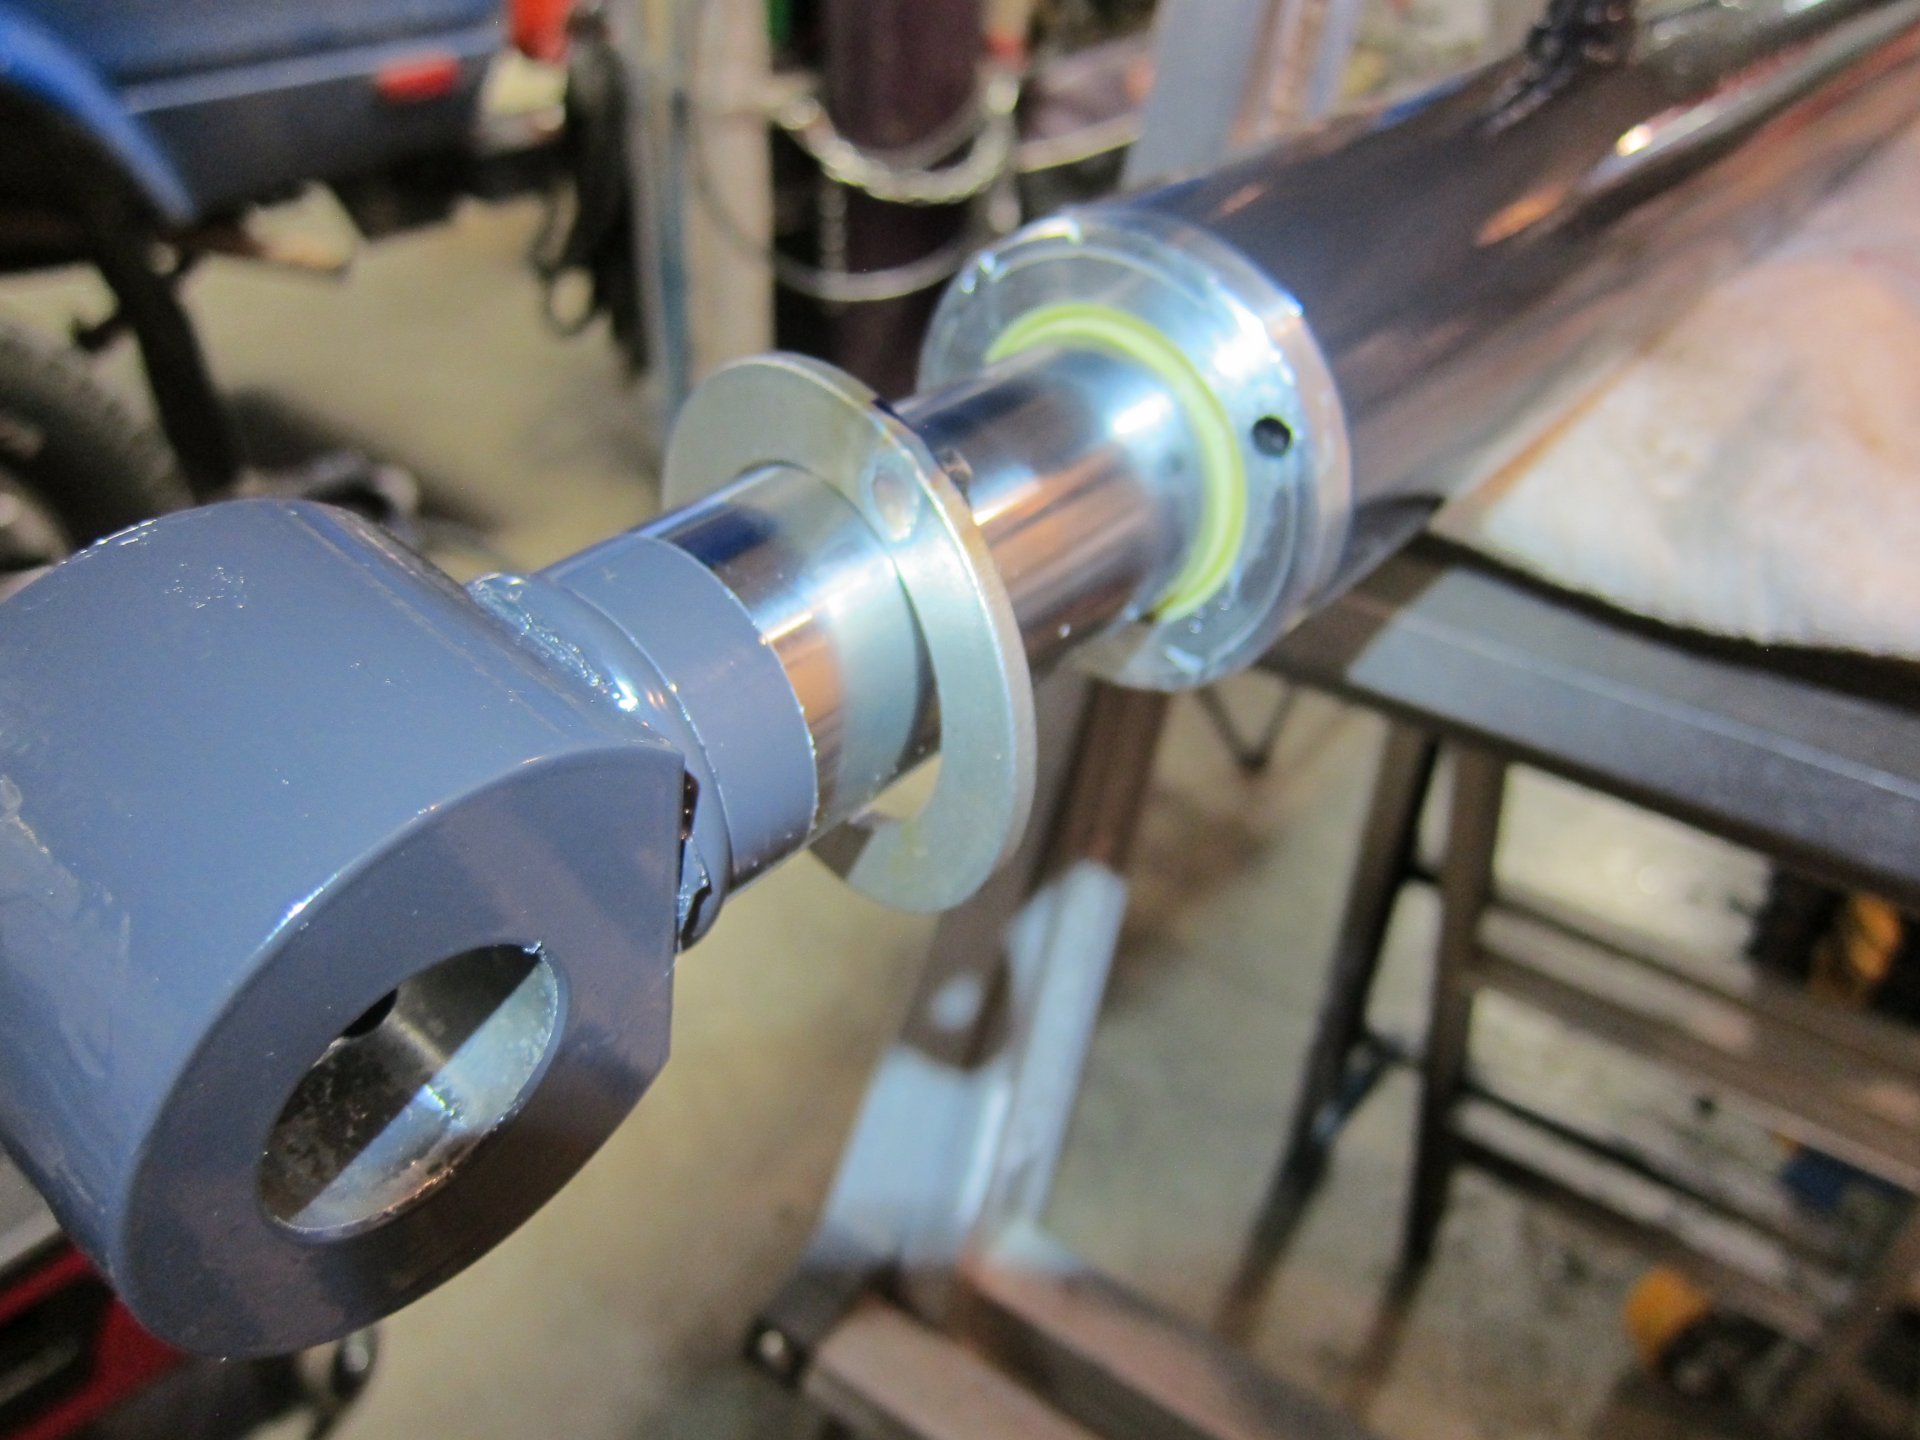
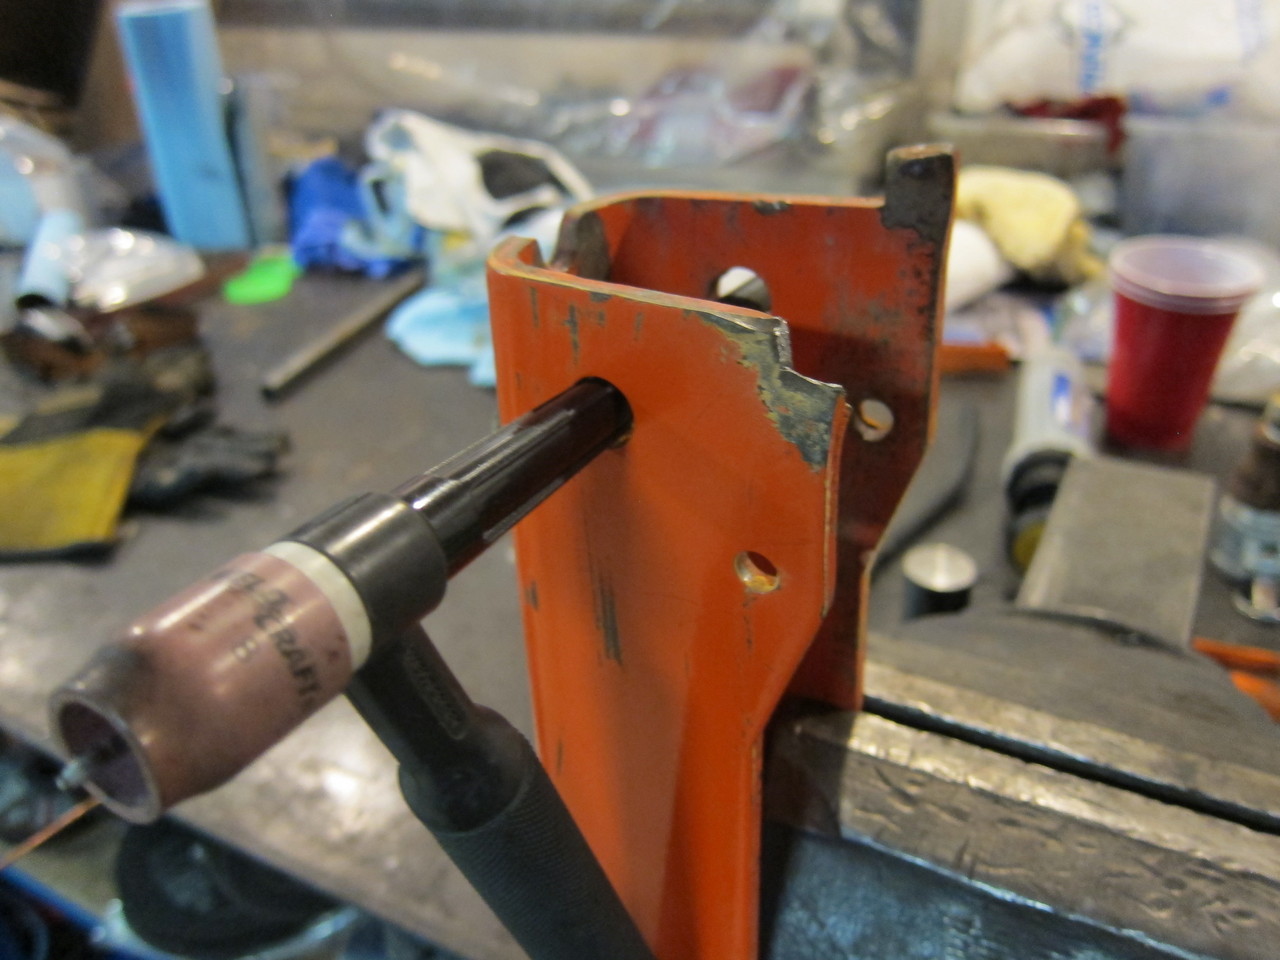
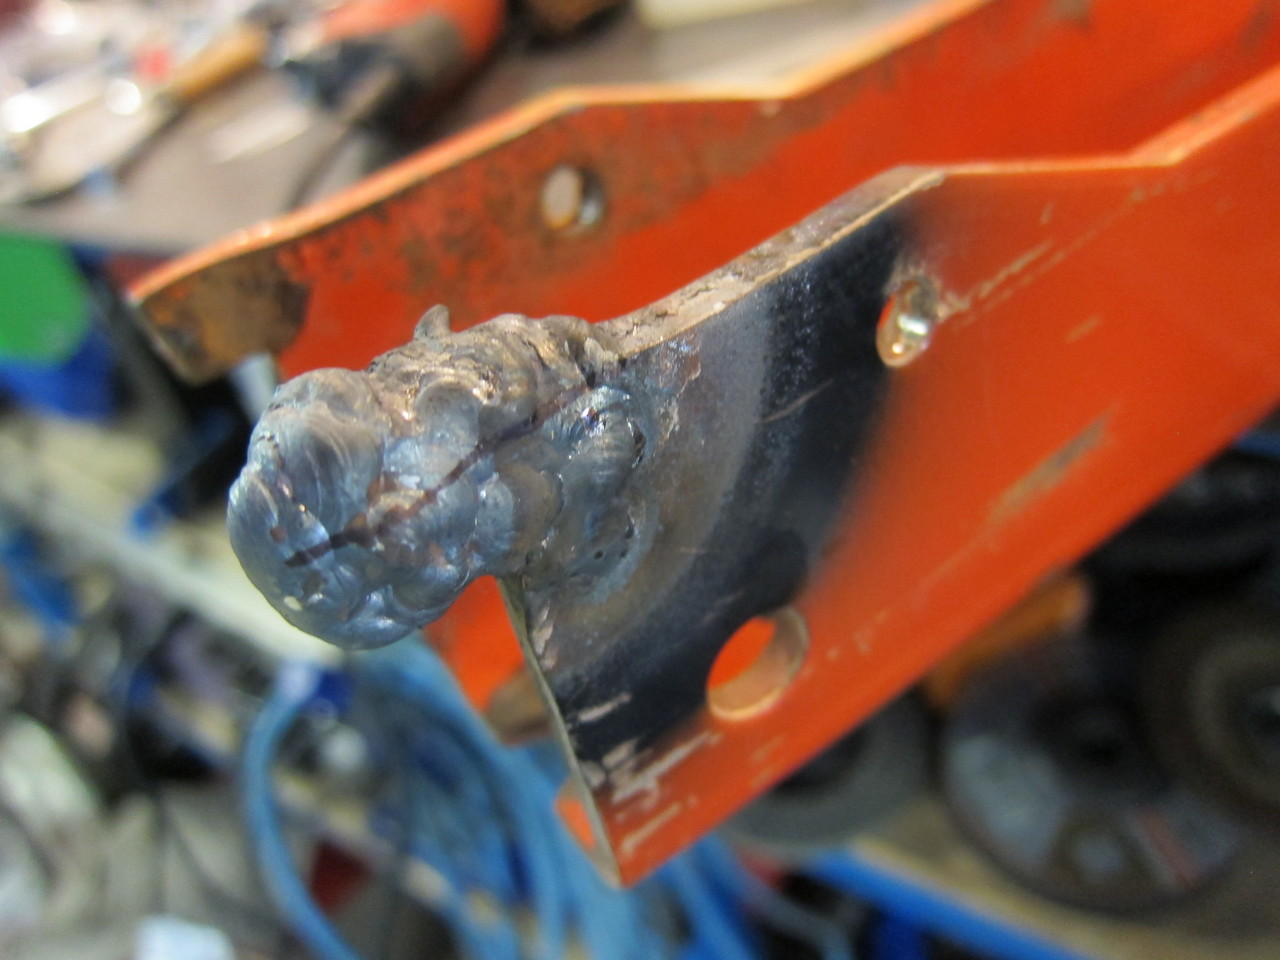
The RHS cylinder seemed to have gotten beat up due to the boom lock hammering the aluminum end cap so I decided to take a 3" SS washer and make a protective cap. I tacked welded 2 small 1/4" pins to help hold it in place with a couple dabs of RTV silicone. The aluminum cap got a couple of TIG beads and touch up on the lathe. The orange boom lock arm had some neglect so I decided to TIG weld a new tab back on using a small belt sander to shape it.
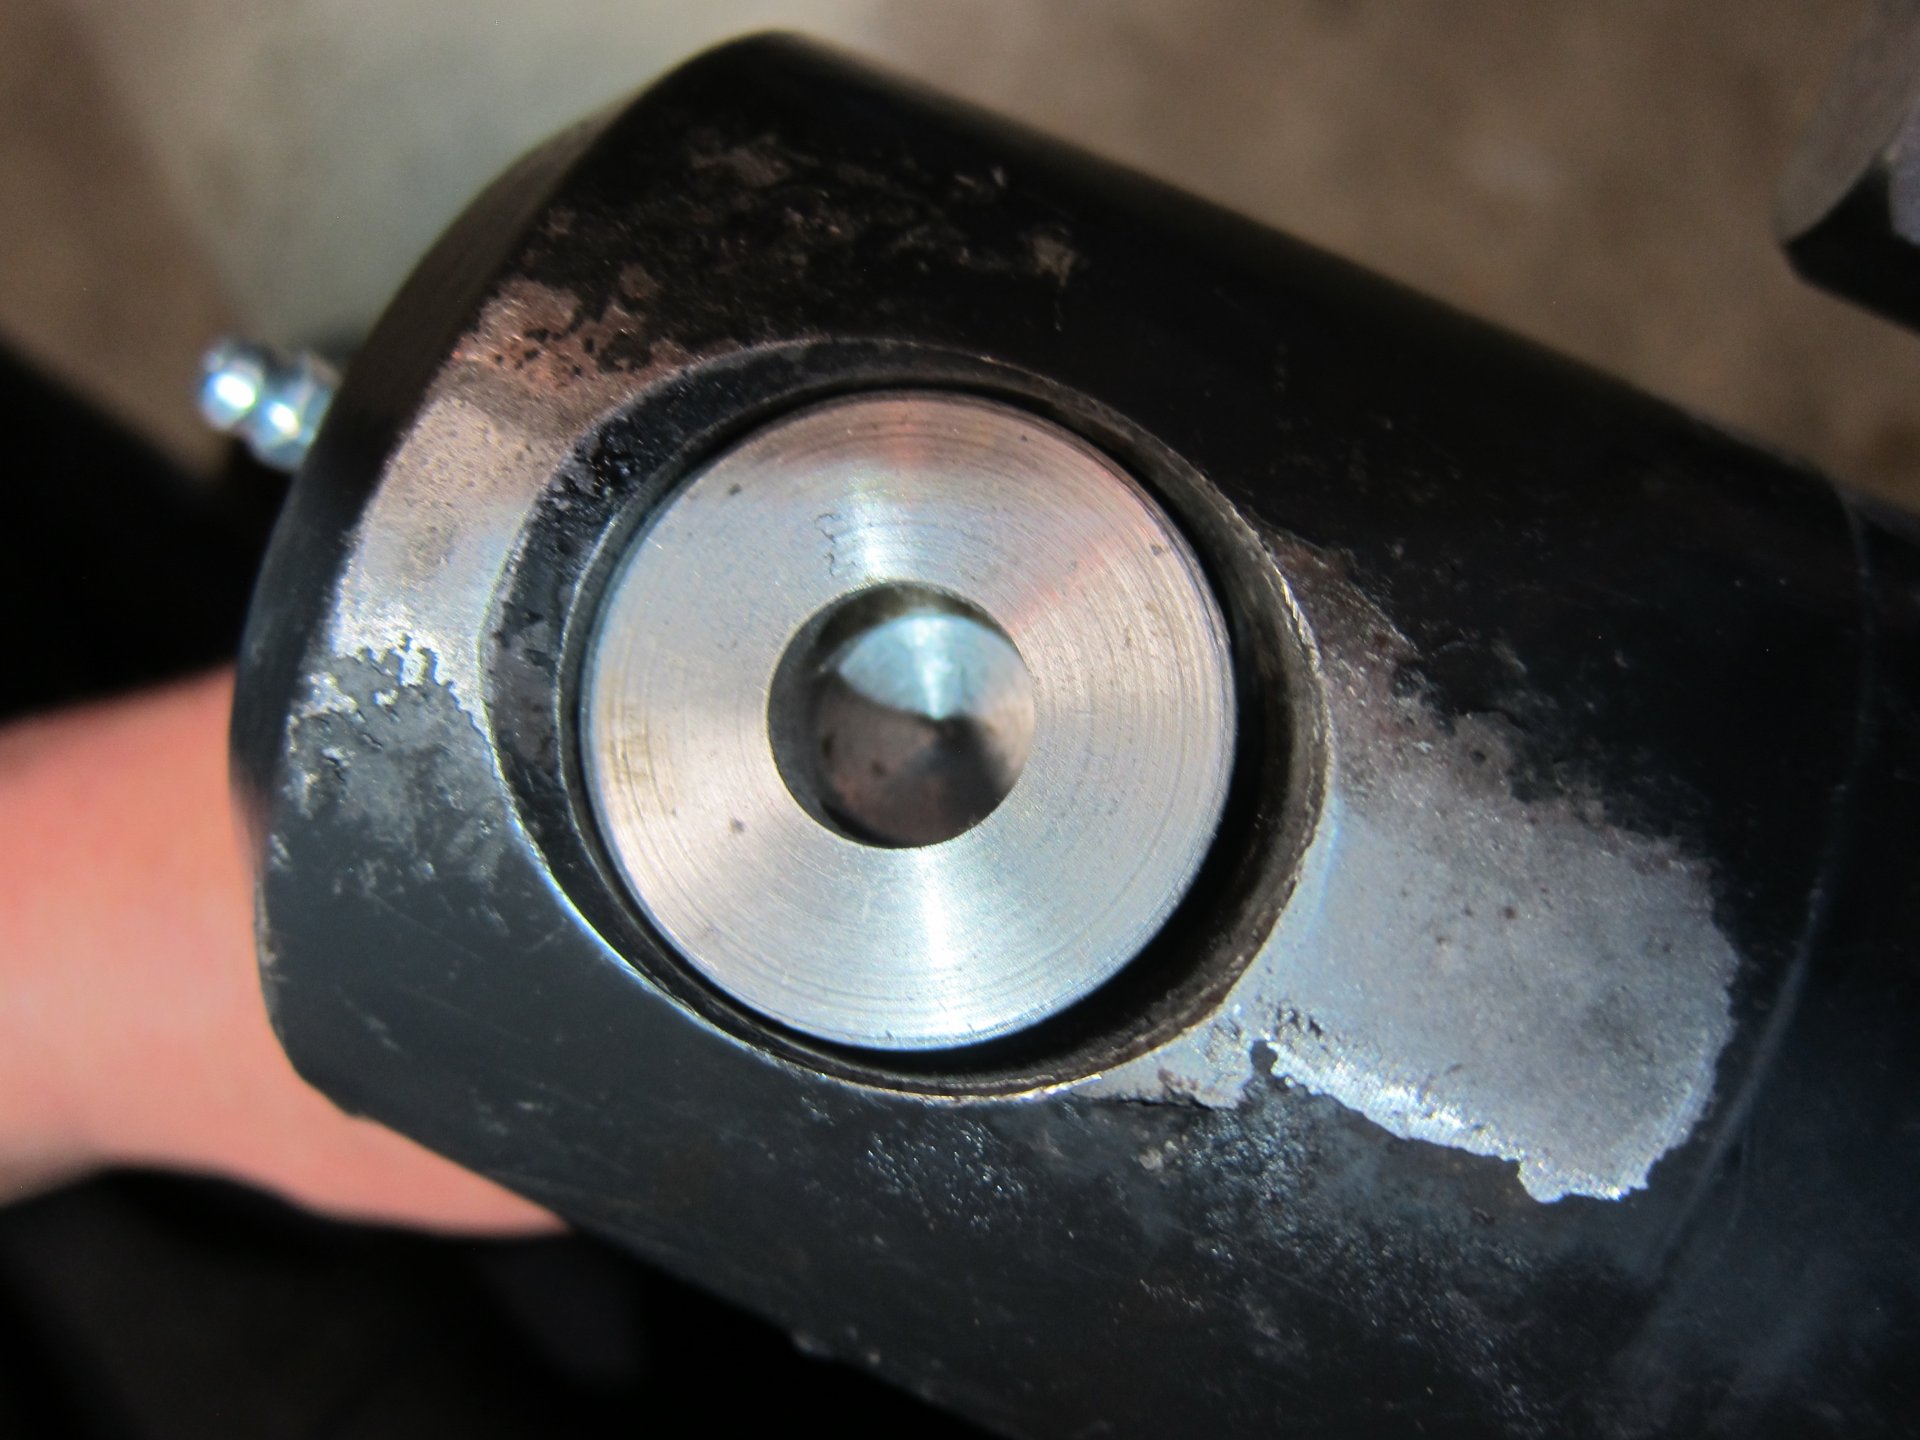
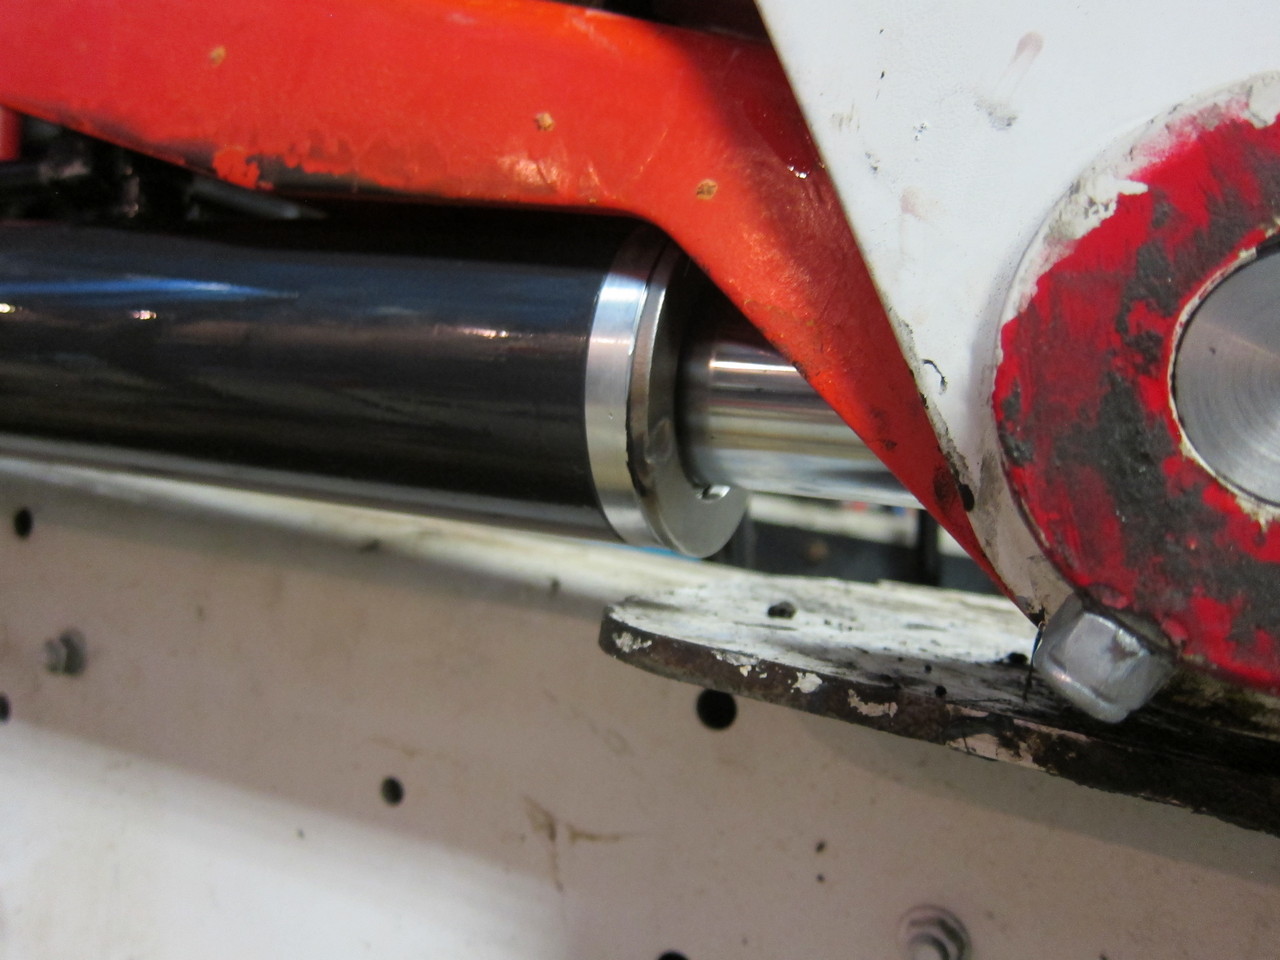
The RHS cylinder was missing the base end grease nipple, which created excessive wear to both pin and bore creating with massive slop, which was the main driver of the cylinder repair.
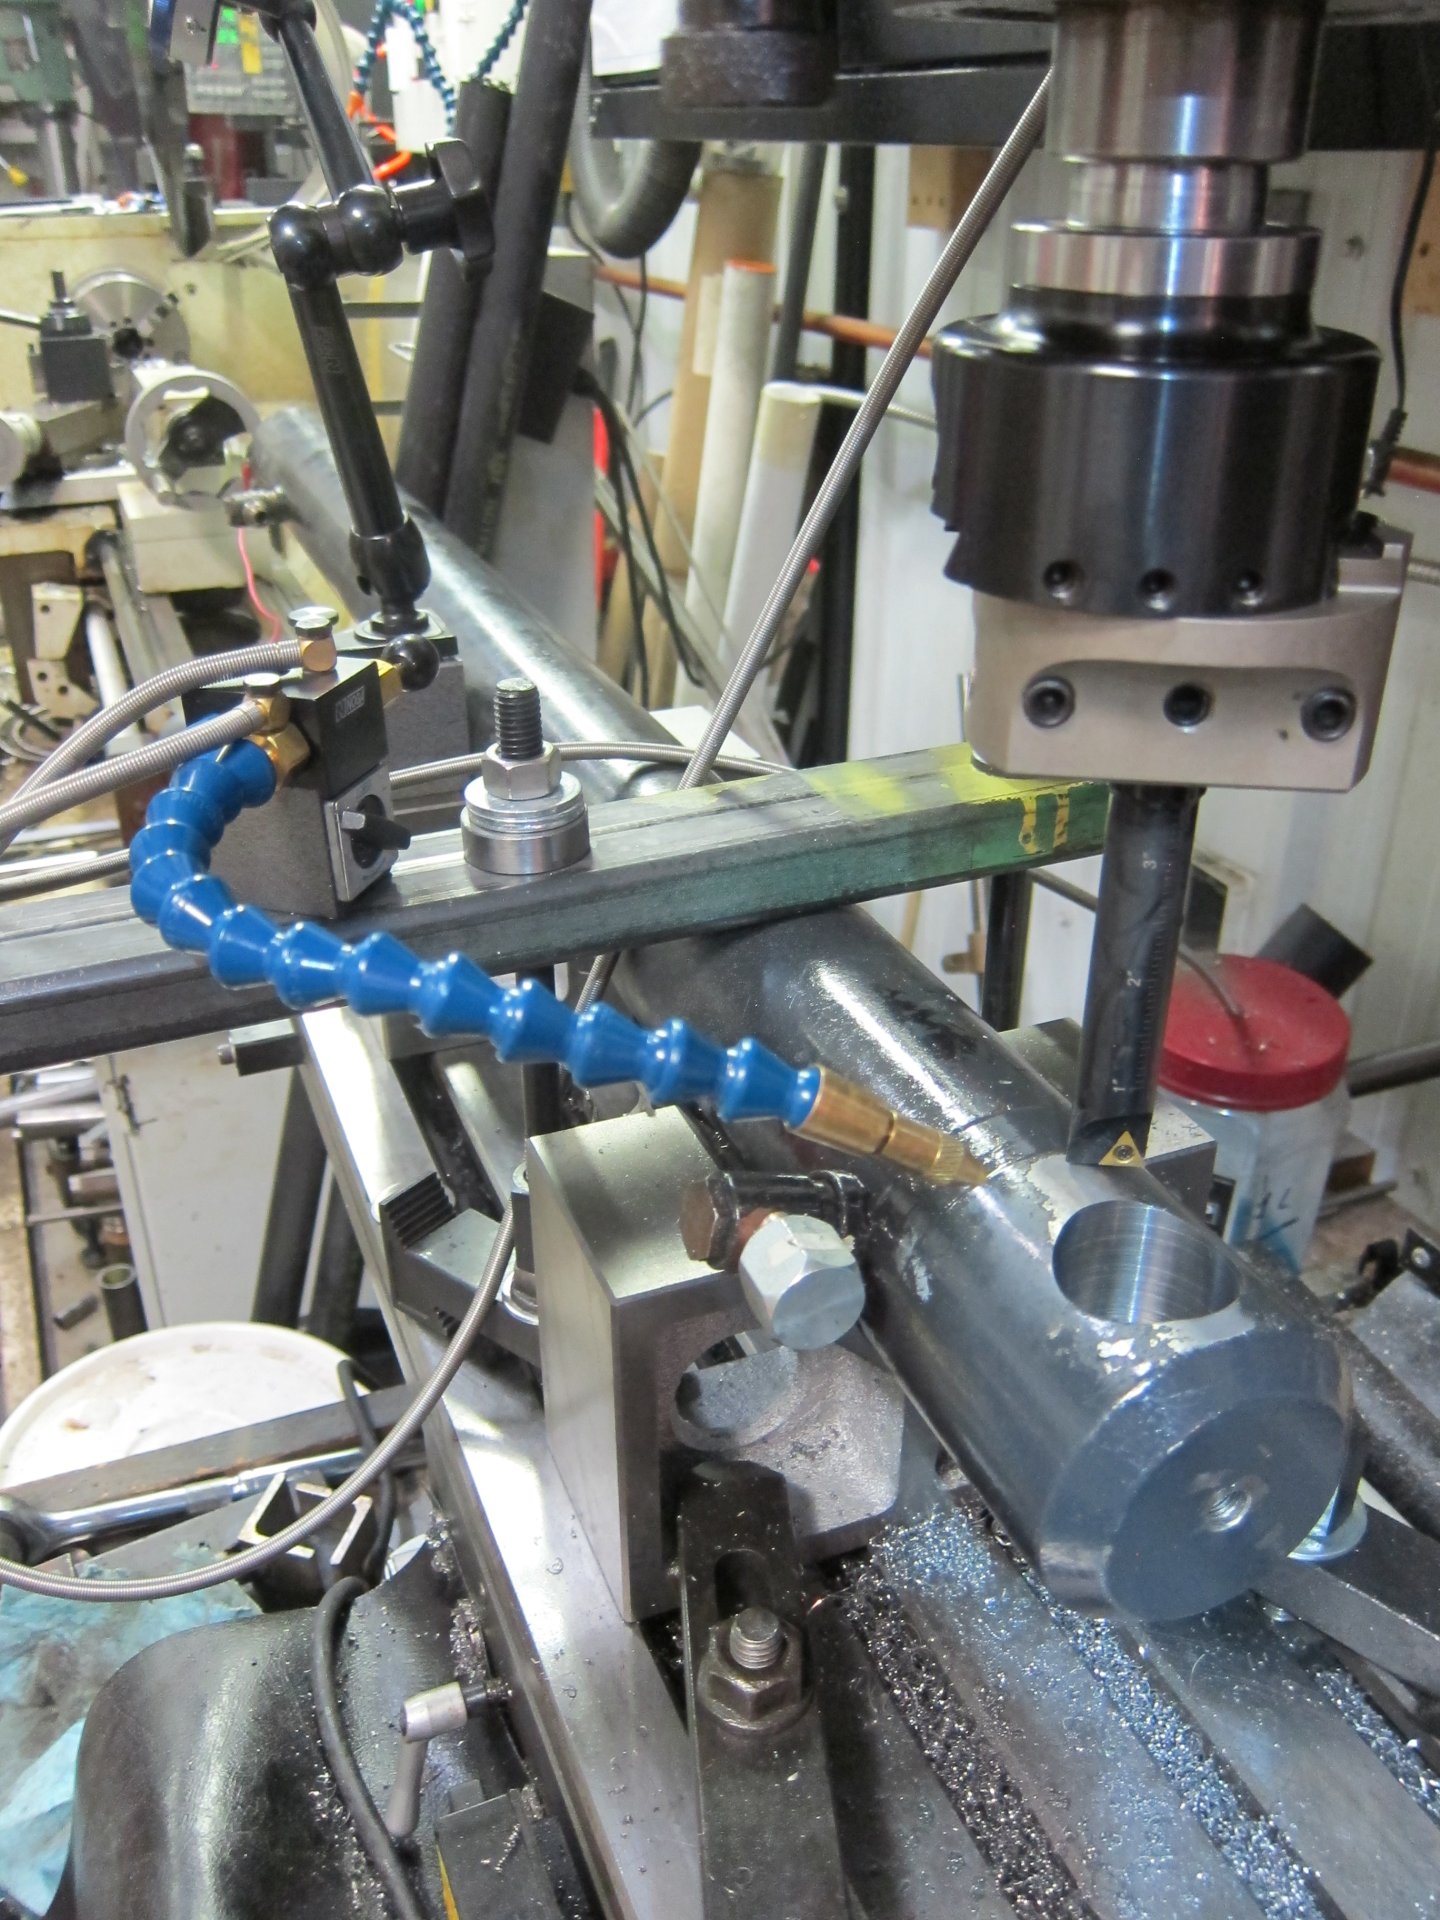
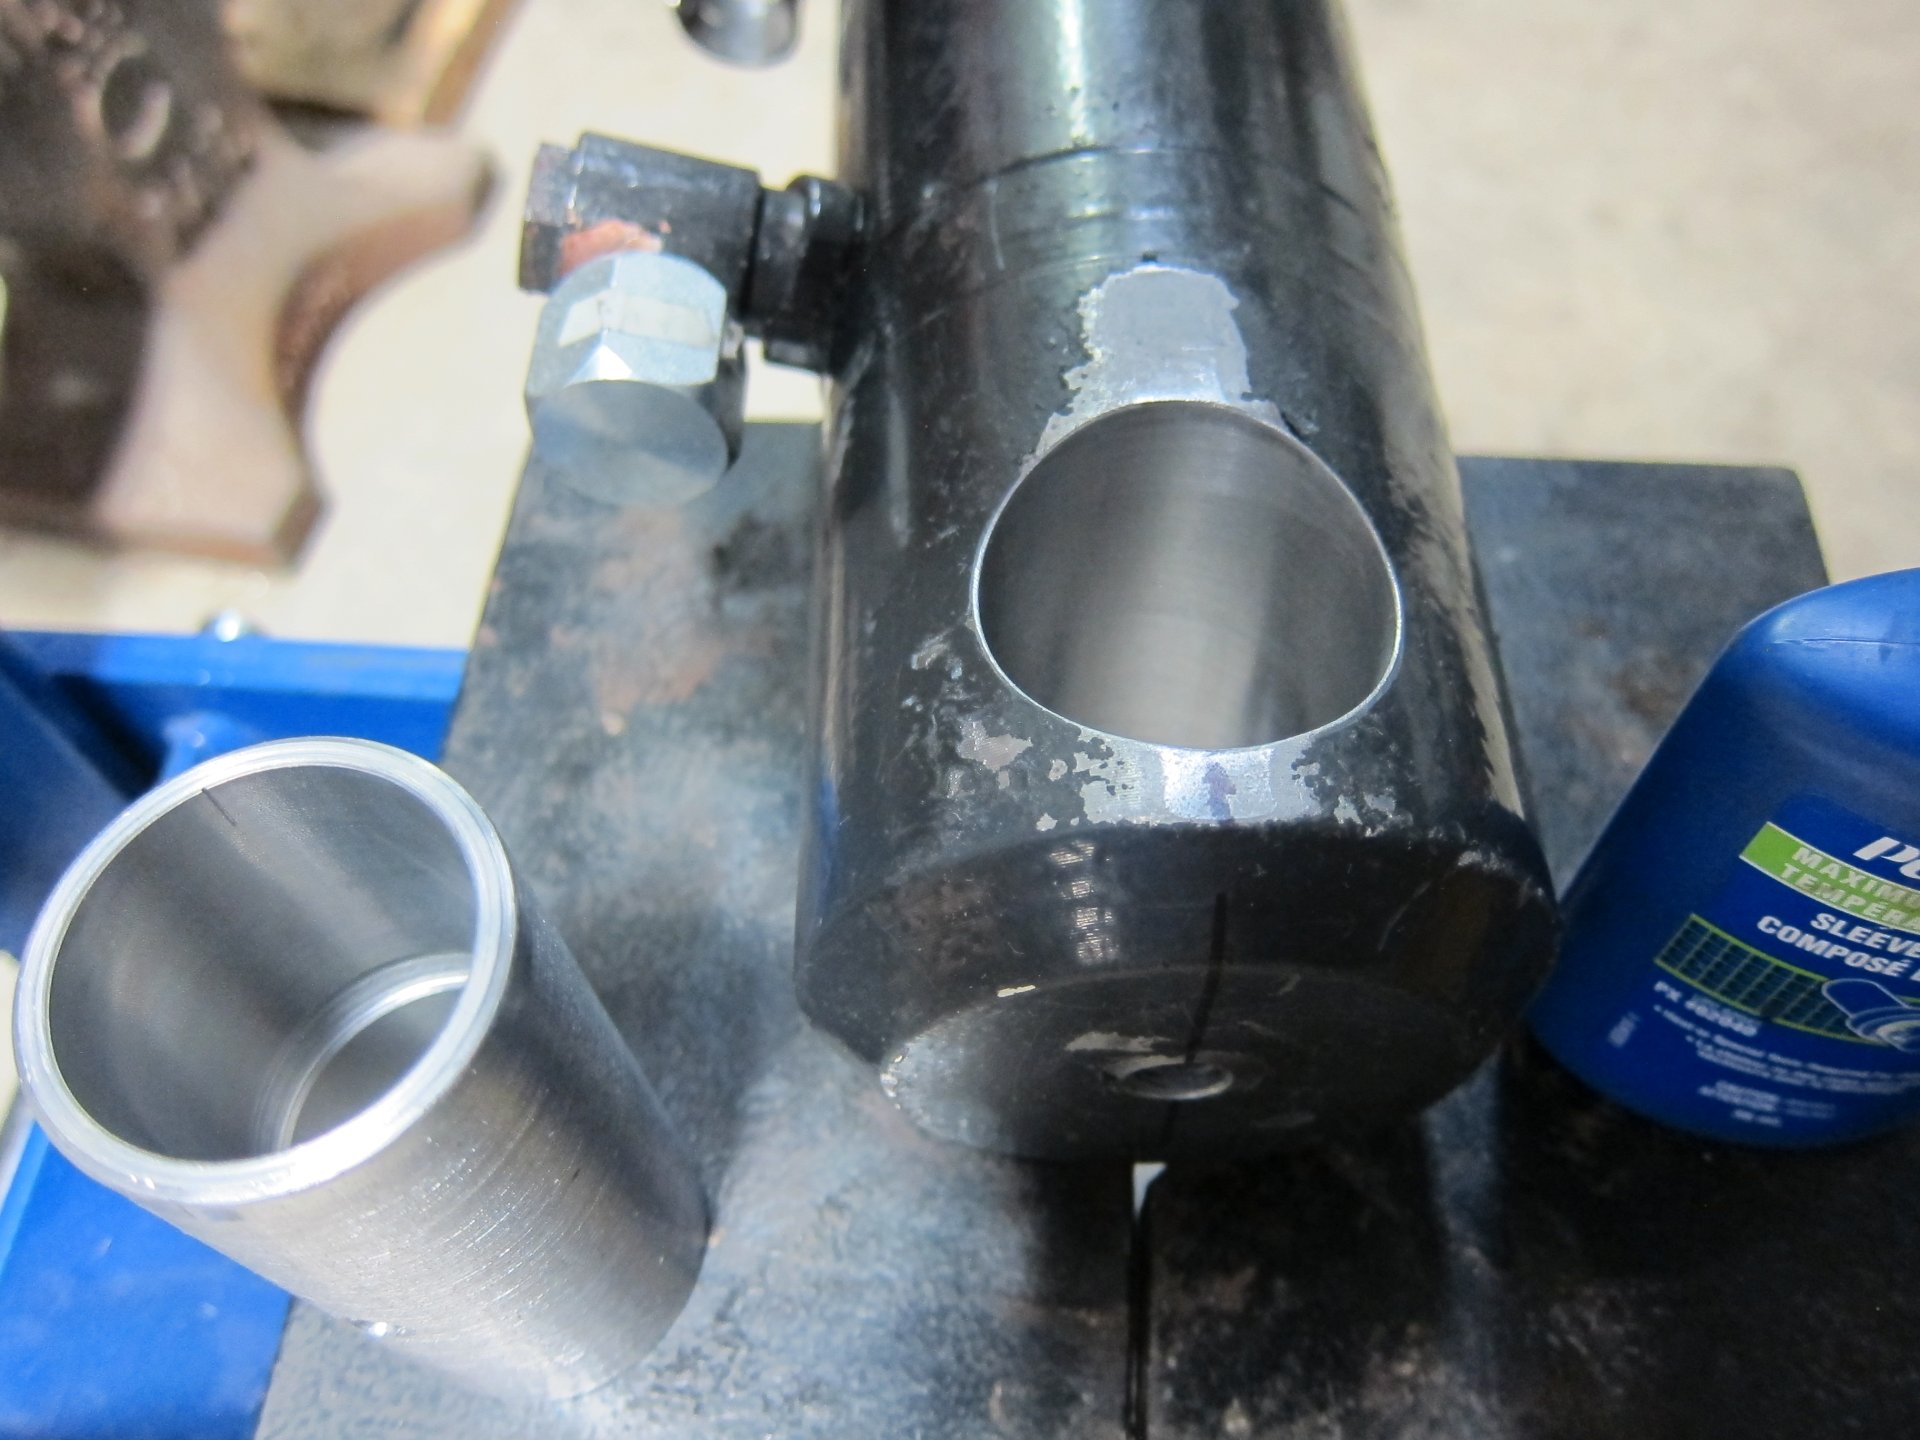
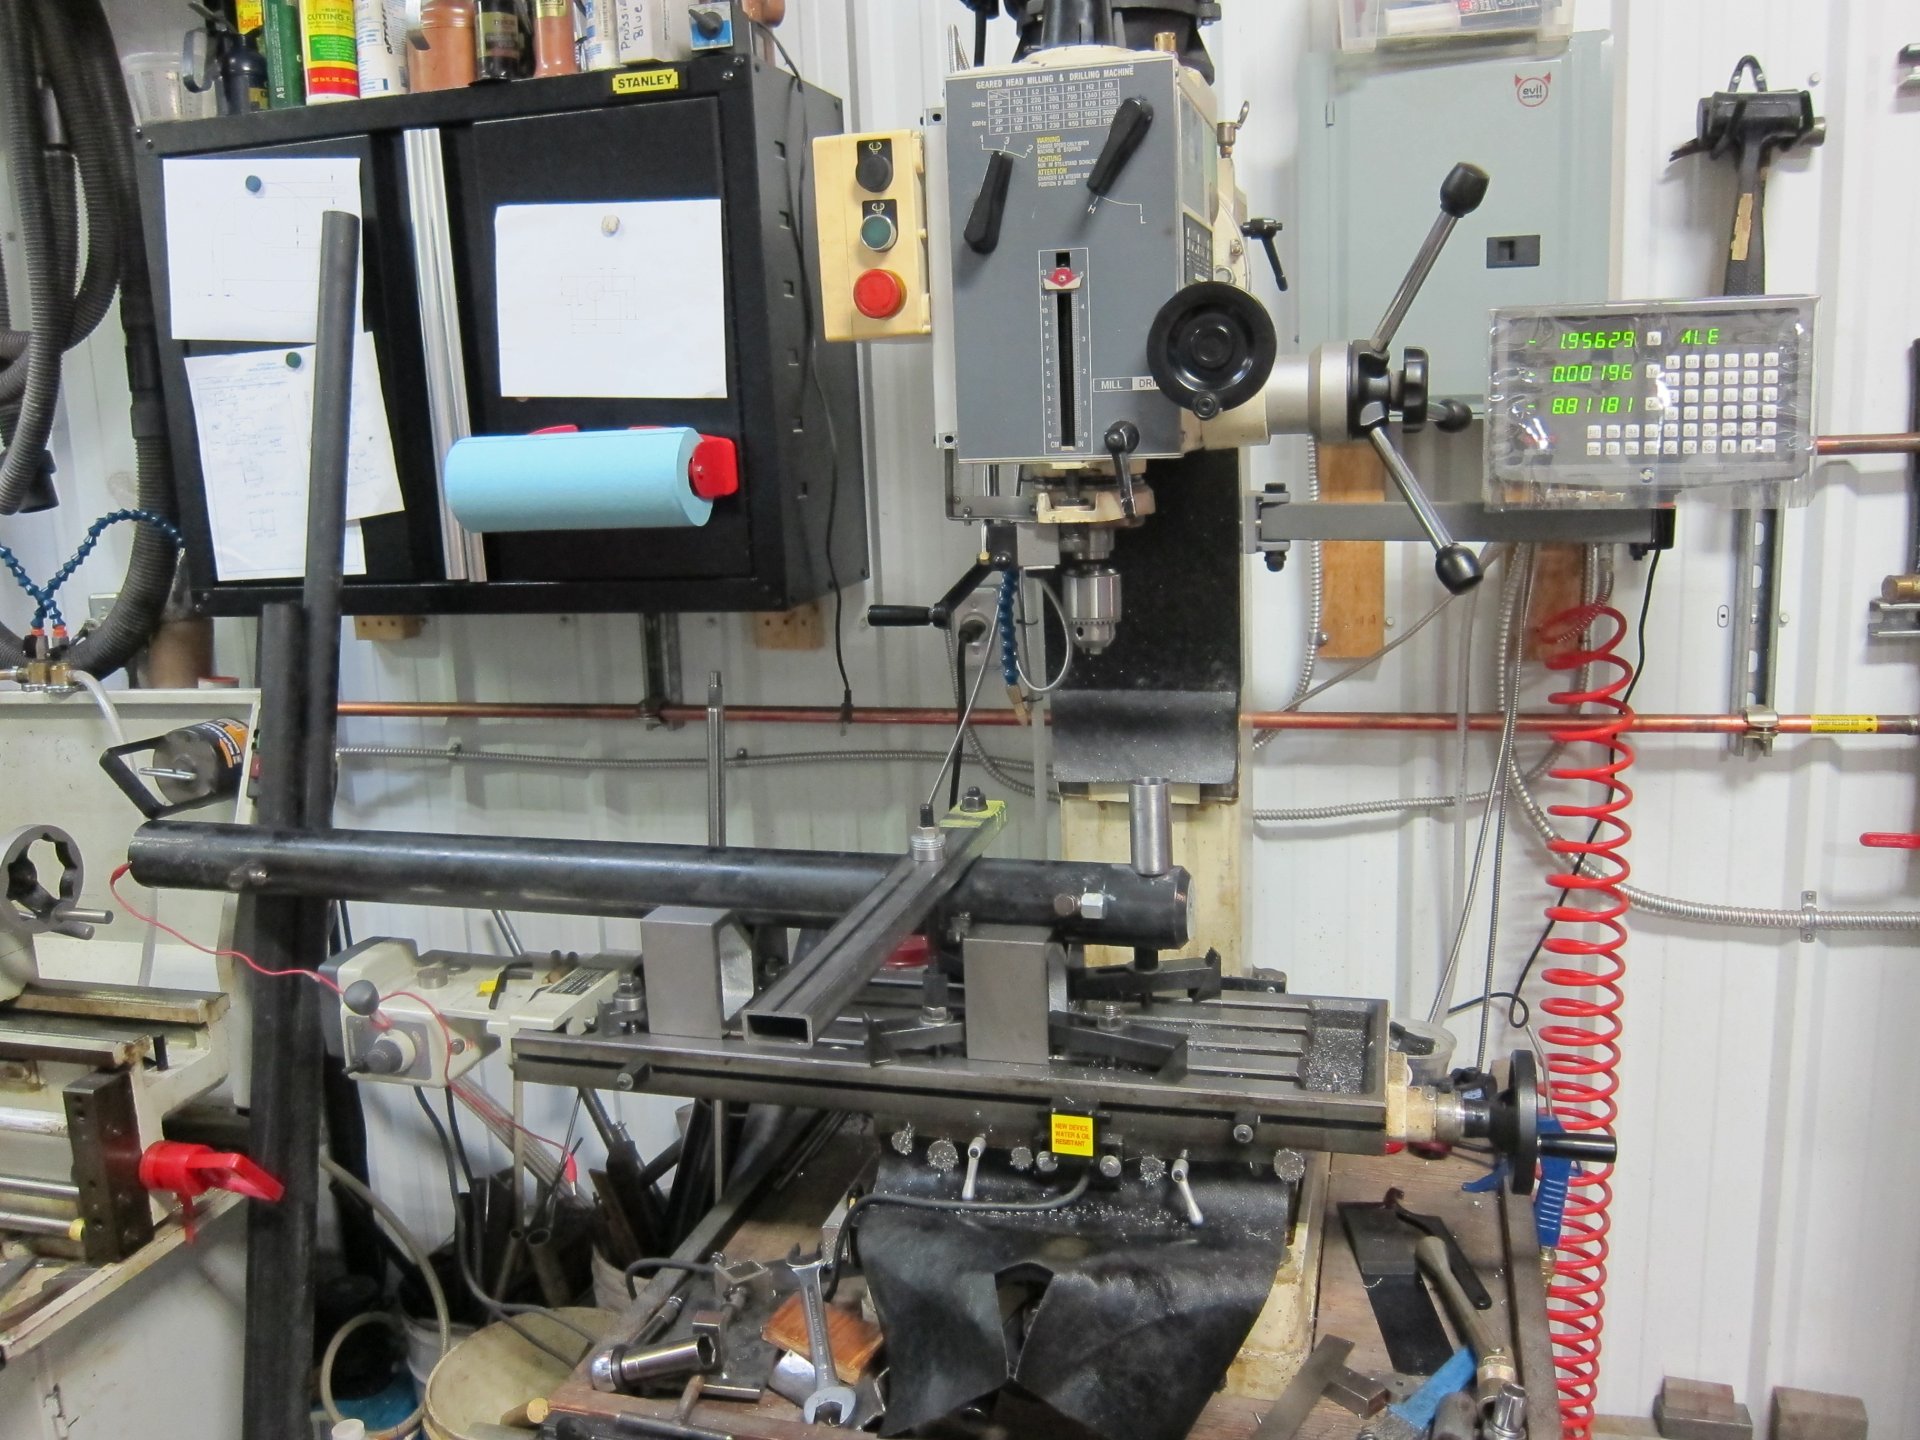
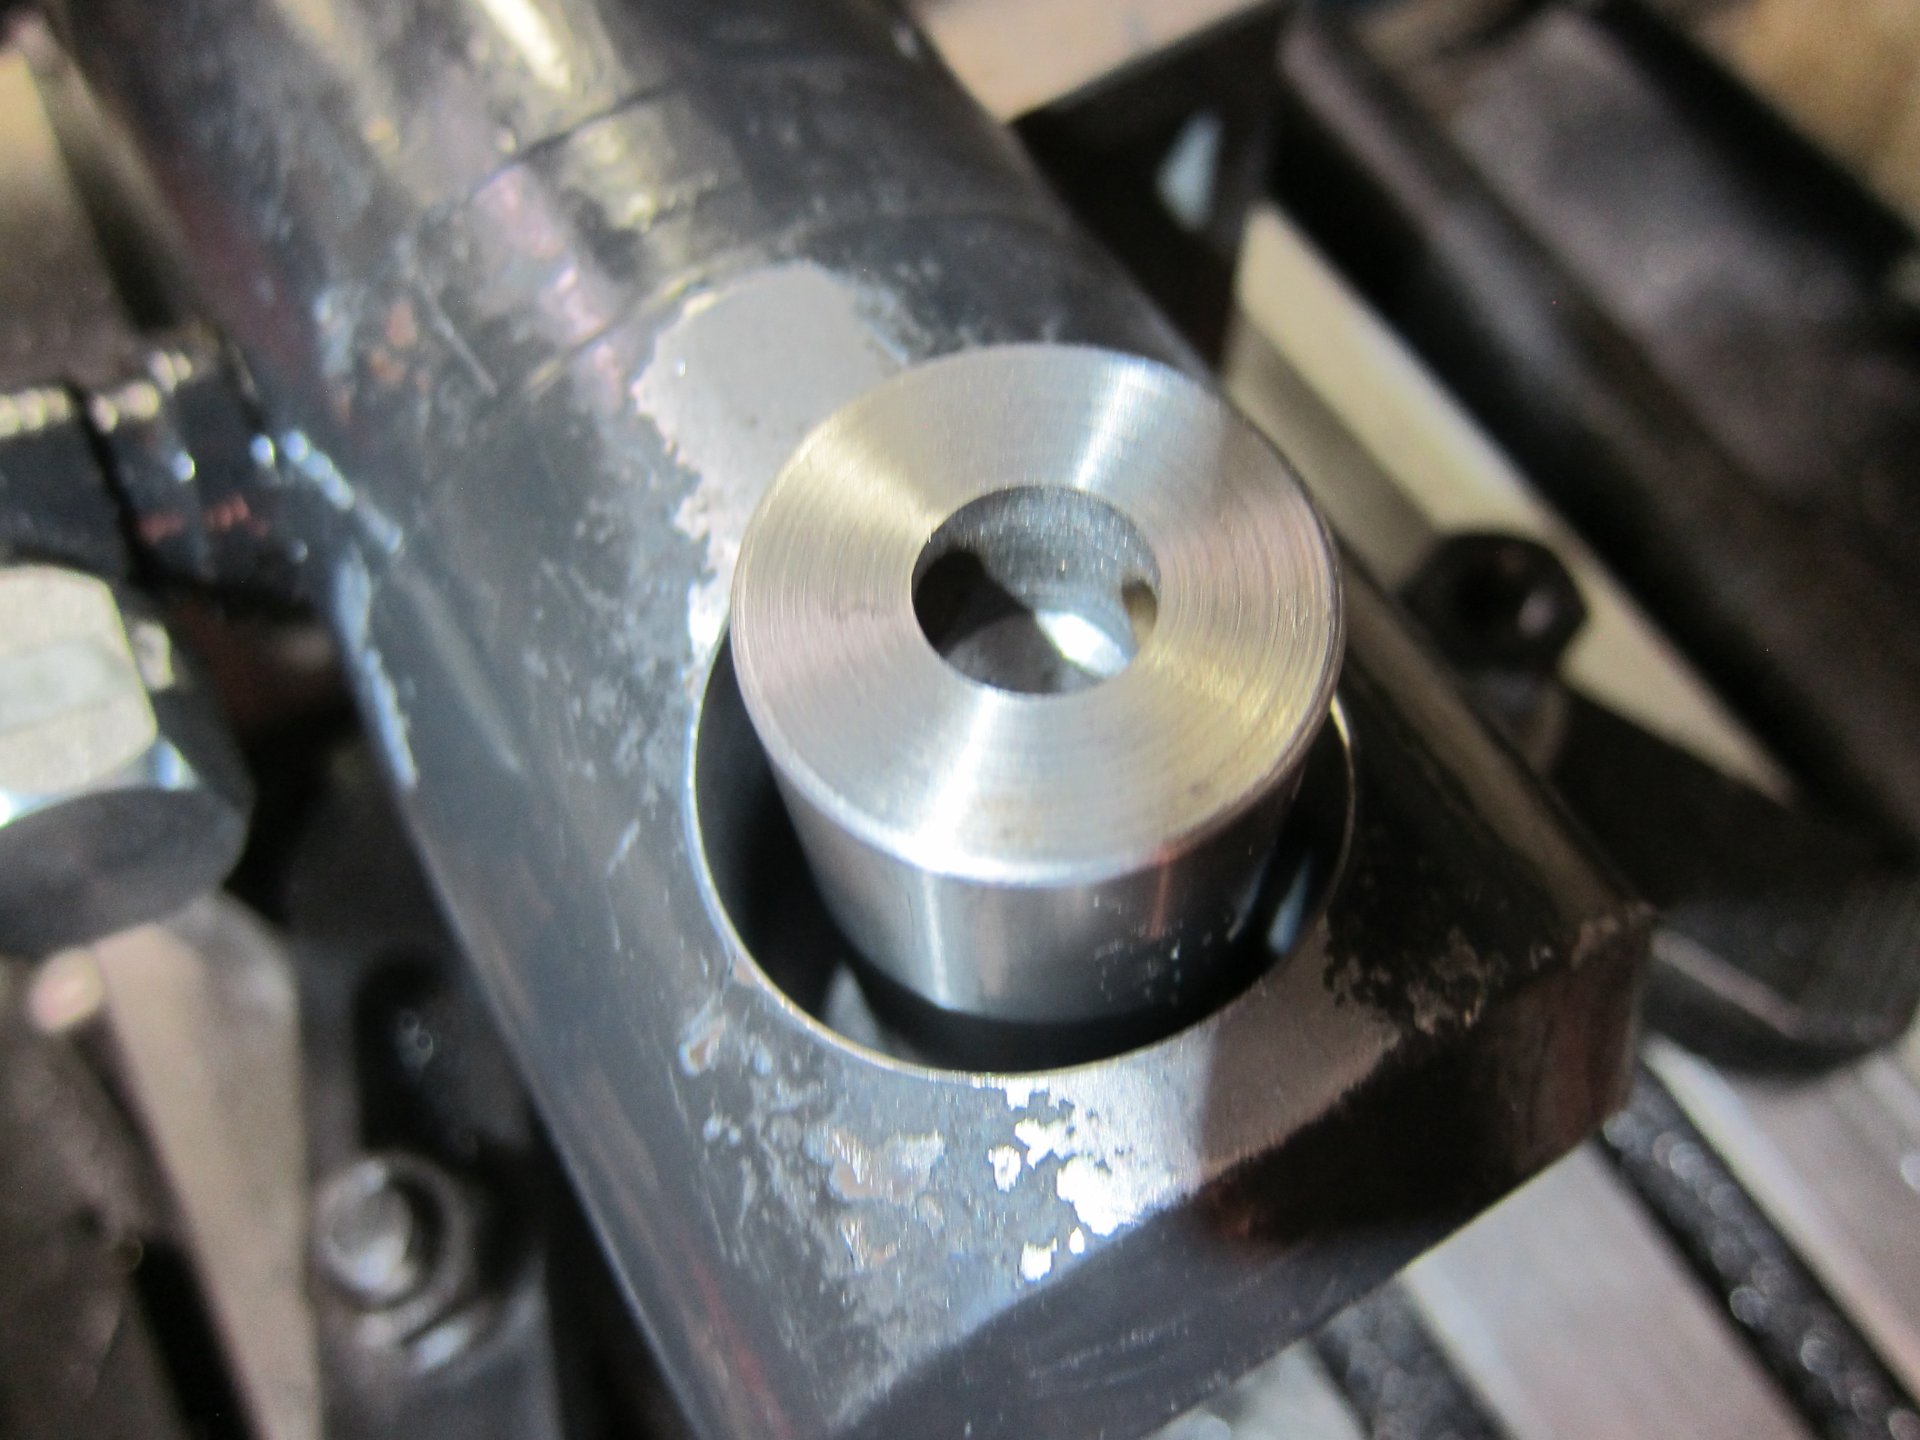
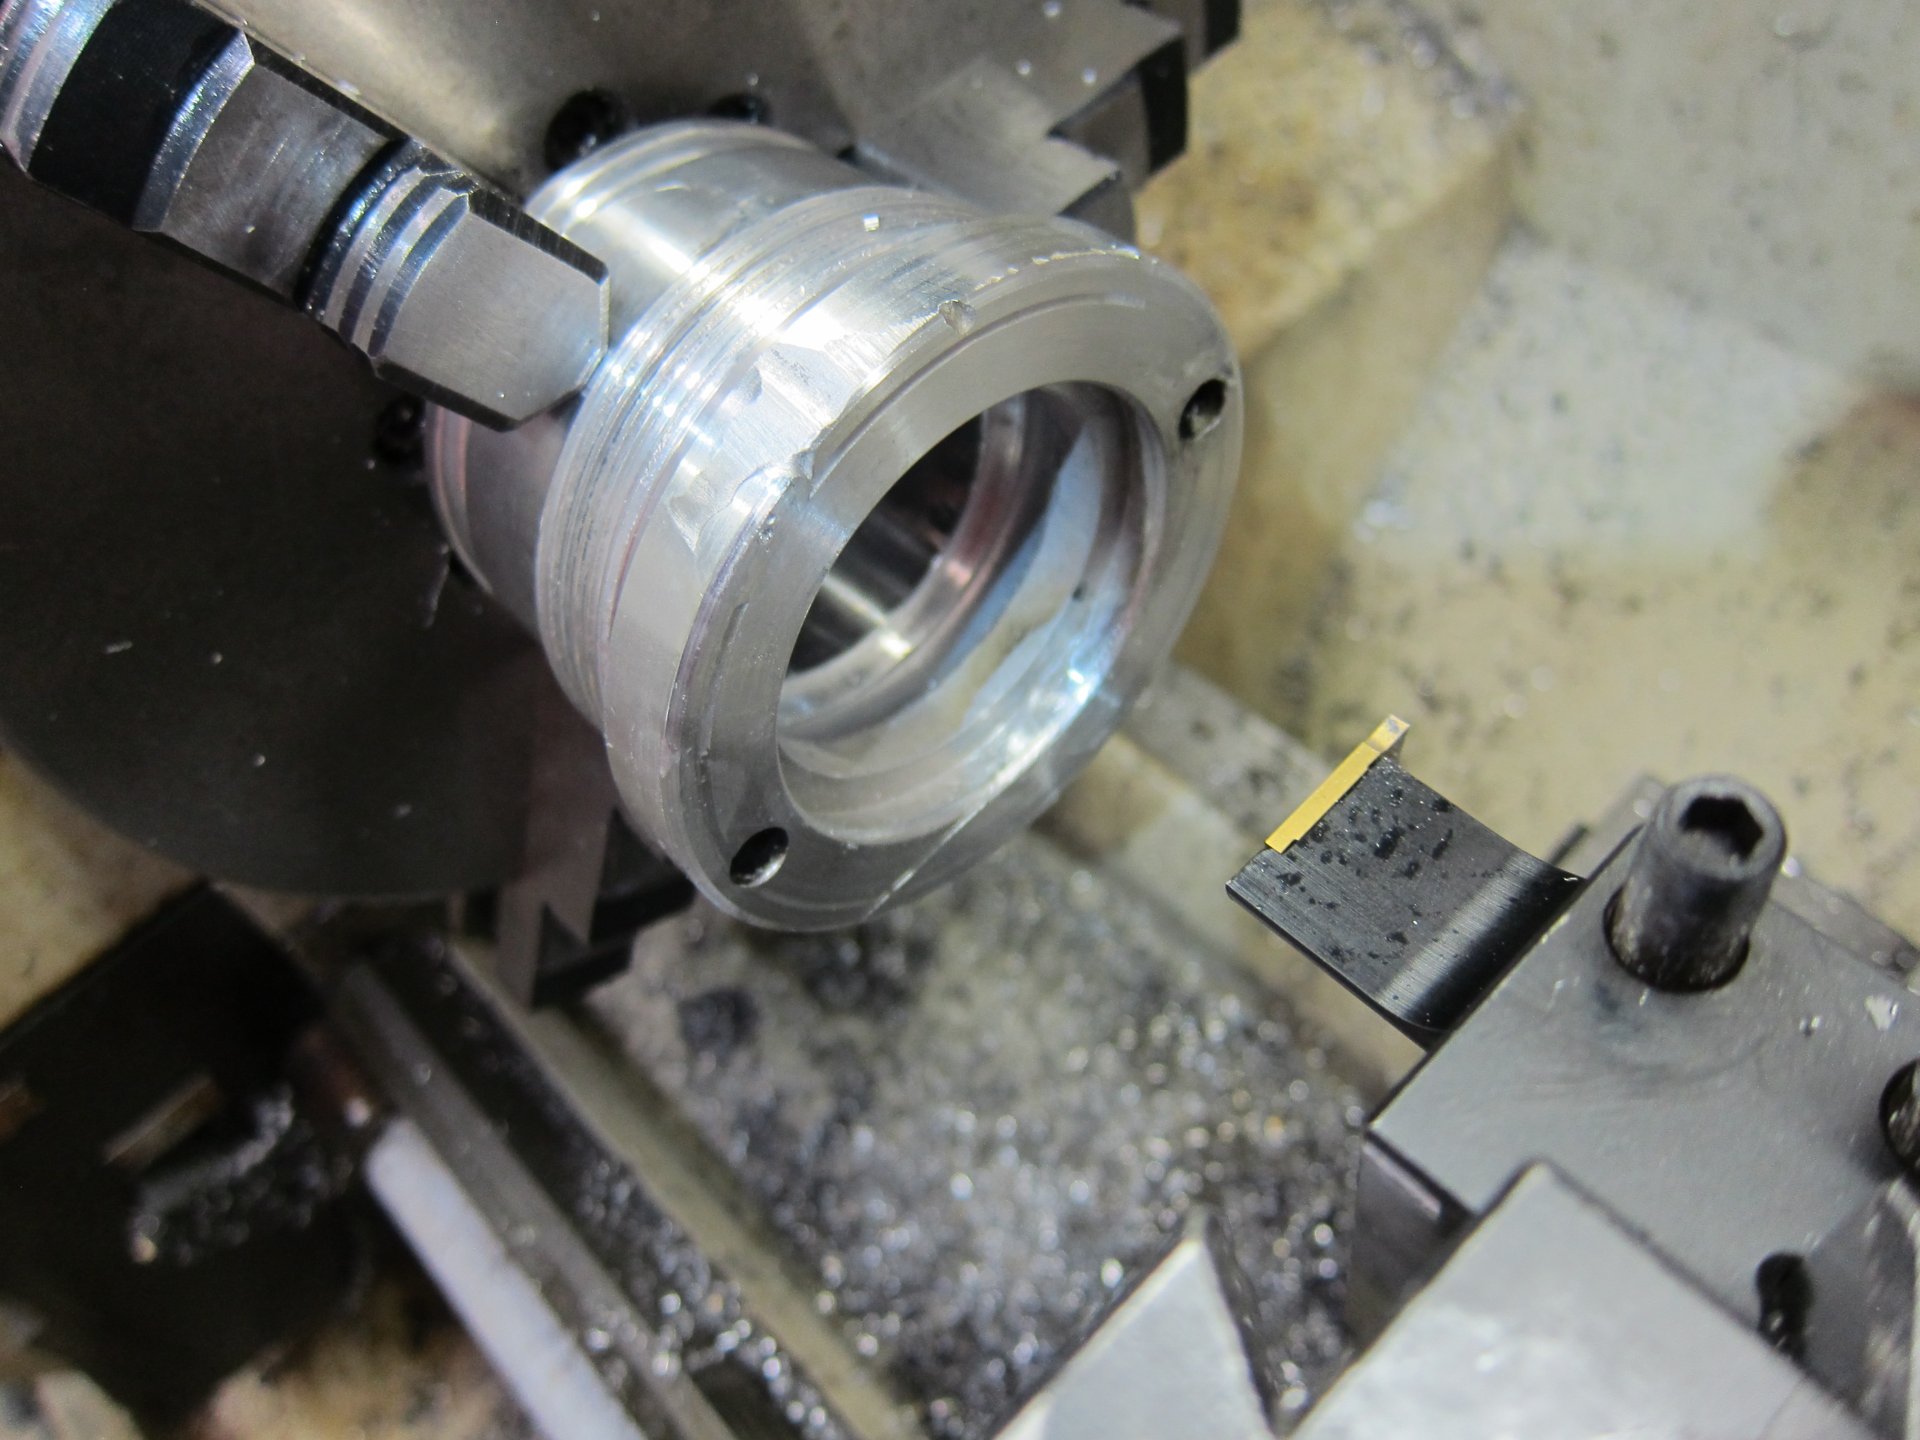
I decided to bore out both cylinders on my quest for overall slop removal on this high hour machine. Small cylinder sleeves were made with internal grease grooves on the lathe along with some new pins made from 1018 steel as that's what was on hand. 1018 is probably softer than OEM, but regular greasing is the maintenance plan with this new owner.
My first attempt at installing the sleeve resulted in the OD of the sleeve being too tight. The second sleeve made on the lathe was on the smaller side so I decided to uses Locktite 609 retaining compound as it worked well before. The sleeves went in with finger pressure so the 609 needed to come through. I used telescoping gages on the bores so I should have nailed the sleeves the first time, but I guess more practice is needed to dial in the last ~.002"
A new paint job while the cylinders were apart provided the illusion of new.
The base cylinder sleeves have not moved after about 6 hours of work, so fingers crossed they stay put!
I have never worked on hydraulics before this, so I claim to be no expert on hydraulics.
The right hand side had a small oil leak so I decided to do the seals for both sides. I never torqued a bolt to 600 ft-lbs so a pipe was required on the 3/4" breaker bar along with one of those digital torque gages and some red Locktite did the trick. A smooth , non serated pipe clamp was helpful in getting the piston seal to "compress" enough to go into the cylinder bore.
The RHS cylinder seemed to have gotten beat up due to the boom lock hammering the aluminum end cap so I decided to take a 3" SS washer and make a protective cap. I tacked welded 2 small 1/4" pins to help hold it in place with a couple dabs of RTV silicone. The aluminum cap got a couple of TIG beads and touch up on the lathe. The orange boom lock arm had some neglect so I decided to TIG weld a new tab back on using a small belt sander to shape it.
The RHS cylinder was missing the base end grease nipple, which created excessive wear to both pin and bore creating with massive slop, which was the main driver of the cylinder repair.
I decided to bore out both cylinders on my quest for overall slop removal on this high hour machine. Small cylinder sleeves were made with internal grease grooves on the lathe along with some new pins made from 1018 steel as that's what was on hand. 1018 is probably softer than OEM, but regular greasing is the maintenance plan with this new owner.
My first attempt at installing the sleeve resulted in the OD of the sleeve being too tight. The second sleeve made on the lathe was on the smaller side so I decided to uses Locktite 609 retaining compound as it worked well before. The sleeves went in with finger pressure so the 609 needed to come through. I used telescoping gages on the bores so I should have nailed the sleeves the first time, but I guess more practice is needed to dial in the last ~.002"
A new paint job while the cylinders were apart provided the illusion of new.
The base cylinder sleeves have not moved after about 6 hours of work, so fingers crossed they stay put!