M610 No/low turning speed

Help Support SkidSteer Forum:

6brnorma

Well-known member
Joined
Jul 13, 2011
Messages
882
Alright. Seems easy enough. I'll get it back to the shop this week. Will there be any pressure on the hydraulic system when I go to start taking it apart? The leak on the main control valve isn't too bad to worry about now. I'll get the variable speed valve working correctly then worry about that leak. Thanks.
No pressure
 
OP
OP
DannyTheVito

DannyTheVito

Member
Joined
Apr 7, 2016
Messages
19
No pressure
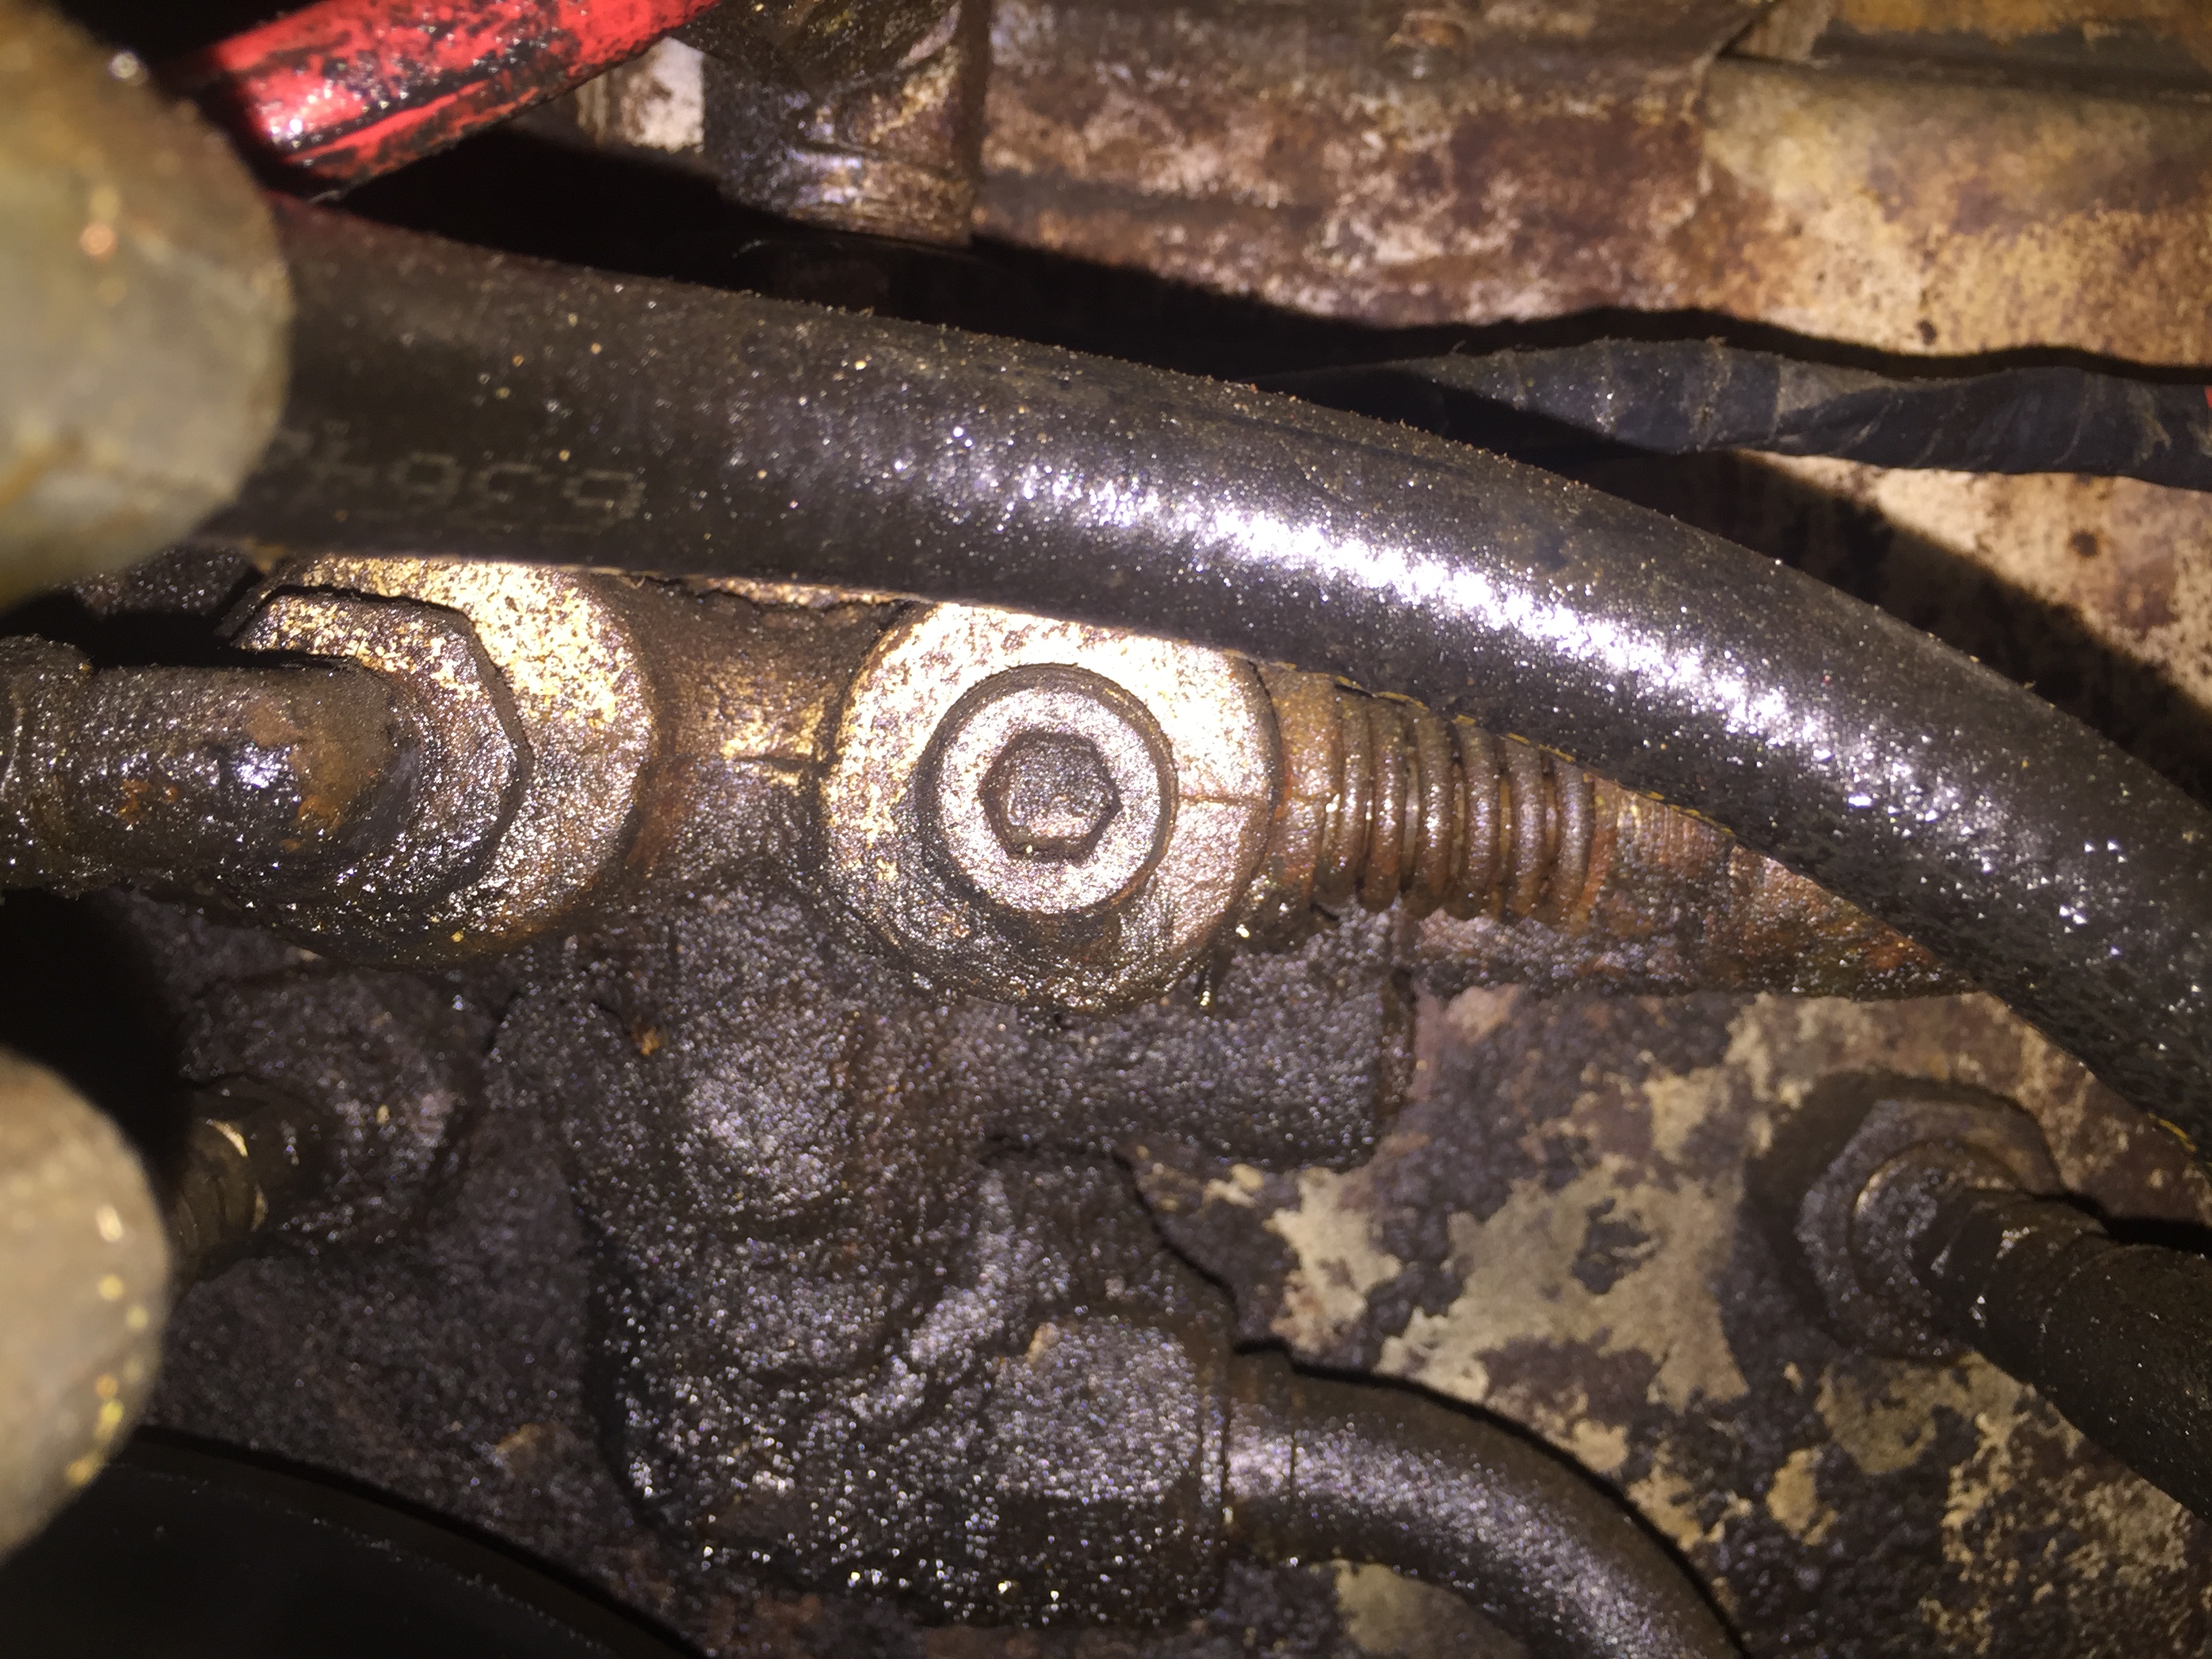
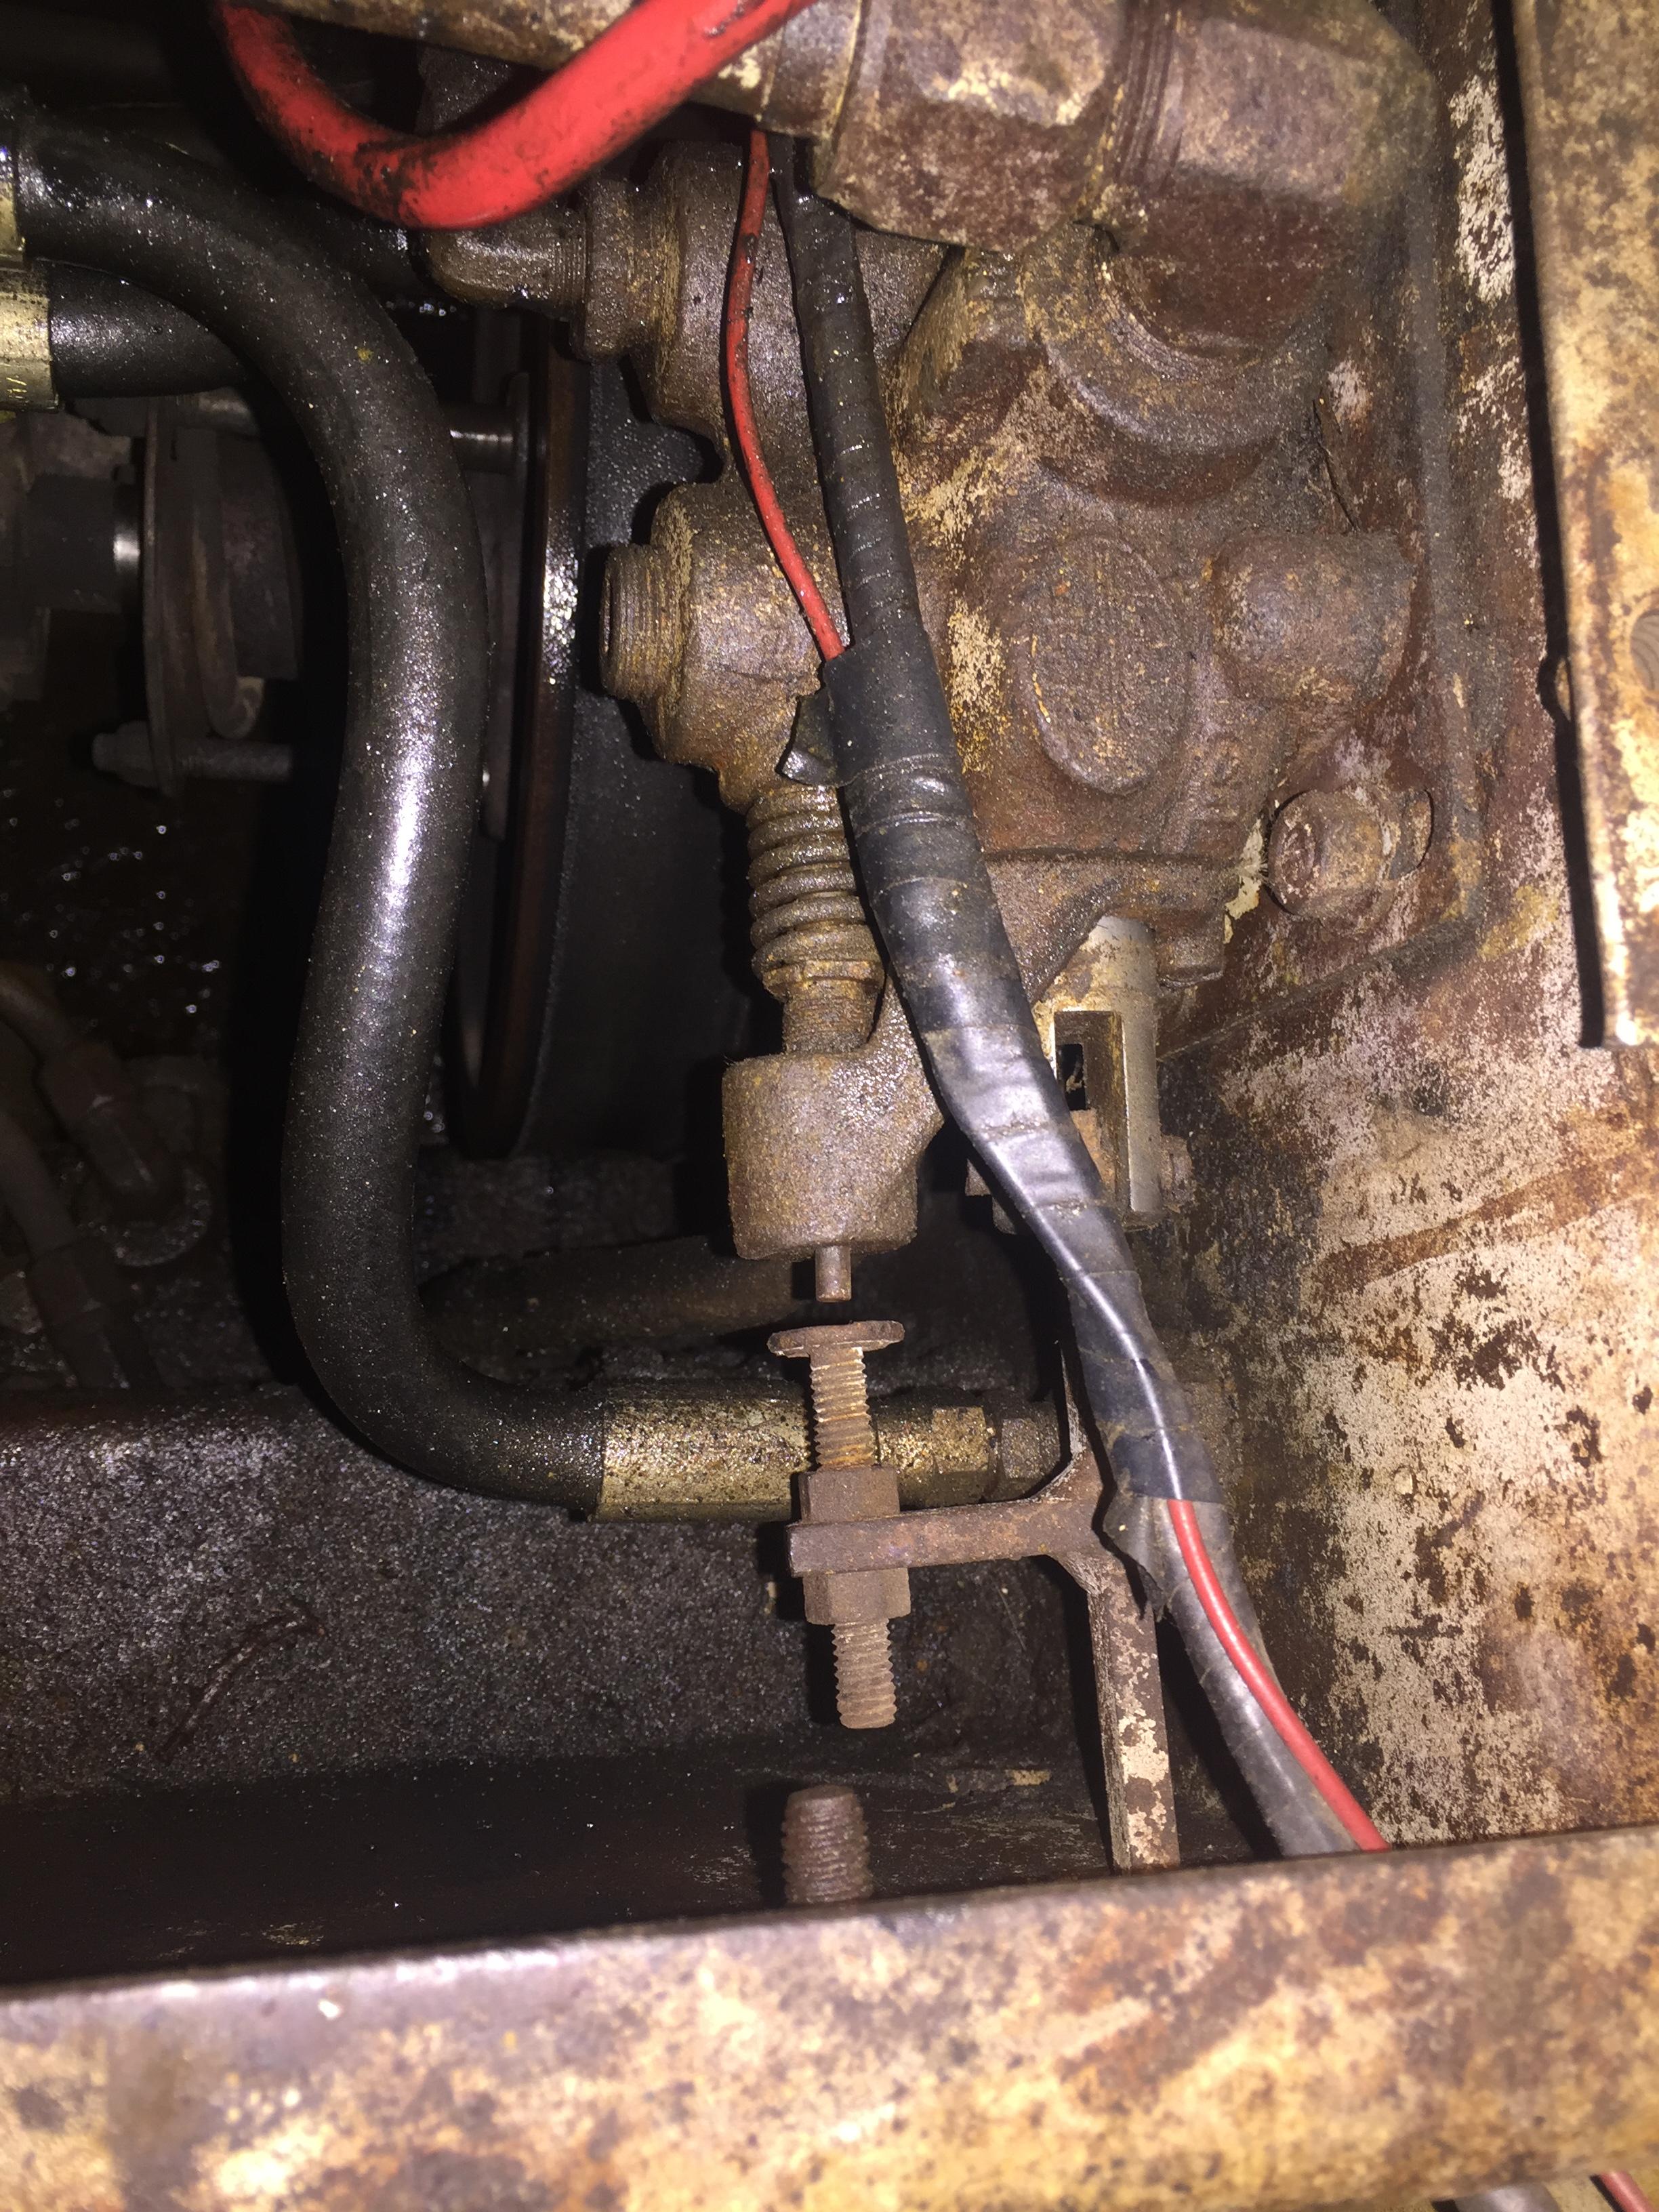
Just a small update today. I got some time around the end of today to start planning out what needs to be done. I got to the variable speed valve, it's pretty caked with oil. I still believe it's leaking back through the valve so I'm going to go ahead and remove it then go from there. I'm going to take one of the nuts I can get to off so I can make sure it's a 9/16 before I go buy a crows foot. I took some pictures of it (Included below) to try to find all the bolts. I was able to locate two of them. I'm assuming there are at least three or four holding it on.
Side view


Top down view

So it seems there is at least a small leak onto the belt coming from some where. I'll go ahead and pull the cover off of the variable speed and give it a quick looksee.
 

6brnorma

Well-known member
Joined
Jul 13, 2011
Messages
882
Just a small update today. I got some time around the end of today to start planning out what needs to be done. I got to the variable speed valve, it's pretty caked with oil. I still believe it's leaking back through the valve so I'm going to go ahead and remove it then go from there. I'm going to take one of the nuts I can get to off so I can make sure it's a 9/16 before I go buy a crows foot. I took some pictures of it (Included below) to try to find all the bolts. I was able to locate two of them. I'm assuming there are at least three or four holding it on.
Side view


Top down view

So it seems there is at least a small leak onto the belt coming from some where. I'll go ahead and pull the cover off of the variable speed and give it a quick looksee.
Thanks for the pics Danny……..so….three bolts, the tough one is directly below and under a portion of the valve at the linkage end. Interesting that someone has replace one of the hard lines with a steel braided line. The hard lines help support the center manifold/clutch relief valve, so I don't recommend the braided. Also….your valve is the updated valve with Thermal Relief.
 

alchemysa

Well-known member
Joined
Mar 29, 2016
Messages
203
Thanks for the pics Danny……..so….three bolts, the tough one is directly below and under a portion of the valve at the linkage end. Interesting that someone has replace one of the hard lines with a steel braided line. The hard lines help support the center manifold/clutch relief valve, so I don't recommend the braided. Also….your valve is the updated valve with Thermal Relief.
For what its worth, I got mine off with an ordinary open ended spanner. I didnt have a crows foot. Maybe I was just lucky. I removed any linkages and hoses that got in the way.
 
OP
OP
DannyTheVito

DannyTheVito

Member
Joined
Apr 7, 2016
Messages
19
For what its worth, I got mine off with an ordinary open ended spanner. I didnt have a crows foot. Maybe I was just lucky. I removed any linkages and hoses that got in the way.
Hi, alchemysa. If a crows foot makes it even a little easier it will be worth it. I've got a line wrench type, regular crows foot, and a spanner. I'm back at the shop either tomorrow (Friday) or this weekend. One of them should be able to get it off I hope!
 
OP
OP
DannyTheVito

DannyTheVito

Member
Joined
Apr 7, 2016
Messages
19
Thanks for the pics Danny……..so….three bolts, the tough one is directly below and under a portion of the valve at the linkage end. Interesting that someone has replace one of the hard lines with a steel braided line. The hard lines help support the center manifold/clutch relief valve, so I don't recommend the braided. Also….your valve is the updated valve with Thermal Relief.
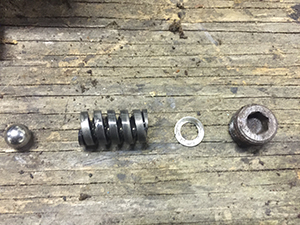
I was able to get it out today. I found there was already a washer between the plug and spring, but it's not very thick. I'm not sure where to go from here. Do I need to add another shim? Maybe tighten the plug a little more? I'm including pictures of what came out when I took the plug out.
(Click image for higher resolution)


In the meantime I'm going to start cleaning everything. Got filthy getting it out, don't want to get as filthy getting it back in :)
 

6brnorma

Well-known member
Joined
Jul 13, 2011
Messages
882
I was able to get it out today. I found there was already a washer between the plug and spring, but it's not very thick. I'm not sure where to go from here. Do I need to add another shim? Maybe tighten the plug a little more? I'm including pictures of what came out when I took the plug out.
(Click image for higher resolution)


In the meantime I'm going to start cleaning everything. Got filthy getting it out, don't want to get as filthy getting it back in :)
That's great Danny……..You need to continue to disassemble the valve. Remove the thermal relief, the cap and the spool. It is not necessary to remove any fittings or the plug with the allen socket. Clean the valve thoroughly inside and out. Inspect the spool and valve body for corrosion. All seals/o-rings in this valve can be acquired at a 'Hydraulic" shop for pocket change. I highly recommend that you do not use the U-cup style seals currently on the spool (2) but rather the newer X style O-rings as they are much easier to work with (standard O-rings will not work). The U-cups are very difficult to re-install without damaging them and there is little pressure on them due to the style of valve anyway. Replace the three O-rings in the thermal relief.
Now for the ball/spring/shim/plug that you have pictured. Inside the valve is a "seat" with an O-ring under it……..that dang thing 'often' is nearly impossible to remove without special tools…especially without damaging it….so, If I see I am going to damage the seat I leave it alone. I have probably rebuilt 15 - 20 of these things without removing the seat and have been lucky enough not to have had a problem with that O-ring……damage the seat and I promise you have a problem. That is a true shim you have pictured. I have had valves with 3 - 4 of them inside. It takes about three of them to just about equal a thin flat washer. If the Hydro shop has a couple……grab them as you may need 1 or 2. With a combination of tightening the plug and shims…..It should take 3 - 4 seconds to raise variable speed sheave to full high speed……..OR…….let the "Hydraulics" shop do it for you for a hundred or so.
 
Top