I'll try to remember to measure it tonight.Here is the progress so far, all that I have to do now is make the long bushes that the wedge pins fit in and the weld on pivot that the handle swings on and start welding it all together.
It will look something like this when finished.
Tazza, would you mind measuring the pivot hole in the handle, this is the only thing I am not sure of and I want to keep everthing standard for interchangeability.
You are using an out of date browser. It may not display this or other websites correctly.
You should upgrade or use an alternative browser.
You should upgrade or use an alternative browser.

Help Support SkidSteer Forum:
Oki Doki..... My handles are rather worn, the smallest part of the egg shaped hole is 0.731" and the bushing that goes over the bolt that it pivots on has on OD of 0.586". I would simply add a bit of clearance to that, you don't want it too tight as you have a spring holding pressure on it so it won't flop around.I'll try to remember to measure it tonight.
Good, thanks Tazza. I think I made the holes 5/8" which is probably about right.Oki Doki..... My handles are rather worn, the smallest part of the egg shaped hole is 0.731" and the bushing that goes over the bolt that it pivots on has on OD of 0.586". I would simply add a bit of clearance to that, you don't want it too tight as you have a spring holding pressure on it so it won't flop around.
I have finally had some time to get some work done on the Bobtach in preparation for some serious earthmoving in the upcoming Australian summer.Good, thanks Tazza. I think I made the holes 5/8" which is probably about right.
Here you can see the hole for the old style square pin starting to take shape to accept the weld in bush.
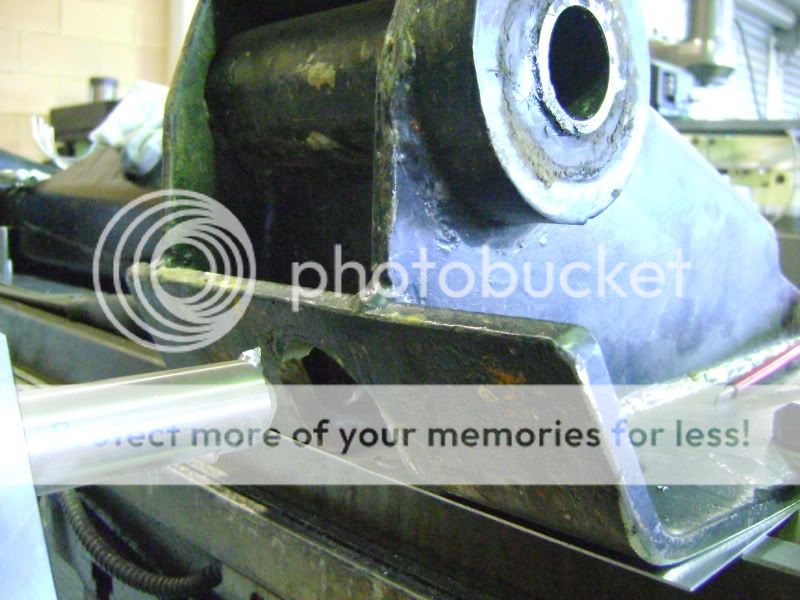
A view from the other direction.
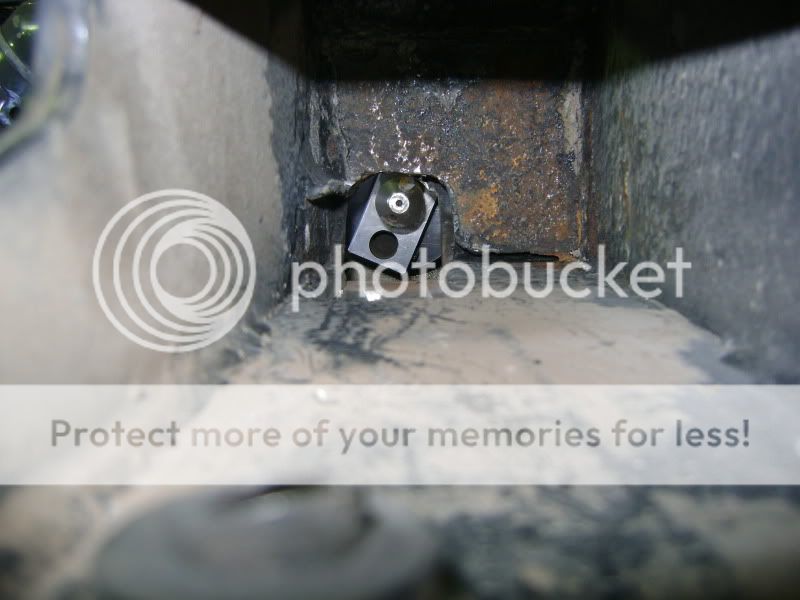
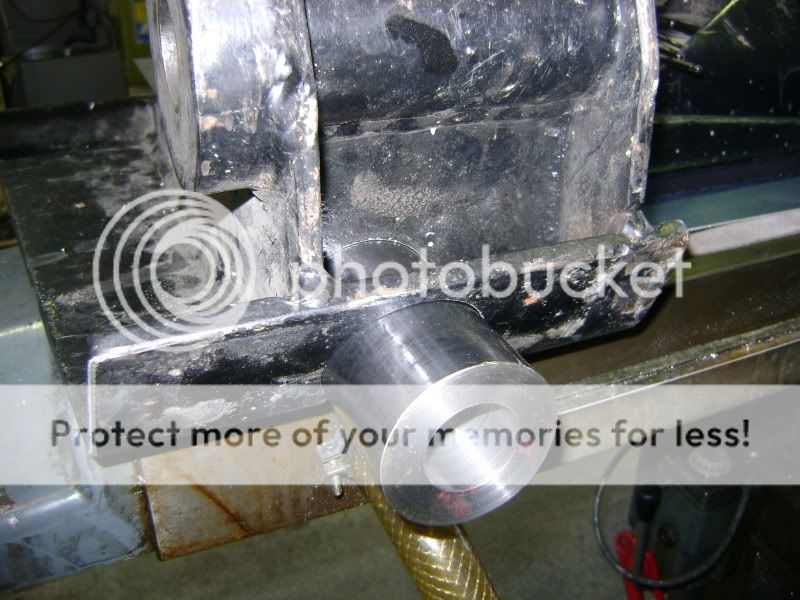
One hole completed.
A view of the setup on the milling machine.
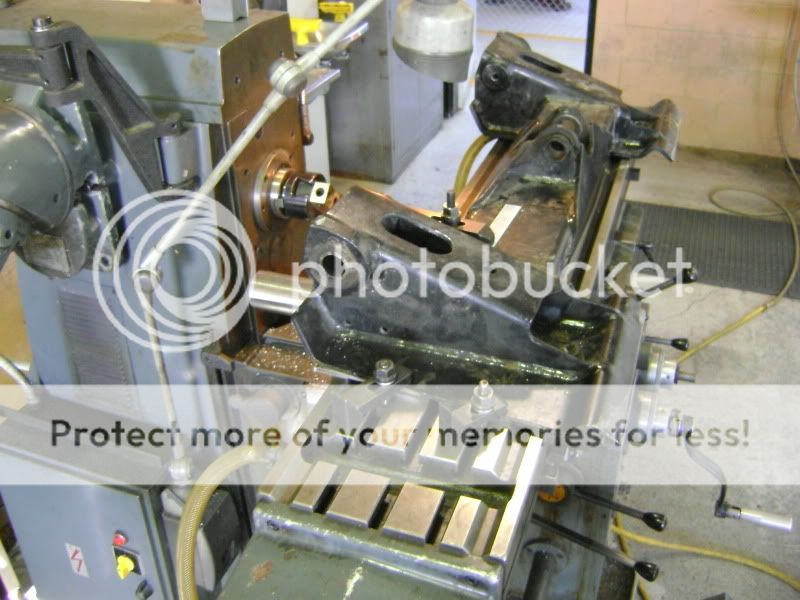
A lot of hand work was required on the mounting face.
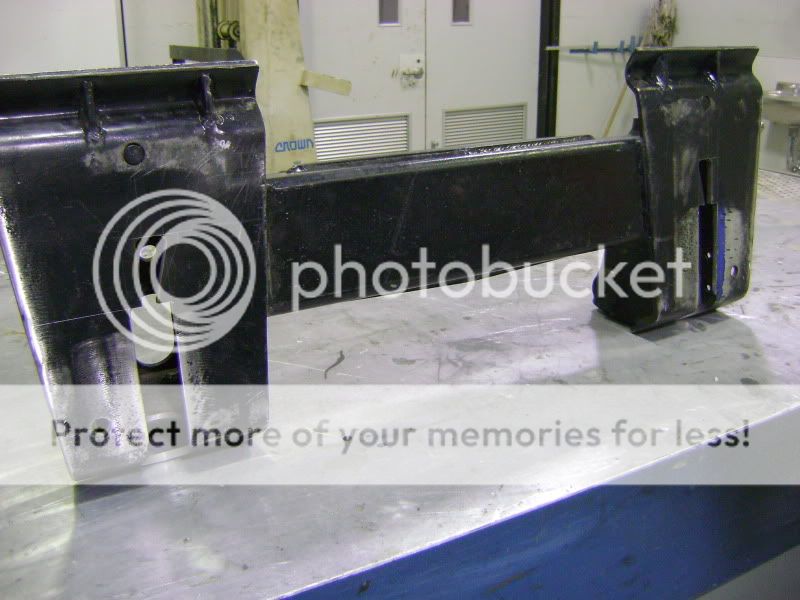
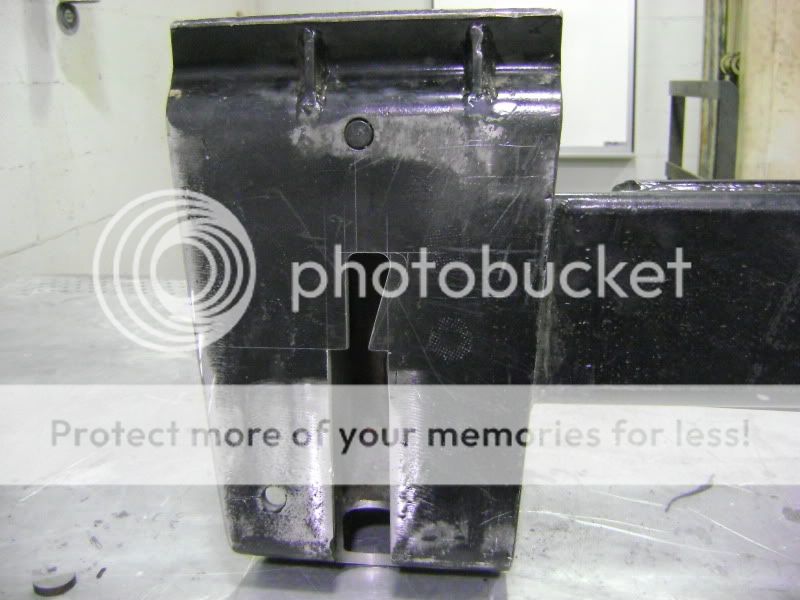
The next step will be welding the bushes in. More photo's to come.
TriHonu
Well-known member
- Joined
- Apr 15, 2007
- Messages
- 486
Nice work! What mill are you using? It looks like a horizontal with the over-arm support removed.I have finally had some time to get some work done on the Bobtach in preparation for some serious earthmoving in the upcoming Australian summer.
Here you can see the hole for the old style square pin starting to take shape to accept the weld in bush.
A view from the other direction.
One hole completed.
A view of the setup on the milling machine.
A lot of hand work was required on the mounting face.
The next step will be welding the bushes in. More photo's to come.
With all the machining, I now can appreciate why Cavalry built one from scratch. He has a thread on SFT with some photos.
The machine is a Pacific FU1 or 2 Universal , horizontal and vertical head. The overarm support is actually on there, I just have it pushed back for this machining operation.Nice work! What mill are you using? It looks like a horizontal with the over-arm support removed.
With all the machining, I now can appreciate why Cavalry built one from scratch. He has a thread on SFT with some photos.
The modification of the bobtach is finally finished and it is back on the machine and working much better than the old square type wedges at holding the attachments securely.The machine is a Pacific FU1 or 2 Universal , horizontal and vertical head. The overarm support is actually on there, I just have it pushed back for this machining operation.
If I had known it was going to take so long I probably would not have started the mod. although I did not have much choice as the bobtach was almost unuseable and a new one is around $4000.00 Australian. I will post some pictures of the finished project.
Finally some shots of the finished product.The modification of the bobtach is finally finished and it is back on the machine and working much better than the old square type wedges at holding the attachments securely.
If I had known it was going to take so long I probably would not have started the mod. although I did not have much choice as the bobtach was almost unuseable and a new one is around $4000.00 Australian. I will post some pictures of the finished project.
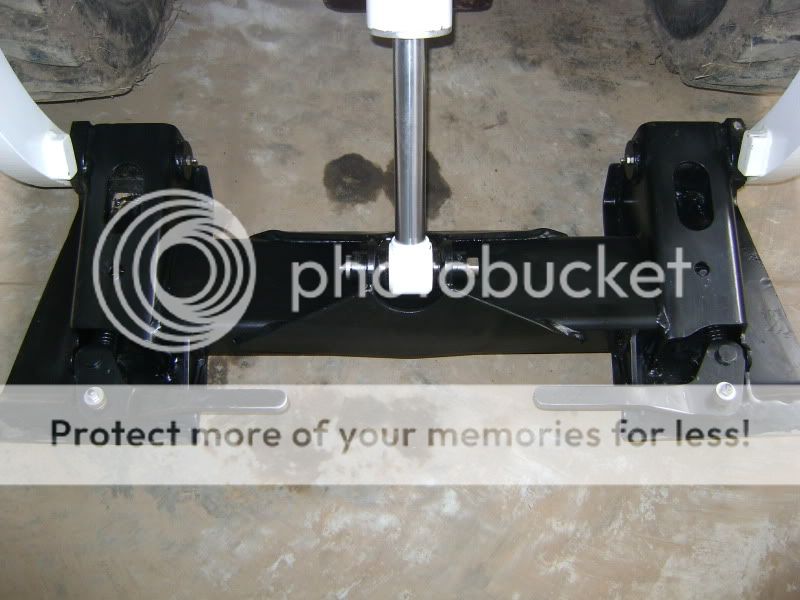
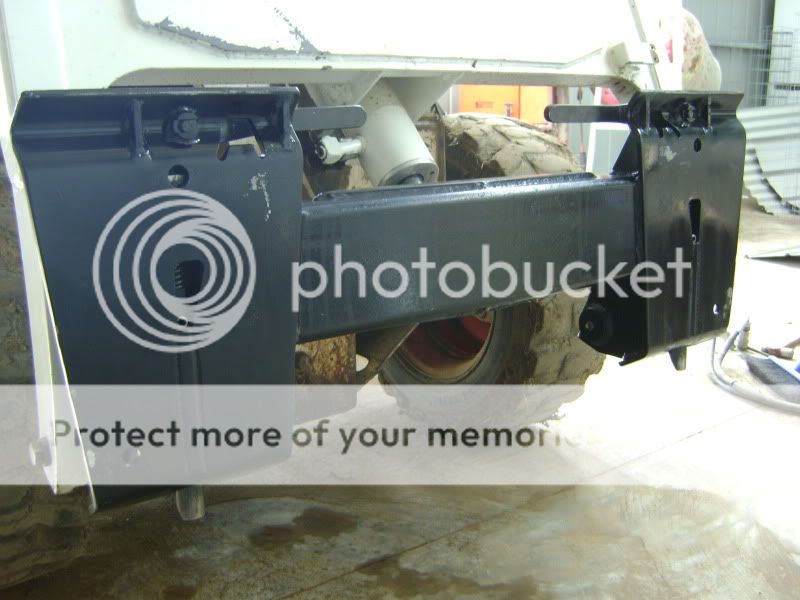
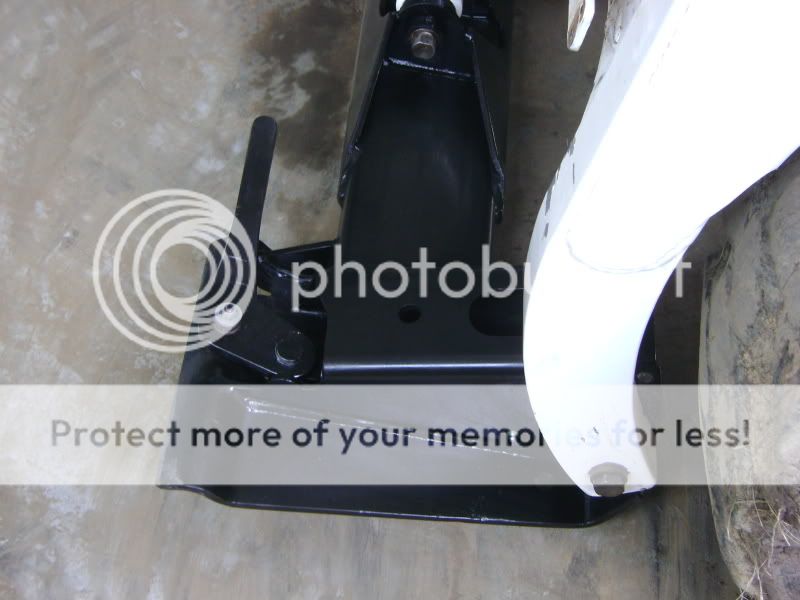
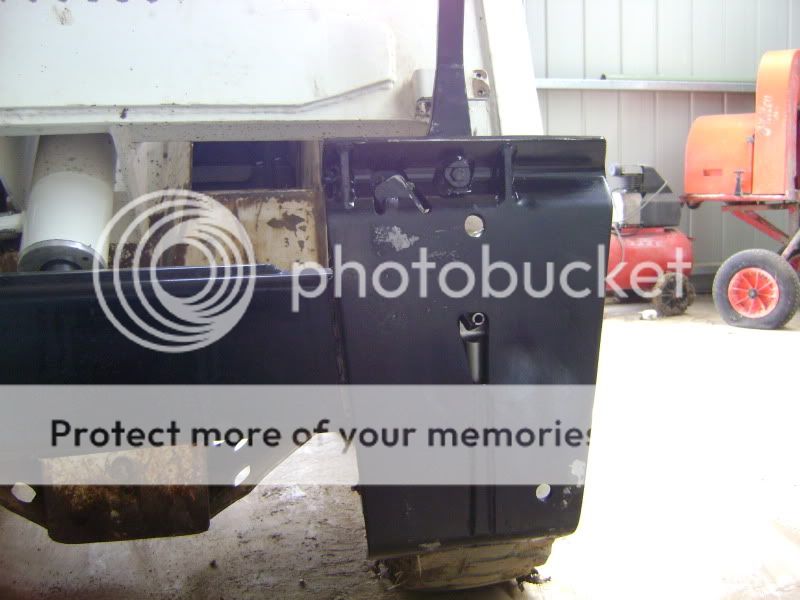
Looks great. You should have made two sets *nudge*Finally some shots of the finished product.
How did you machine the parts for it? the tubes and wedges are easy enough and the levers i assume oxy or plasma? The hardest part that i can think to make was the one that the lever pulls and pushes on, how did you do that?
Yes Tazza the pivot is a little tricky although it didn't take long to make them. I started with an oversized block of steel and put it in a four jaw chuck and turned the spigot diameter then just milled away to the final shape and drilled the hole for the shoulder bolt.Looks great. You should have made two sets *nudge*
How did you machine the parts for it? the tubes and wedges are easy enough and the levers i assume oxy or plasma? The hardest part that i can think to make was the one that the lever pulls and pushes on, how did you do that?
I must repeat that this is a fairly intensive modification and I would not recommend anyone doing it unless they have a lot of time and resources on hand.
Thats a nice neat job! I have a spare bobtach that needs rebuilding , you have inspired me !Yes Tazza the pivot is a little tricky although it didn't take long to make them. I started with an oversized block of steel and put it in a four jaw chuck and turned the spigot diameter then just milled away to the final shape and drilled the hole for the shoulder bolt.
I must repeat that this is a fairly intensive modification and I would not recommend anyone doing it unless they have a lot of time and resources on hand.
Similar threads
Latest posts
-
-
-
-
Just bought a good used Mustang 440 and have some questions.
- Latest: Oldandtired