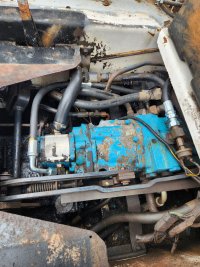
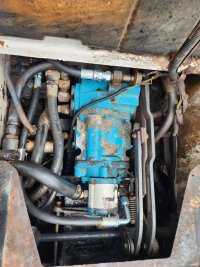
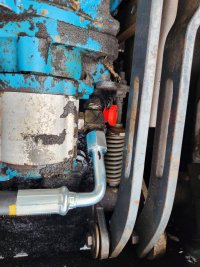
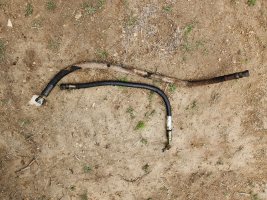
I recently got this 743 and knew it would need some repairs. 1st hard work and it sprayed fluid under the seat. This hose looks easy toward the front but gets tight with others toward the back, under the frame and not sure. Trying to decide to try mobile mech or tackle it.
I'm mechanical and work on my old chevy. New to hydrolic stuff. What tools needed? Oh and how does the air get purged?
Thanks.
I'm mechanical and work on my old chevy. New to hydrolic stuff. What tools needed? Oh and how does the air get purged?
Thanks.
Attachments

Last edited:
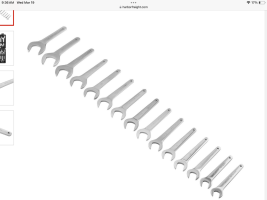
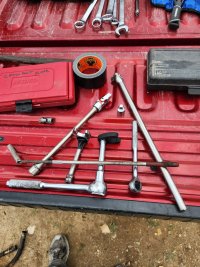
") see if I can get my wrenches on them tomorrow.. purchase more tools if not.
see if I can get my wrenches on them tomorrow.. purchase more tools if not.