Mustang 1700 Reset

Skidsteer Forum - Bobcat, New Holland, Case, John Deere

Help Support Skidsteer:

This post has been edited. Please see below in red.

My comments were based on STOCK friction materials that are in the clutches. I should have said that. If you are using modern clutches, I would ask the supplier what friction material they bonded to the steels. My background is I'm an engineer so these sorts of nuances are interesting to me. I'm pretty sure my clutches are OMC, and given how expensive new ones are, I want to milk as many hours as I can from them. That being the case, a fellow engineer and I did some did some looking back at both dry and wet friction materials years back for these types of questions. Dry for brakes and wet for clutches like what's in a torque convertor and the clutches in your Owatonna. For example, you really shouldn't use modern friction materials with original or NOS brake drums in old cars (I'm thinking before the mid-50s or 60s). Their incompatibility leads to heat checking and warpage of the drums. Every modern brake should has a series of letters and numbers that tell you that information.

I'm going to go engineer now. Back to Type "A" suffix "A" ATF. Are you running new or old clutch friction material? If old, those friction materials are not going to be "as" compatible with the newer stuff. I hope I said up to Dexron III (H). After the specification H, the viscosities change as well as additives, synthetics, etc. My comments were based on documents from the API (American Petroleum Institute), SAE (Society of Automotive Engineers), and more. Here is an example "Friction Characteristics of DEXRON®-III Automatic Transmission Fluids", the link is *here*. Will Mercon hurt the clutches? I don't know. I do know I want my clutches to last as long as possible, and the Type "A" Suffix "A" is it. To close this out, the blend you are referring to may be past the "H" specification.

Cost. Have you checked any local farm stores for Dexron III? The farm store I go to in South Dakota has THE most inexpensive ATF (straight Dexron III) and they only sell it in 5 gallon pails, cheaper than any FLAPS (favorite local automotive store). Assuming of course it follows the specification. Try looking there to save some coin.

Now I get to be the old man I am. The old fart in me says it's probably not a big deal... up to a point. I'm where you are. I'm debating buying the cheapest stuff I can find, run it for awhile, then *maybe* switch to a more trustworthy brand??? There are at least $2,400 in clutches that may justify it. But 25 (or whatever it is) gallons of ATF is a lot of $. But I'm letting the engineer back into the discussion.

OH, and by the way, watch your brand of hydraulic filter CLOSE. I bought a FLAPS one (for the application) and I can't remember the numbers, but it's filtering capability was not-so-good. Like twice the microns of a John Deere filter. If I can find those numbers (including OMC's spec), I'll post them. This may cause a debate but I only put OEM filters in stuff that is important to me. Like a CAT engine, Cummins, etc. I am of the opinion that the OMC Mustang is important to me and John Deere or Fleetguard will go in it. <-- Edited. I found those numbers and I was wrong. Napa, Wix, Fleetguard, etc. seem to all be right around 25 microns. So, FLAPS are just fine. Sorry for the wrong information.

Regarding the bushing. You got that right, wow are they hard to find. I was fortunate to have the time to camp on eBay long enough to score them fairly inexpensively.

Have fun! Please post pictures if you can.

Al Jones
South Dakota
Thank you for your response.
Kind of funny that dexron in a Chevy product and merc is a Ford but call for the Dexron. My clutches are original so it's type a for me but it's going to be a challenge finding Dexron without the Dexron/Merc labeling in my area (pa) as just about all reasonably priced 5 gallon pails carry the duel names. The average price is about 85-100 per 5 gallons for the fluid with the Dexron/Merc mentioned on the label. Online I can get much the same. I think I am just going to toss dice and buy what's available.

I am also missing that battery cover, sorry. Steve
 
dextron 3 and mercon 5 are almost the same fluid,very little difference, I think that is why either can be used .
 
Thank you for your response.
Kind of funny that dexron in a Chevy product and merc is a Ford but call for the Dexron. My clutches are original so it's type a for me but it's going to be a challenge finding Dexron without the Dexron/Merc labeling in my area (pa) as just about all reasonably priced 5 gallon pails carry the duel names. The average price is about 85-100 per 5 gallons for the fluid with the Dexron/Merc mentioned on the label. Online I can get much the same. I think I am just going to toss dice and buy what's available.

I am also missing that battery cover, sorry. Steve

Steve,

You'll probably do fine. You can also check your hydraulic filter next time you change it.

I'm glad your machine is running!!

Al Jones
 
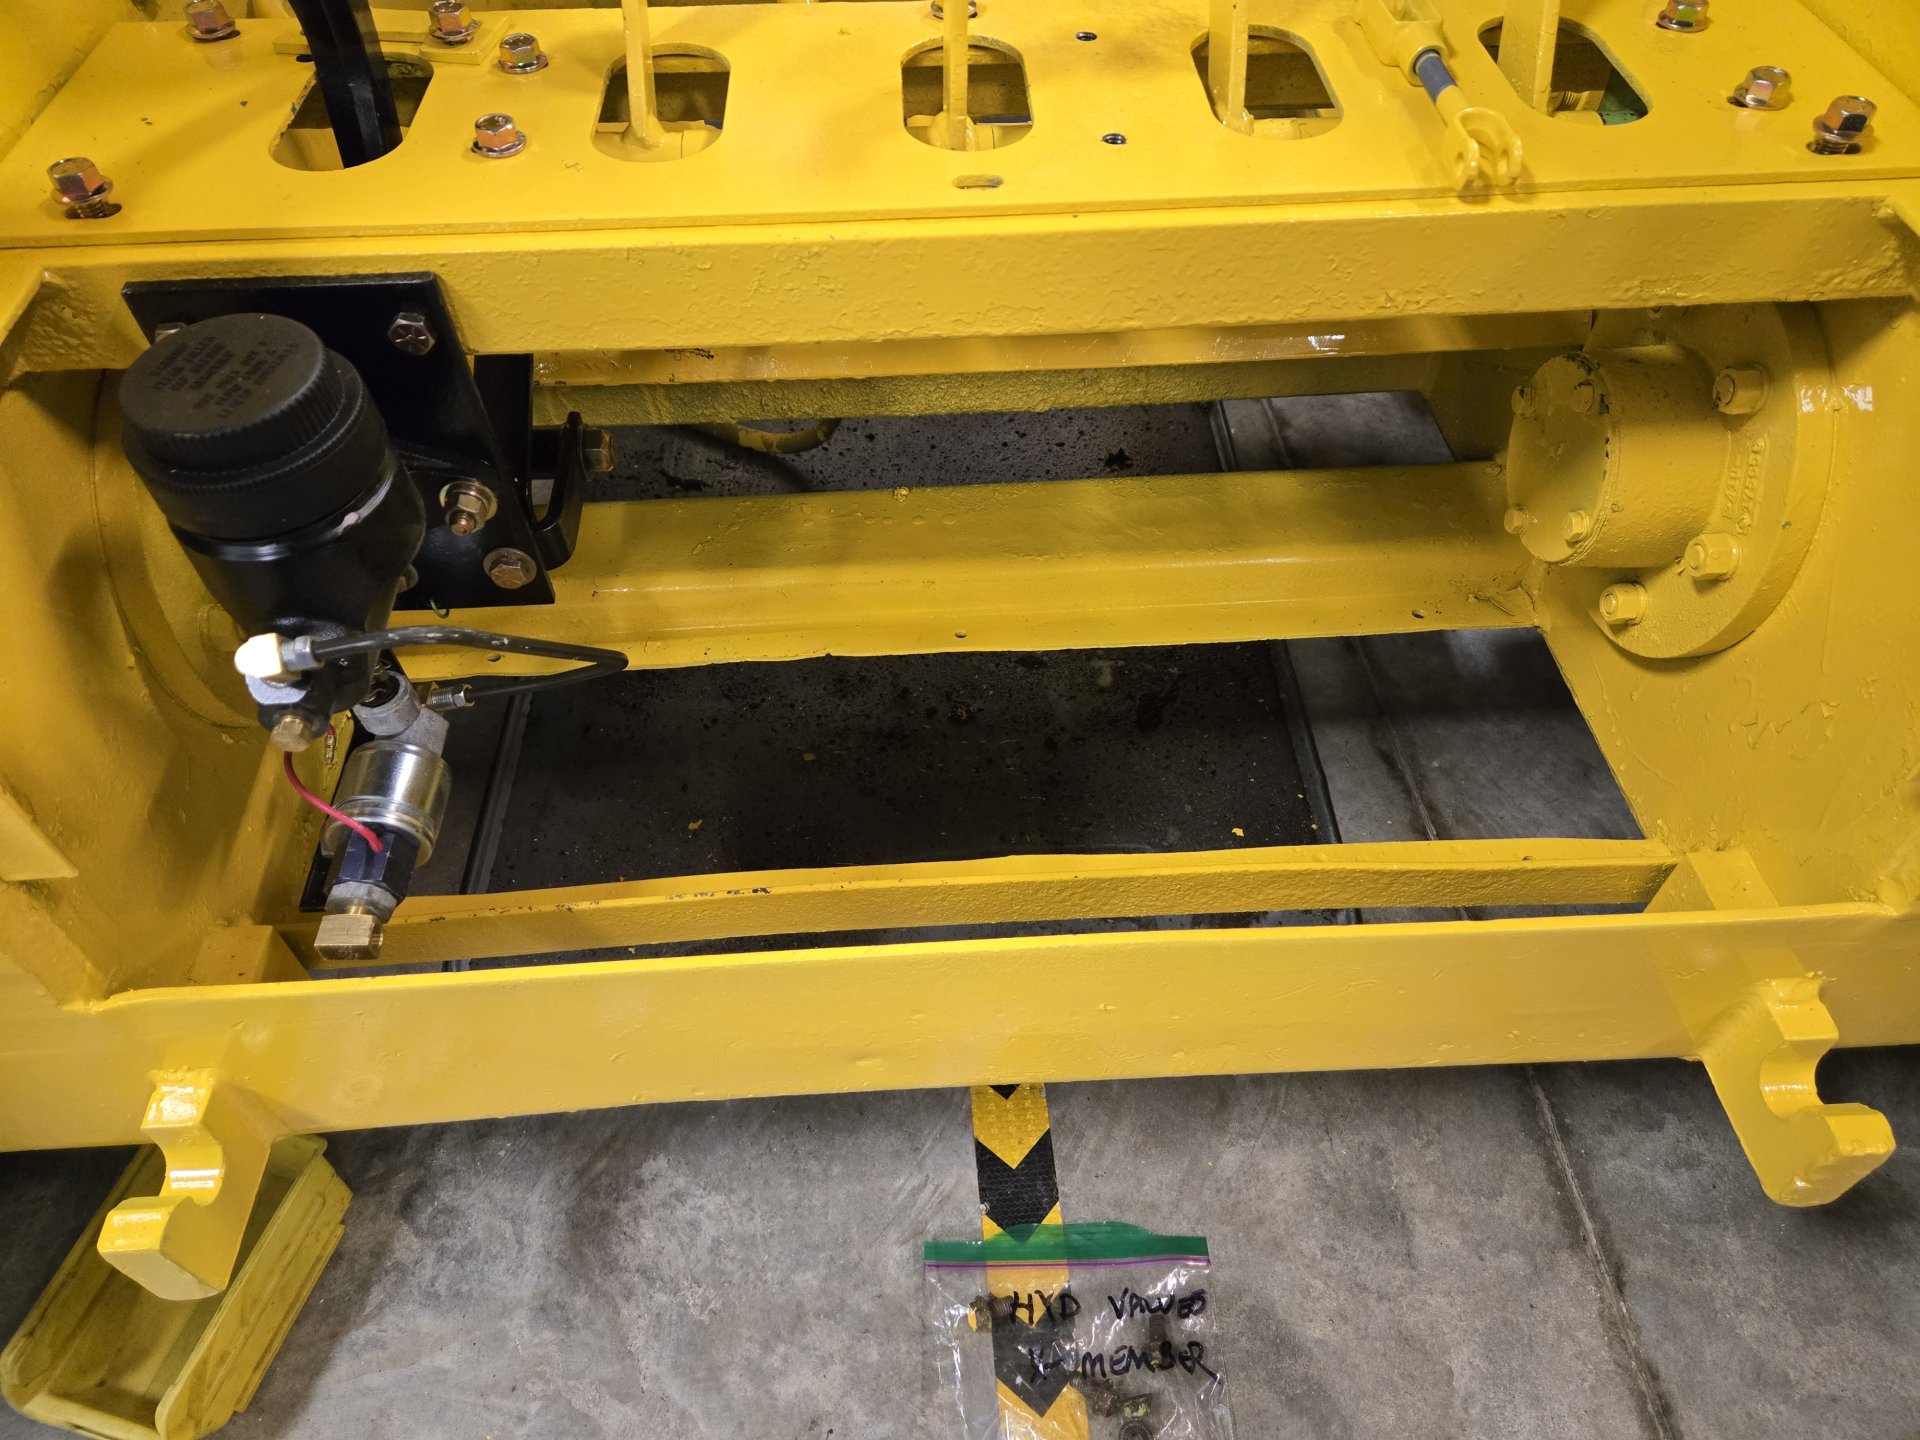
Does anyone have any ideas for a size of battery (group) and how to fasten it down? I thought a group 51 would fit in that narrow cover, but it doesn't. What am I missing here? Does the front plate need to come off to gain access to the battery? :unsure:

20251119_153703.jpg
20251122_135726.jpg


Thanks,
Al Jones
 
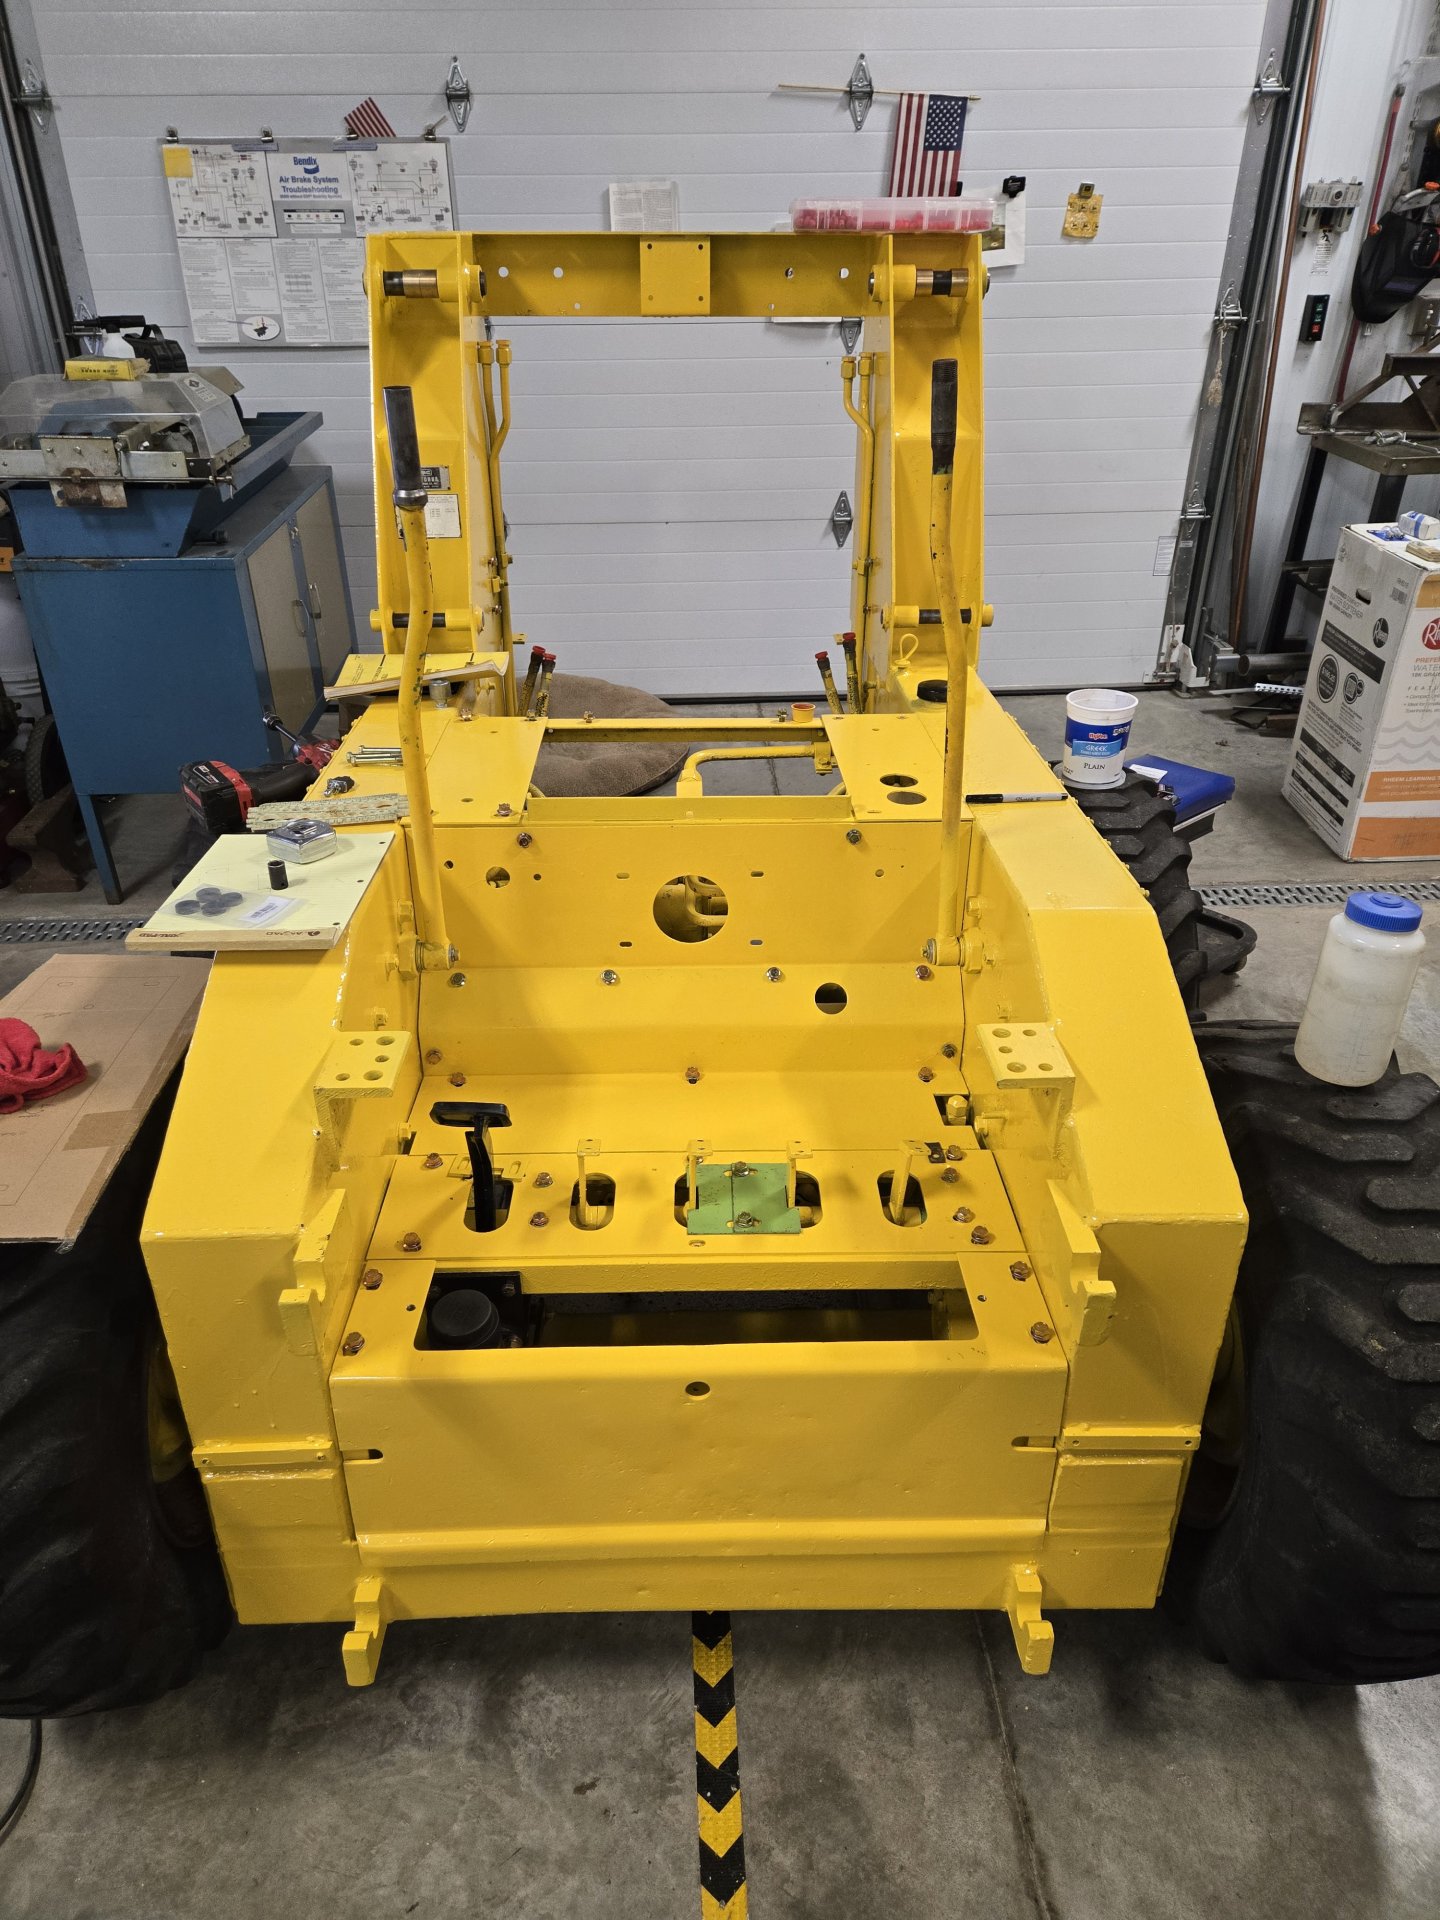
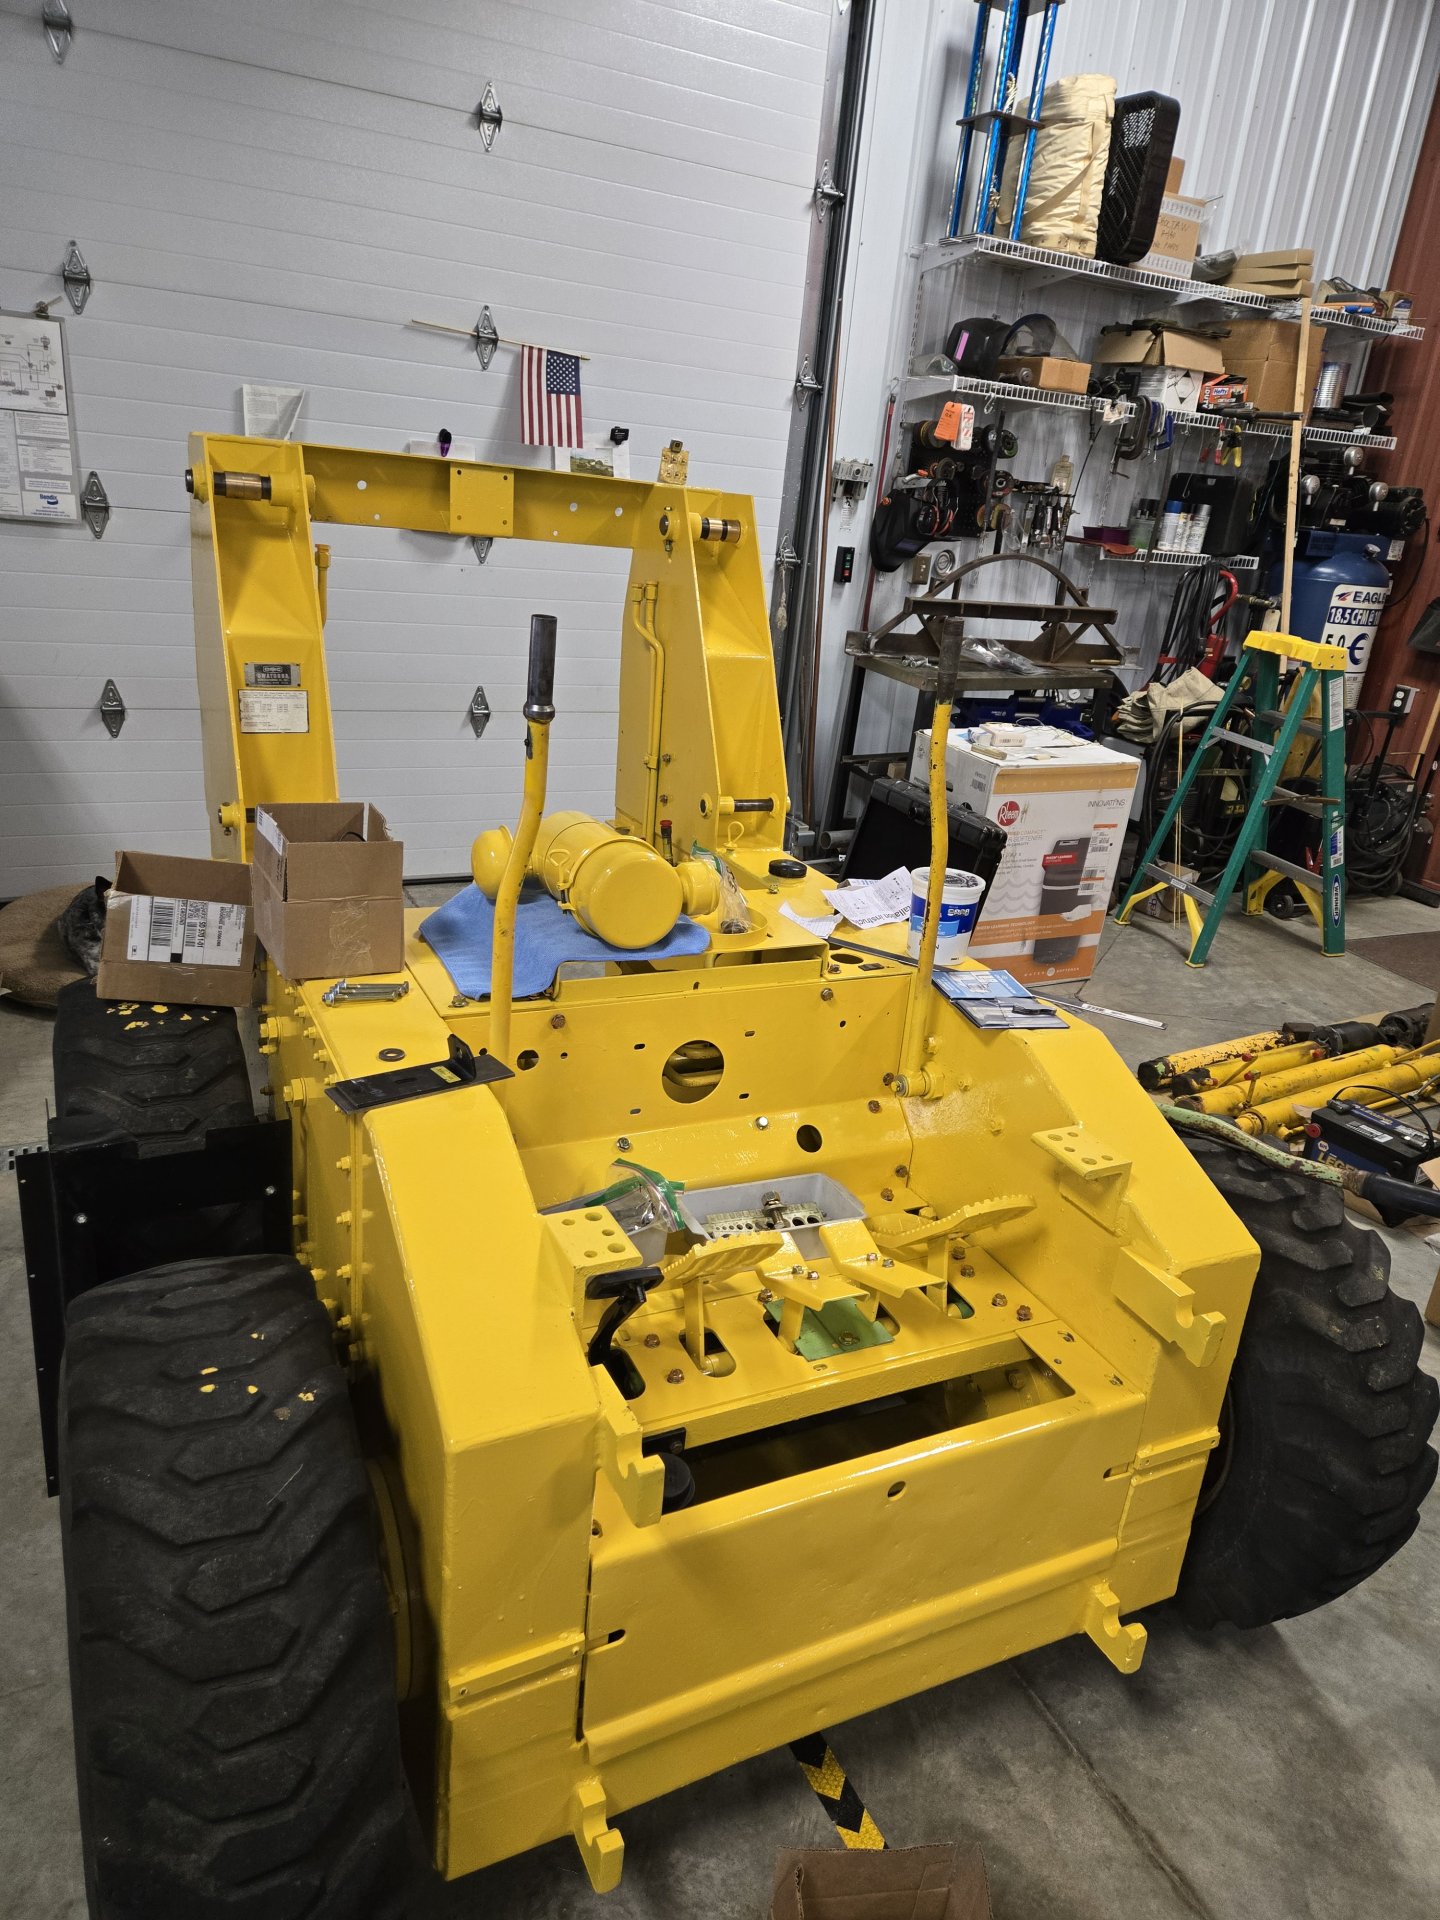
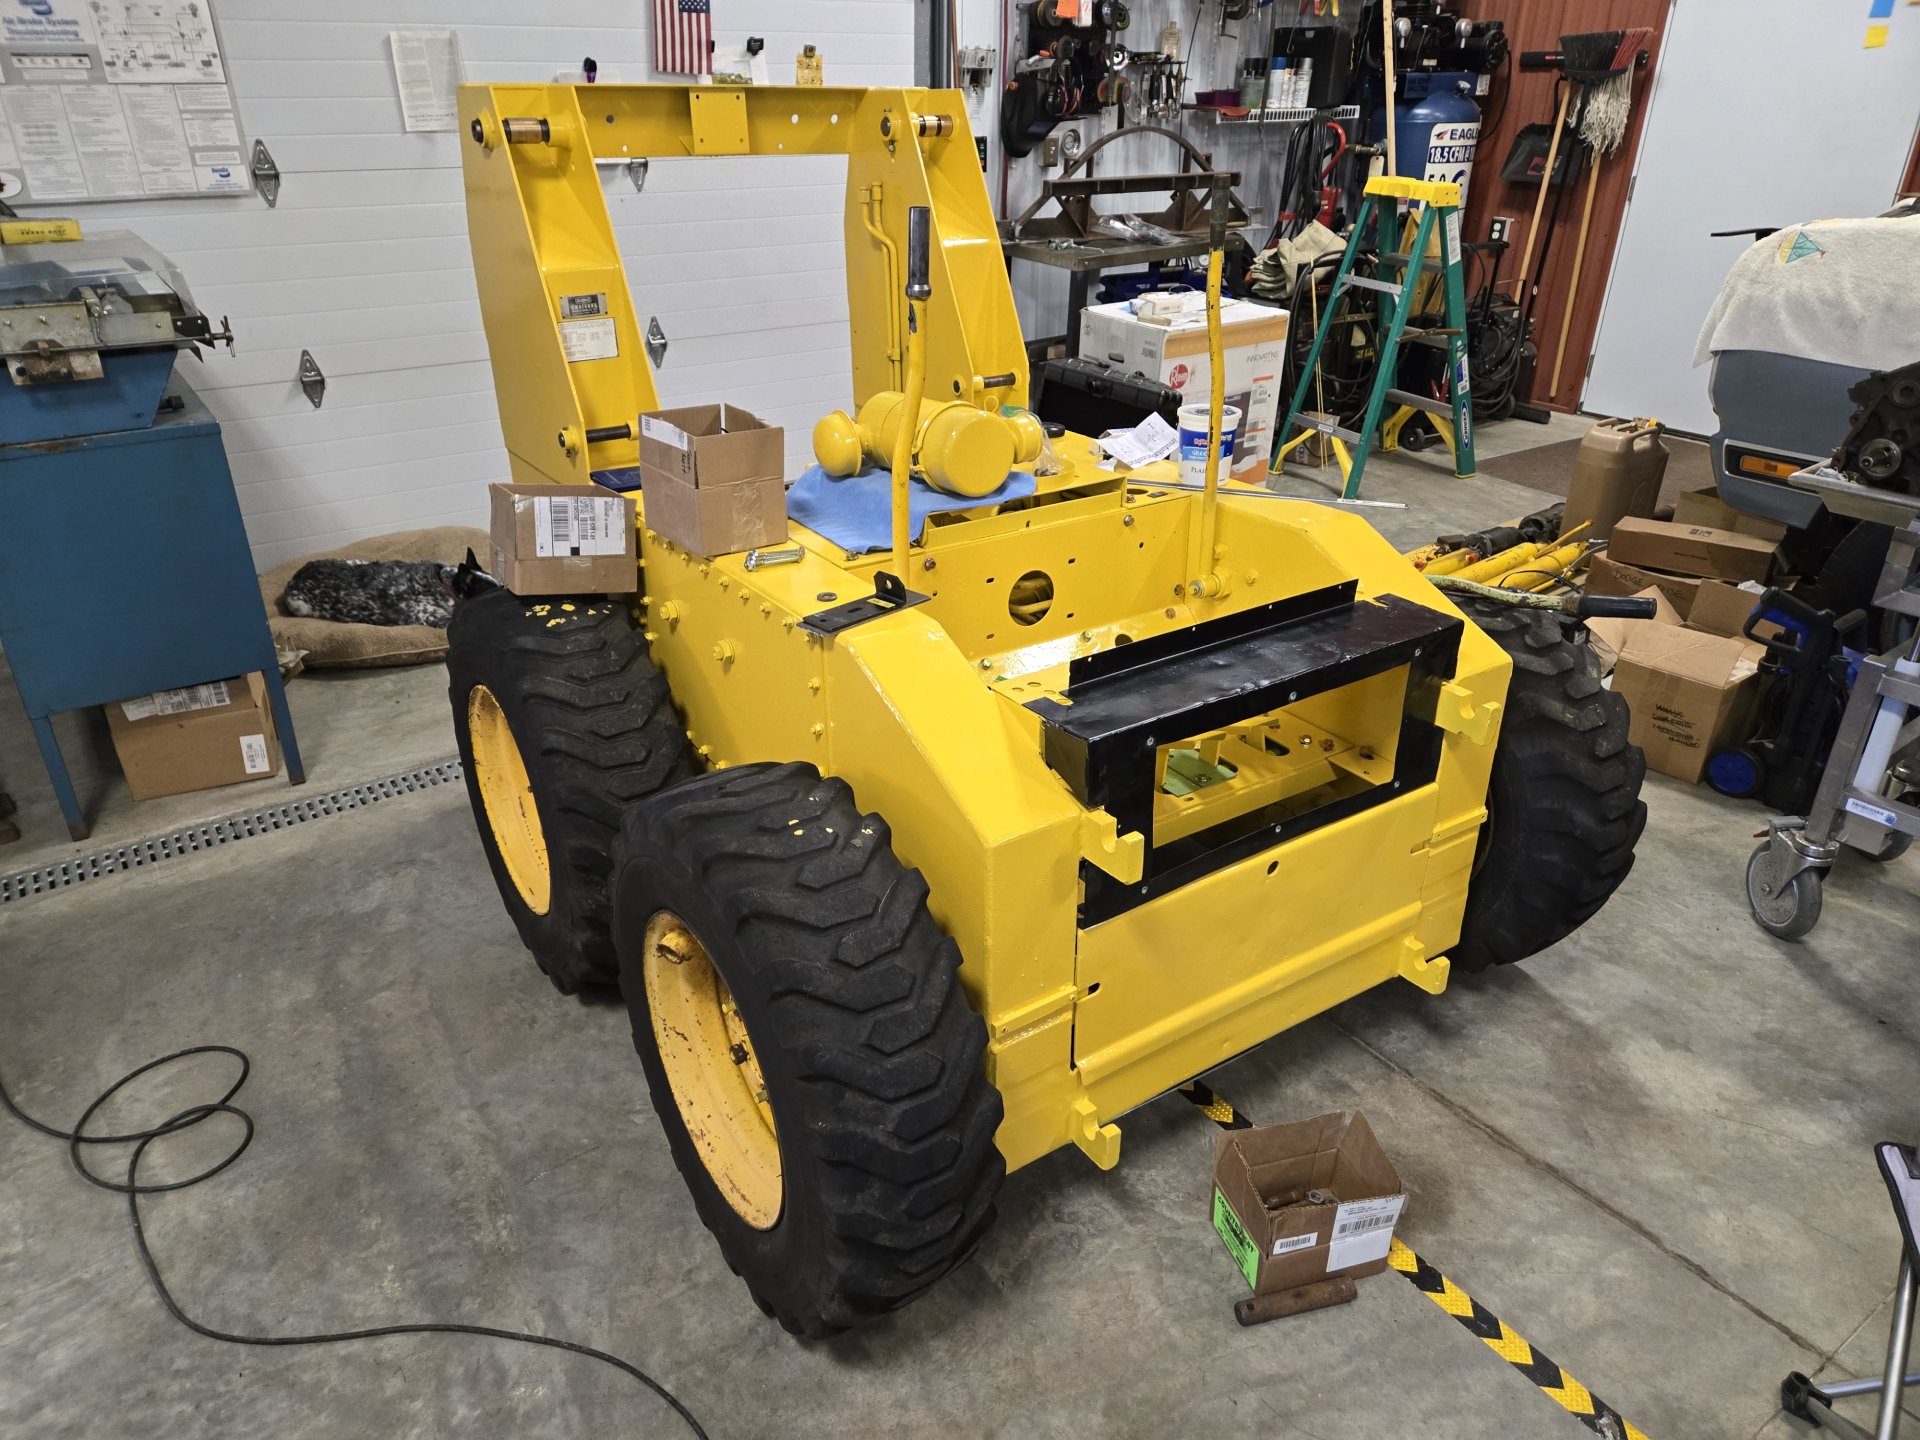
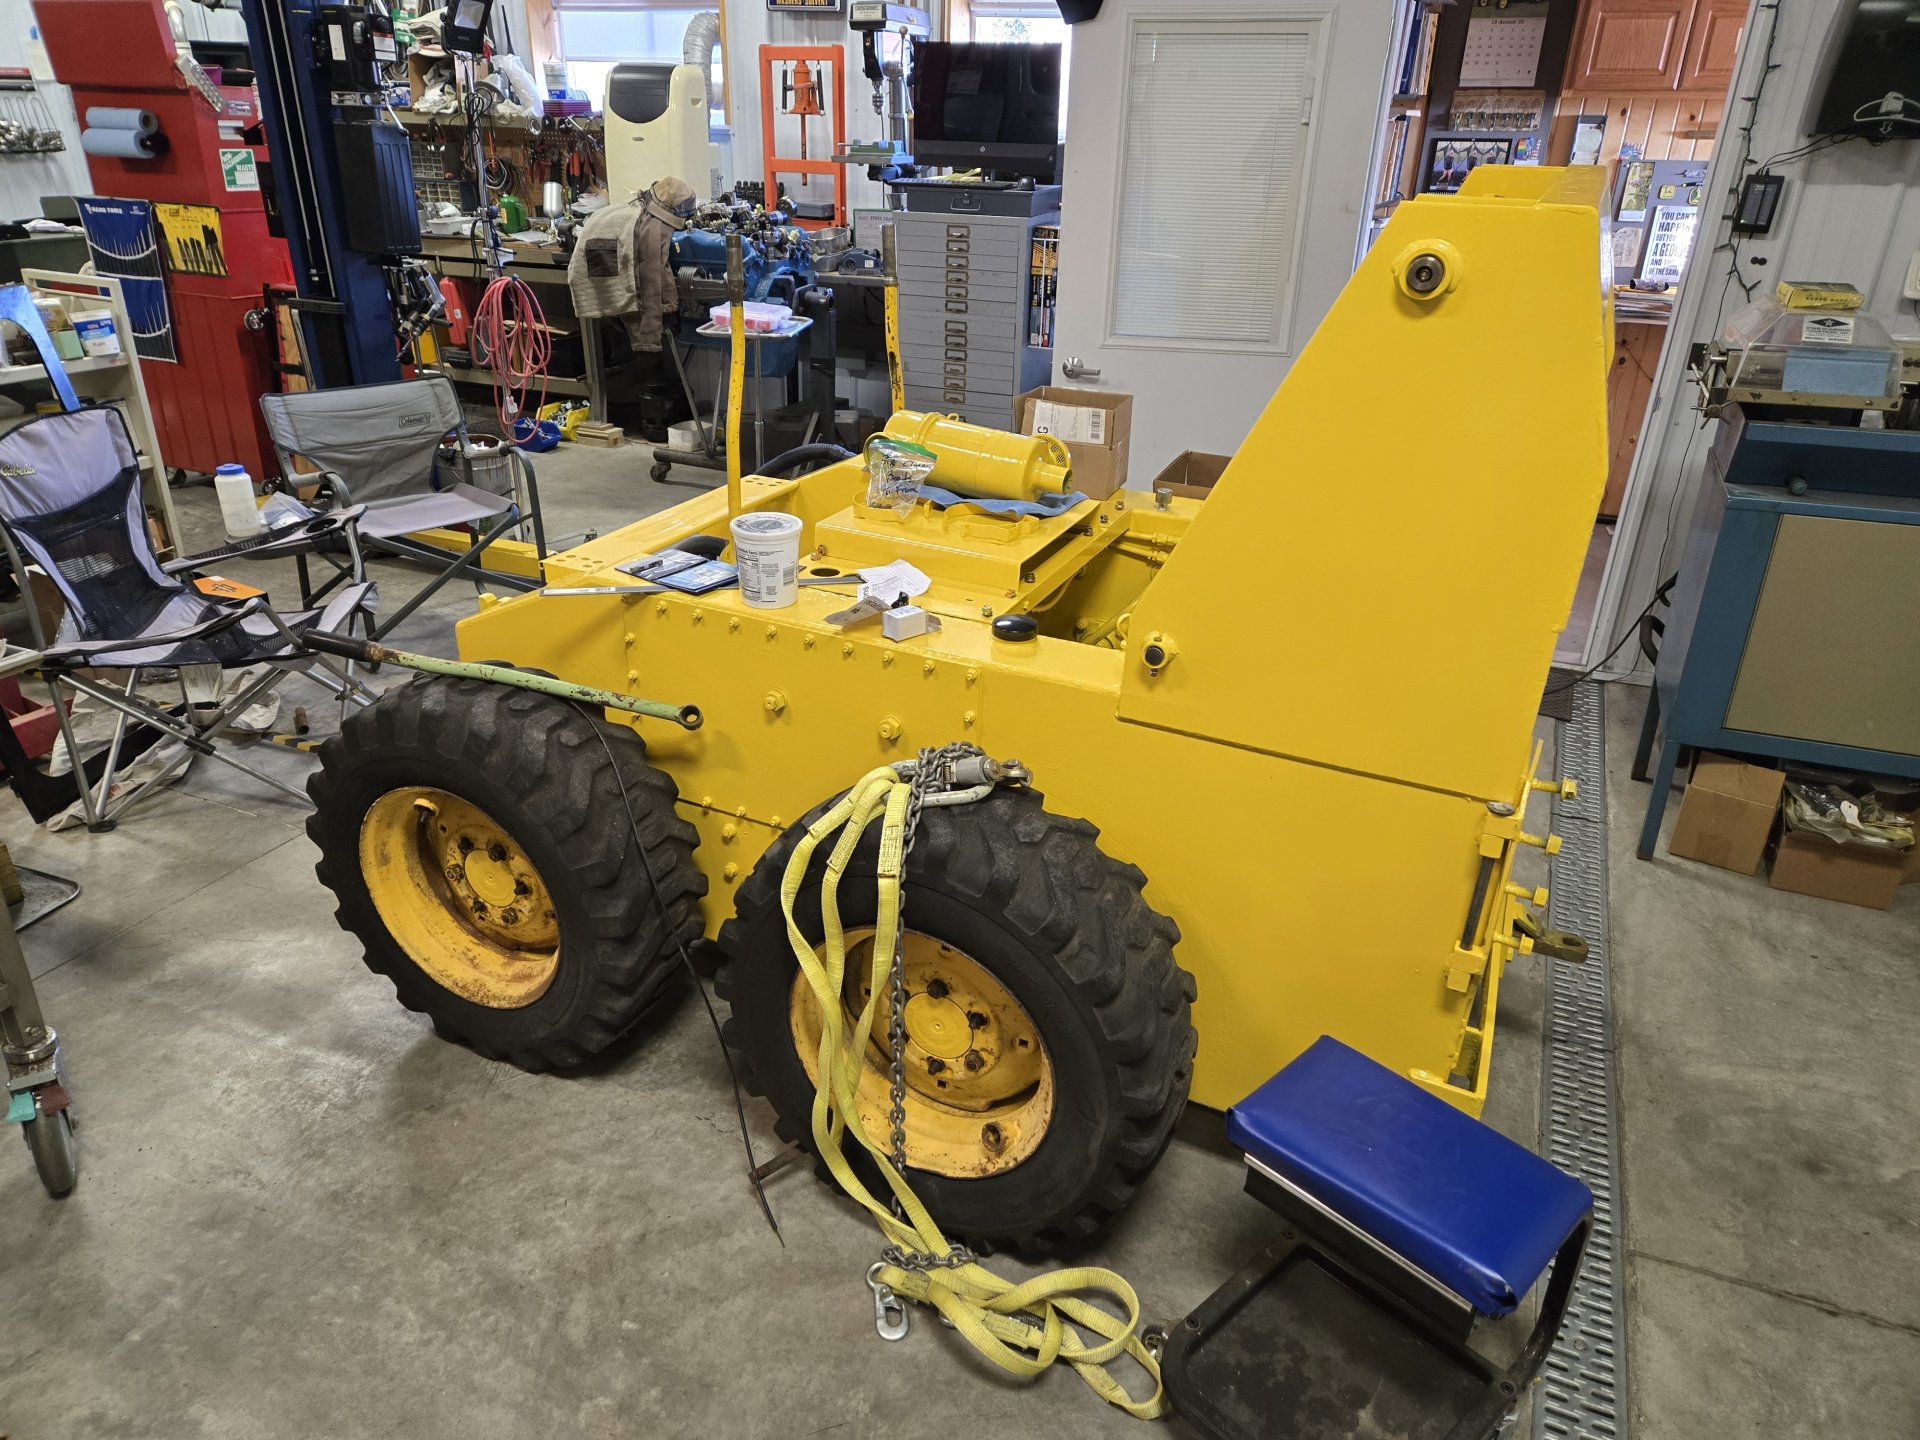
Progress. Despite it snowing 6" and getting down to 4F last night. Current status:

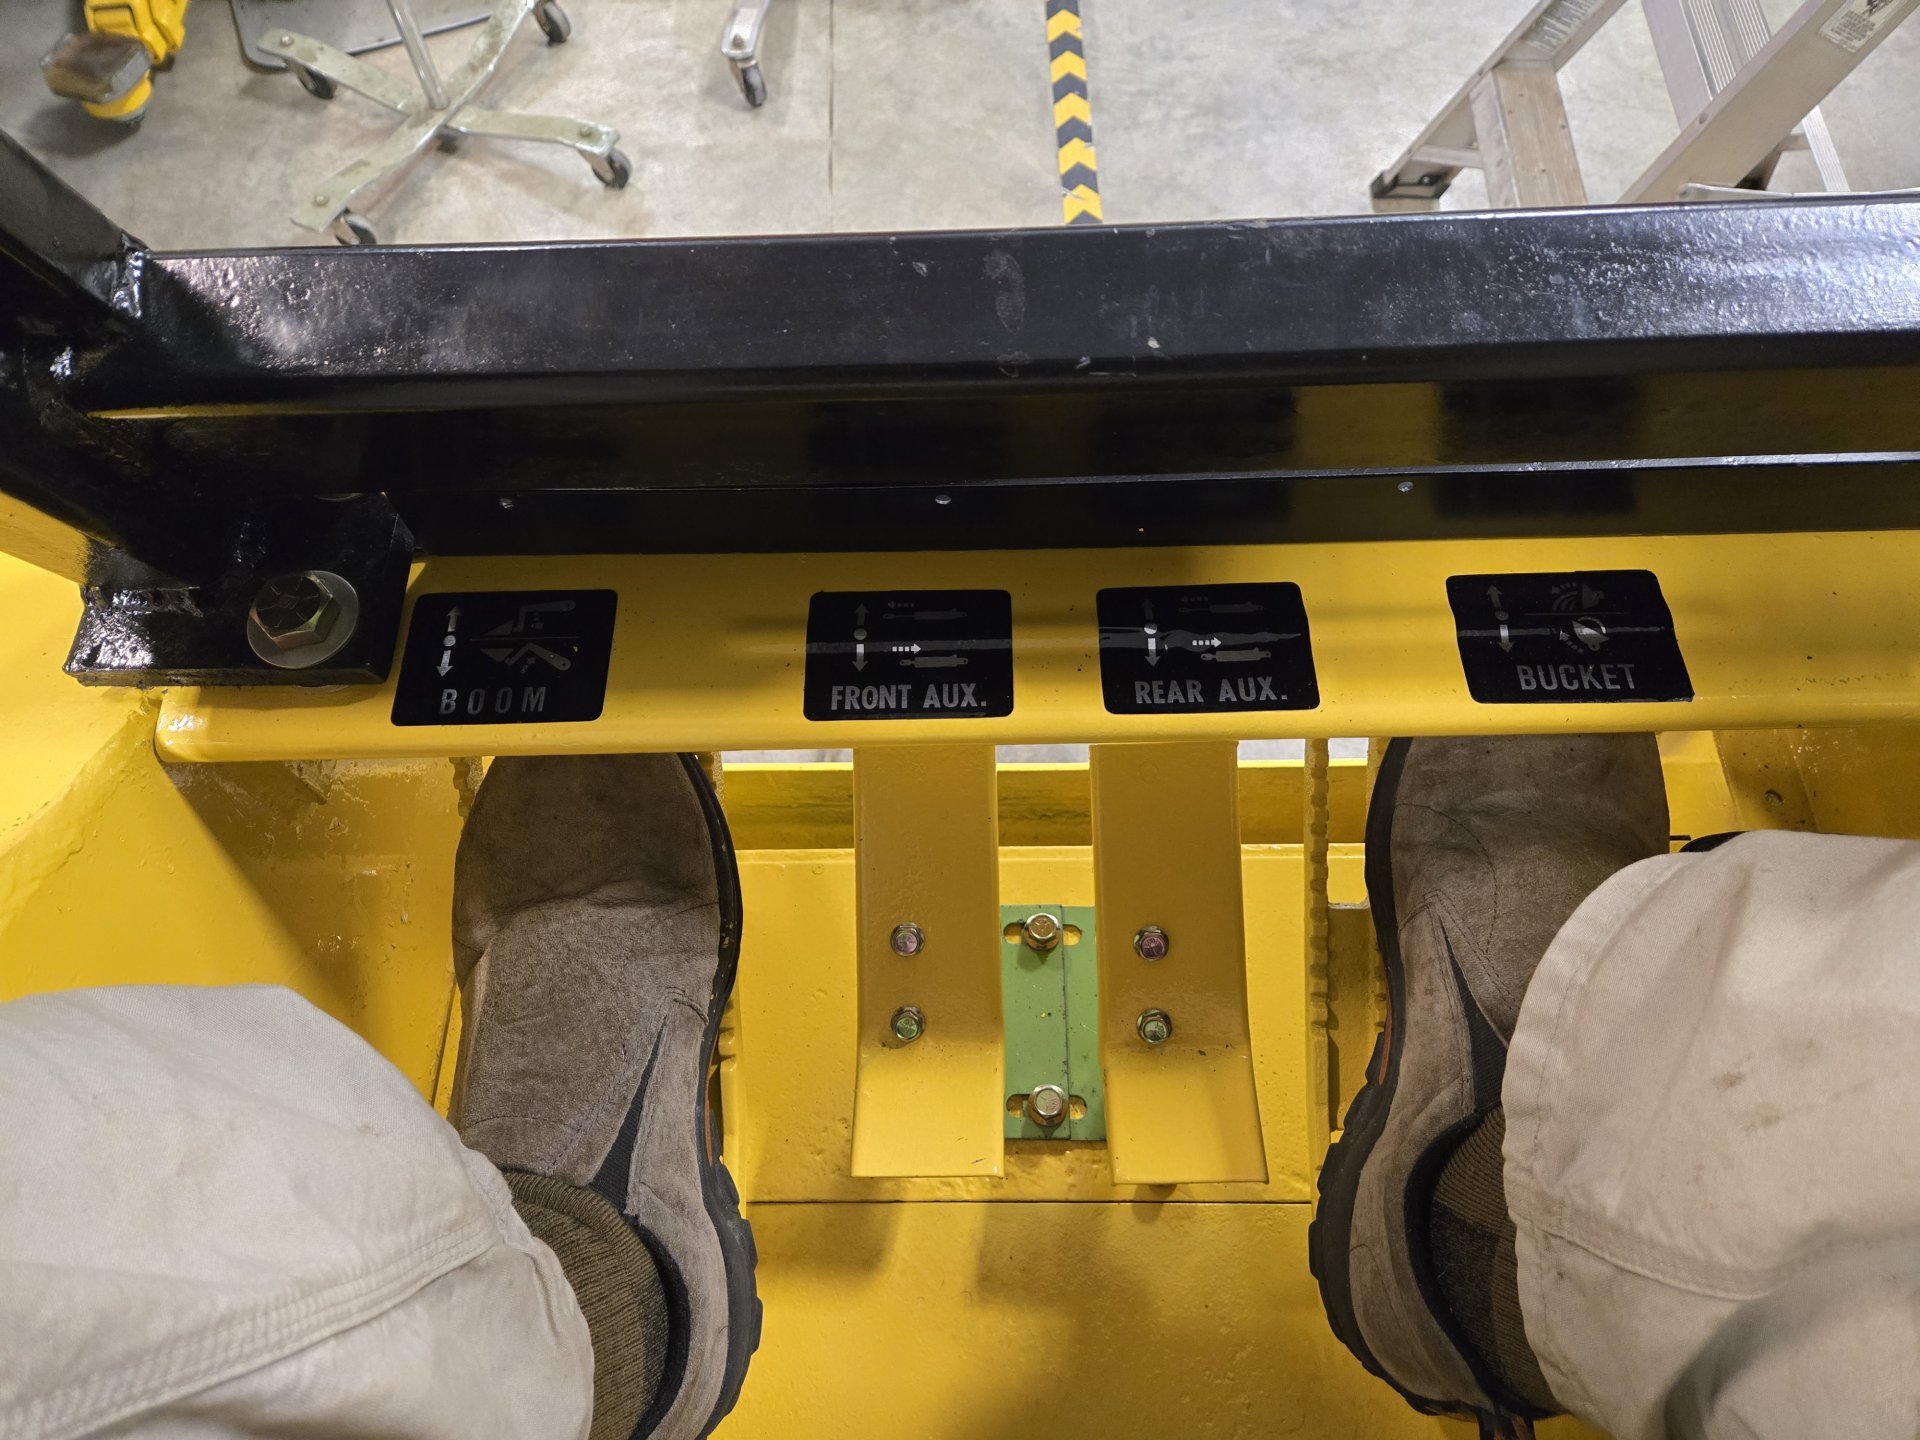
Lots of little parts going on like the pedals getting hooked up, finding the correct fasteners, torturing panels into place, etc.

20251201_143729.jpg
20251201_144511.jpg


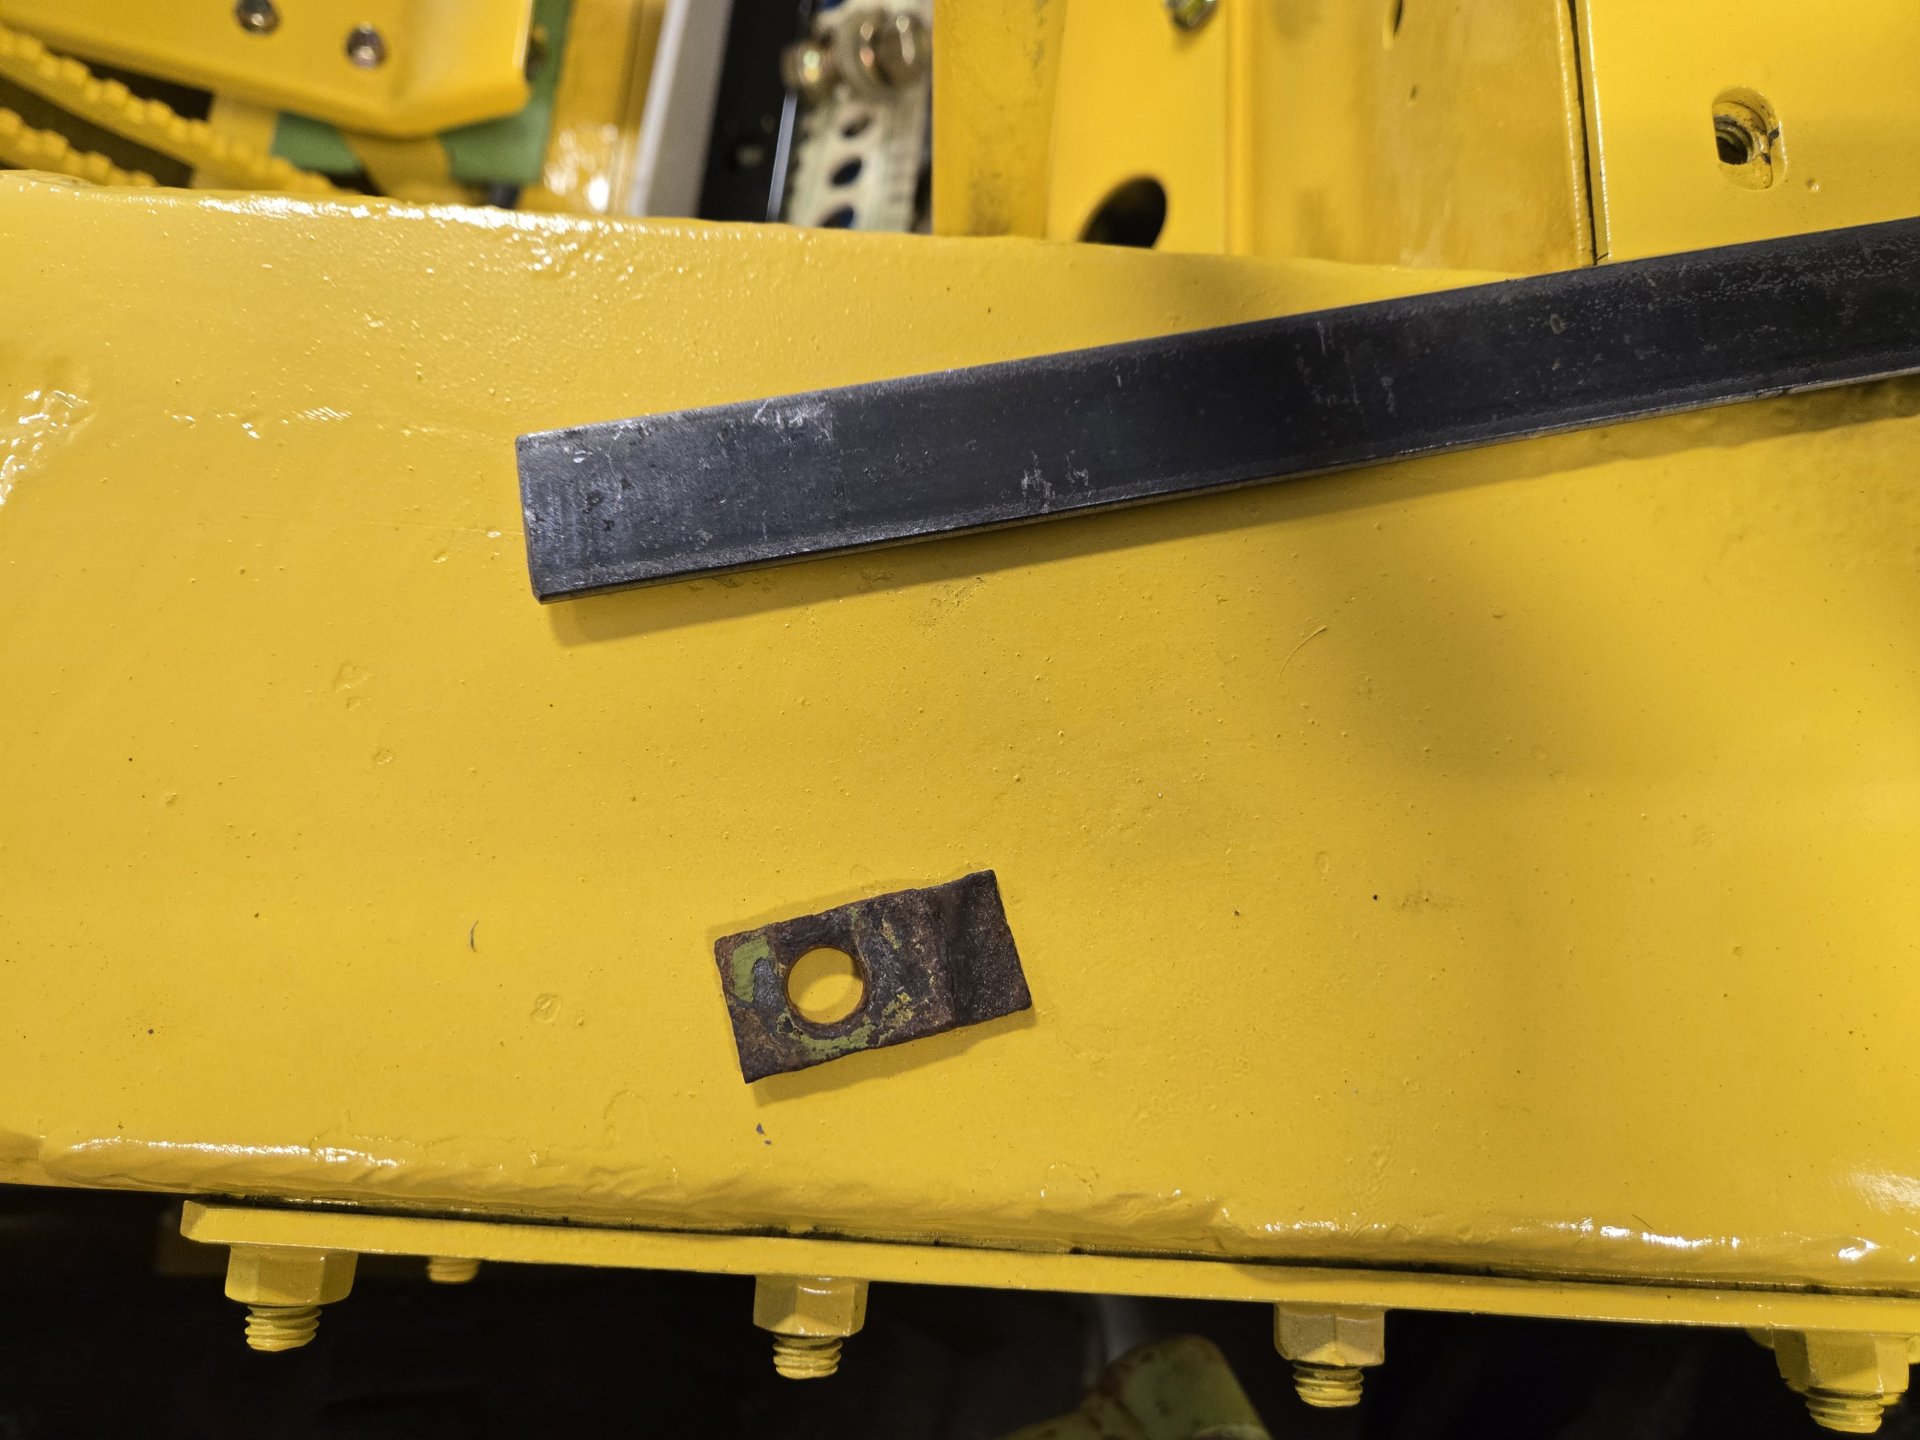
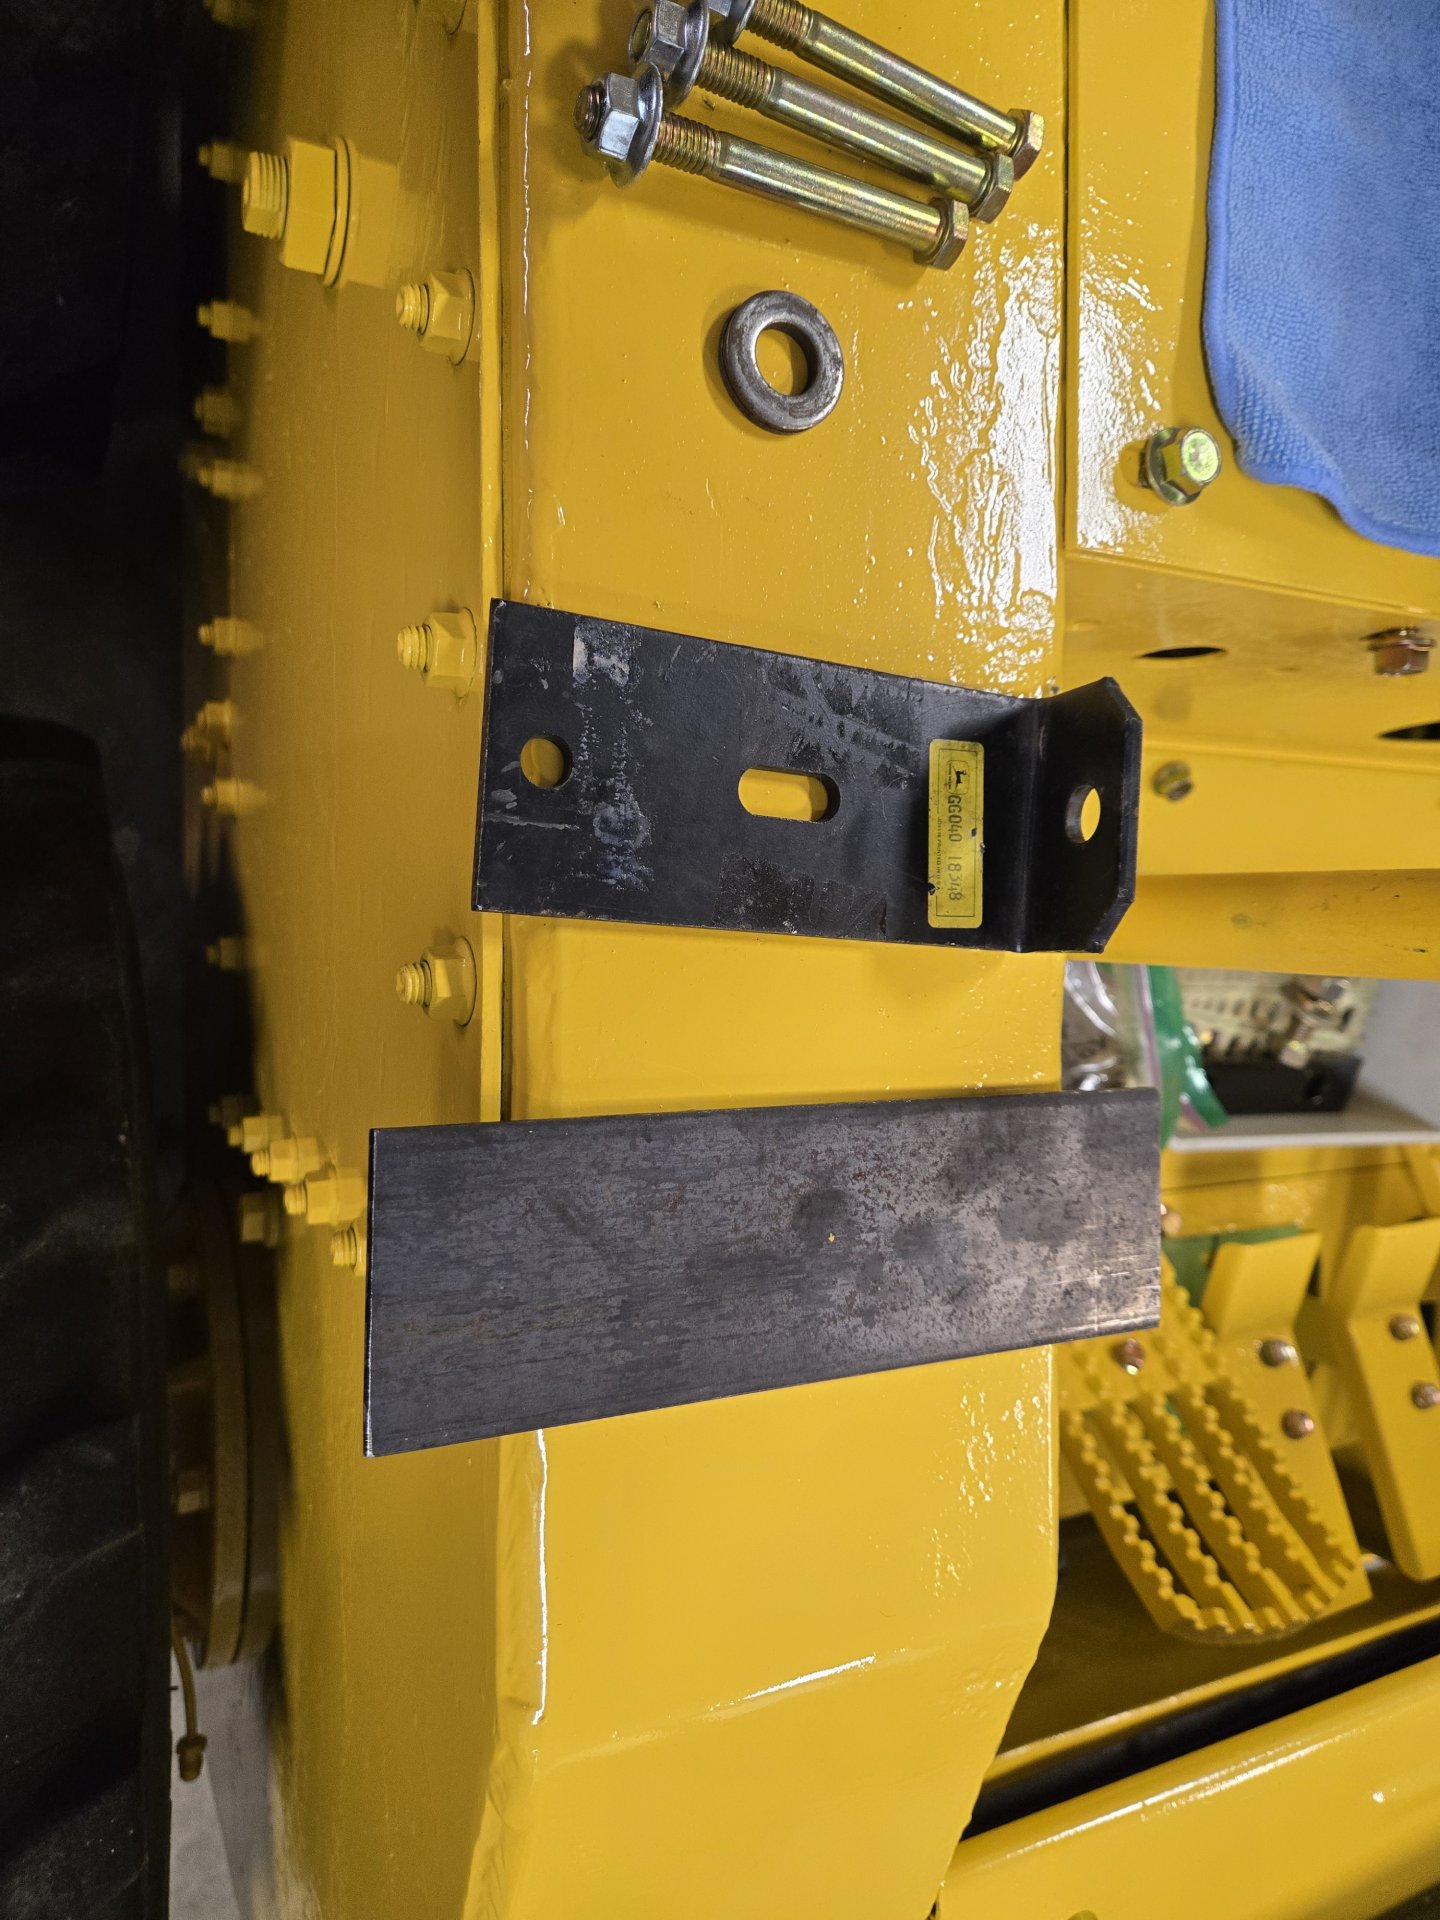
Also making missing little parts like panel tabs, a stock light bracket for the boom, etc.

20251201_144556.jpg
20251201_144532.jpg


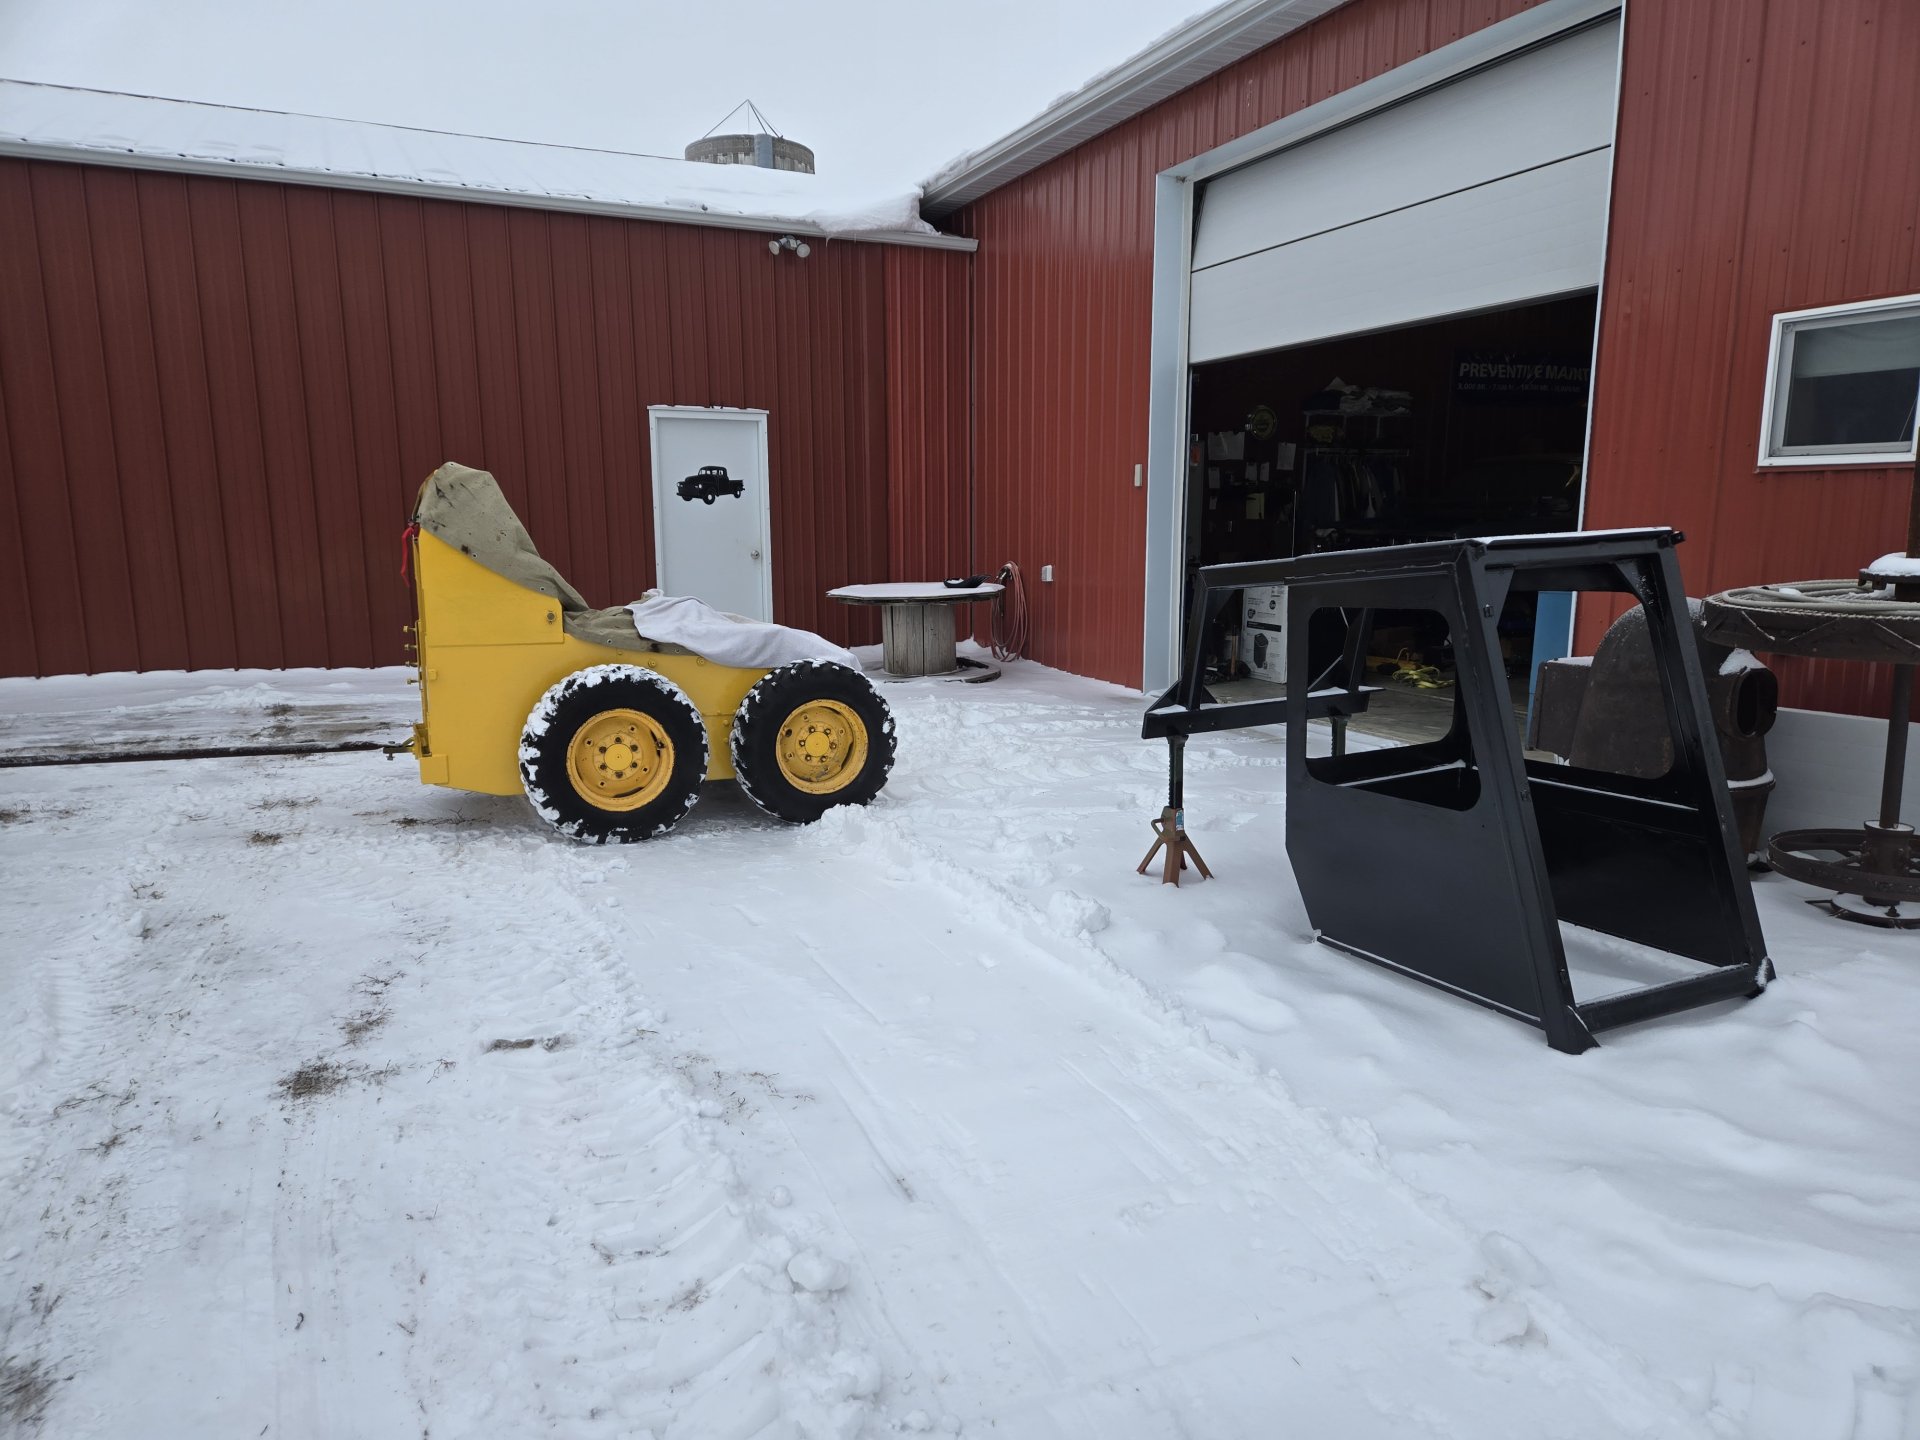
If Mother Nature is forgiving tomorrow or Friday (temps in the high 20s), I'll tow it outside and mount the cab on. I wanted the cab to sit in the elements for awhile after painting to see if I missed anything. My rigging is ready to go (on rear tire) and I think I have a method to mount the cab by myself.

20251114_142615[1].jpg
20251201_144316.jpg


Three major items remain. The engine, building a wiring harness, and the boom.

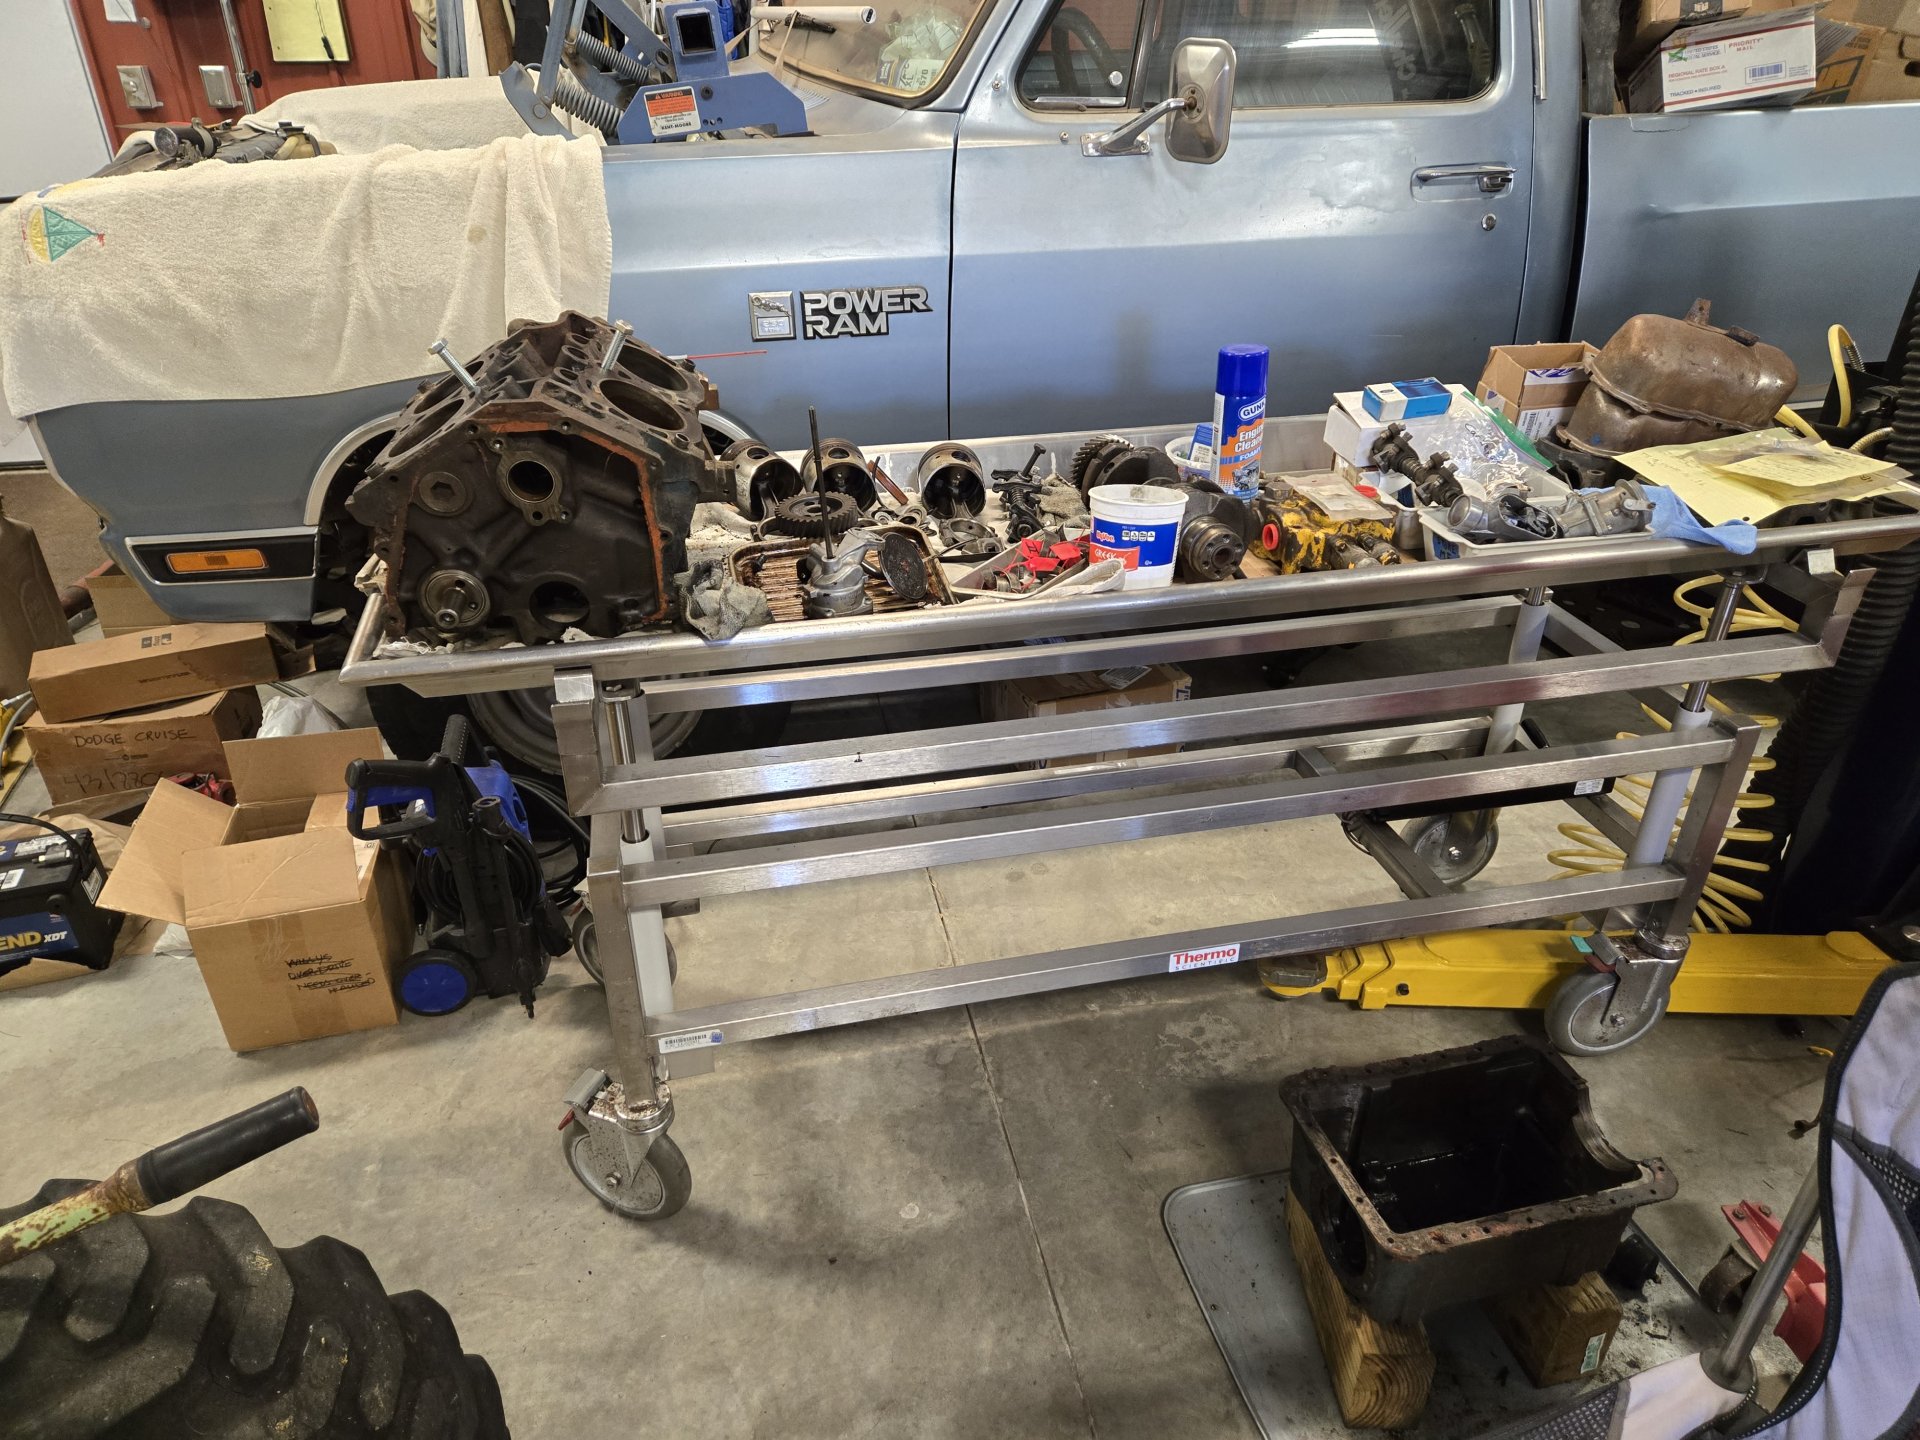
The engine is now completely disassembled. I have all the parts with the exception of pistons, rings and crankshaft/rod bearings. The engine has had a fairly recent rebuild. The mains are 0.010" oversize and the connecting rods are standard, but neither were stock. I knew the engine has been into by the previous owner. I have decisions to make as far as how much to spend on the engine. The keeper of the checkbook (my wife) has set a budget and I may have to go back to ask for more if I want to totally machine the block and crank, and buy new pistons, etc. It's already been bored out two steps so it's at 91.00 mm right now. That's essentially 0.040" over. 0.060" pistons and rings are available but golly gosh expensive. I'll take any advice if anyone out there has some. There was water in two cylinders so I was thinking of taking a course hone and seeing how the cylinders might clean up. One of them appears in bad shape but I guess I won't know how bad until I hone it out. On all cylinders, you can barely catch a fingernail on the top ridge. I found a new set of the same size pistons and rings for less than $100. I'm so tempted to go that route but don't have a lot of experience in this area. Suggestions?

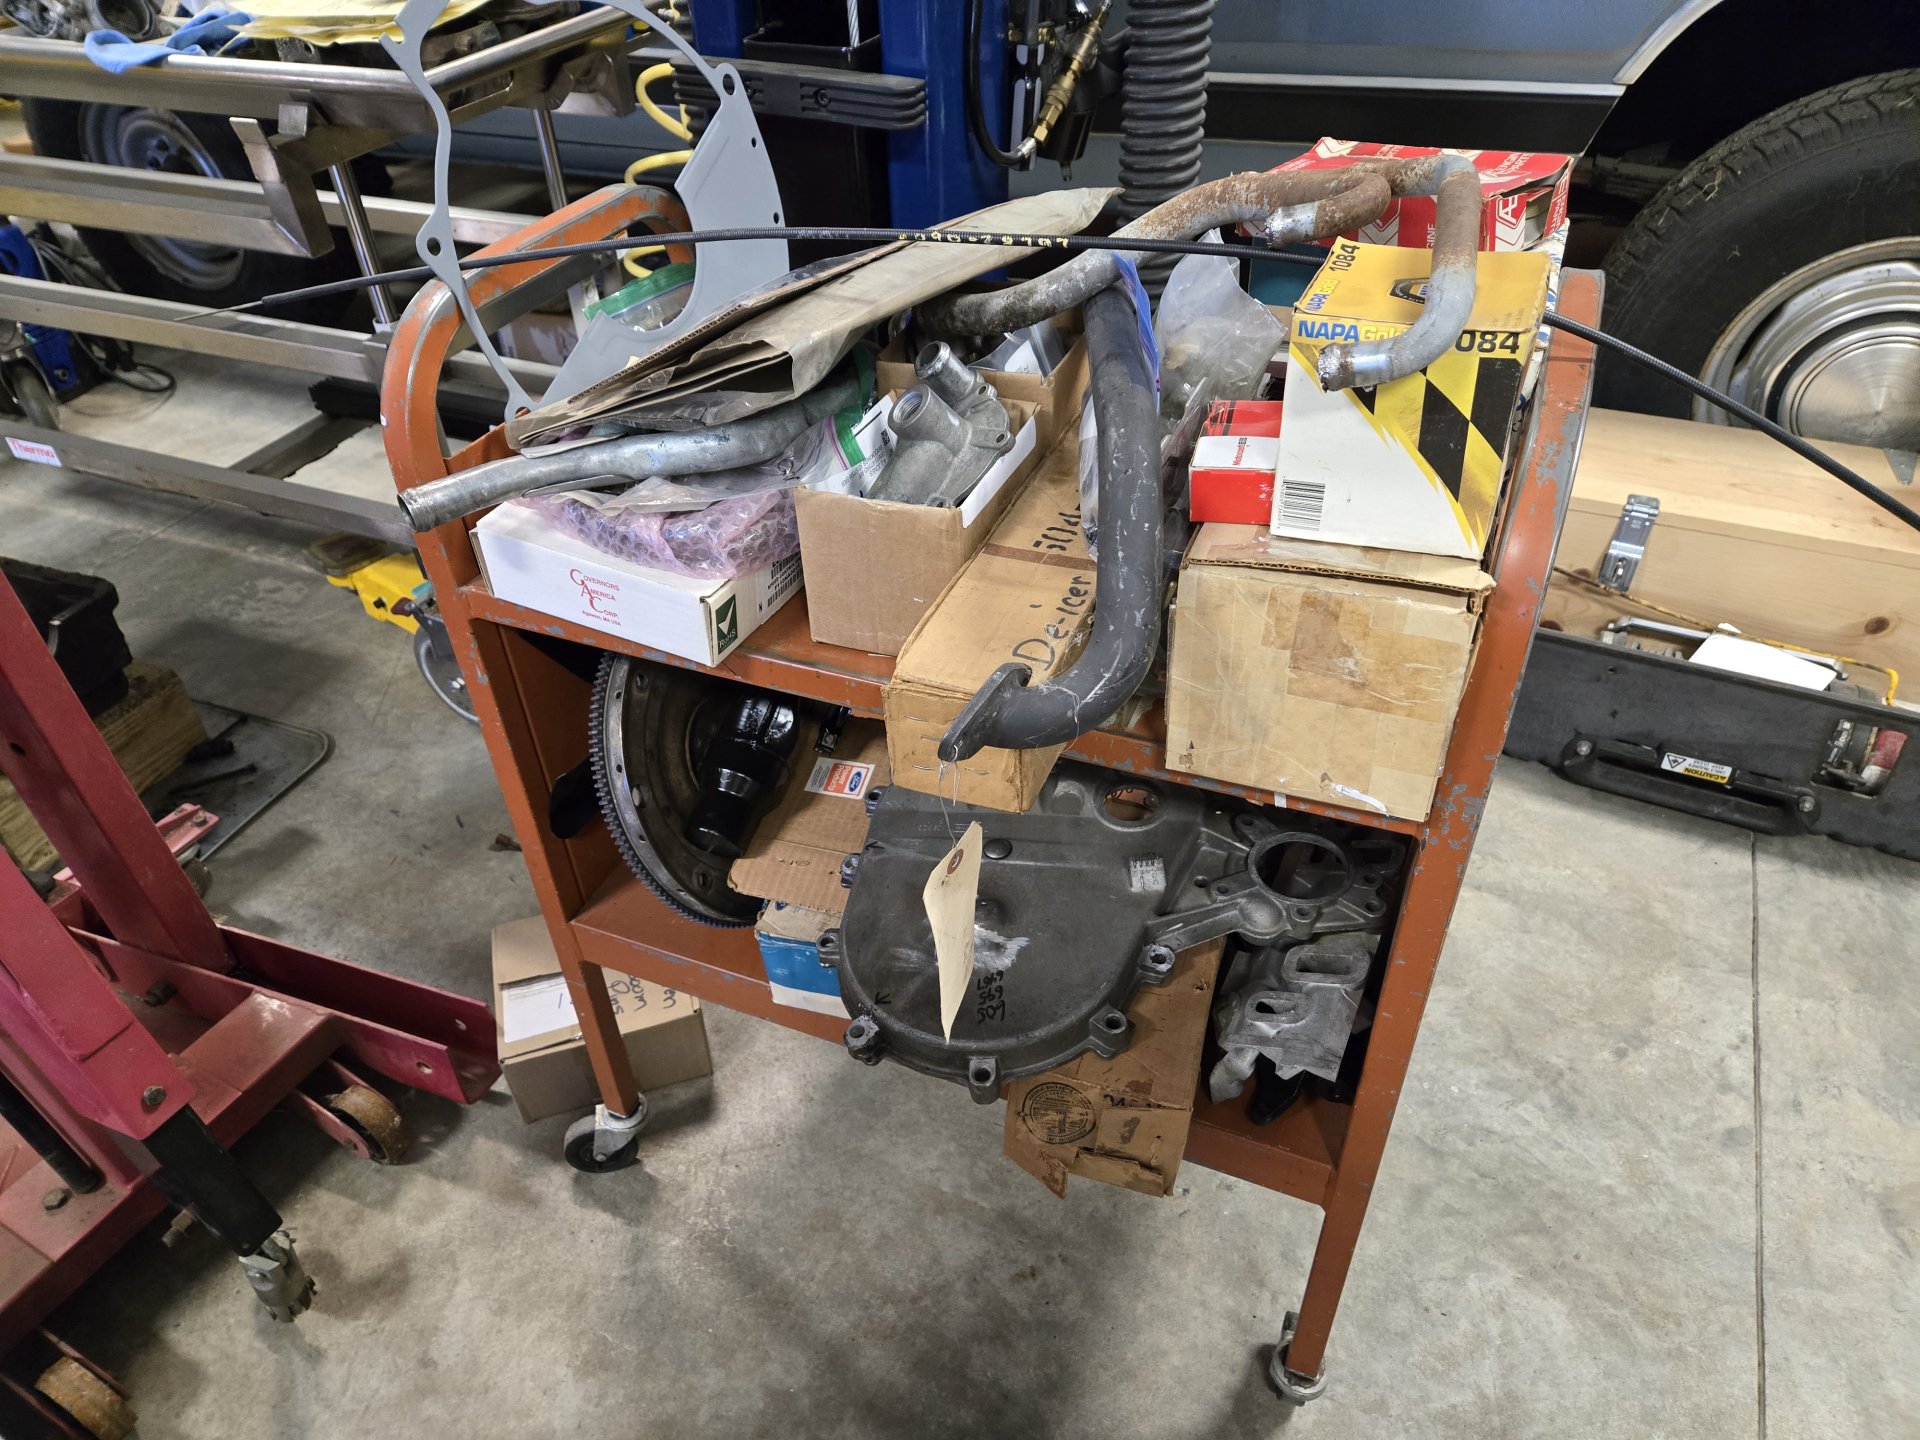
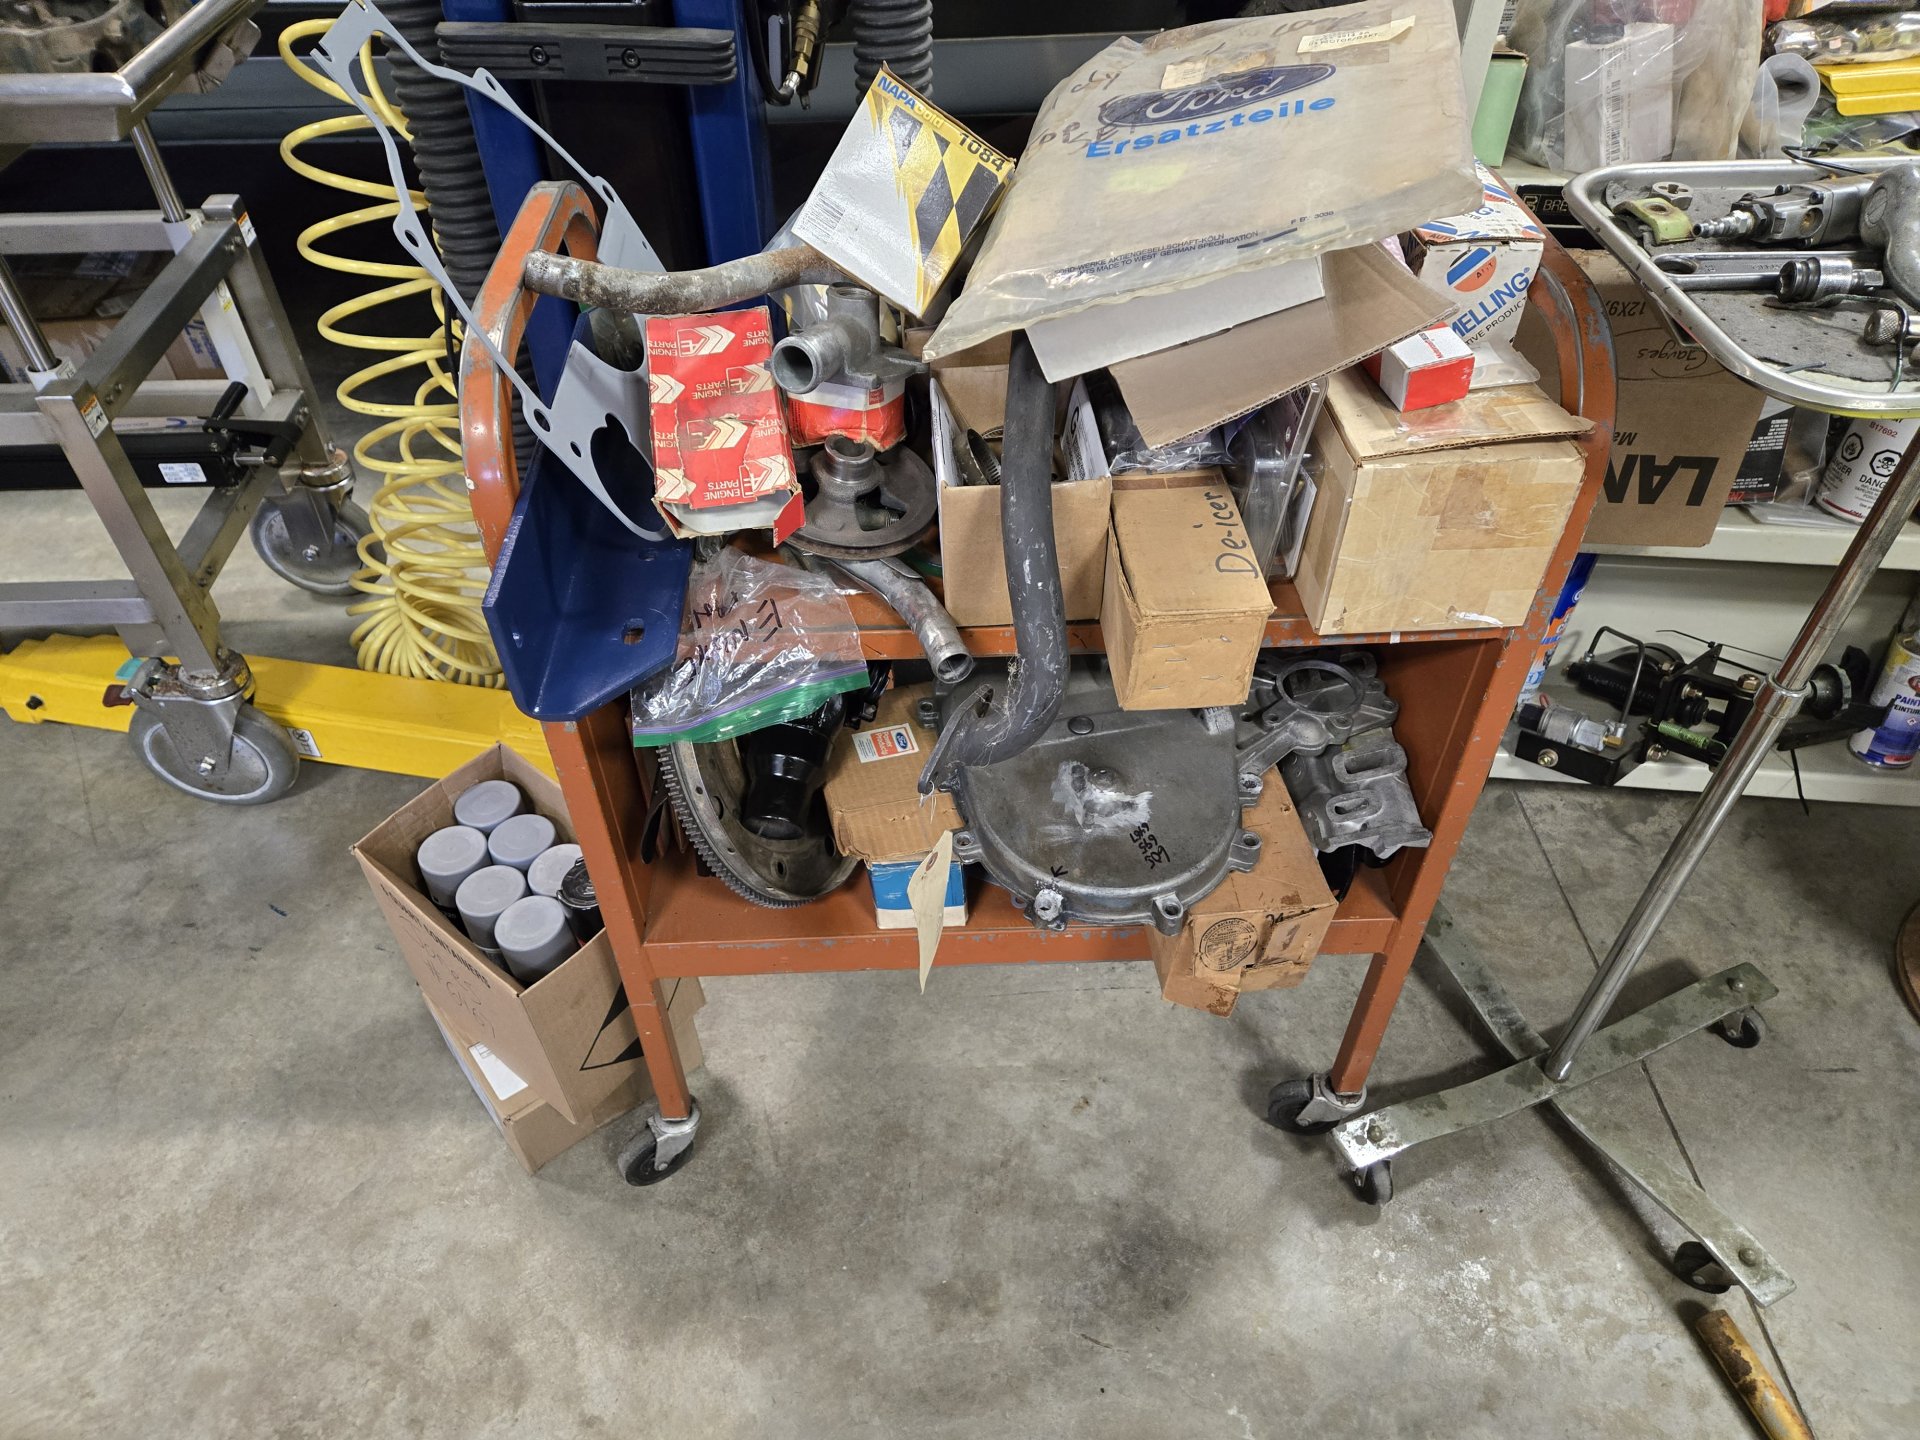
The entire disassembled engine is on this gurney (pan is on the floor) and all the new/refurbished parts are on are the book rack.

20251201_143941.jpg
20251201_144001.jpg


I'll post later about the wiring harness. It'll be a doosy.

Al Jones
South Dakota
 

Attachments

  • 20251102_152400.jpg
    20251102_152400.jpg
    557.3 KB
Last edited:
As an Amazon Associate we earn from qualifying purchases. Product prices and availability are accurate as of the date/time indicated and are subject to change.
Does anyone have any ideas for a size of battery (group) and how to fasten it down? I thought a group 51 would fit in that narrow cover, but it doesn't. What am I missing here? Does the front plate need to come off to gain access to the battery? :unsure:

View attachment 10198 View attachment 10199

Thanks,
Al Jones
Mine came with a narrow battery that fit through the top hole. I don't know what group number. In any case I've replaced it with a regular size car battery and it just sits there, not held down by anything. It is a real pain if you need to access it as you have to remove the big plate.
 
Mine came with a narrow battery that fit through the top hole. I don't know what group number. In any case I've replaced it with a regular size car battery and it just sits there, not held down by anything. It is a real pain if you need to access it as you have to remove the big plate.
Thanks for the reply! I figured that might be the case. I have found a group battery that will fit through the narrow opening, but the price requires a refinance on the house. Thanks again.

Al Jones
South Dakota
 
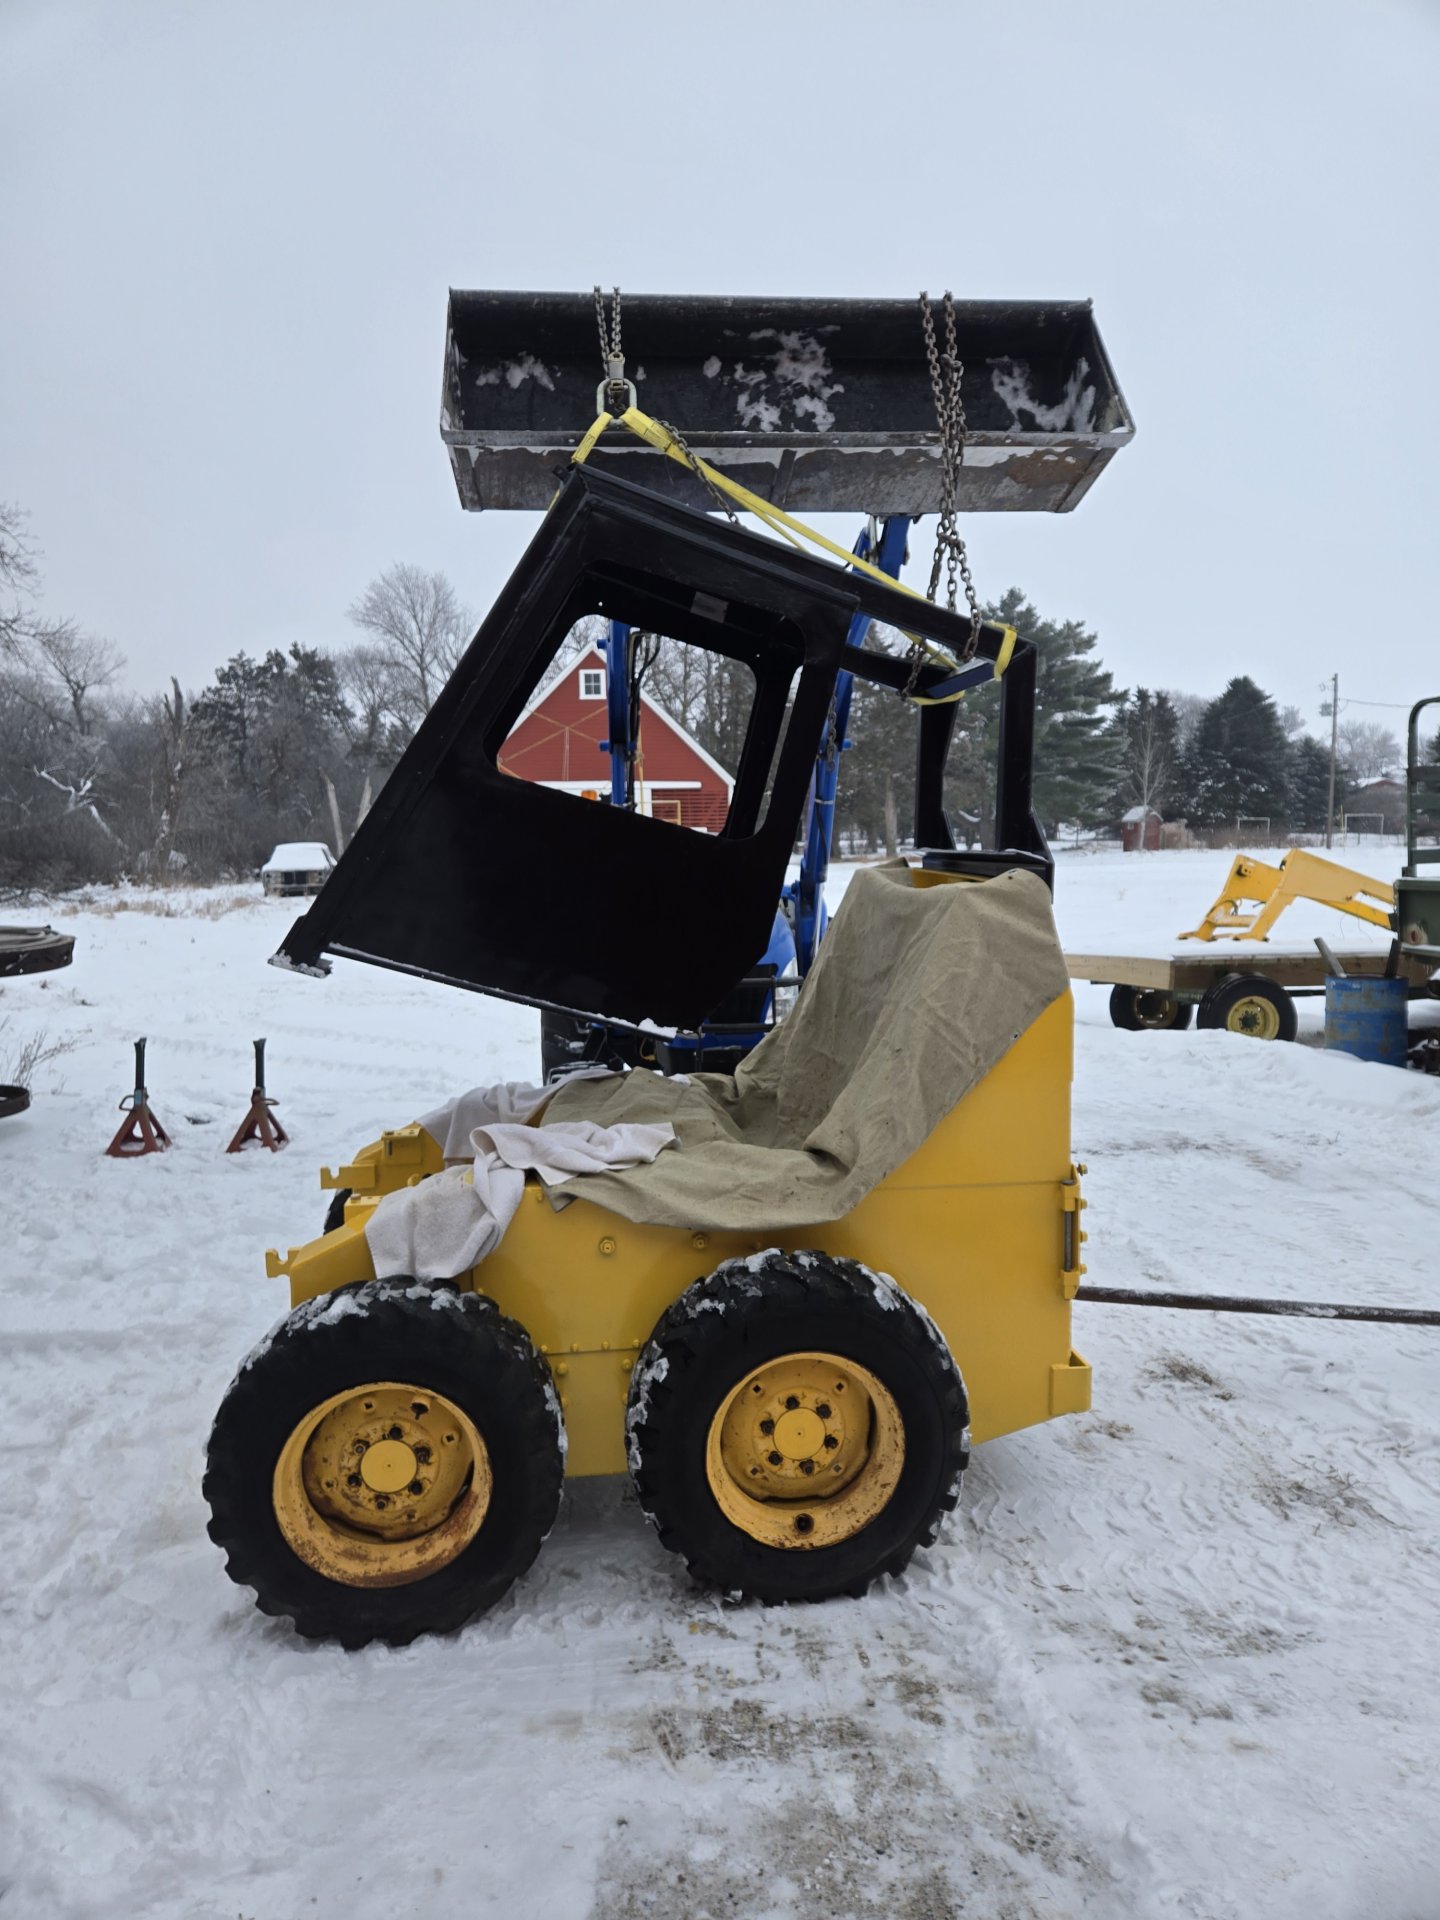
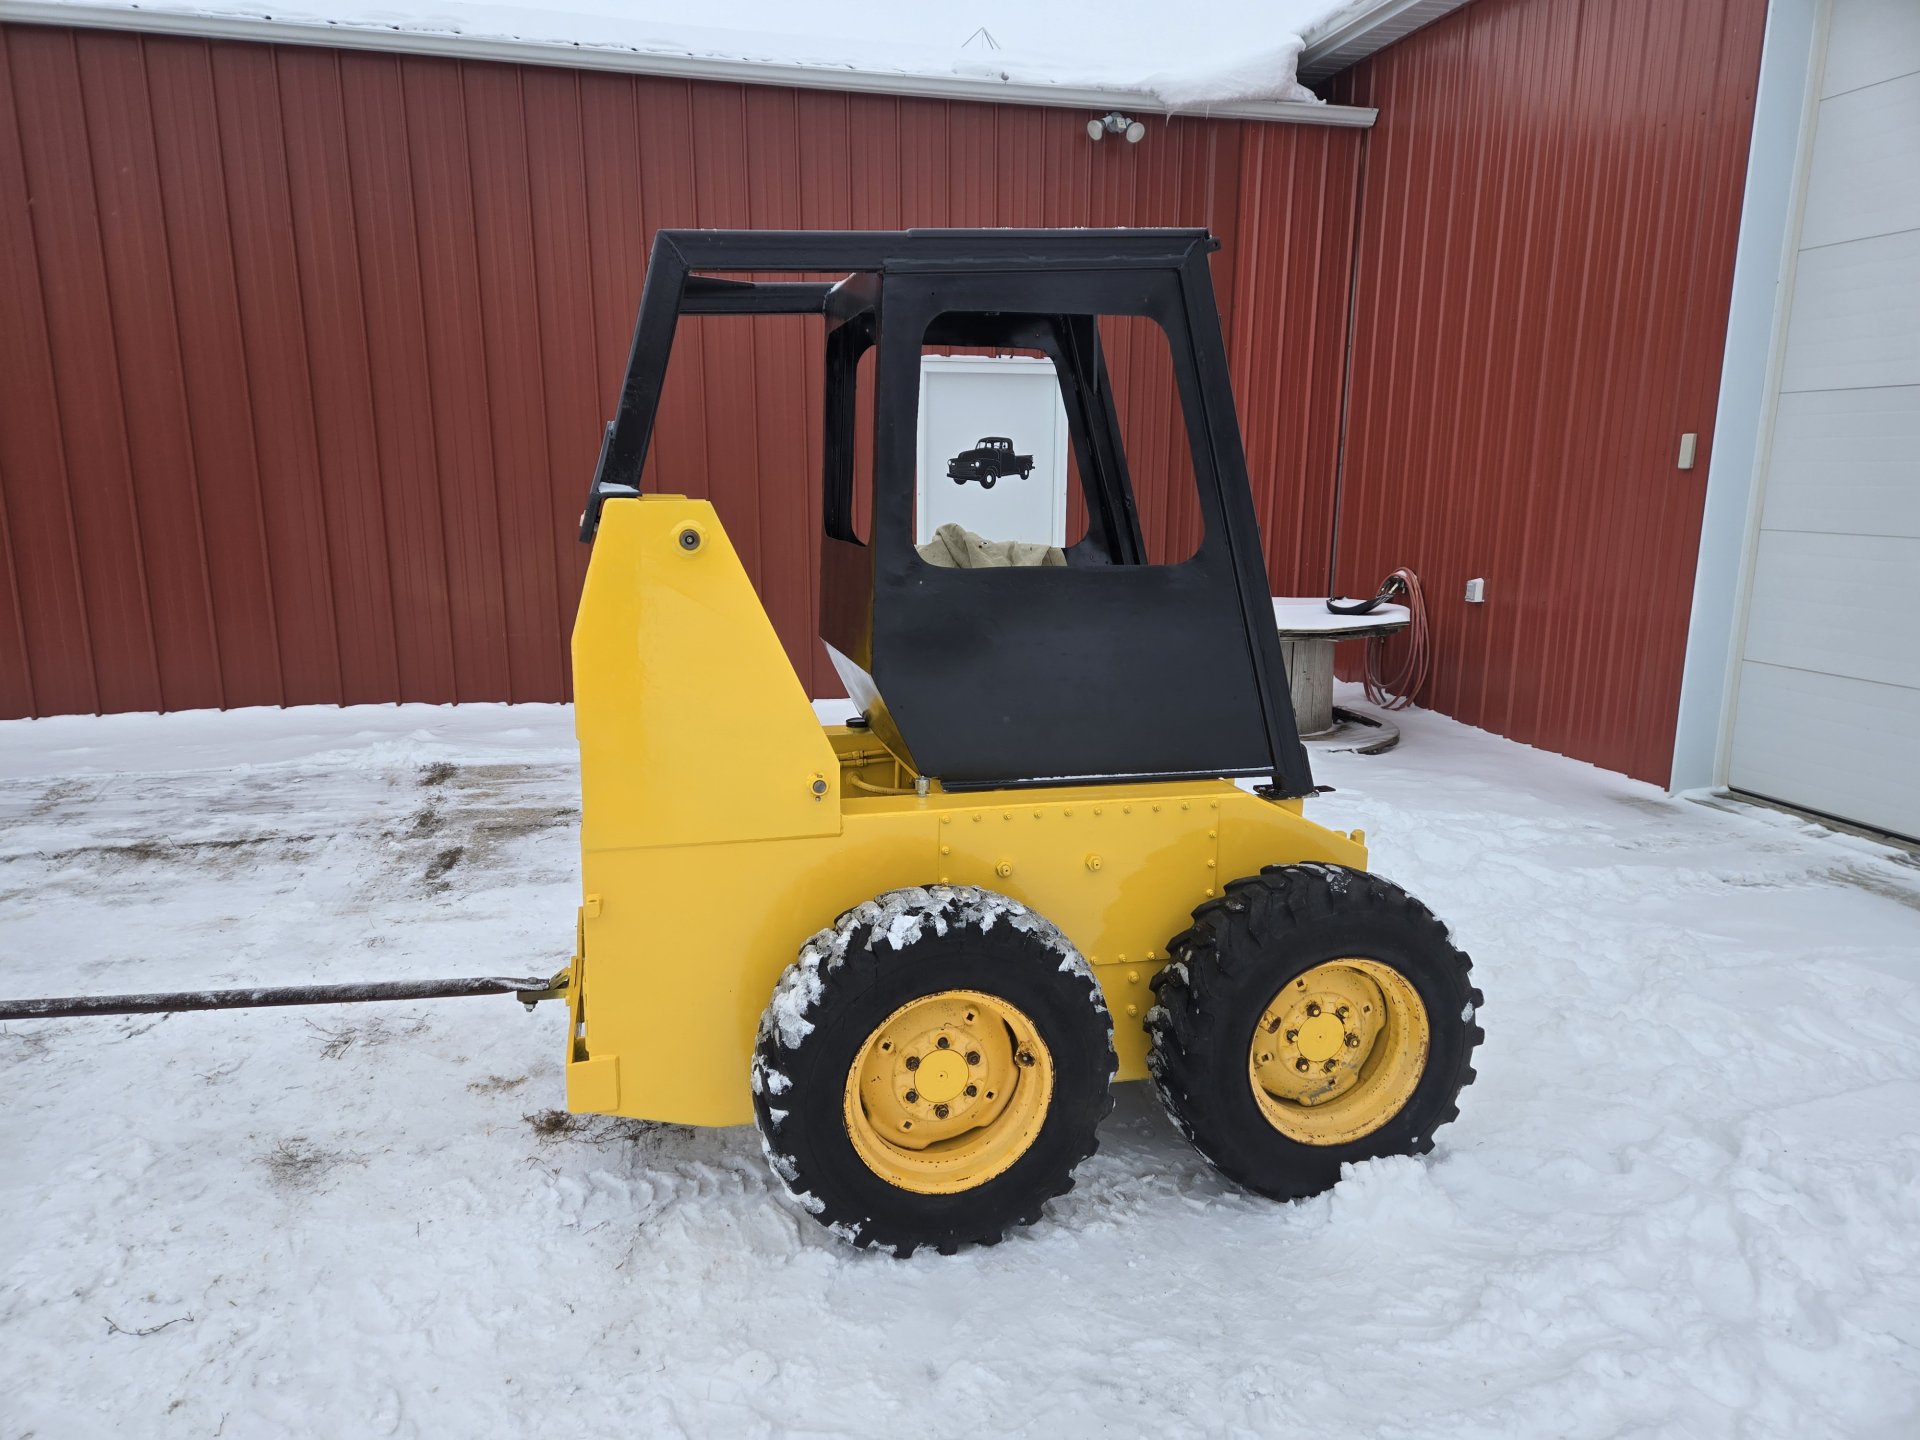
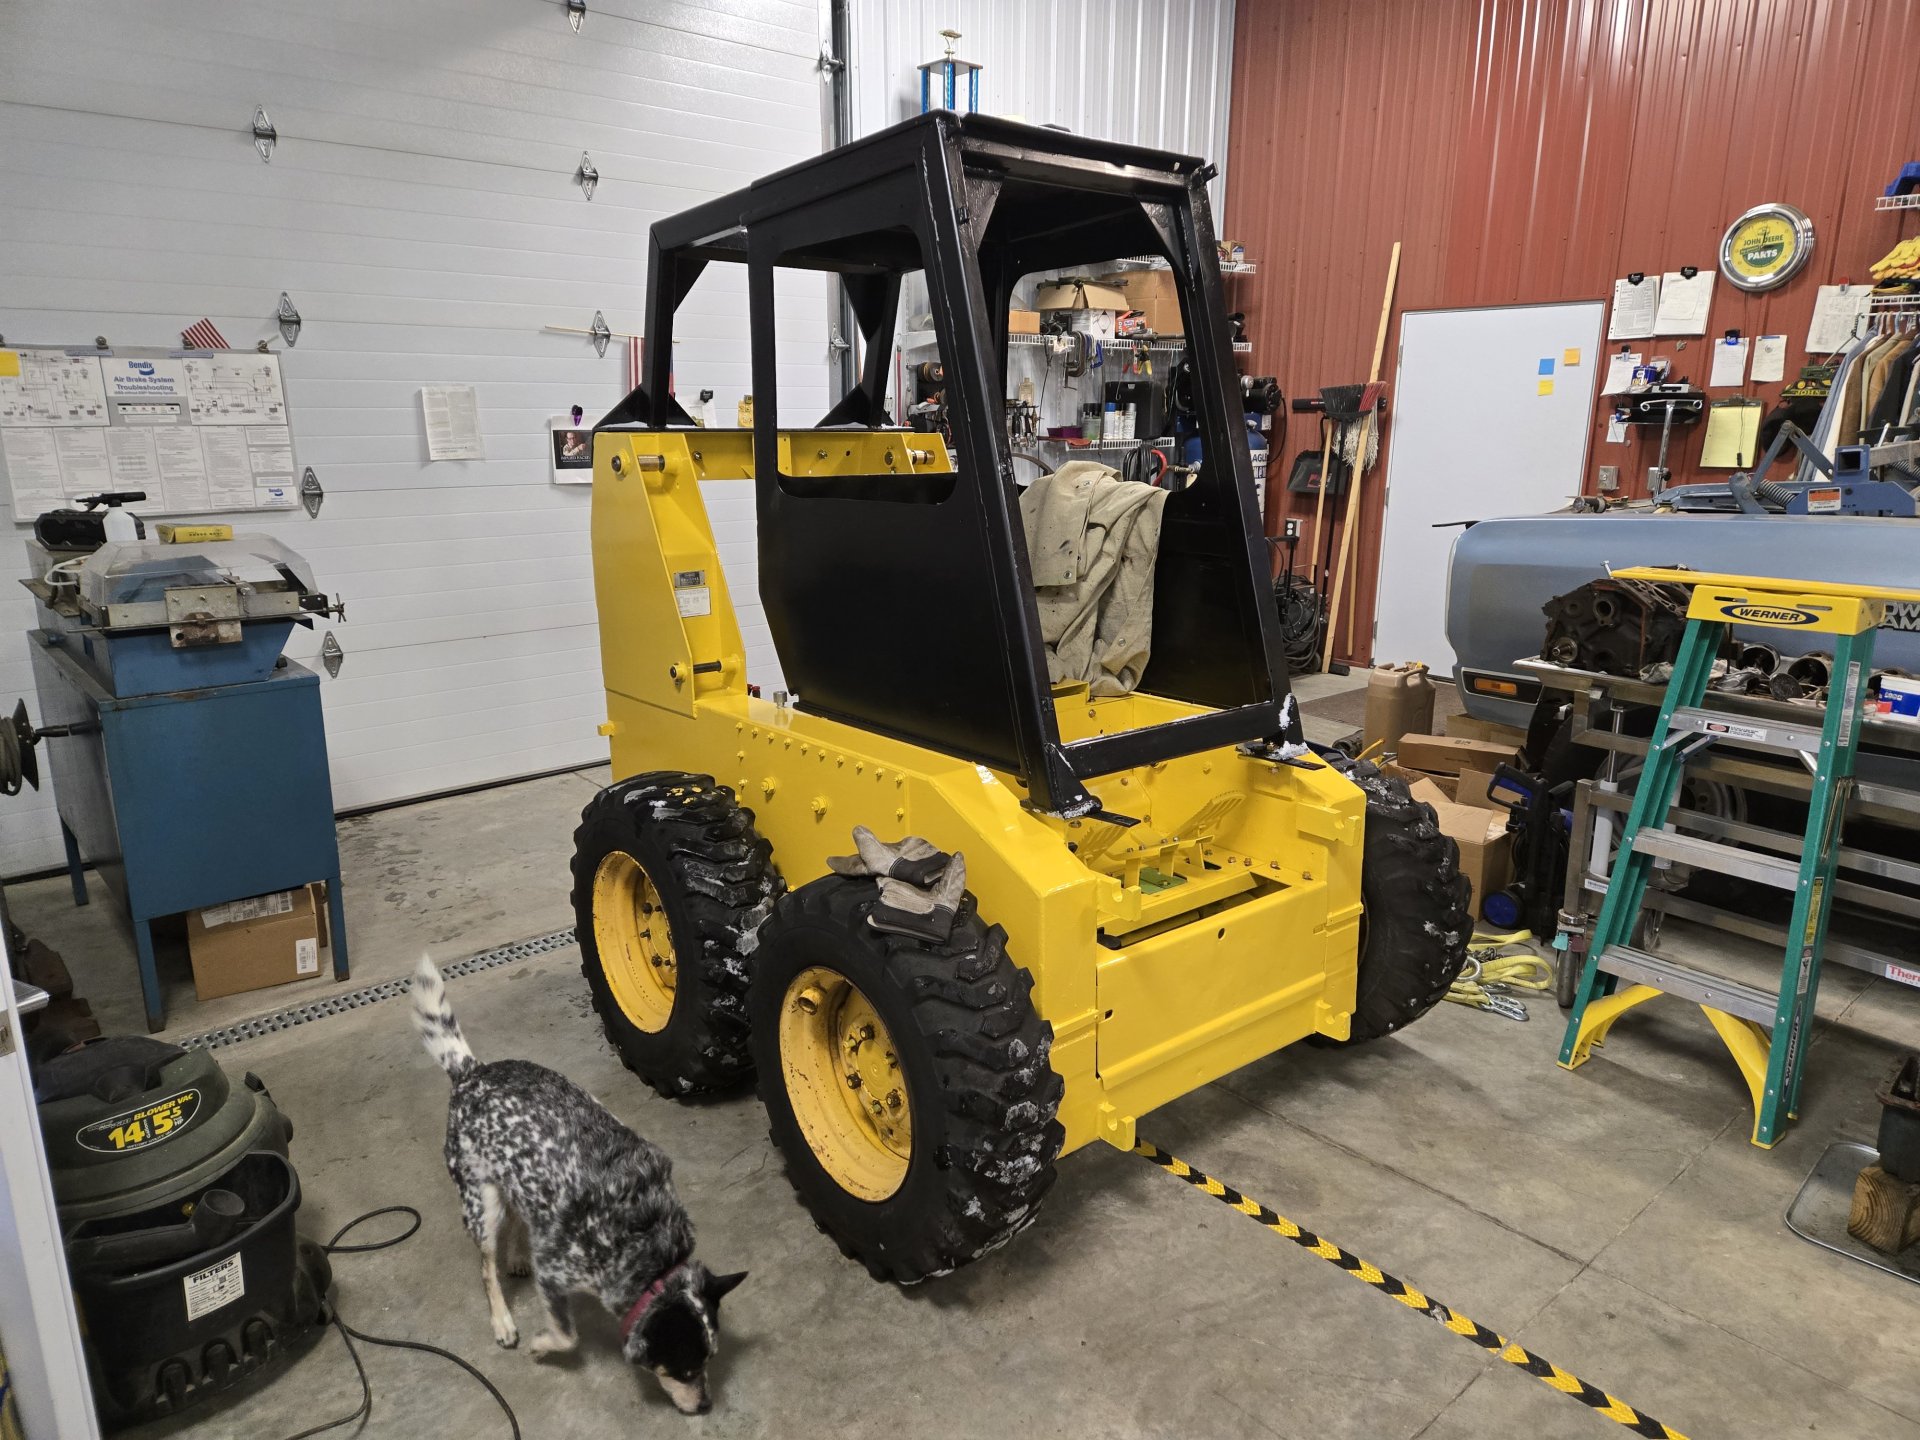
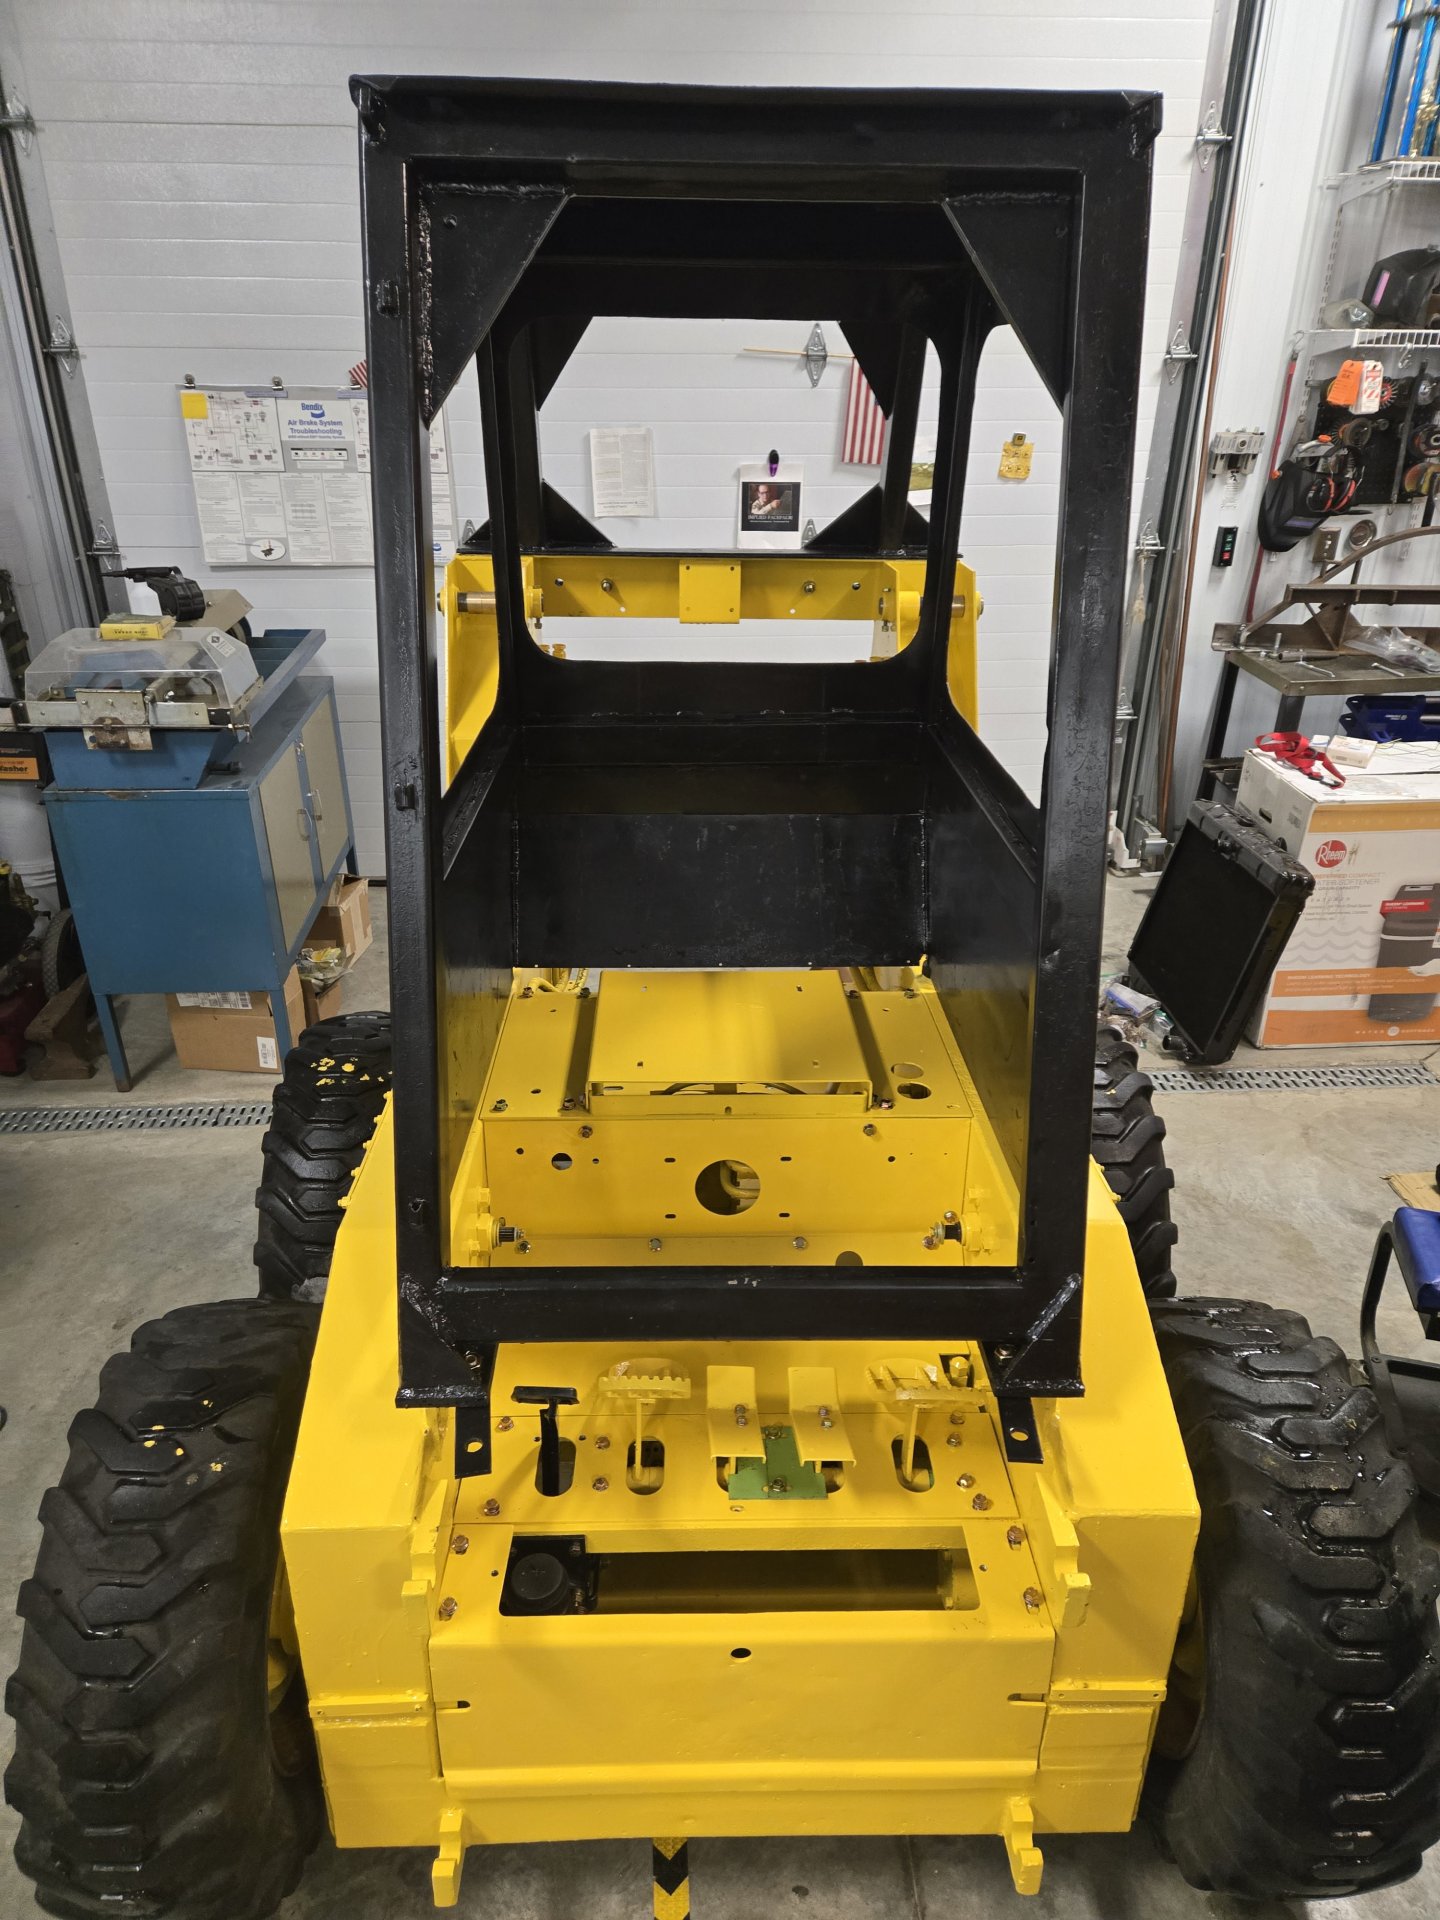
Current progress. Was hoping to mount the gauges and switches but the tool I ordered to cut the gauge holes was wrong. So, I mounted the cab instead. All 800 pounds of it. Looks totally different but I'm starting to feel what it's like to clear snow in a cab.

20251208_135748.jpg
20251208_142208.jpg


20251208_144539.jpg


20251208_150357.jpg
20251208_155134.jpg


An engine and a waring harness are the last big items. Any and all suggestions are sincerely appreciated.

Al Jones
South Dakota
 
Current progress. I was hoping to mount the gauges and switches but the tool I ordered to cut the gauge holes was wrong. So, I mounted the cab instead. All 800 pounds of it. Looks totally different but I'm starting to feel what it's like to clear snow in a cab.

View attachment 10246 View attachment 10247

View attachment 10250

View attachment 10248 View attachment 10249

An engine and a waring harness are the last big items. Any and all suggestions are sincerely appreciated.

Al Jones
South Dakota
 
Mine was used in a chicken house and had no cage of any kind when I bought it. I was going to use it landscaping my heavily sloping lot. The very first thing I did was add a roll cage. 2" square tubing. Don't remember the thickness, but maybe 3/16-1/4". No lid. then added a seatbelt. I was pushing the loose sandy dirt reducing the slope and got into the edge that was too loose to get traction for backing up. No bucket traction to help push, so I just angle the bucket in front and rode down the loose hill (maybe 45°), coming back up on the solid area. Neighbors were having heart attacks! LOL! It's always felt stable to me. I have 10' ramps for loading (from my car trailer) and if my E350 diesel van wasn't full of fuel, it would lift the rear axle off the ground until the rear of the trailer grounded. Still got it after 40 years. Splurged on a new set of tires a few years back. Rebuilt the engine V-4, 1700. Yours looks so stubby with out the buck on there.
 
I pinched a disc trying to drag my bucket around on a rough concrete floor for changing via the pins as original. This inspired me to mount the fork bracket and modify the bucket to slip onto the fork rack making my life much easier. It's not elegant but it works for my intent and saved my back and a lot of time when changing.
 
Ok thanks good info. I'll check my serial number. I'm assuming that I can just use a brass punch to get those out. Also I want to replace the seals in transmission shaft as they leak a little see pic. I already loosened the bolts but did not remove, thought I would as for advice first. I do wonder if i need to remove gear case from mount or i can get shaft to come out from side. Steve
Hi Steve,

I was flipping back through this thread and don't remember if you reported back on how your repair went. Did you? There have been a lot of PMs come across so maybe I'm not remembering? Did you get your seals replaced? I talked to a guy who did exactly what you are/were doing and if it was a continuous shaft, everything comes out.

I hope everything worked out.

Al Jones
 
Hi Steve,

I was flipping back through this thread and don't remember if you reported back on how your repair went. Did you? There have been a lot of PMs come across so maybe I'm not remembering? Did you get your seals replaced? I talked to a guy who did exactly what you are/were doing and if it was a continuous shaft, everything comes out.

I hope everything worked out.

Al Jones
Hi Al, I did manage to remove drive shaft. Yes it is a solid shaft and everything had to be taken out. I am replacind side cone bearings since im in there. I have replacement seals but waiting for better weather to start putting back together. The hydraulic filter even had to be removed to allow the gearbox to clear to get shaft to slide out. Glad I did because the input port had a bunch of broken chain link pieces lodged in there. So after seeing that I used a magnet an went fishing in the side reservoir cases. I found a bunch more broken chain link pieces in the bottom. Someone broke a chain in the right side and didn't bother taking out the broken chunks. This in why I decided to drain all the atf and replace it. Still need to find sutable oil at a reasonable price. I haven't touched it since. Need to get back to it now that holidays are over. Steve
 
I haven't posted in a while so I'll drop some photos now and write out some useful technical information another time. Notes above the photos.

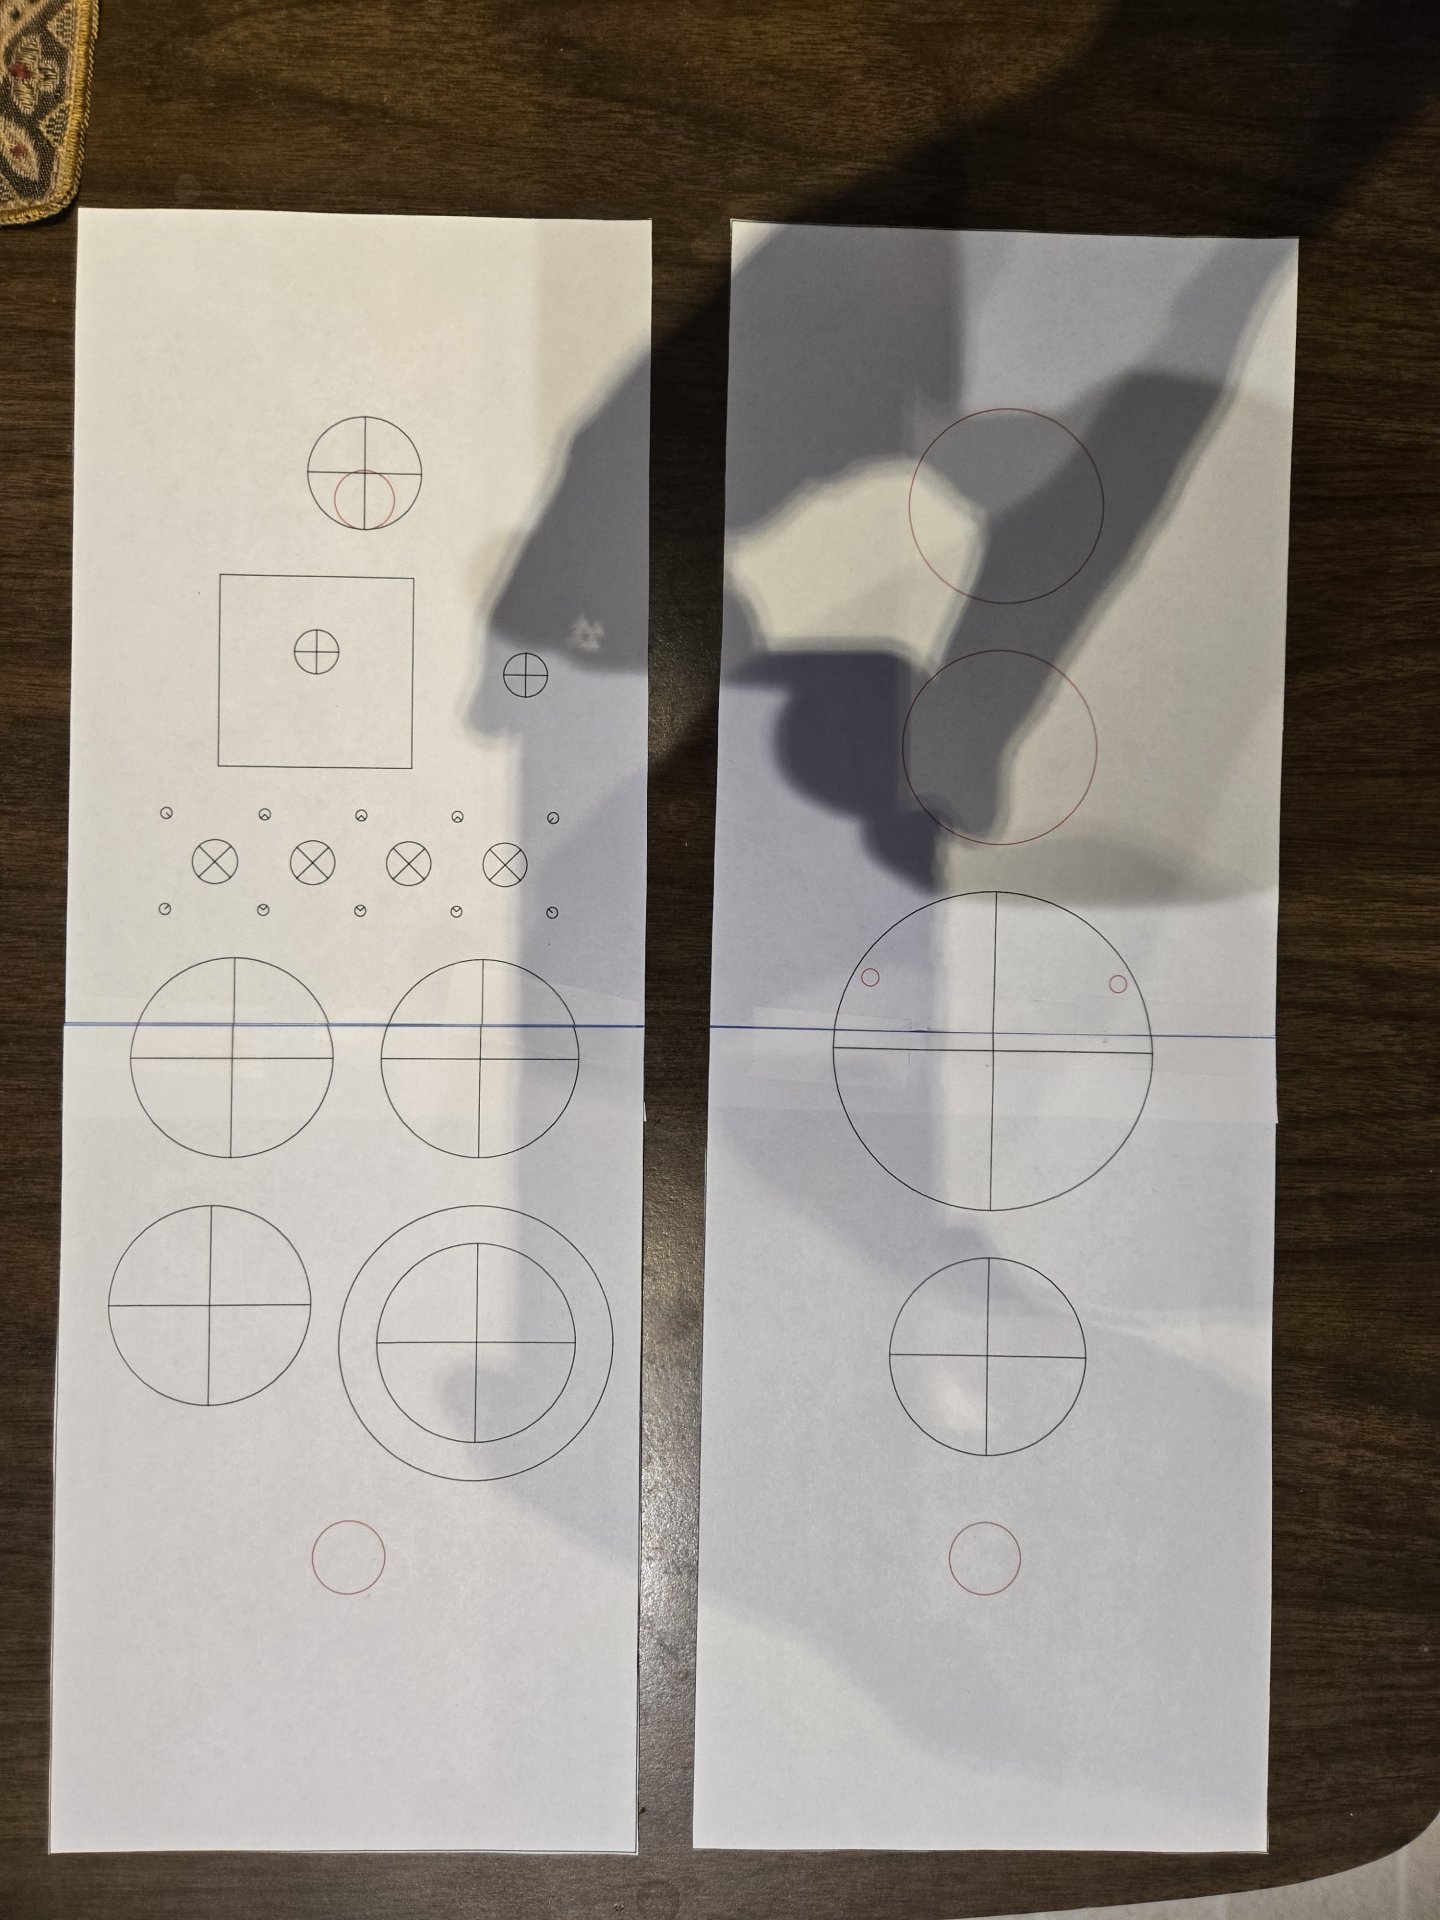
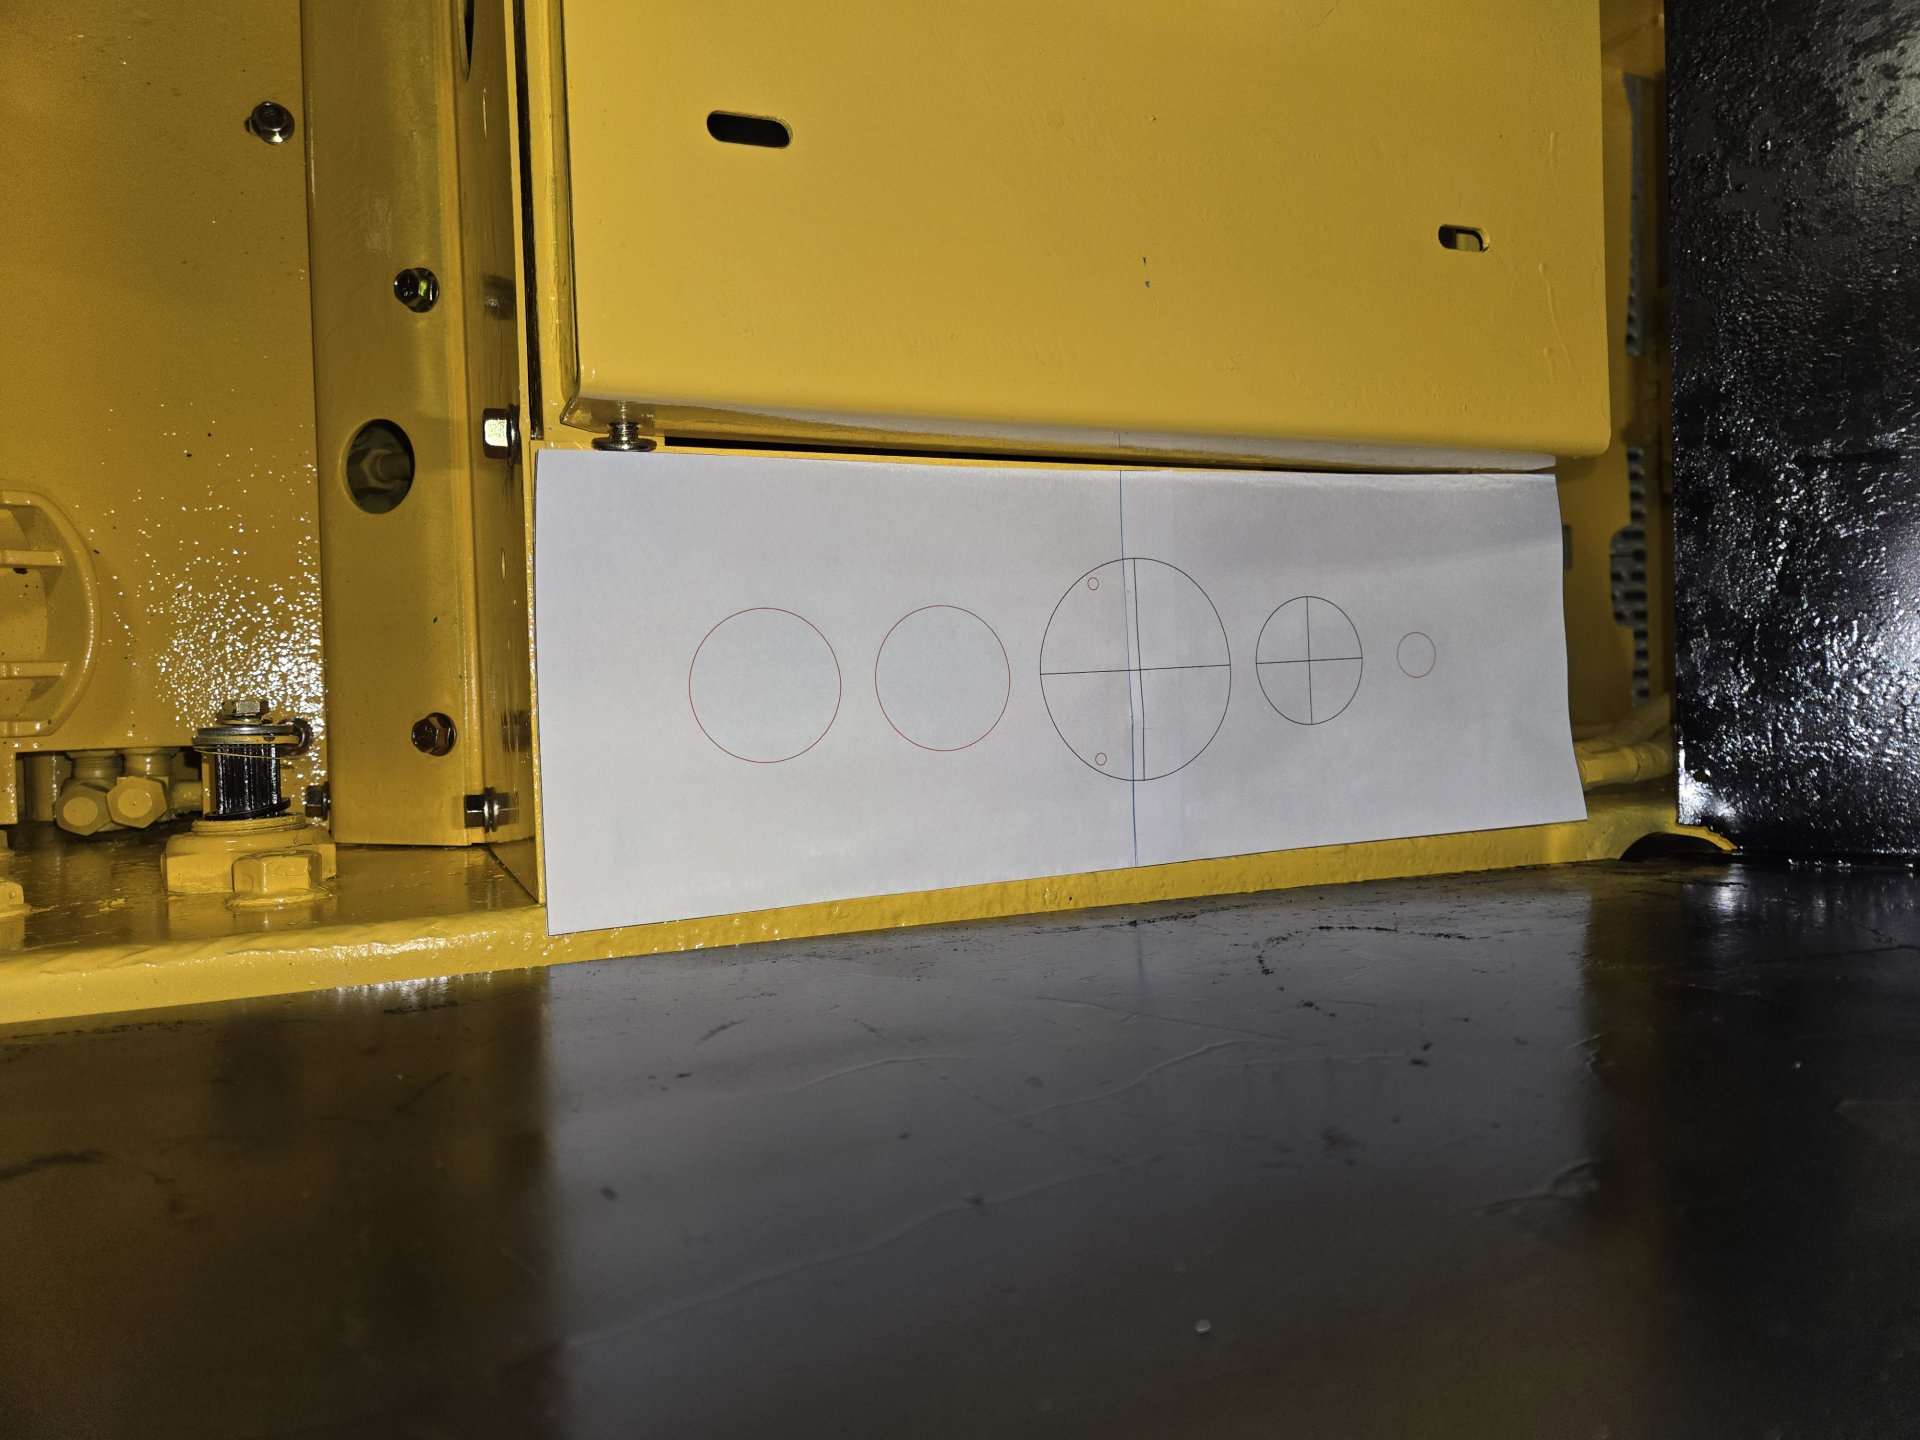
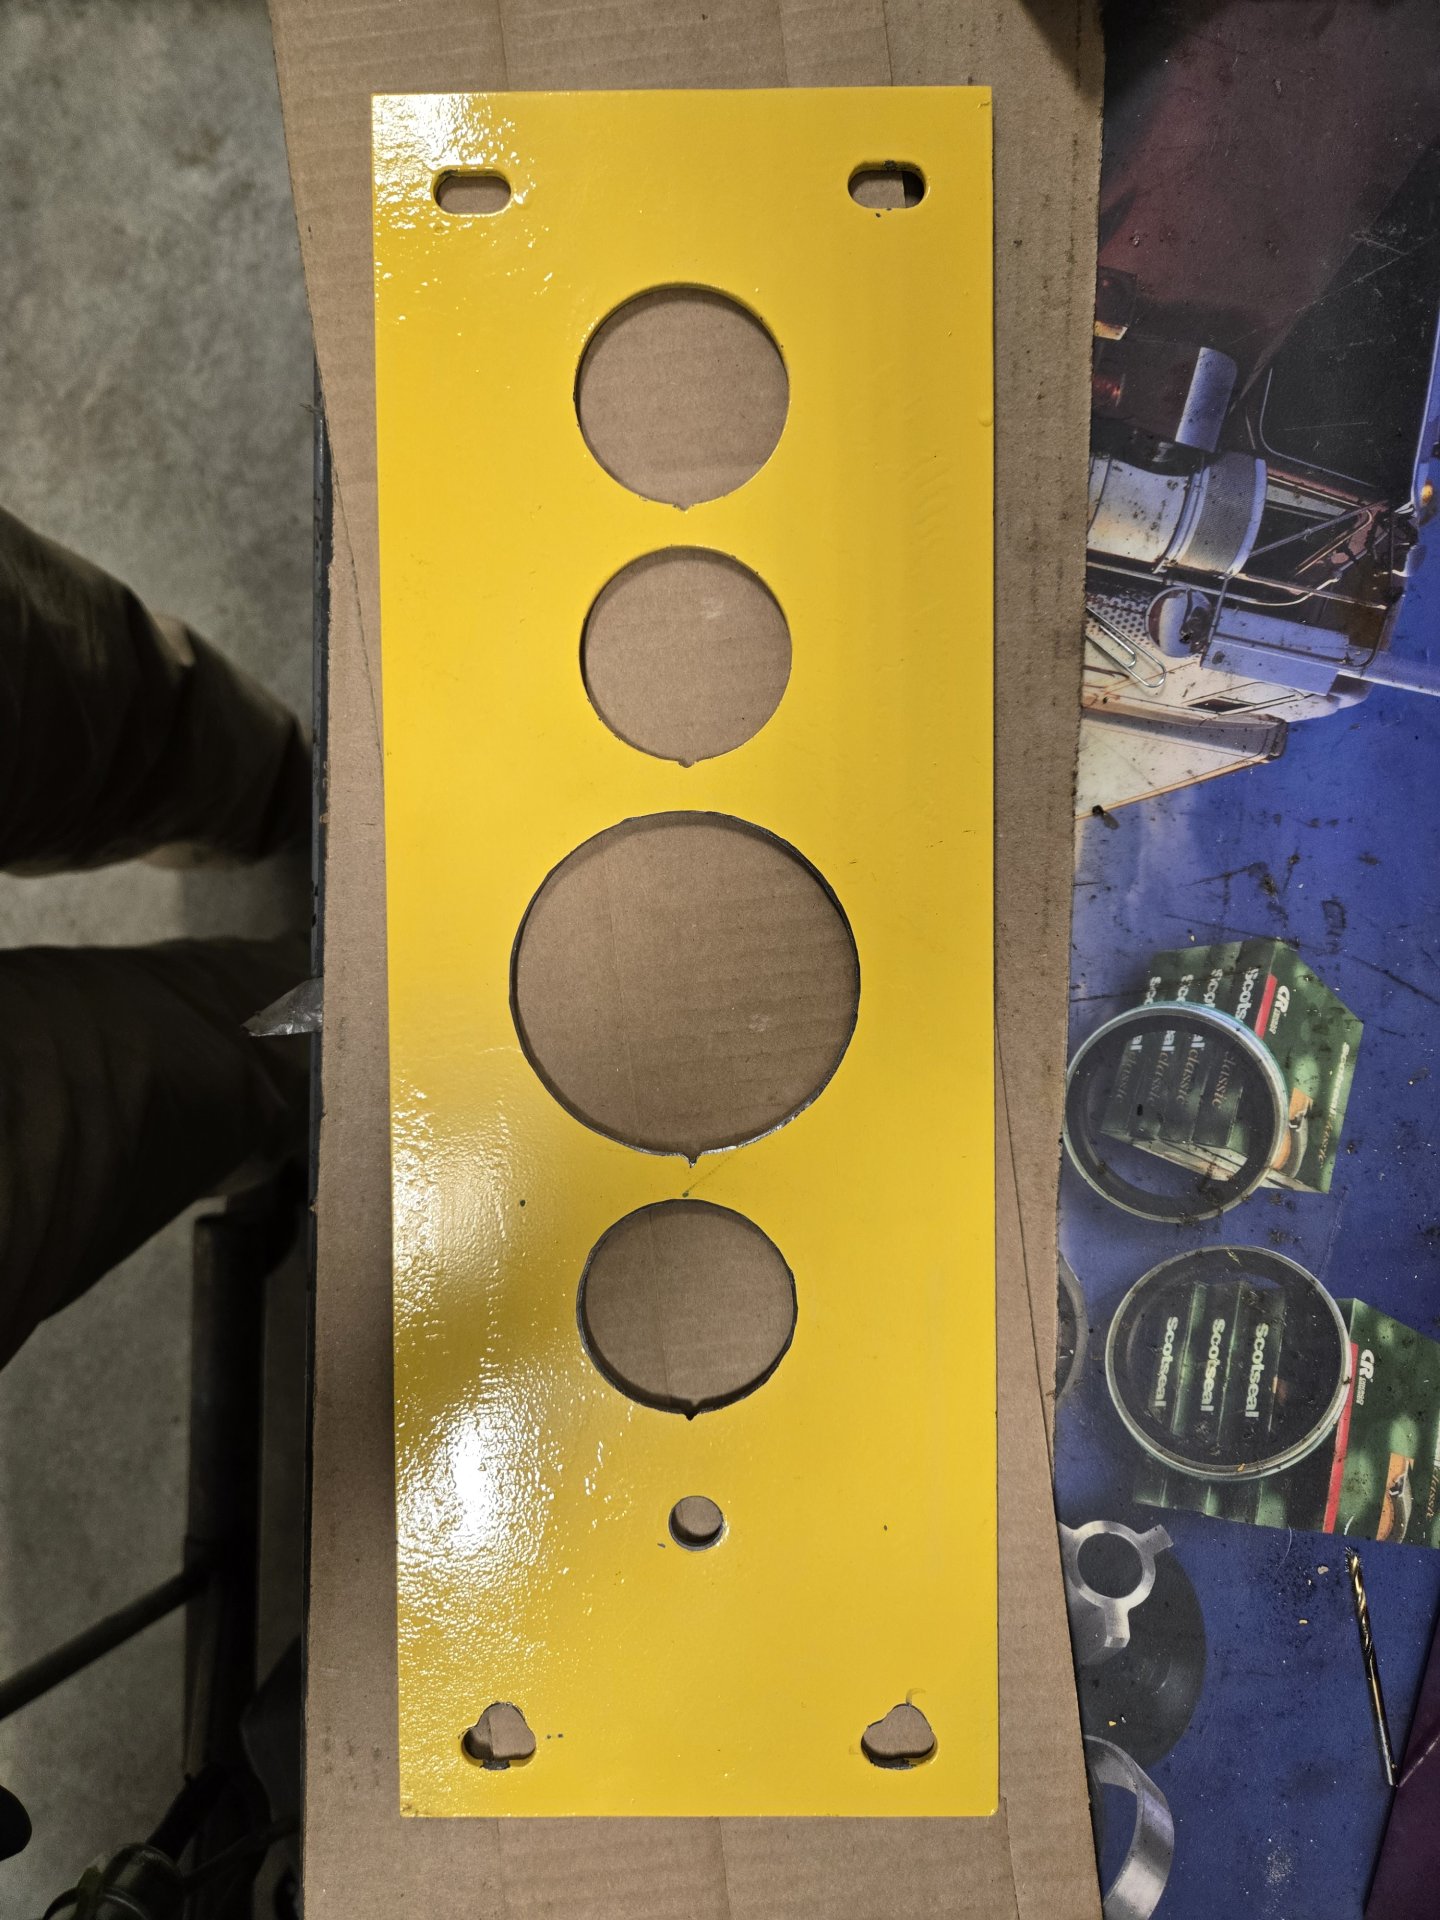
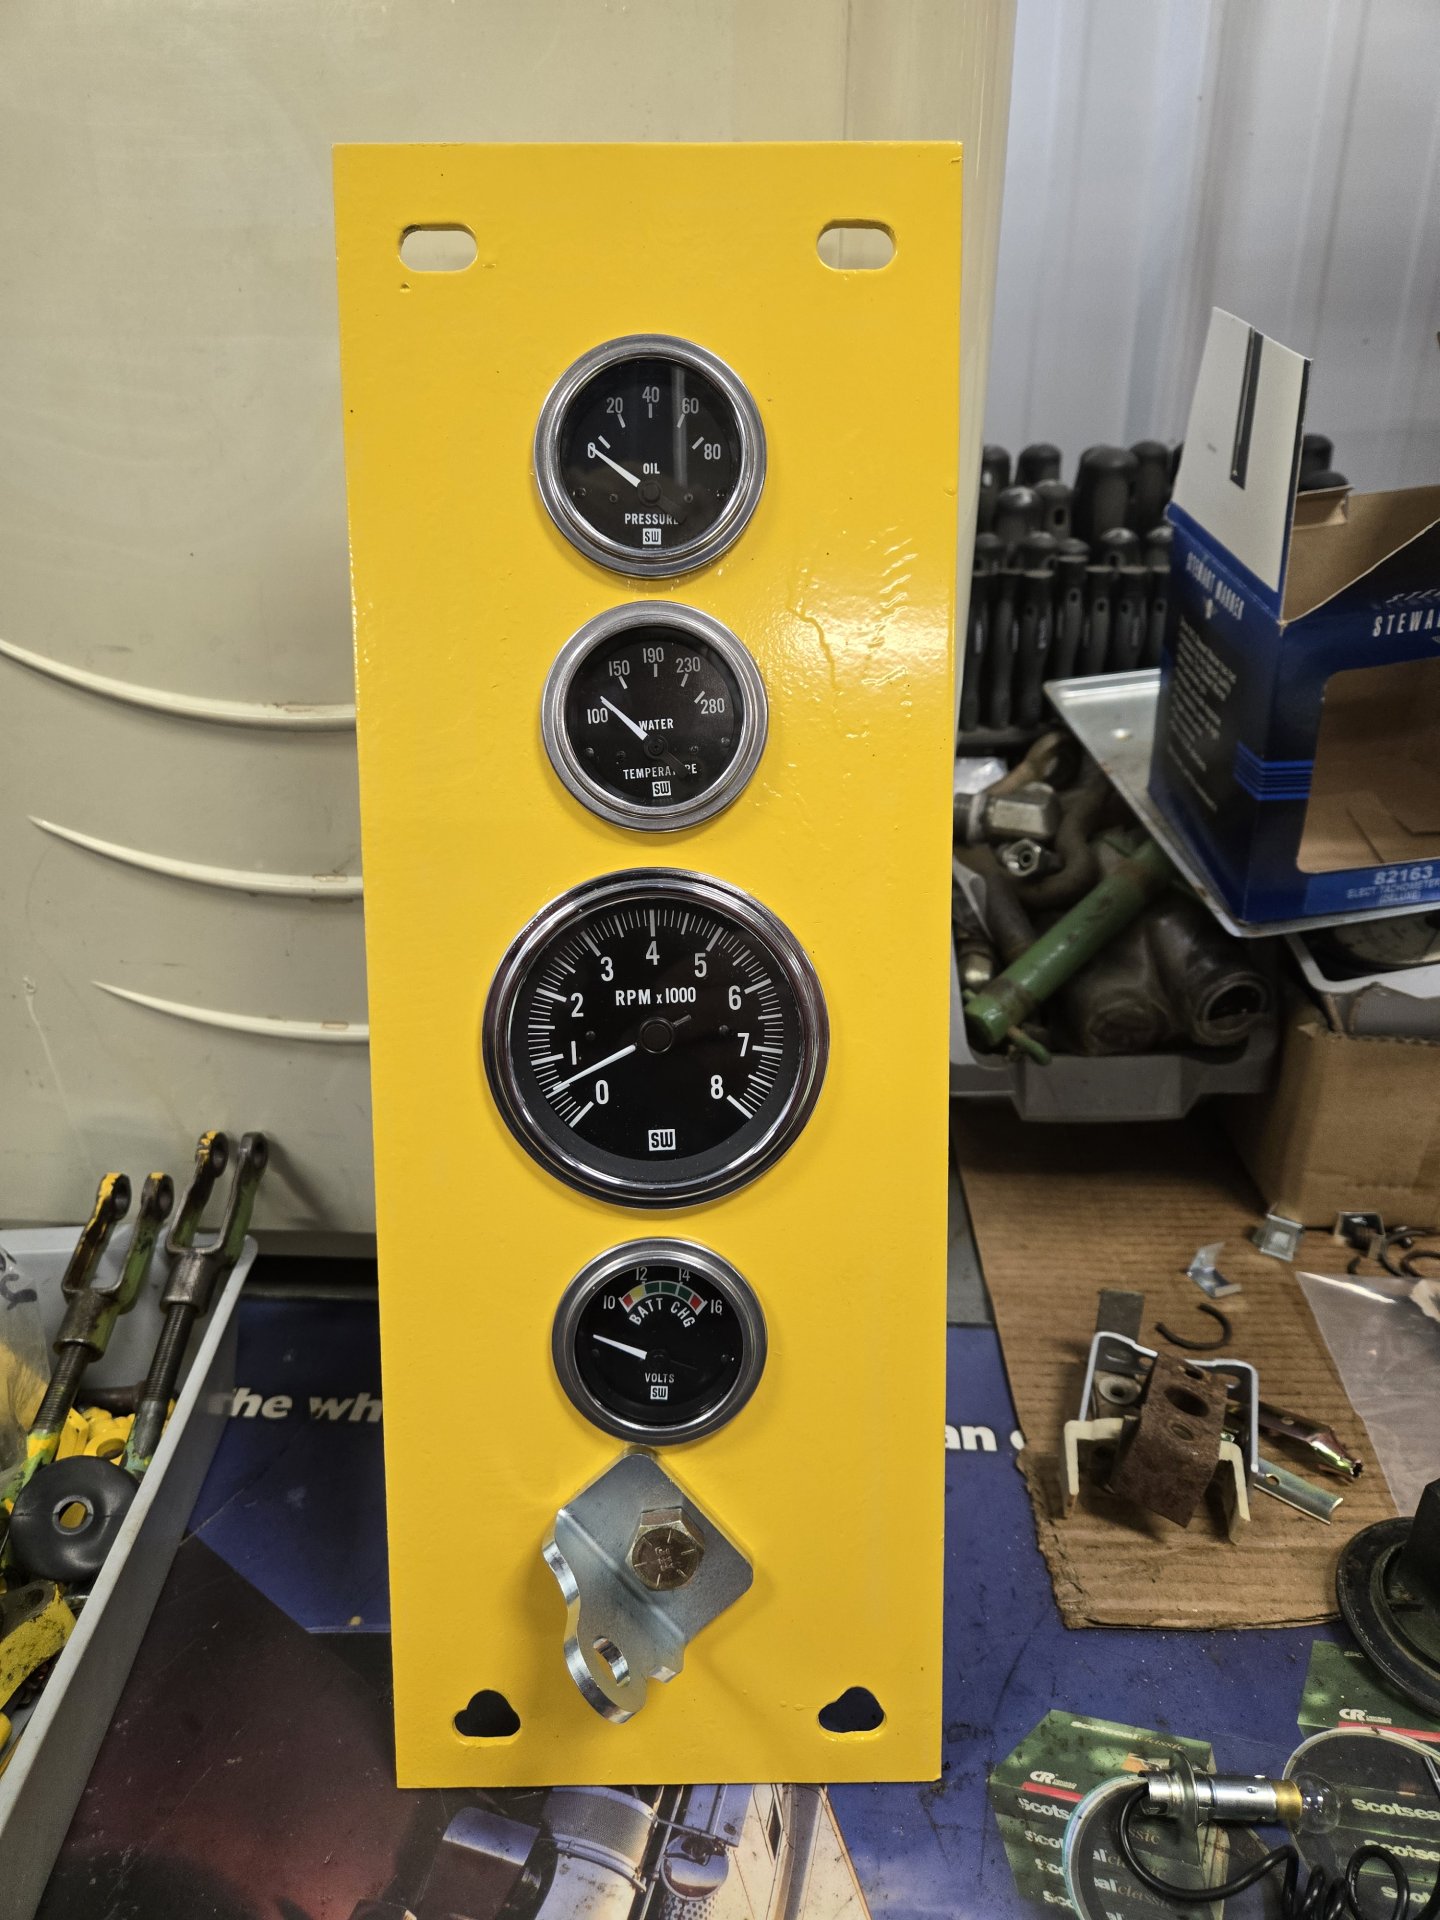
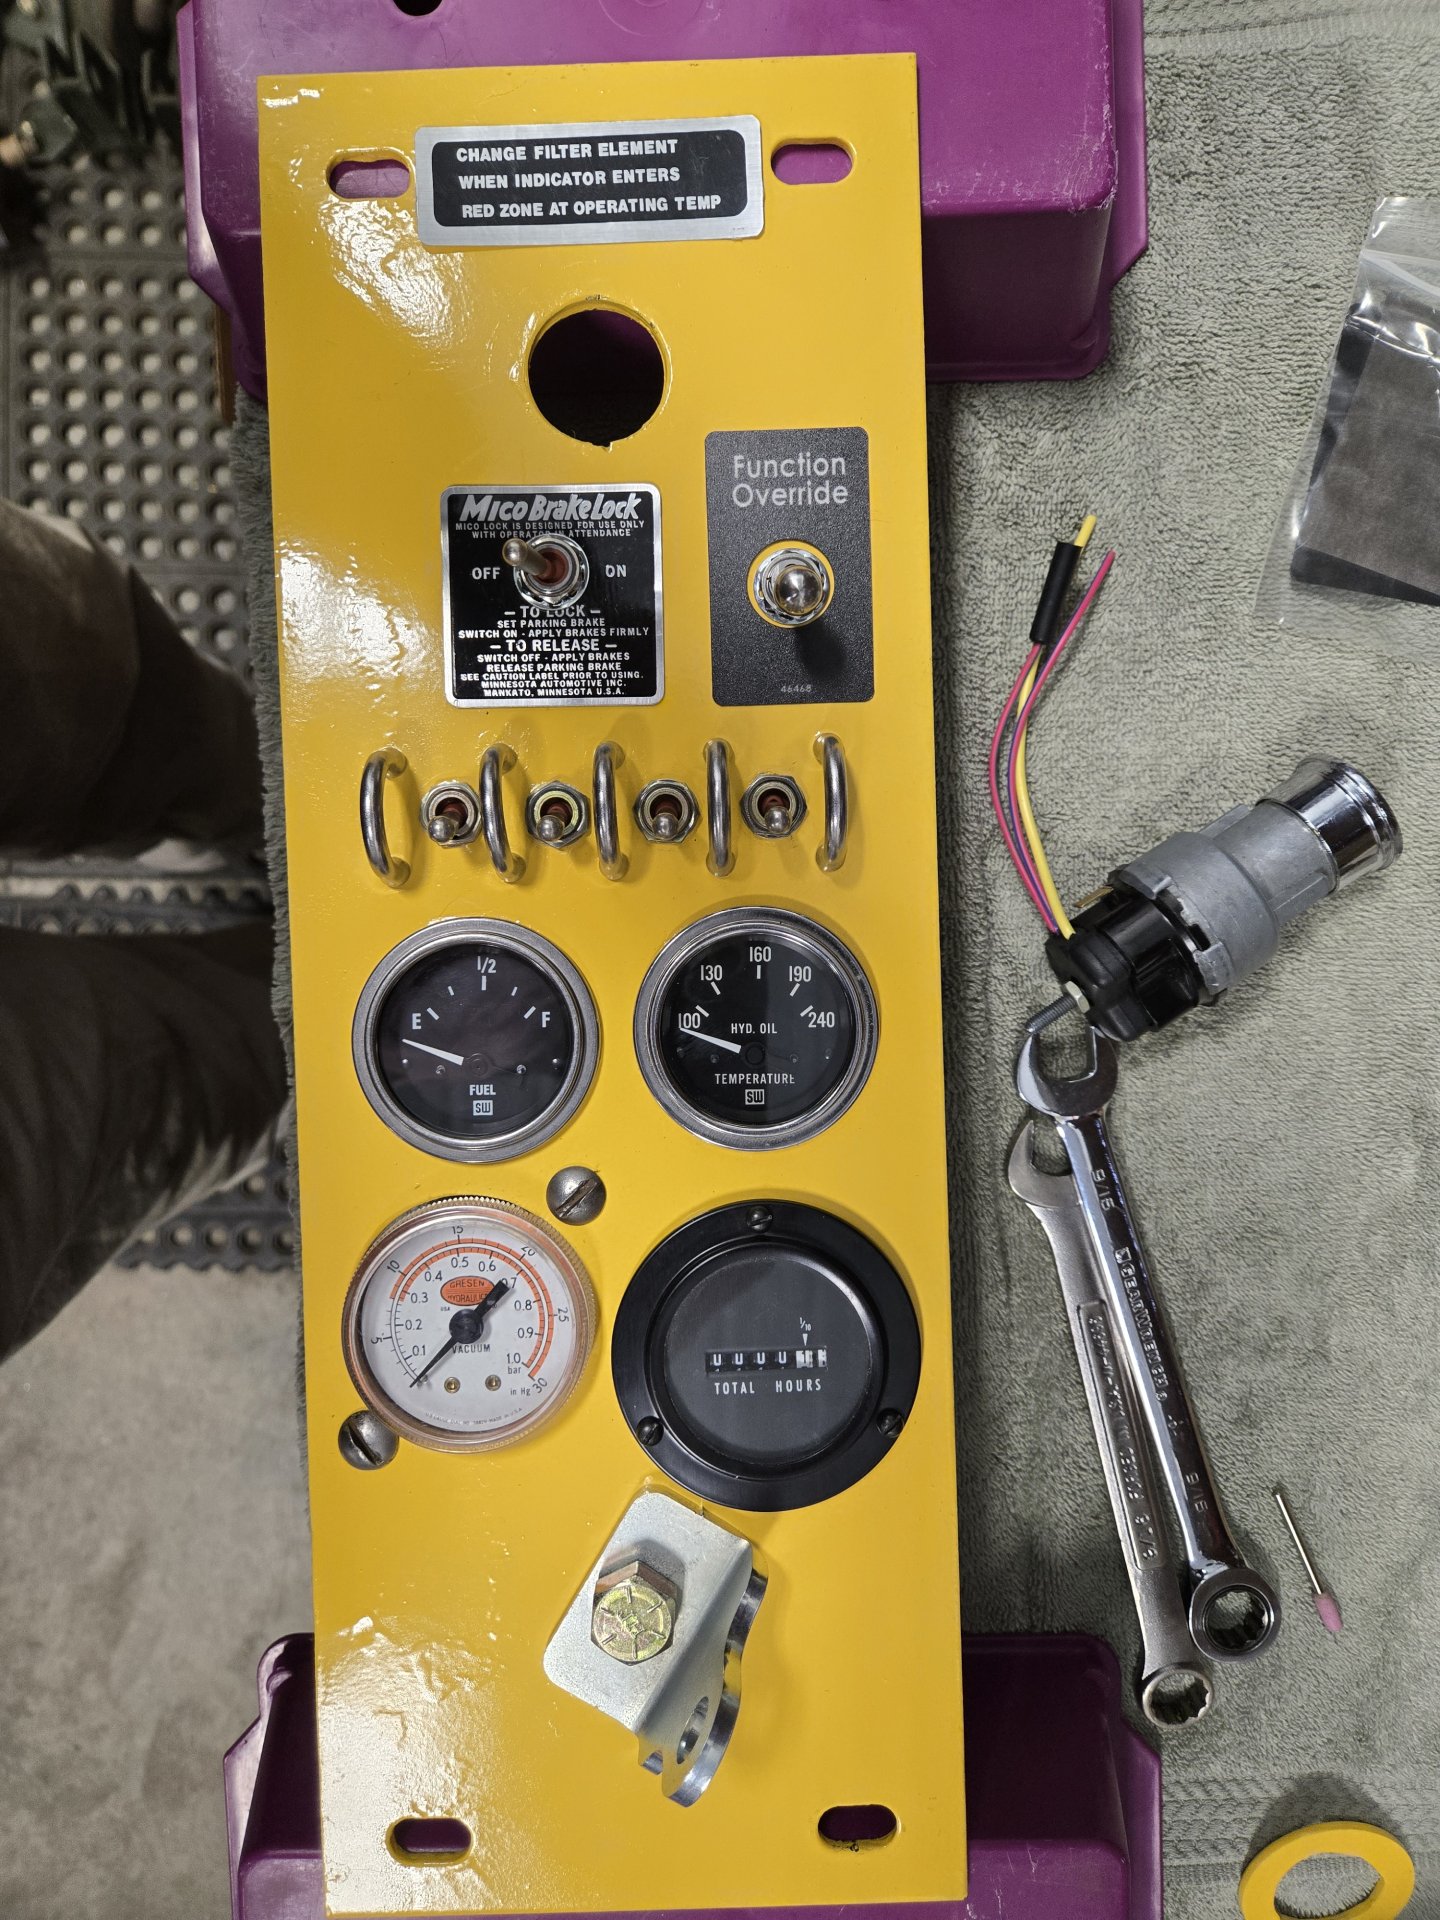
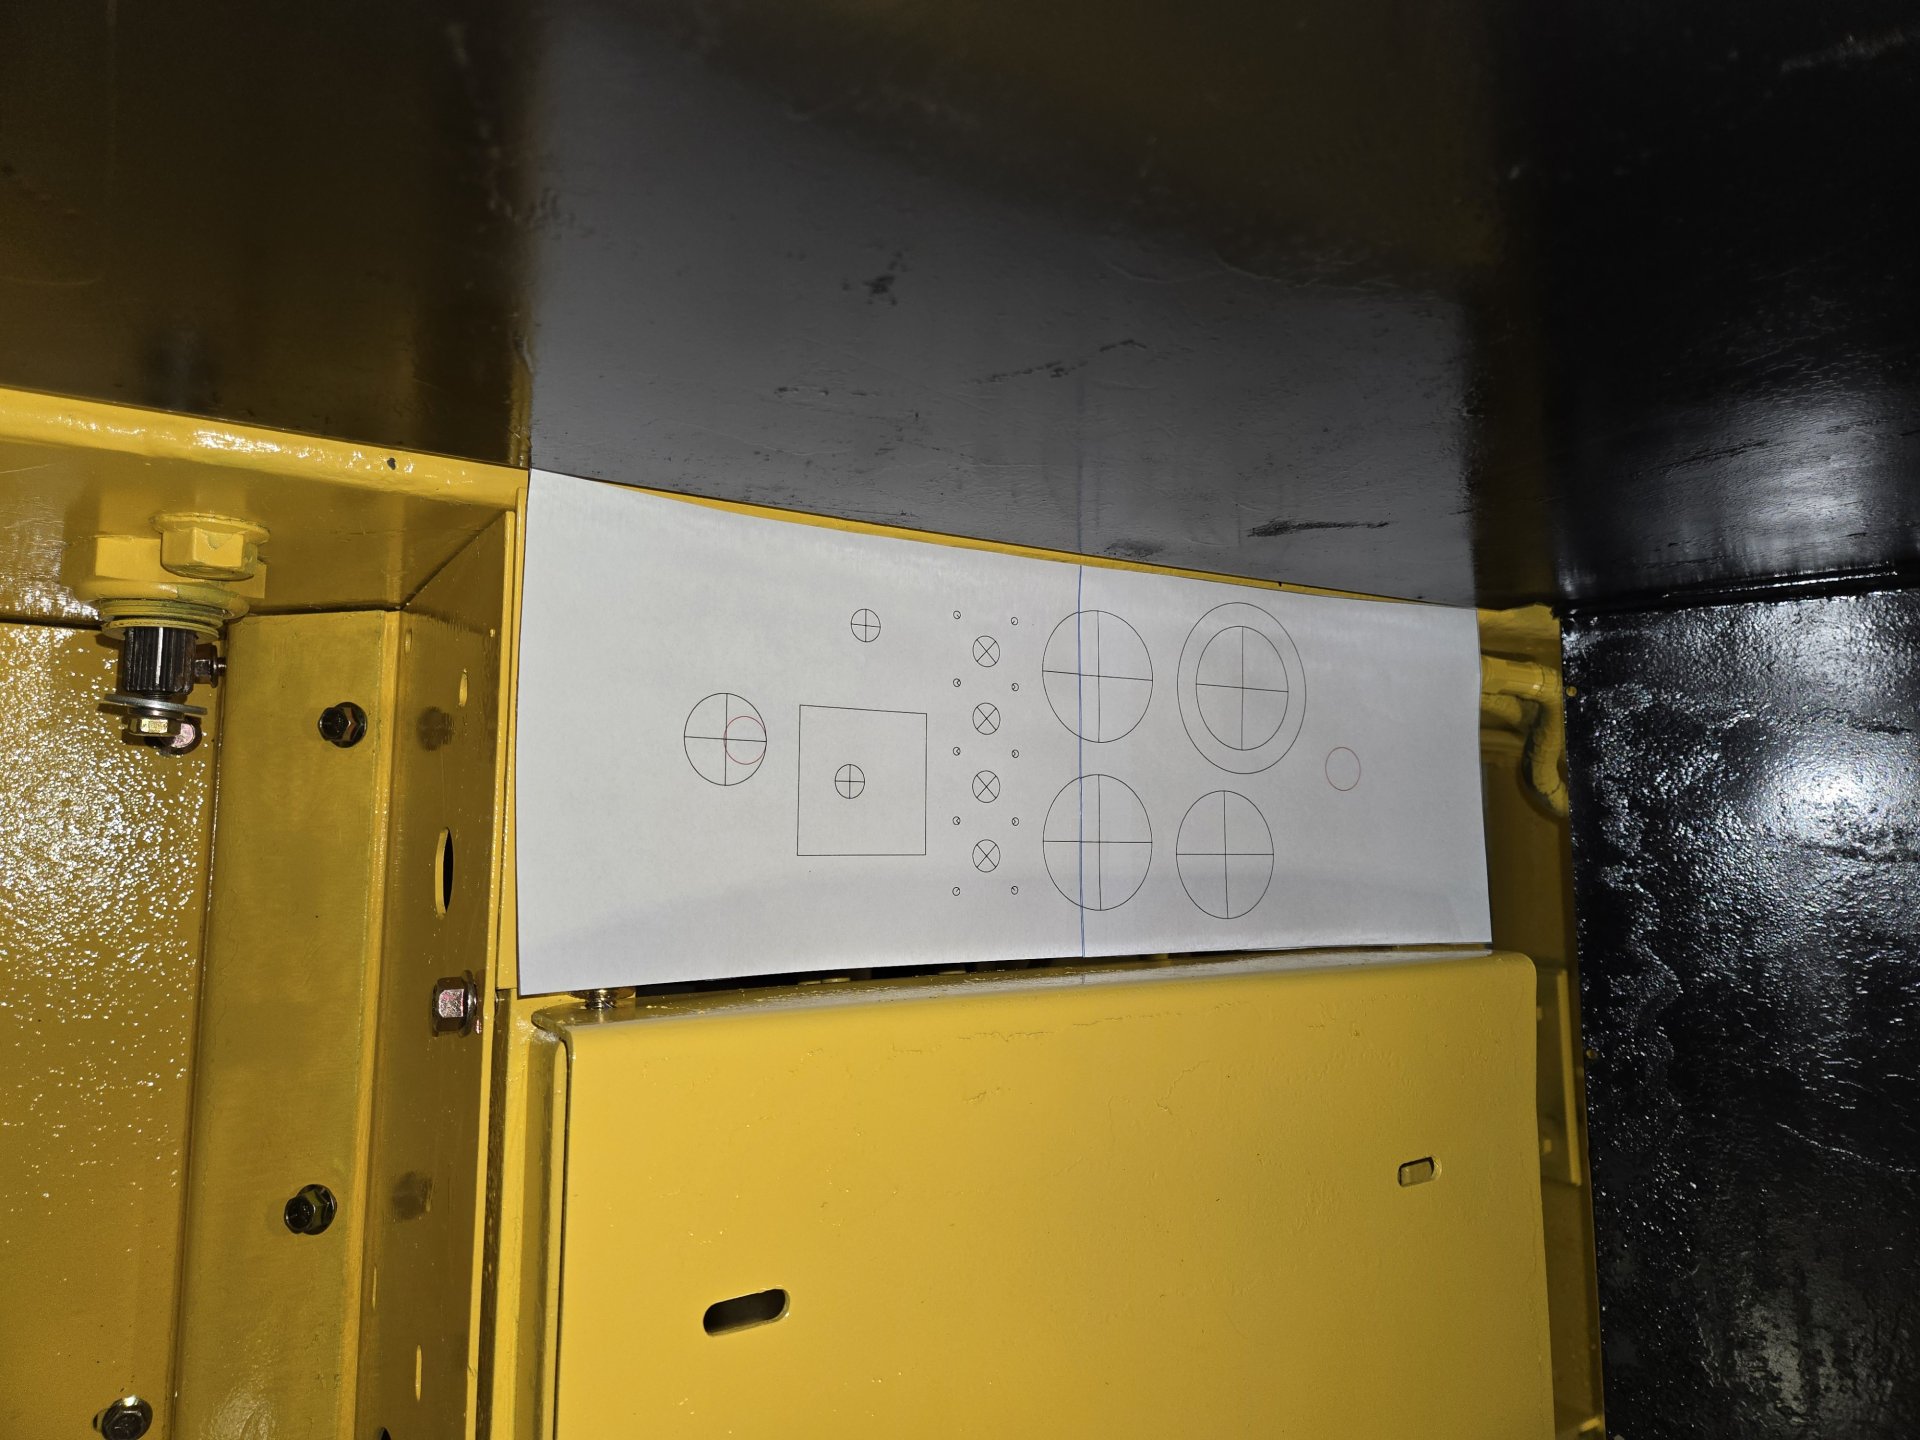
I laid out the instrument panels (two panels next to the seat) with gauges, switches, etc. that I wanted. Then I transferred that to CAD with the intent of having the panels laser cut. I had all the hole saws I needed so I used the two existing panels and drilled what was needed myself. I used the CAD drawings to transfer the center of each cut to the panel so it would look half way decent. That process follows. You can see the awaiting gauges in the purple bins.

20251228_214709[1].jpg
20251228_214717[1].jpg


003.jpg
005.jpg


20251228_214831.jpg
20251231_142701[1].jpg


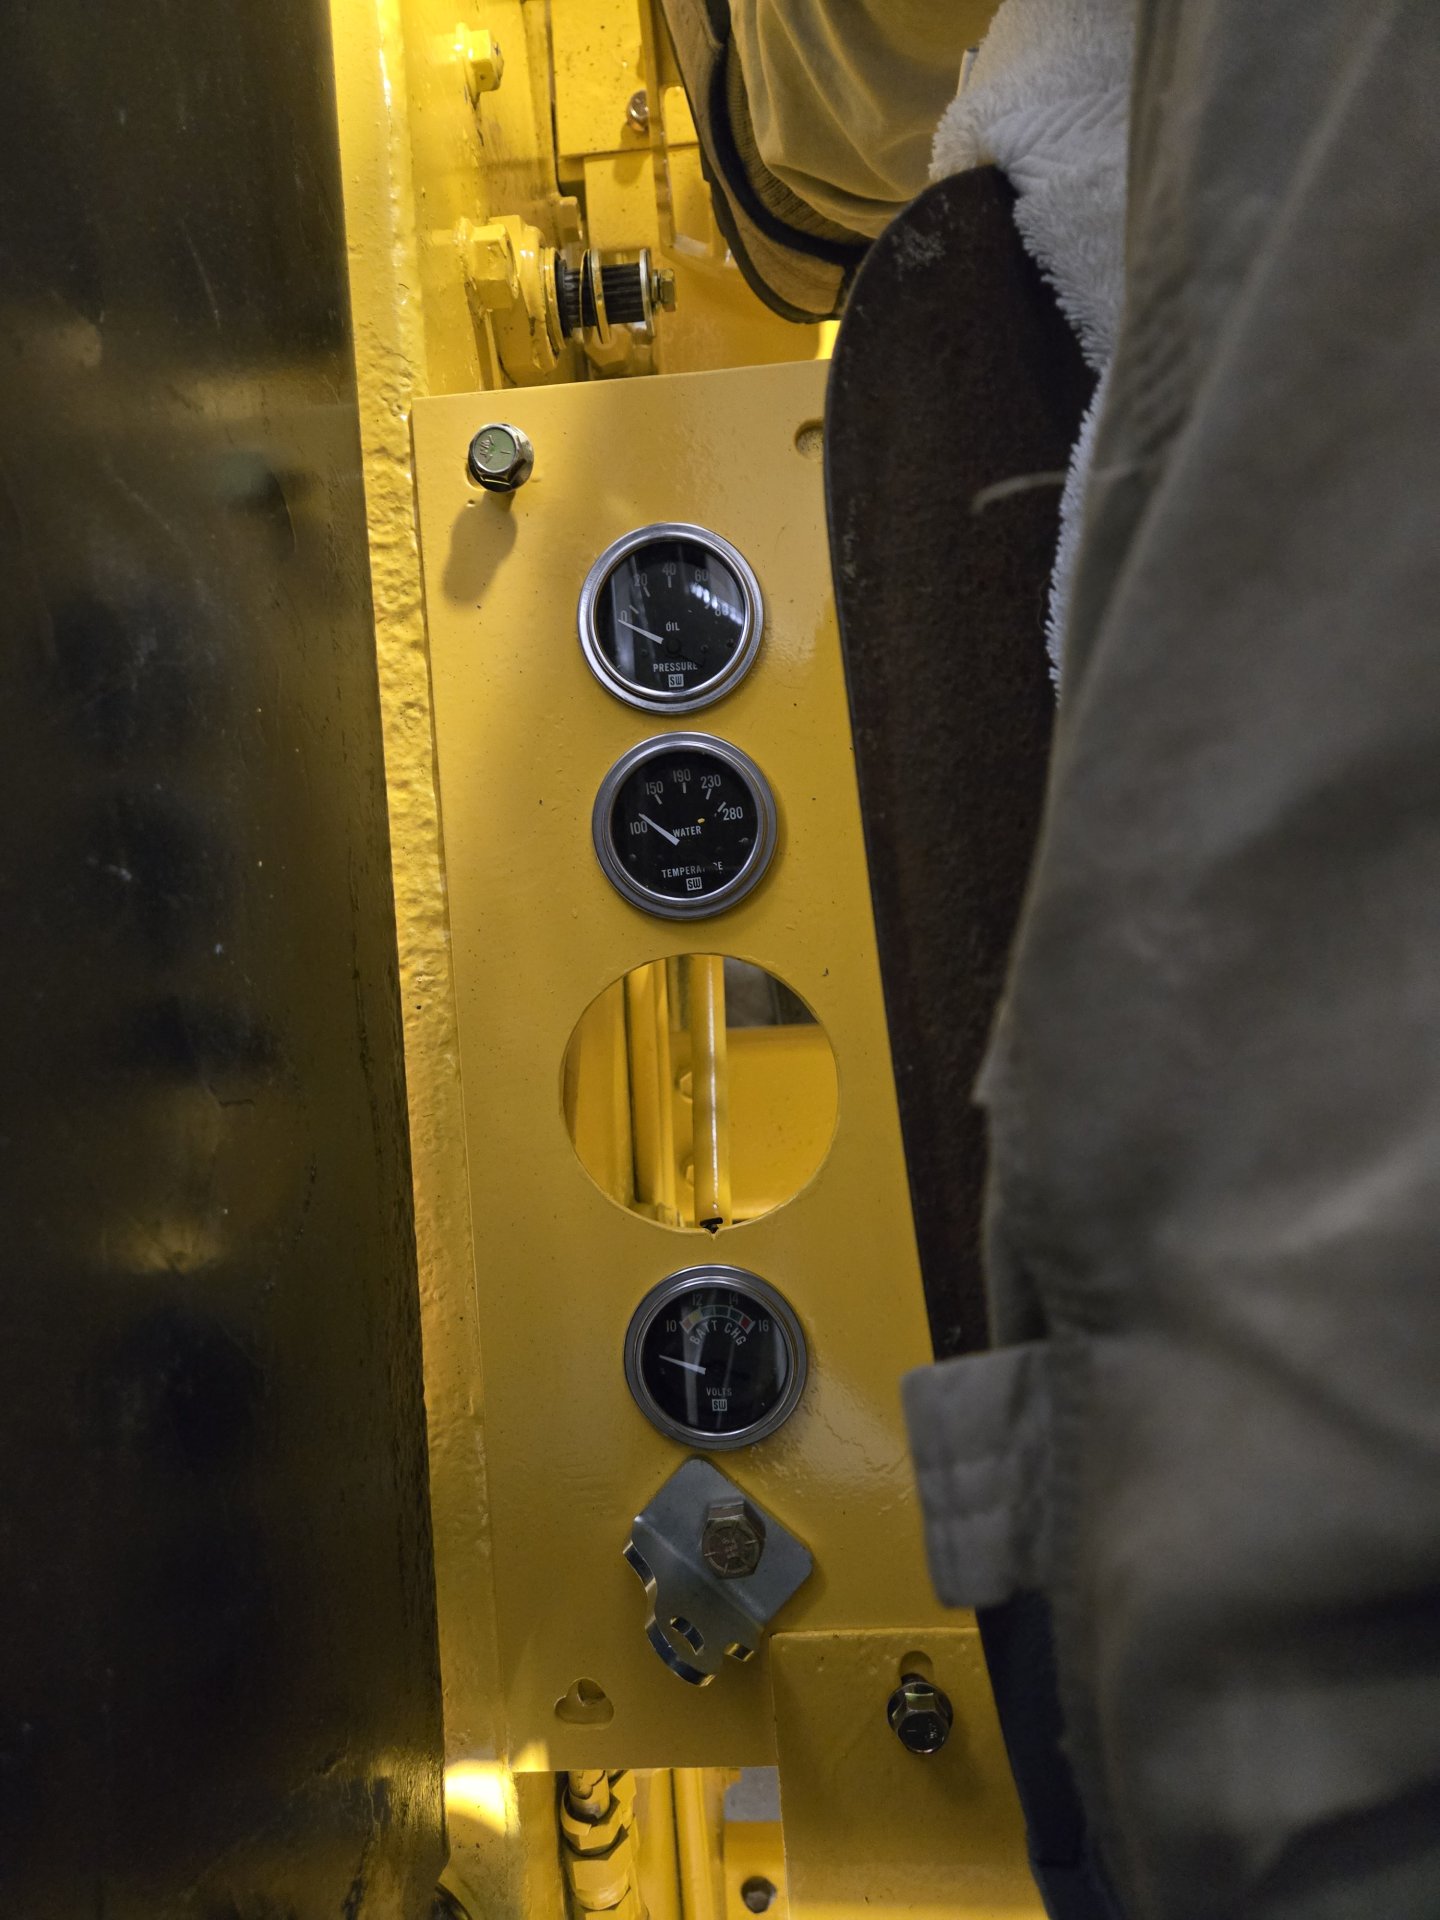
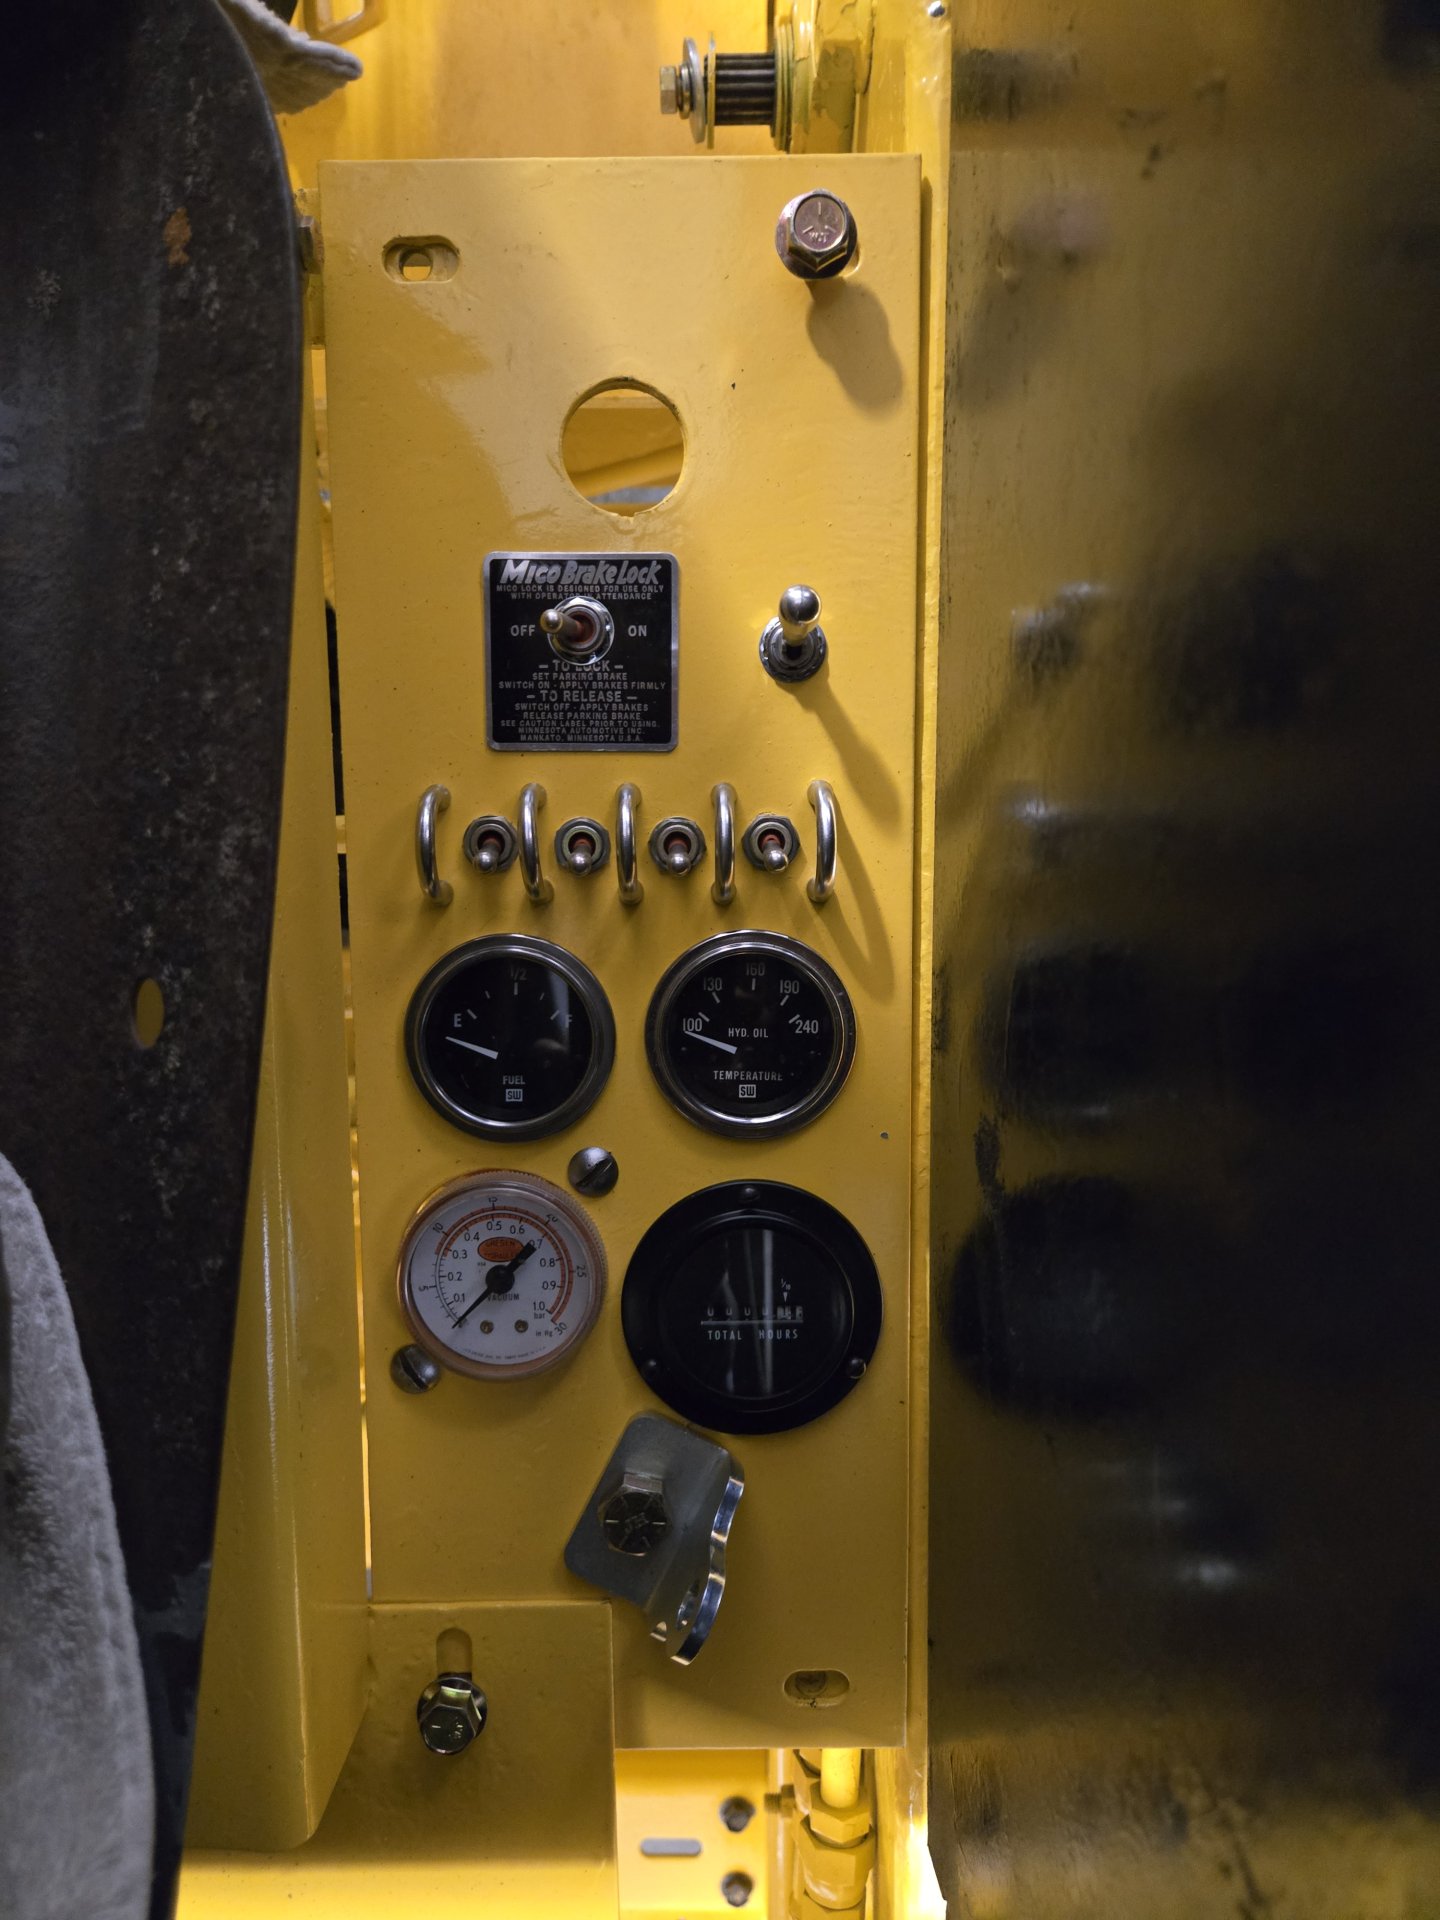
Here's the somewhat final result. I wanted to use Stewart Warner Heavy Duty Series gauges but they cost too much. I've always liked their Classic Series so that's what I used. I bought everything off eBay over the last 2 years, so everything was reasonable. Is I've mentioned before, I'm using Deutsch connectors at each panel. If anything needs repair, the whole panel can be removed in 5 minutes without a wiring disaster. Note that I am also installing Owatonna and Gehl kits I bought off eBay. Reverse alarm, roof strobe, seat switch safety, seat belt safety wiring, door switch (if the boom is lifted with the door open, massive carnage ensues), boom led lights, and forward and rear facing light bars. The final thing is a complete heater kit with front window defoggers from Vintage Air.

20260109_134827.jpg
20260109_140706.jpg


I have two more panels to install at the upper, front two corners of the cab. Eight more switches and a monitor/screen for front/rear video/cameras. The visibility out of the cab is not good, and I don't want to run over any kids or animals. Also, I'm still working with Holley to see if the Sniper fuel injection will work on the Ford engine. If it does, the monitor will also be used to access engine information from the injection CAN-BUS.

I've spent a ton of time figuring out how to put the hydraulics for the Ford torque convertor back to stock. I'll comment on some technical things about that later. Essentially, different serial number parts were combined for the intermedial drive (torque convertor and gear box) and some of what was originally there was undersized.

I've hit my 10 photo limit so I'll show final photos in the next post.

Al Jones
Brookings, SD
 

Attachments

  • 006.jpg
    006.jpg
    350.8 KB
  • 20251228_214831[1].jpg
    20251228_214831[1].jpg
    404.9 KB
Last edited:
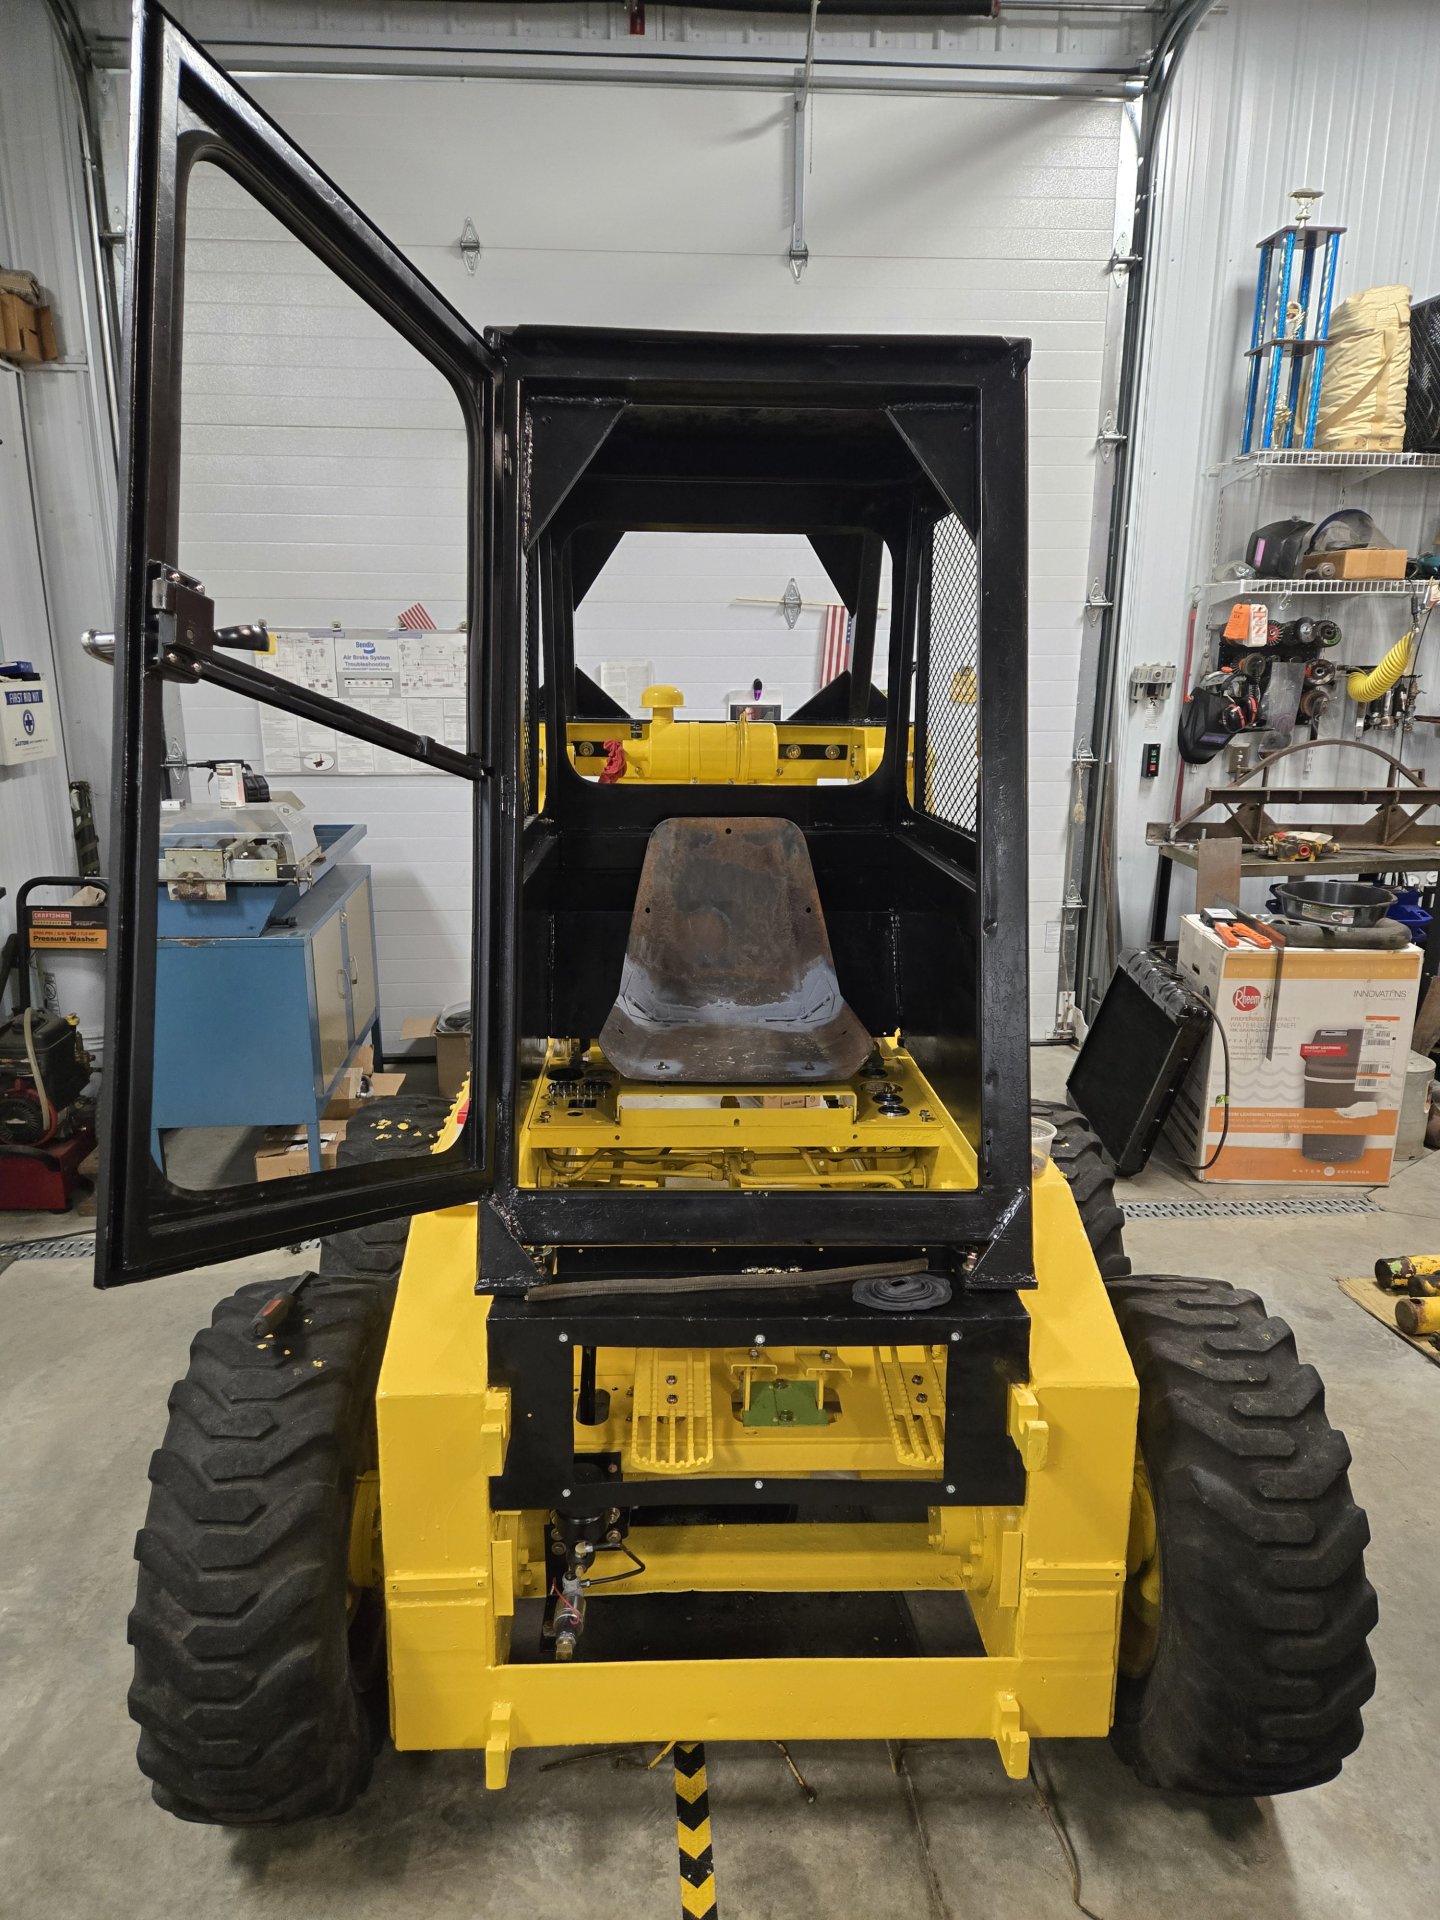
Here's where things are cab-wise. I'm still working on getting the ignition switch and tach installed.

20260118_185956.jpg
20260118_190236.jpg
20260118_190226.jpg


20260118_190316.jpg


By the way, it's the first time I've sat in it in about 2-1/2 years. Whew. There's 14 to 16 inches of head space (from the top of my bald head to the roof. Not sure why that's so much. But, it will be the place to put all the fuse panels, relays, etc. for easy access. I'm bummed there's not enough space for the dog to ride with me. When the weather breaks, I'll grab the boom from the donor unit and get it painted and installed.

Al Jones
Brookings, SD
 
Last edited:
Torque convertor. Been working on that stuff. I found some cracked/split fittings on the adapter so I thought it best to go all the way. Everything is ready with the exception of a new or rebuilt torque convertor. Note there is a 50 psi relief valve attached to the adapter that attaches to the C-4 trans pressure pump. Photos follow with comments above.

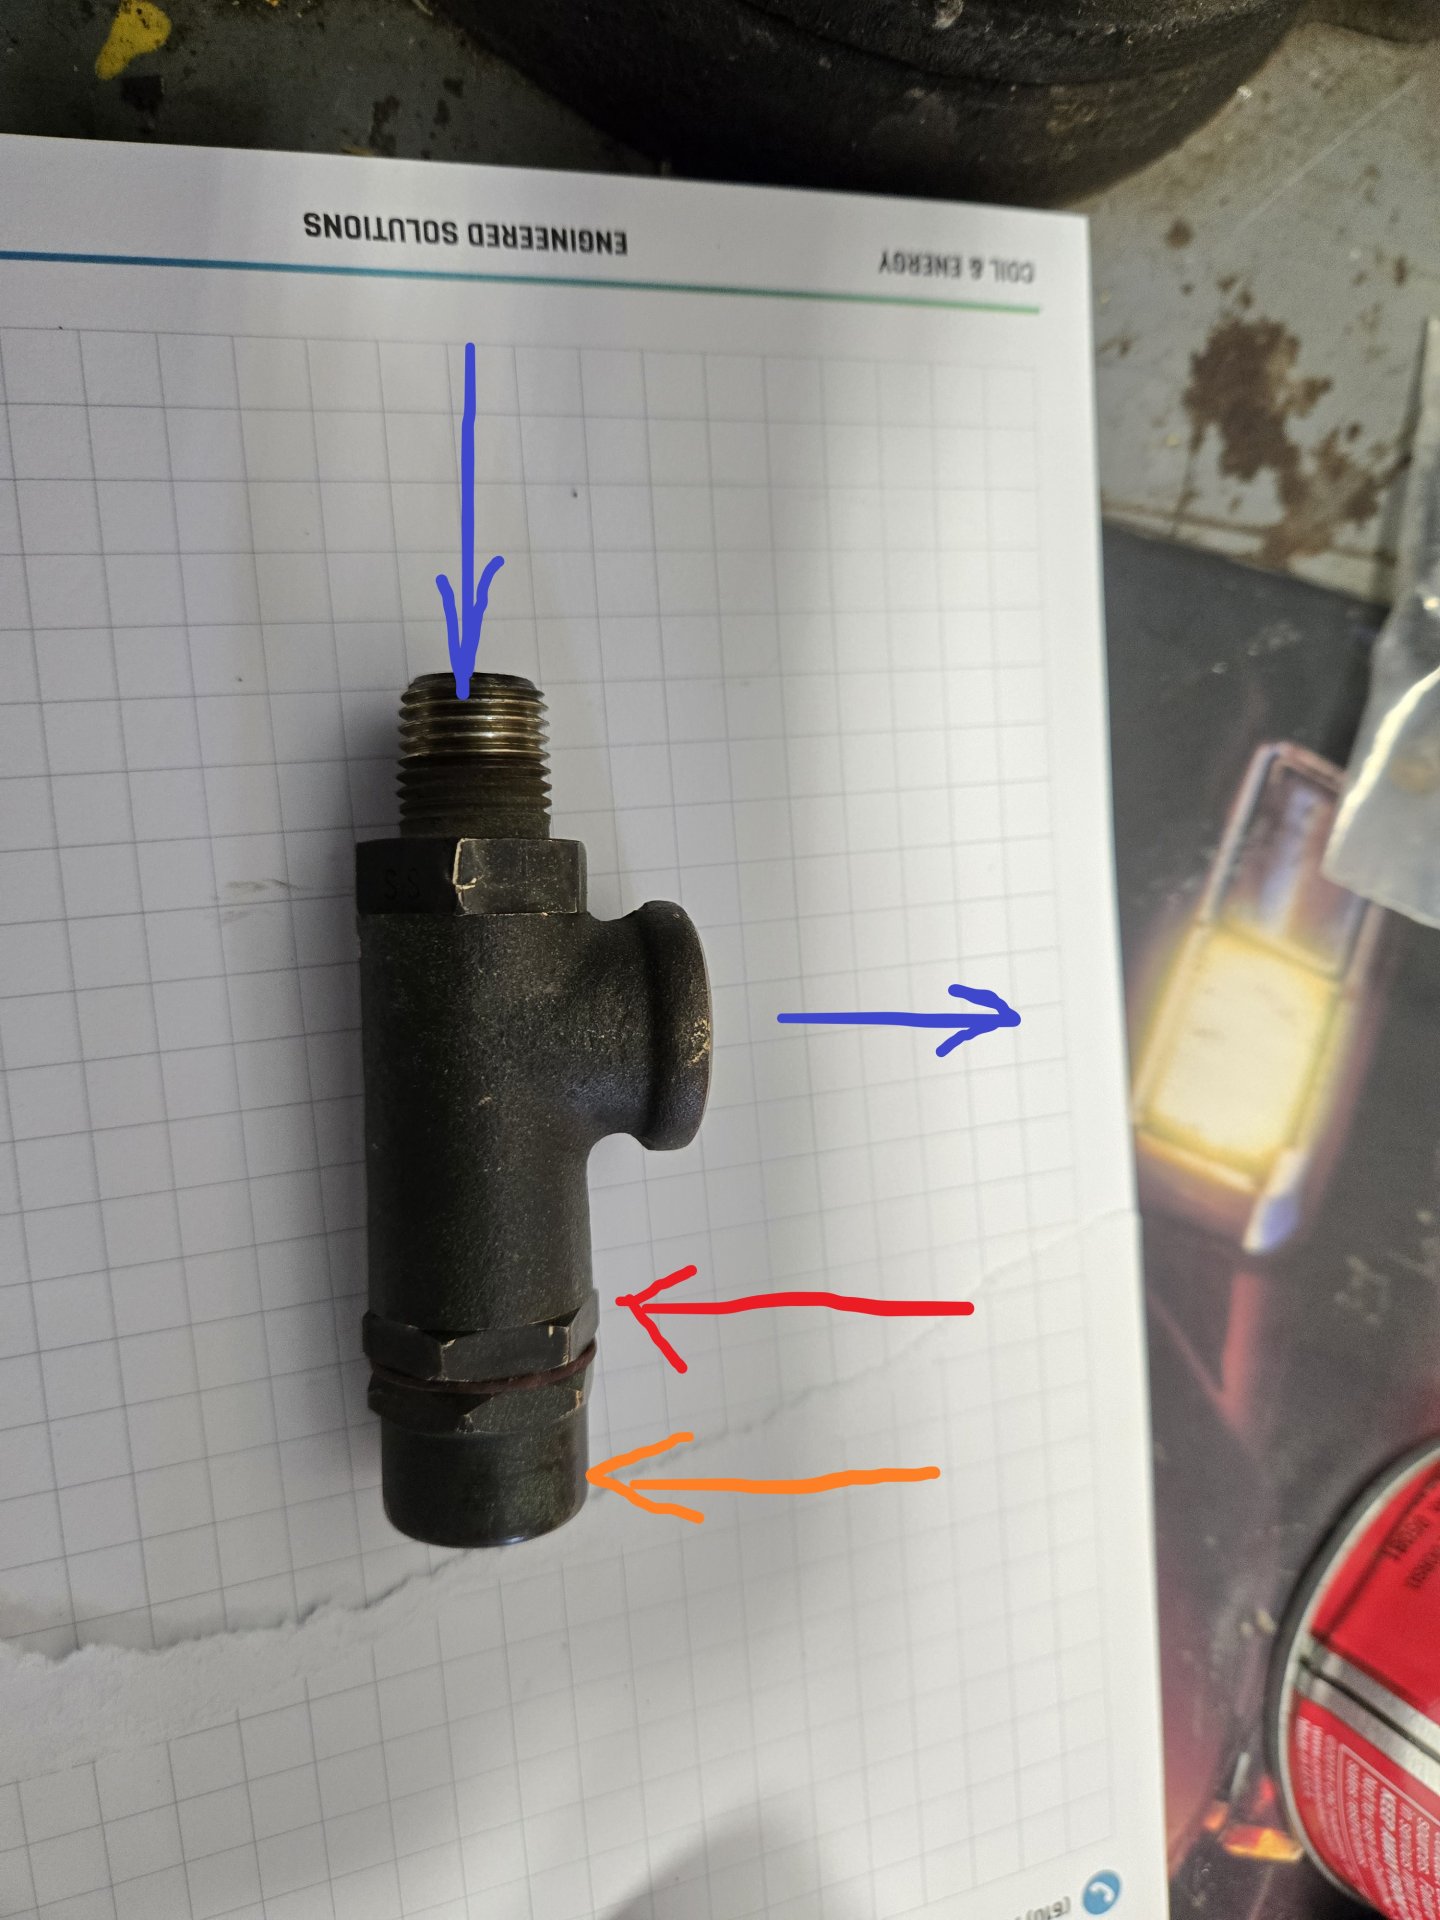
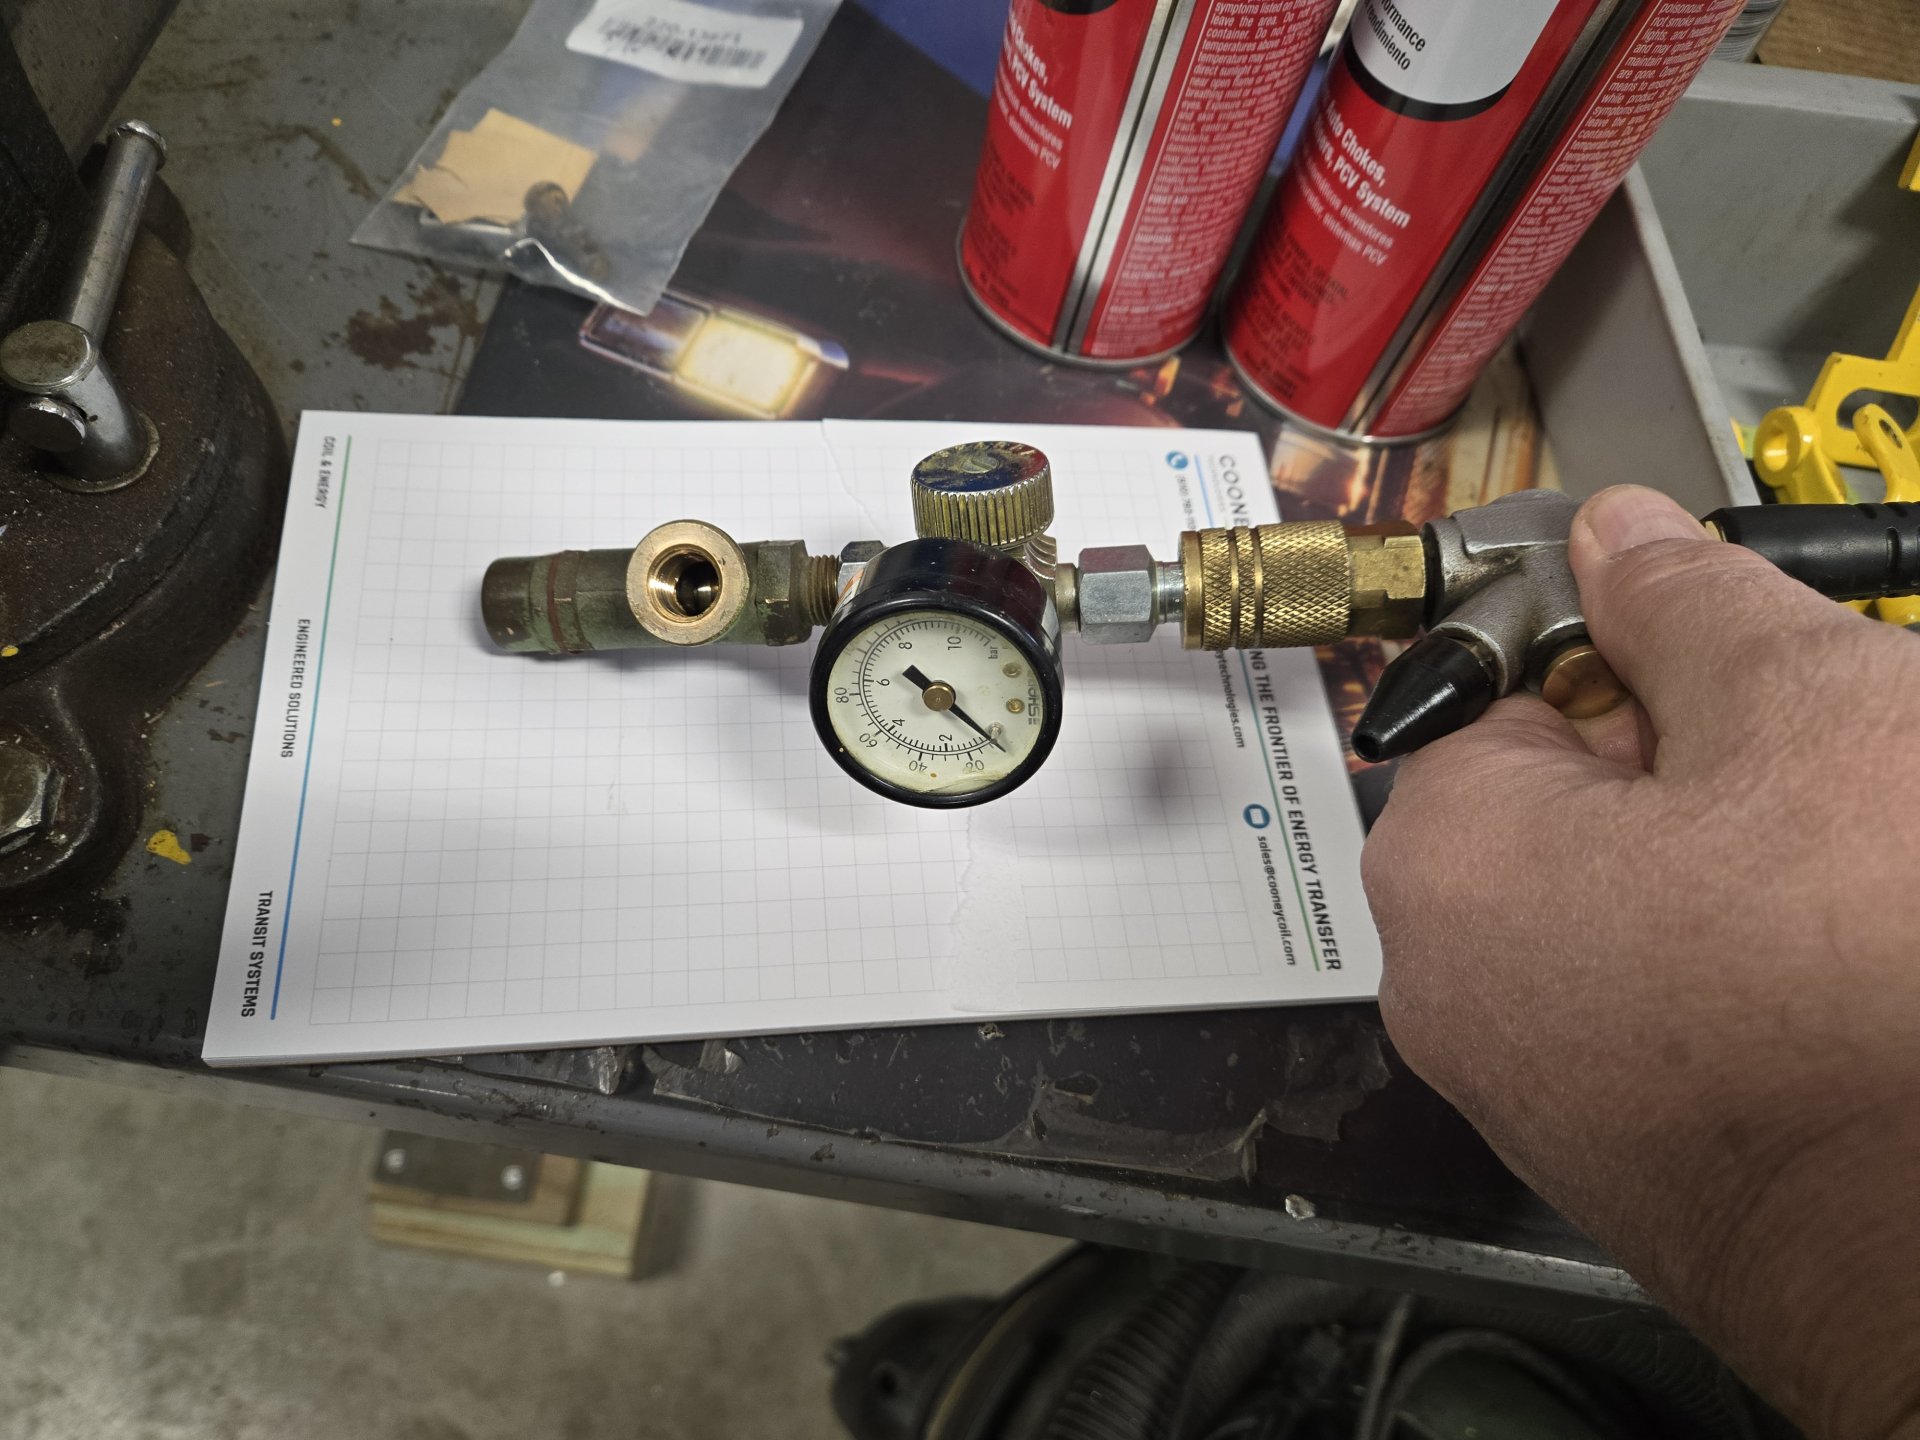
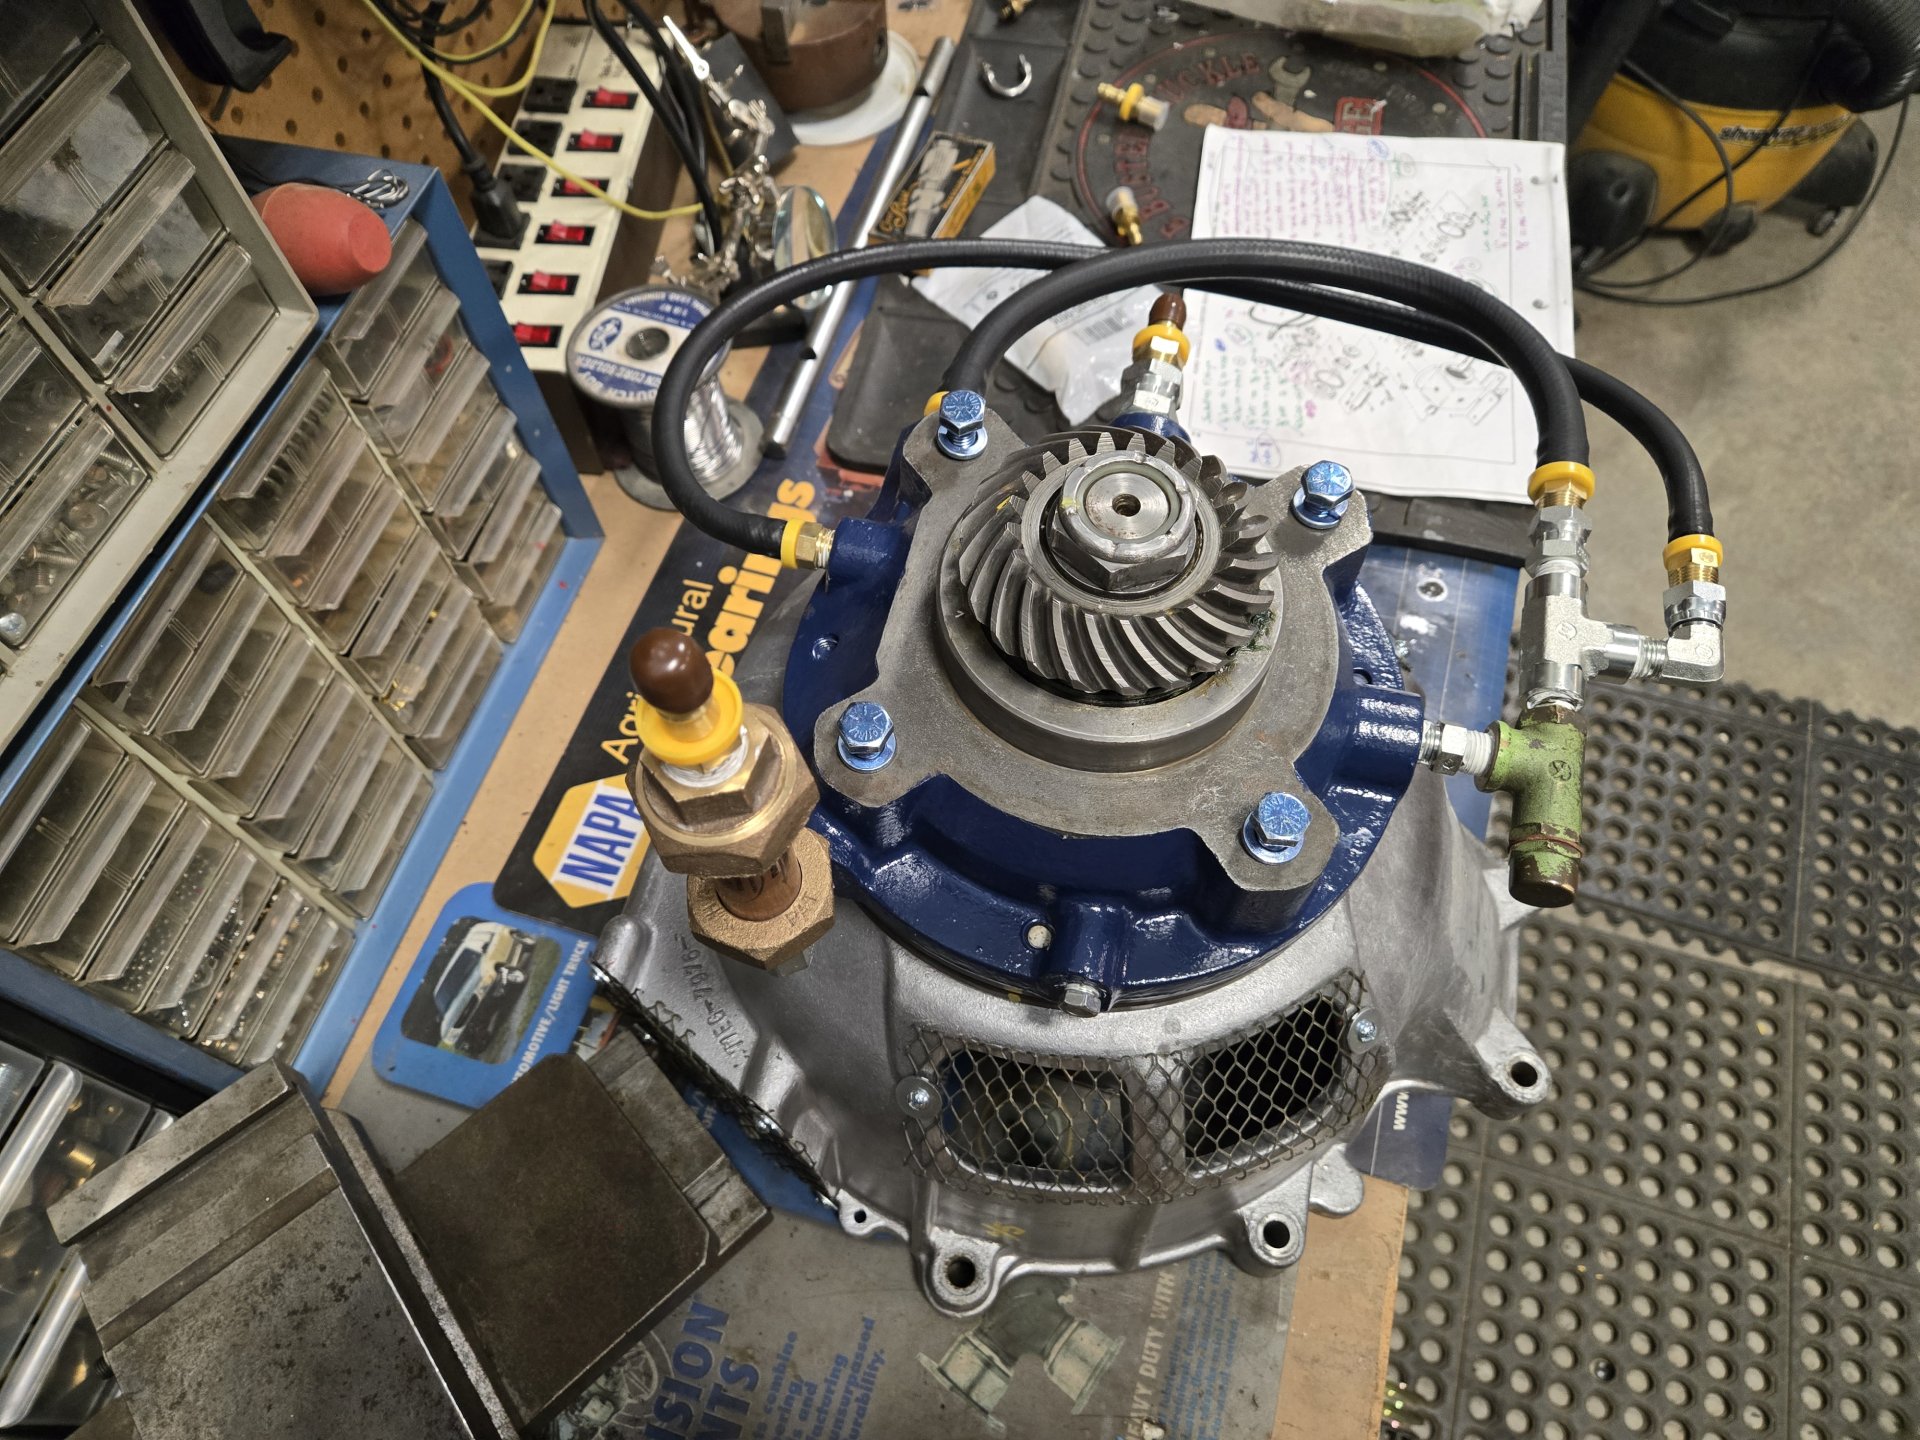
Here's the 50 psi relief valve. Flow direction is in blue. To adjust the valve, remove the cap (orange), slightly loosen the jam nut (red) and you'll see a pair of slots to adjust it. I forgot to take pictures, but the valve is simple: a spherical ball that rests on a seat with a spring behind it. Screw adjustment "in" for higher pressure. The second photo is how I adjusted it. With air and a regulator. I put 120 psi to it and it was solid at 52 psi. It fluttered as the pressure was reduced below 50 psi, but I think that won't happen with fluid in it.

20260126_135742 Edit.jpg
20260126_135657.jpg


The operator's manual seems to harp on keeping this valve adjusted. I could not find anything on the planet to use as replacement. Any fluid/hydraulic relief valve is expecting much higher pressures so anything down at 50 psi, I couldn't find. The ball and seat had some wear, but it doesn't seem to leak before it hits 50-ish psi. Adjusting this on the machine would suck.

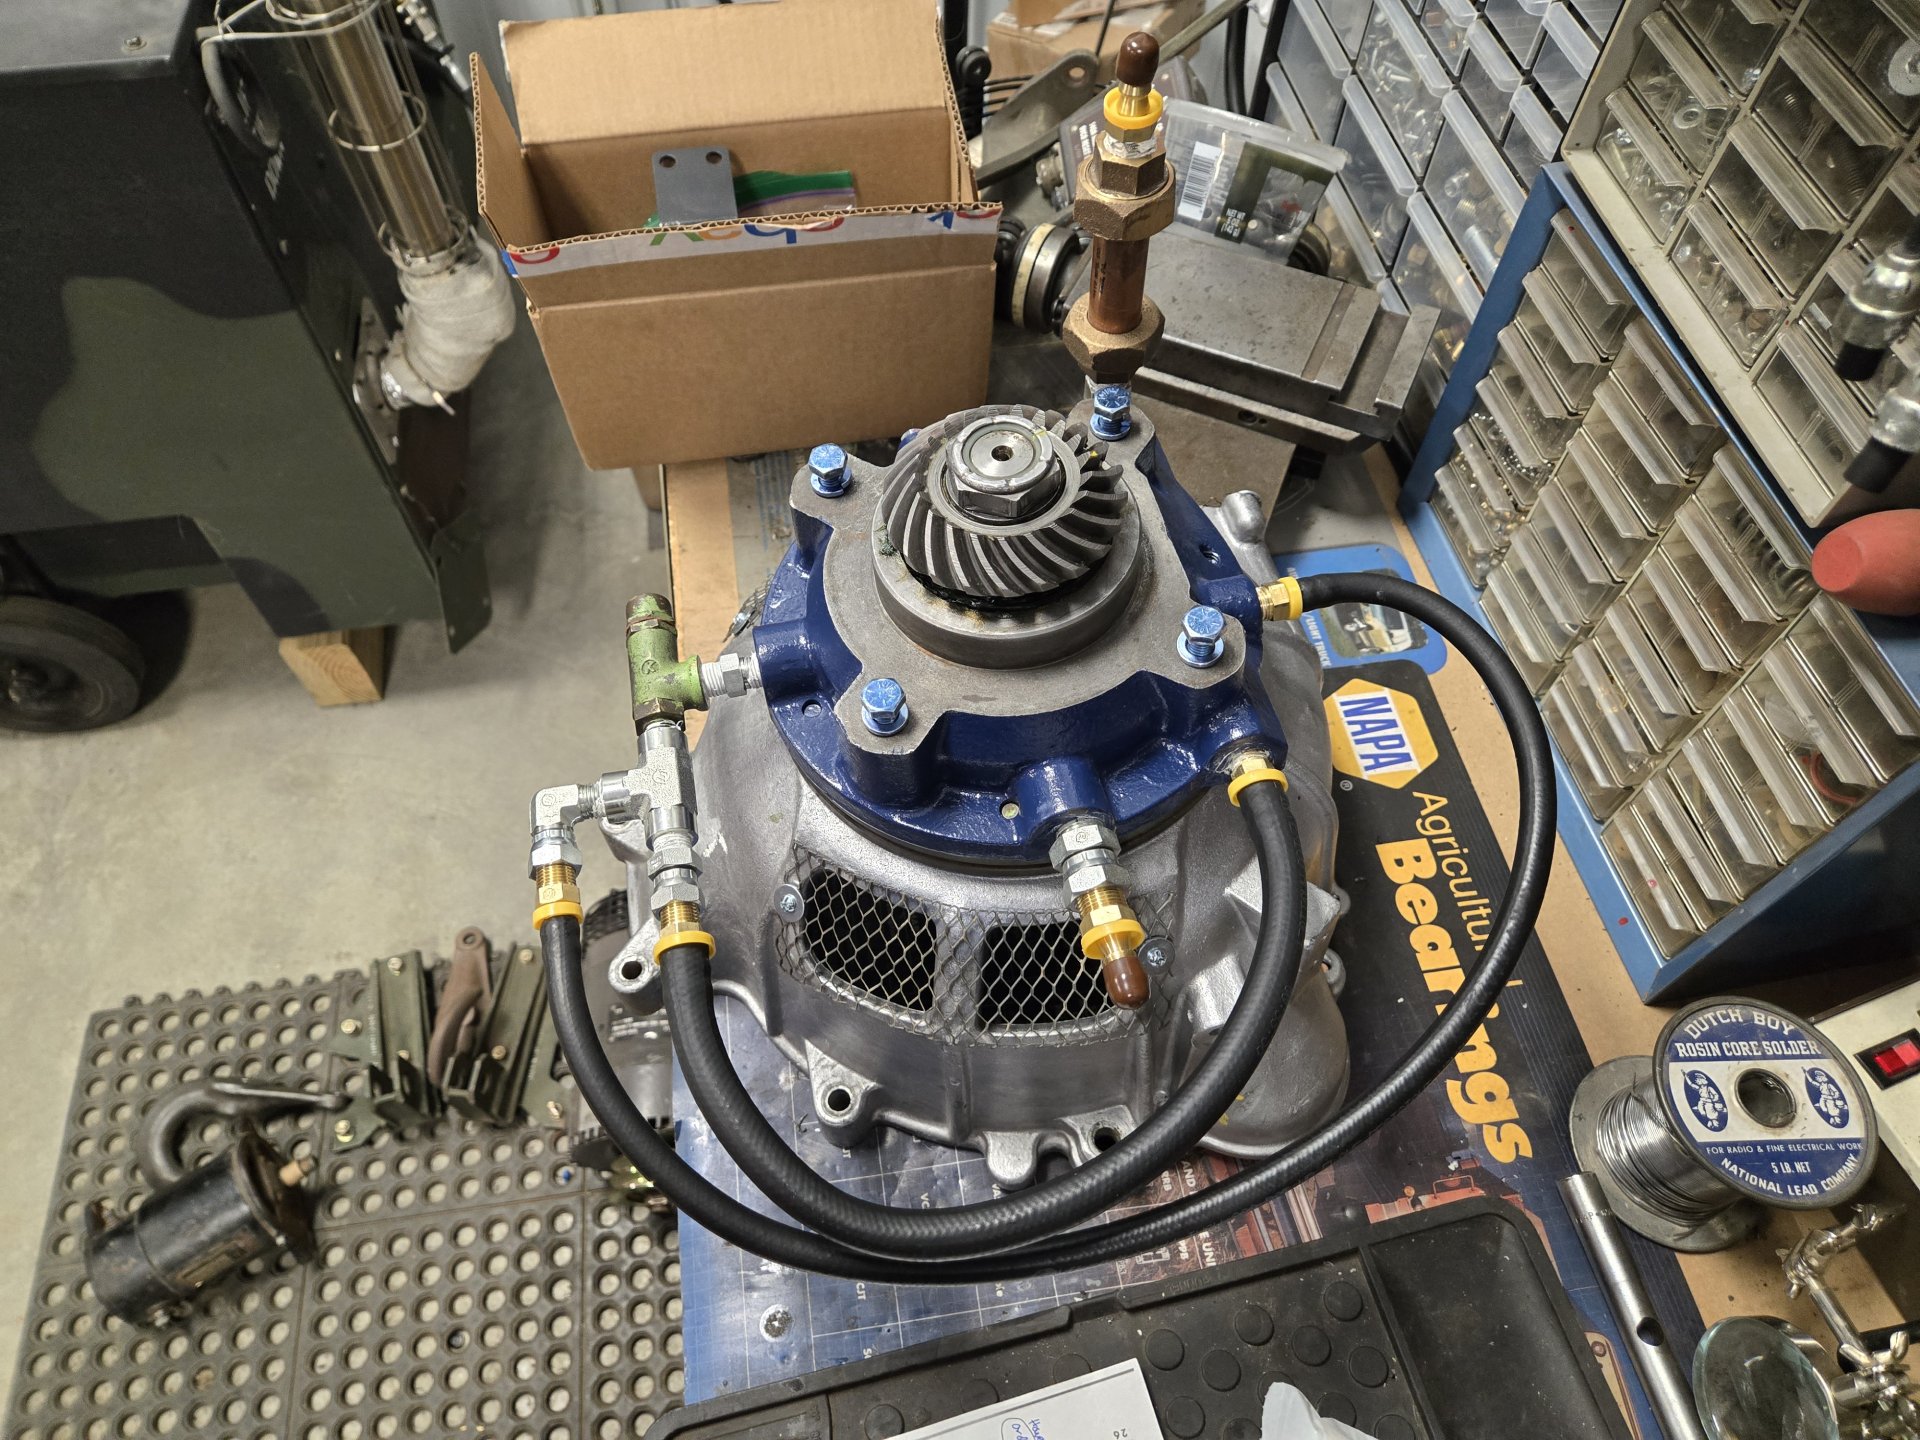
The parts book calls the fittings "socketless adapters", Gates calls them "Brass Field Attachable Couplings". The working pressure is 300 psi when using the correct hose, plenty for the torque convertor. Everything is NPT. Pushing the hoses on is tough, but it can be done, that's what Gates says to do. My fingers hurt. Here is the final product ready to go in the machine. Note the two brown caps. The long bass/copper thing is a screen assembly on the suction side. It's supposed to be serviced (cleaned) periodically. That cap will get a hose that goes to the hydraulic fluid reservoir. The other one is excess fluid that dumps into the right final drive. So, this only gets screened fluid, not filtered. Don't like it, but... You can see how the relief valve is plumbed into the concoction.

20260131_153240.jpg
20260131_153247.jpg


If anyone has an opinion on NOS torque convertors with an early 1970s date code, please share. My choices are NOS Gehl or rebuilt. They are both are within about $50 of each other. My machine did not have the original convertor in it. It had a car one, either Pinto or Capri.

One of the prior owners had replaced the adapter with a higher serial number than mine. I first panicked because the higher serial number has a different spline count than my serial number range. So what they did was just replace the adapter. After counting splines, everything was good to go. This machine from the gear box to the front of the engine had seen some prior carnage. I'm putting everything back to stock with new parts.

Al Jones
Brookings, SD
 
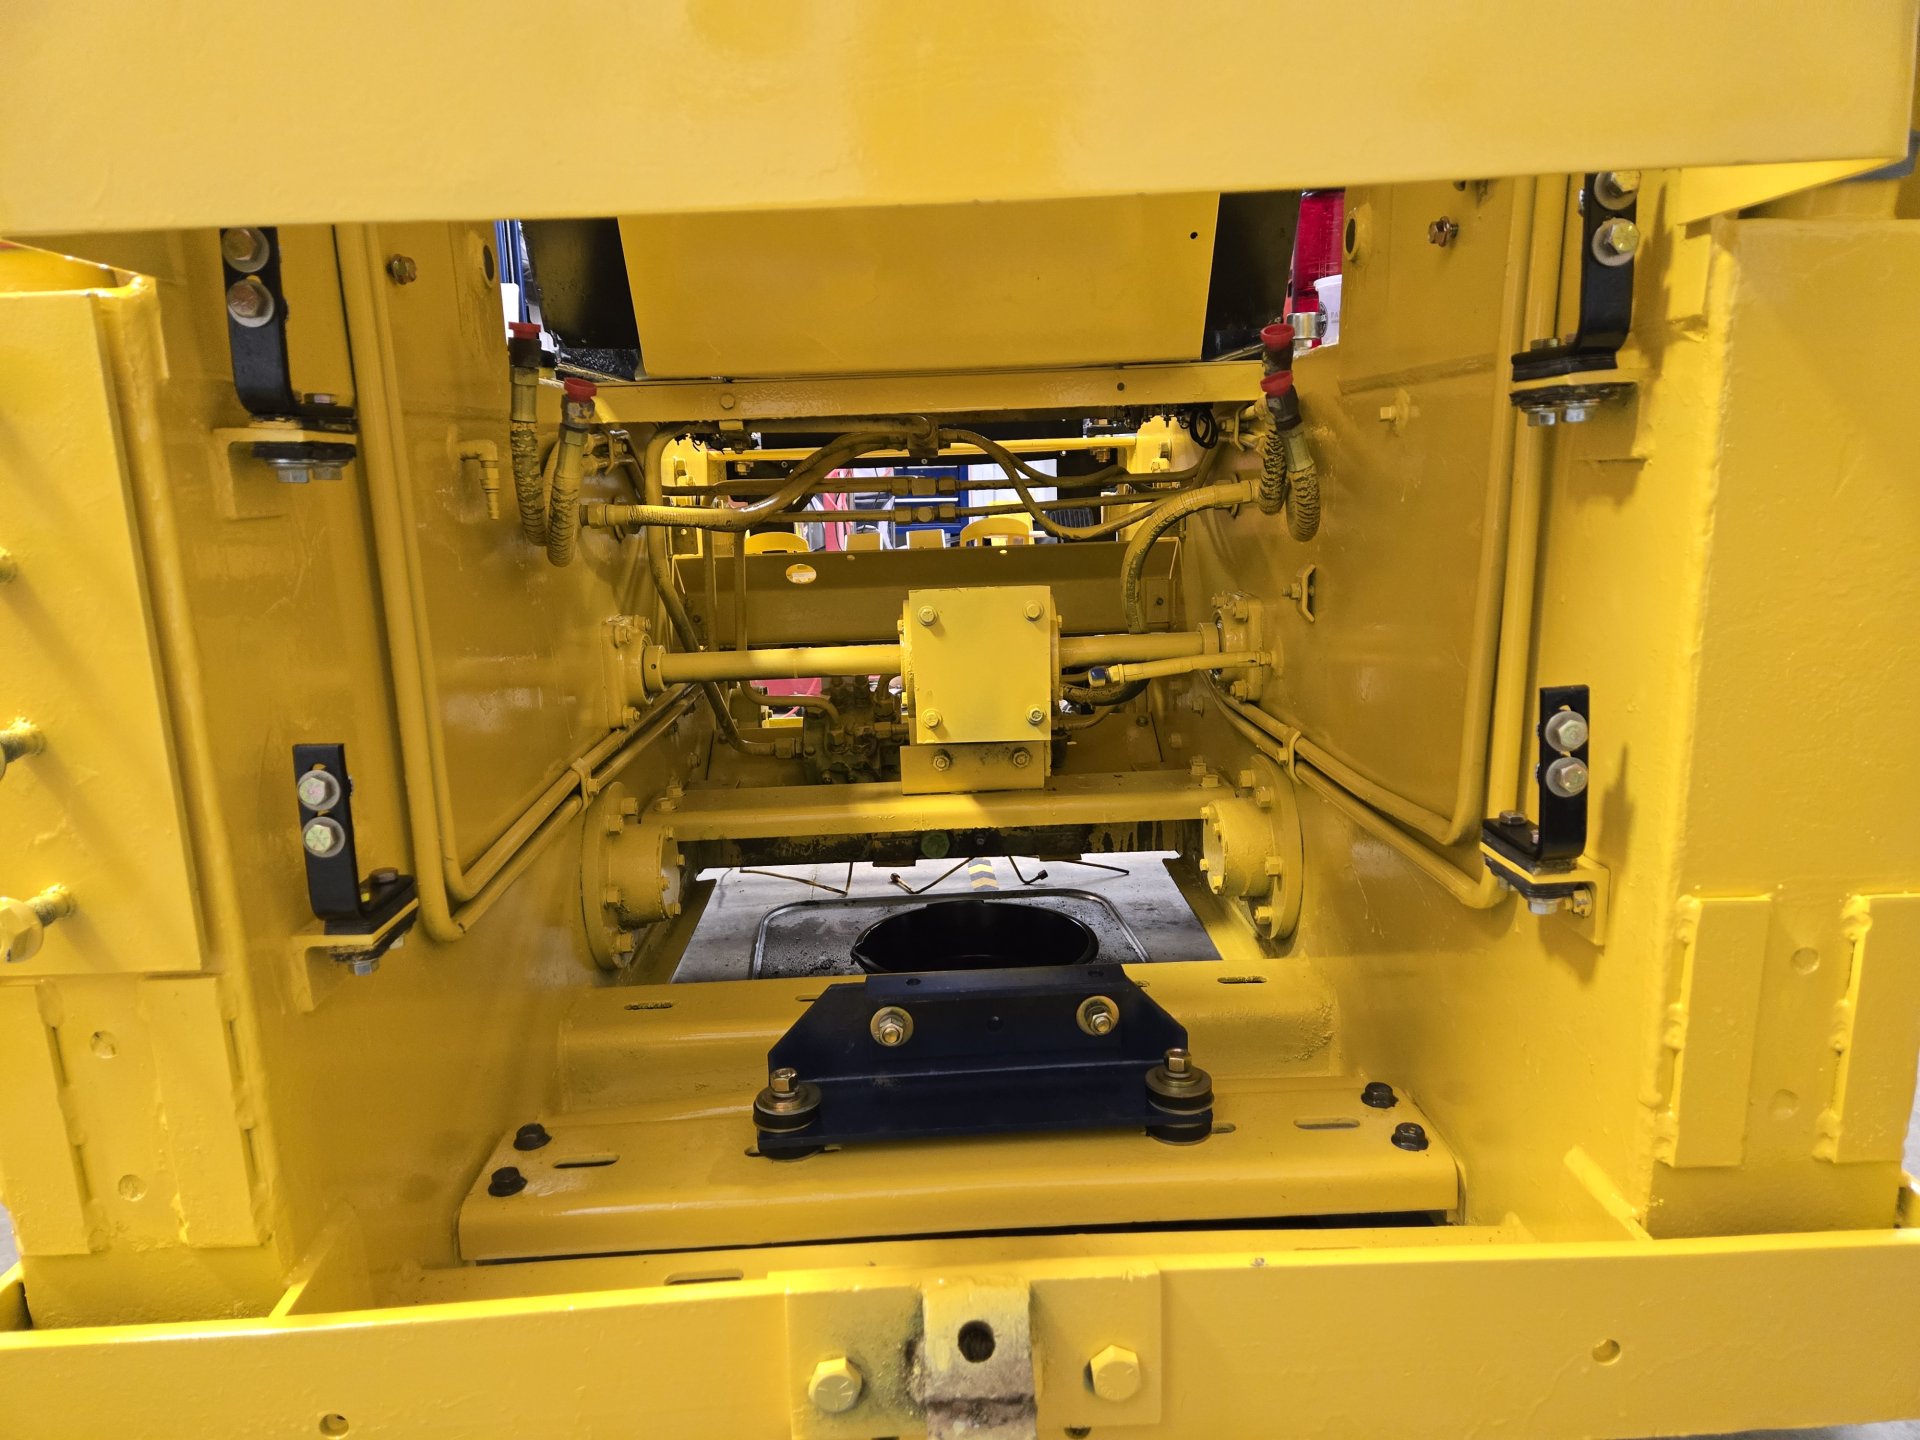
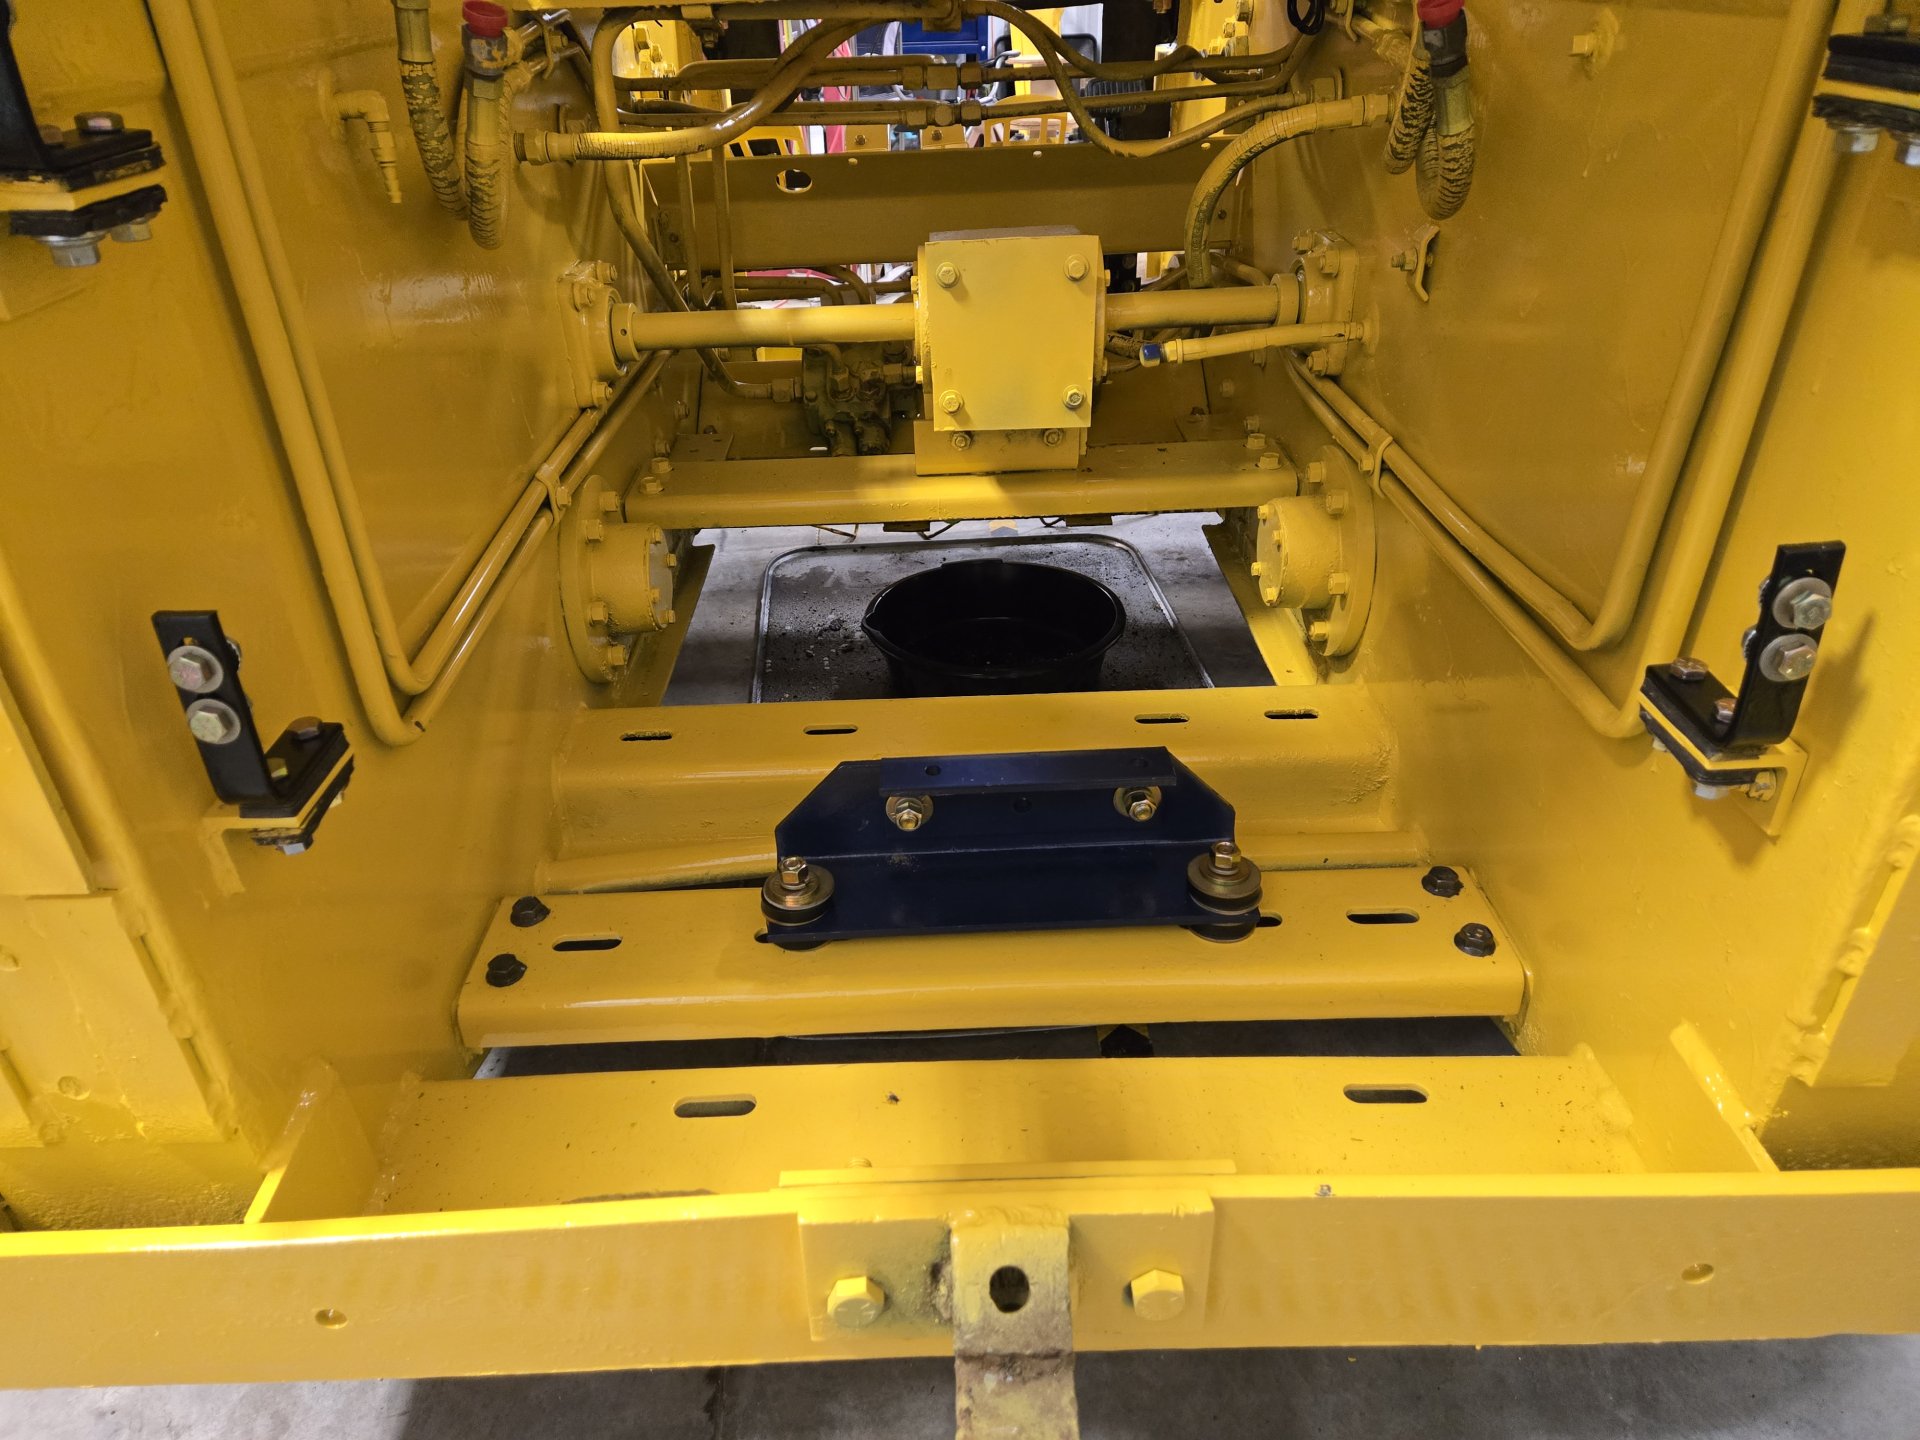
Here's a couple of photos of the prepped engine area. New rubbers for the engine mount and the parts 1700 had really nice radiator ones, so I put those on. I measured the old engine rubbers best I could as they were a disaster, beyond recognition.

20260125_174815.jpg
20260125_174810.jpg


I'm trying to pull the fourth function lines from the parts machine. They were not on this machine when I bought it. Those will go on and then I think it's ready for an engine. Oh, and I'm still working on making hydraulic hoses. The neighbor farmer has a hydraulic hose business as a side hustle so I'm trading work for hoses. I also now have the steel to make a belly pan. I just can't see running this without one. I might wait until I can get the machine on the lift/hoist but the No. 7 sheet steel is dang heavy.

Al Jones
Brookings, SD
 
Interesting info on the hydraulic relief valve that connects to torque converter. I really haven't even considered mine. I may check with air pressure now that you mention it. Thanks, Steve
 

Latest posts

Back
Top