Mustang 1700 Reset

Skidsteer Forum - Bobcat, New Holland, Case, John Deere

Help Support Skidsteer:

Steve,

Depending on your serial number, removing the output shaft (what Owatonna calls them) can be real easy, or a nightmare. Prior to serial number 14949, the shaft is one piece from side to side and passes through the gear box. I think its a terrible design and I've been told everything has to come out to change seals. Note that I don't have direct experience with doing that. If after 14949, the shafts are split - remove the shaft coupler and its a piece of cake. If you have an early unit and do replace the seal, please share your experience here. I'd like to know if it's as bad as everyone says. Again, if you need any pictures from the parts manual, I'm glad to post for you. I looked at the Deere parts book and it shows a solid shaft too. Deere only offered the variable drive setup.

Good luck!

Al Jones
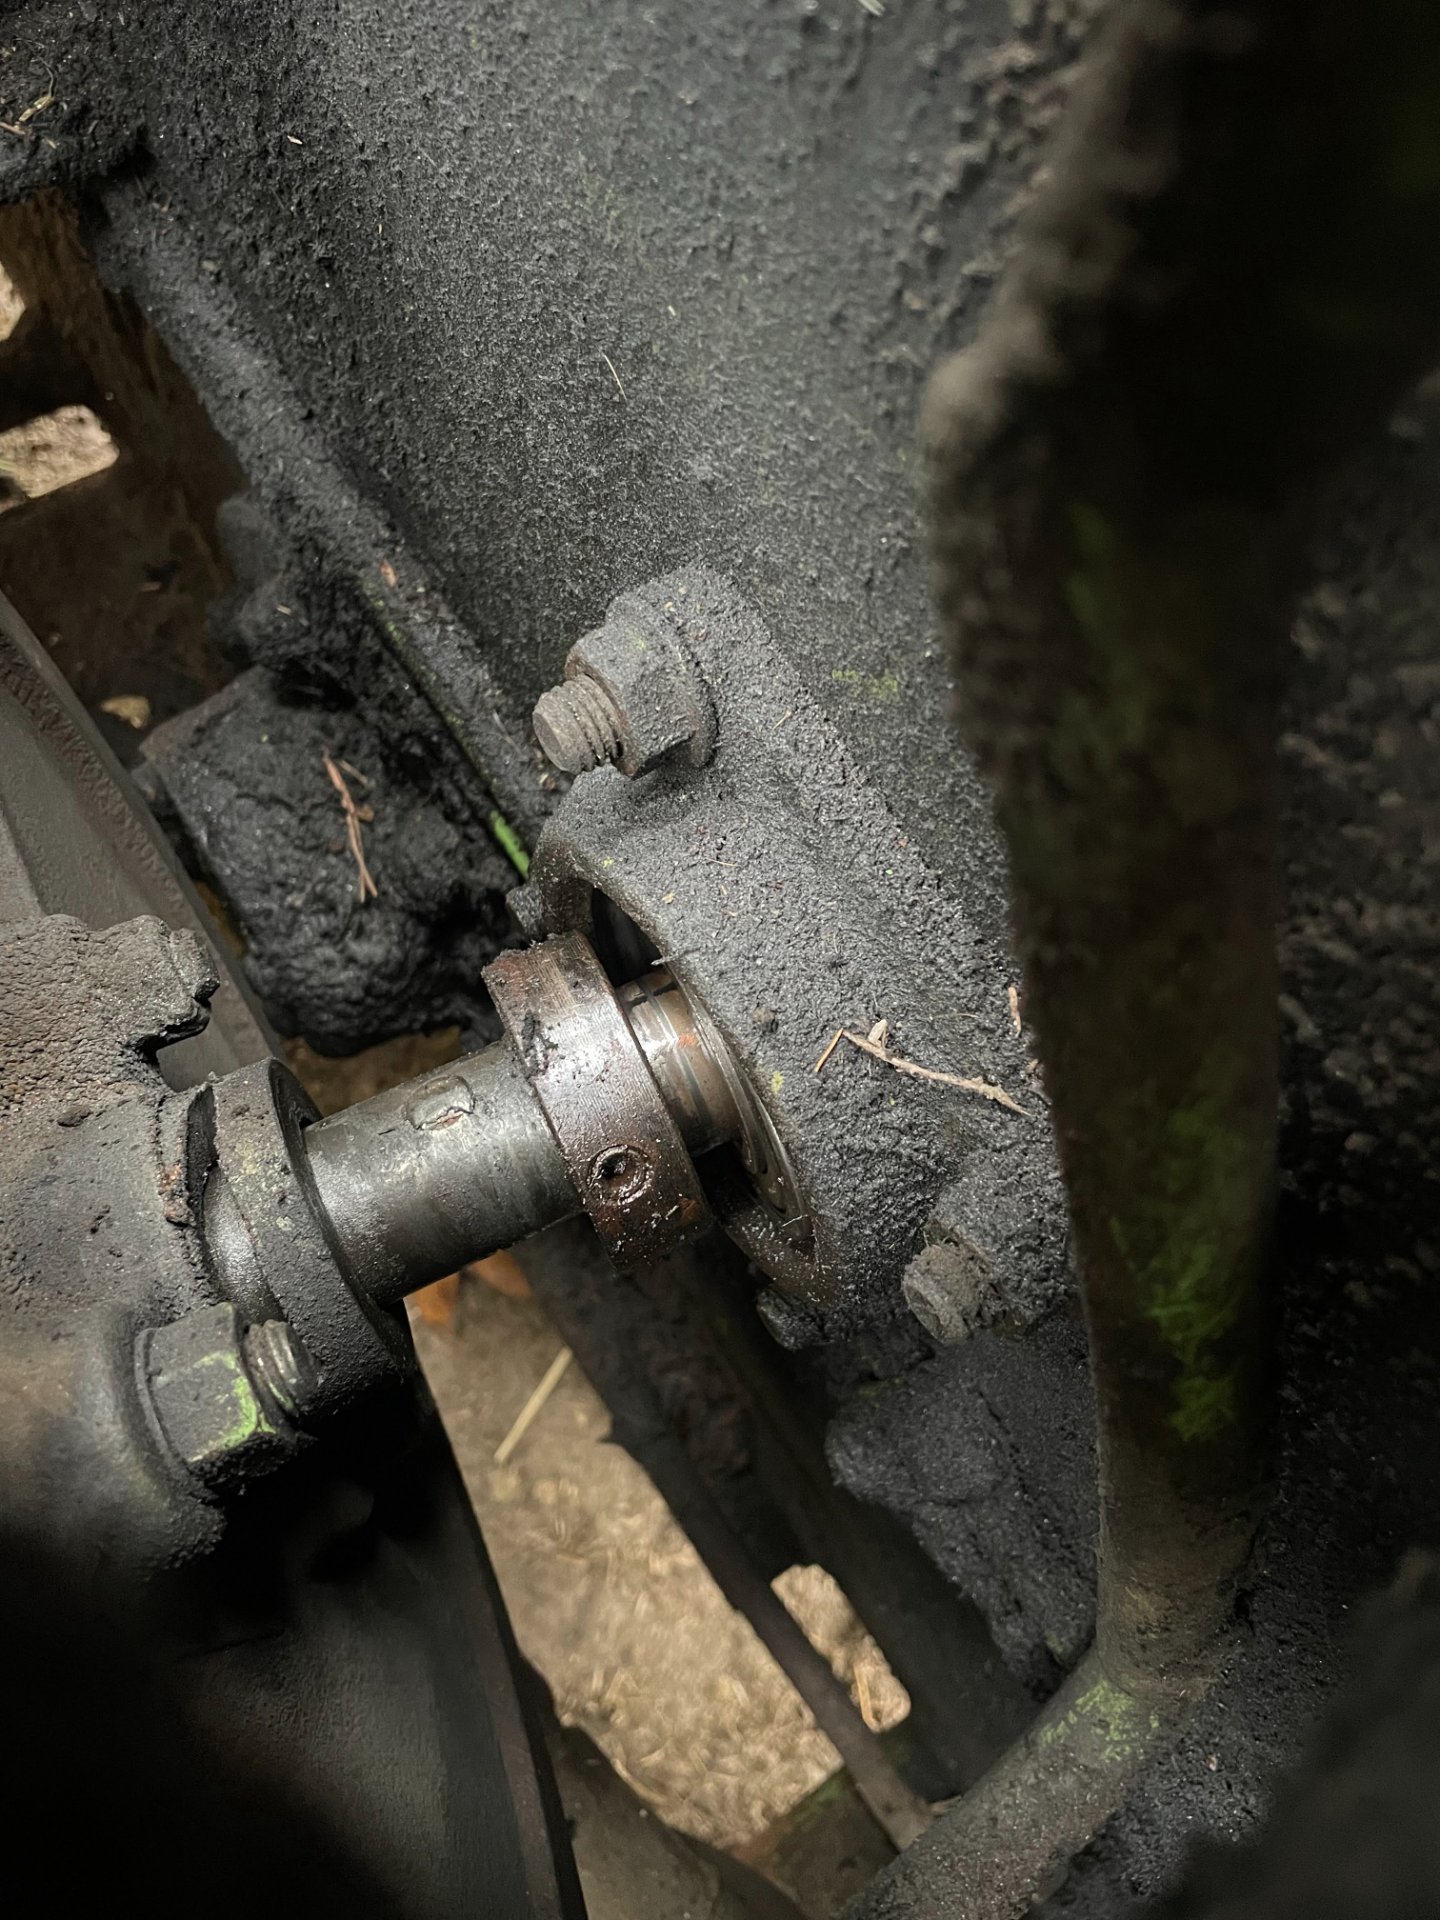
Al, mine is a split shaft and I have removed the coupler. What is the next step to removing the shaft as it seems like it won't just slide out of the bearing. Any advice would be greatly appreciated.
 

Attachments

  • IMG_1746.jpg
    IMG_1746.jpg
    498.4 KB
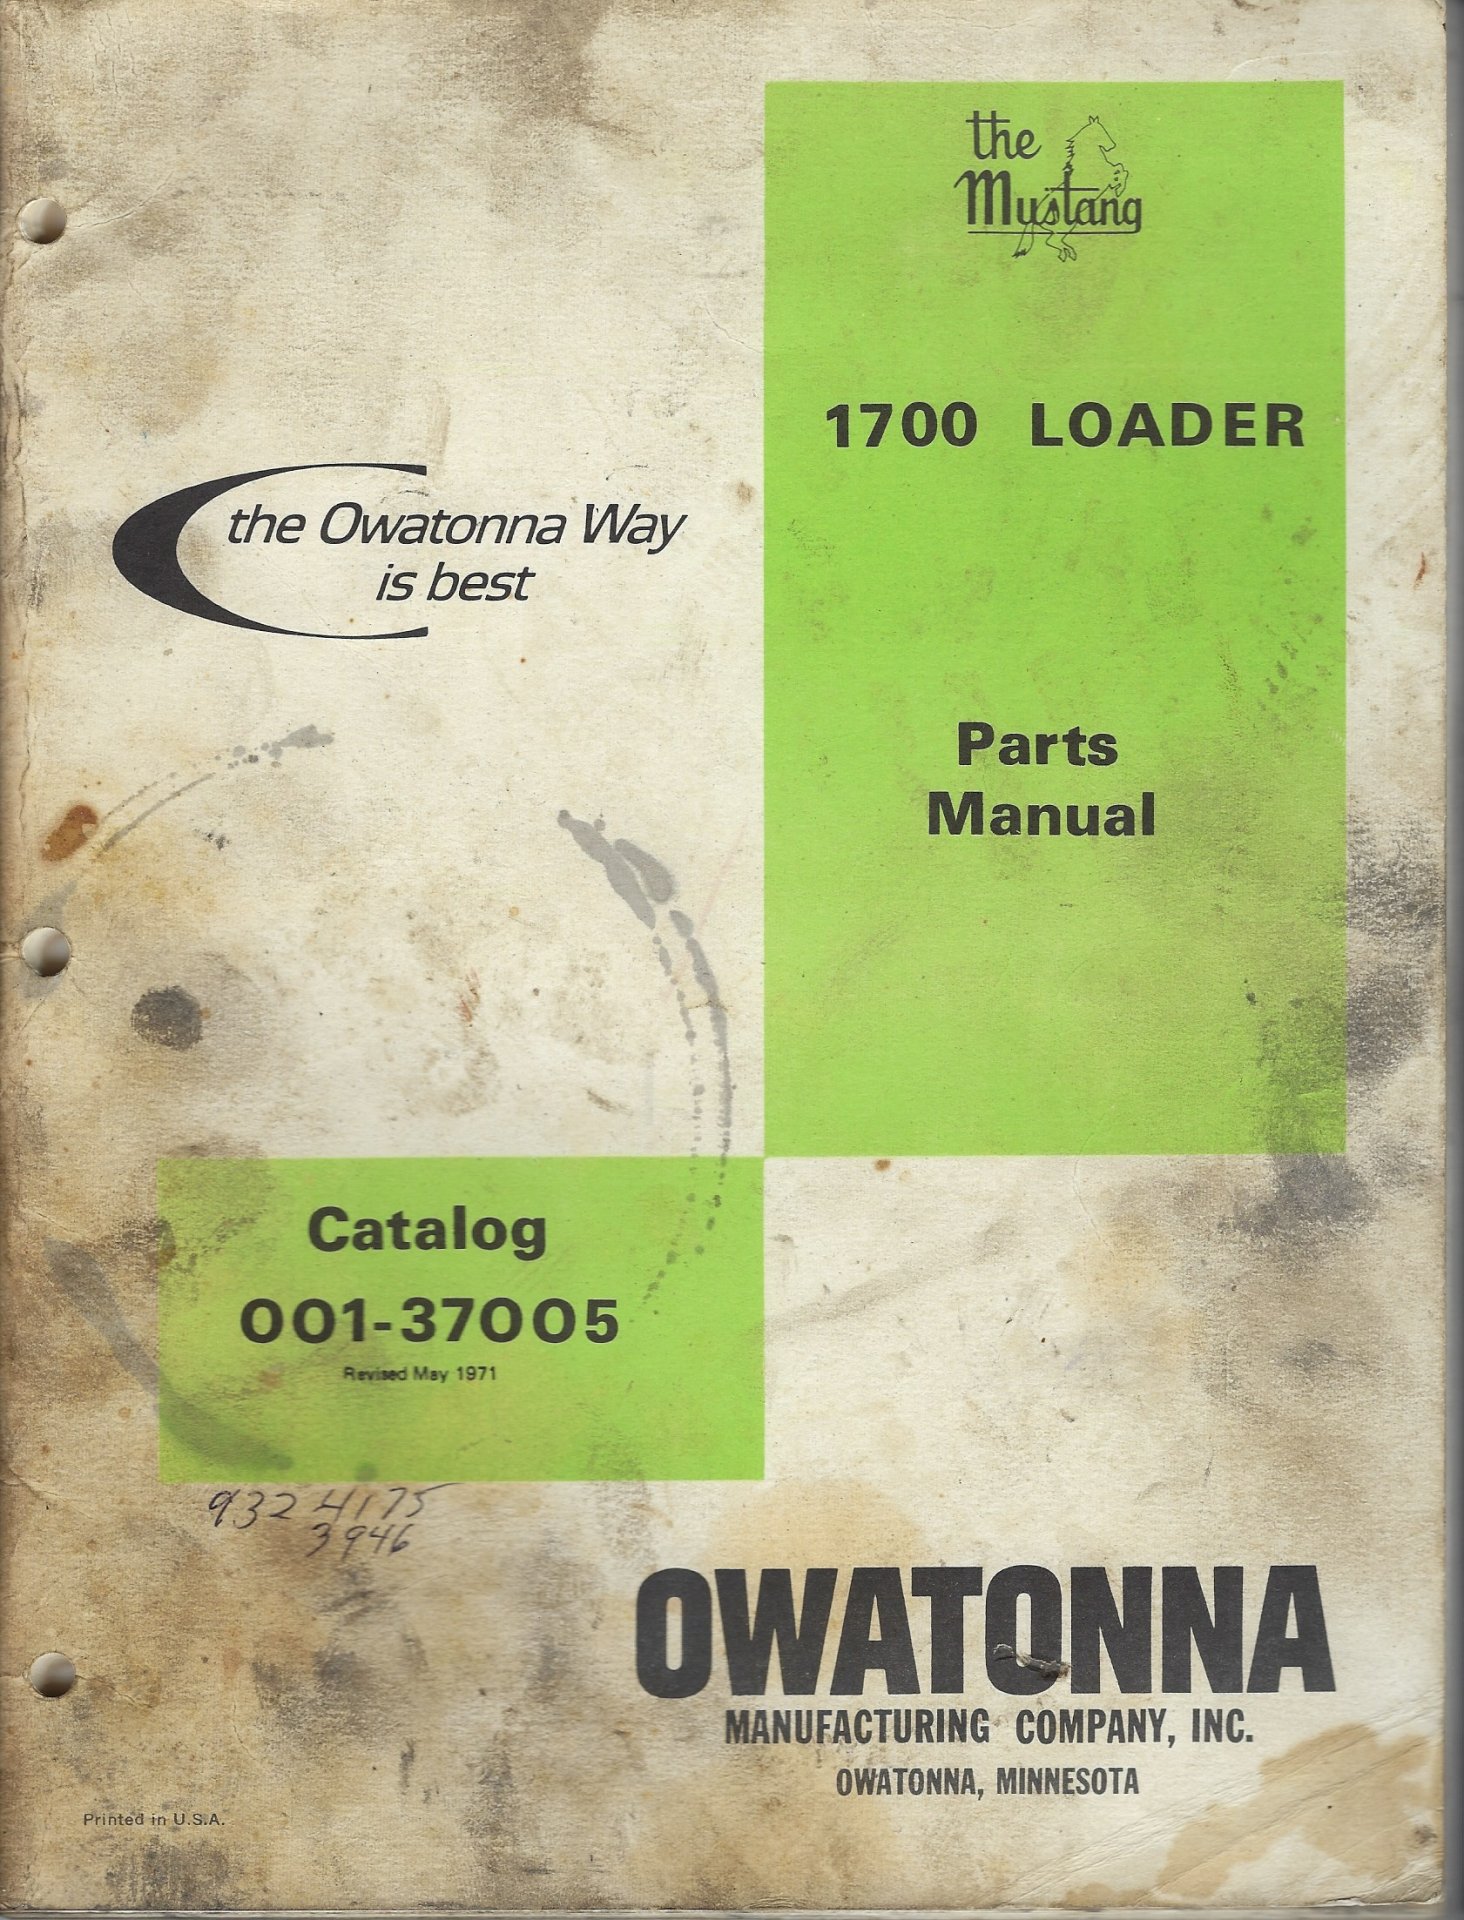
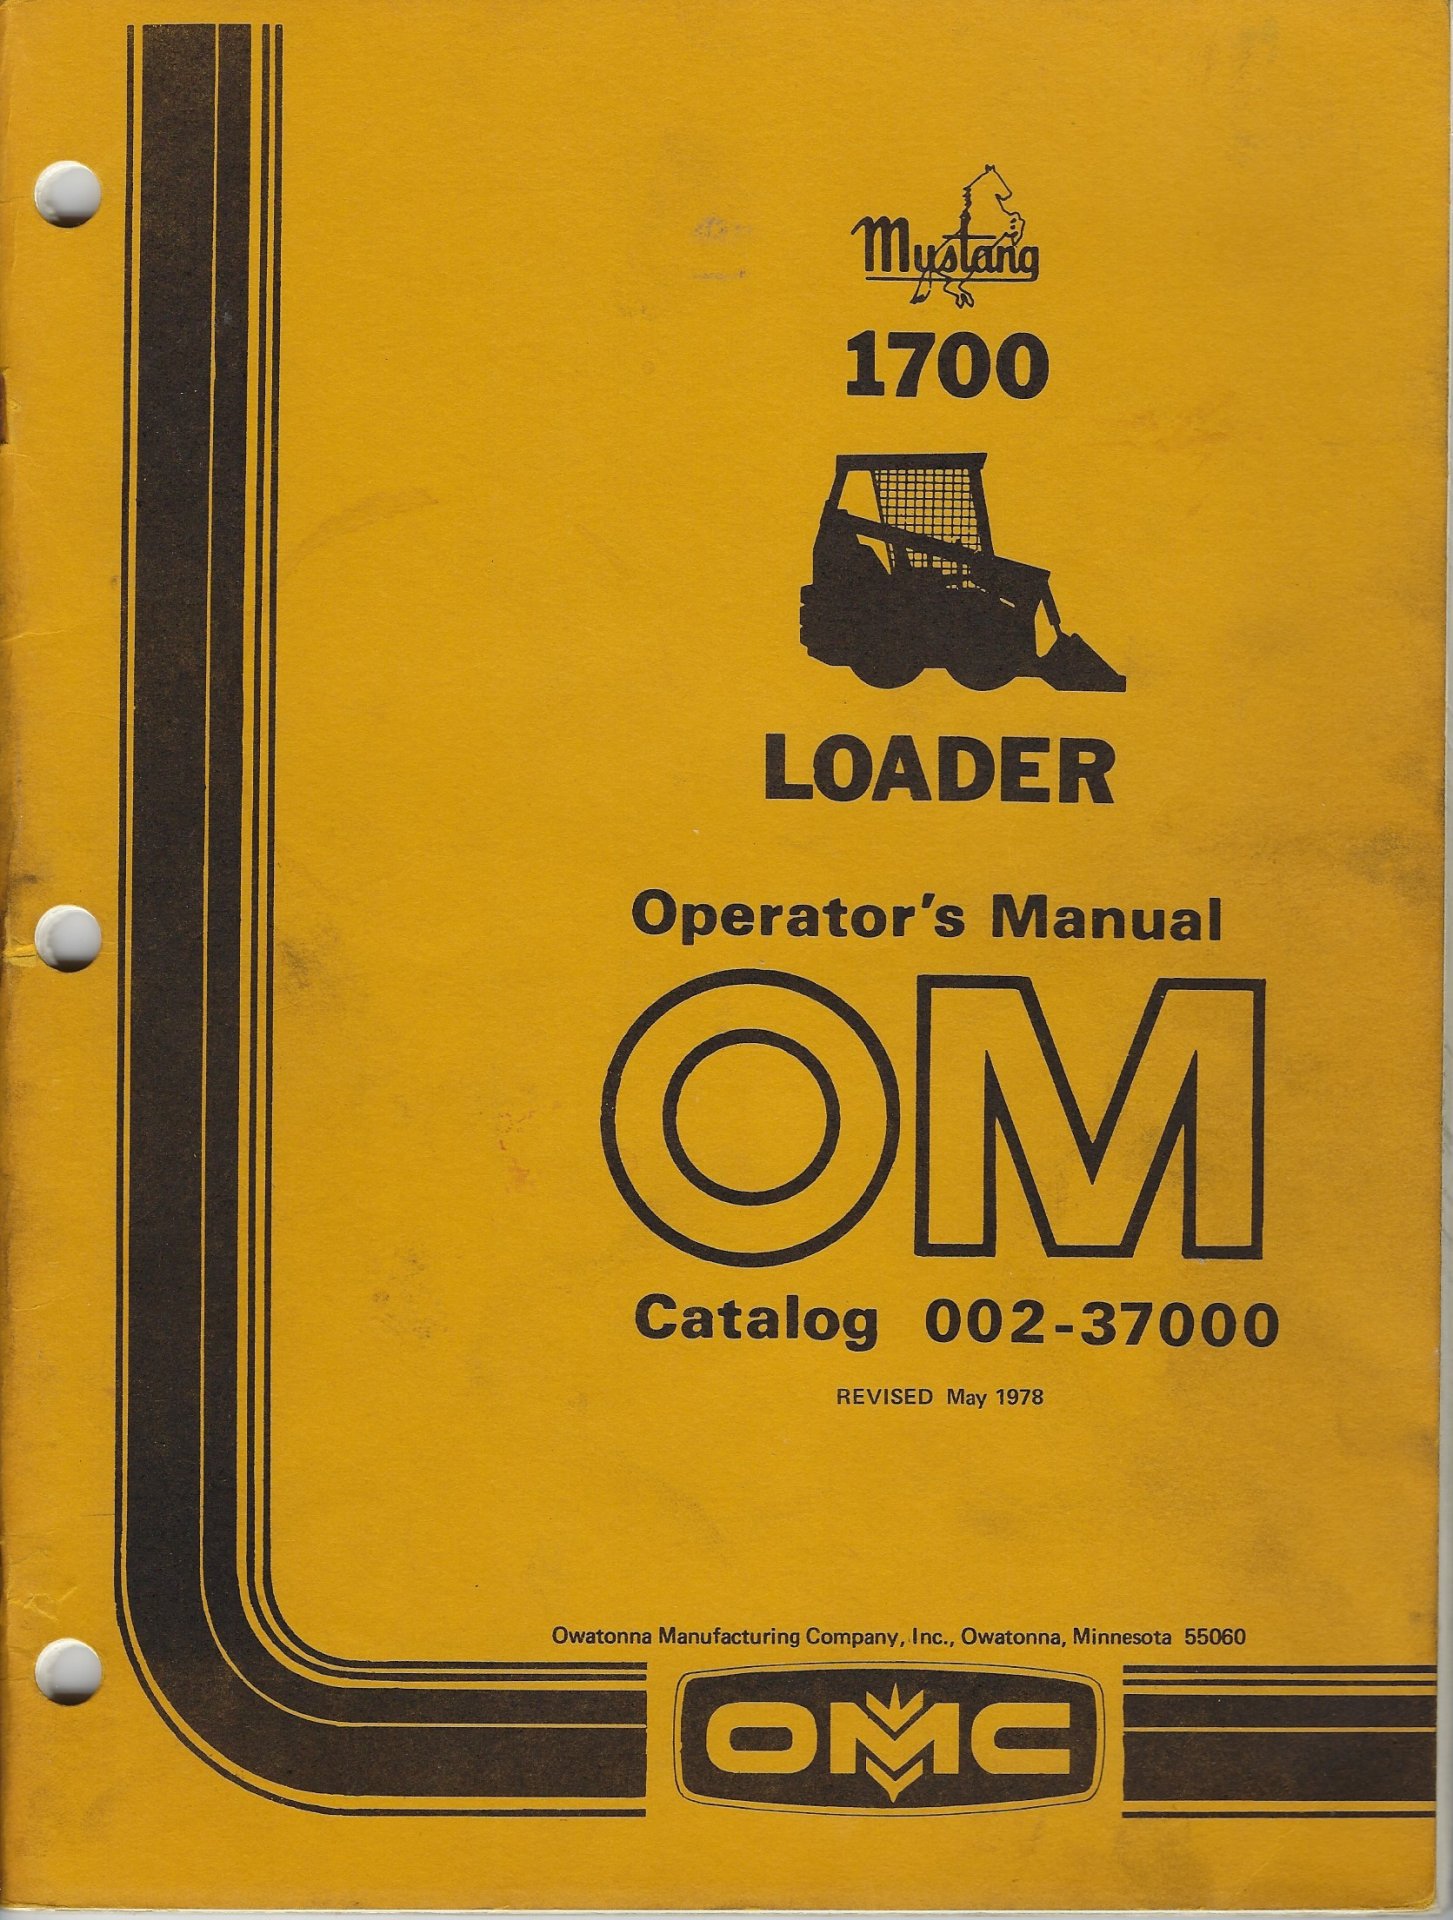
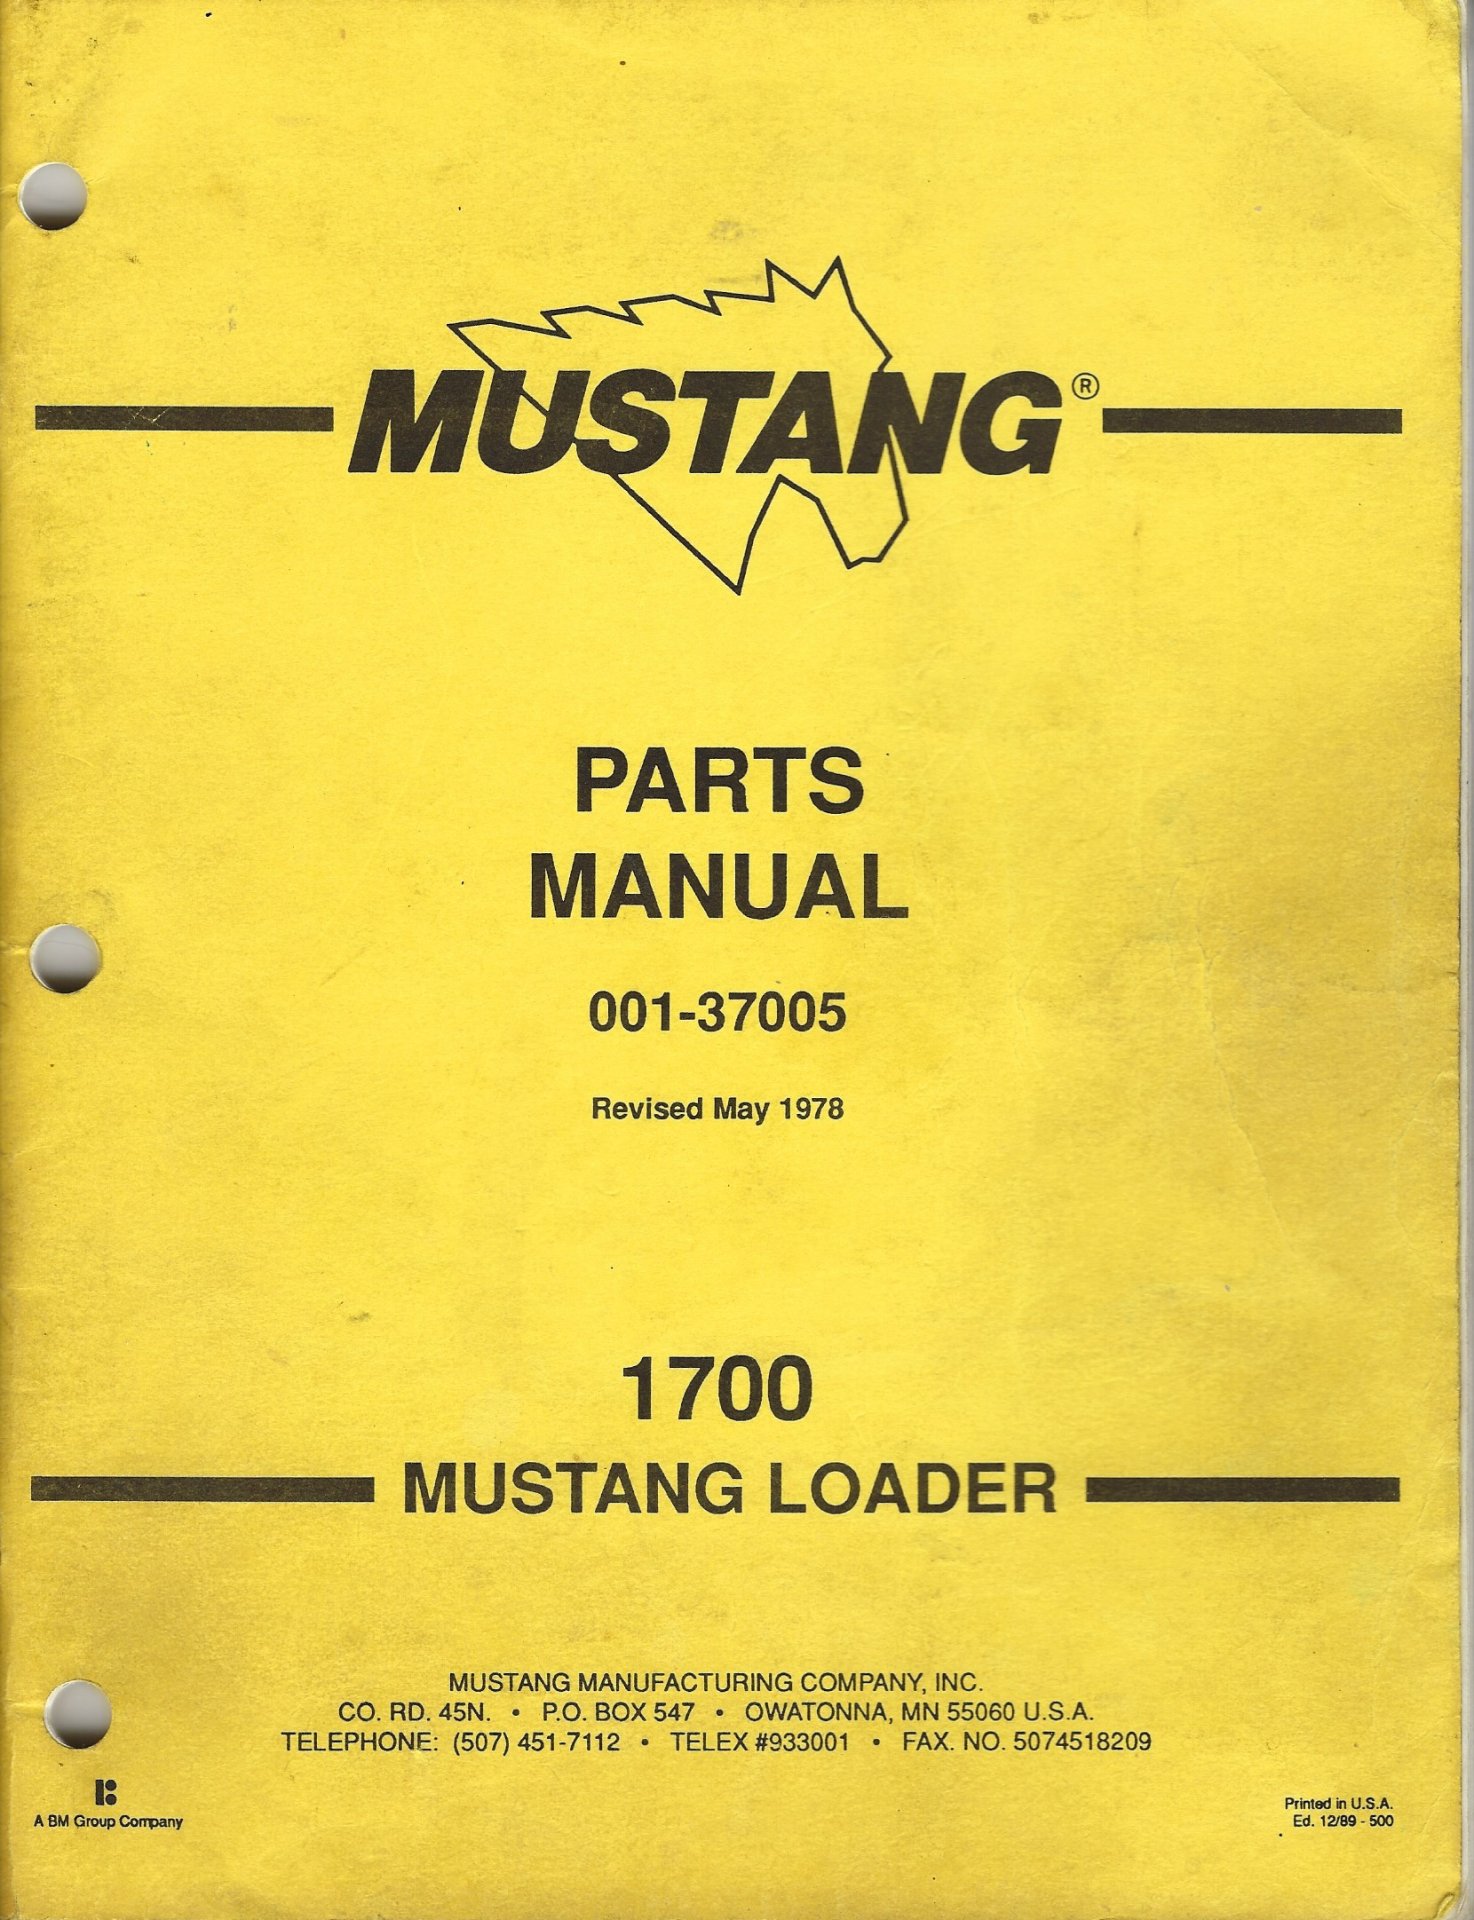
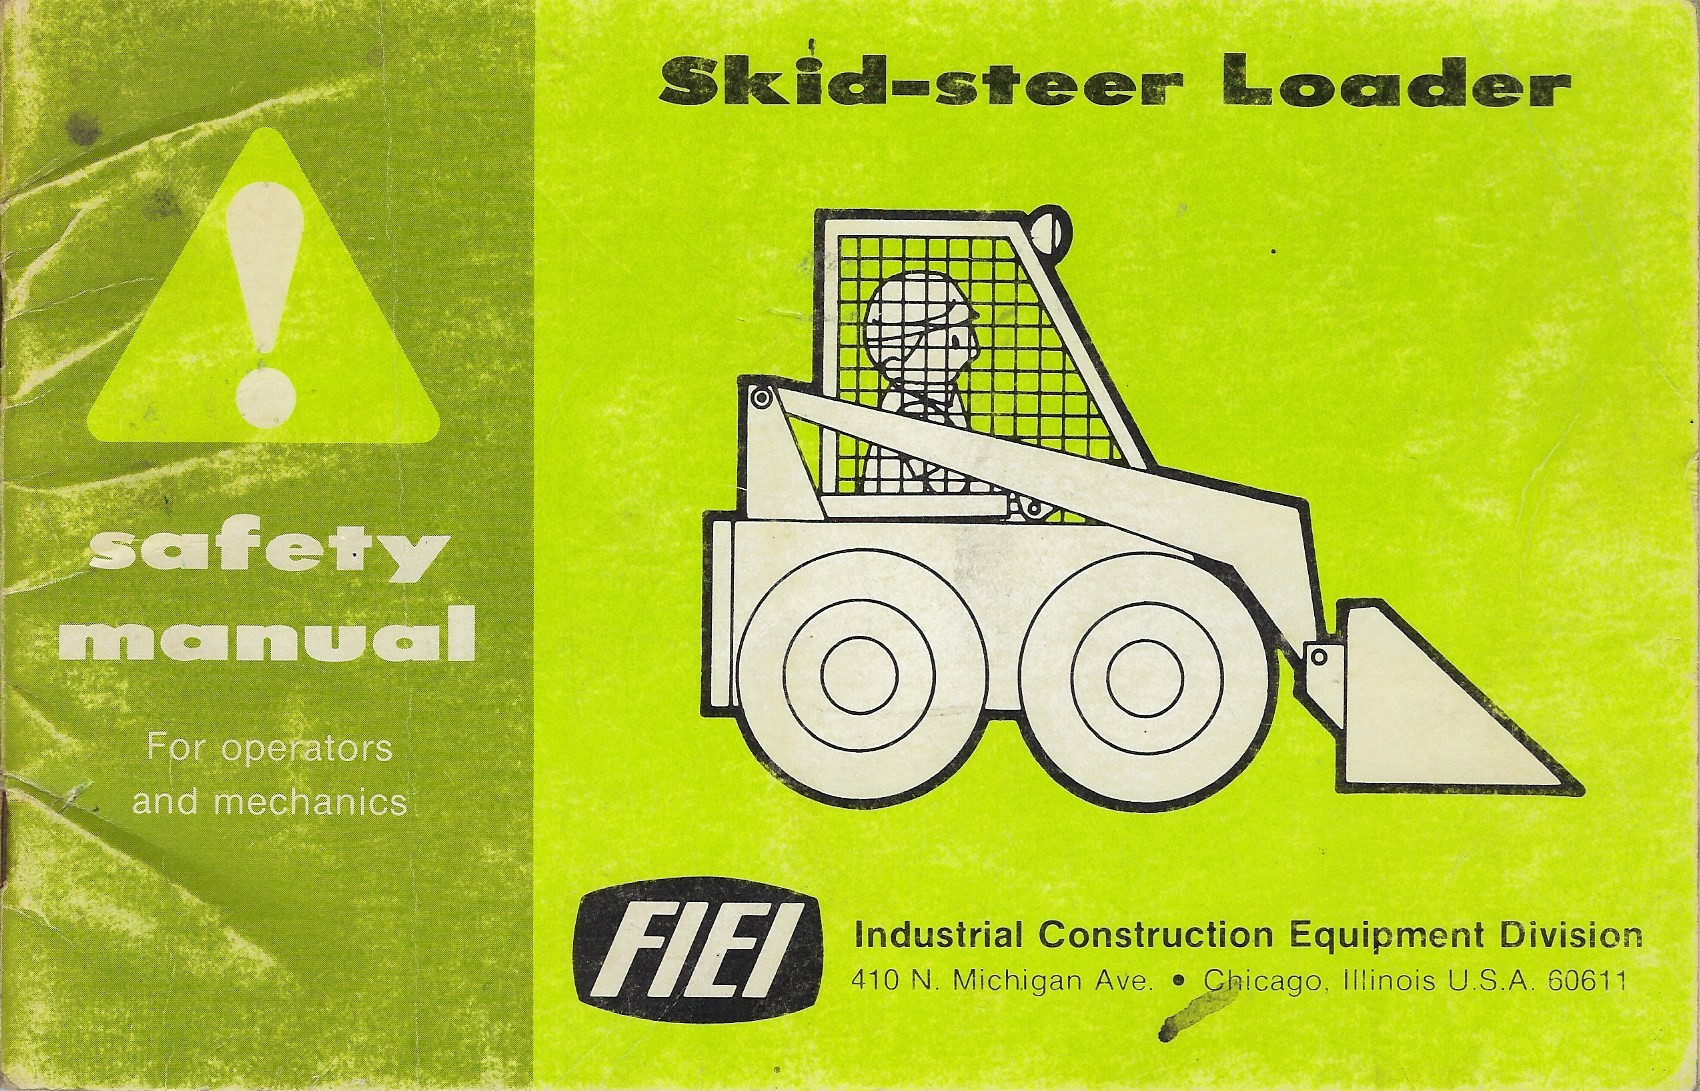
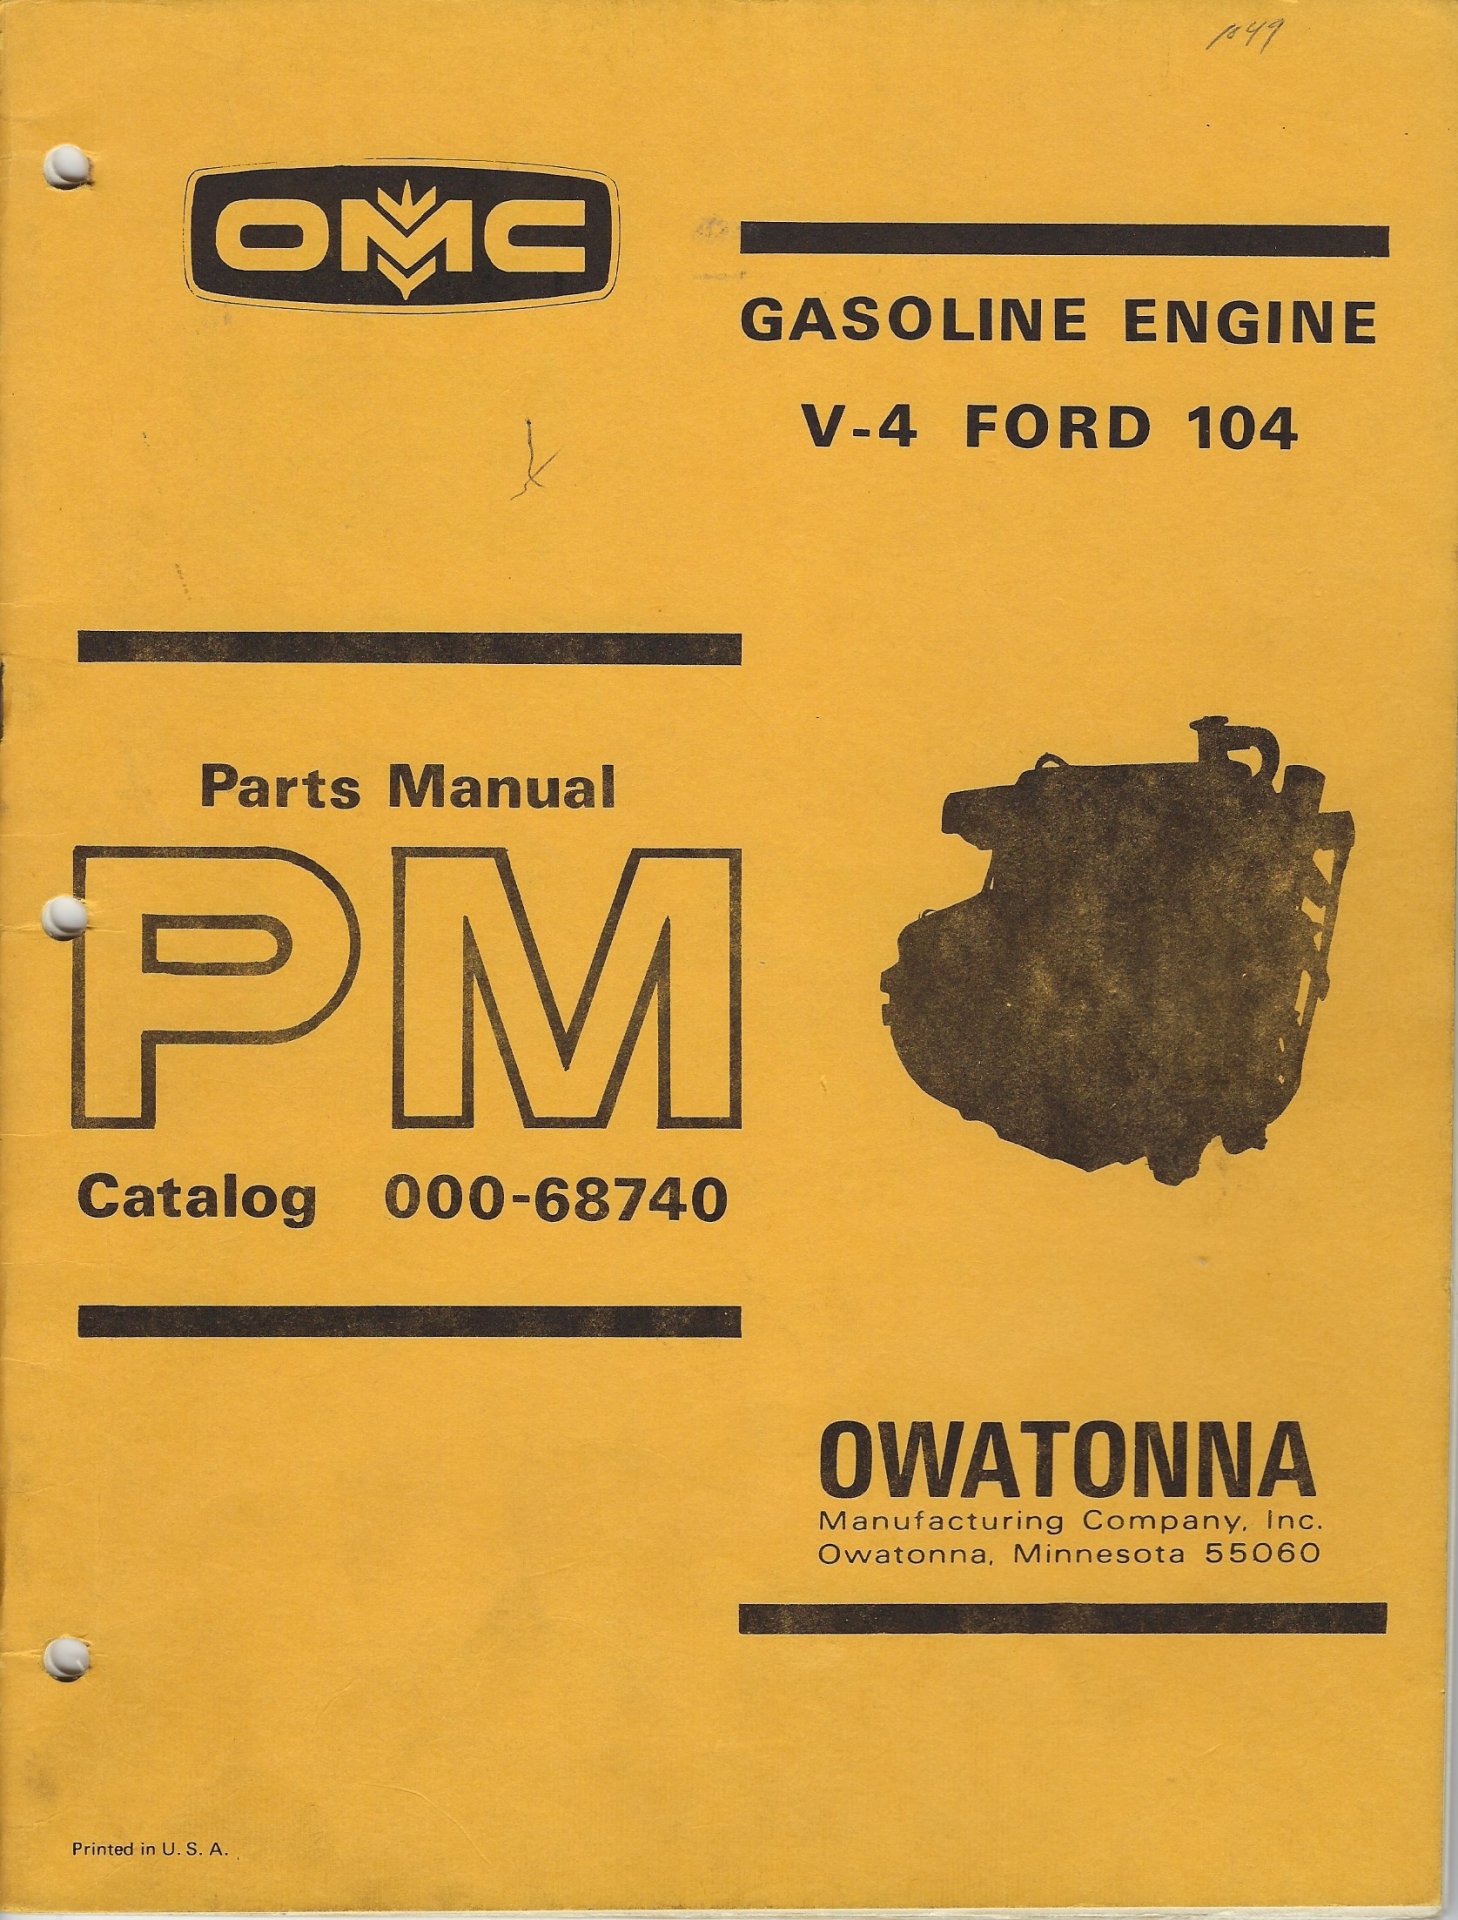
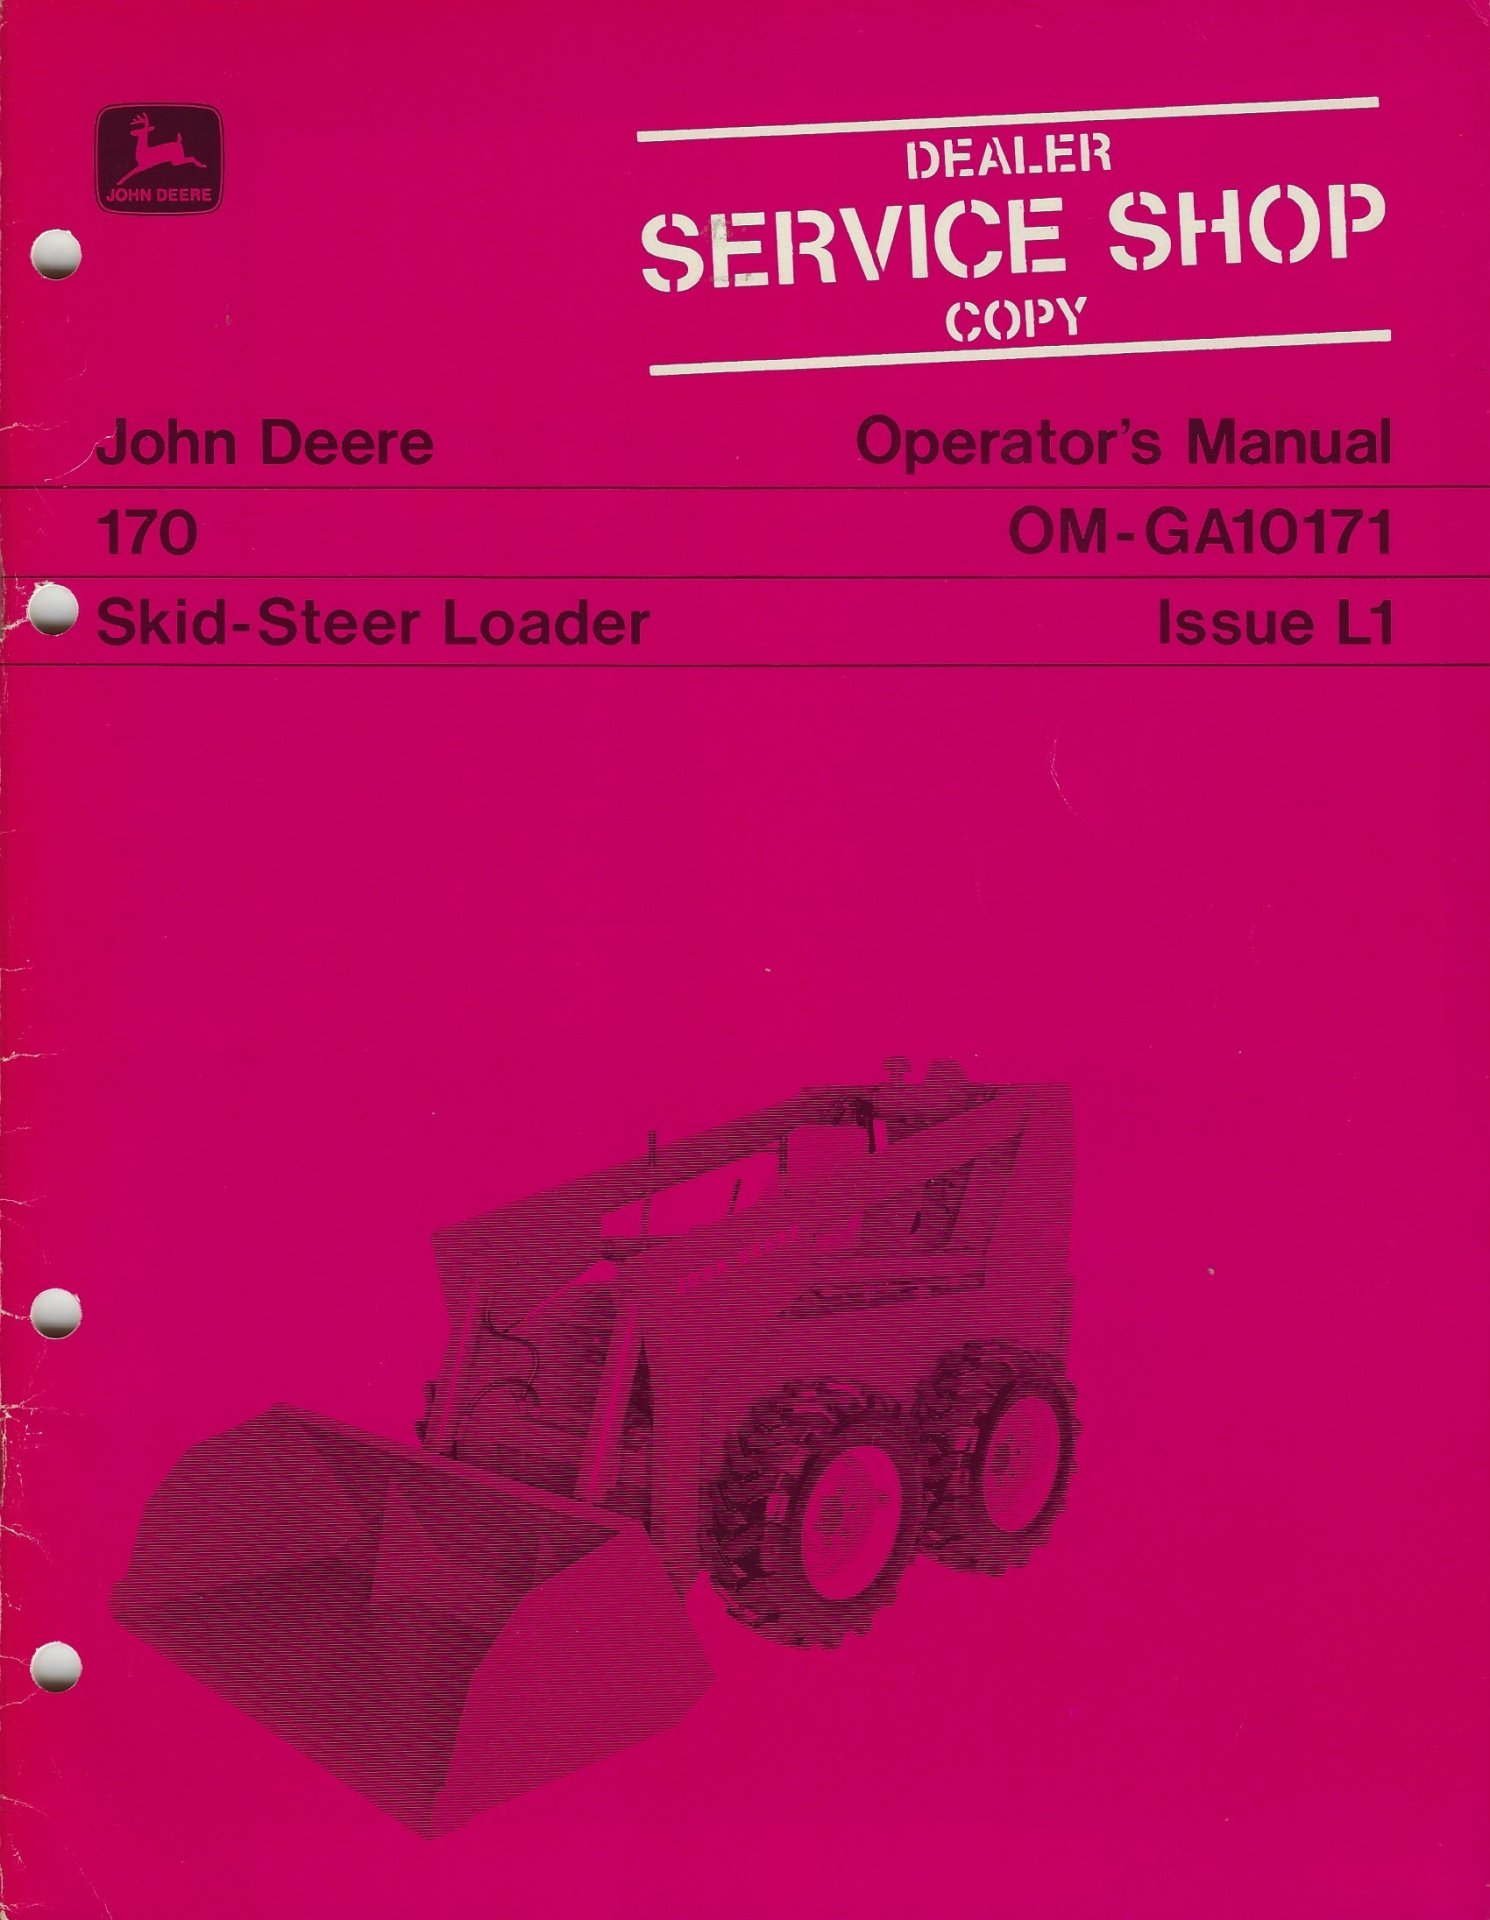
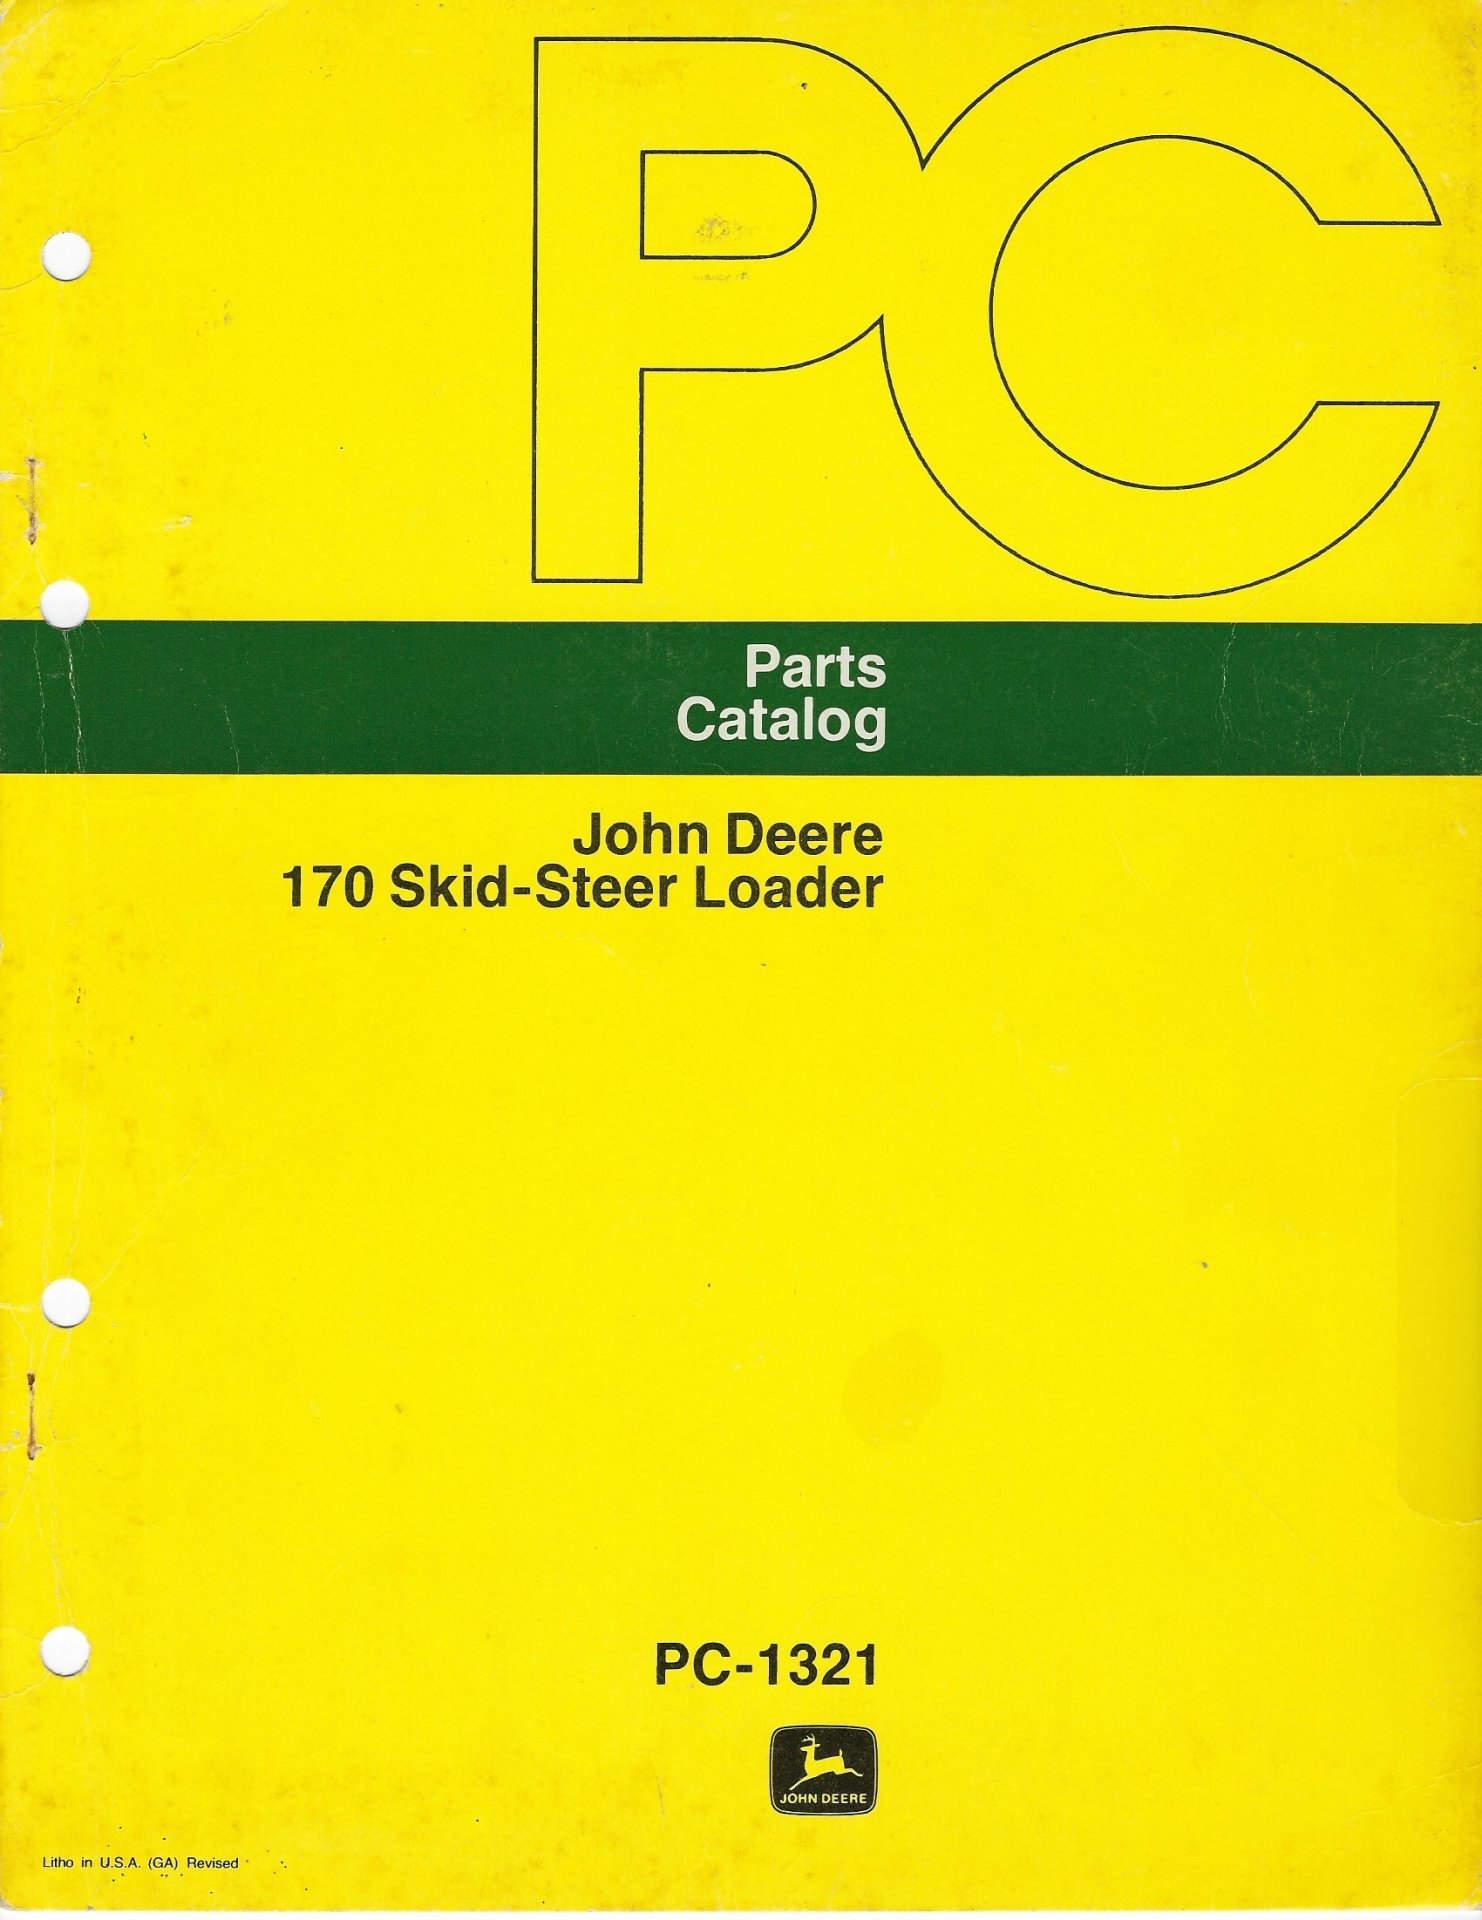
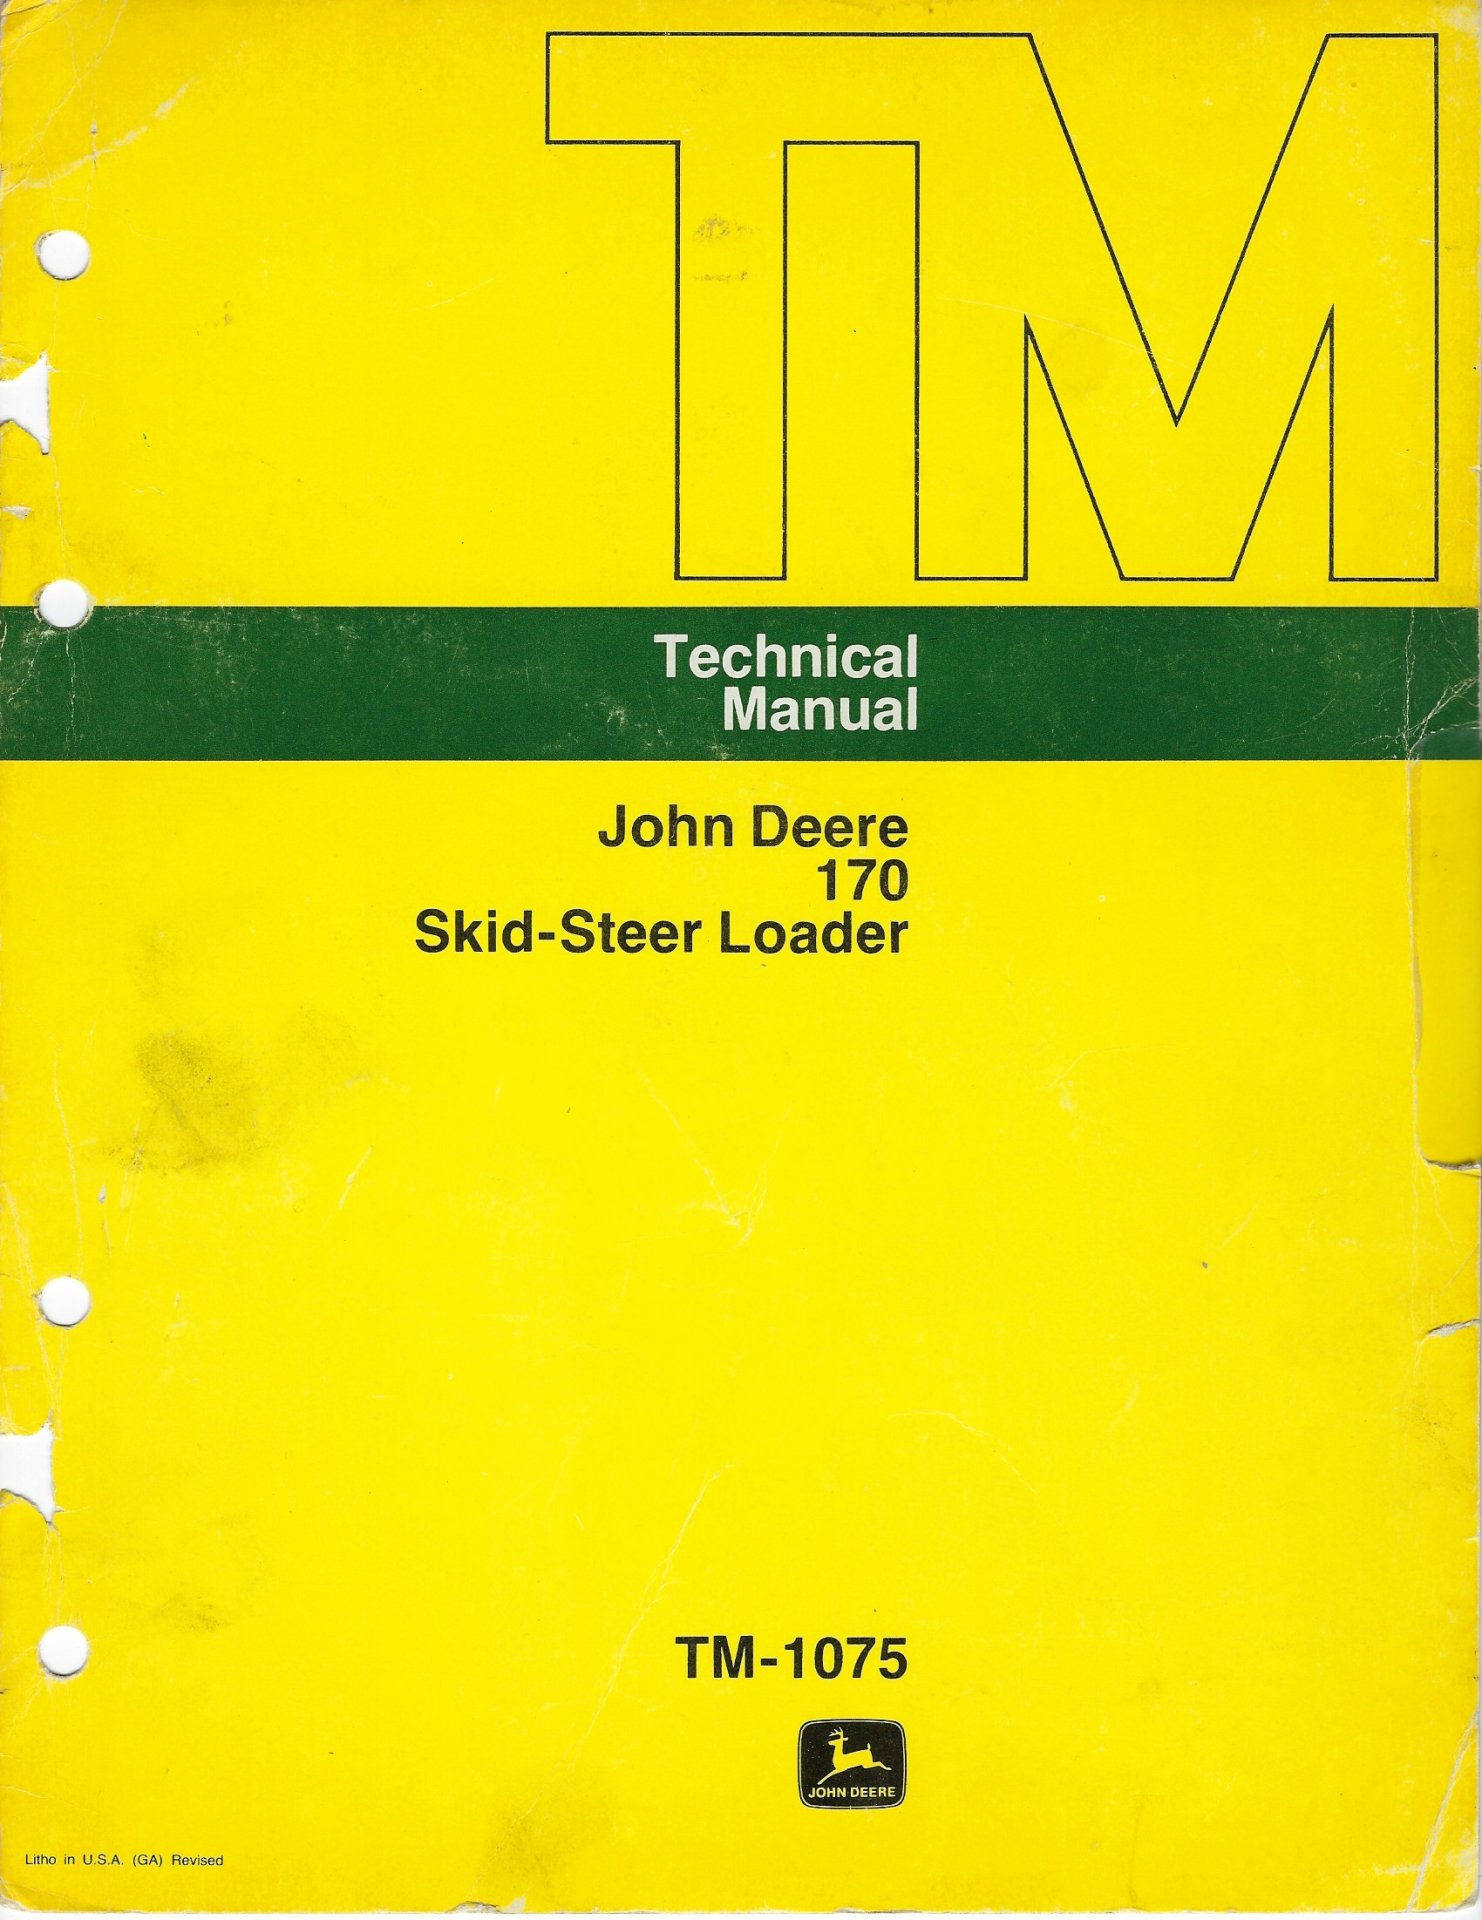
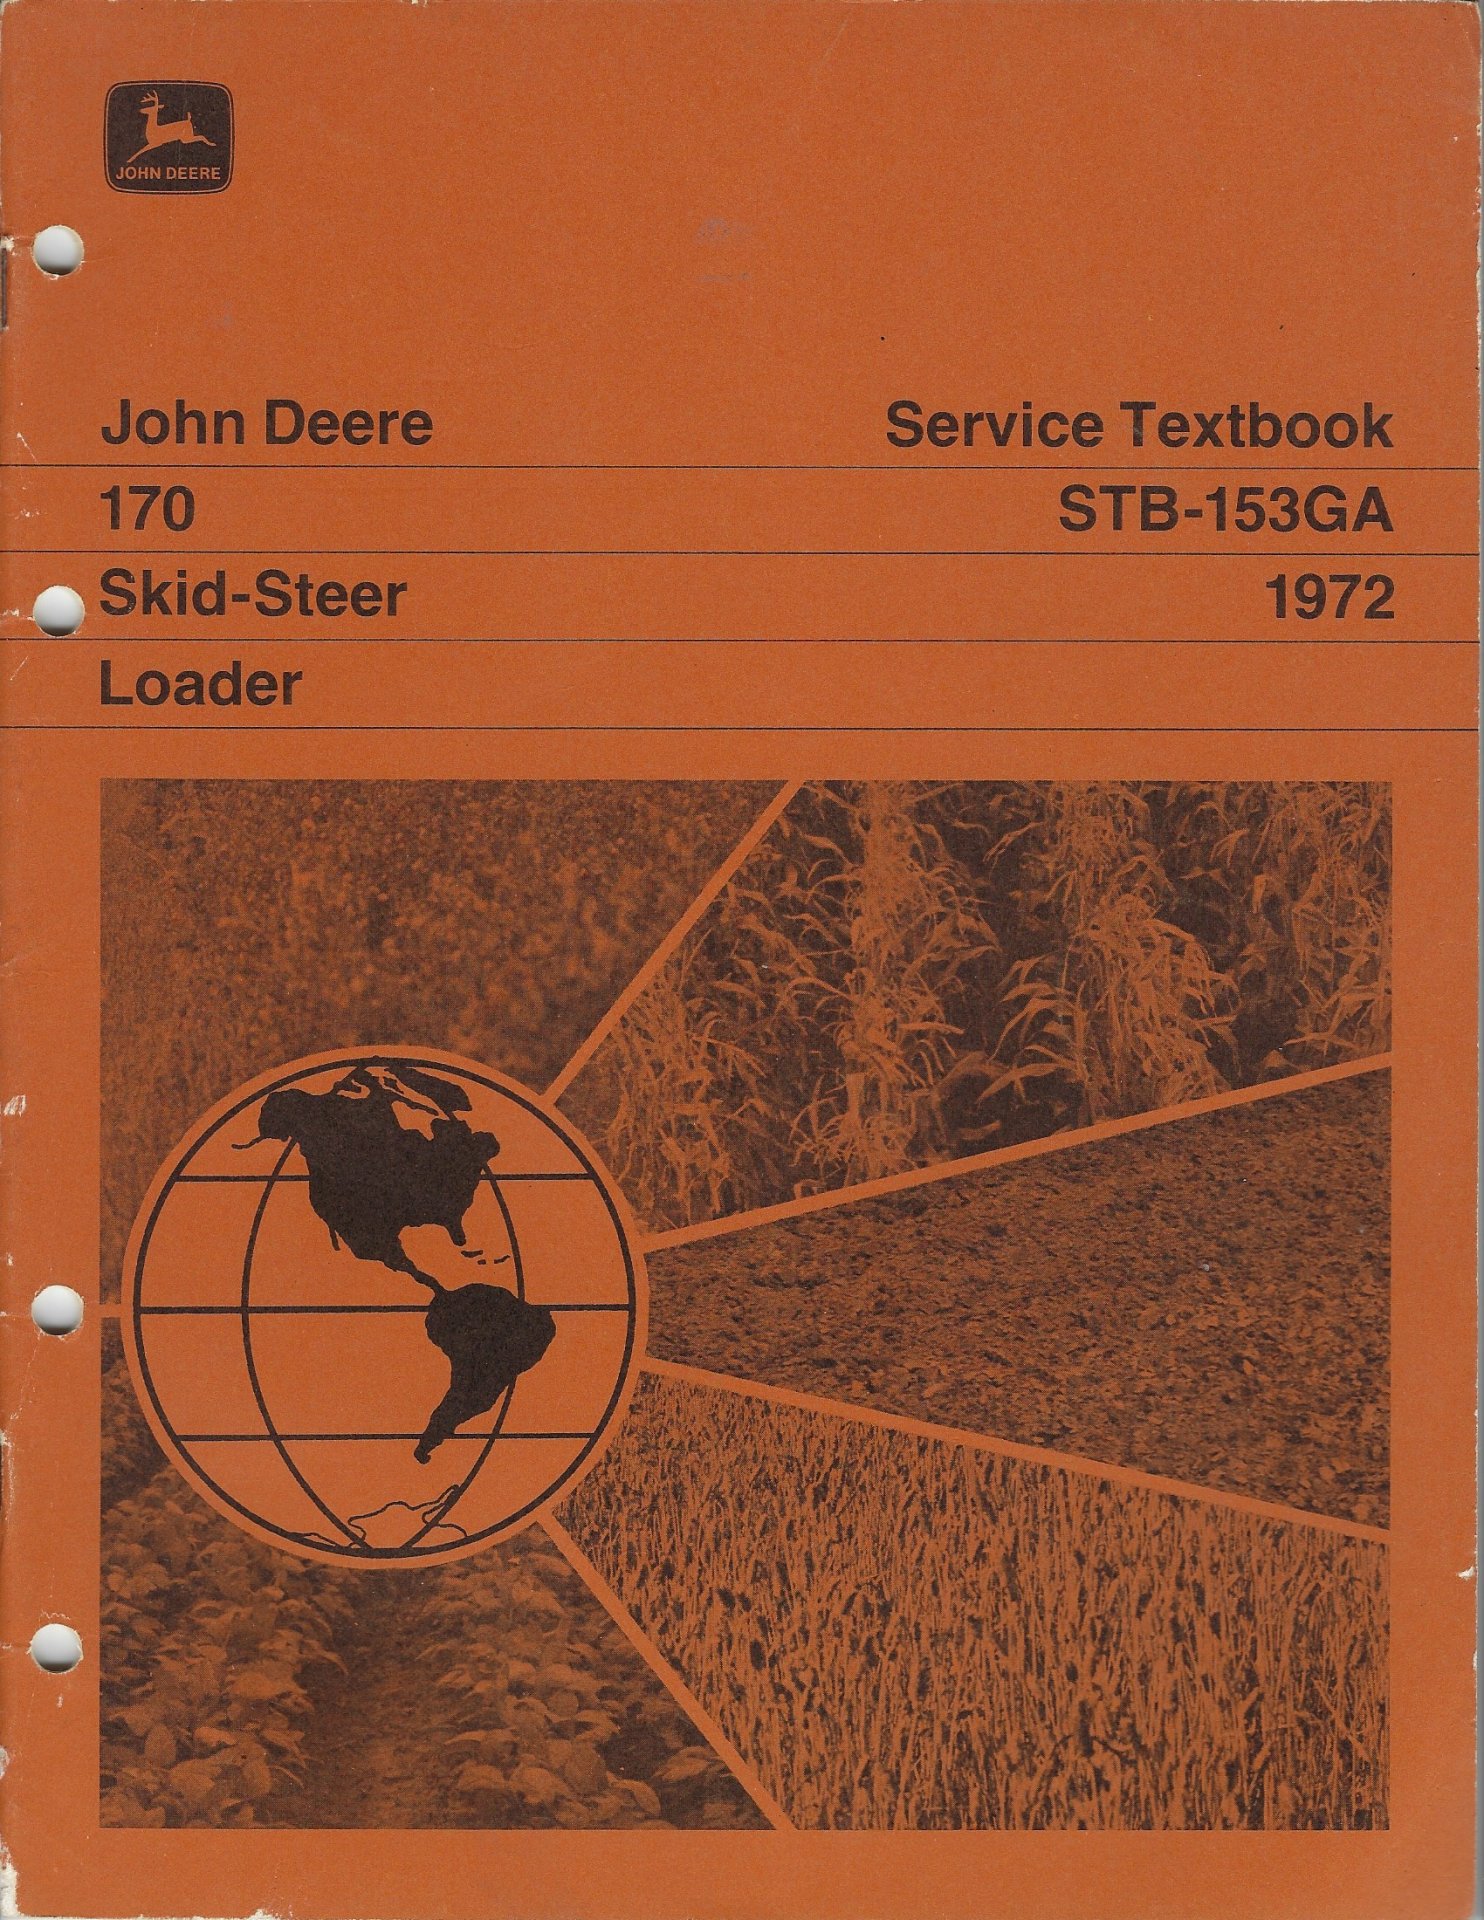
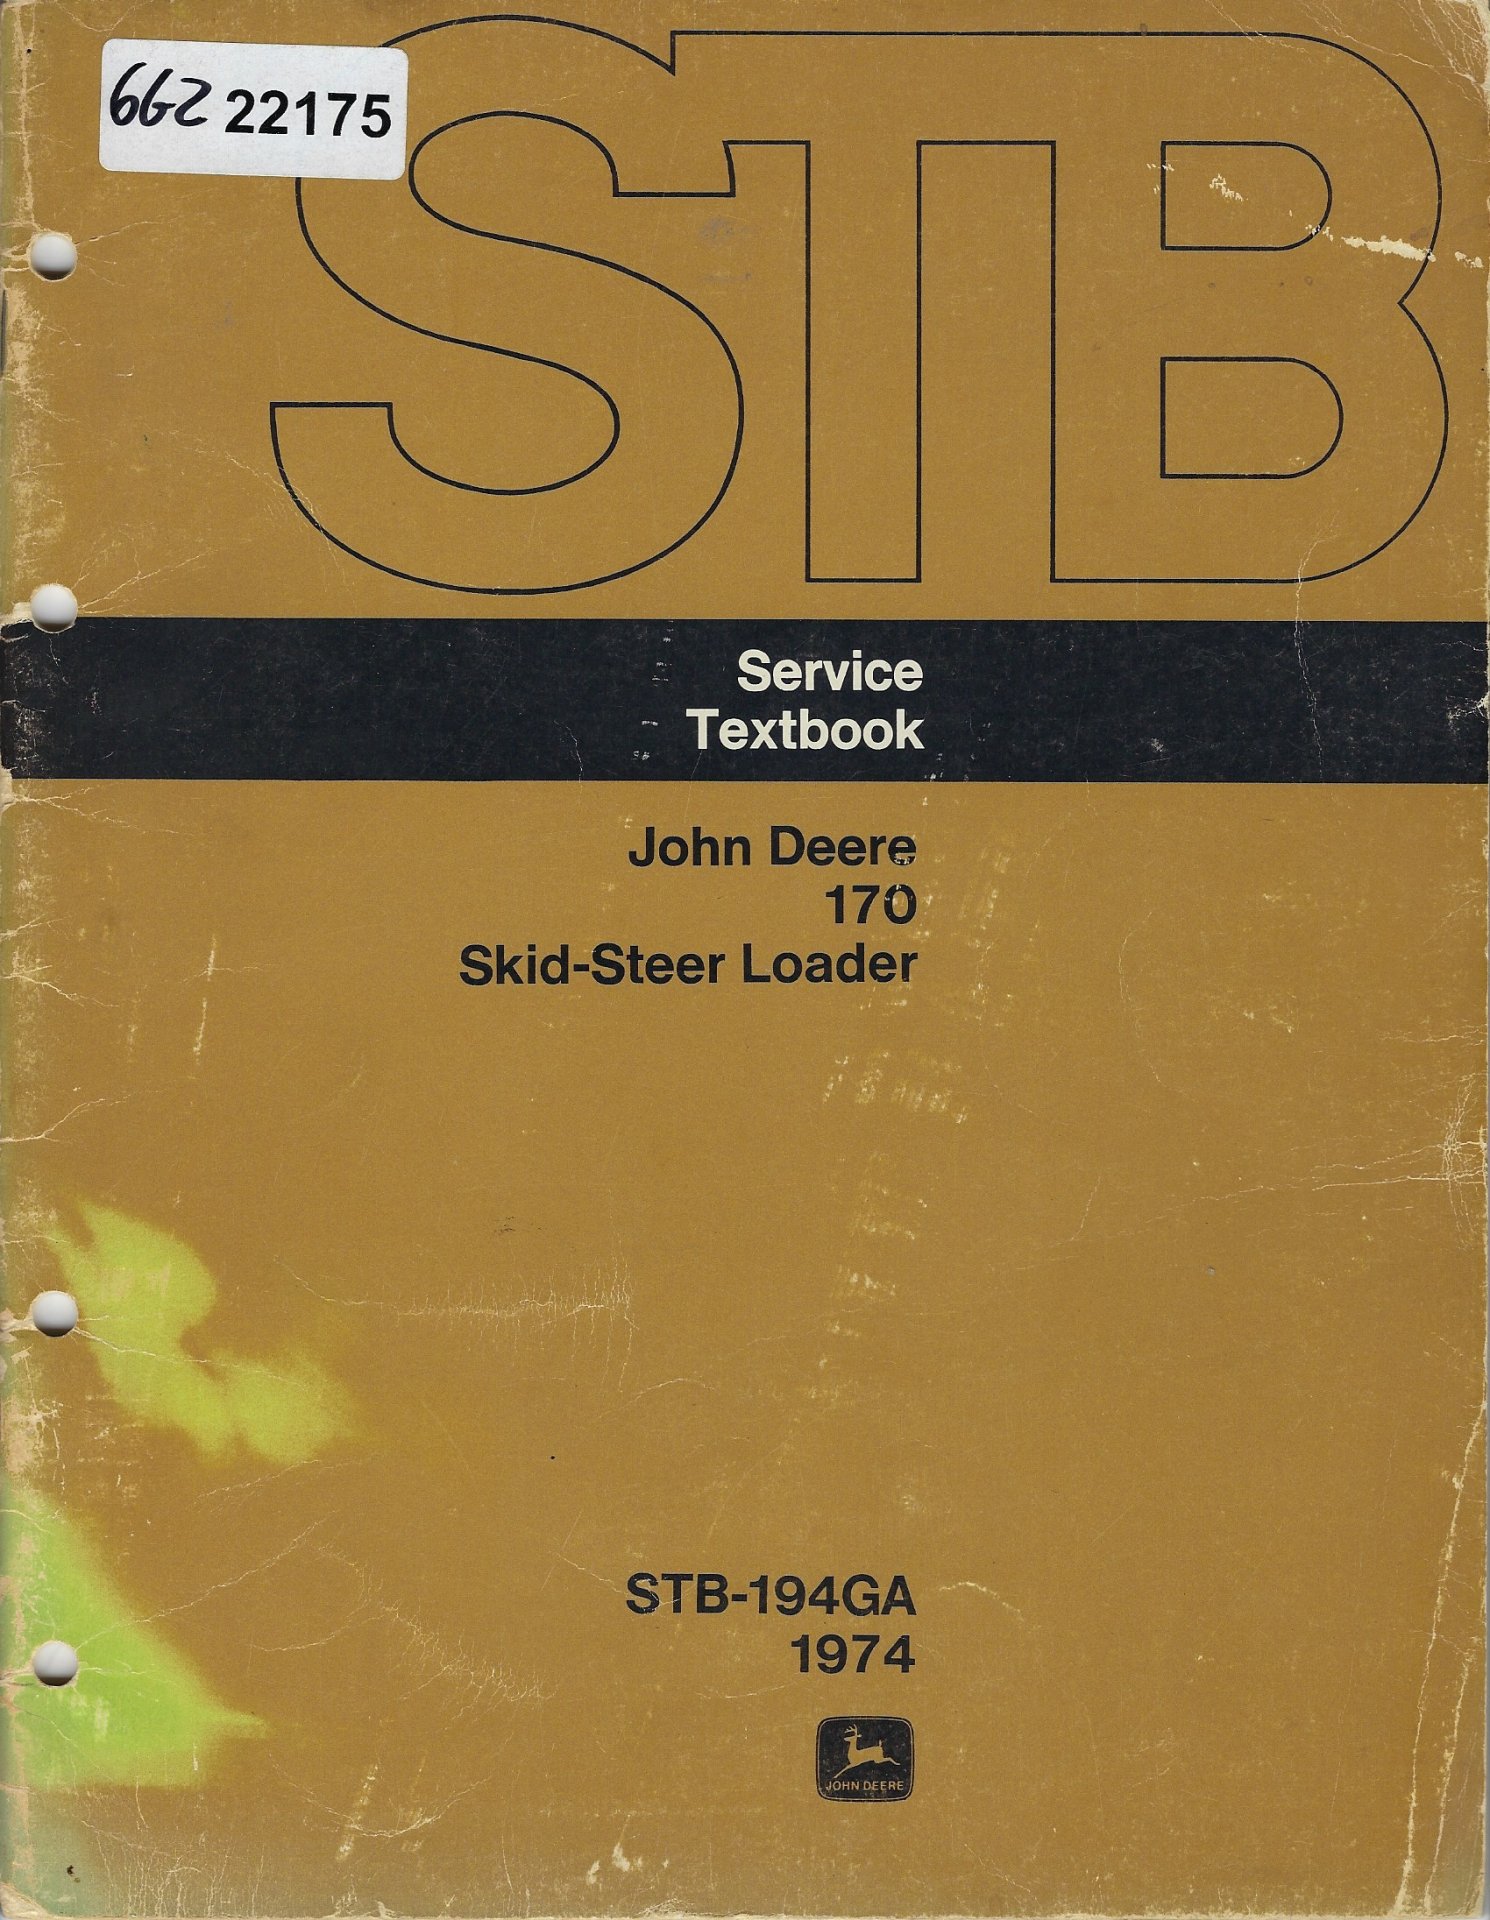
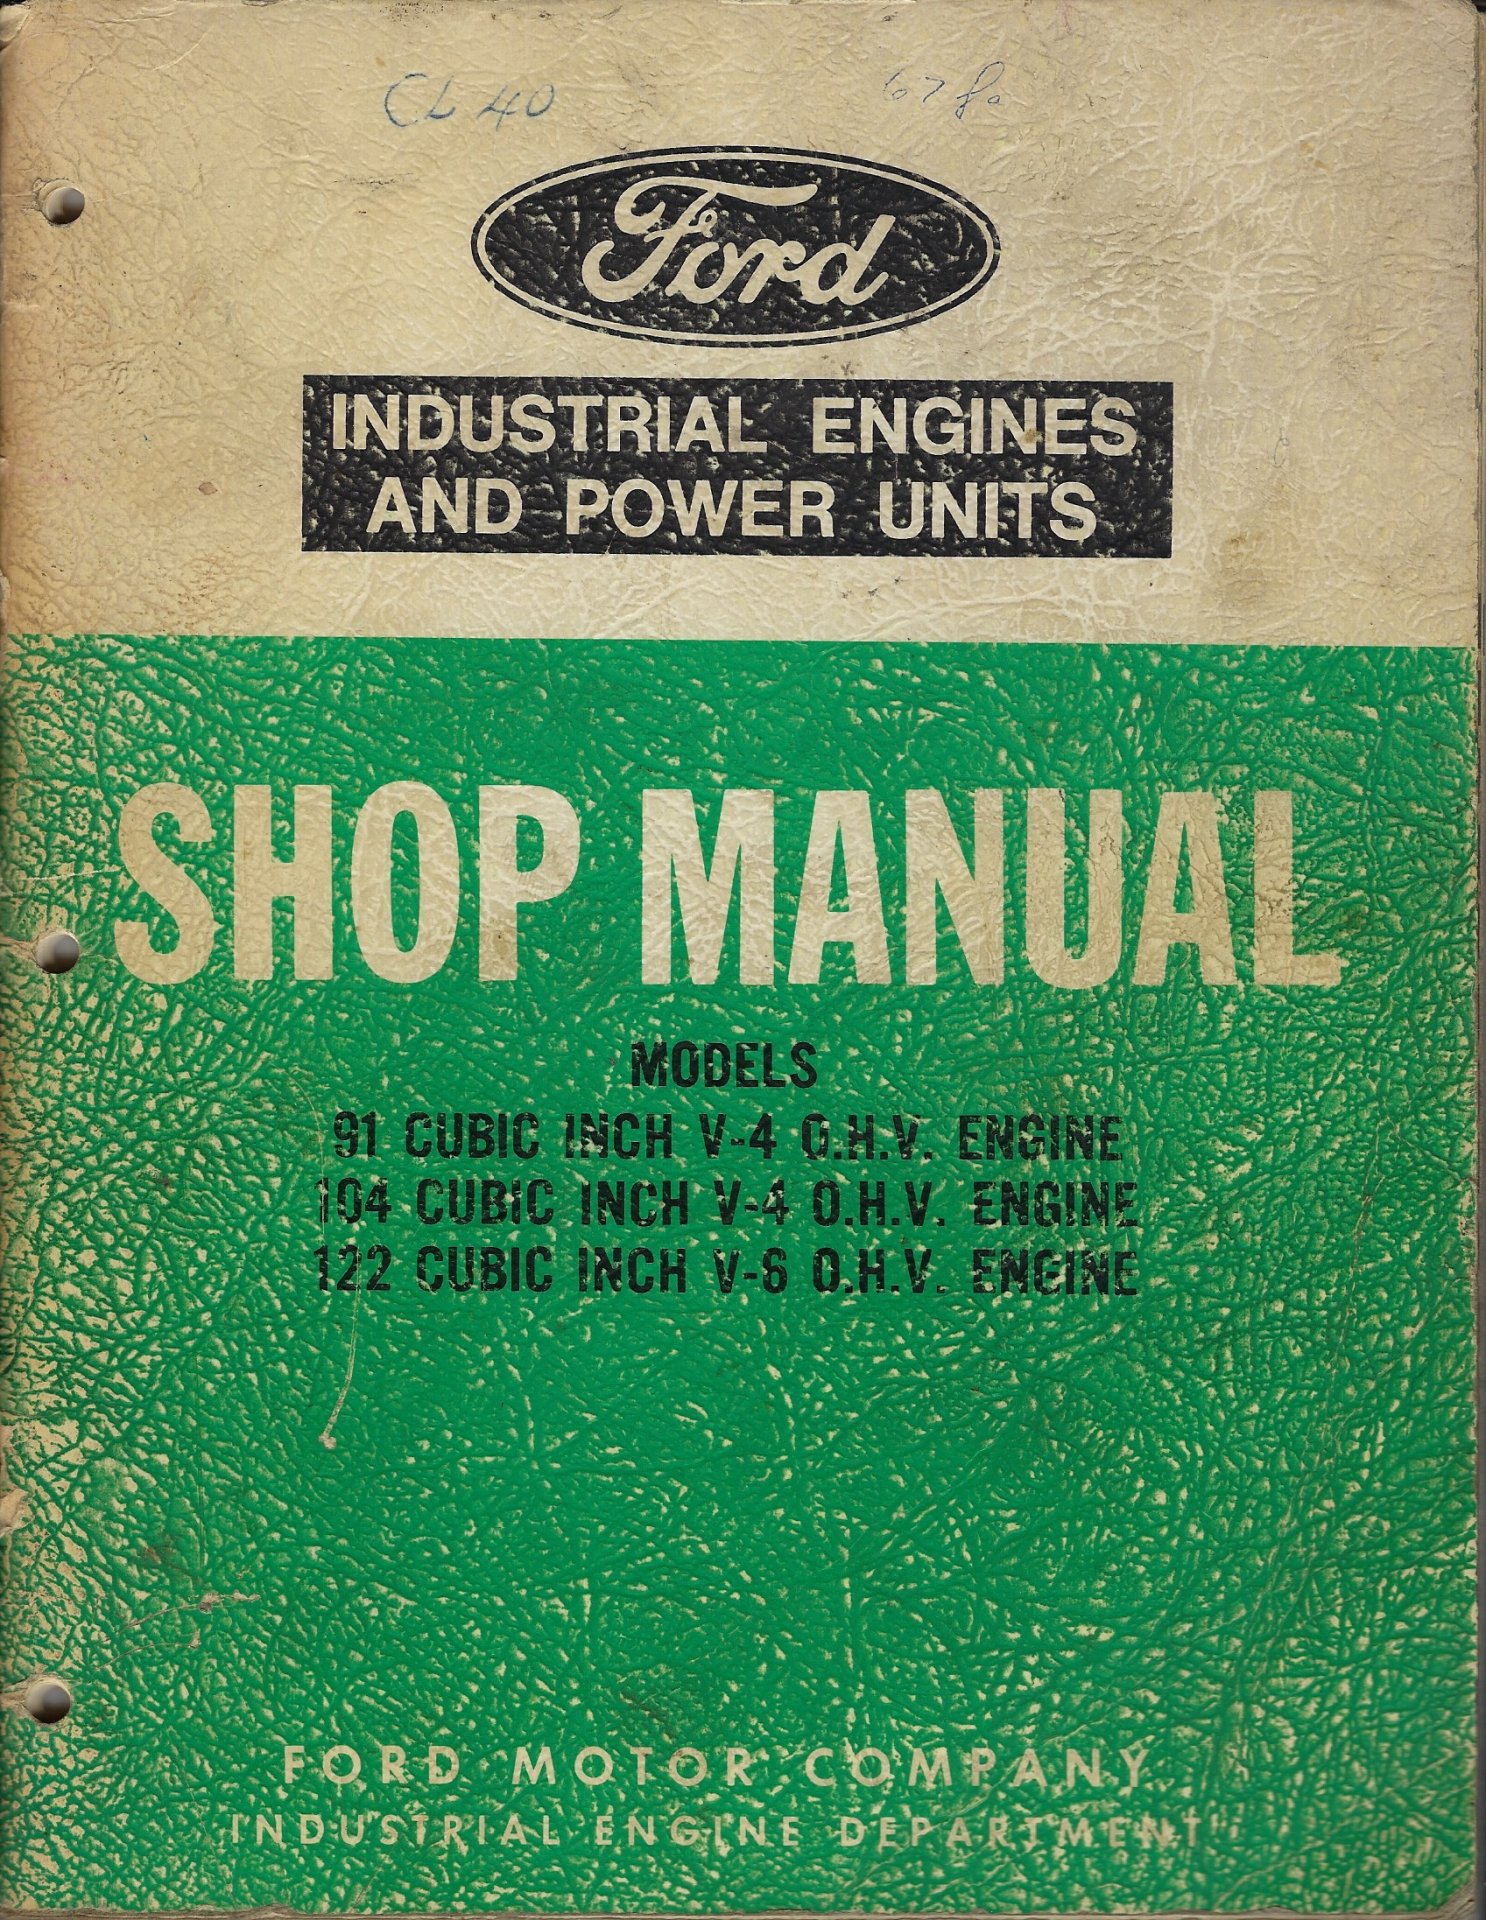
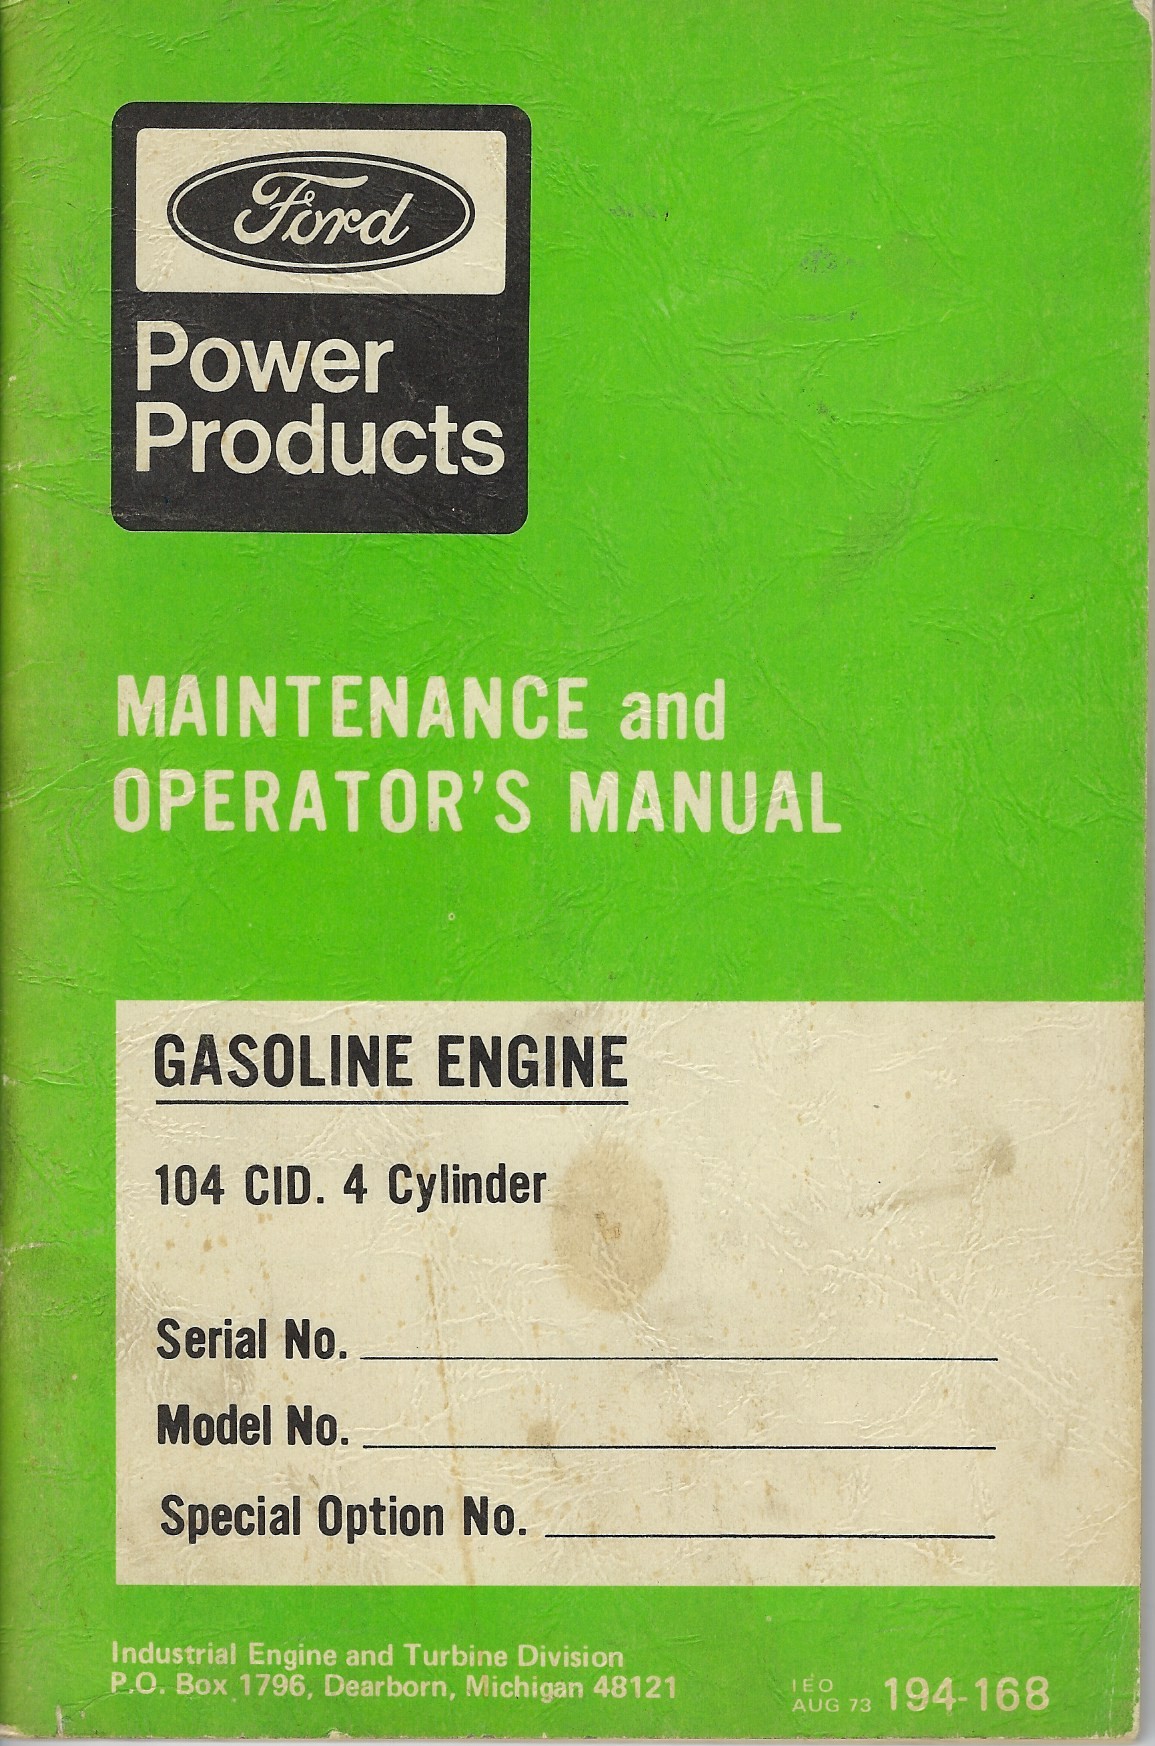
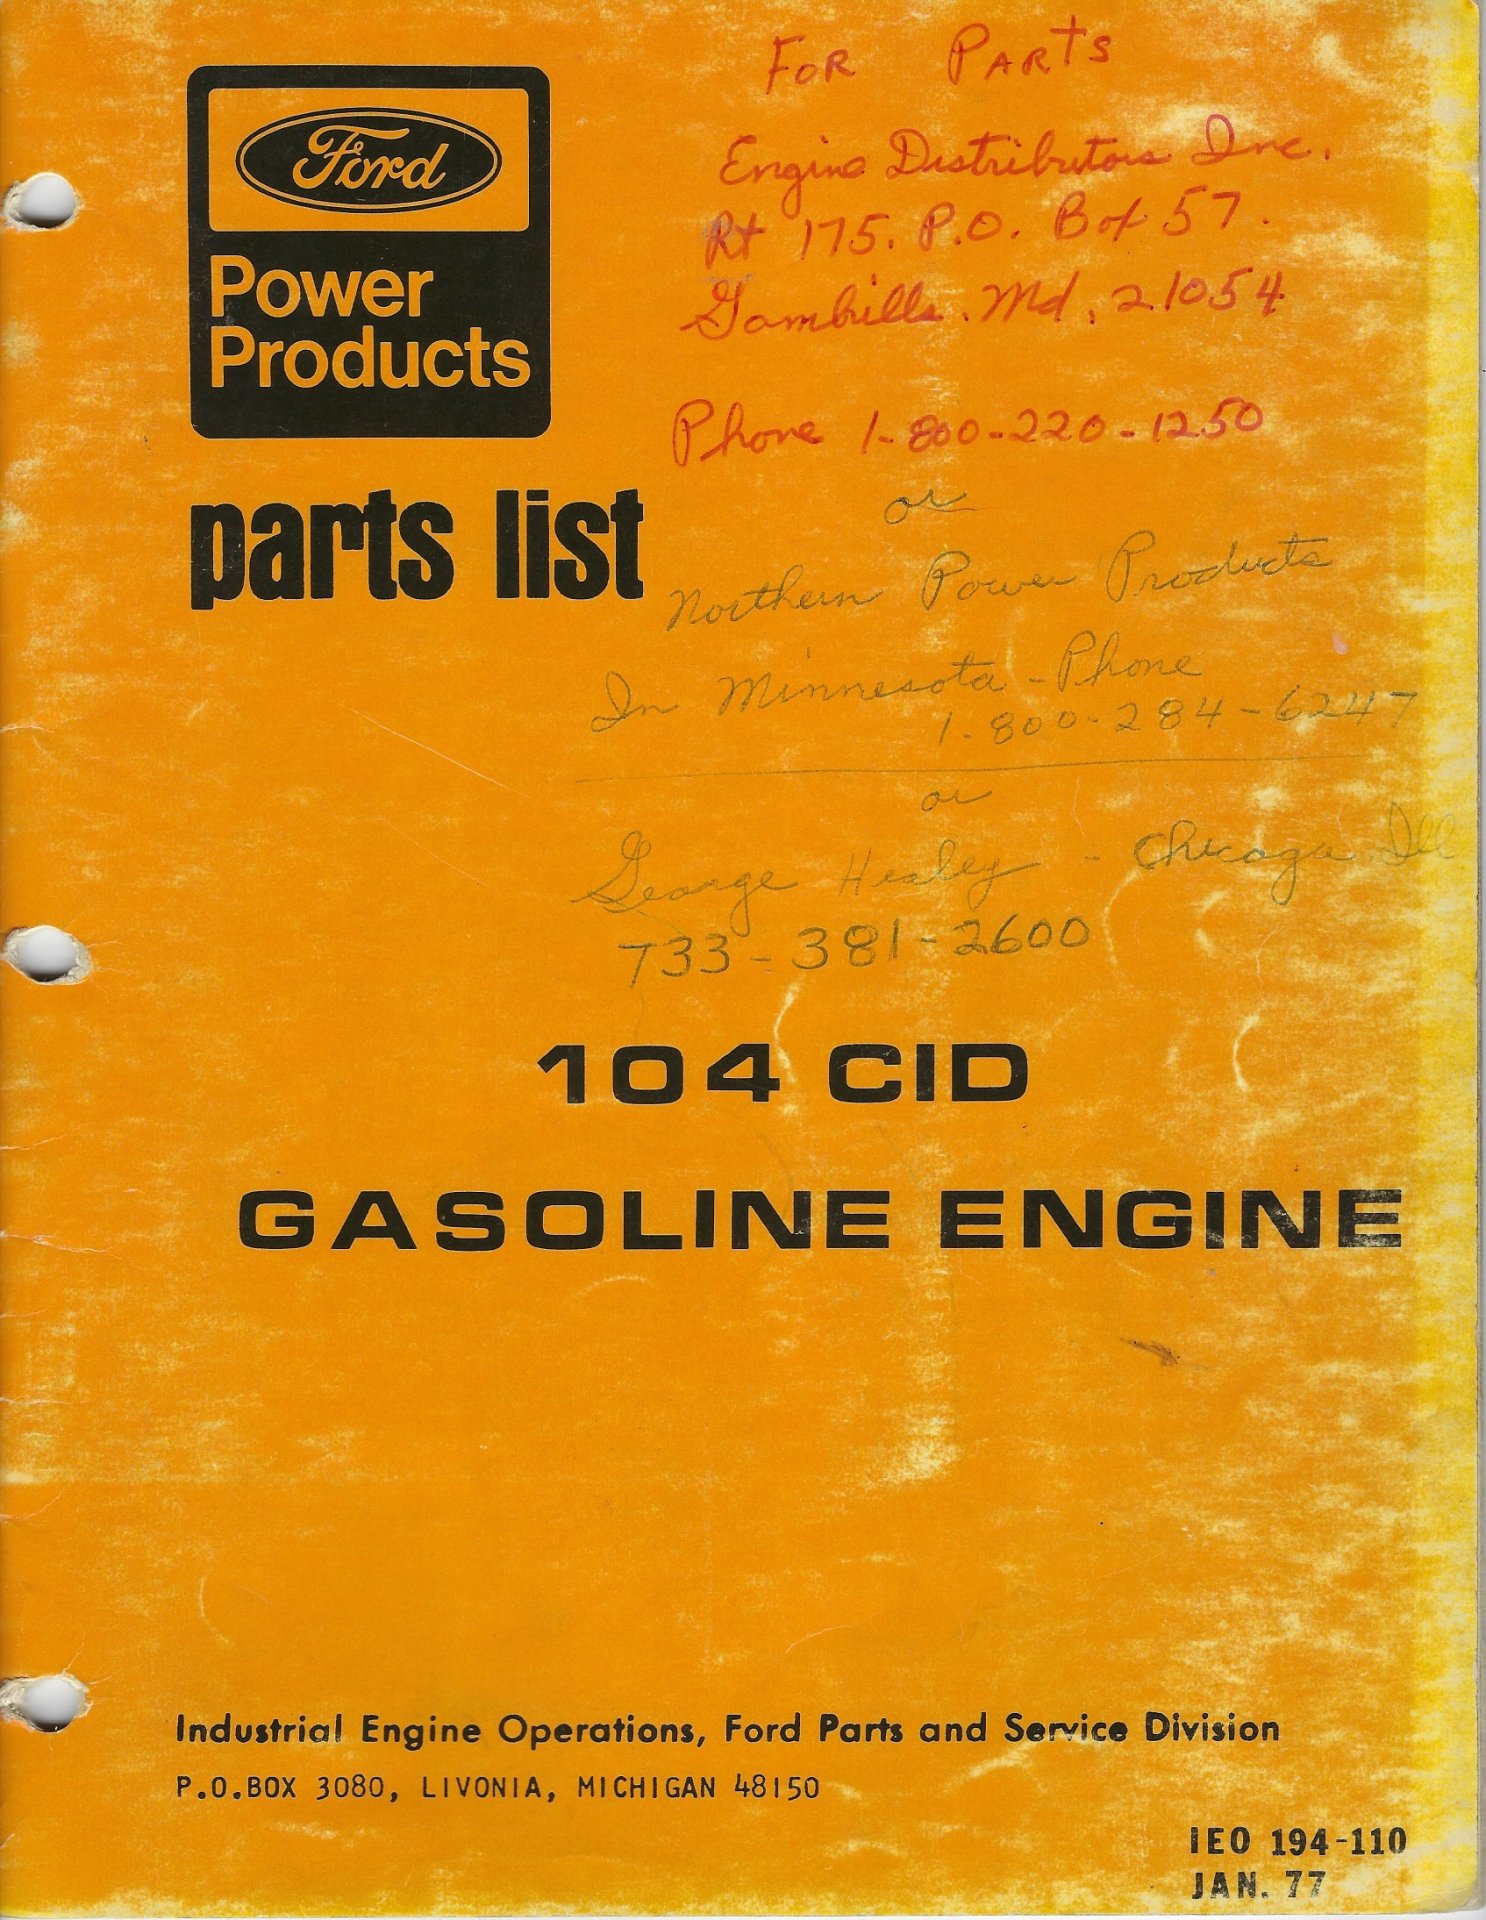
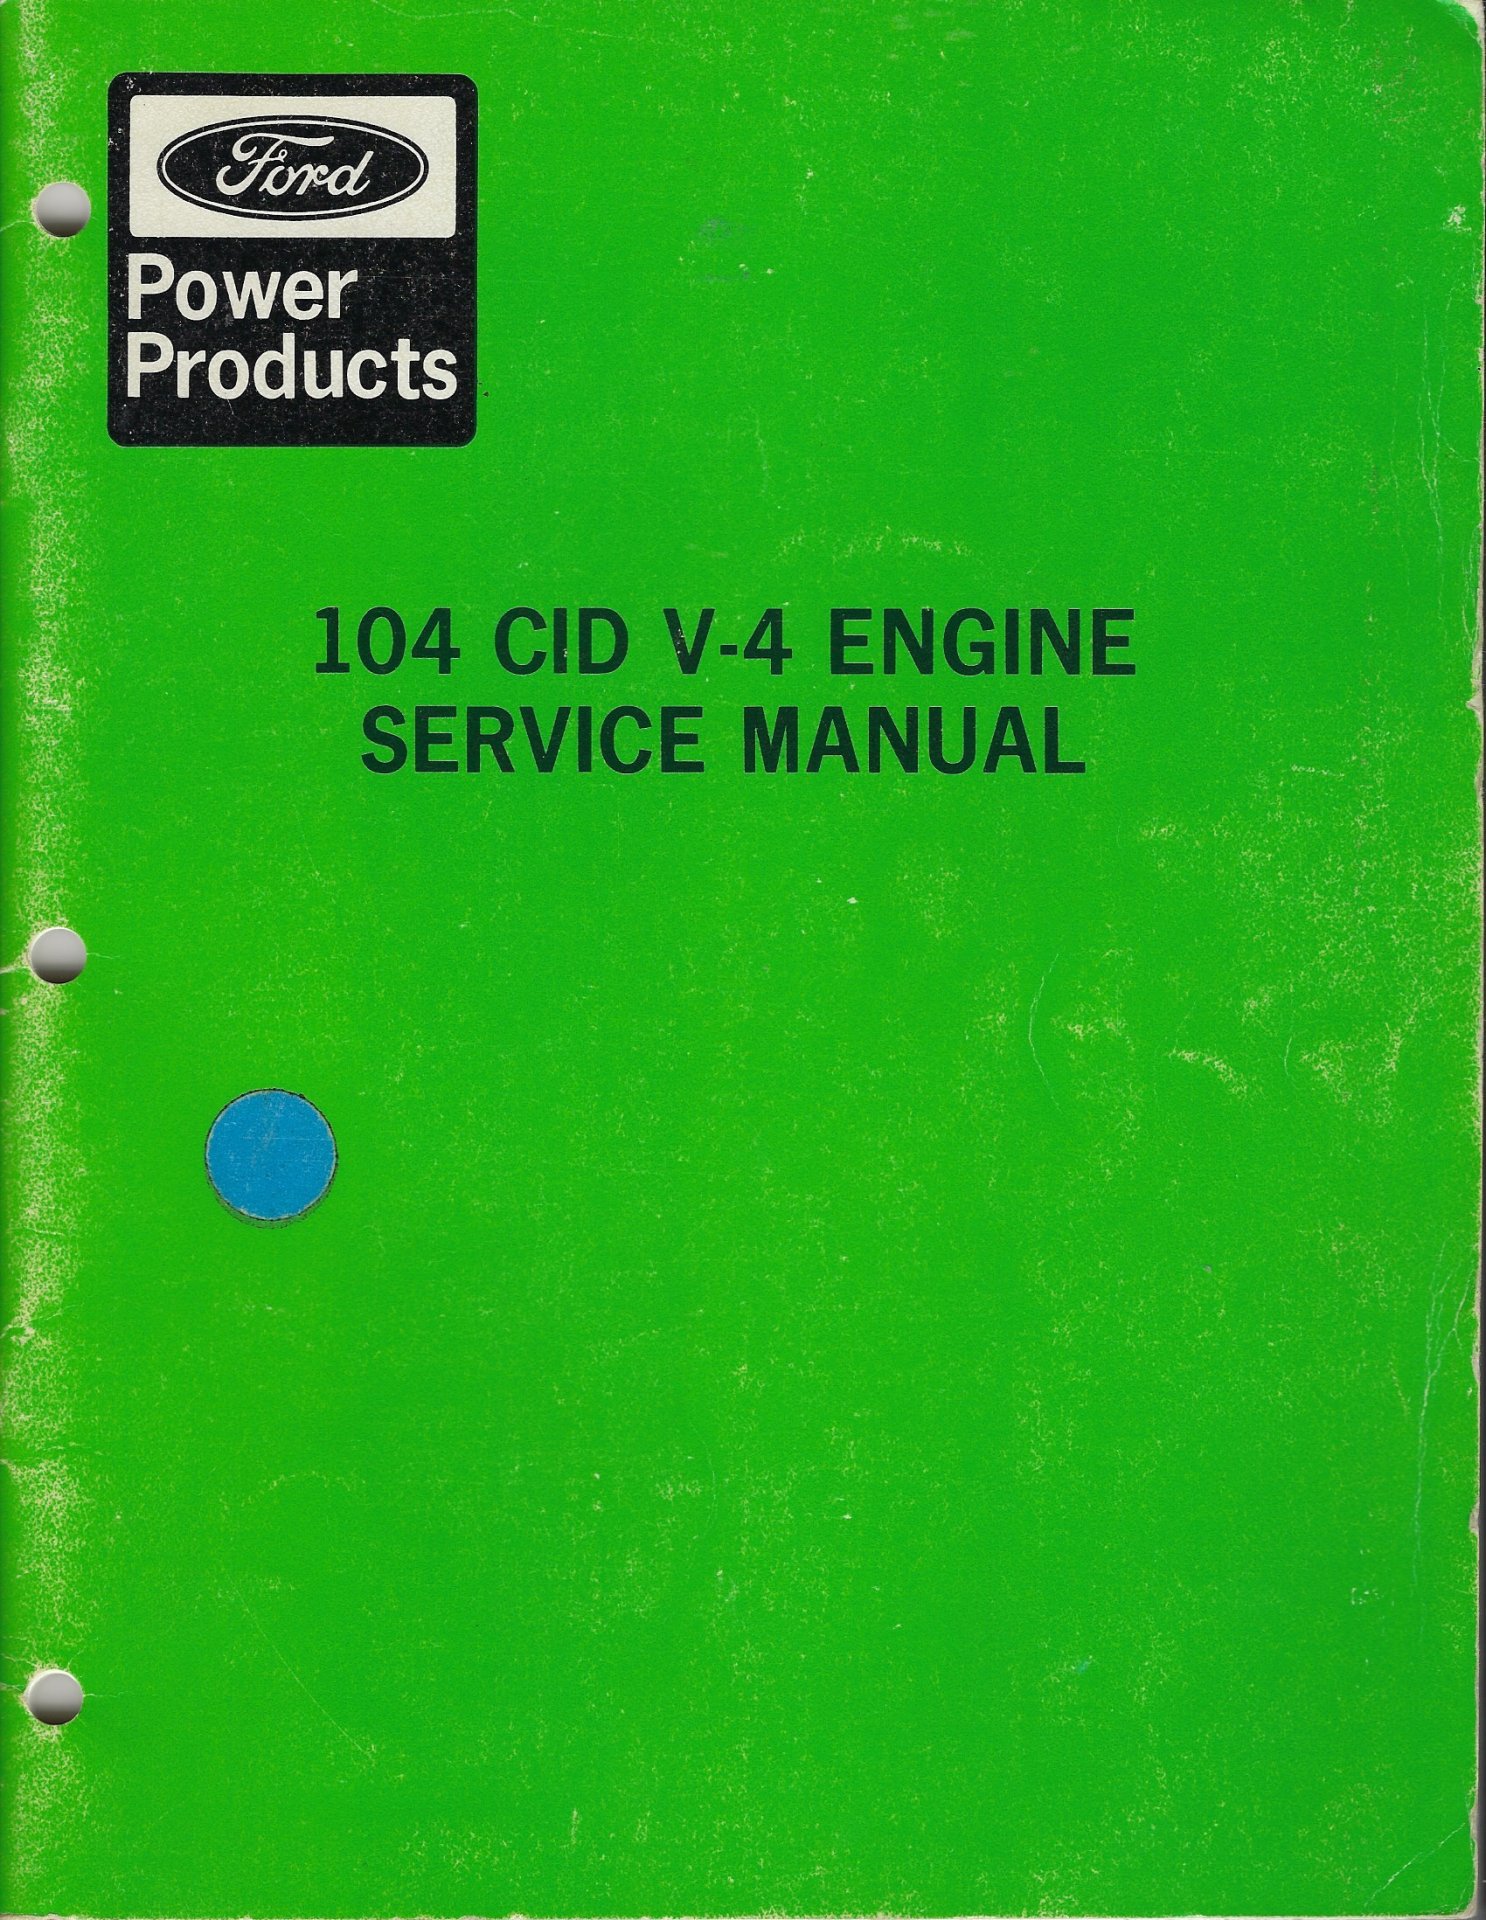
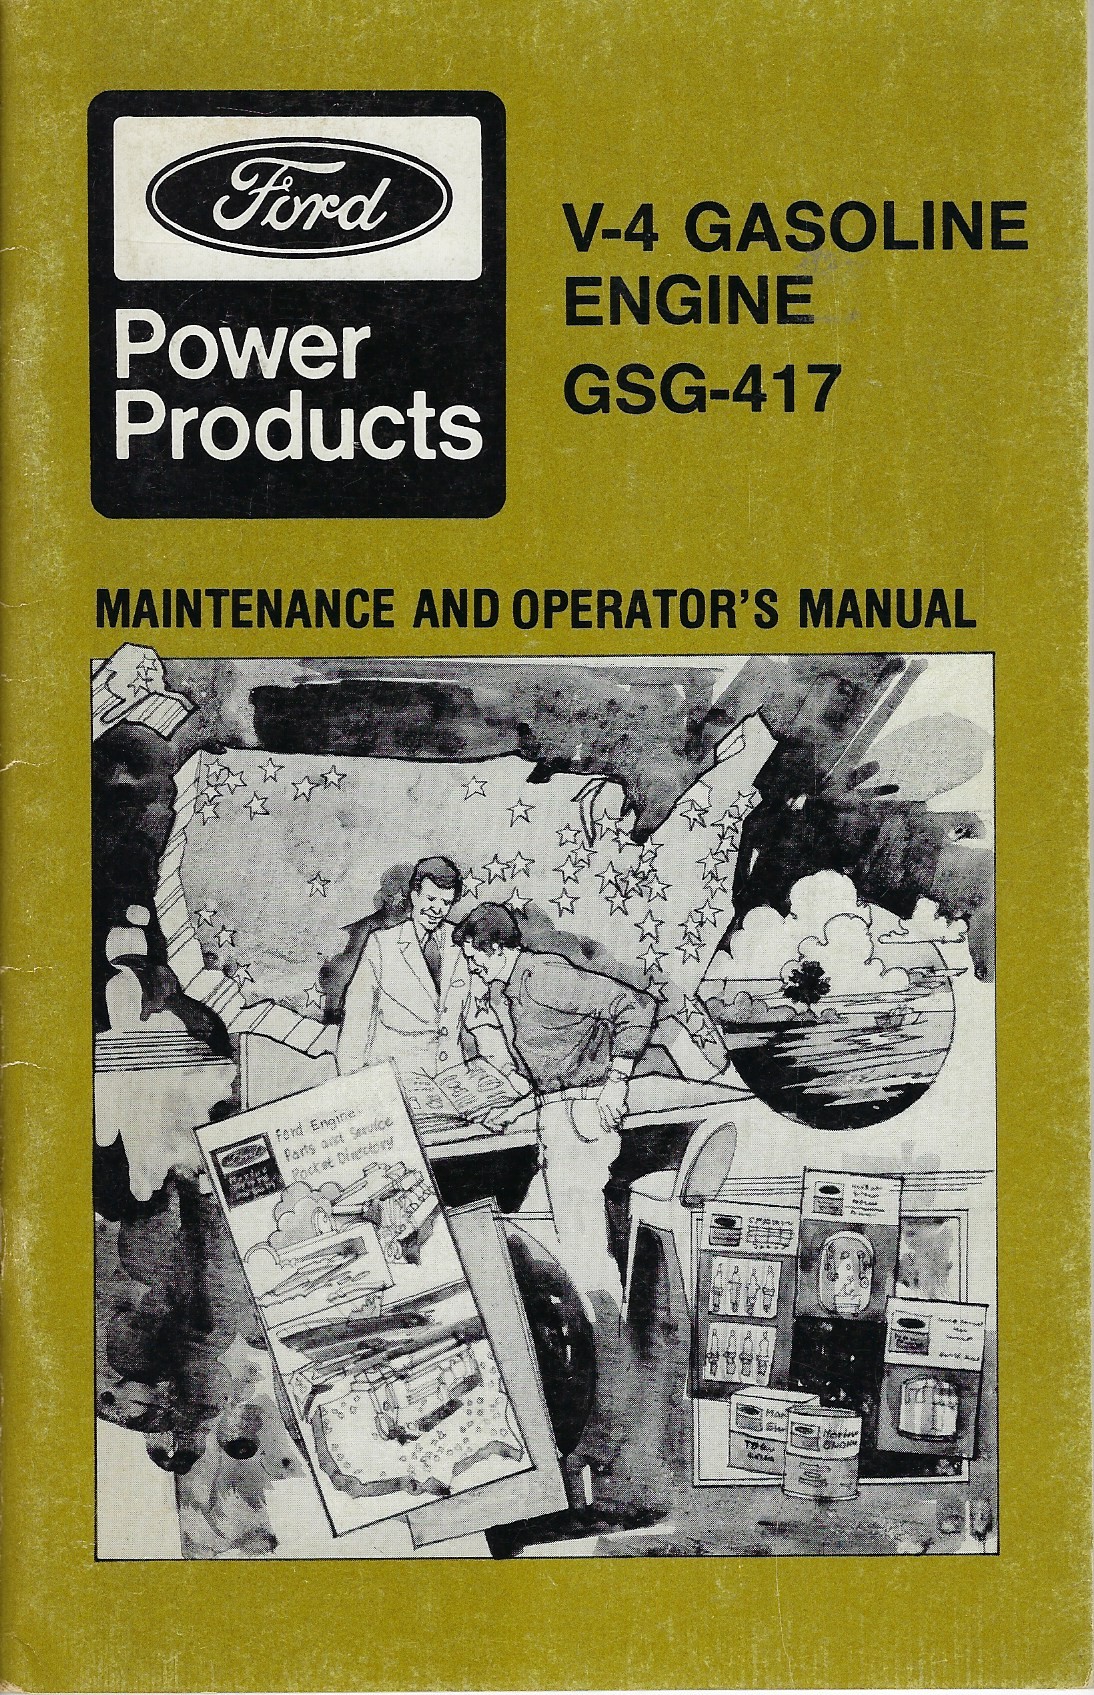
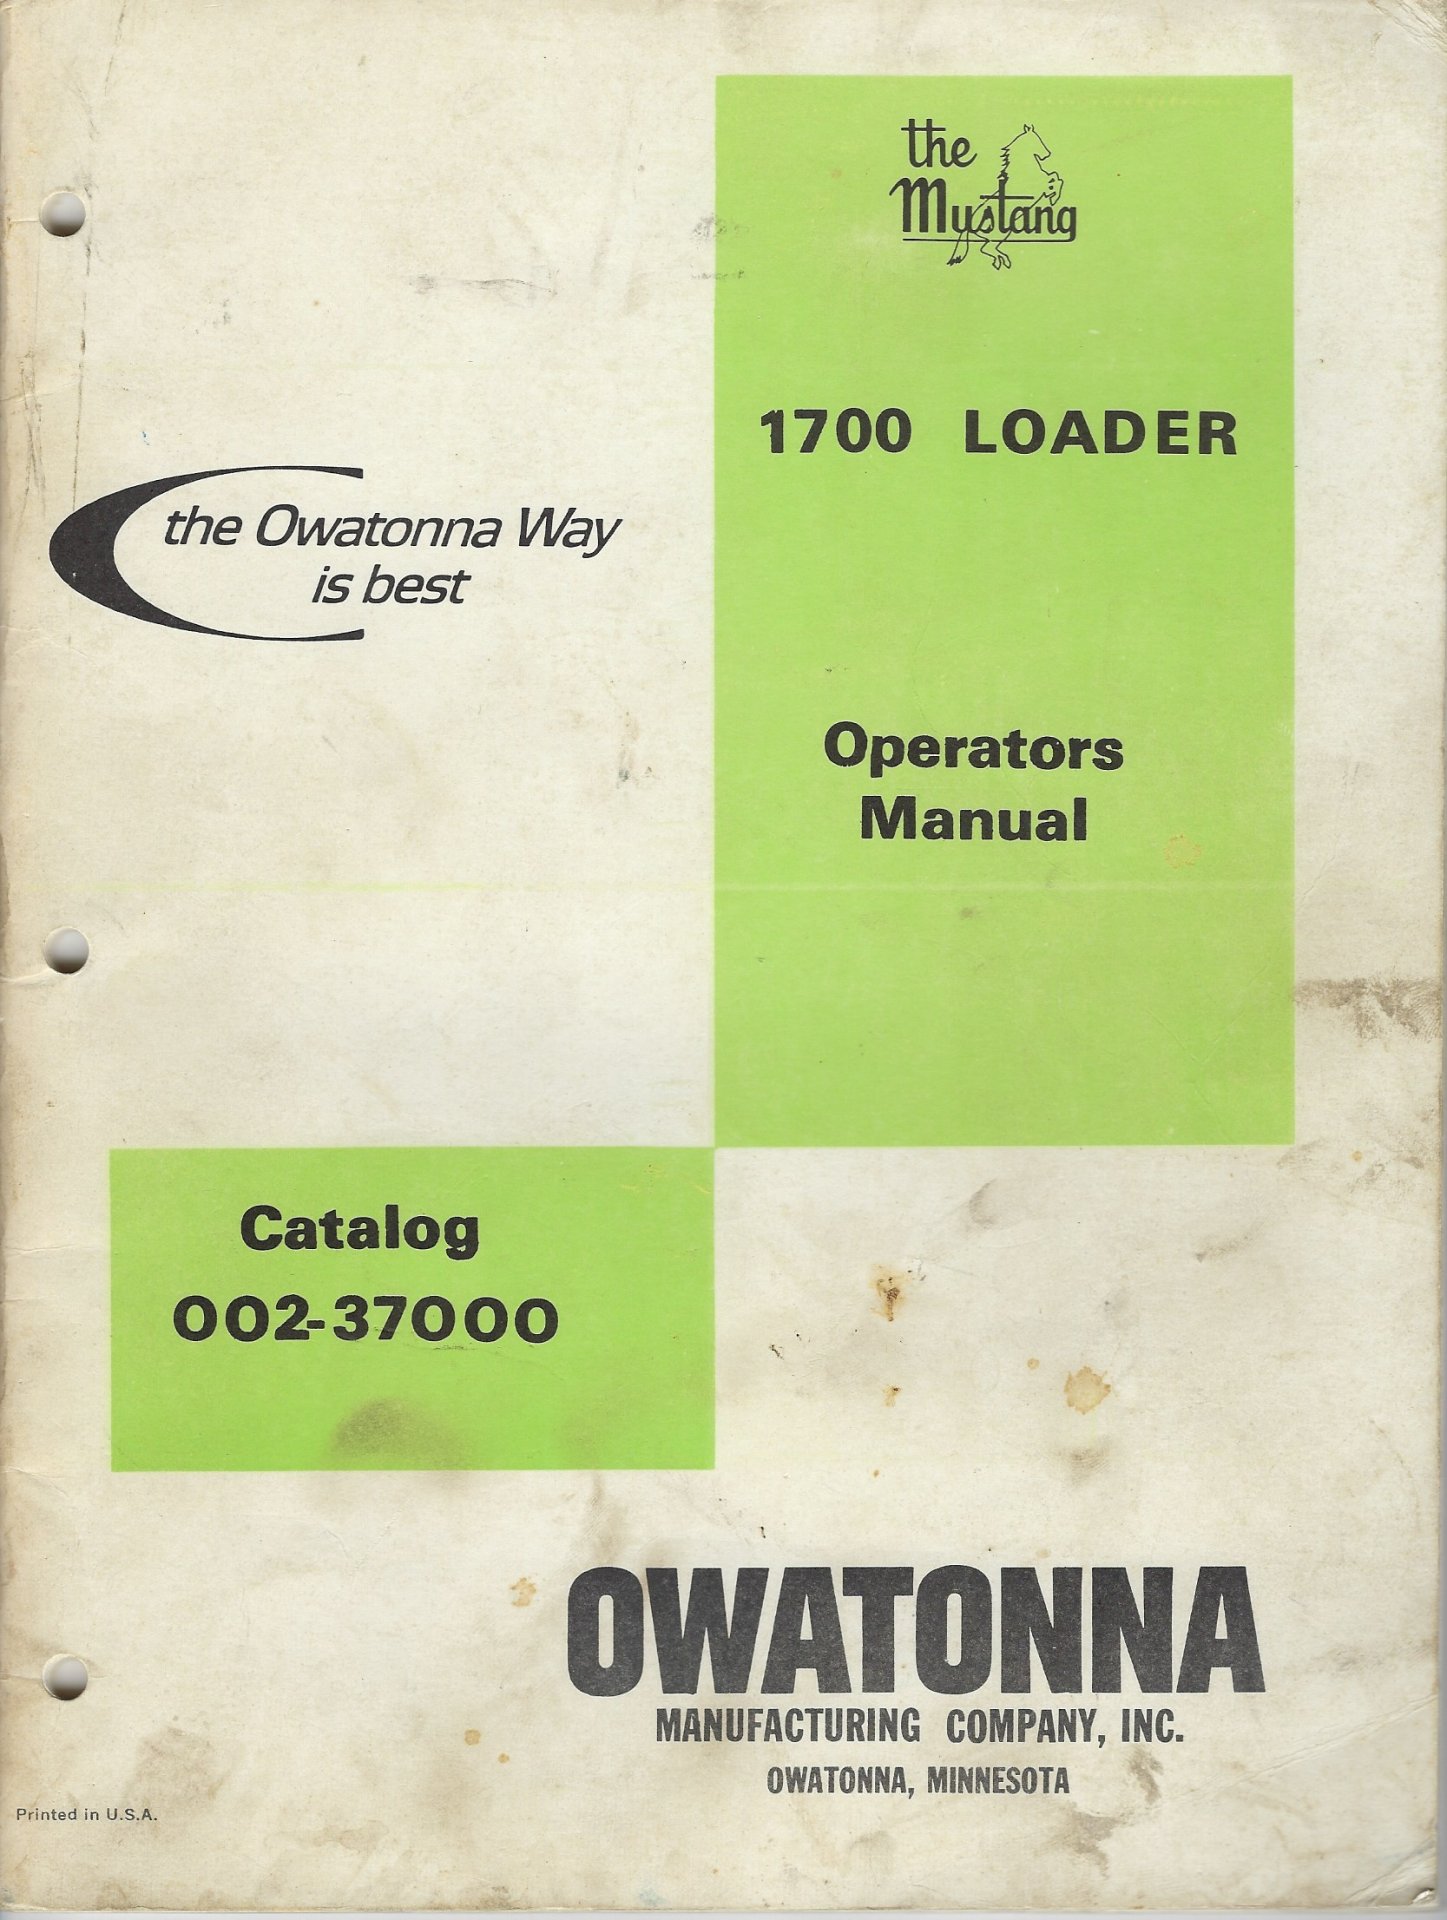
Below are scans of the cover page for the manuals I'm using to go through my 1700, hoping it might help someone else looking for printed manuals. I bought them all on ePay. Note with the 1700, there are serial number splits at SN 9651 and 12209. The file names have the dates of the manuals. The yellow and green OMC manuals do have differences. Due to the limit of 10 pics per post, I'll split the images across two posts.

OMC 1700 Operators Manual.jpg
OMC 1700 Parts Manual May 1971.jpg
OMC 1700 Operators Manual Sept 1977.jpg


OMC Parts Manual Dec 1989.jpg
OMC Safety Manual 1976.jpg
OMC Parts Manual Ford V-4.jpg


Deere 170 Operators Manual .jpg
Deere 170 Parts Catalog Apr 1974.jpg
Deere 170 Technical Manual Jul 1974.jpg
 
As an Amazon Associate we earn from qualifying purchases. Product prices and availability are accurate as of the date/time indicated and are subject to change.
In 1989 I was doing cleanup (at very cheap pricing) after Hurricane Hugo. The water pump went out and I had to buy one at a local Ford industrial dealer for about $120. When I opened the box there was an insert showing was British autos the pump would fit. Checking JC Whitney, they had it listed for $19. Saab also used that engine and is another source of correct economical parts if you search far enough.
 
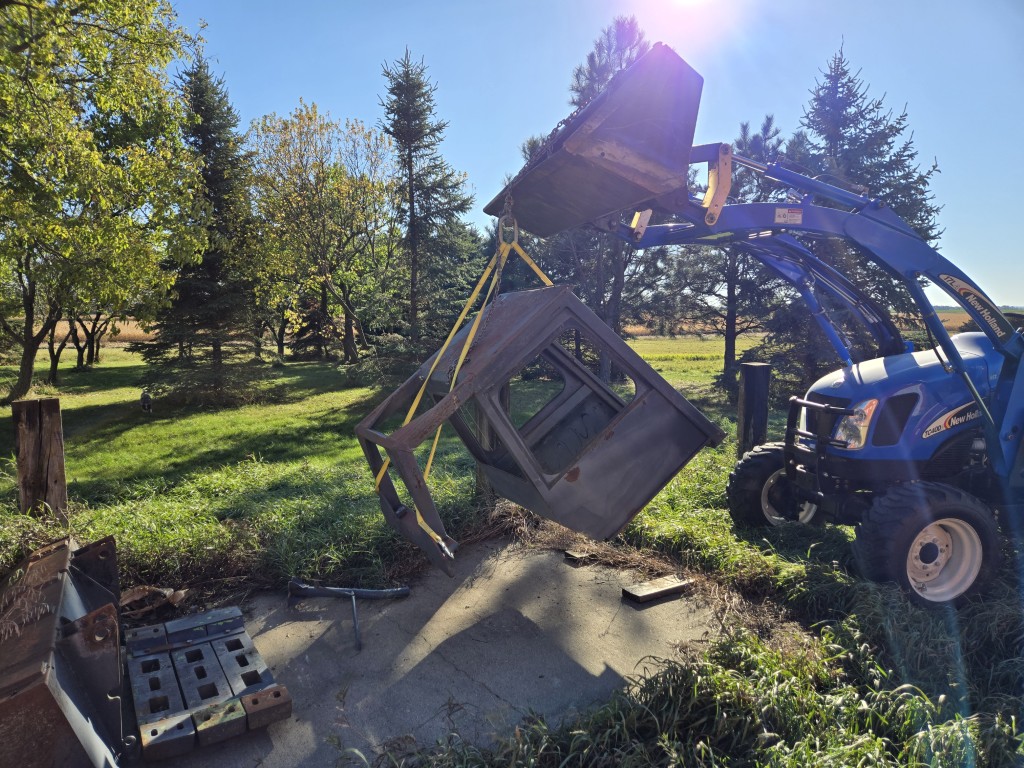
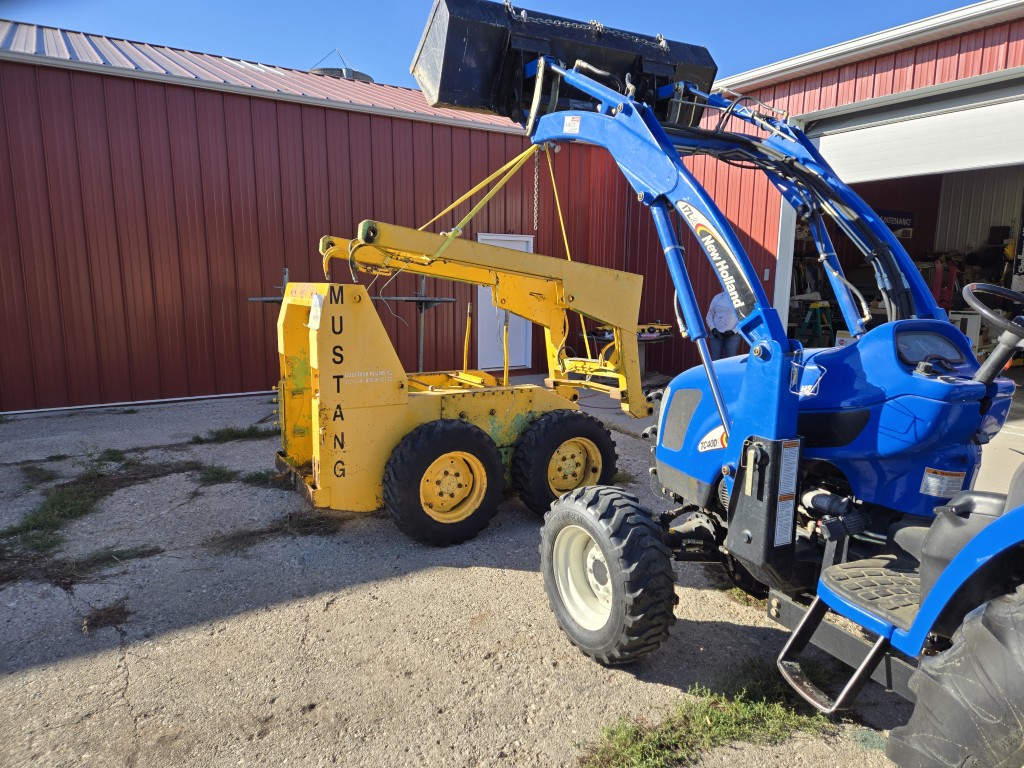
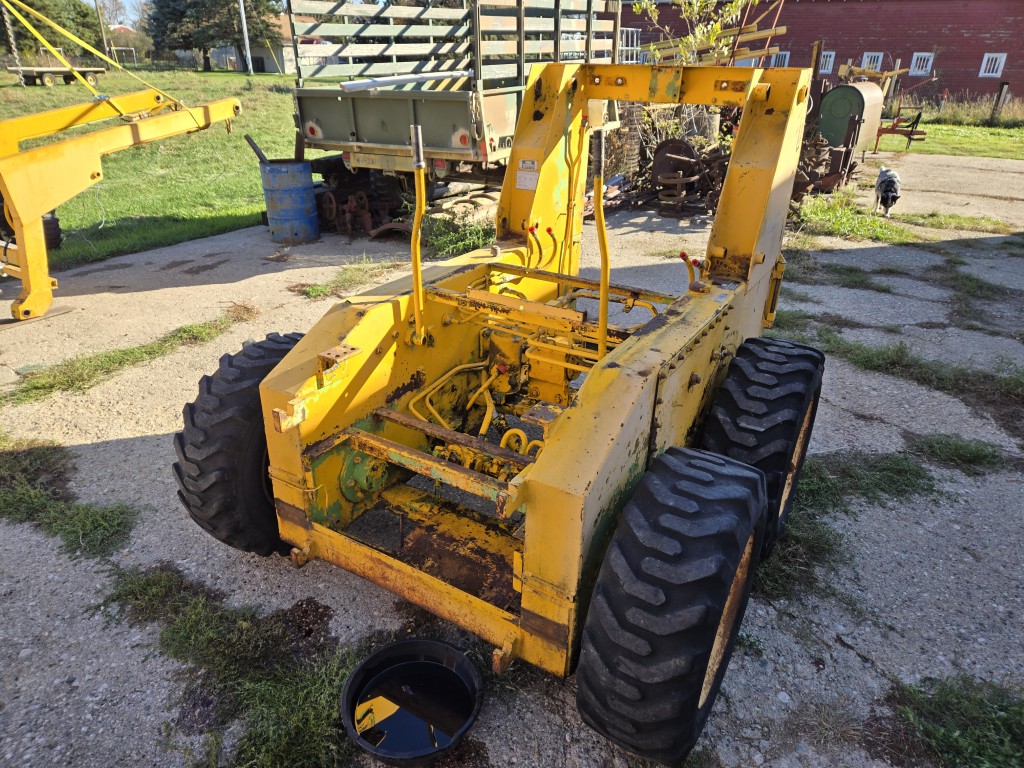
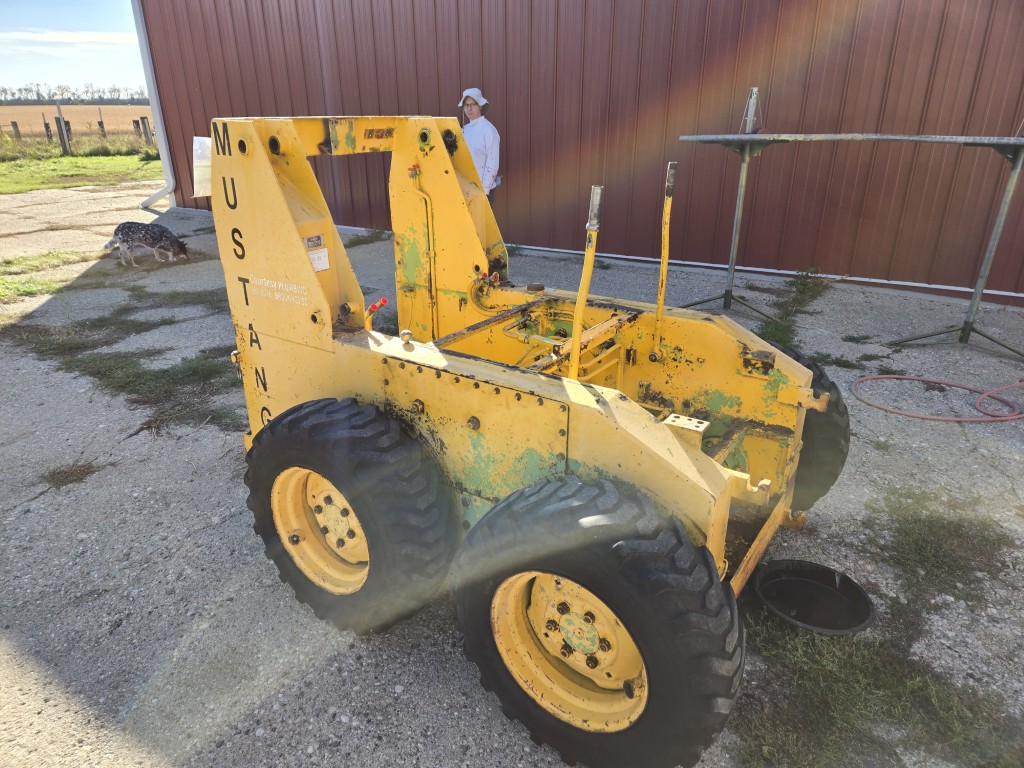
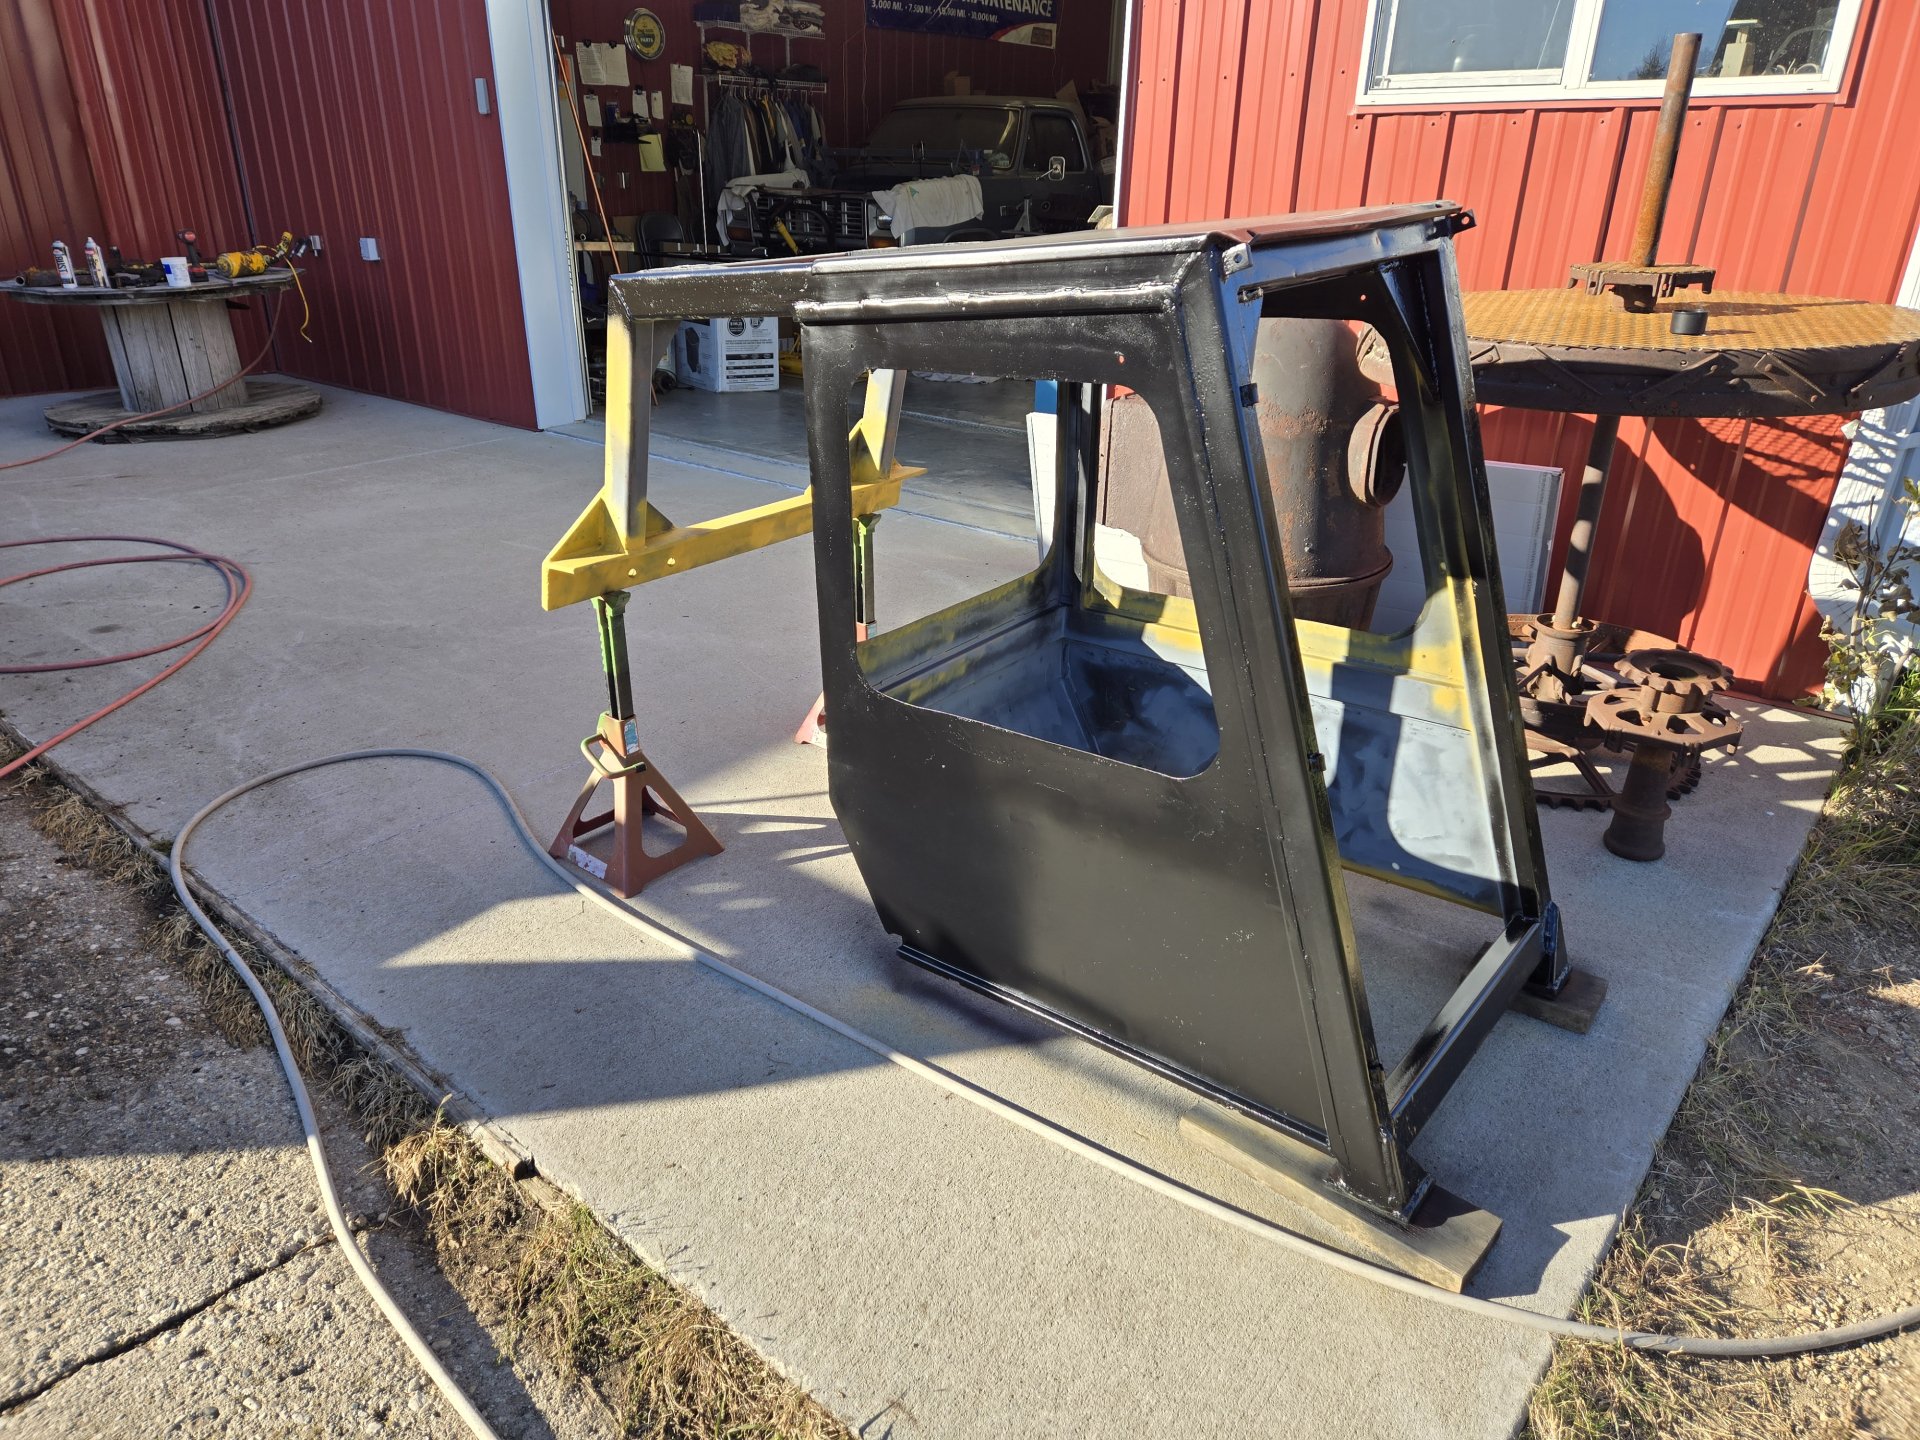
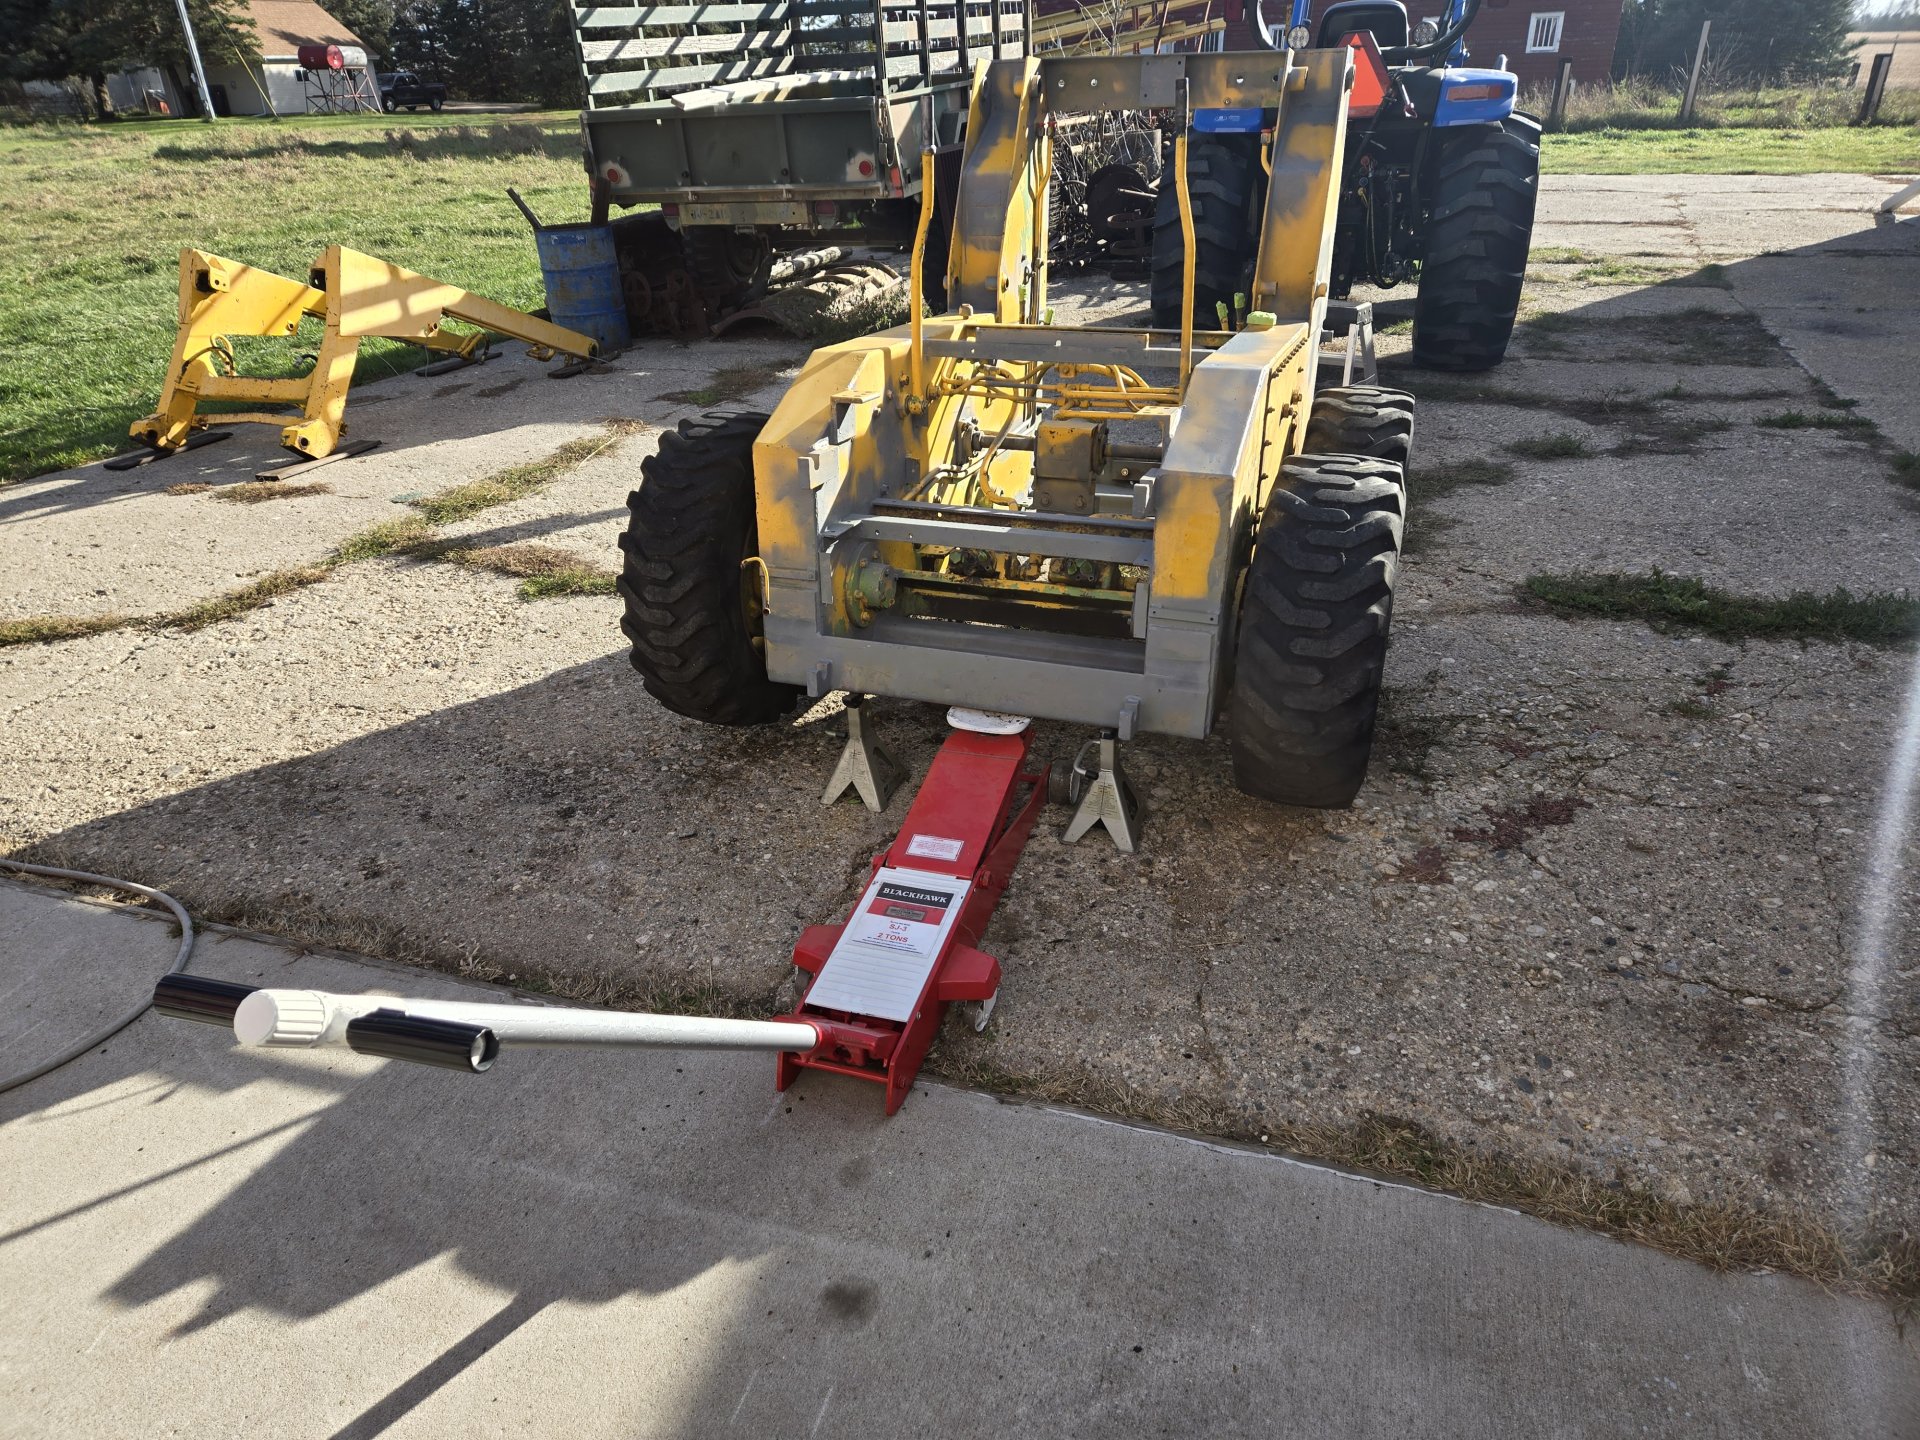
Progress is slow. My hopes are to clean up the hull and paint it by Sunday. I'm also hoping to get the cab in black before it gets too cold. The boom I pulled has major cracking all over, likely from overload. I'm going to use the boom off the parts 1700 - I can't find any cracks in it.

20251022_155305.jpg
20251023_154406.jpg


20251023_155046.jpg
20251023_155052.jpg


20251023_161715.jpg


Al Jones
 
When I was first using my 1700, the boom design exposed that high lifting required working both the lift and bucket tilt or I would get a lap full of whatever was in the bucket. Fortunately I only caught about 2 lap fulls of sandy dirt I was using to landscape fill. I got a fork frame assembly with mine and after pinching a disc in my back dragging the bucket around to replace it which required removing the pins, I cut the bucket pin brackets off and welded some blocks to catch the bucket with the top fork rail and made it tons quicker and easier to go from forks to bucket.
 
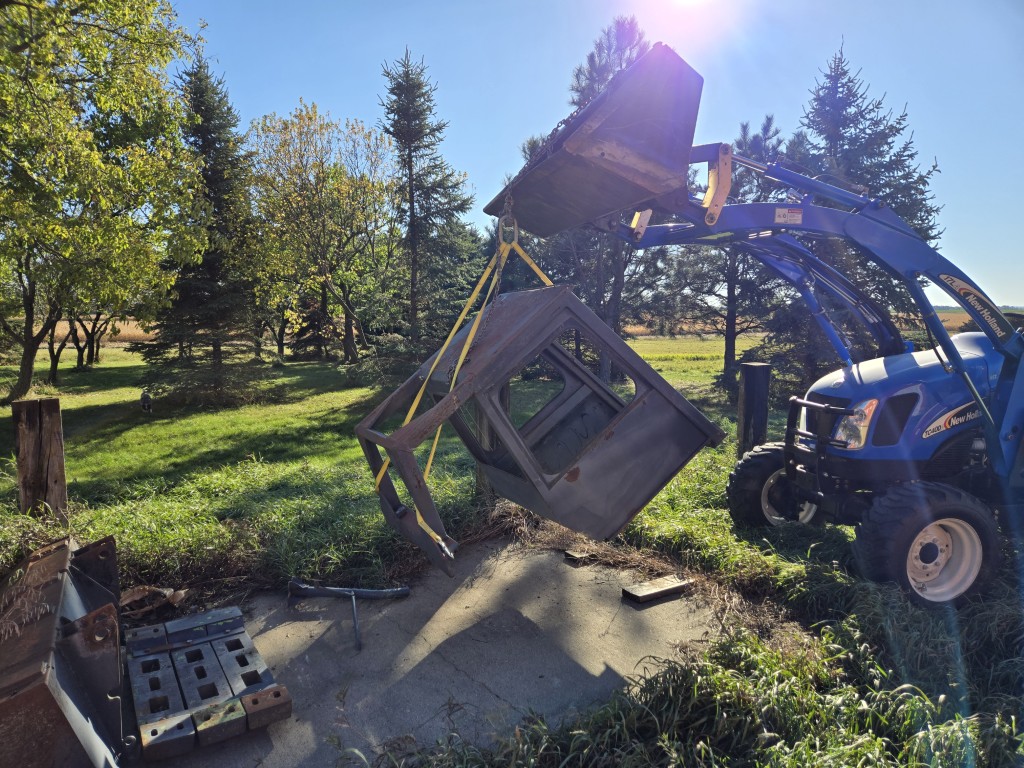
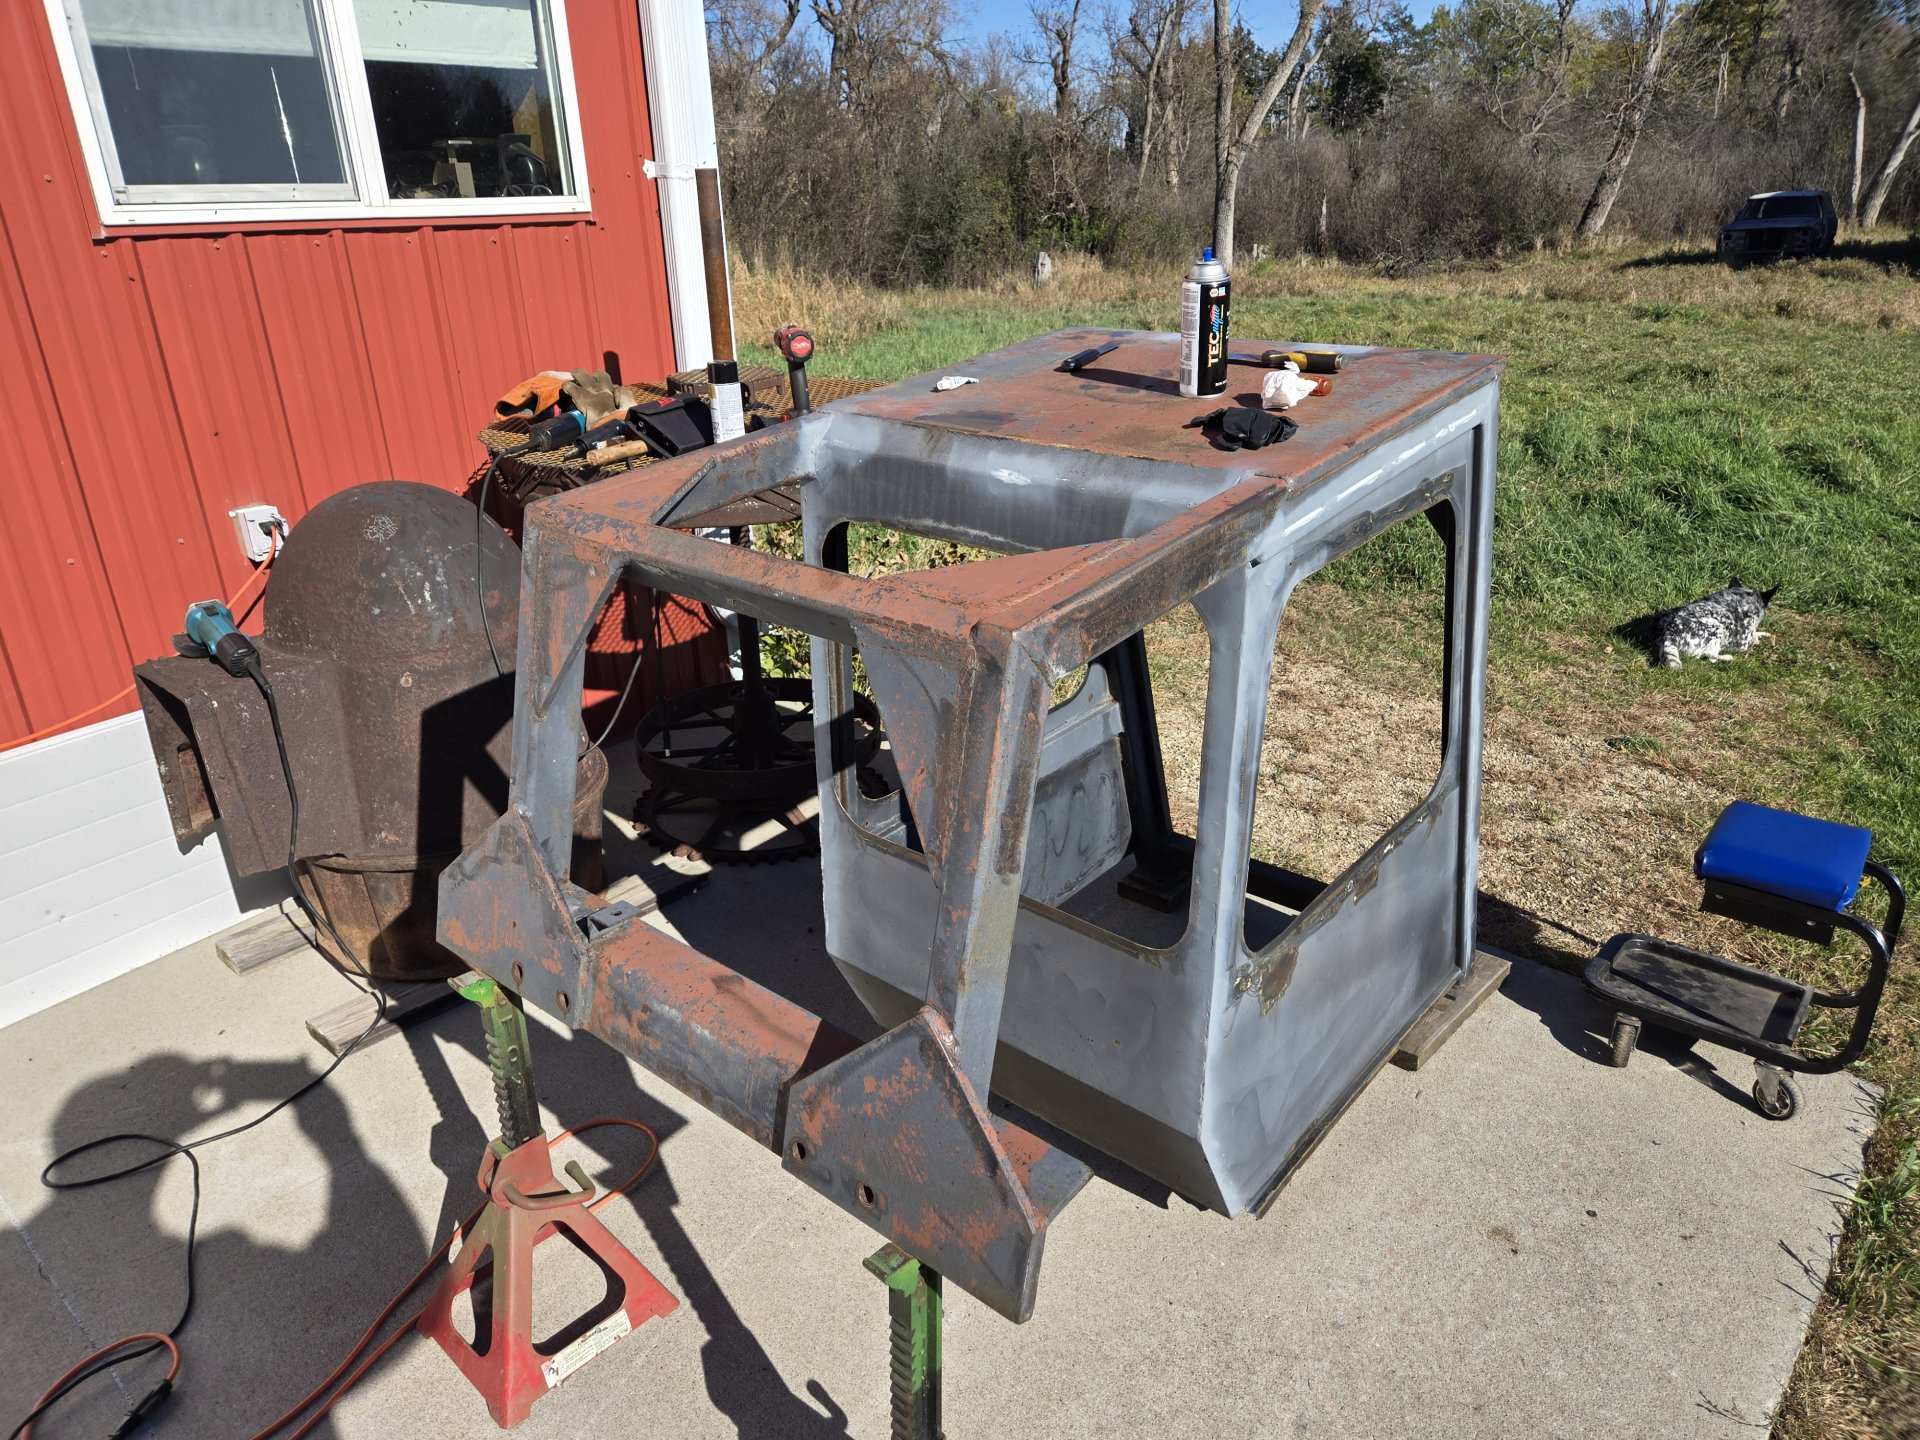
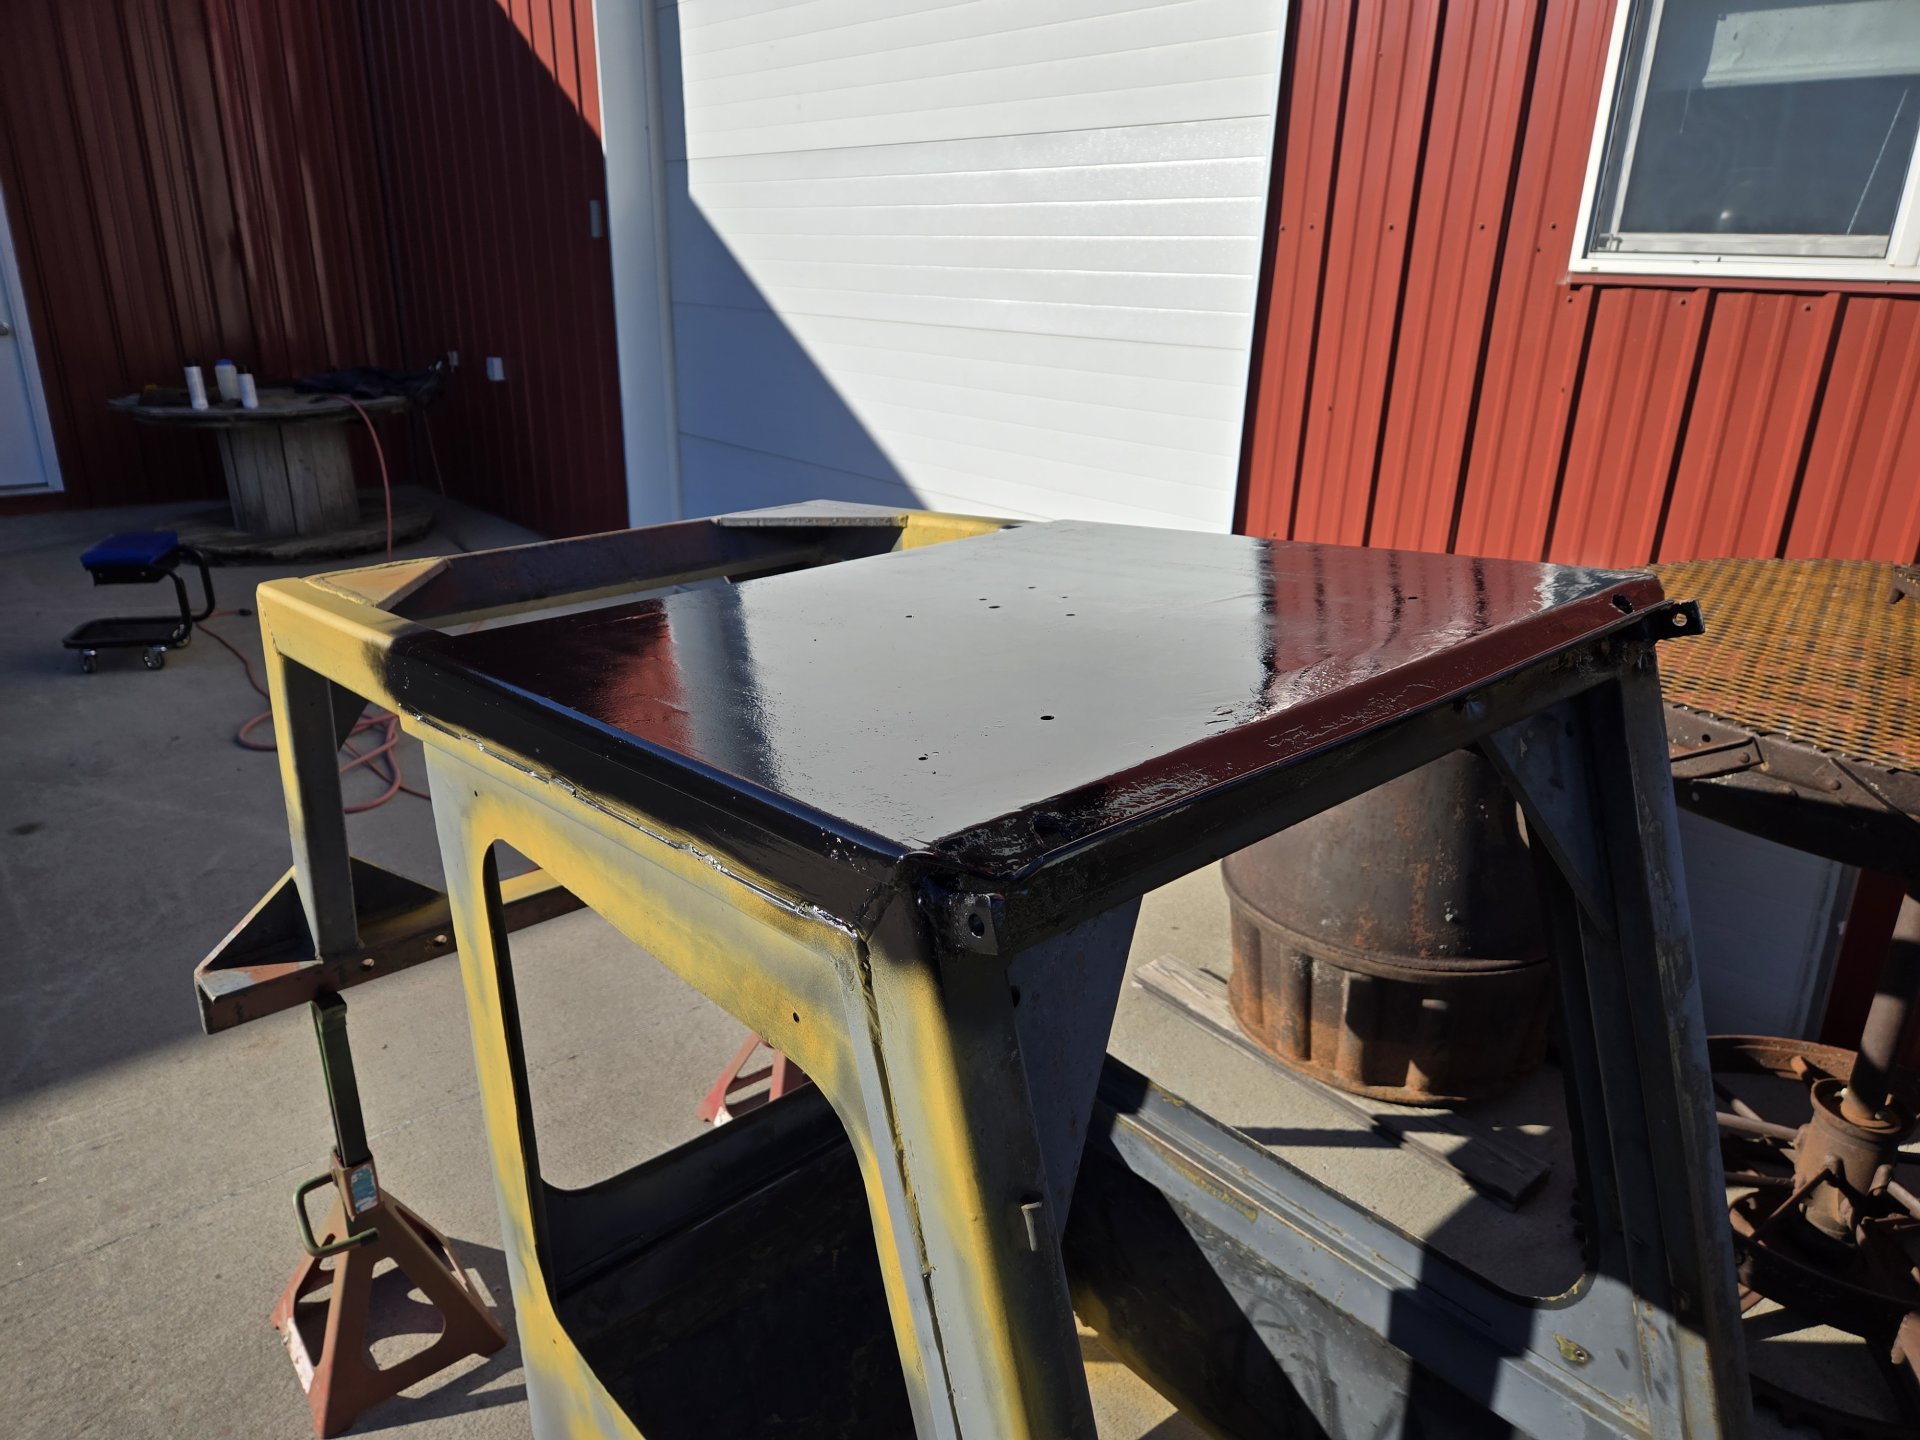
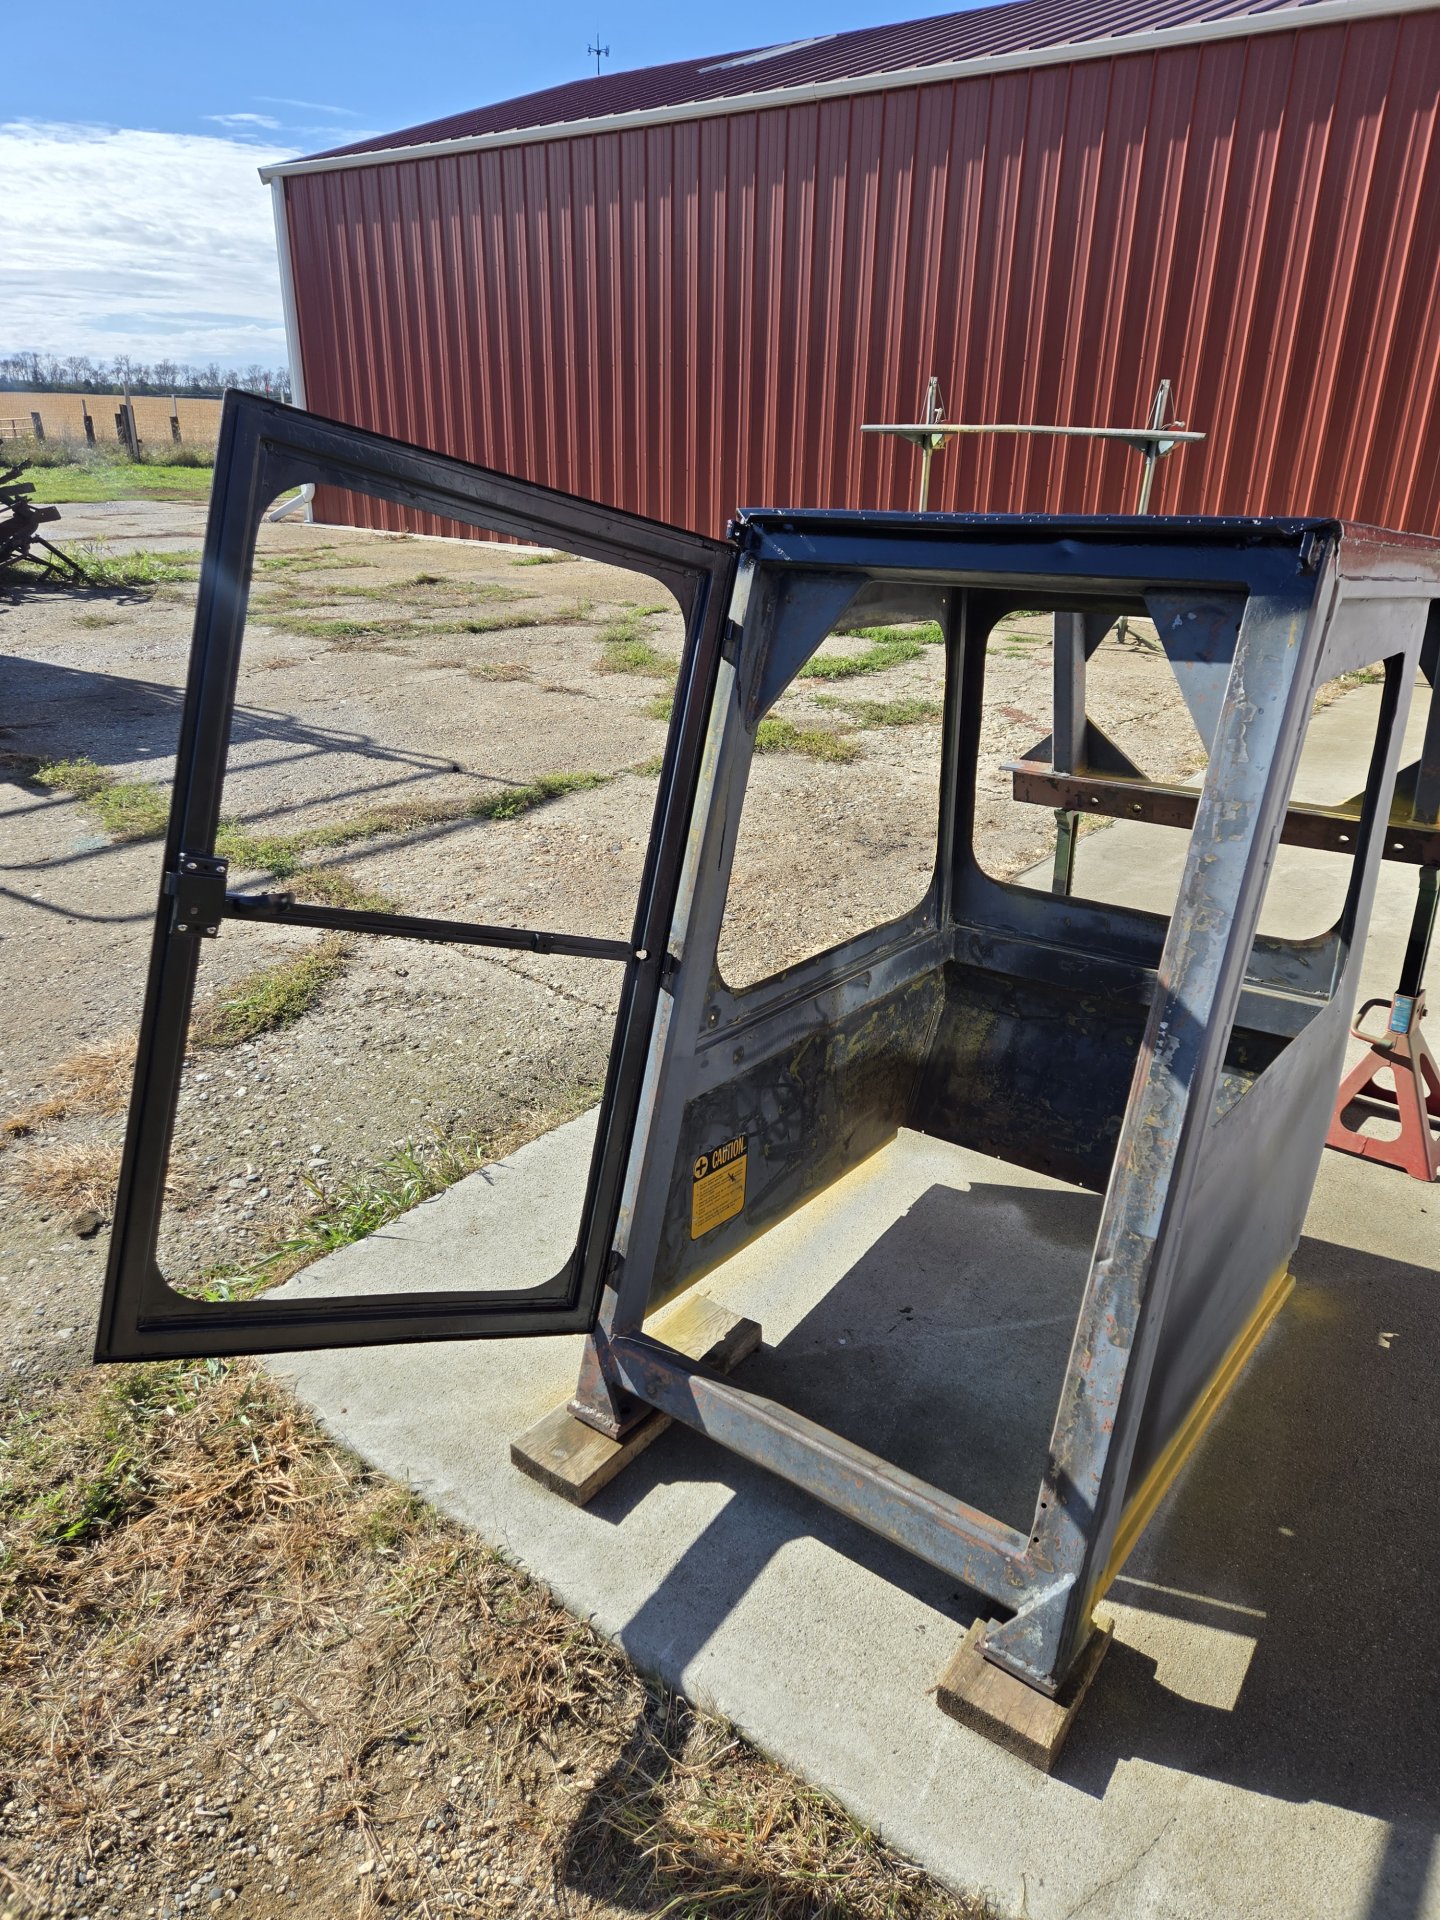
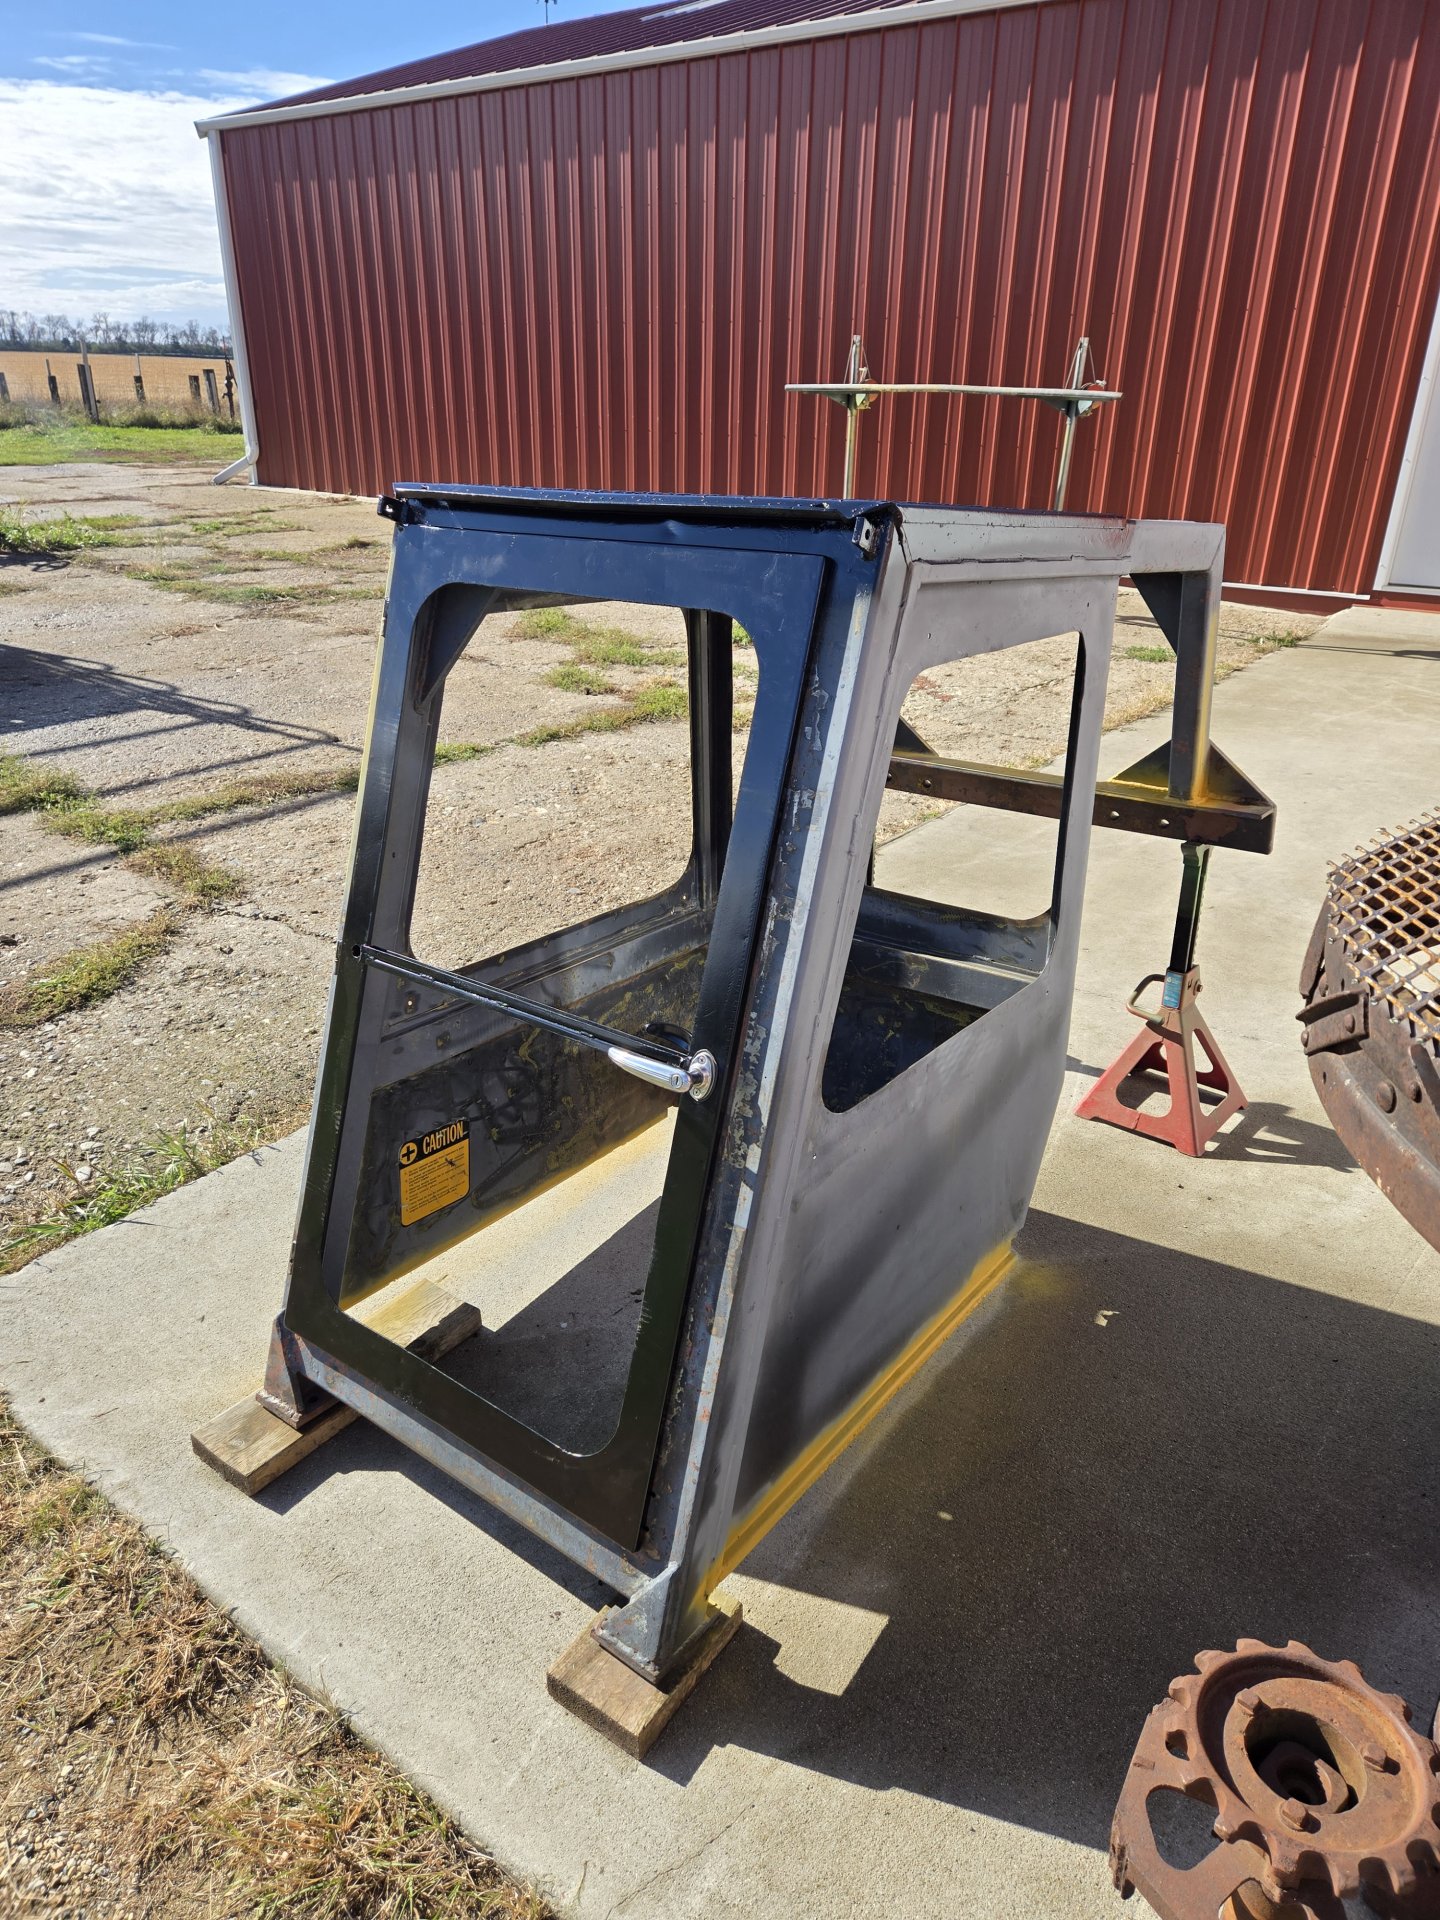
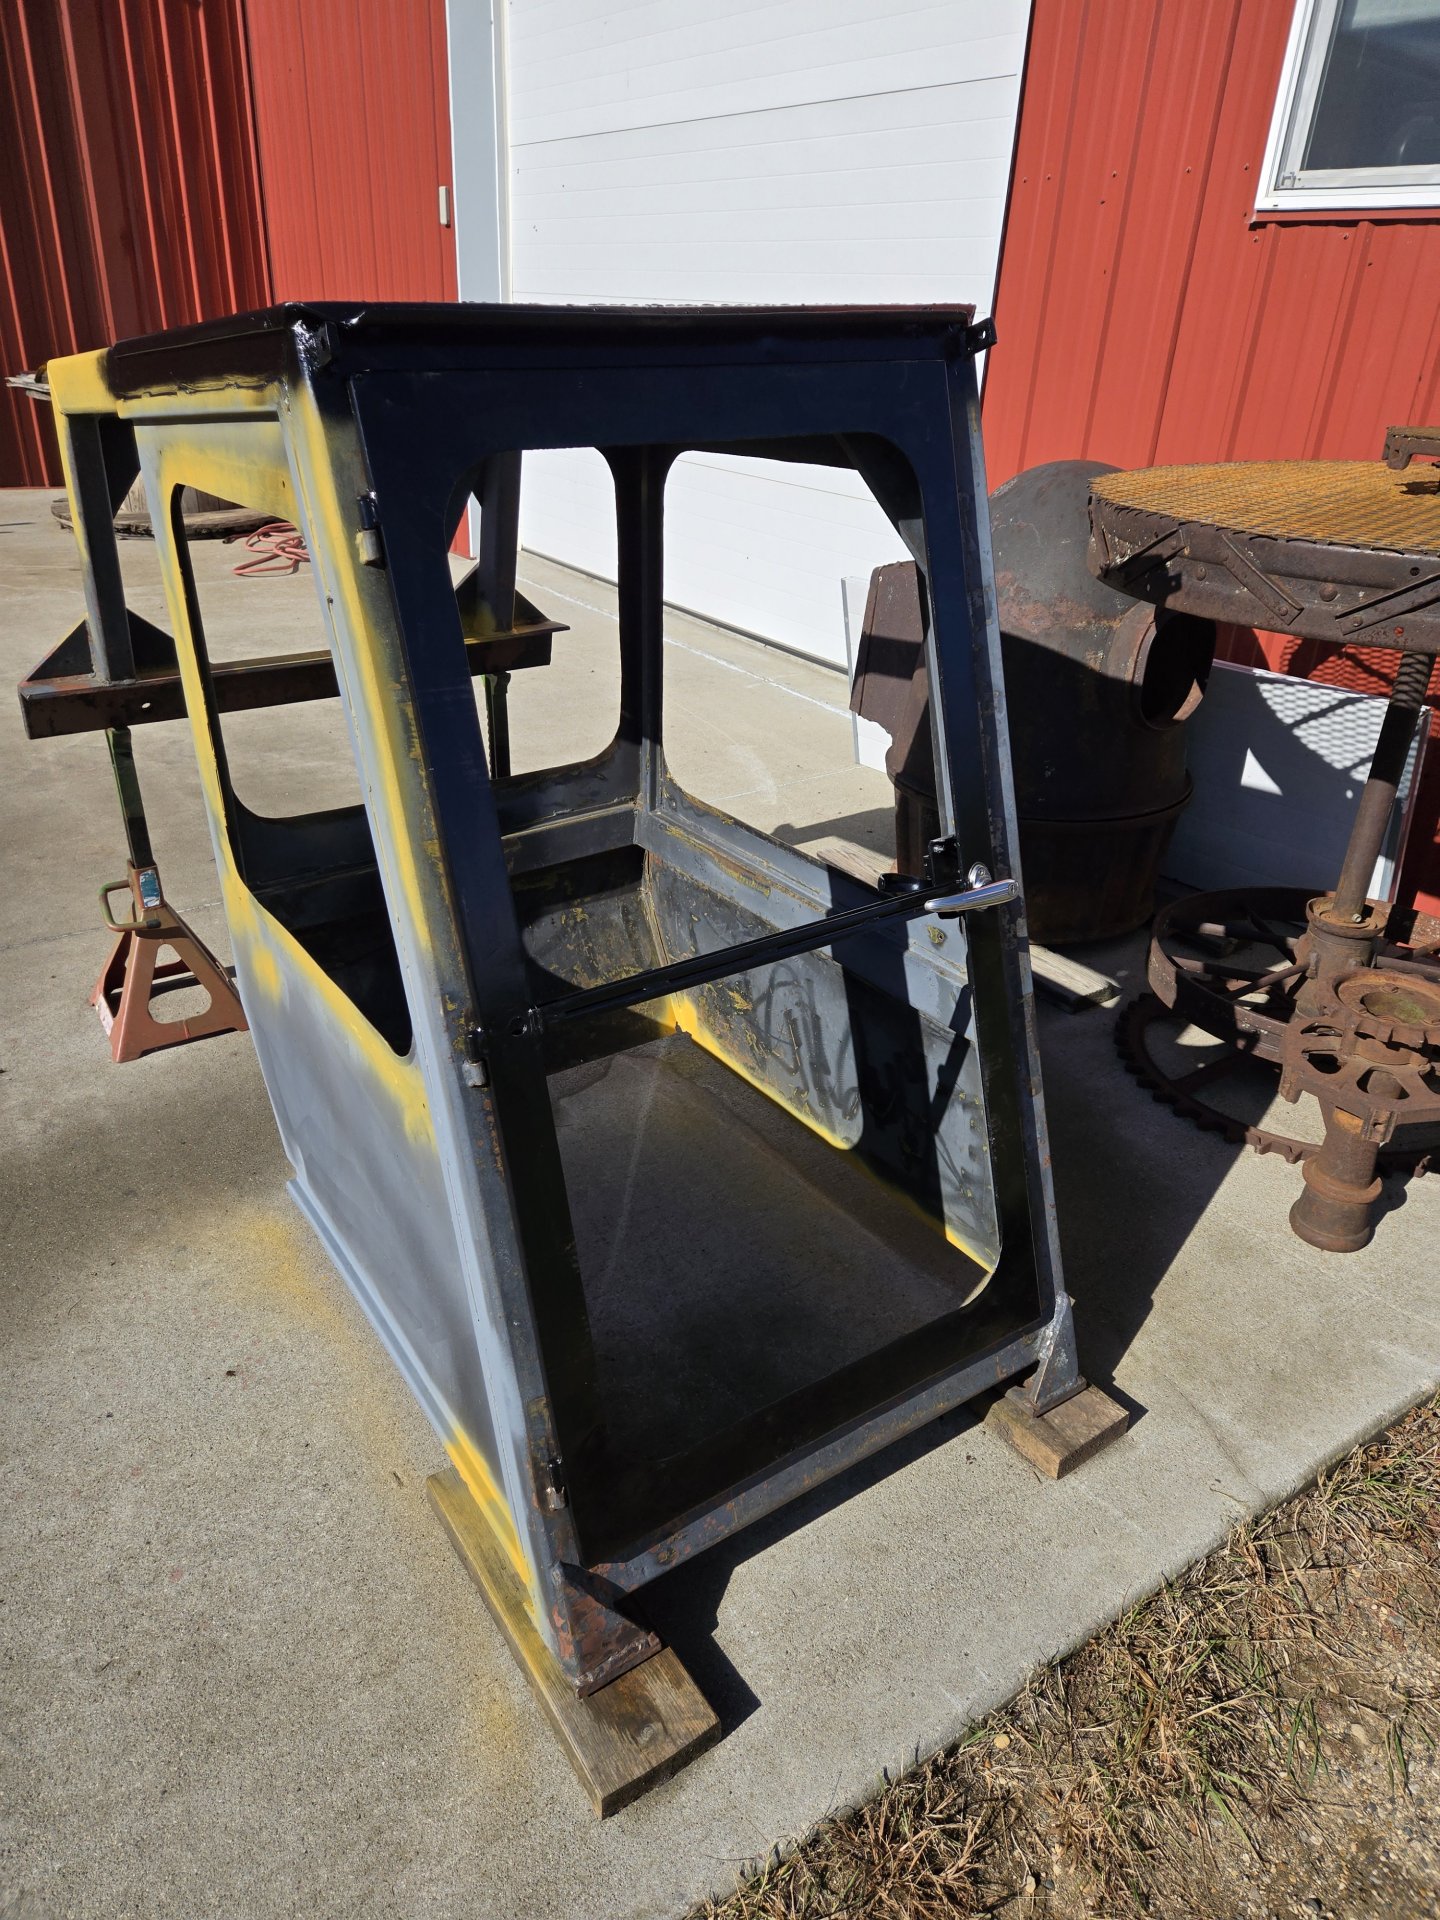
Some very nice weather surprised me with a nice calm day, so I decided to work on the cab.

20251022_155305.jpg
20251029_135855.jpg


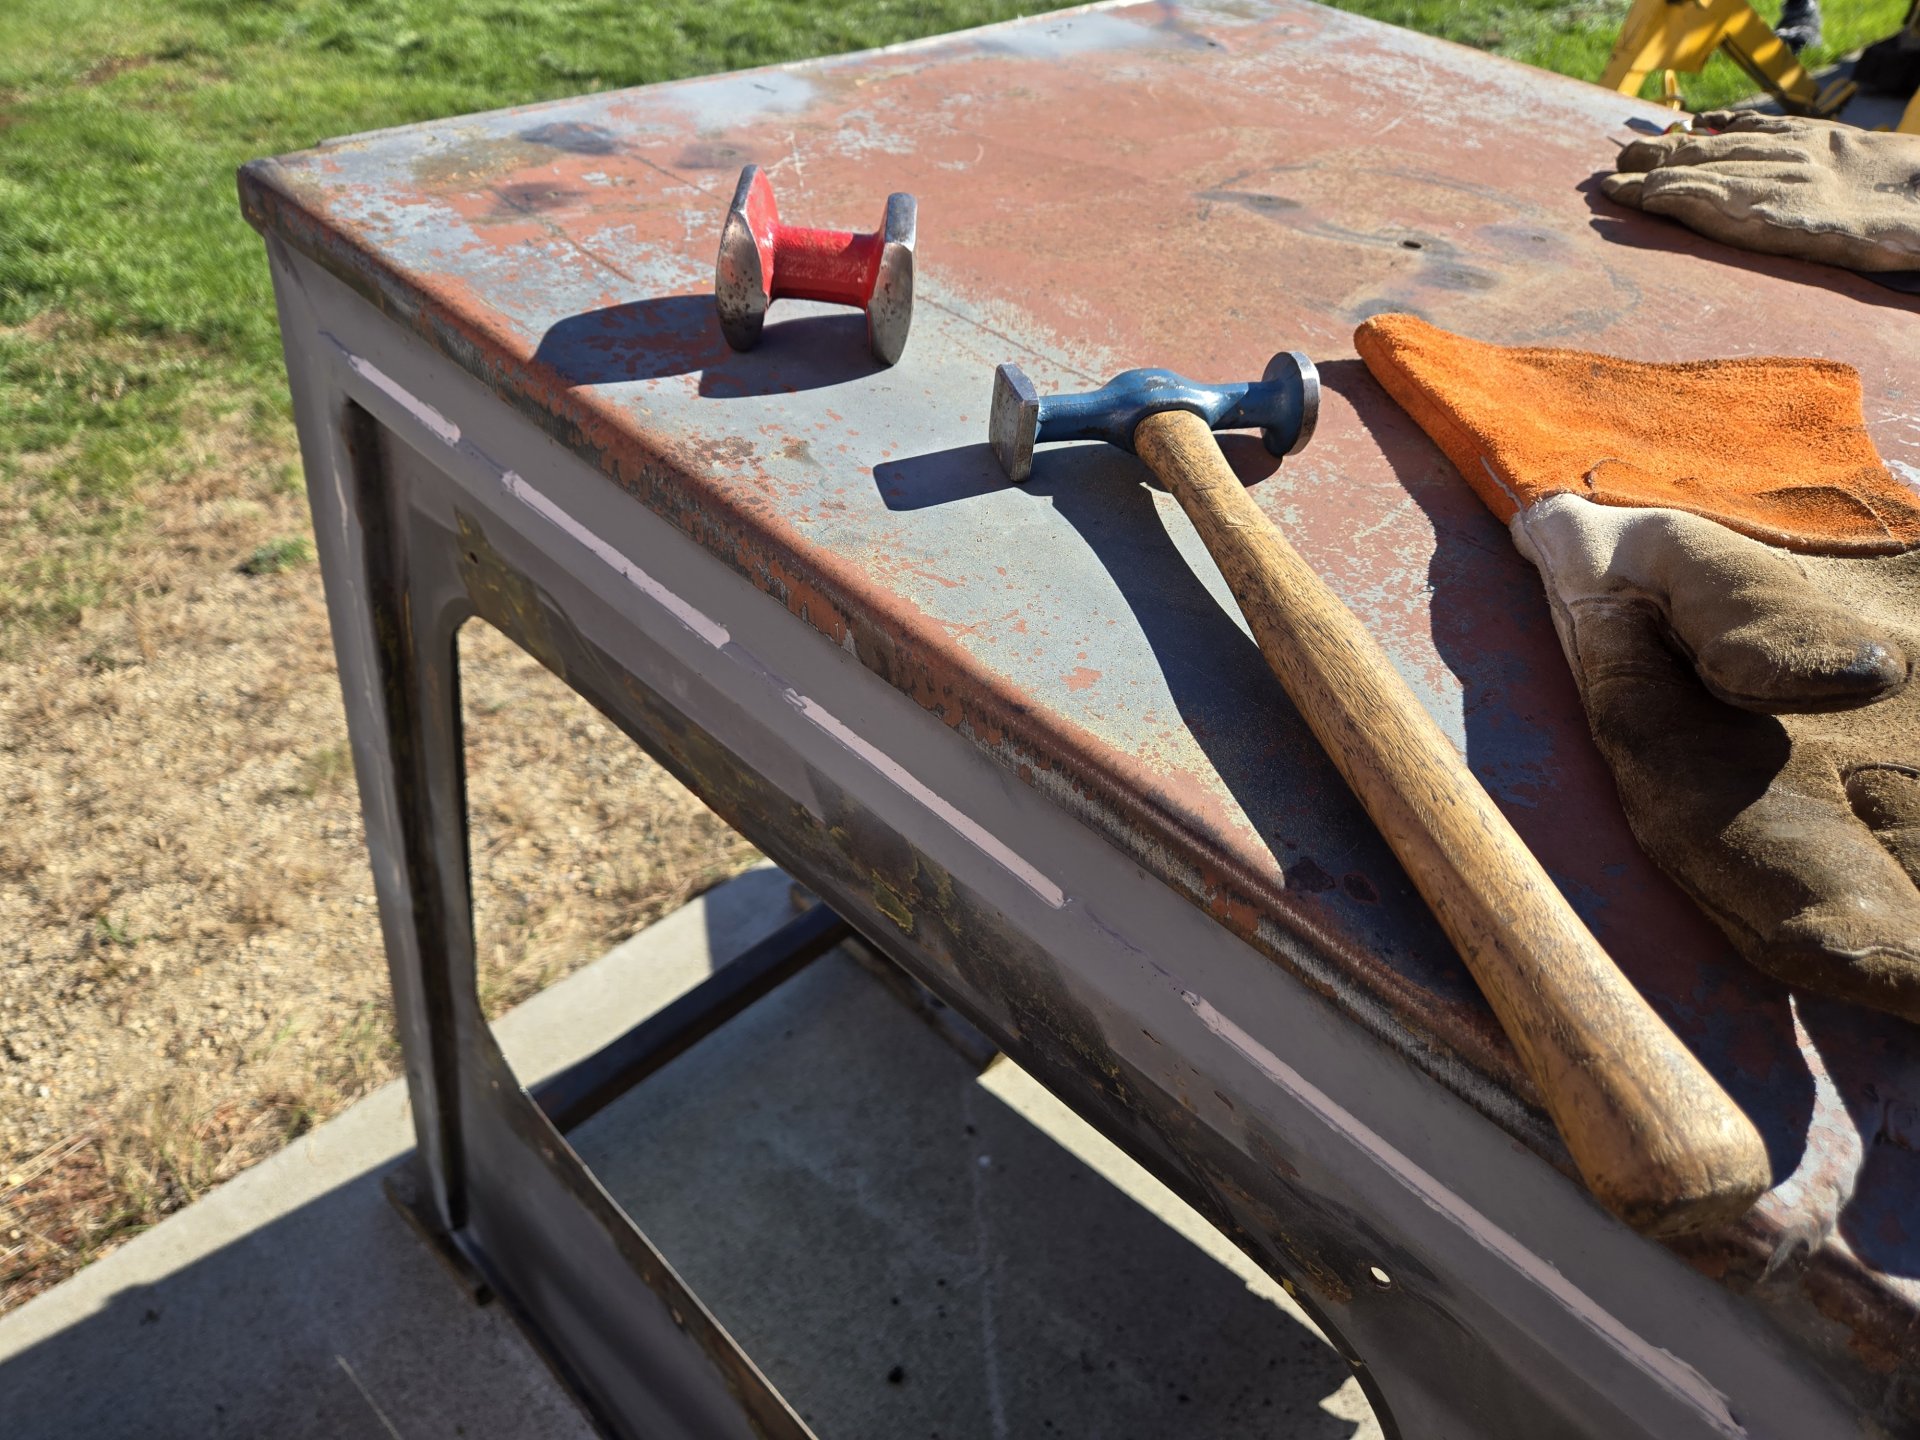
In the following pictures, the first one shows the seam sealer I applied. I was surprised that the original cab was seam sealed, so I followed suit. The second shows the color... it was supposed to be semi-gloss black. I was a little worried but by mid-day of the following day, it was semi-gloss. I'm using IronGuard buff primer (the yellowish looking one) and Martin Senior self etching primer (gray in color).
20251029_141238.jpg
20251029_154029.jpg


The door fits well but needs some final adjustment so that it seals correctly.
20251030_123540.jpg
20251030_123550.jpg


I forgot I needed to install the boom locks so stopped until all the welding is completed.
20251030_123745.jpg
 
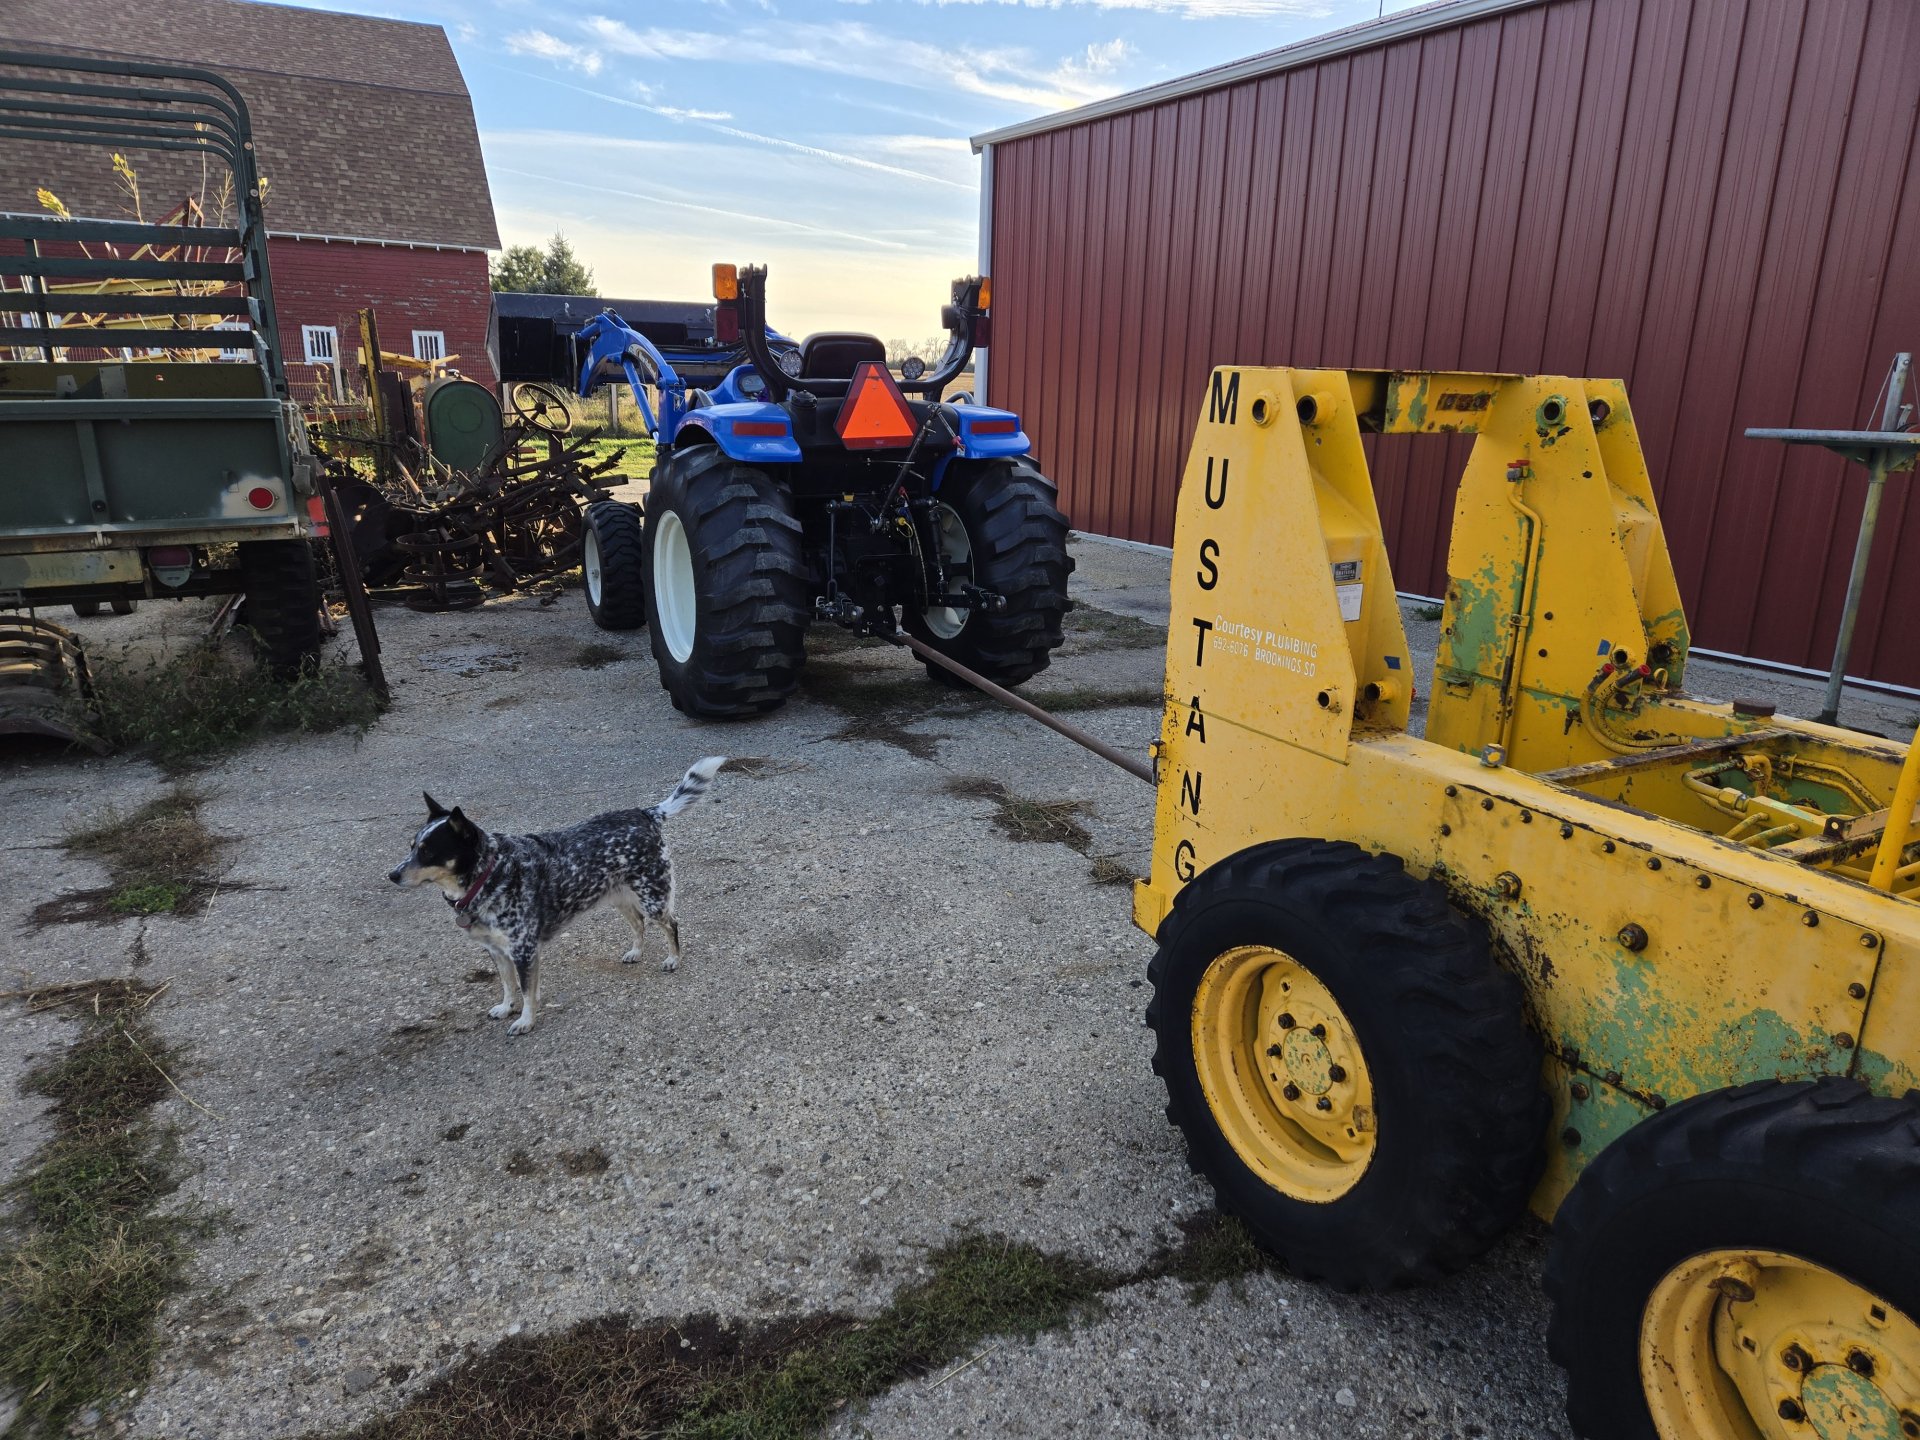
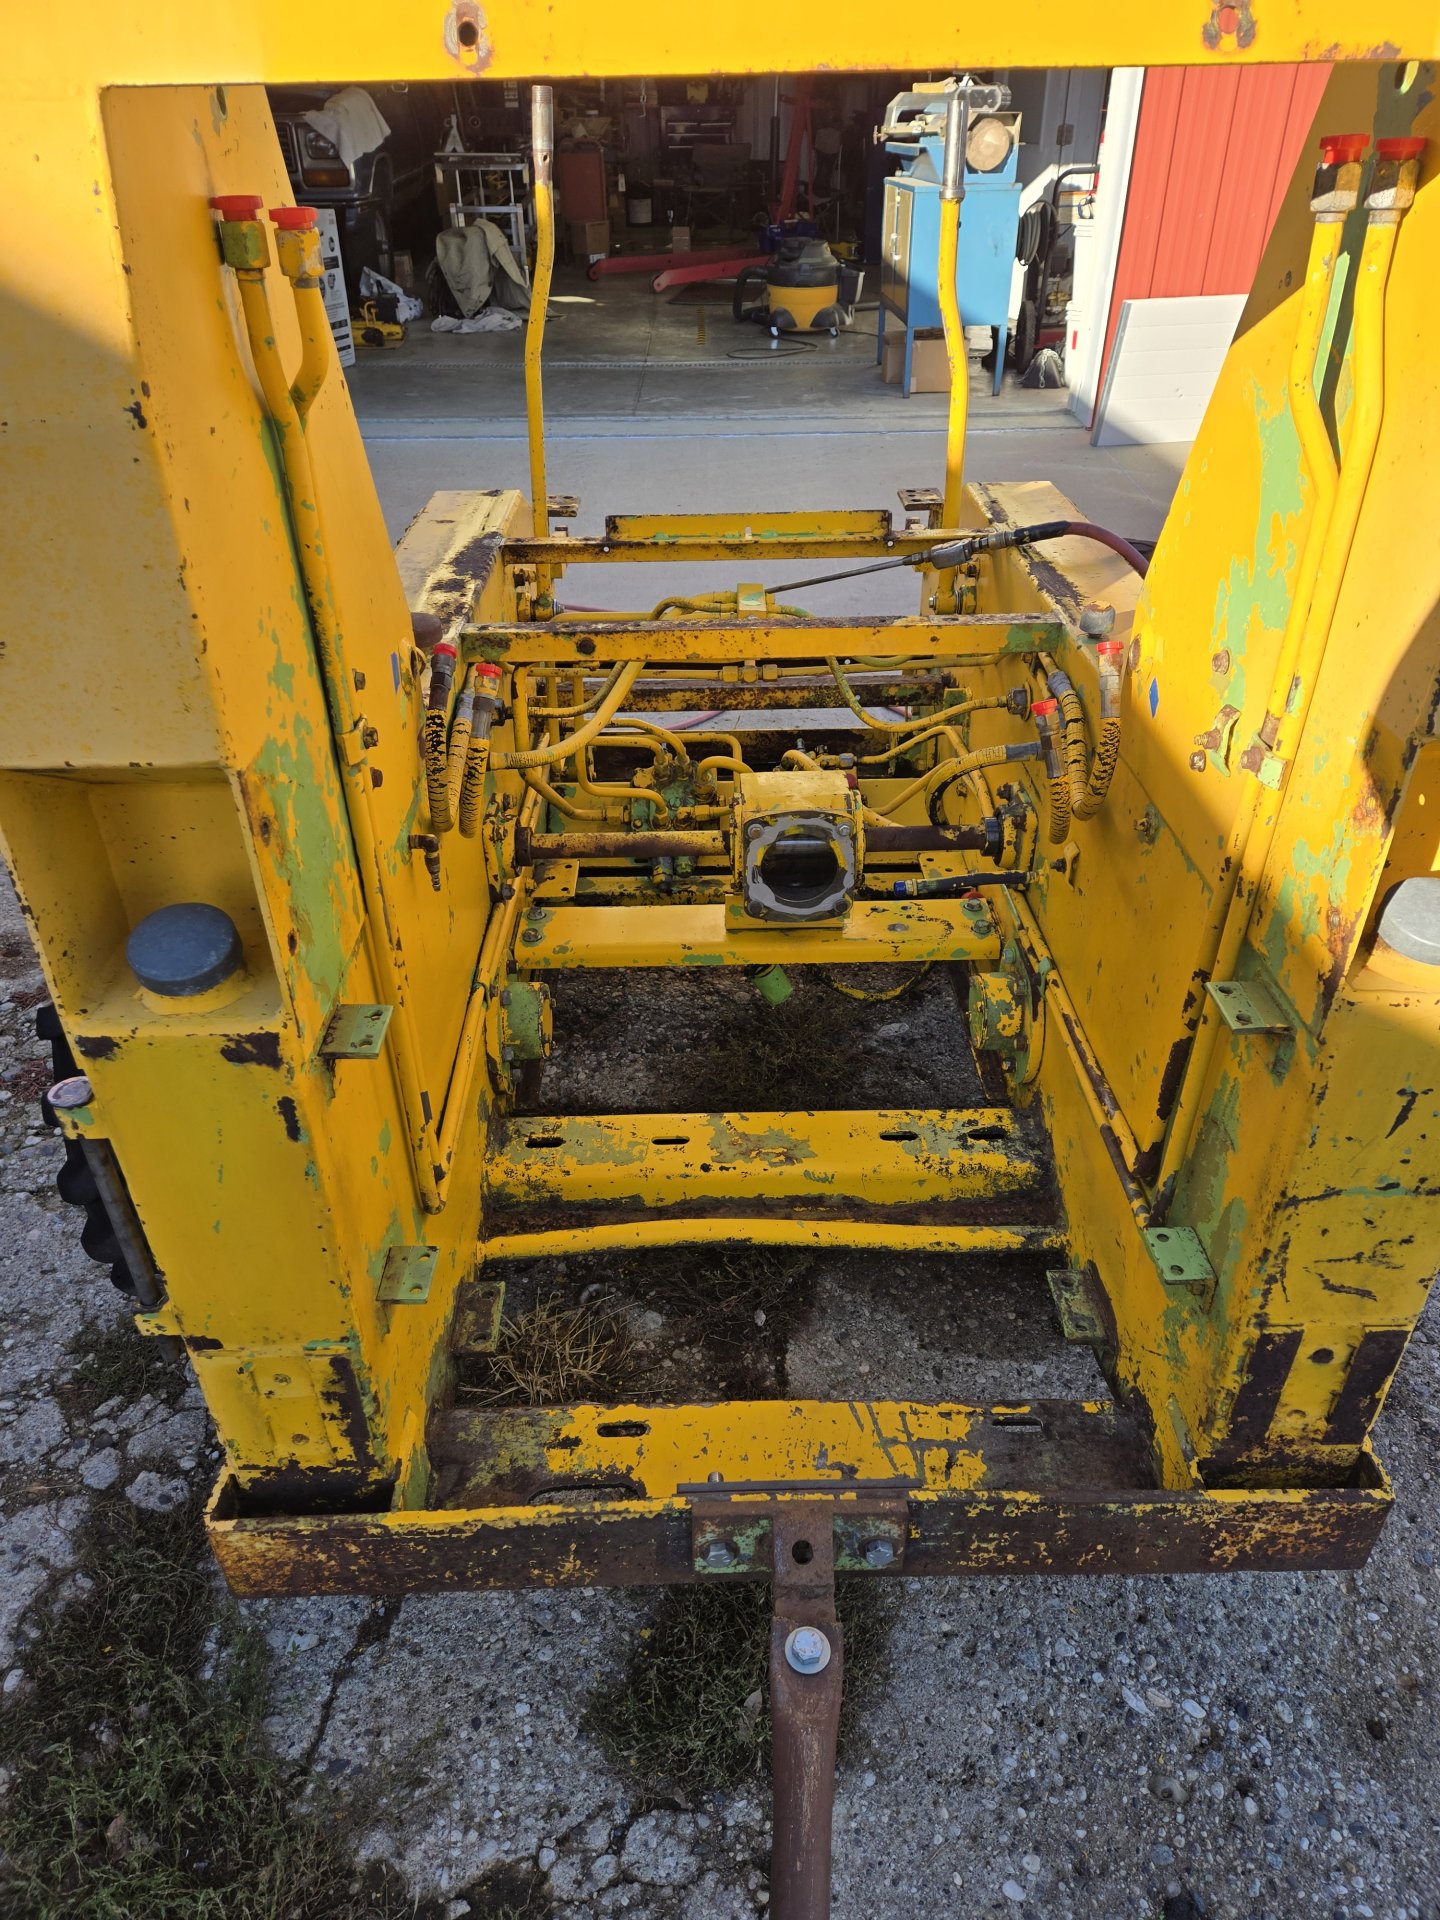
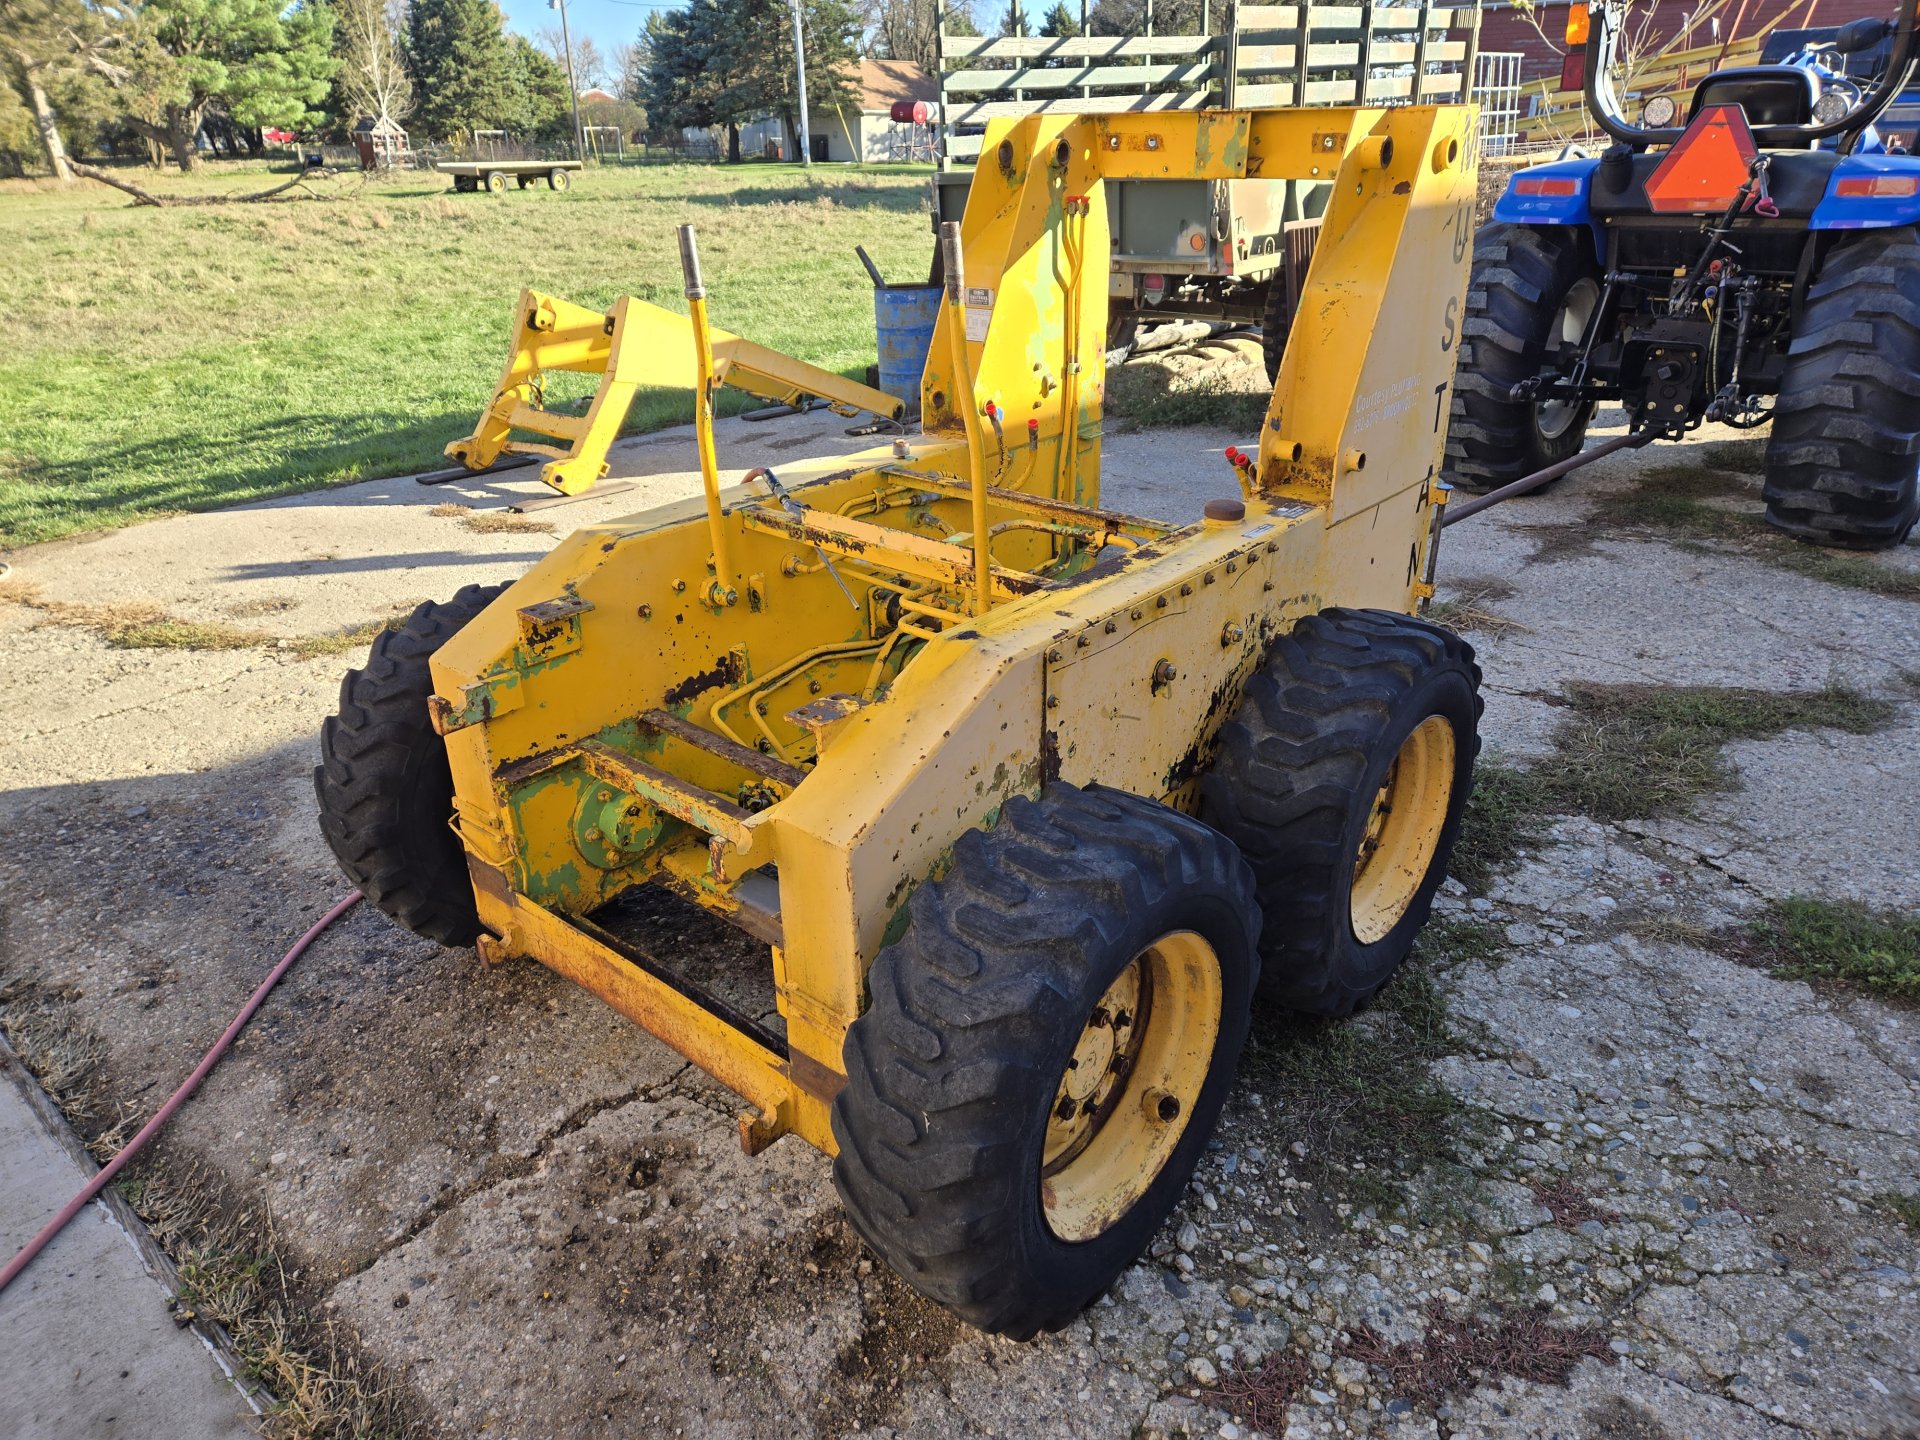
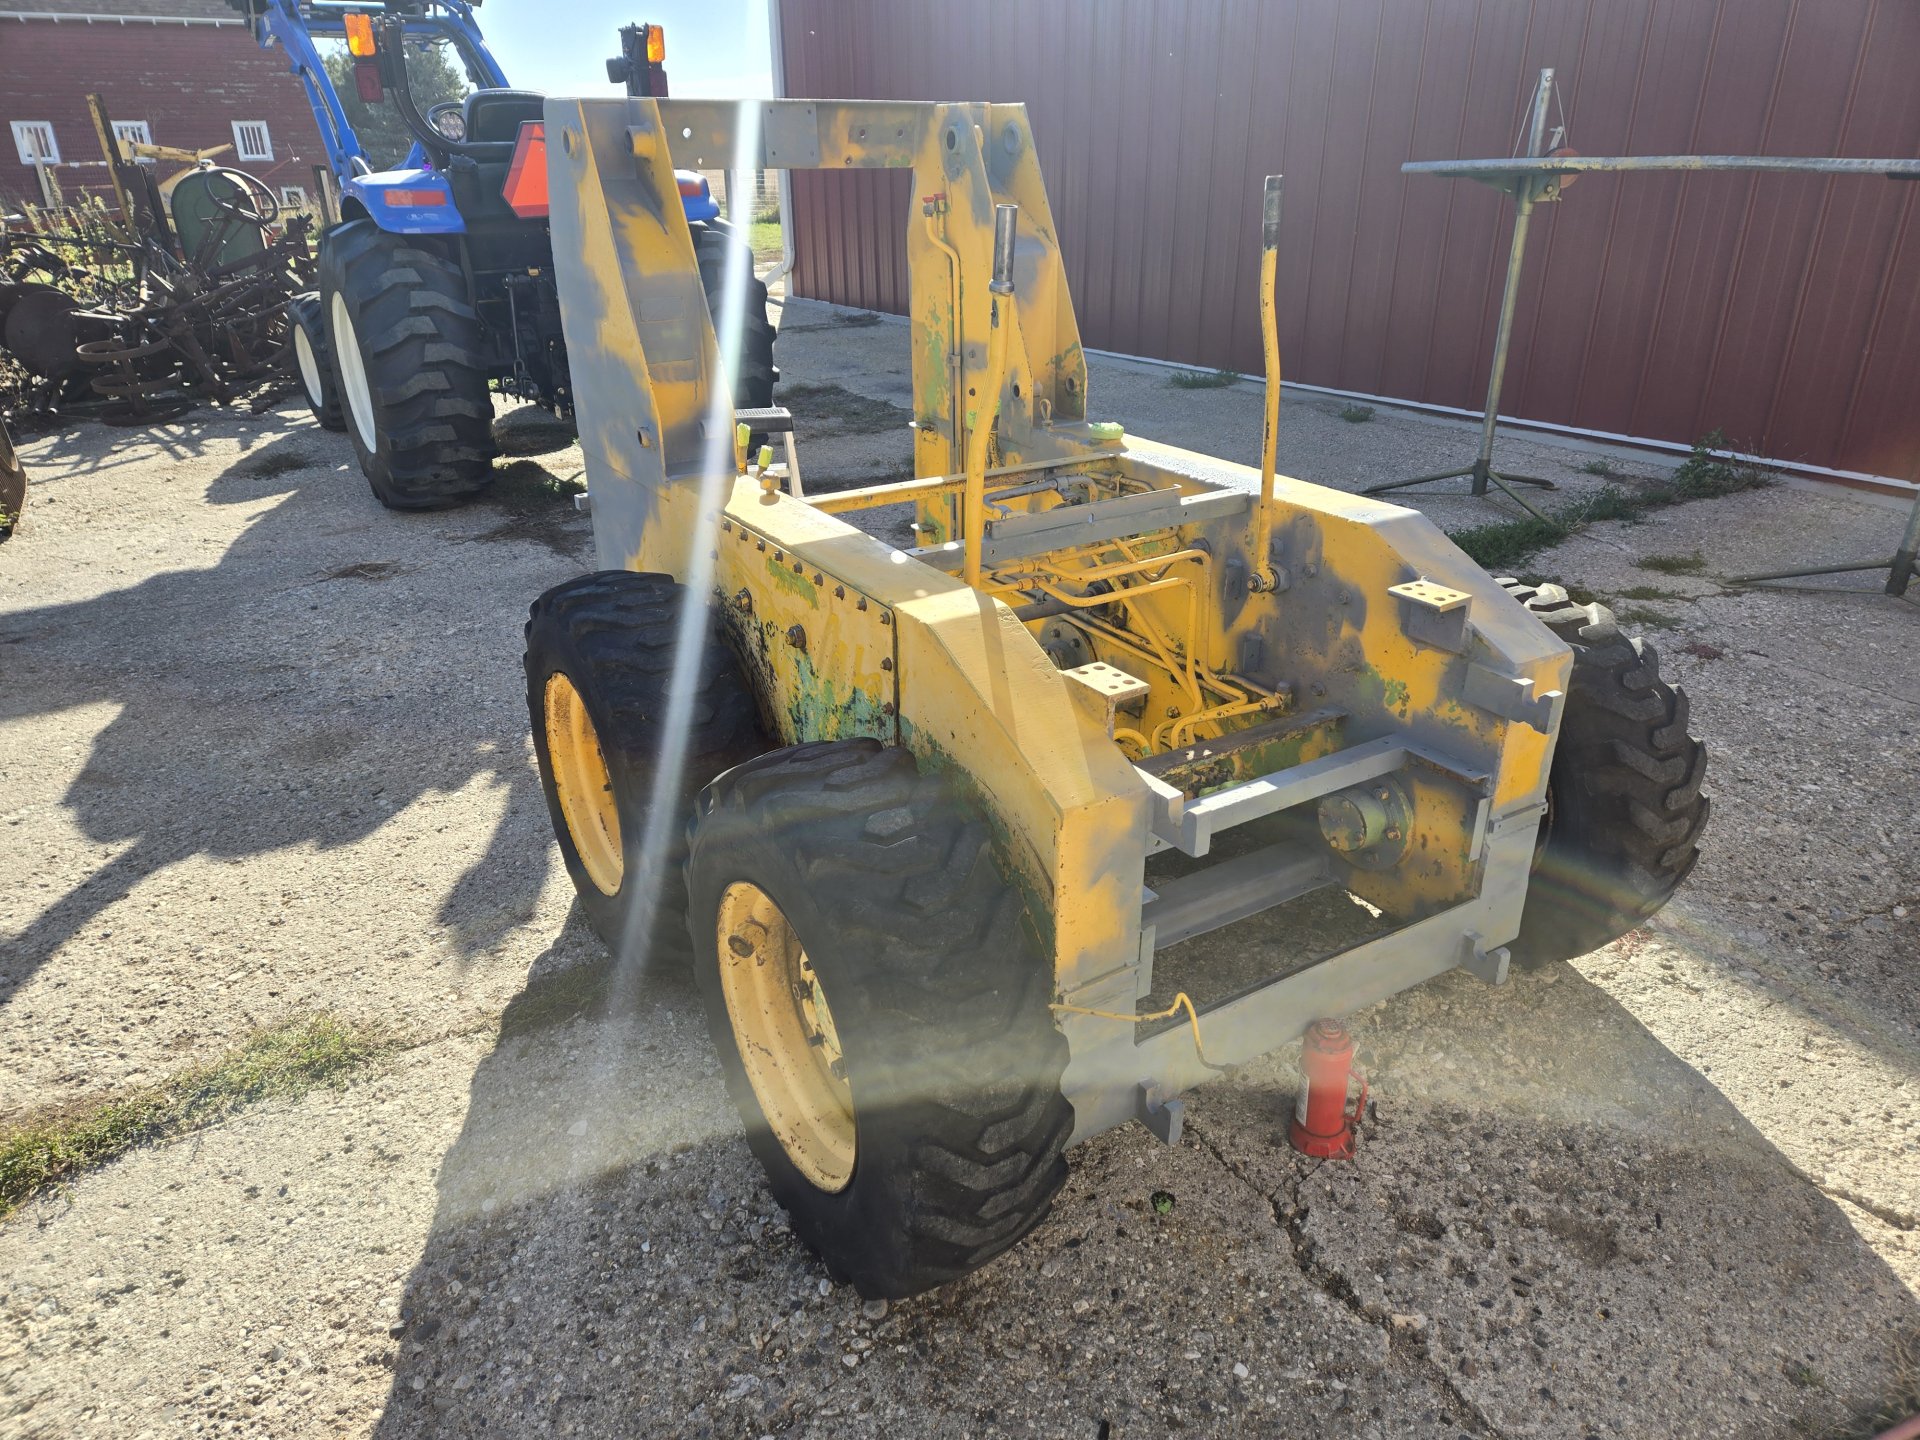
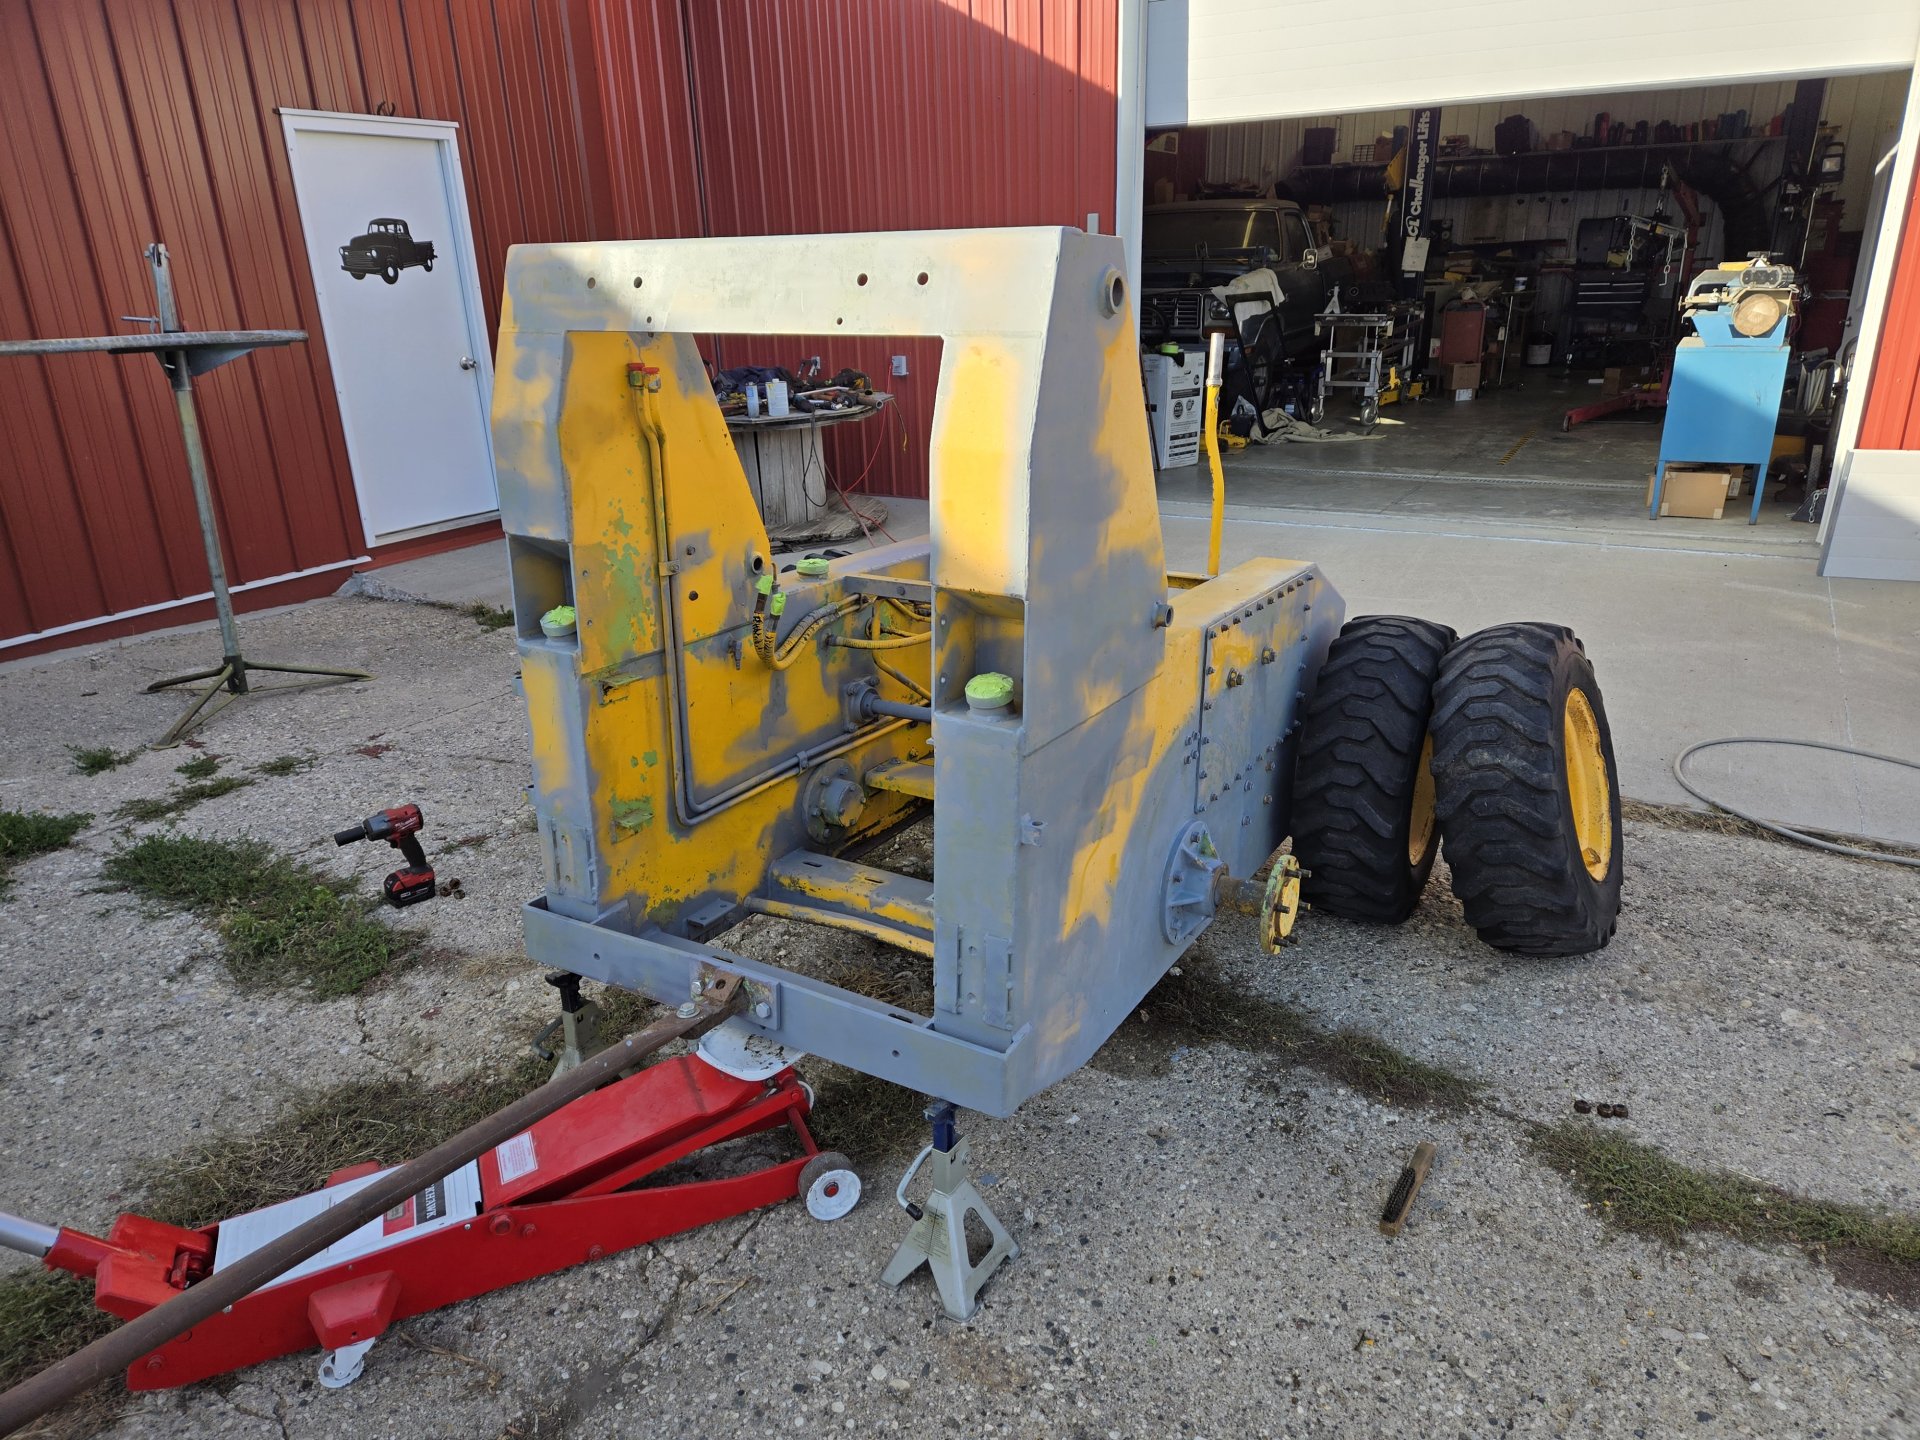
Good progress today. Built a tug bar to move the hull more easily. The cab is mostly in black on the outside - I changed my mind about waiting, the weather is just to nice to not paint. Spent 6 hours degreasing the hull. Some of that old grease gets hard as a rock. I used a myriad of water-based degreasers. It worked better than I thought it would. Tomorrow is to remove the decals, weld some cracks and start priming.

20251103_160347.jpg
20251103_144908.jpg


20251103_144851.jpg
20251103_144837.jpg
 
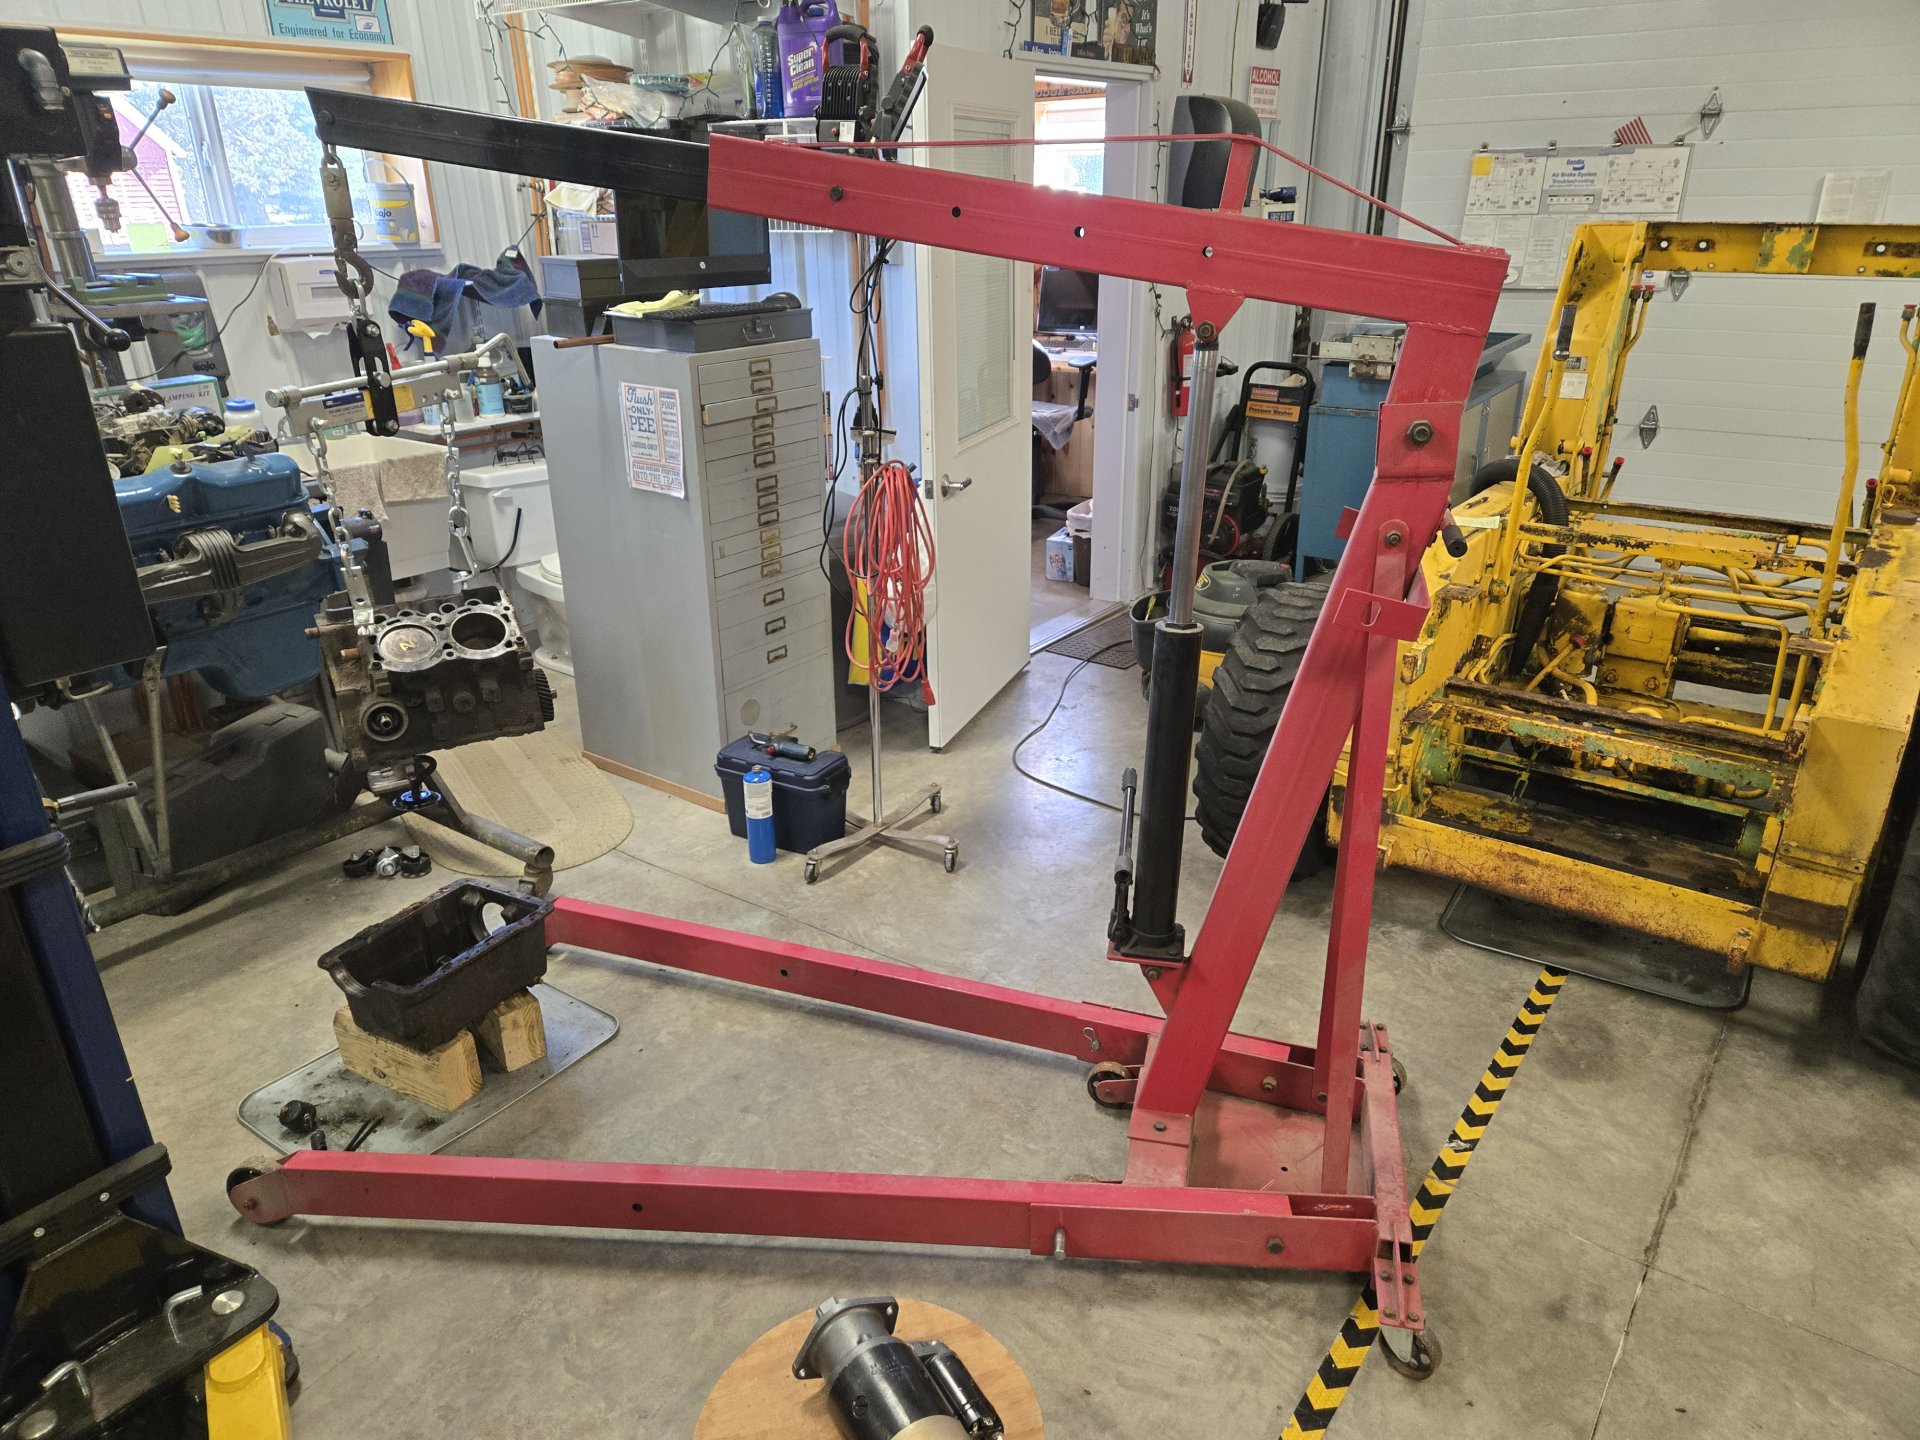
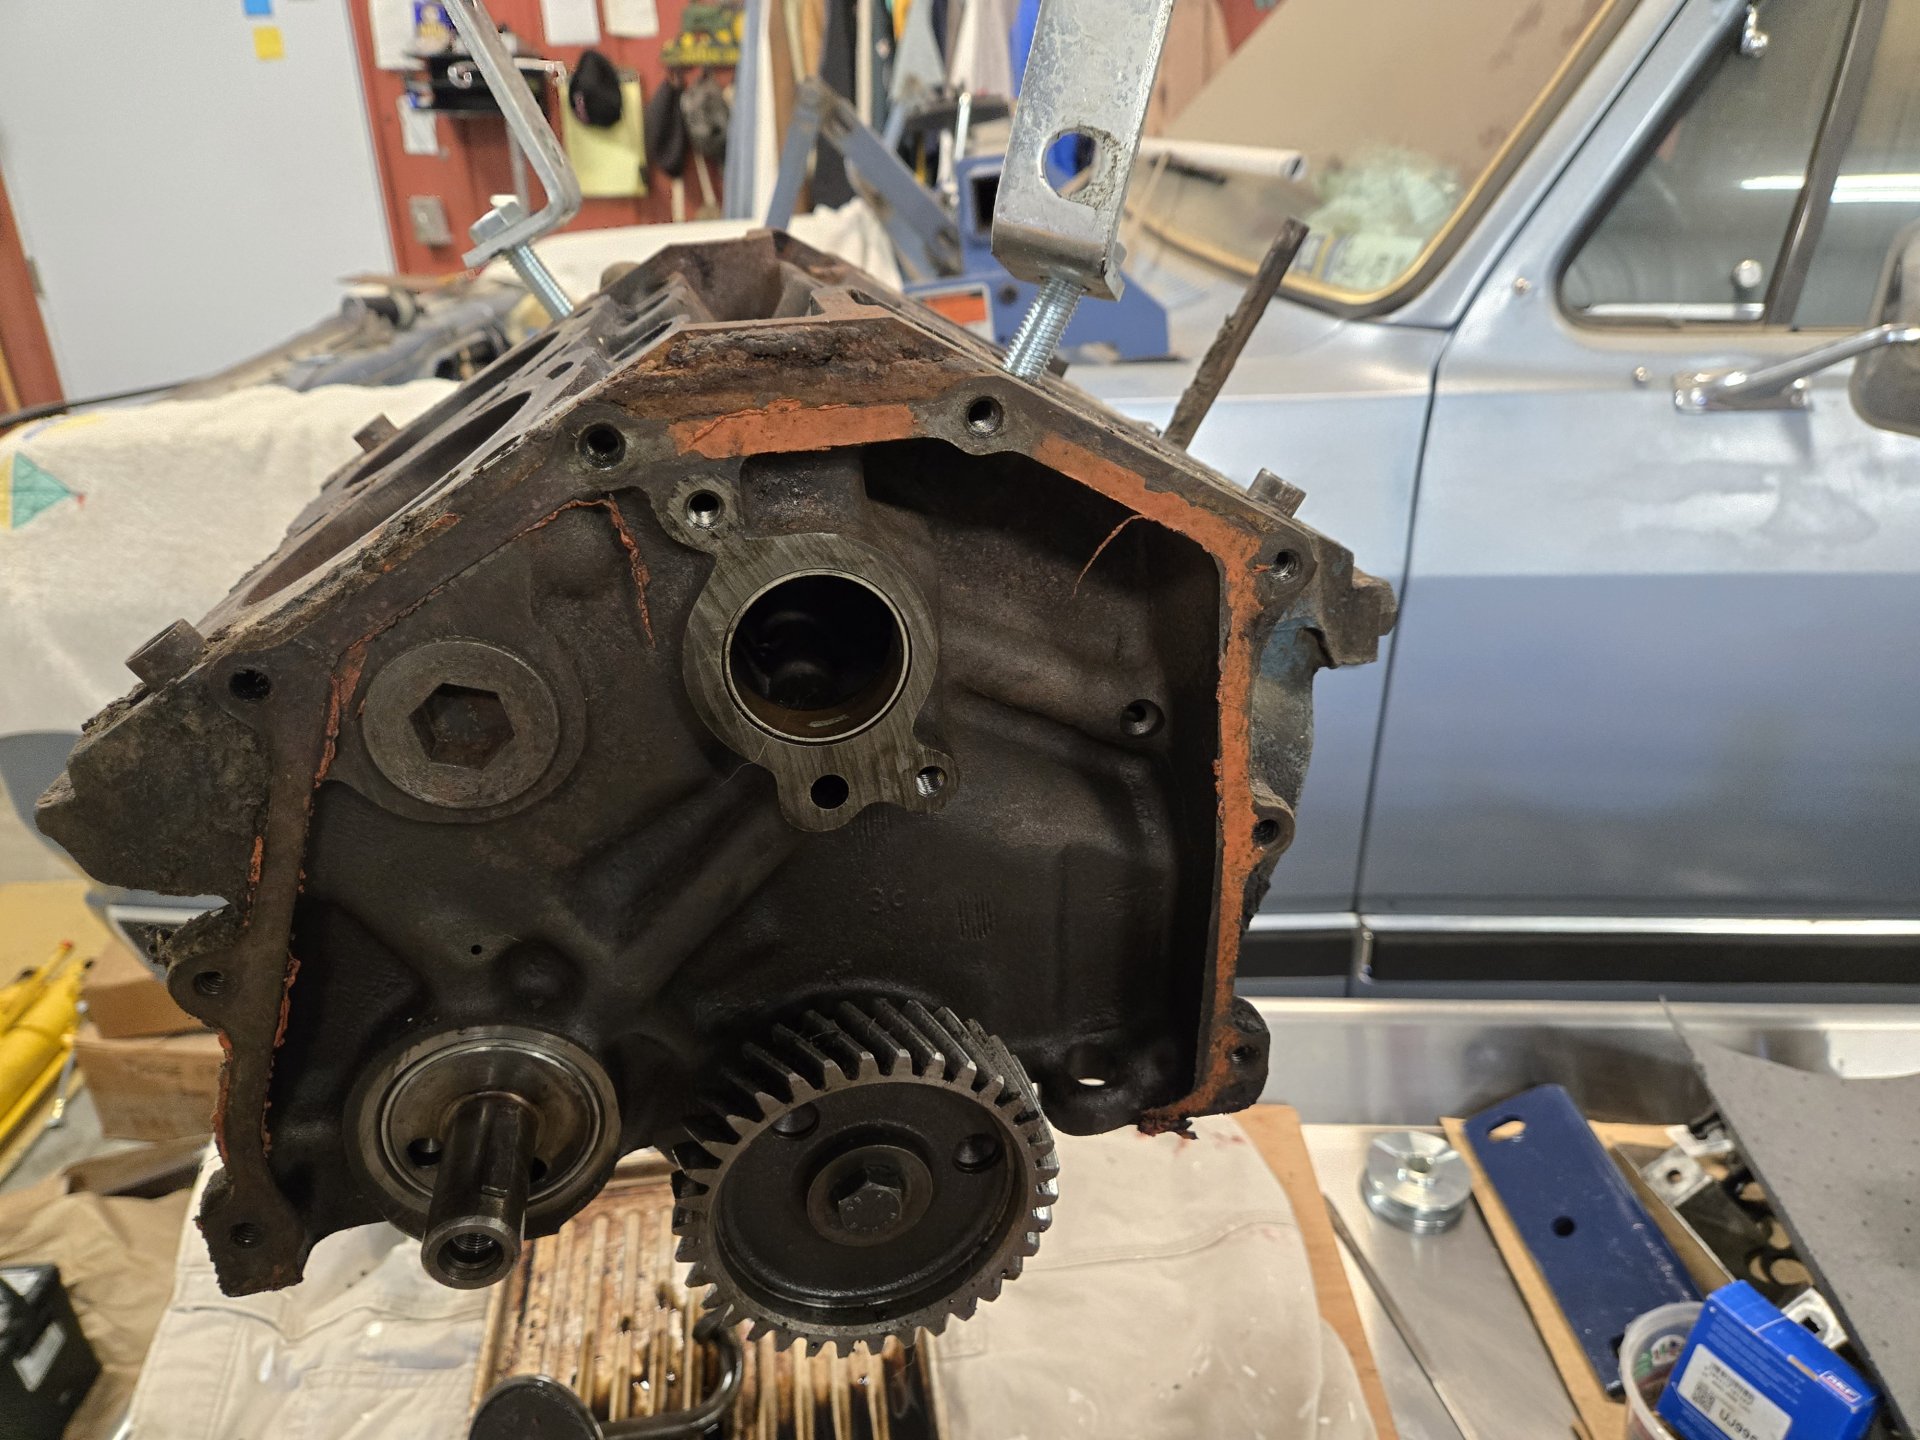
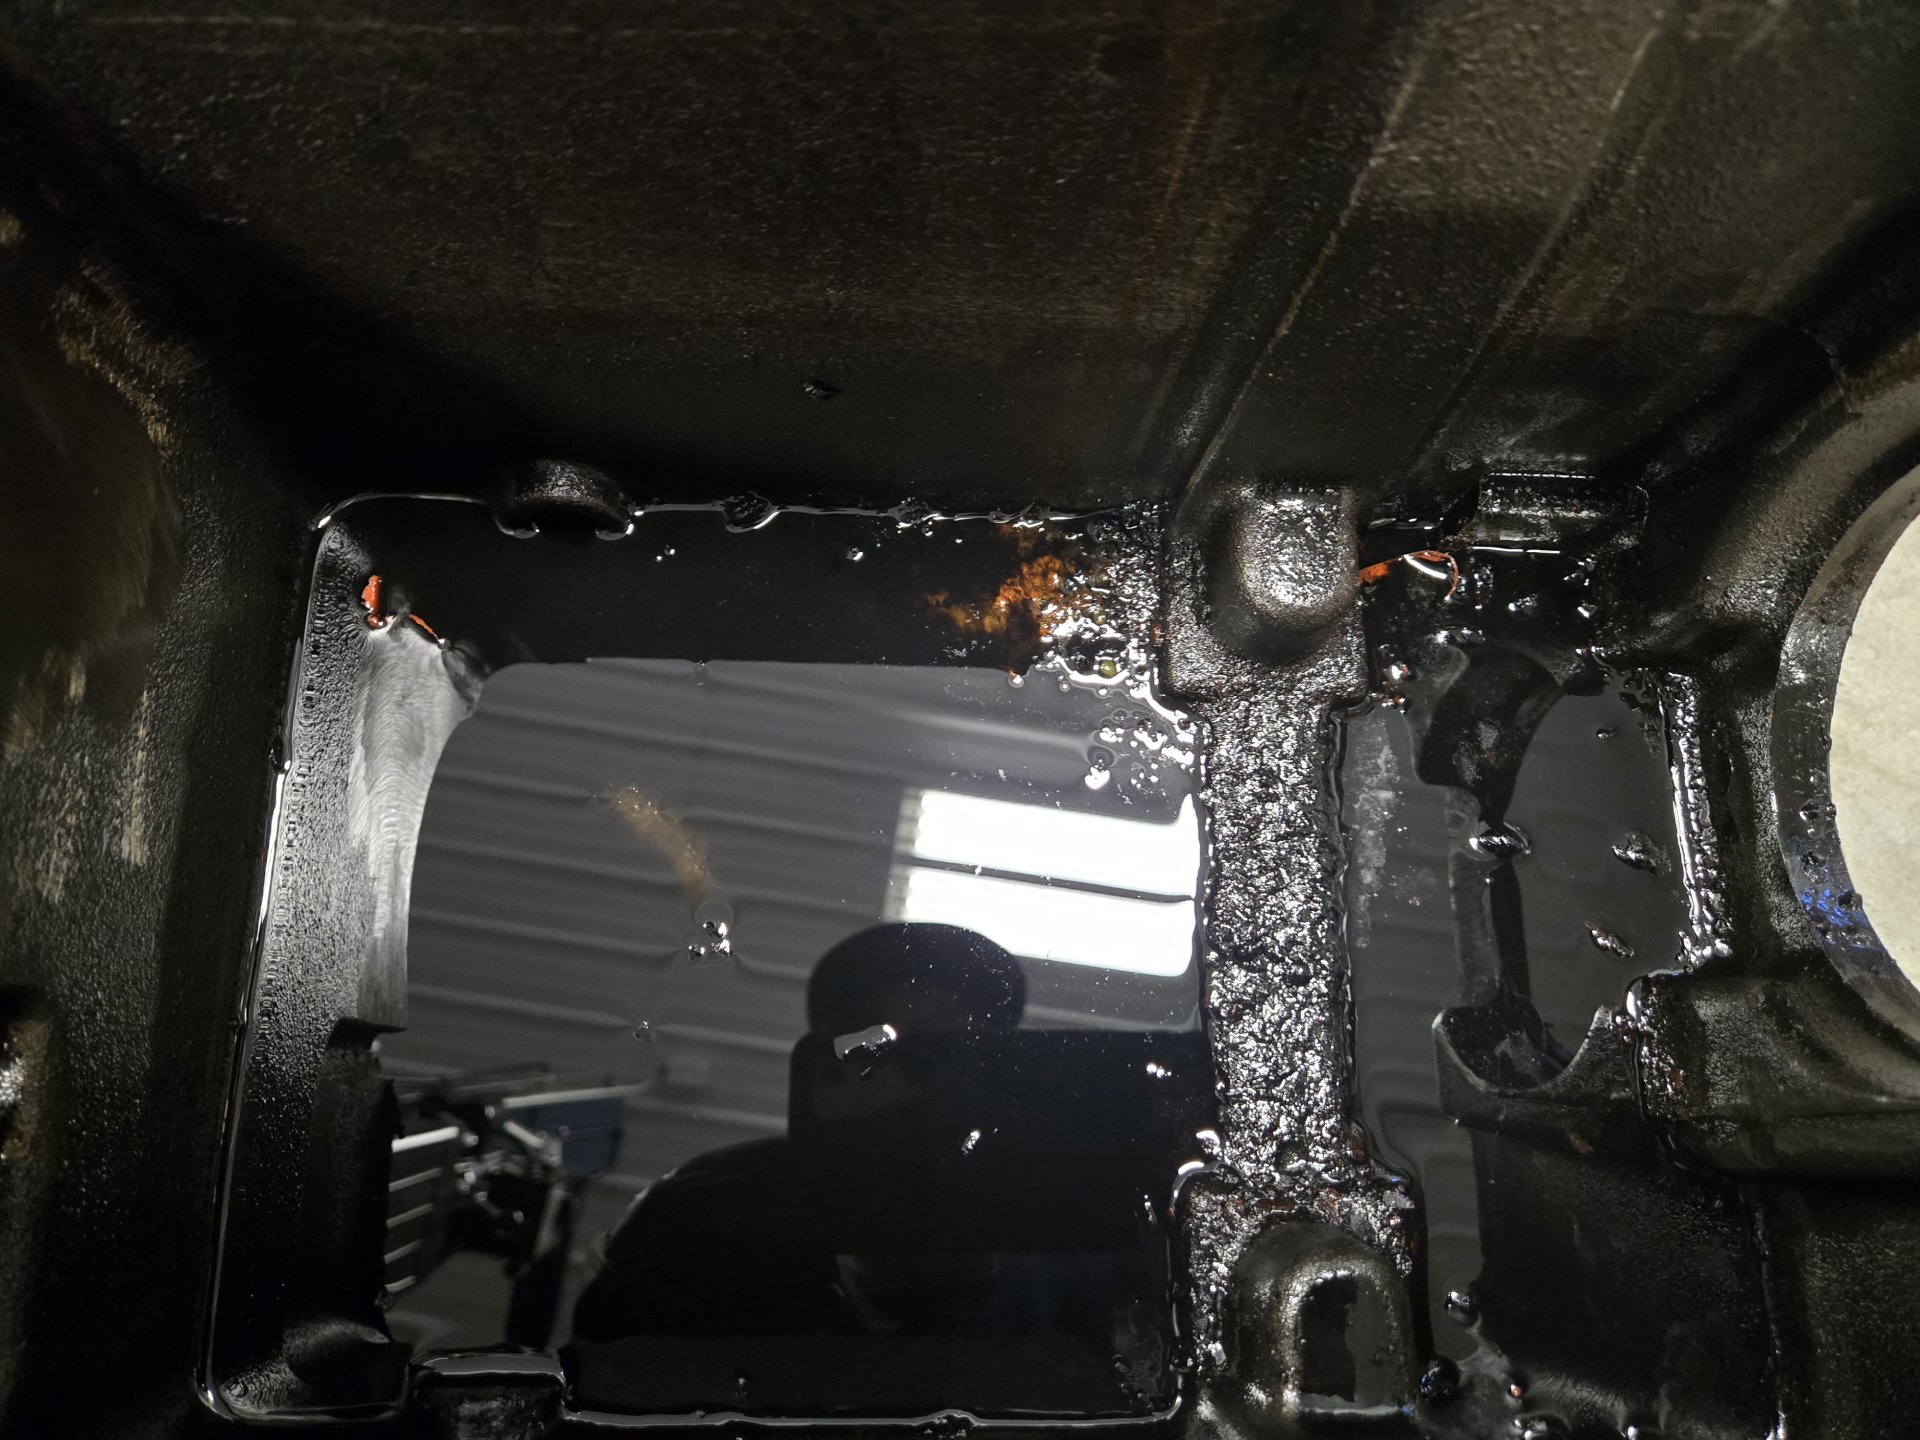
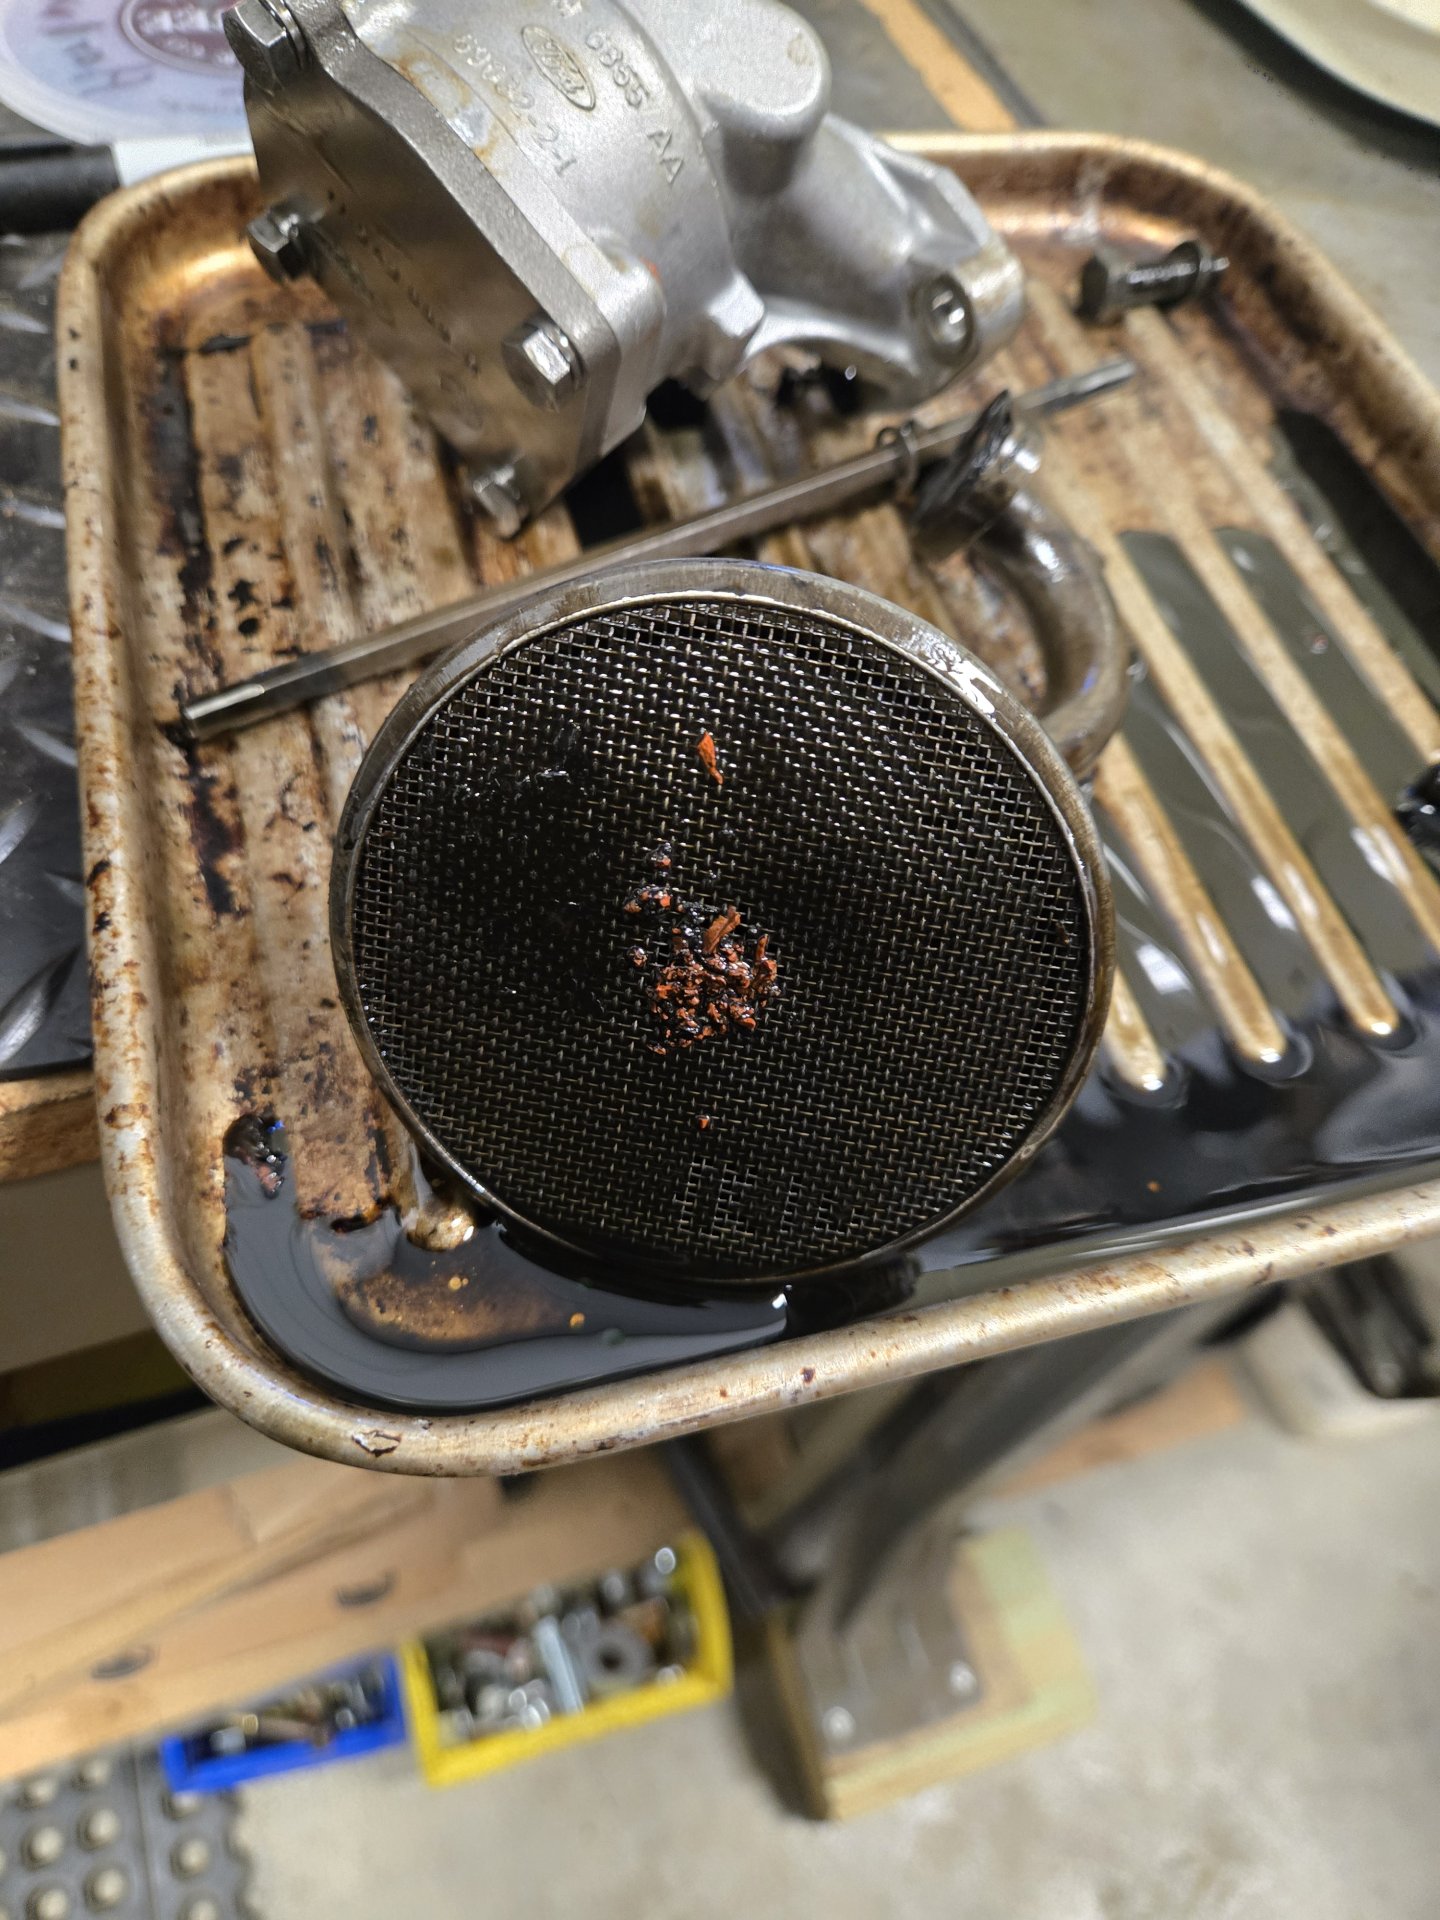
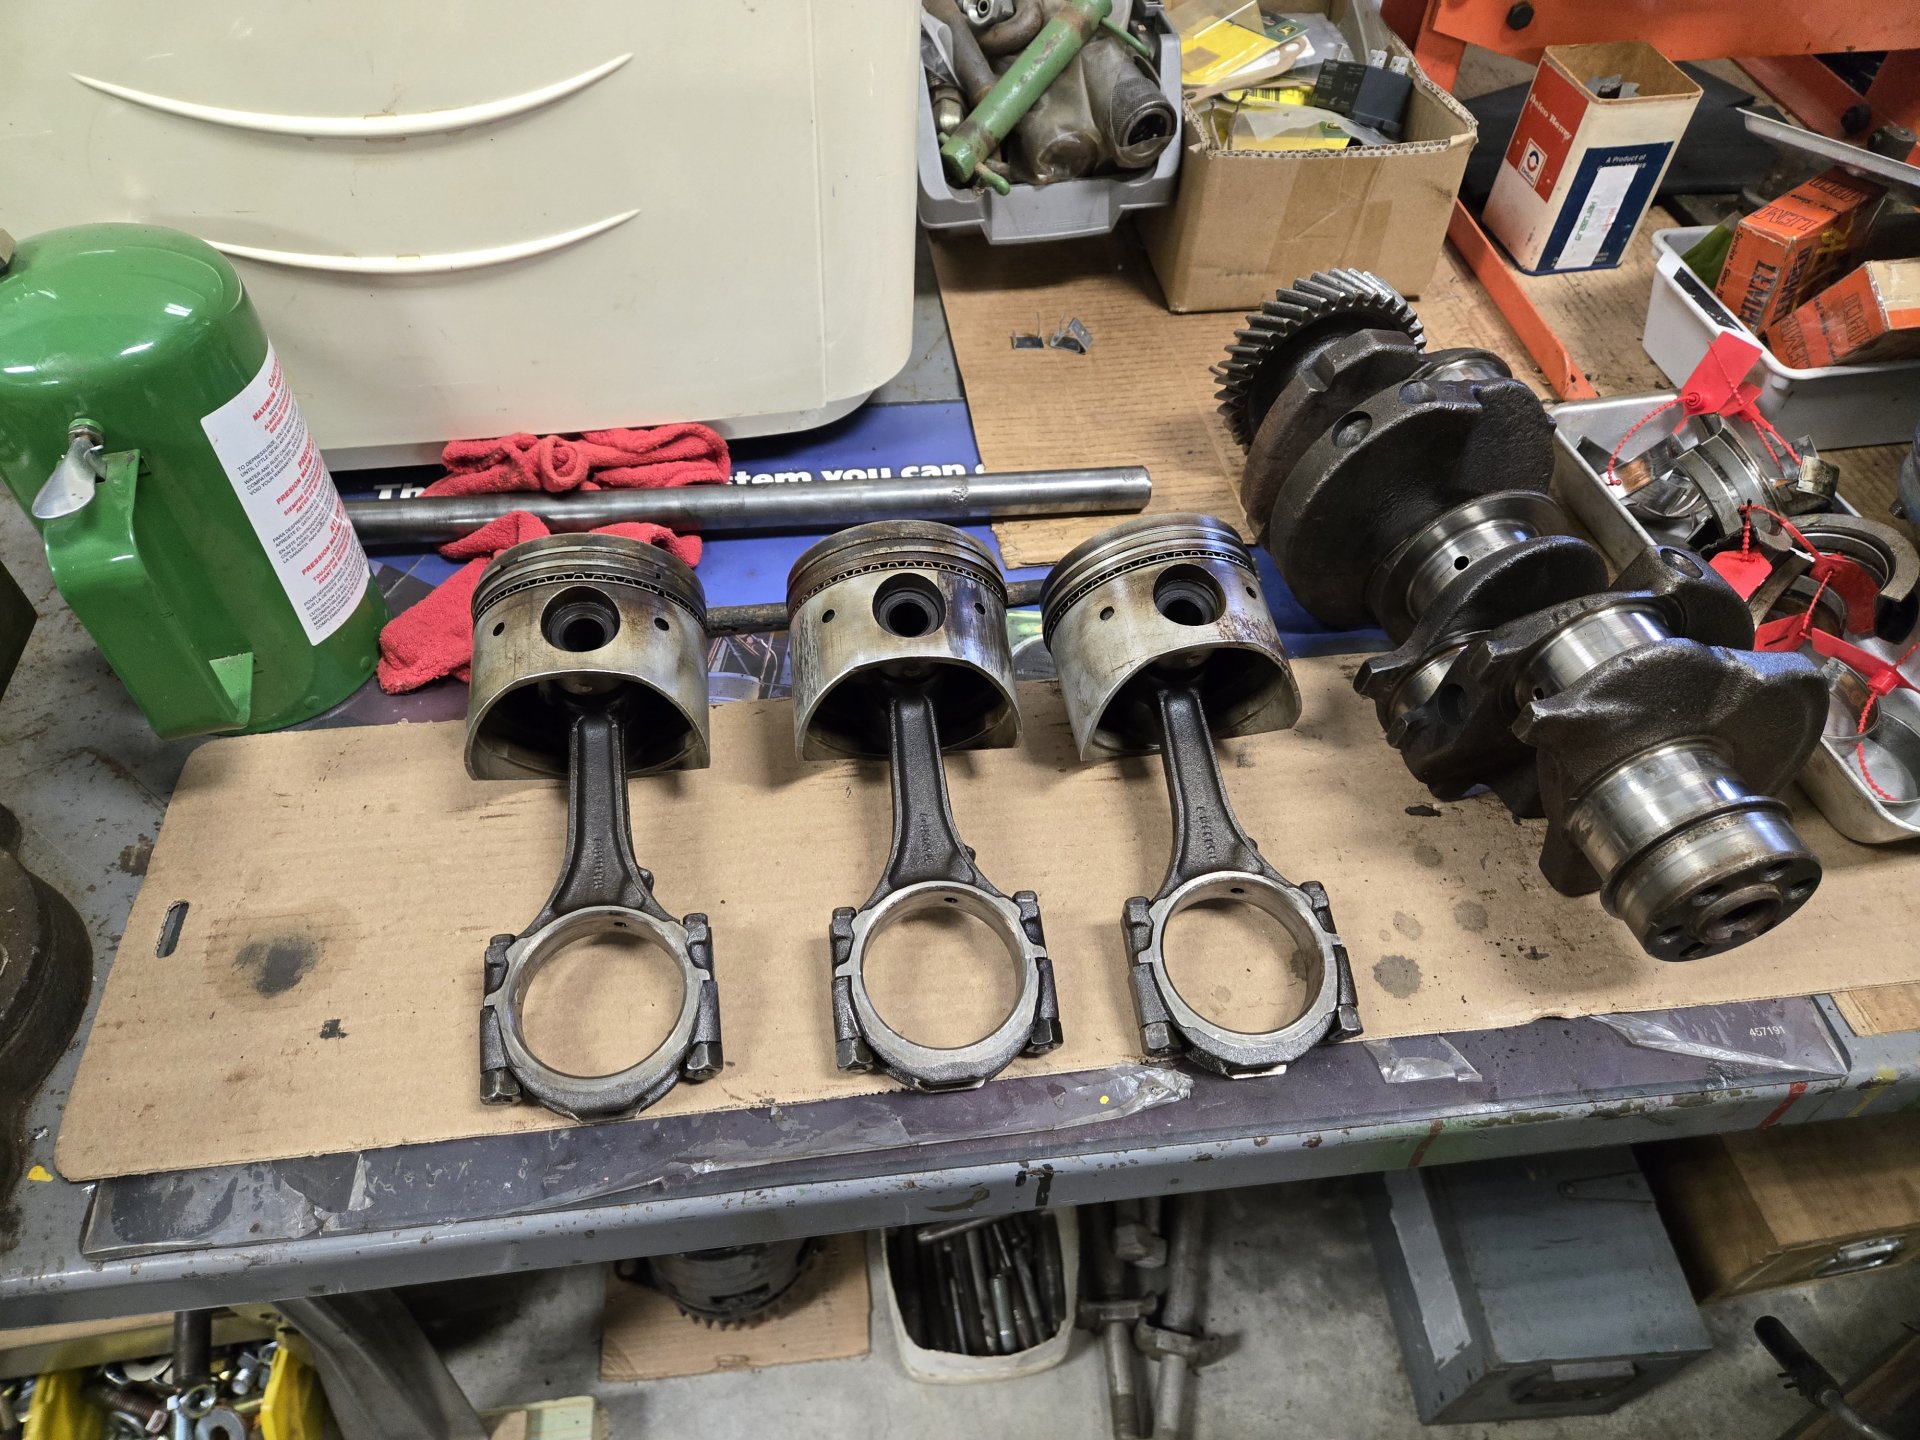
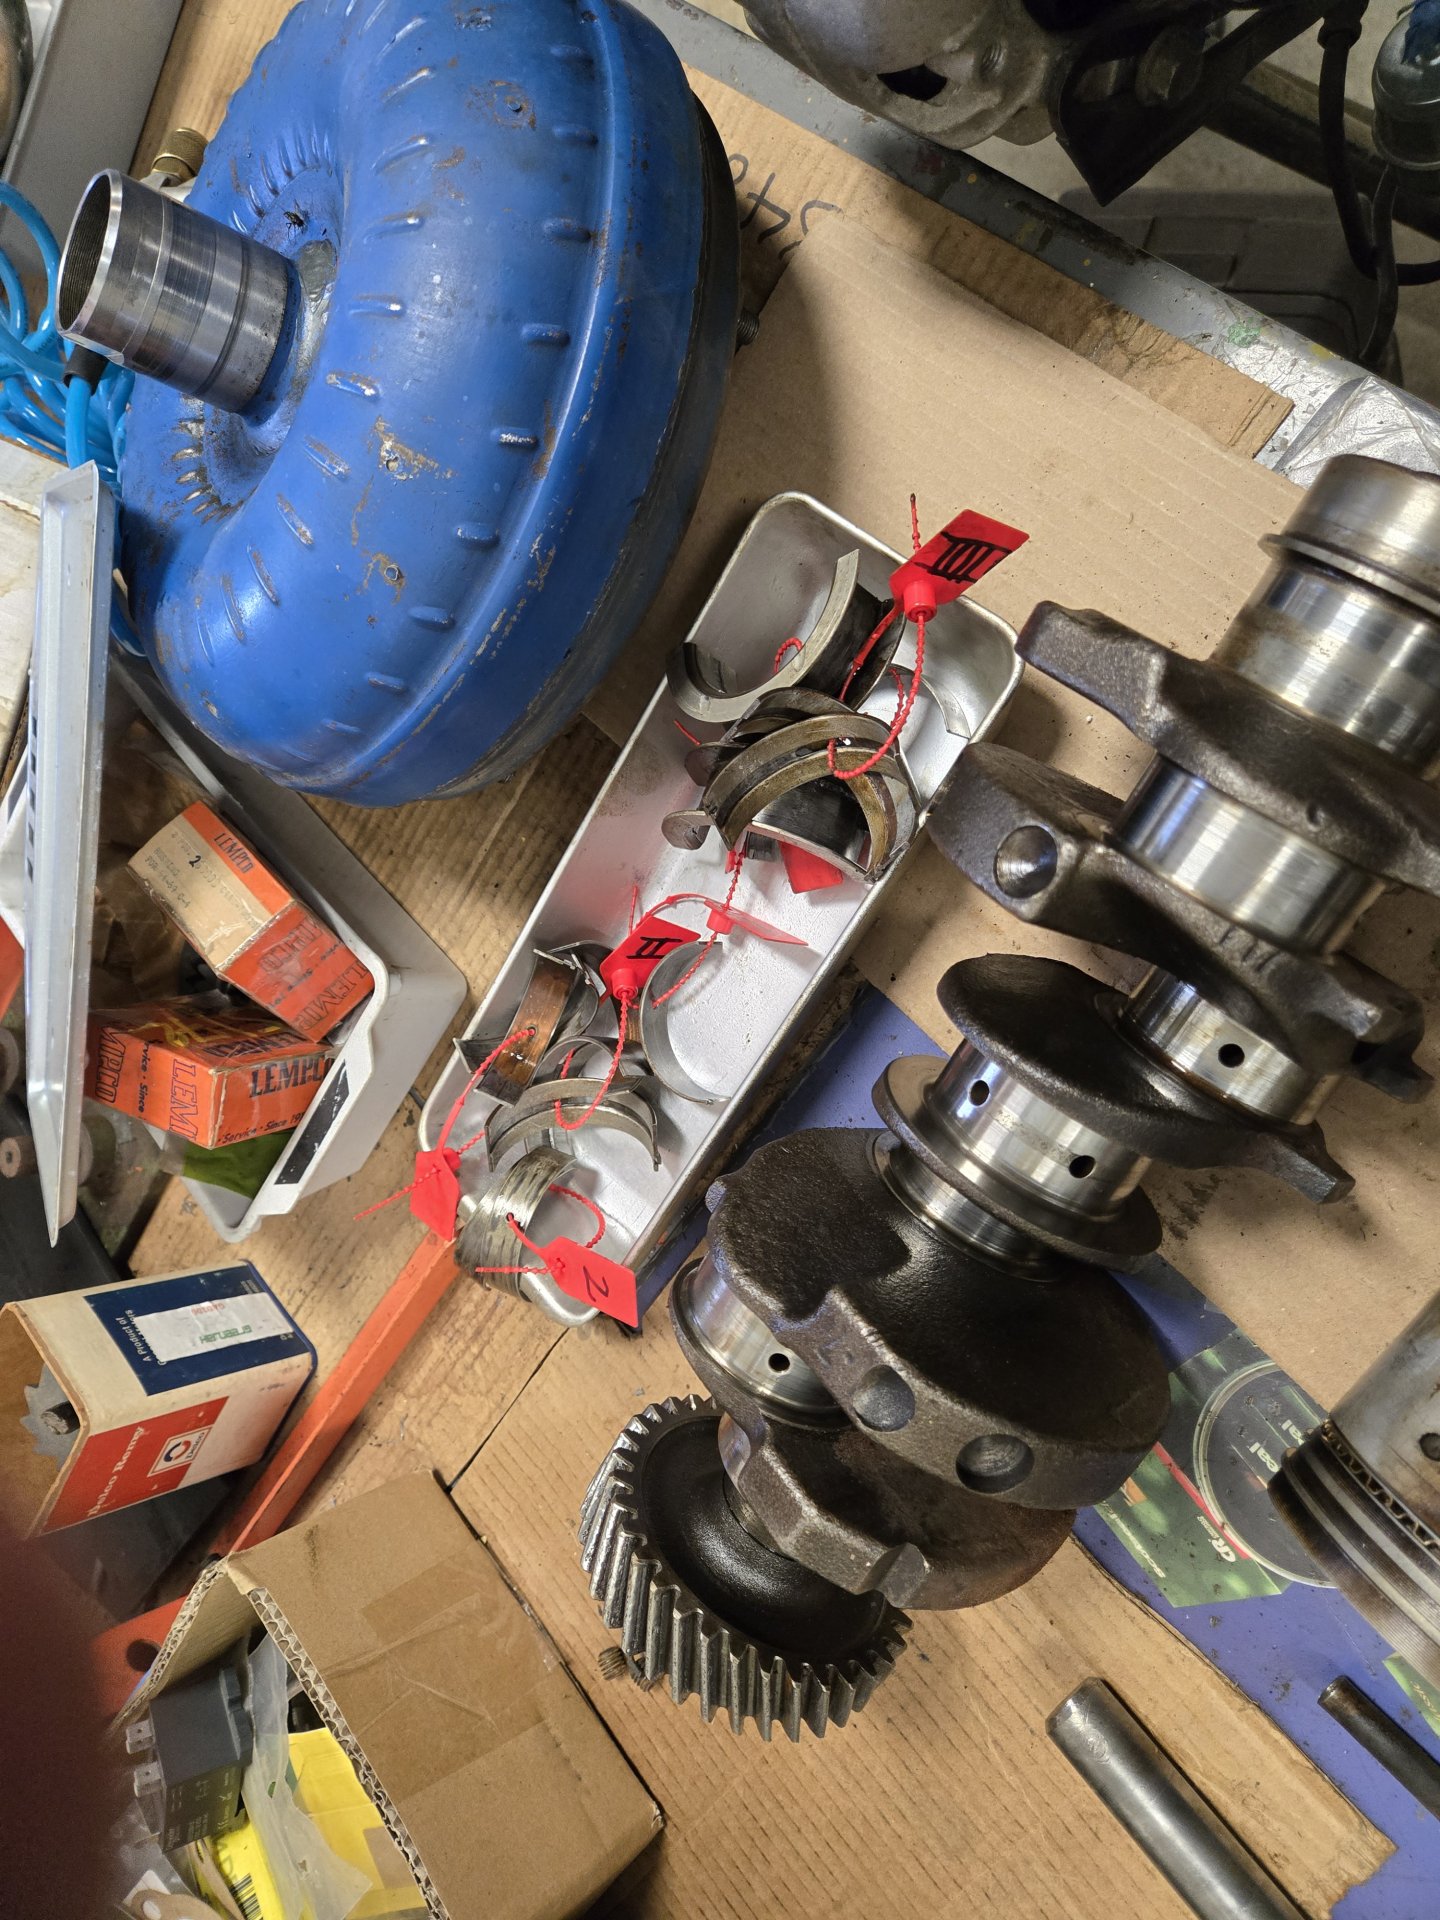
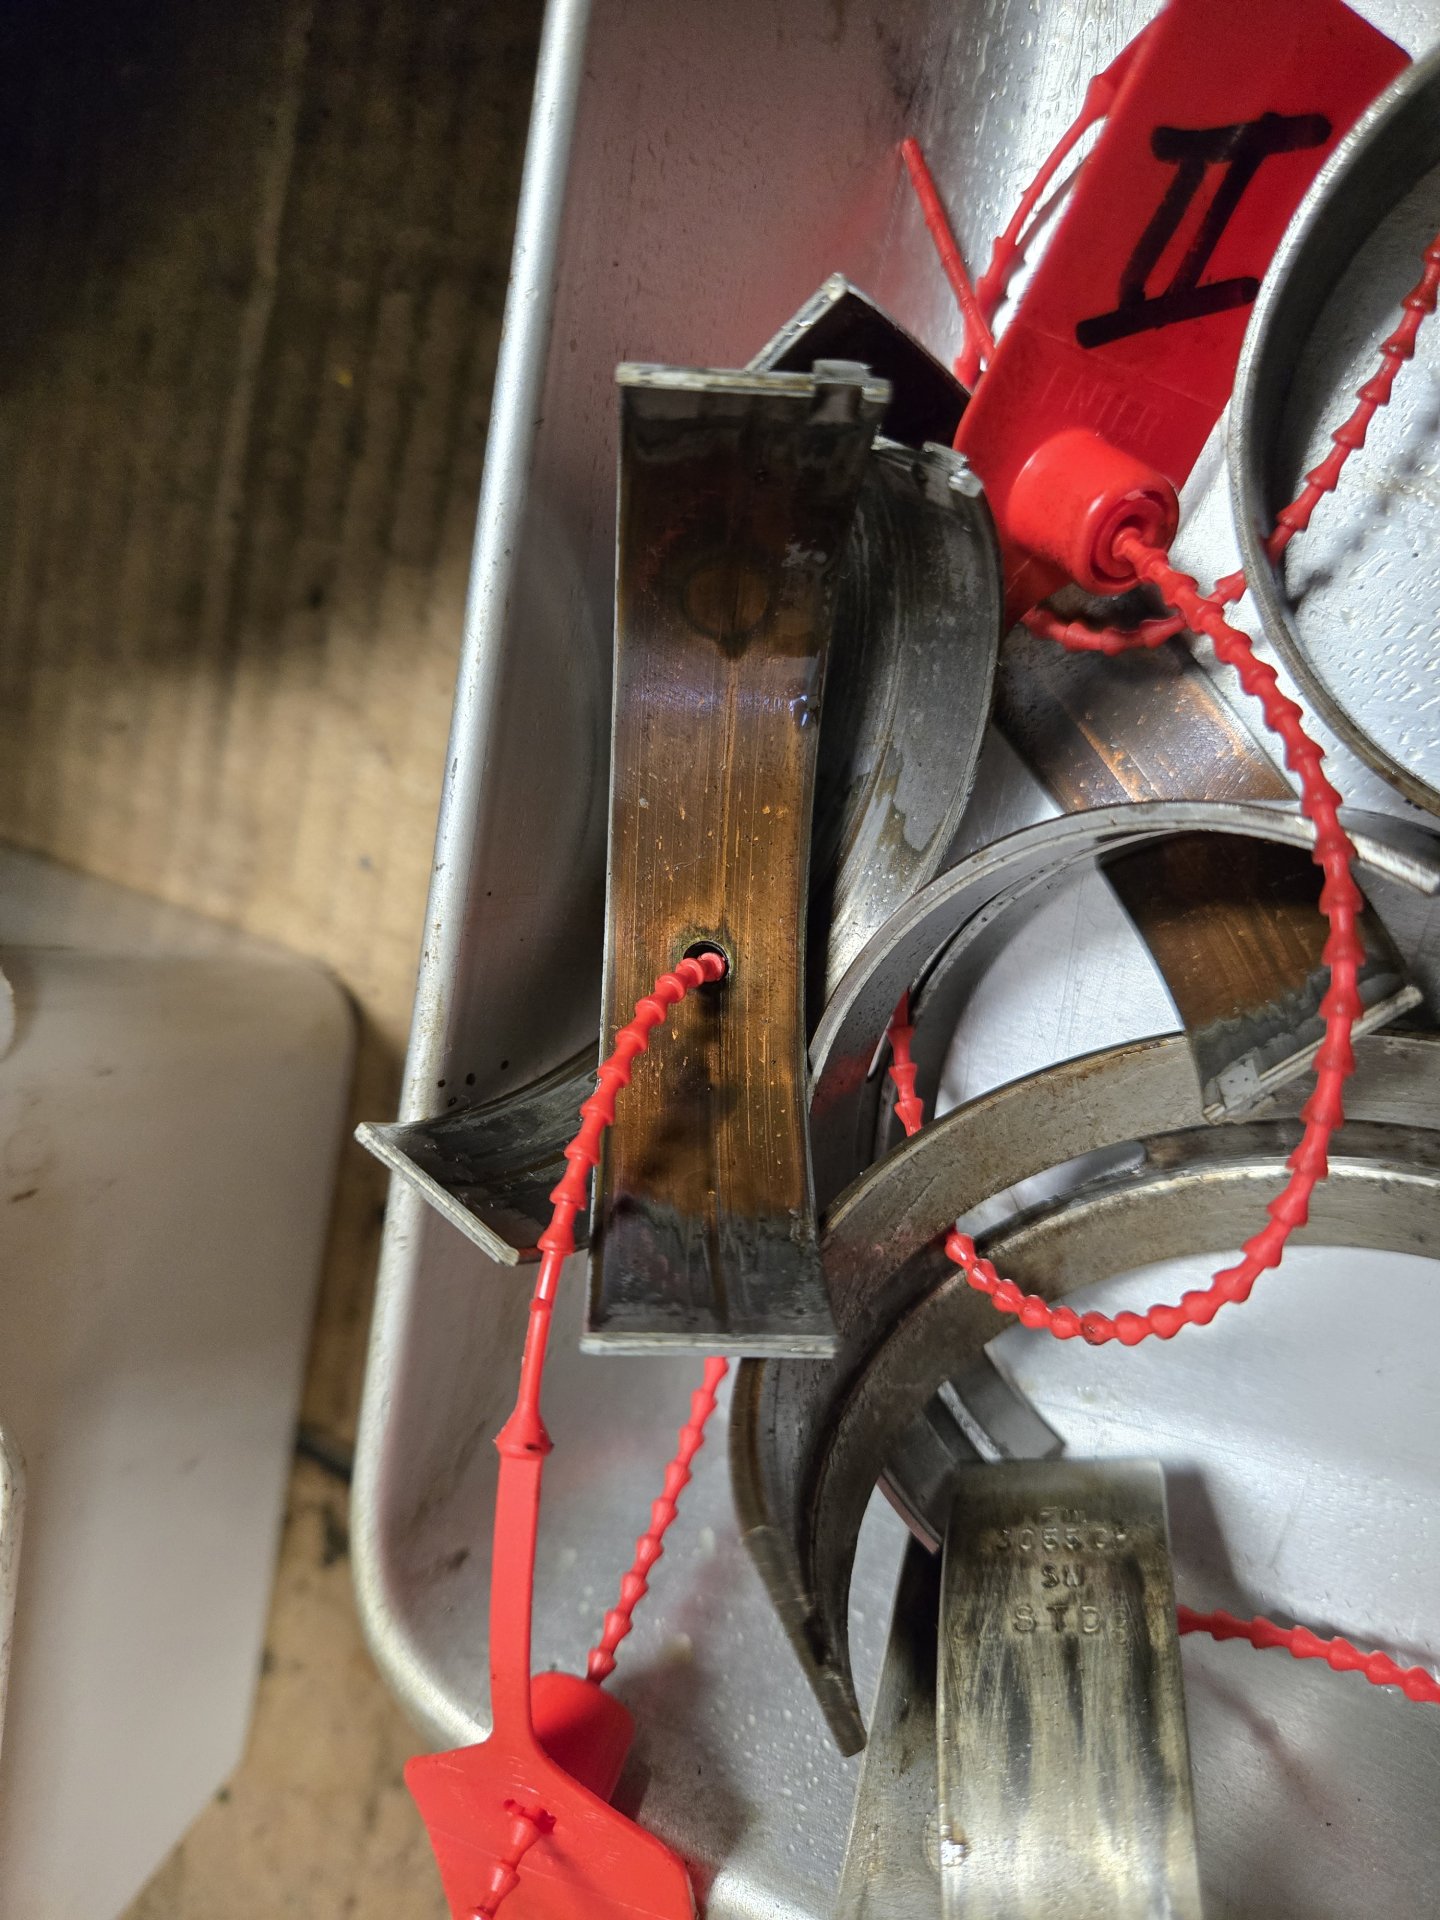
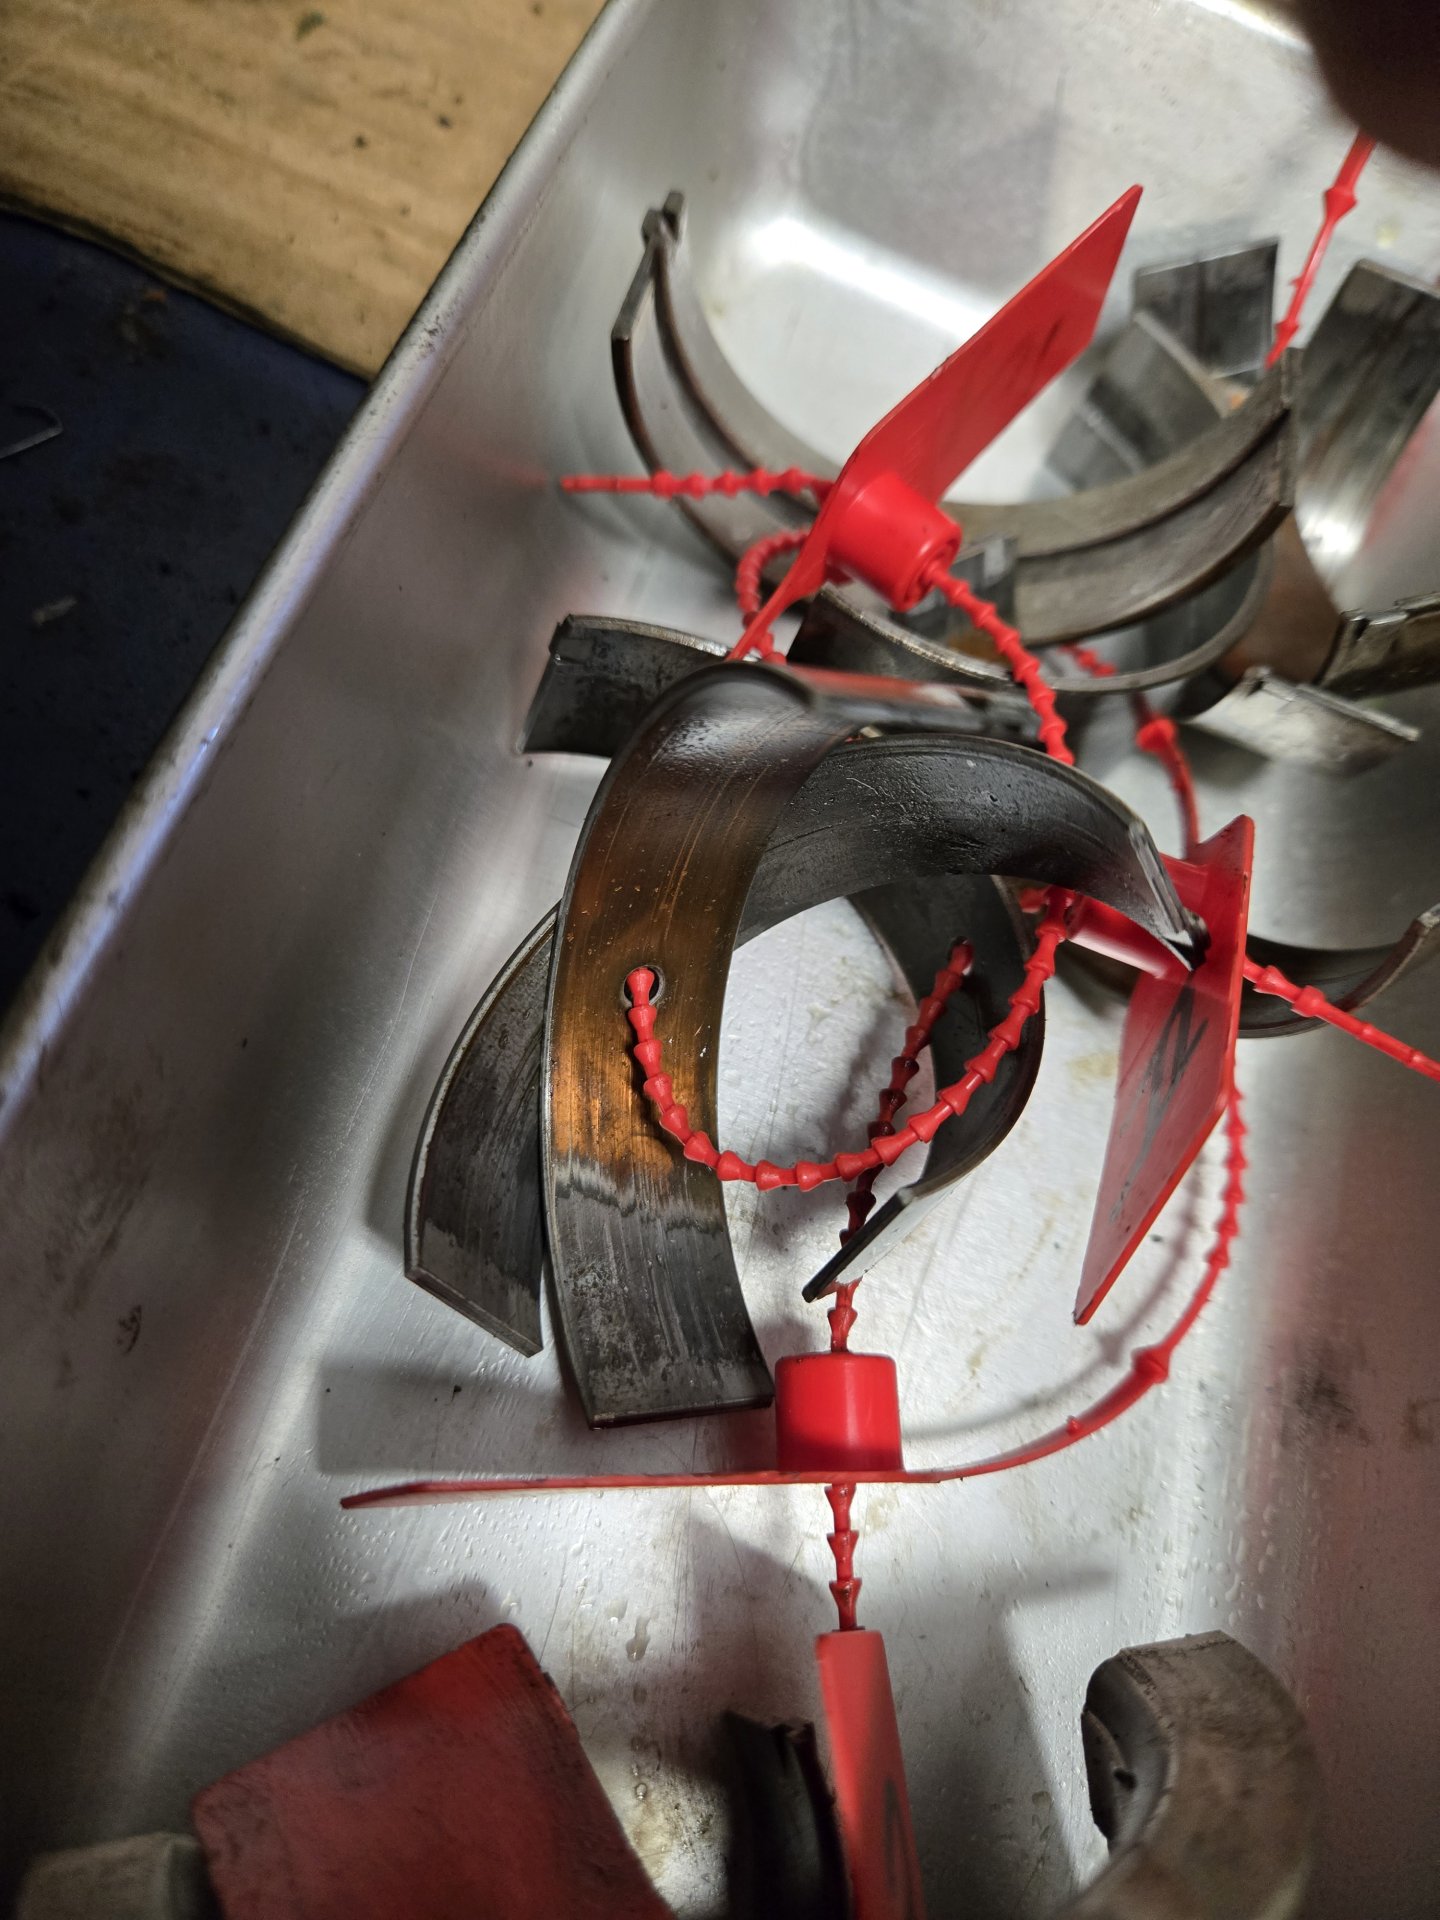
Engine time. Rant: STOP using so much dang RTV. This engine smoked pretty bad when it was parked - and I'll bet I find orange RTV in some oil passages, especially at the piston. (Note there's a better rant on this site in another thread.) There was RTV between the rear main cap and block - those bearing shells caught hell. The oil control rings were stuck on two of the pistons, however the carbon buildup was not that bad. The mains were 0.010" undersize, the rods were standard and the cylinders had been bored out two sizes - they are all 91.00mm, with standard being 90.00mm. That's close to 0.040" over. I'm going to measure everything to see how bad it is, as you can see from the bearing shell photos. If I can get away with polishing the crank, I will. Two of the cylinders have rust, with the pistons heavily scored. I found new pistons 91.00mm and corresponding bearings that are very inexpensive. So I may hone the dickens out of the cylinders to see if I can avoid boring out to 0.060". Those parts are almost triple than staying with 0.040". Teh balance shaft won't come out as it looks like the bearing insert was not driven in far enough, mushrooming it when the gear was put on. The cam looks almost new, but it has "hard spots" when I spin it int he block. I'll check for bad bearings and see if the cam is bent. I'm close to deciding to pull the same engine on my parts skid steer. If I get lucky, i.e. no water damage in that one, that may be the engine I use. Pictures follow, some for fun. The engine obviously saw a lack of maintenance, but I realize when work needs to be done, maintenance can fall to the wayside.

20251102_130915.jpg
20251102_132054.jpg


20251102_132100.jpg
20251102_132448.jpg


20251102_151439.jpg
20251102_151449.jpg


20251102_151454.jpg
20251102_151504.jpg


By-the-way, the main bearing shells looked pretty decent.

Al Jones
Brooking SD
 
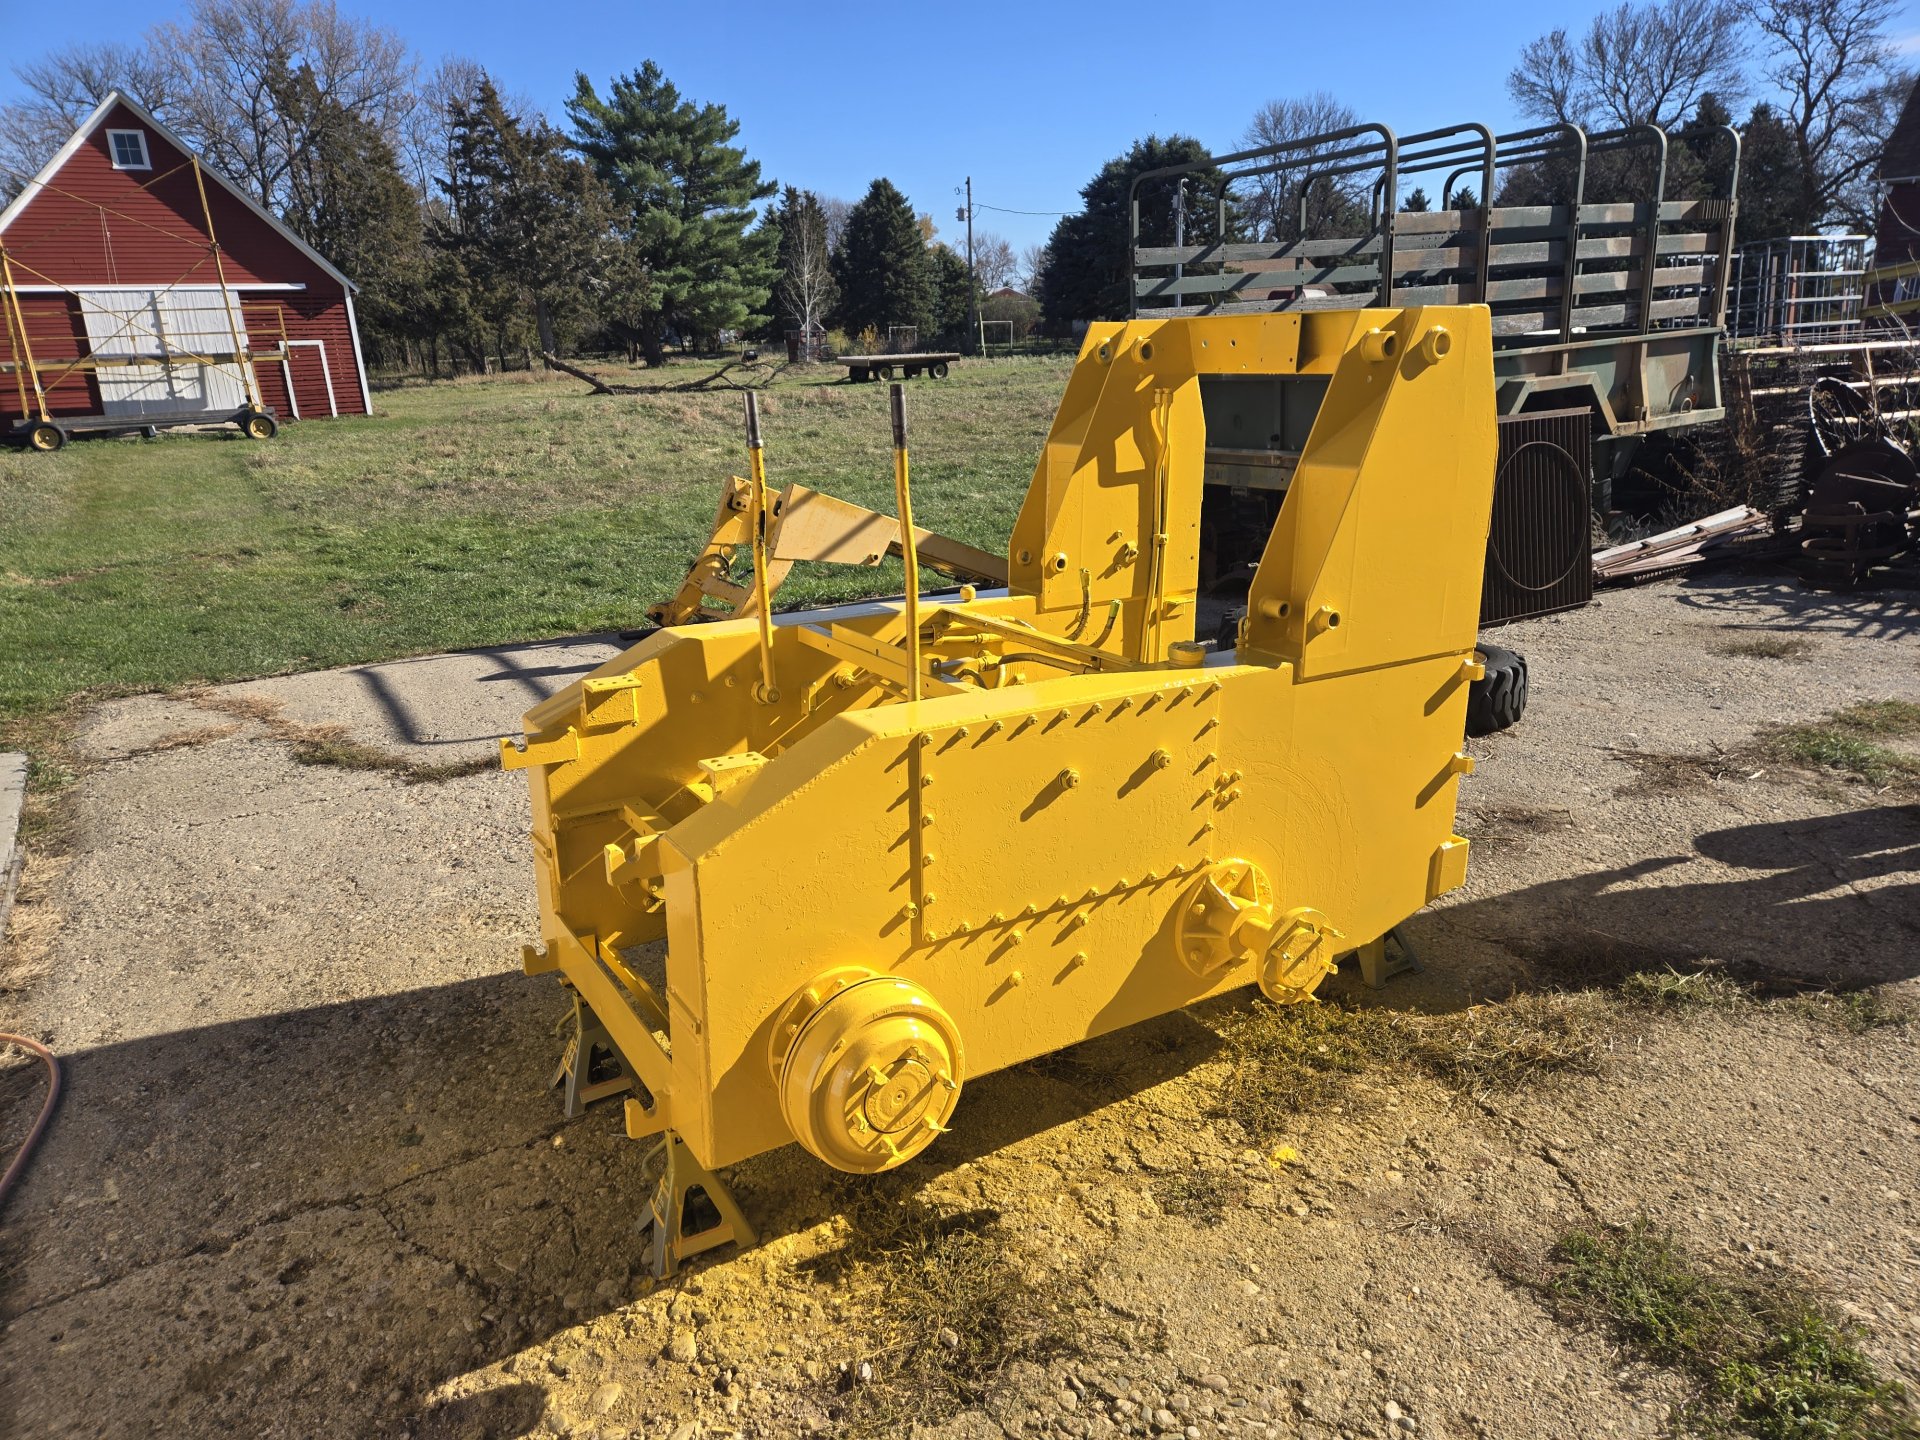
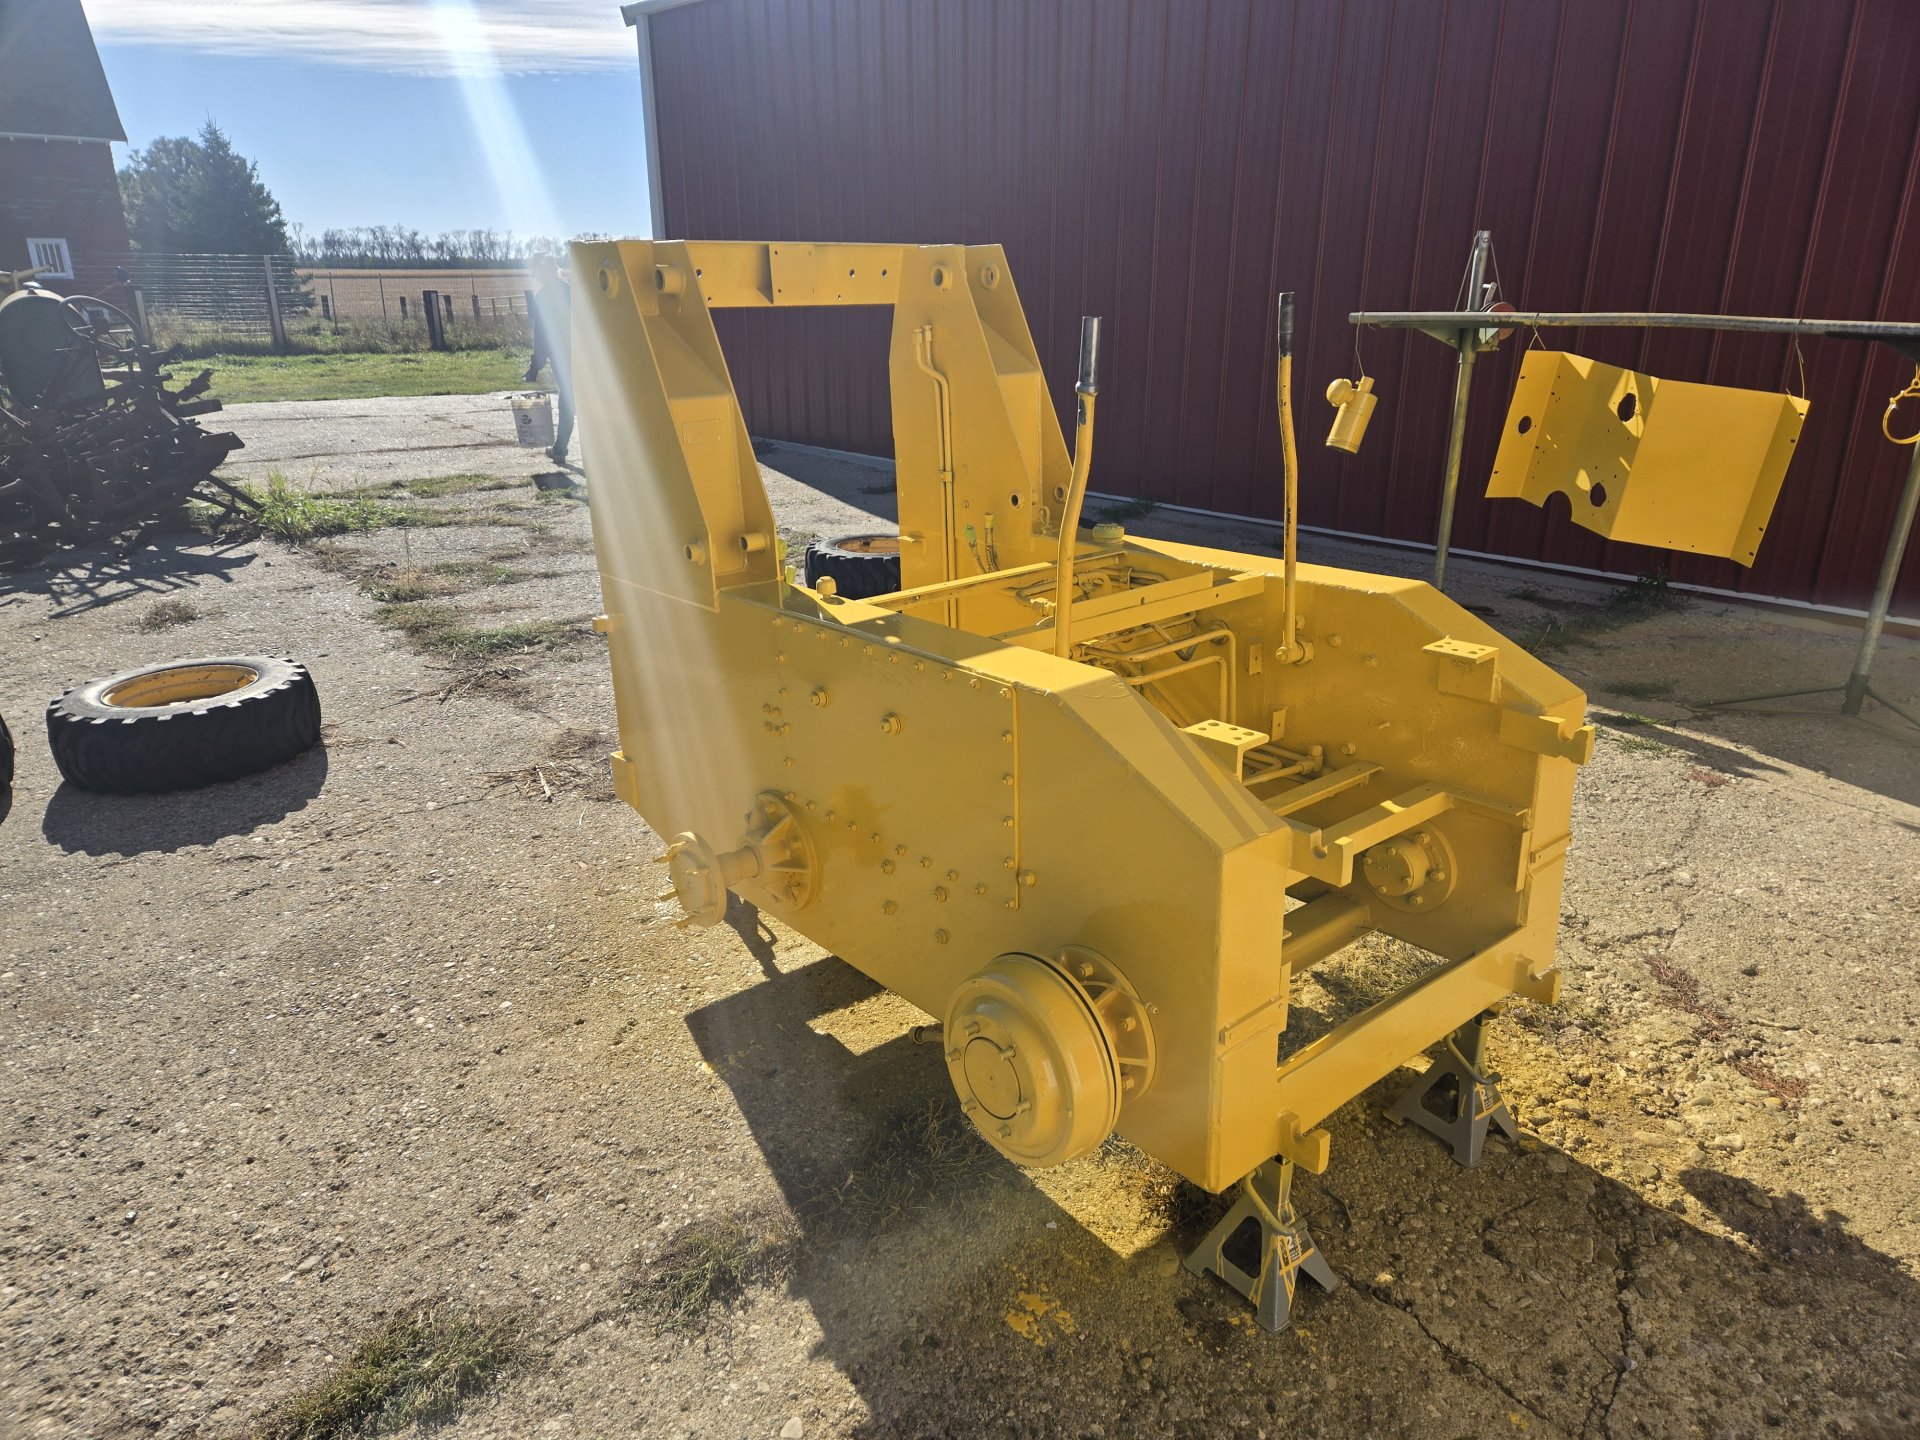
The weather has been supreme in the Dakotas. Spent most of yesterday priming, and today applying the paint. It was super difficult to get a quality finish inside the hull with all those hydraulic hoses in the way and pulling a air hose around to apply the paint. It was 55F today and the paint acted so different from one side to the other, likely being the temperature of the each side of the skid steer (sunny vs. shaded). I adjusted most of out with my HVLP gun. If you decide to go this far, I think it would be worth it to pull all the flex hydraulic lines if you want paint coverage. I think I'll just use a 1" paint brush and get the areas of poor coverage inside the warmth of the shop. The outside of the hull, obviously, was much easier. I also sprayed the remaining panels and some small parts. Whew, I'm bushed.

20251104_135237.jpg
20251104_141142.jpg


20251104_145559.jpg
20251105_130131.jpg


20251105_130139.jpg


Al Jones
Brookings SD
 
Hi Brian.

I just found this post after you and I have been DMing. I get you what we talked about there.

Al Jones
Is that bearing a "cam-lock" bearing? look for a hole that has been punched on one side with something. Punch it the other direction and it should unlock. Some bearings use a set screw to secure them but the camlock is a superior design, I believe.
 
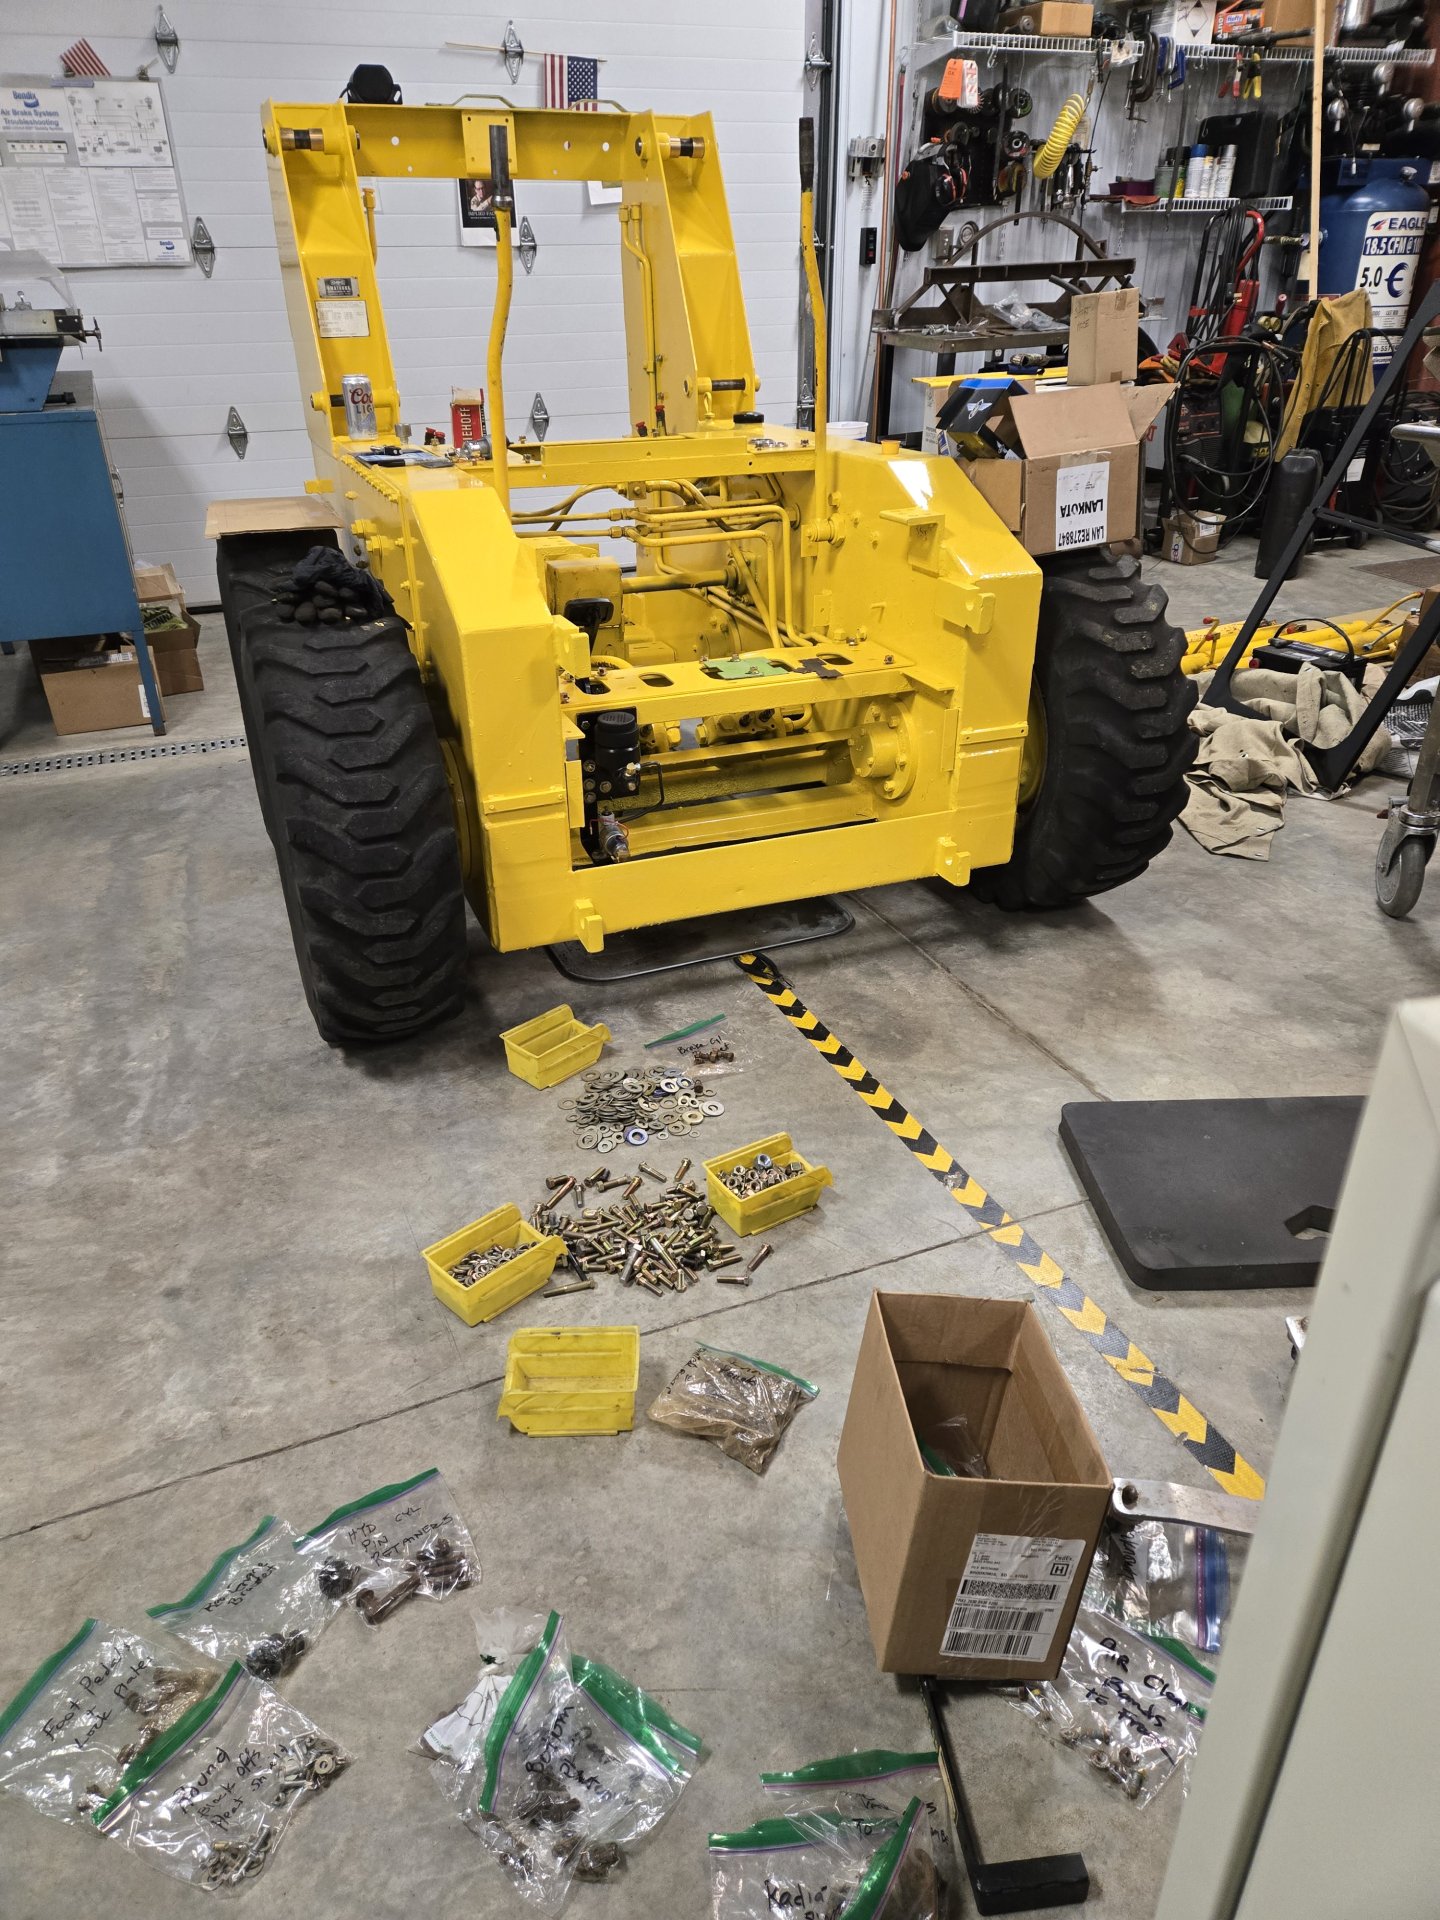
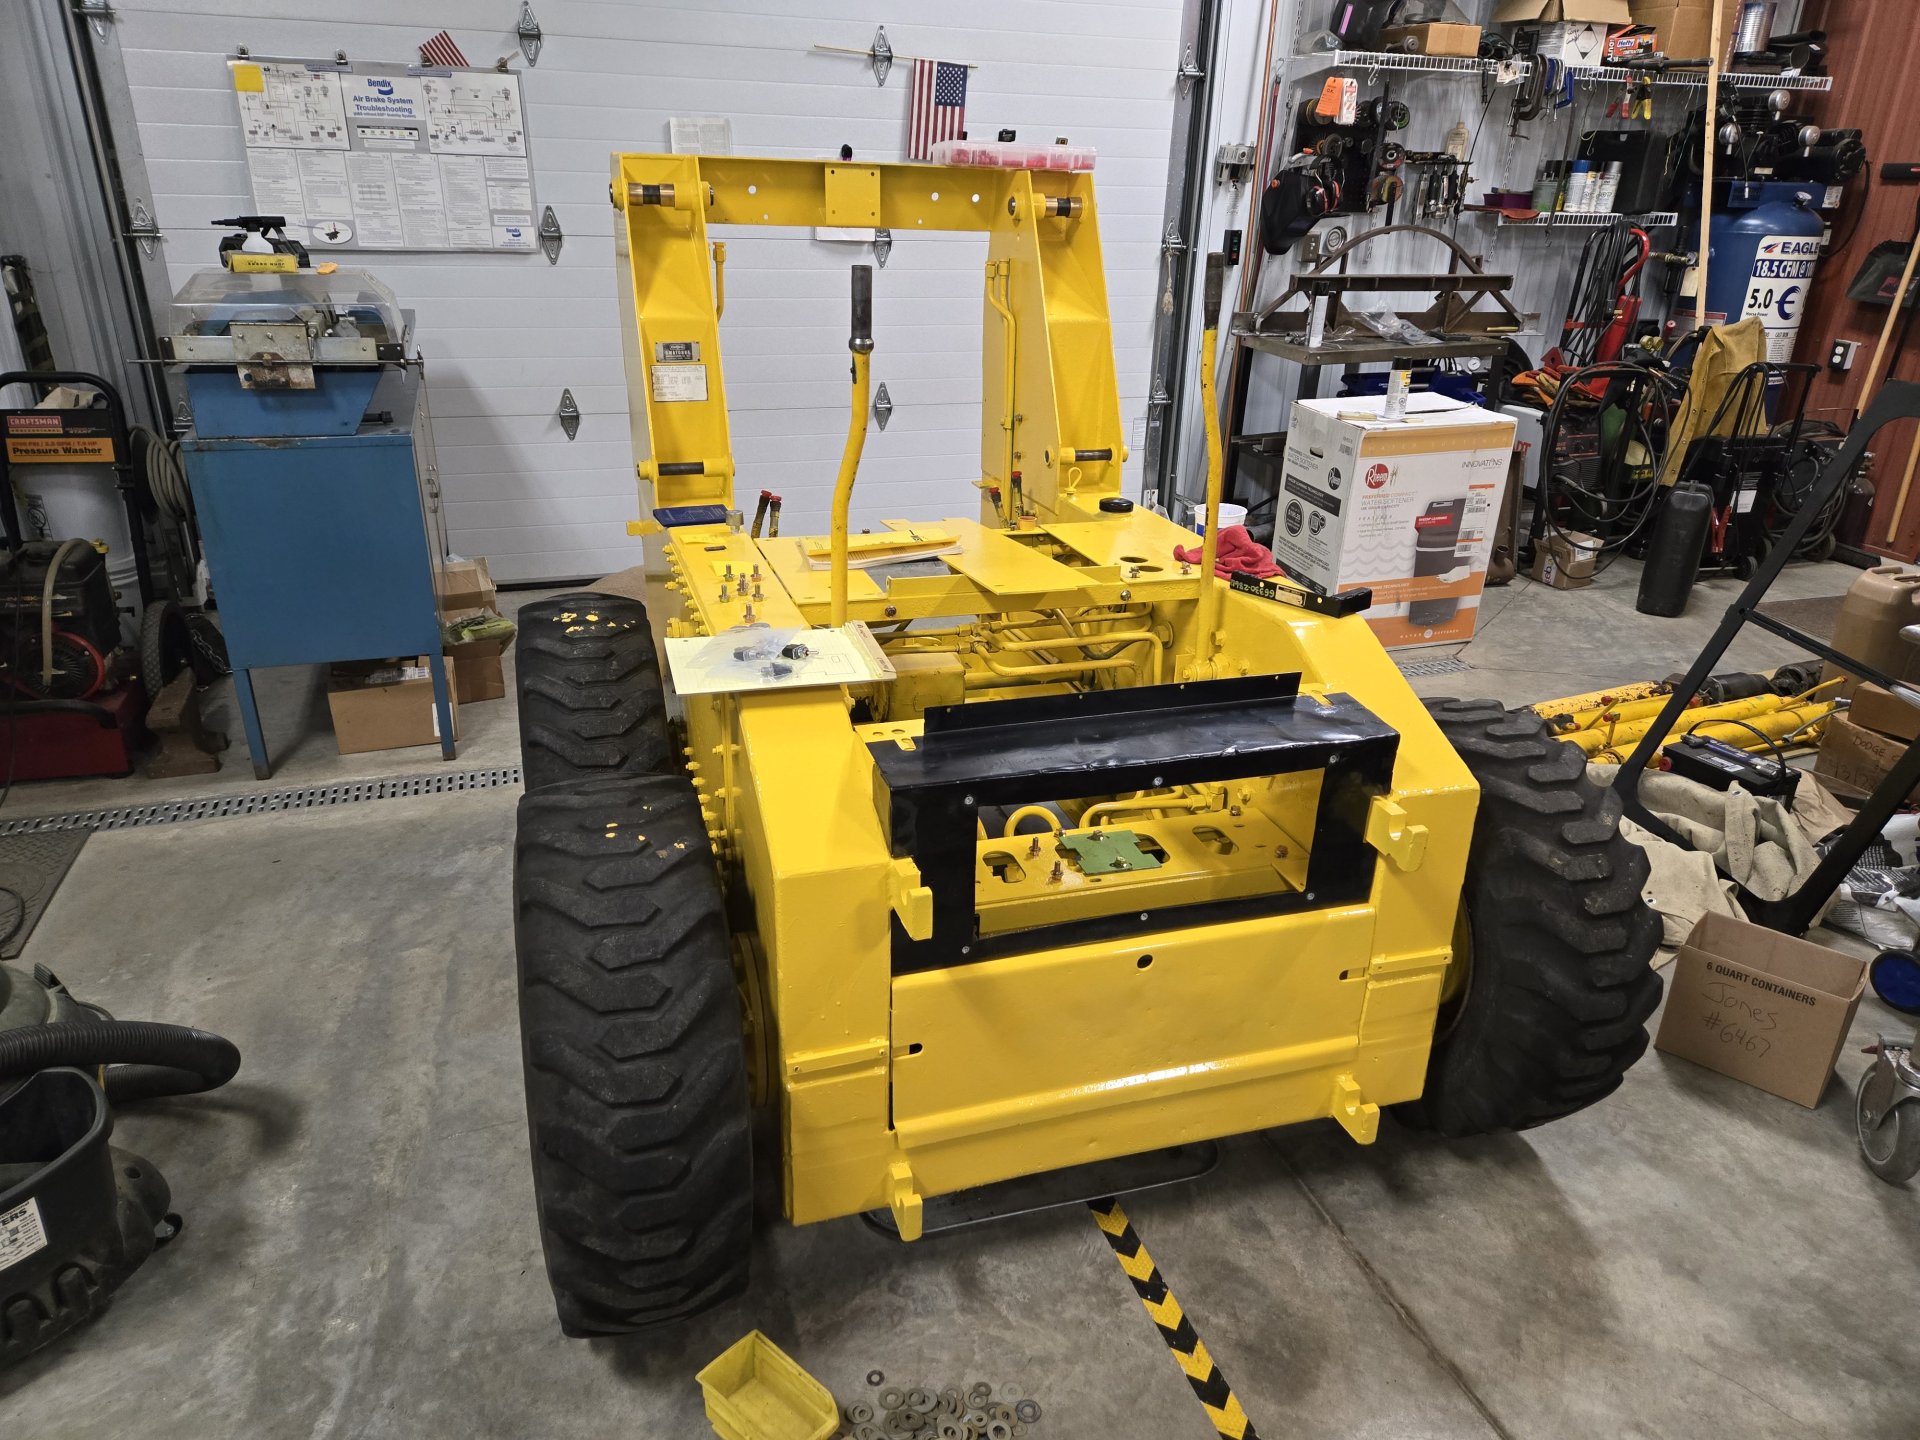
And now, it begins. Time to reassemble. Photo comments above photos.

When I disassembled the unit, I packaged all the fasteners in labeled sandwich bags. All those rusty ones are being replaced with new whiz-lock bolts and nuts.
20251107_170508.jpg


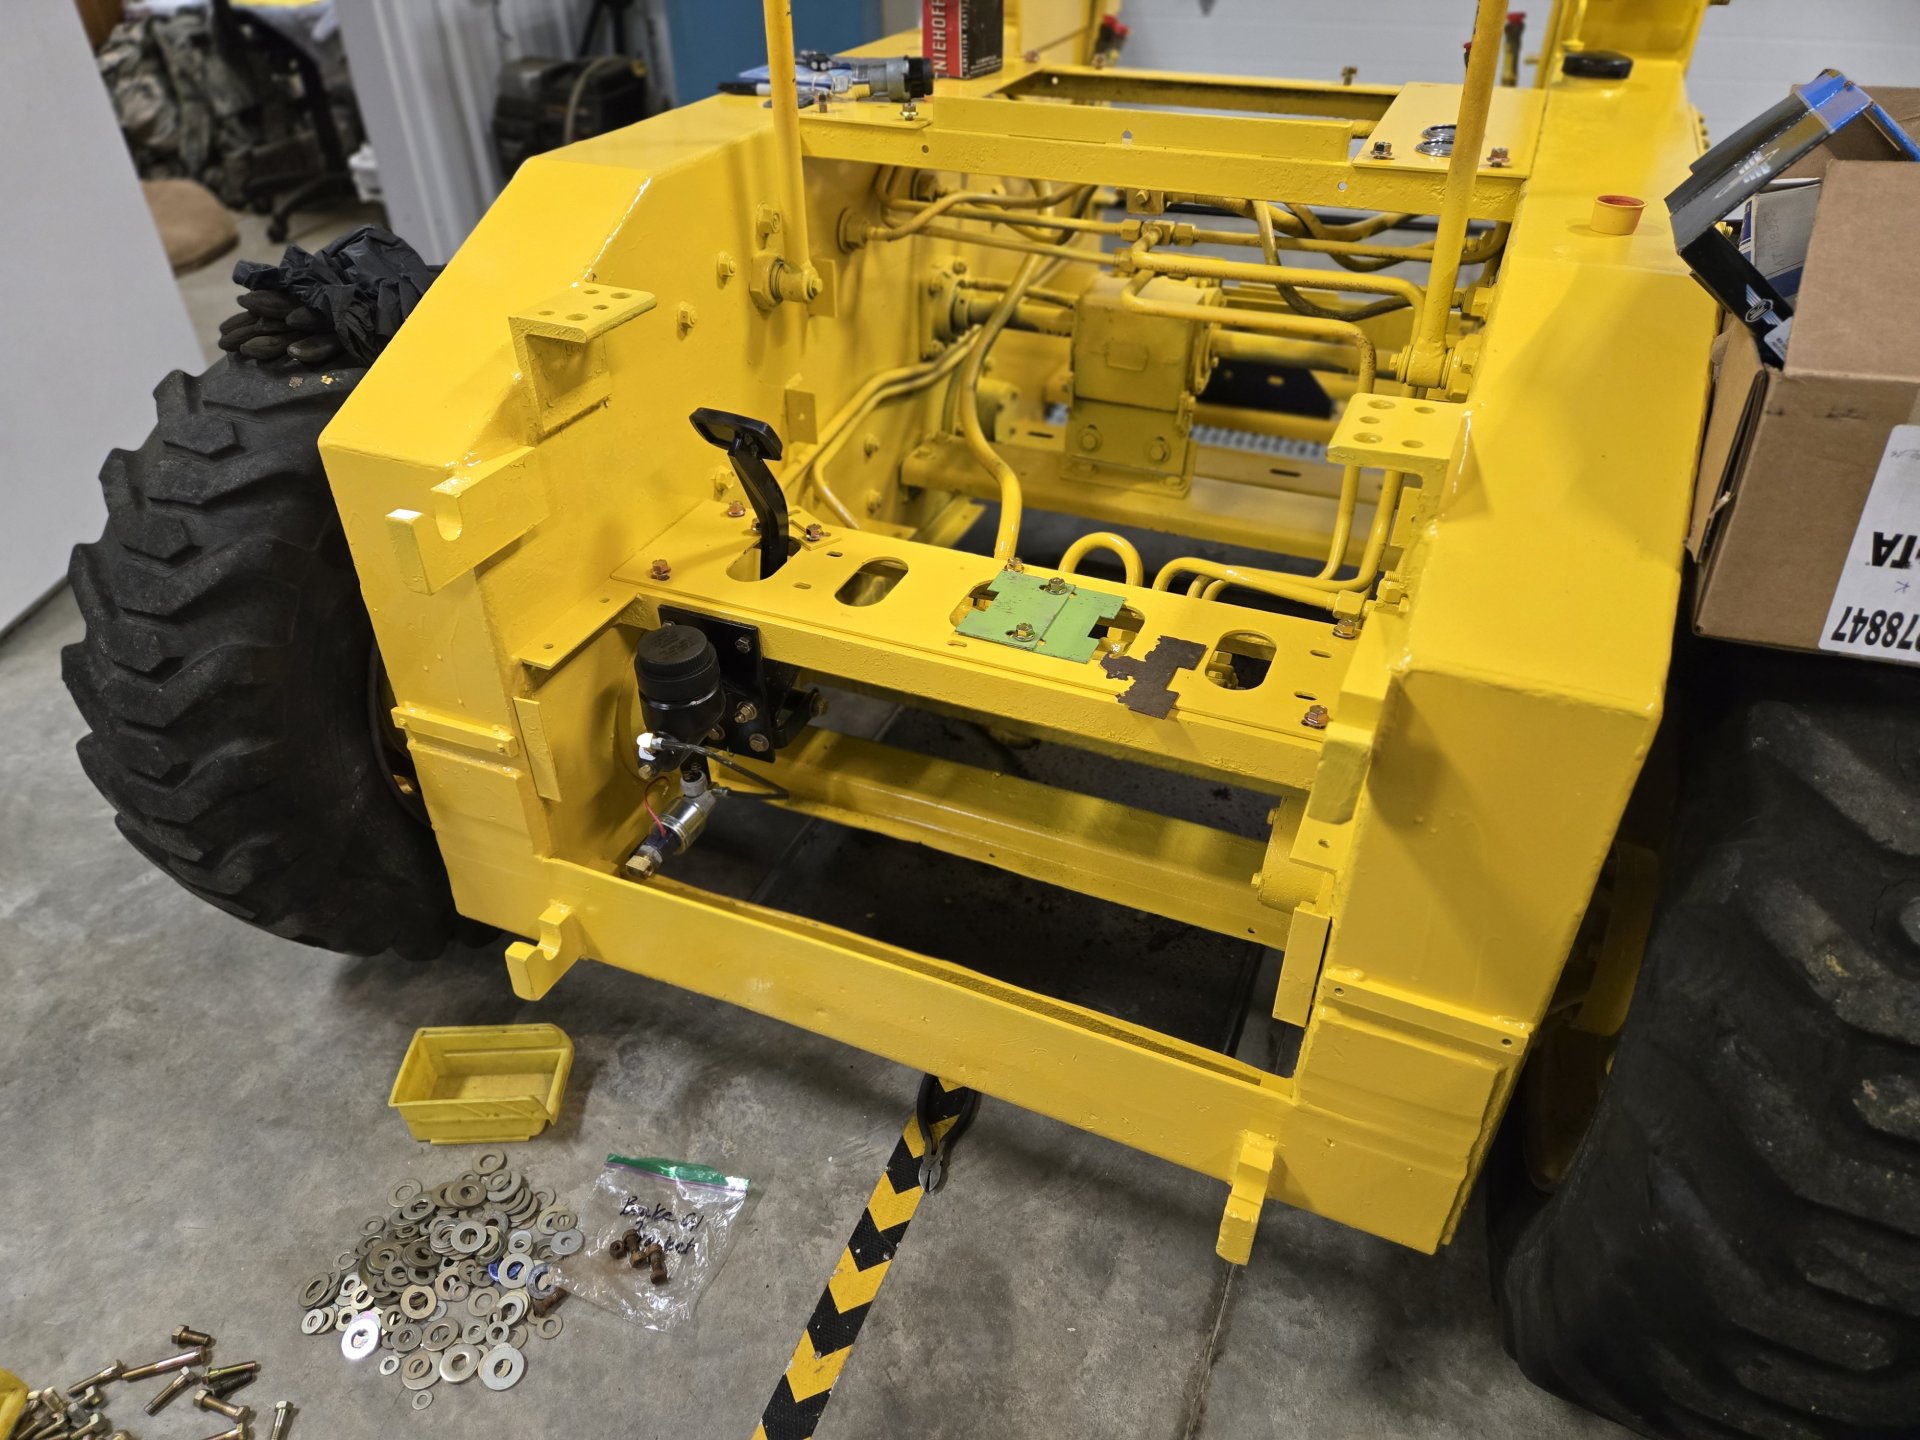
This shows how the brake master setup is installed. I'll post more about that when I build the brakes lines and wire in the brake lock. Note the two NOS lock plates for the third and fourth function pedals. I'll probably leave them green as a testament to an original OMC loader. To the right is what I pulled out from the original unit (very rotten). There's also a support plate behind the brake pedal. The brake pedal arm was bent so I did my best to straighten it. I have some more adjustment to as the support plate doesn't fit.
20251107_170528.jpg


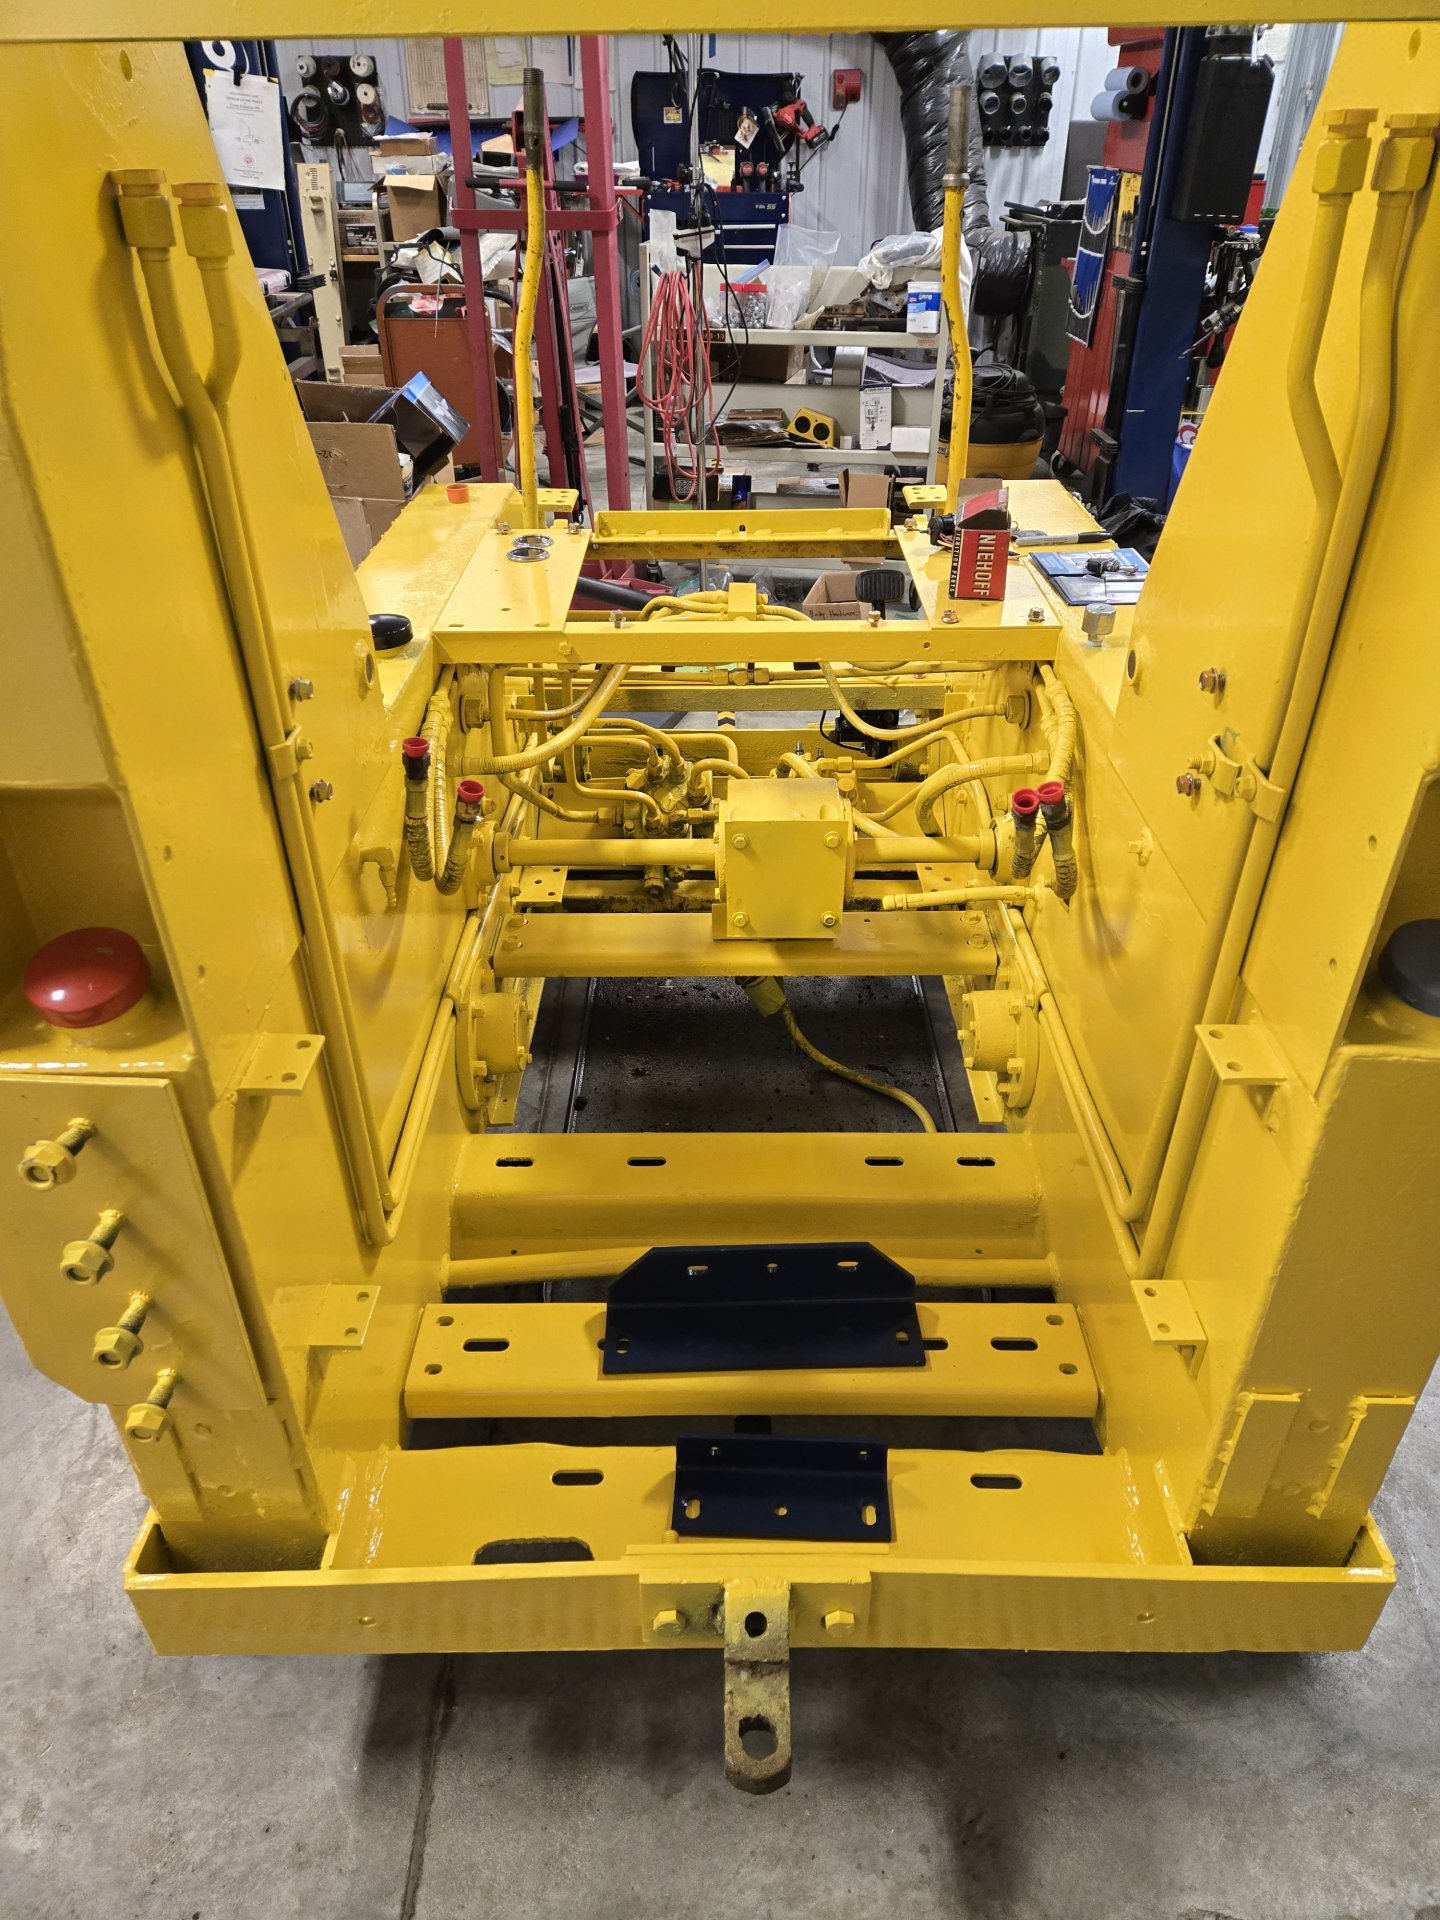
The rear crossmember is laid into place with the two brackets to mount the Ford engine to it. The color looks black but it's the old Ford blue color. Note it might not be the right shade but I like the dark blue. NOS hydraulic fluid and gas caps installed.
20251107_170419.jpg


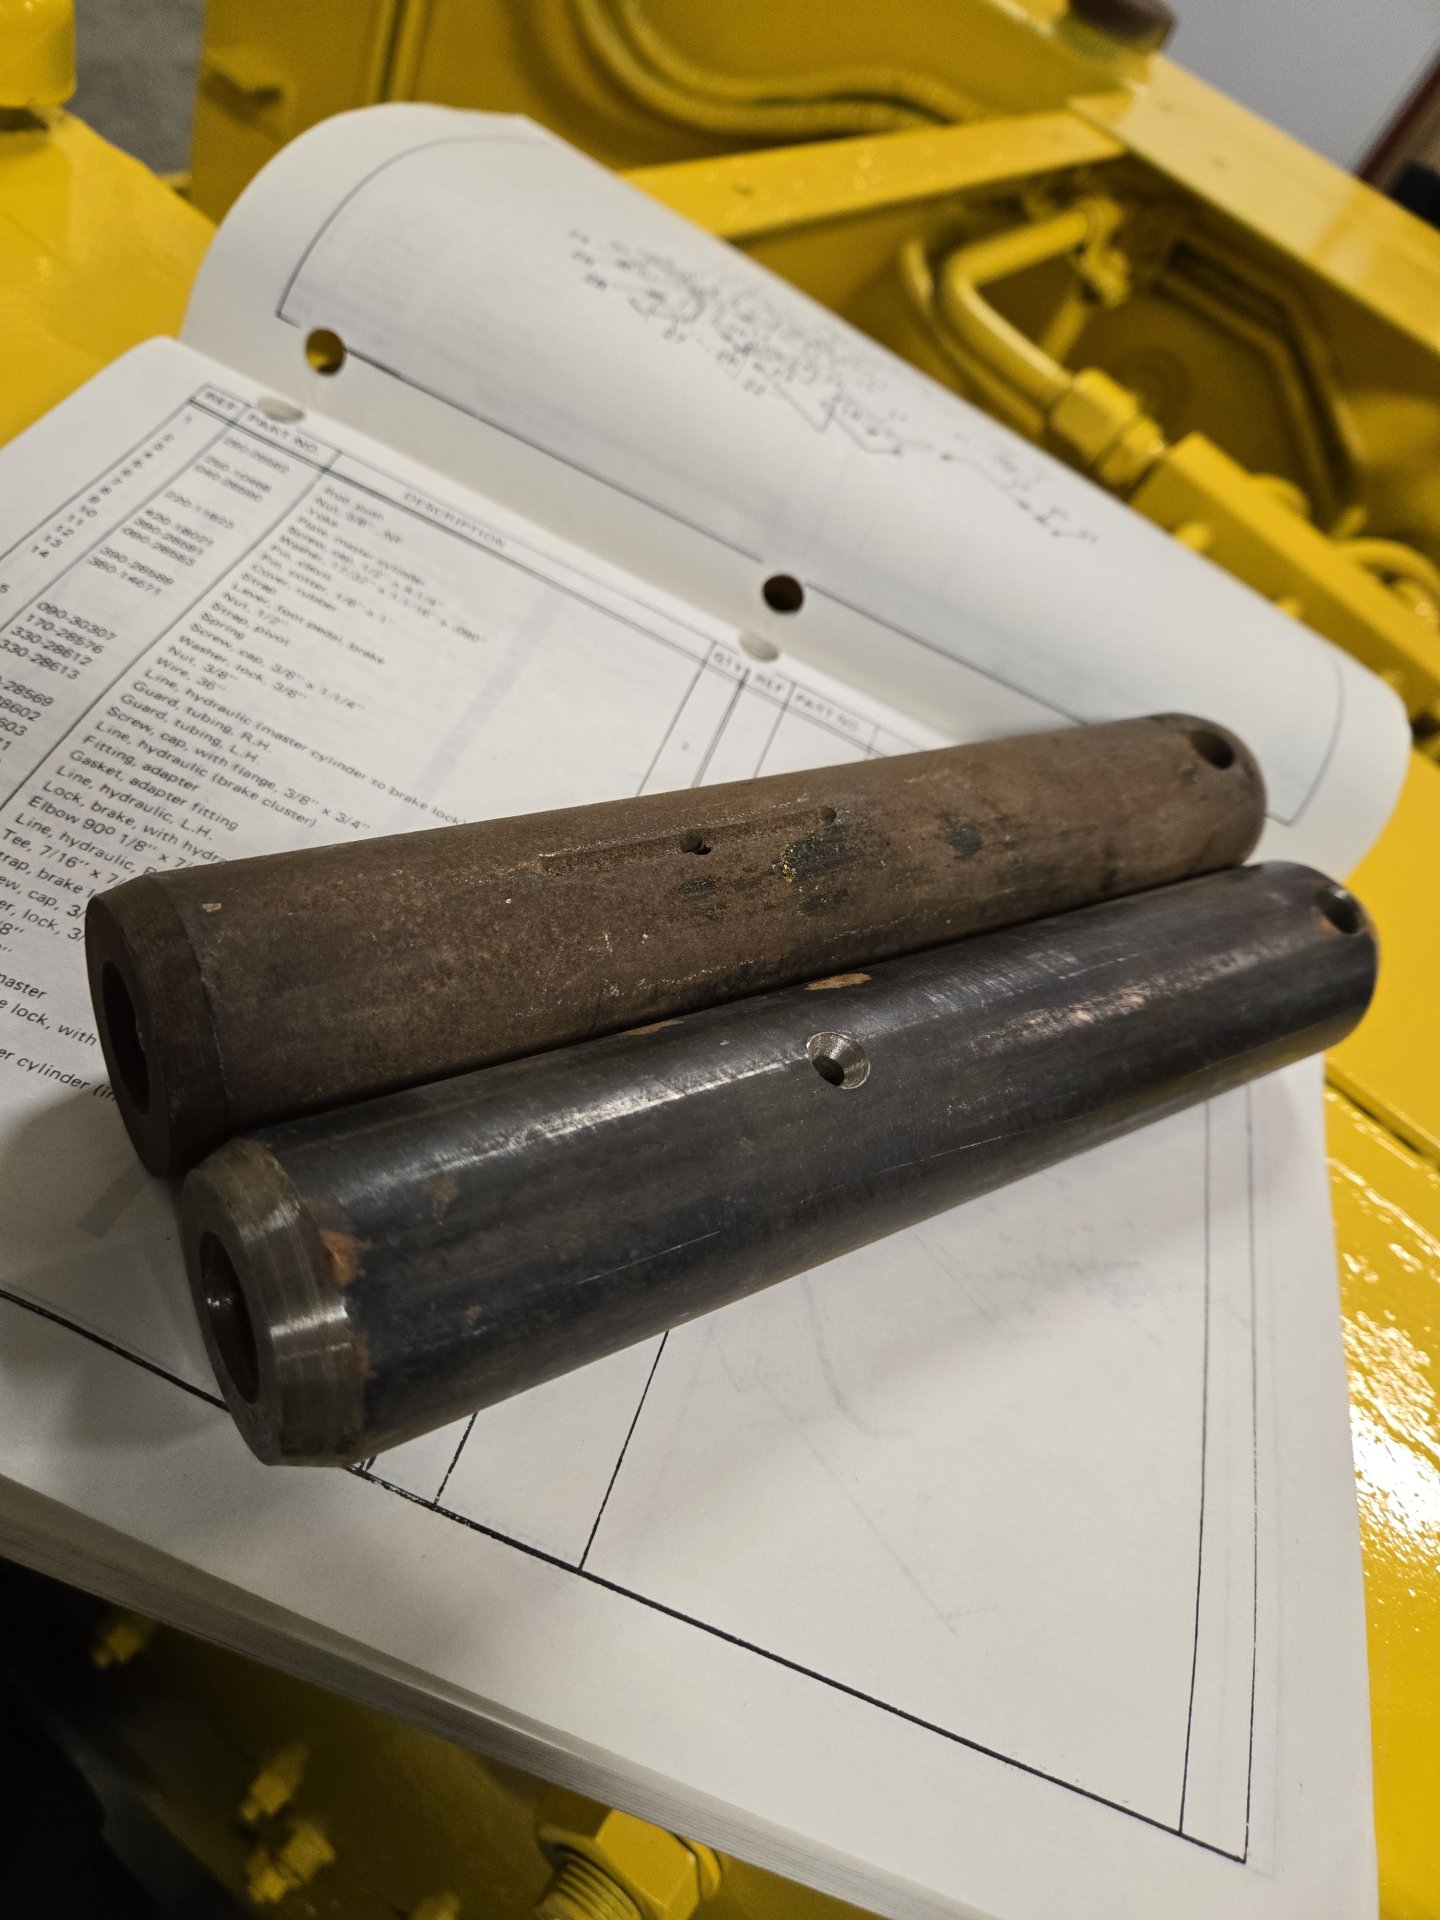
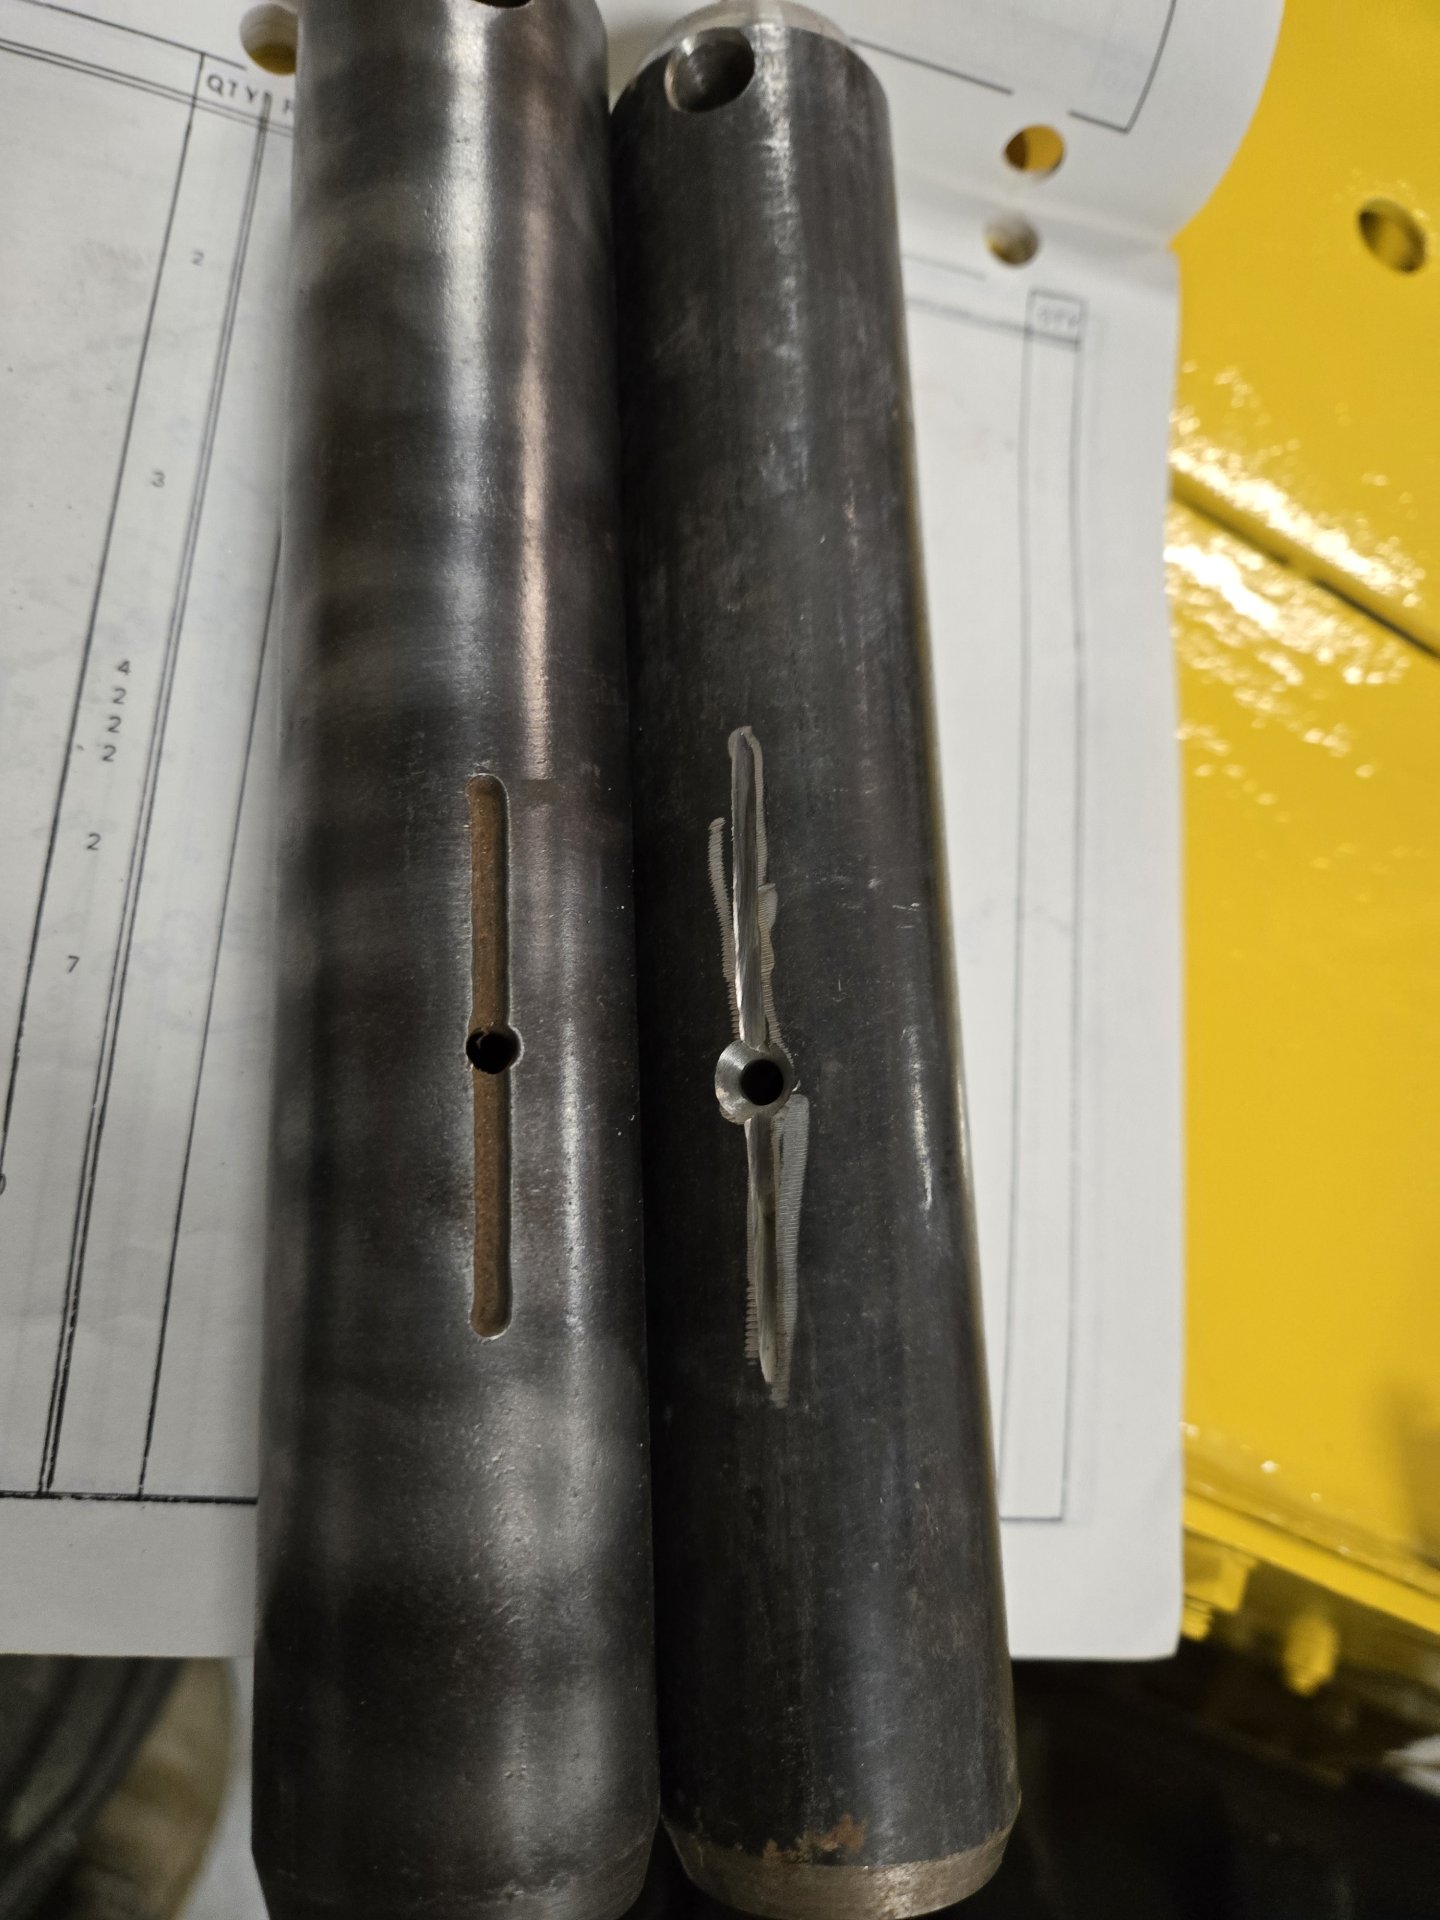
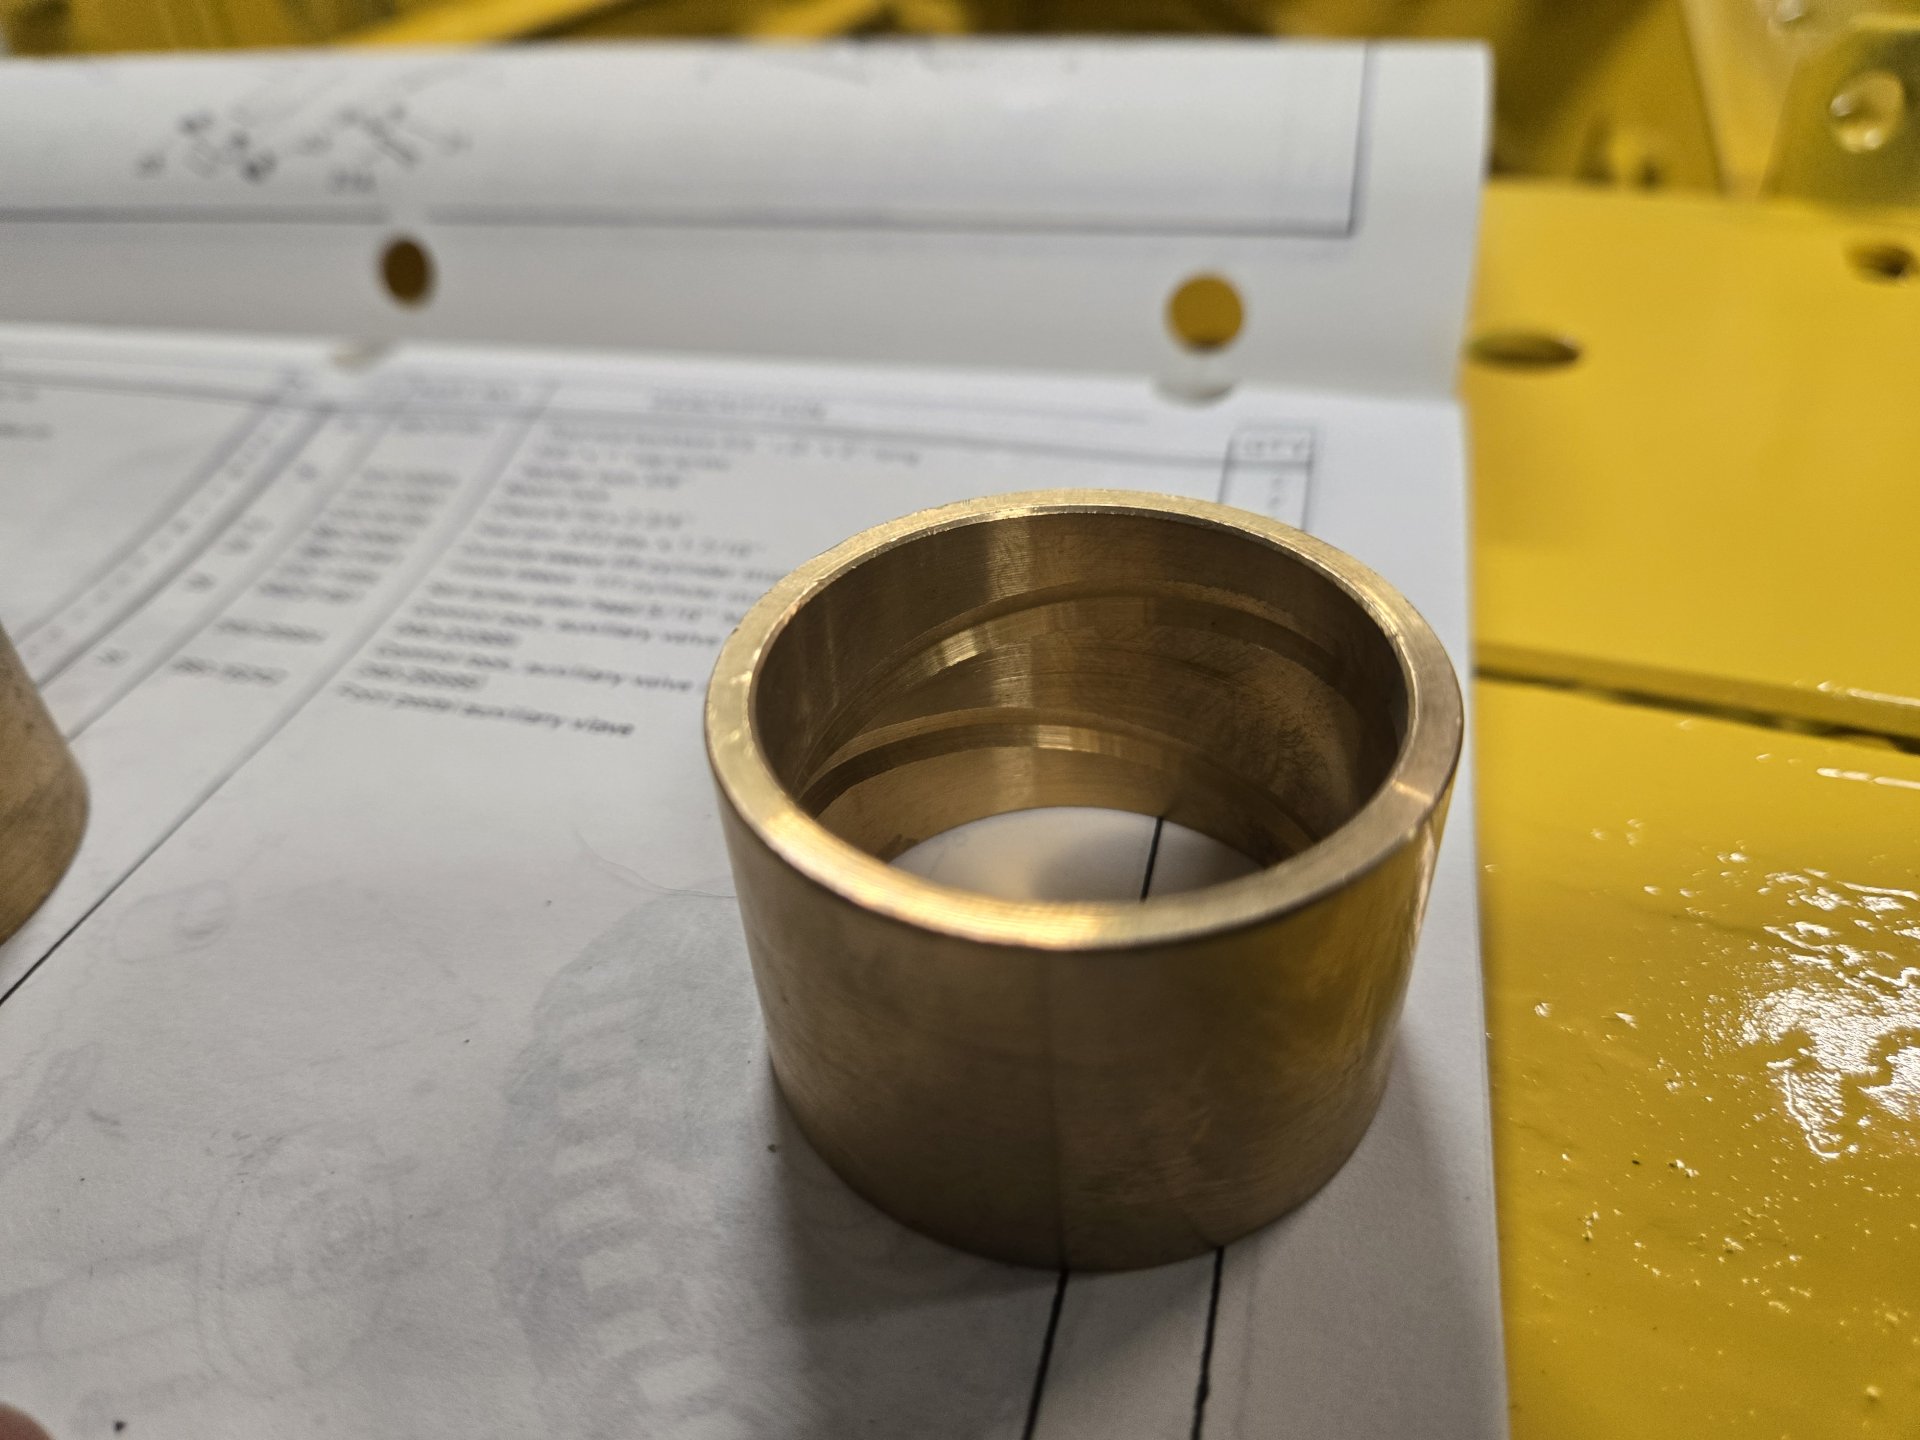
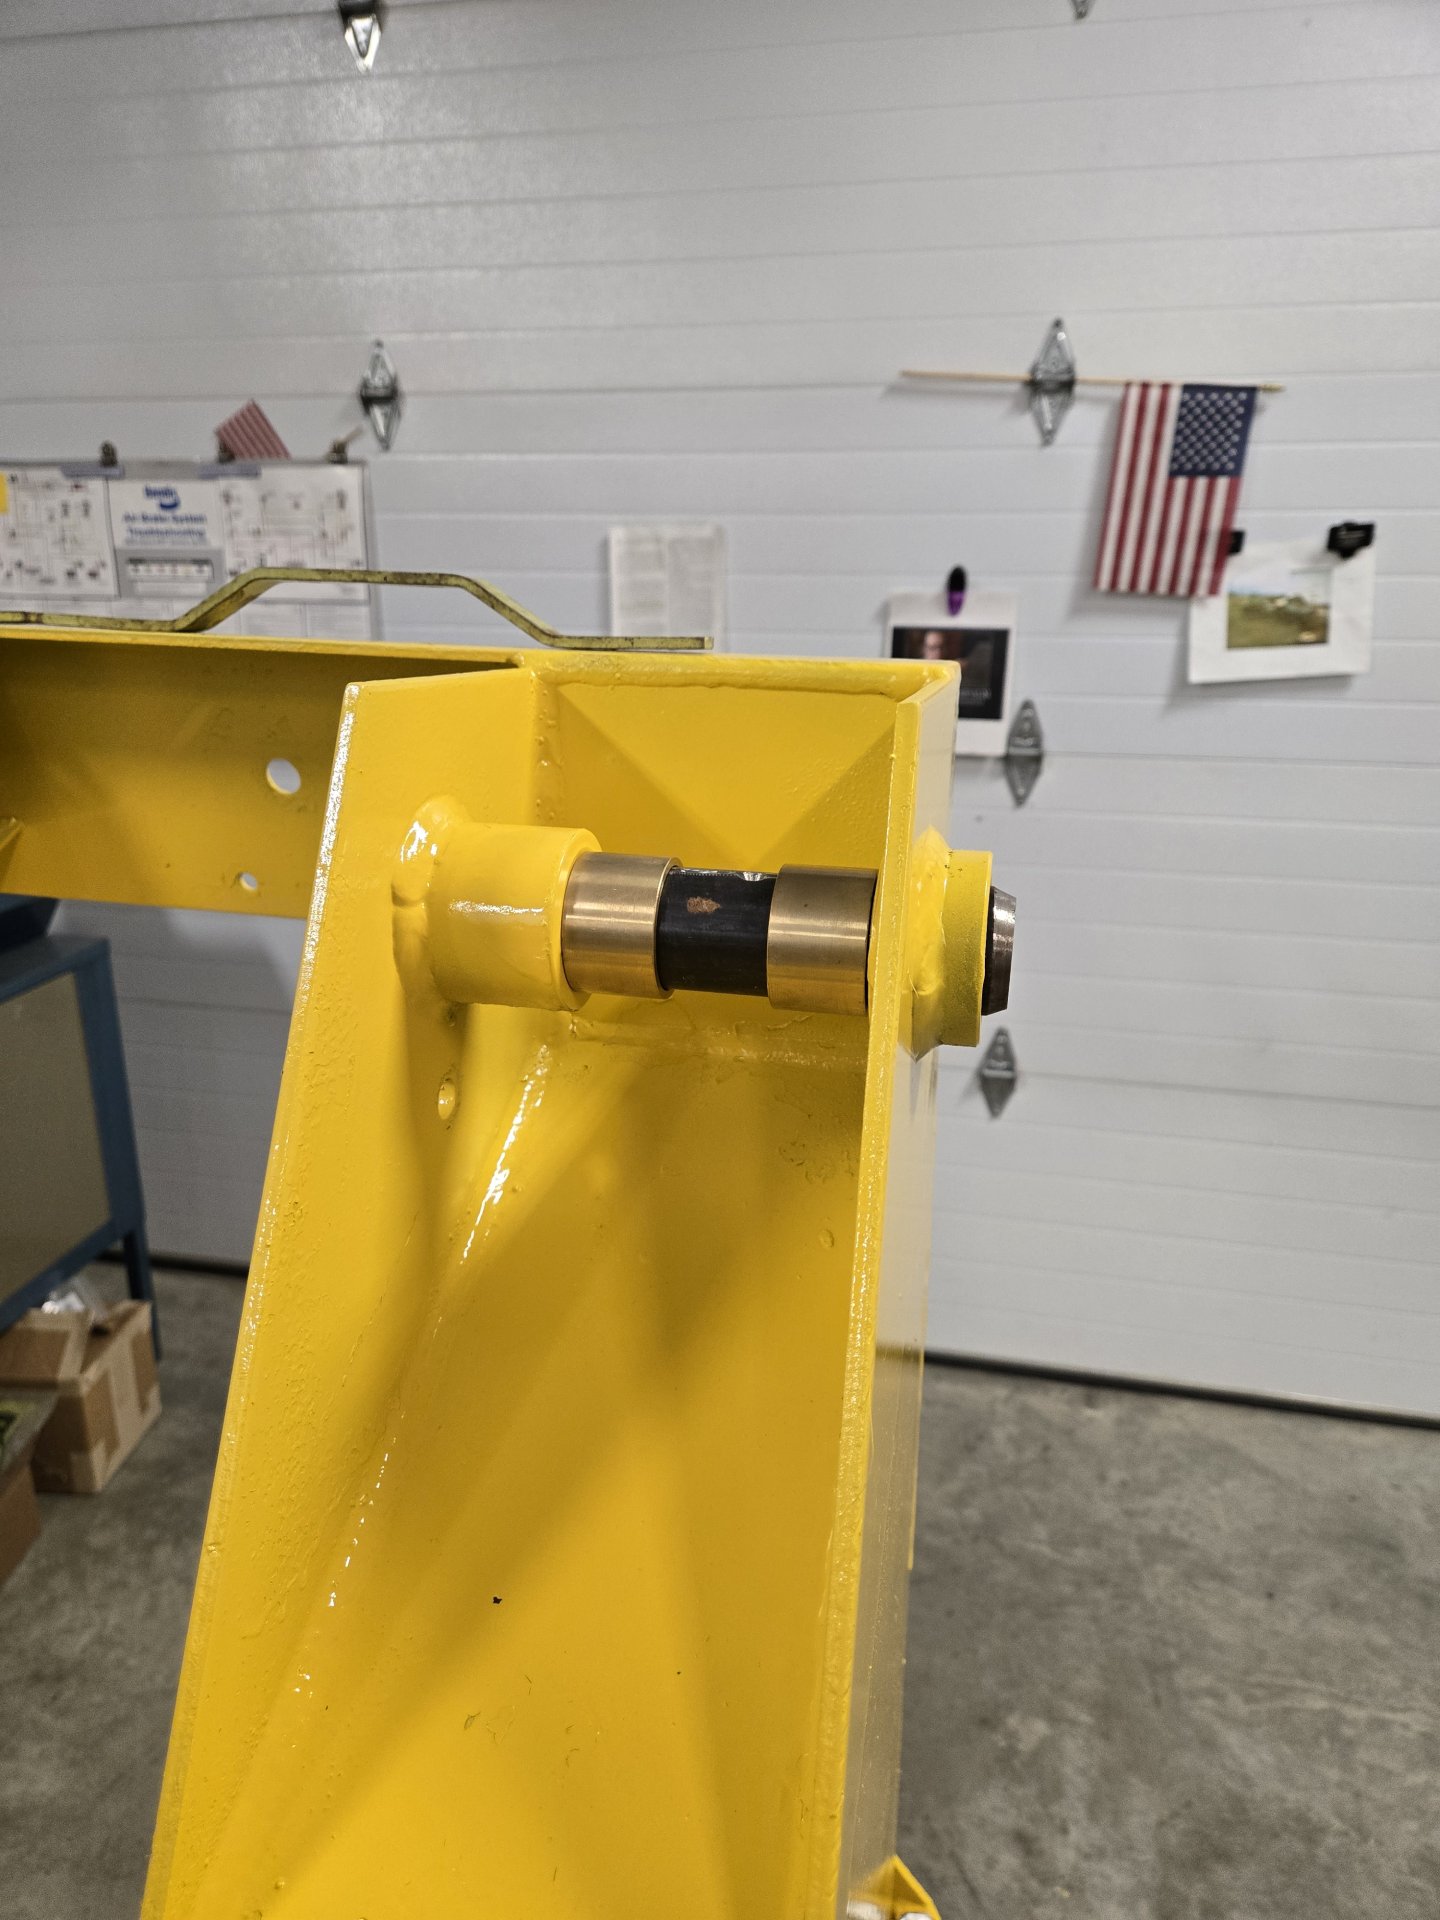
Two upper boom NOS pins. One didn't have the grease channel so I added it. Here's a photo of the inside of the NOS bushings.
20251107_132729.jpg
20251107_133453.jpg
20251107_134417.jpg


Installed and awaiting the boom.
20251107_170405.jpg


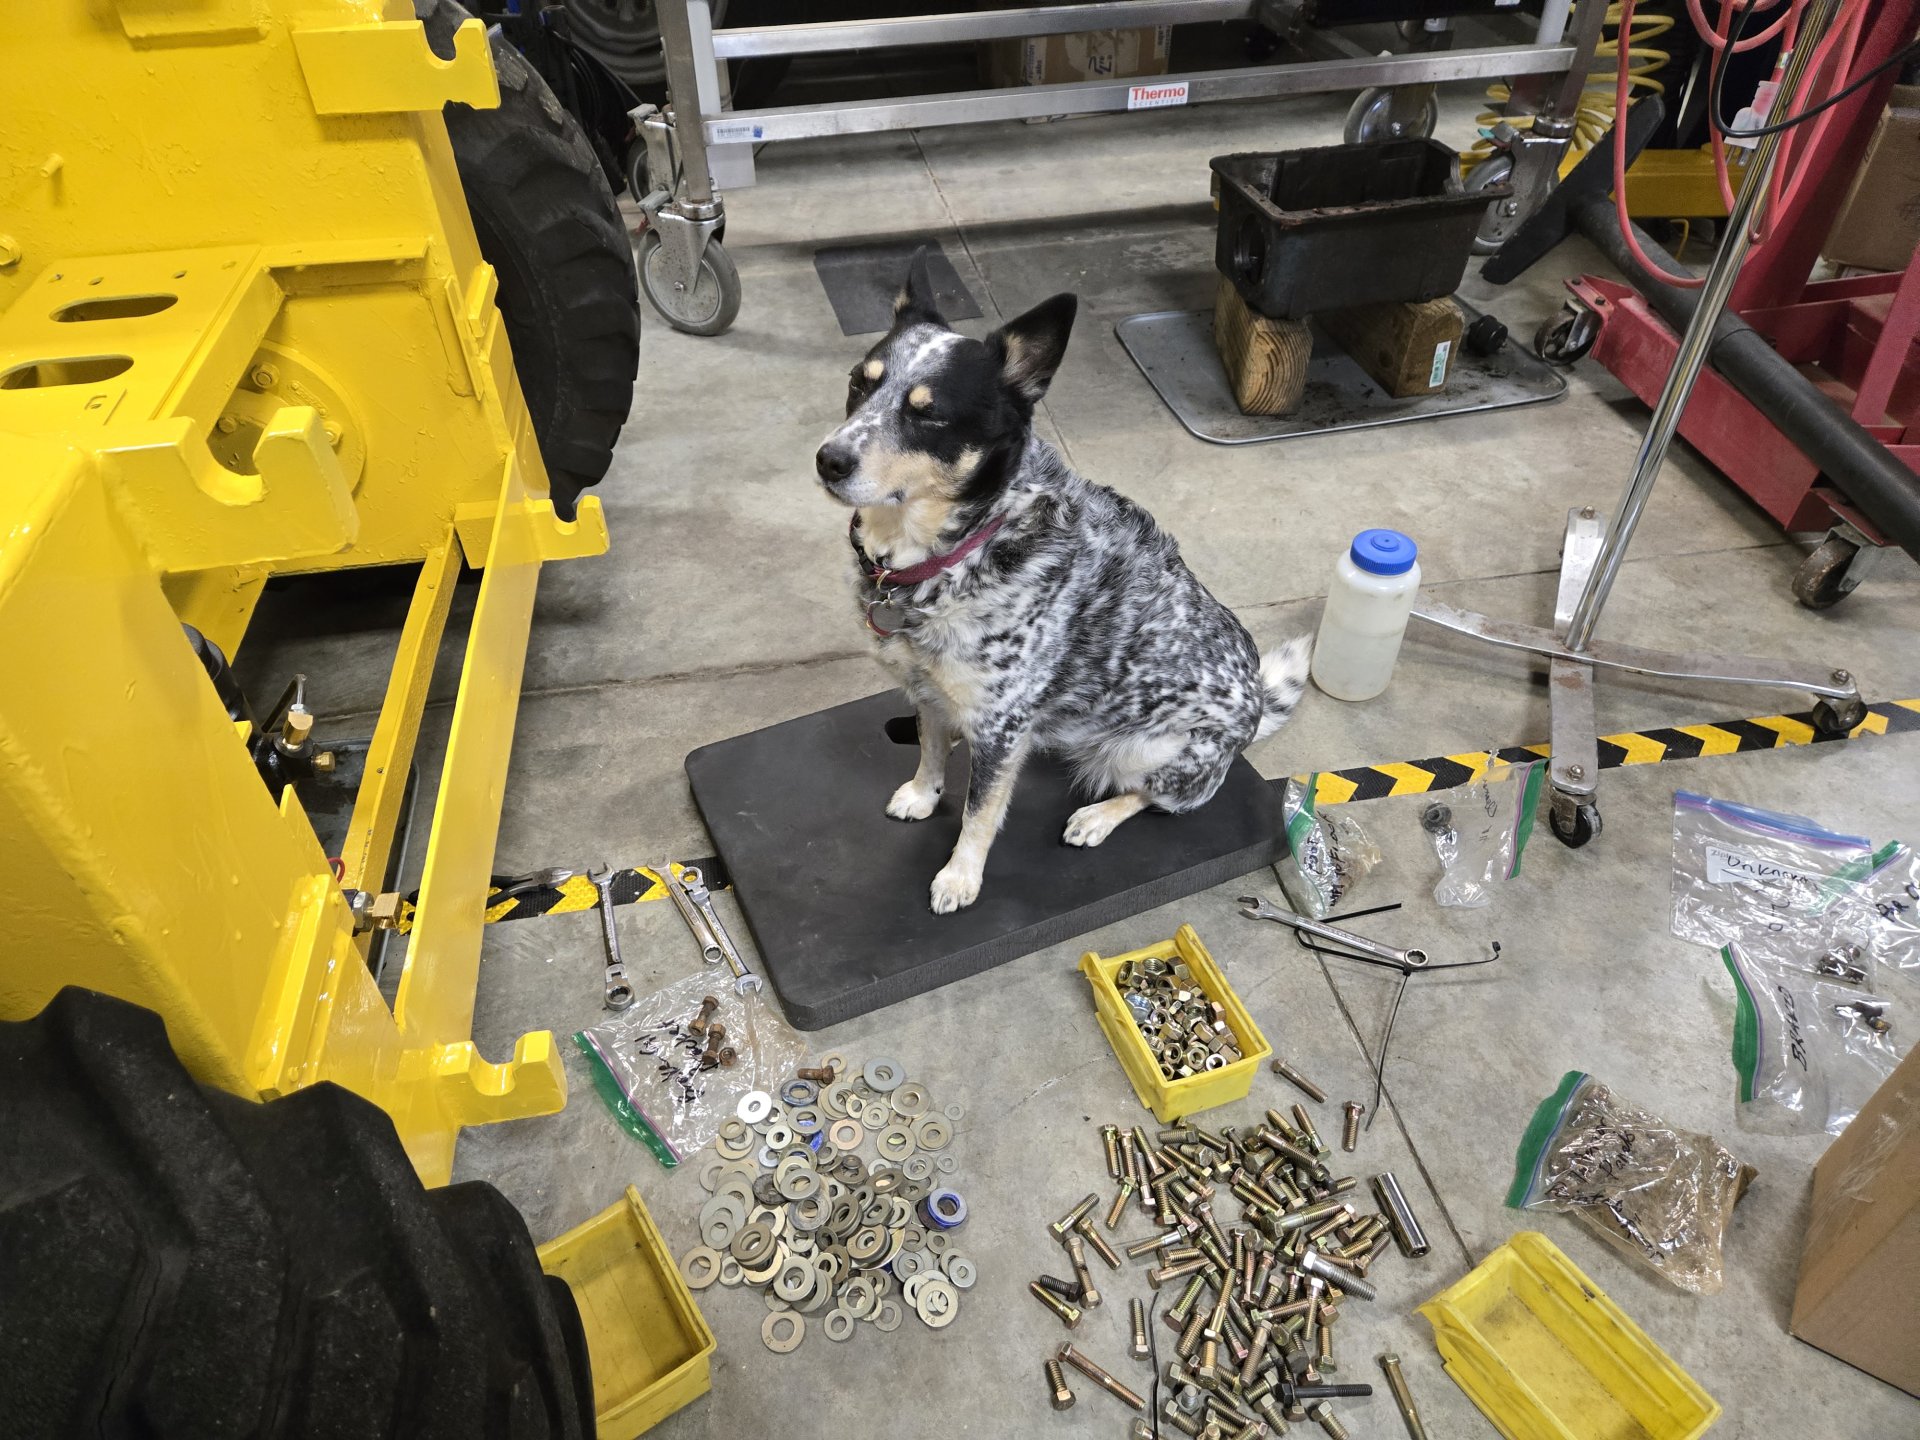
Shop dog stole my knee pad. The floor heat hasn't been turned on yet.
20251107_134005.jpg


That's it for now, will post more as I go along.

Al Jones
Brookings, SD
 
Is that bearing a "cam-lock" bearing? look for a hole that has been punched on one side with something. Punch it the other direction and it should unlock. Some bearings use a set screw to secure them but the camlock is a superior design, I believe.
Thanks. I did manage to get it out. Had to open up the side panel and pull off the gear.
 
To clarify, Owatonna is specific that "Type A, Suffix A" ATF be used in the Mustang 1700. Dexron up to Type III (H) are the only ATFs that are backwards compatible with Type A, Suffix A ATF. Dexron VI (J) and up are not. Mercon is not compatible. The Type A, Suffix A was a mineral oil based lubricant. And I do think it's because of the clutch material used in the drives. For the aftermarket clutches out there, I can't speak to those.

View attachment 9698

Al Jones
Hi again, your project is looking really great. You are really doing a great job. I'm collecting parts for mine and have a question to the statement " mercon is not compatible " . I am replacing all the ATF so need to make sure I get this right. Most the ATF products I've looked at say DEXRON III/MERCON, so why does this seem inconsistent with the statement. I'm obviously trying to shop for best price on the fluid so any help would be great. PS, I found a rear bushing for my 24 spline shaft but cost me 60.00 for 1. Those things are as rare as hens teeth. Steve
 
Hi again, your project is looking really great. You are really doing a great job. I'm collecting parts for mine and have a question to the statement " mercon is not compatible " . I am replacing all the ATF so need to make sure I get this right. Most the ATF products I've looked at say DEXRON III/MERCON, so why does this seem inconsistent with the statement. I'm obviously trying to shop for best price on the fluid so any help would be great. PS, I found a rear bushing for my 24 spline shaft but cost me 60.00 for 1. Those things are as rare as hens teeth. Steve
This post has been edited. Please see below in red.

My comments were based on STOCK friction materials that are in the clutches. I should have said that. If you are using modern clutches, I would ask the supplier what friction material they bonded to the steels. My background is I'm an engineer so these sorts of nuances are interesting to me. I'm pretty sure my clutches are OMC, and given how expensive new ones are, I want to milk as many hours as I can from them. That being the case, a fellow engineer and I did some did some looking back at both dry and wet friction materials years back for these types of questions. Dry for brakes and wet for clutches like what's in a torque convertor and the clutches in your Owatonna. For example, you really shouldn't use modern friction materials with original or NOS brake drums in old cars (I'm thinking before the mid-50s or 60s). Their incompatibility leads to heat checking and warpage of the drums. Every modern brake should has a series of letters and numbers that tell you that information.

I'm going to go engineer now. Back to Type "A" suffix "A" ATF. Are you running new or old clutch friction material? If old, those friction materials are not going to be "as" compatible with the newer stuff. I hope I said up to Dexron III (H). After the specification H, the viscosities change as well as additives, synthetics, etc. My comments were based on documents from the API (American Petroleum Institute), SAE (Society of Automotive Engineers), and more. Here is an example "Friction Characteristics of DEXRON®-III Automatic Transmission Fluids", the link is *here*. Will Mercon hurt the clutches? I don't know. I do know I want my clutches to last as long as possible, and the Type "A" Suffix "A" is it. To close this out, the blend you are referring to may be past the "H" specification.

Cost. Have you checked any local farm stores for Dexron III? The farm store I go to in South Dakota has THE most inexpensive ATF (straight Dexron III) and they only sell it in 5 gallon pails, cheaper than any FLAPS (favorite local automotive store). Assuming of course it follows the specification. Try looking there to save some coin.

Now I get to be the old man I am. The old fart in me says it's probably not a big deal... up to a point. I'm where you are. I'm debating buying the cheapest stuff I can find, run it for awhile, then *maybe* switch to a more trustworthy brand??? There are at least $2,400 in clutches that may justify it. But 25 (or whatever it is) gallons of ATF is a lot of $. But I'm letting the engineer back into the discussion.

OH, and by the way, watch your brand of hydraulic filter CLOSE. I bought a FLAPS one (for the application) and I can't remember the numbers, but it's filtering capability was not-so-good. Like twice the microns of a John Deere filter. If I can find those numbers (including OMC's spec), I'll post them. This may cause a debate but I only put OEM filters in stuff that is important to me. Like a CAT engine, Cummins, etc. I am of the opinion that the OMC Mustang is important to me and John Deere or Fleetguard will go in it. <-- Edited. I found those numbers and I was wrong. Napa, Wix, Fleetguard, etc. seem to all be right around 25 microns. So, FLAPS are just fine. Sorry for the wrong information.

Regarding the bushing. You got that right, wow are they hard to find. I was fortunate to have the time to camp on eBay long enough to score them fairly inexpensively.

Have fun! Please post pictures if you can.

Al Jones
South Dakota
 
Last edited:
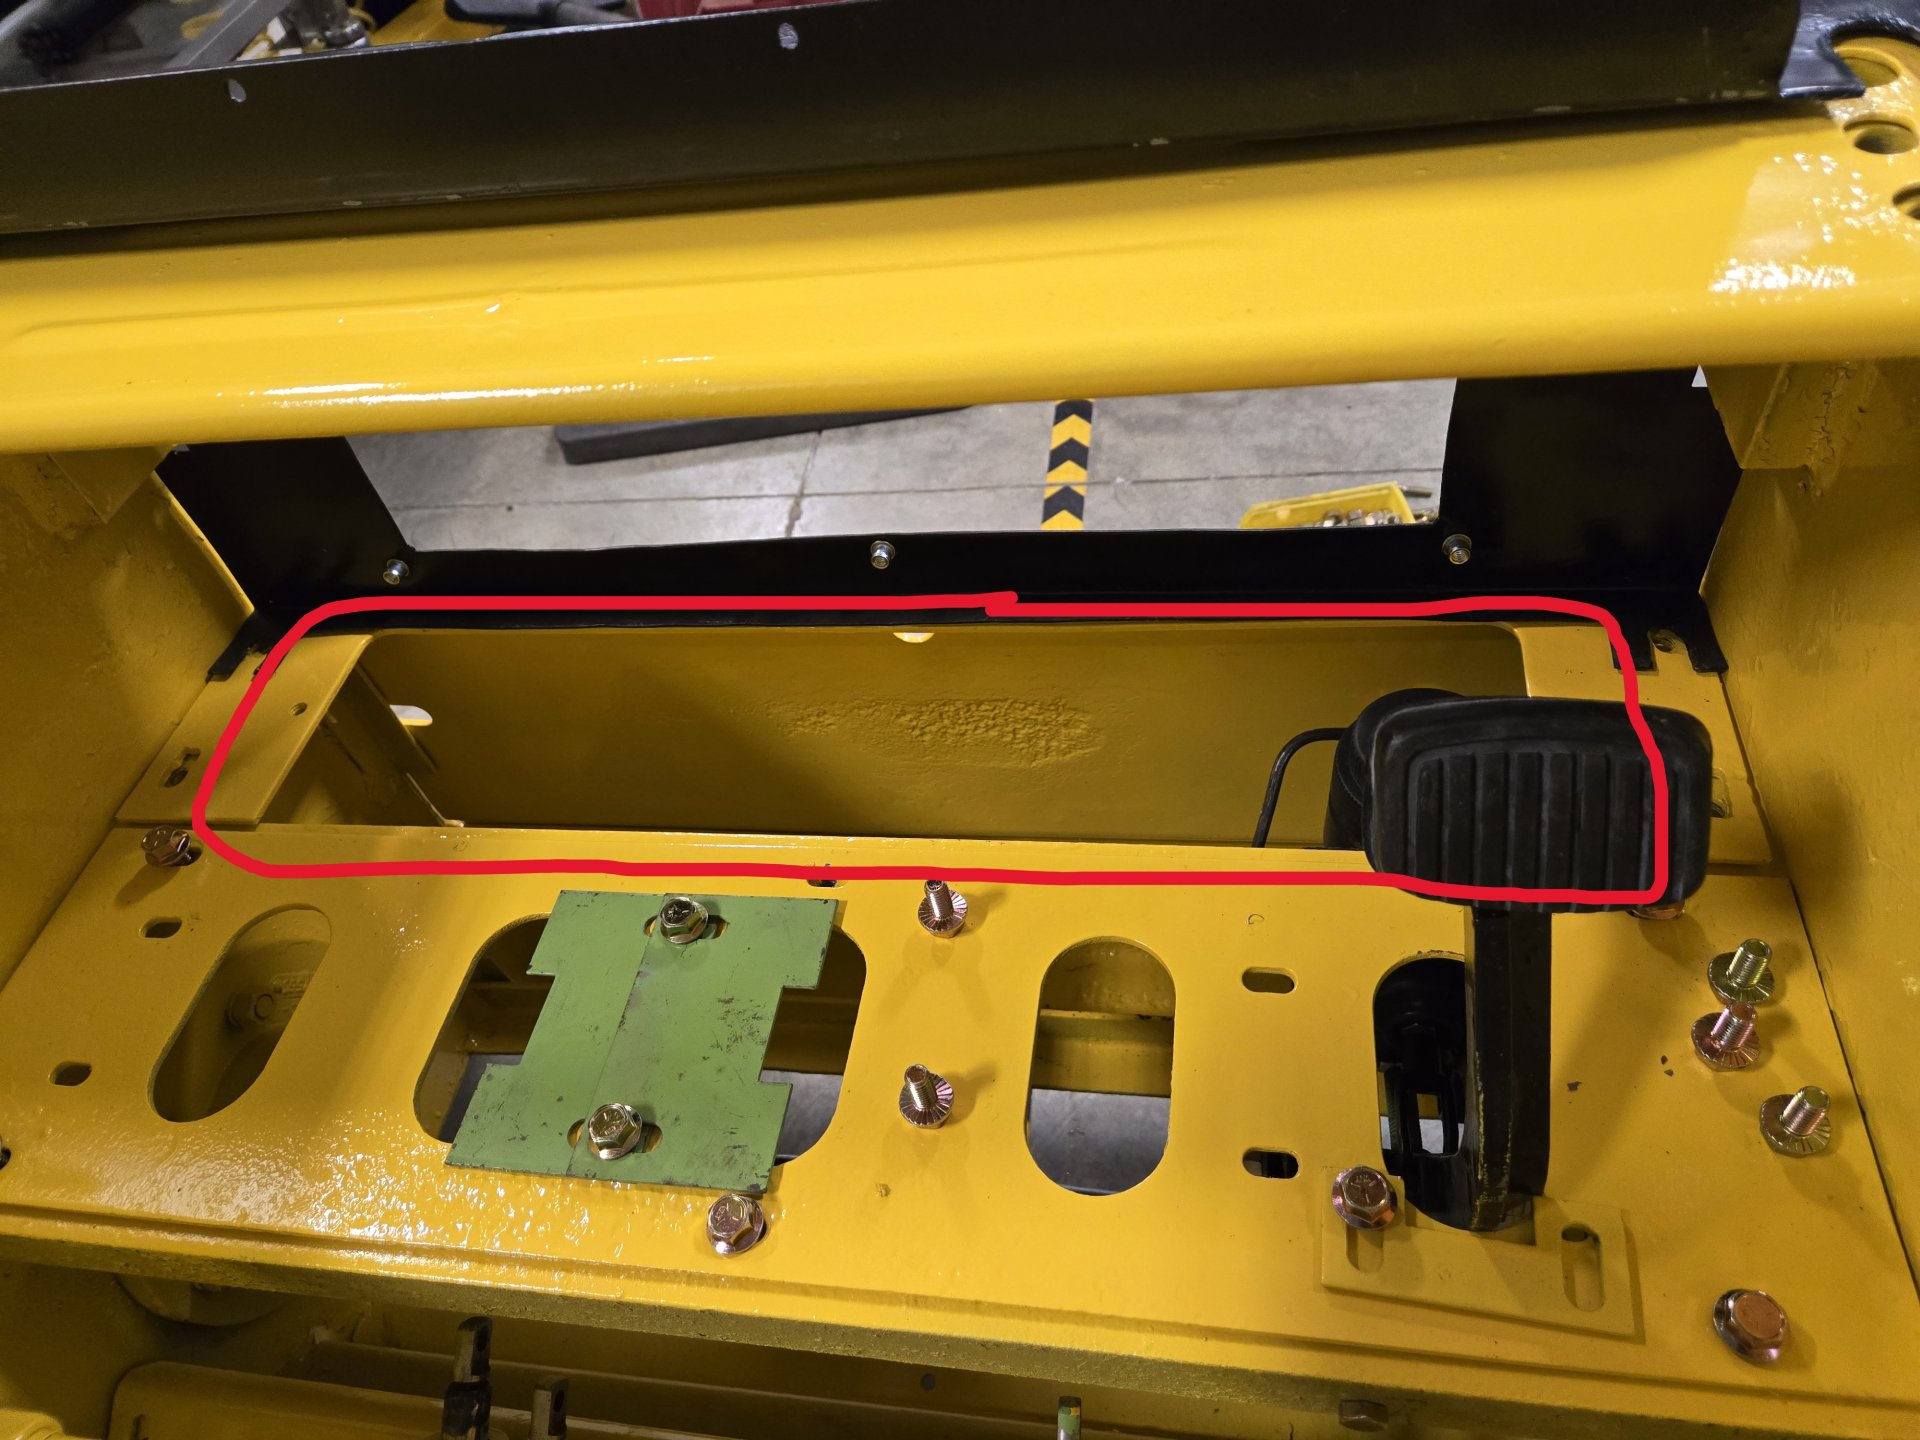
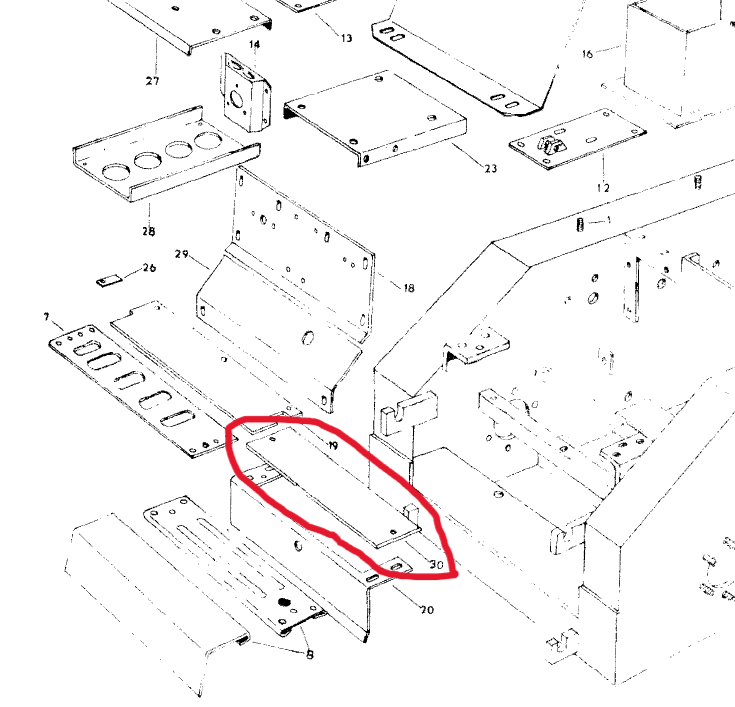
Calling all Mustang 1700 owners. I'm piecing the unit back together and realized I'm missing the floor panel outlined in the following photo. I also have it circled in the figure from the parts manual. If you have an original one, can you please provide a photo and measurements? Thickness, width and length would be most appreciated. Thanks for any help!
20251112_184925.jpg
20251112_184935.jpg


Screenshot 2025-11-12 212934.png


Al Jones
South Dakota
 

Latest posts

Back
Top