Mustang 1700 Reset

Skidsteer Forum - Bobcat, New Holland, Case, John Deere

Help Support Skidsteer:

Steve,

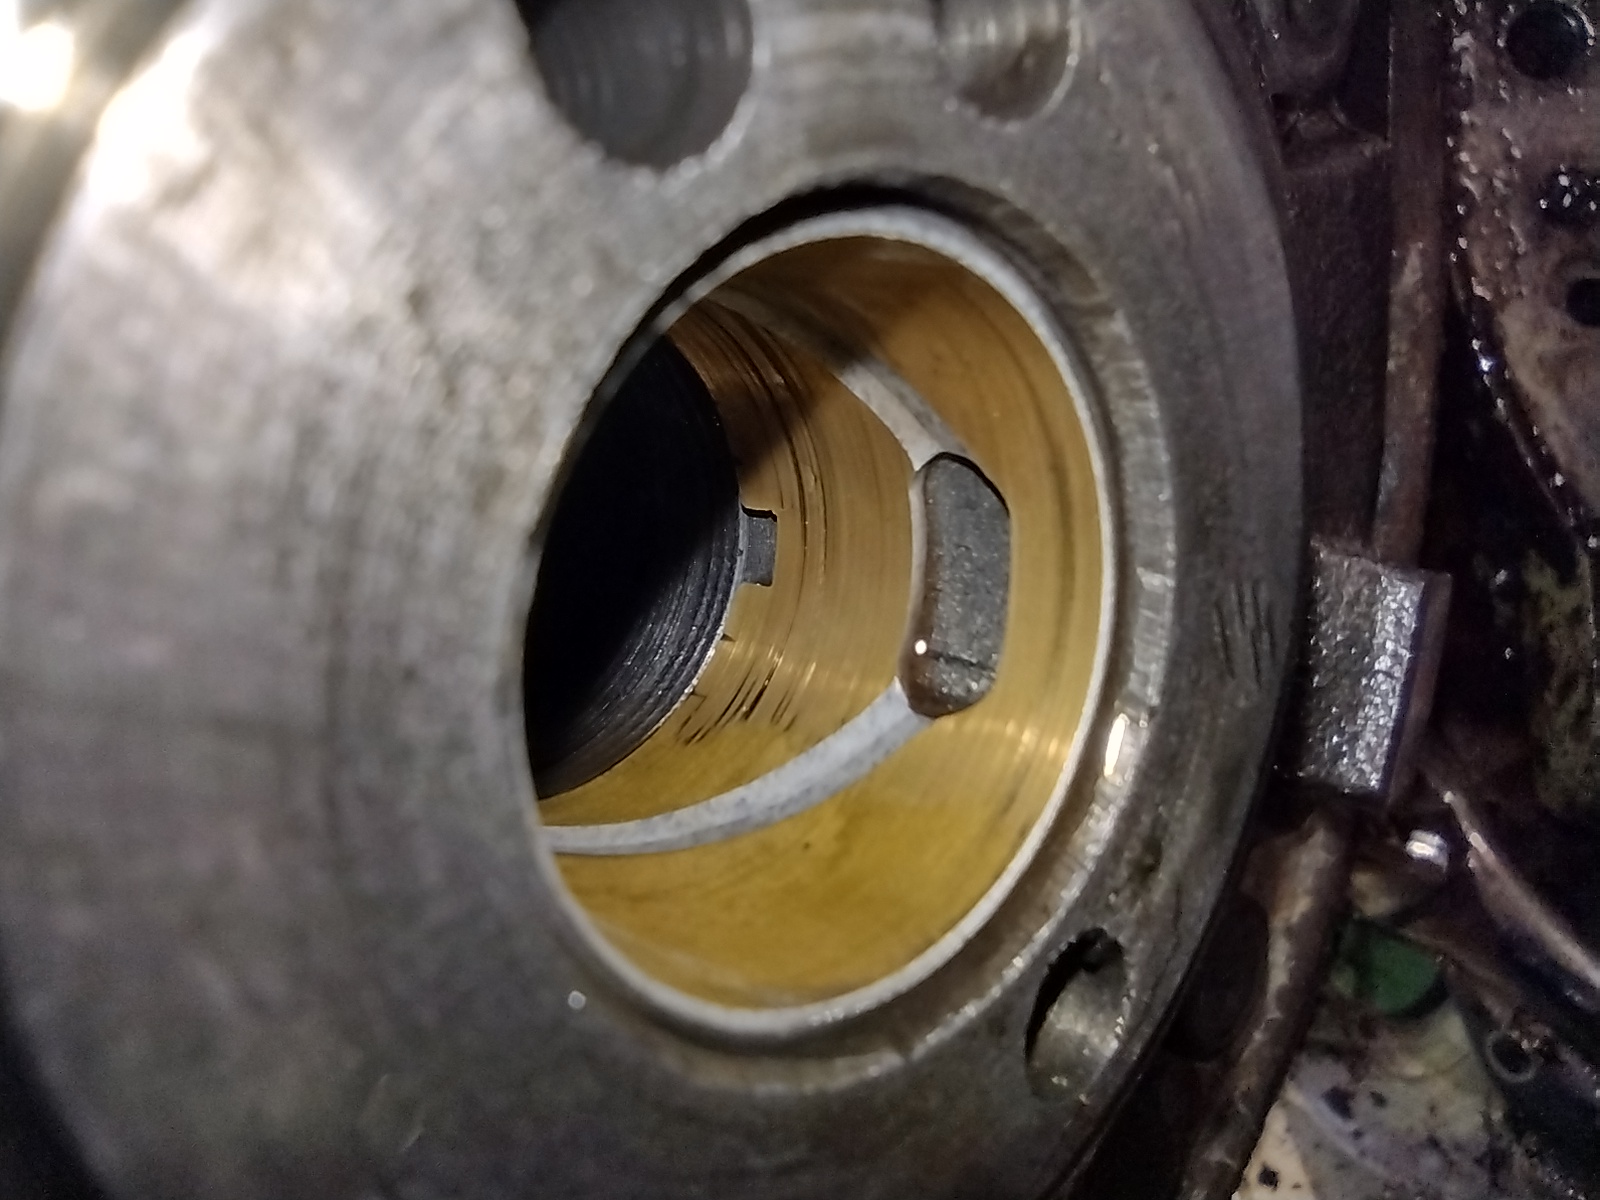
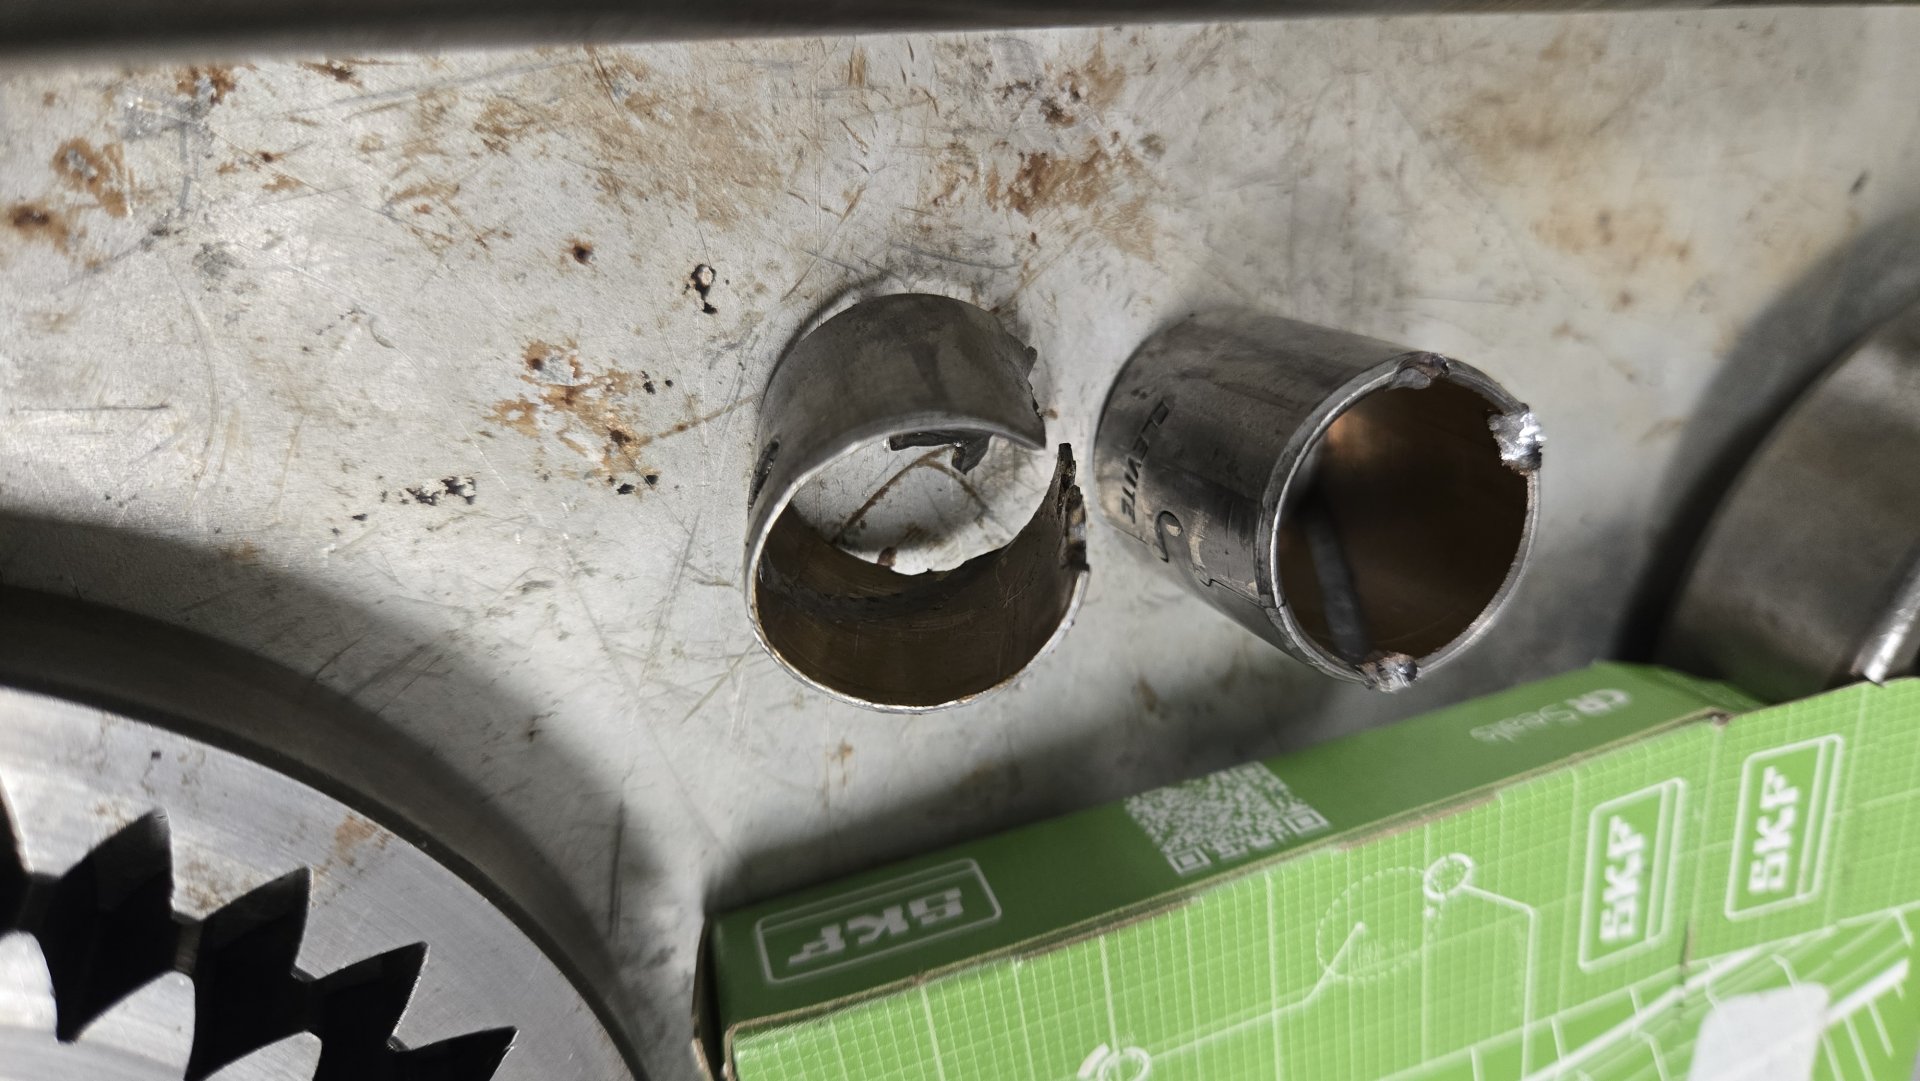
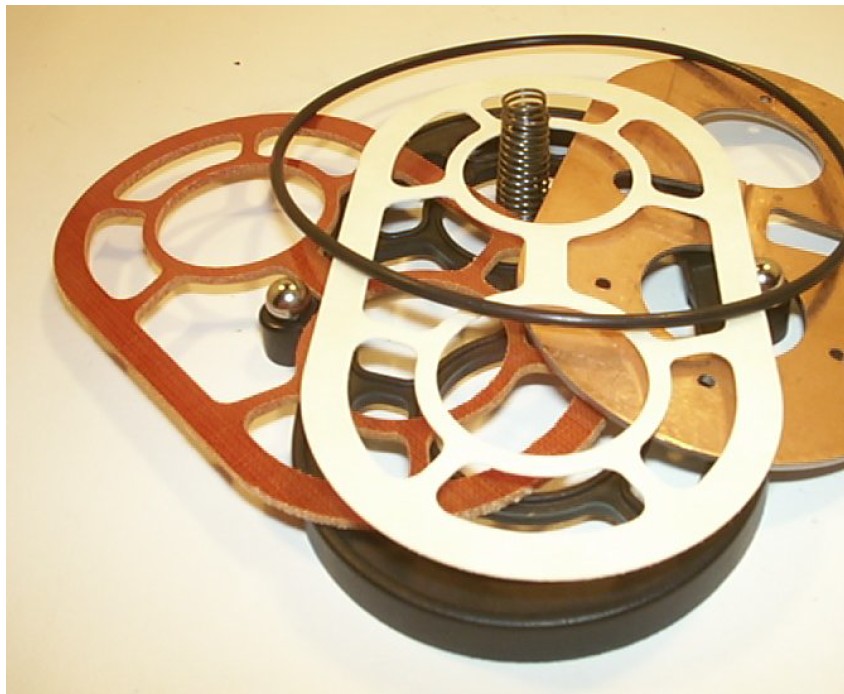
Sorry about that. You're wanting to replace the torque convertor seal. That's easy, just pop the old one out and drive the new one in. While you have it apart, it's worth changing the convertor bushing. The picture you show with seal, gasket and bushing is what I used. The large o-ring is for installing the pump in a Ford transmission and is not needed.

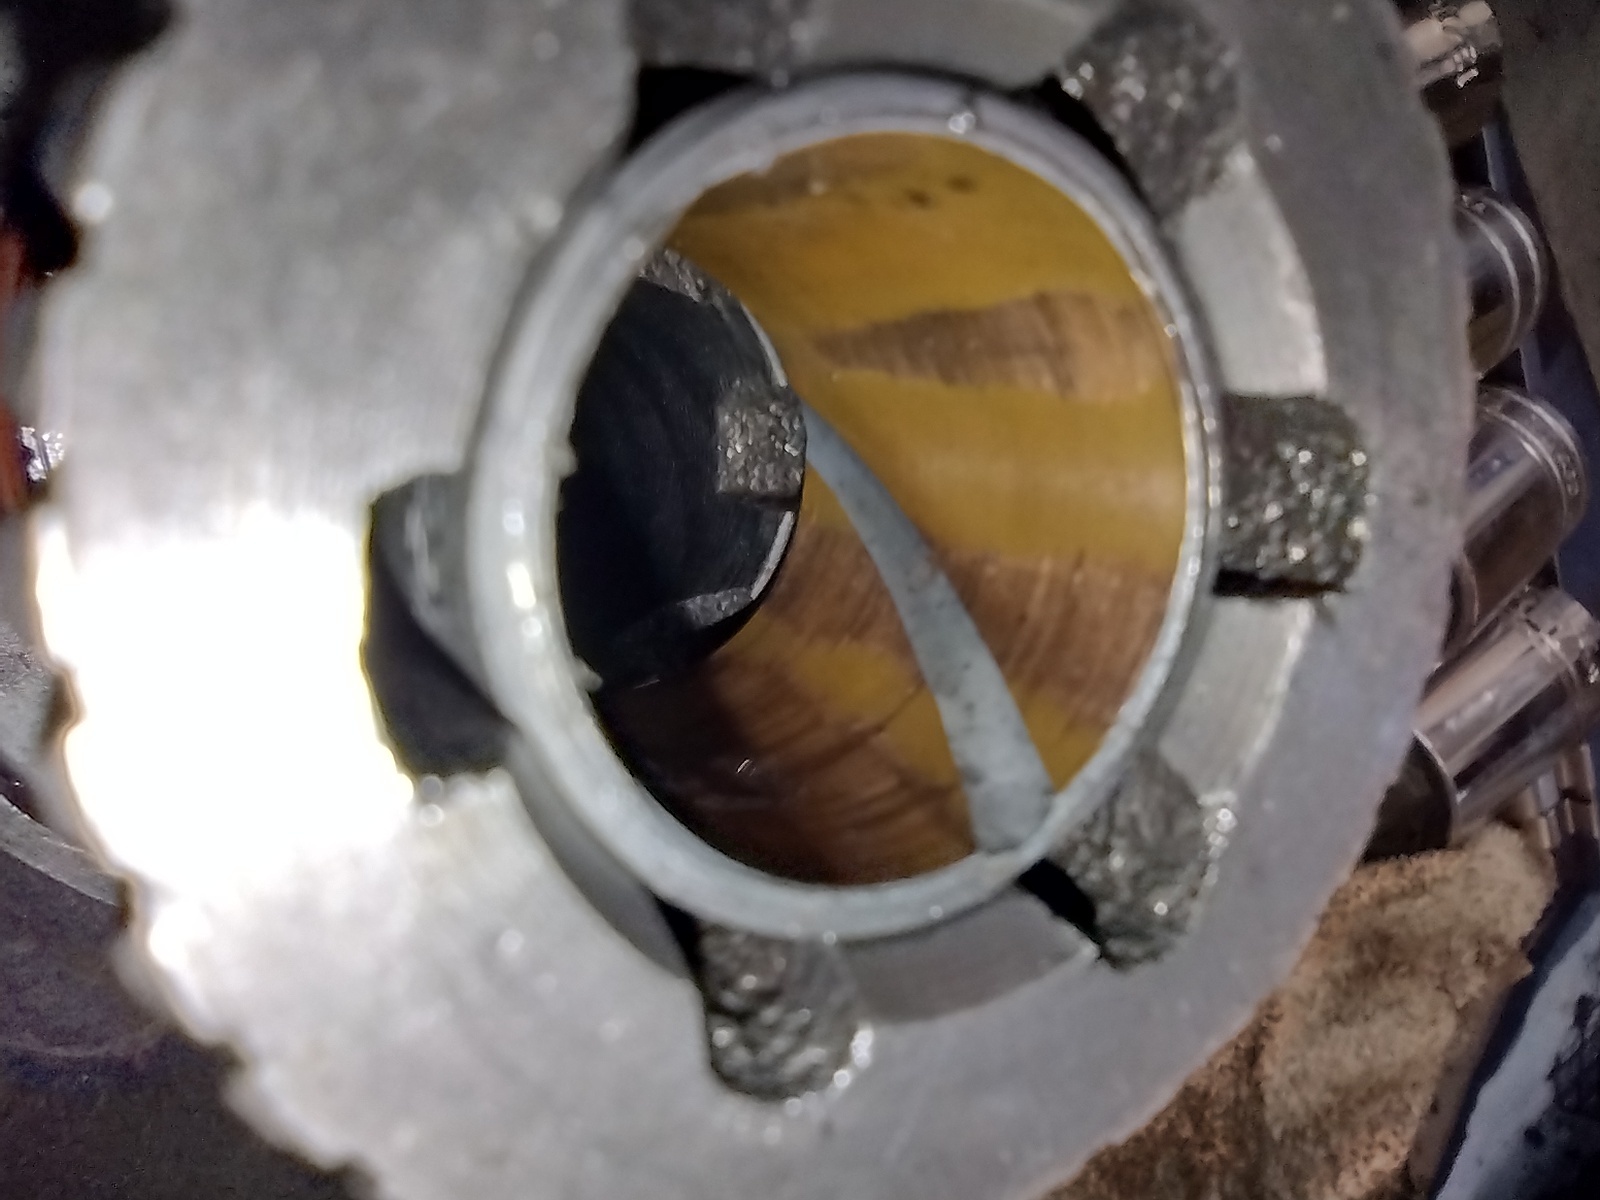
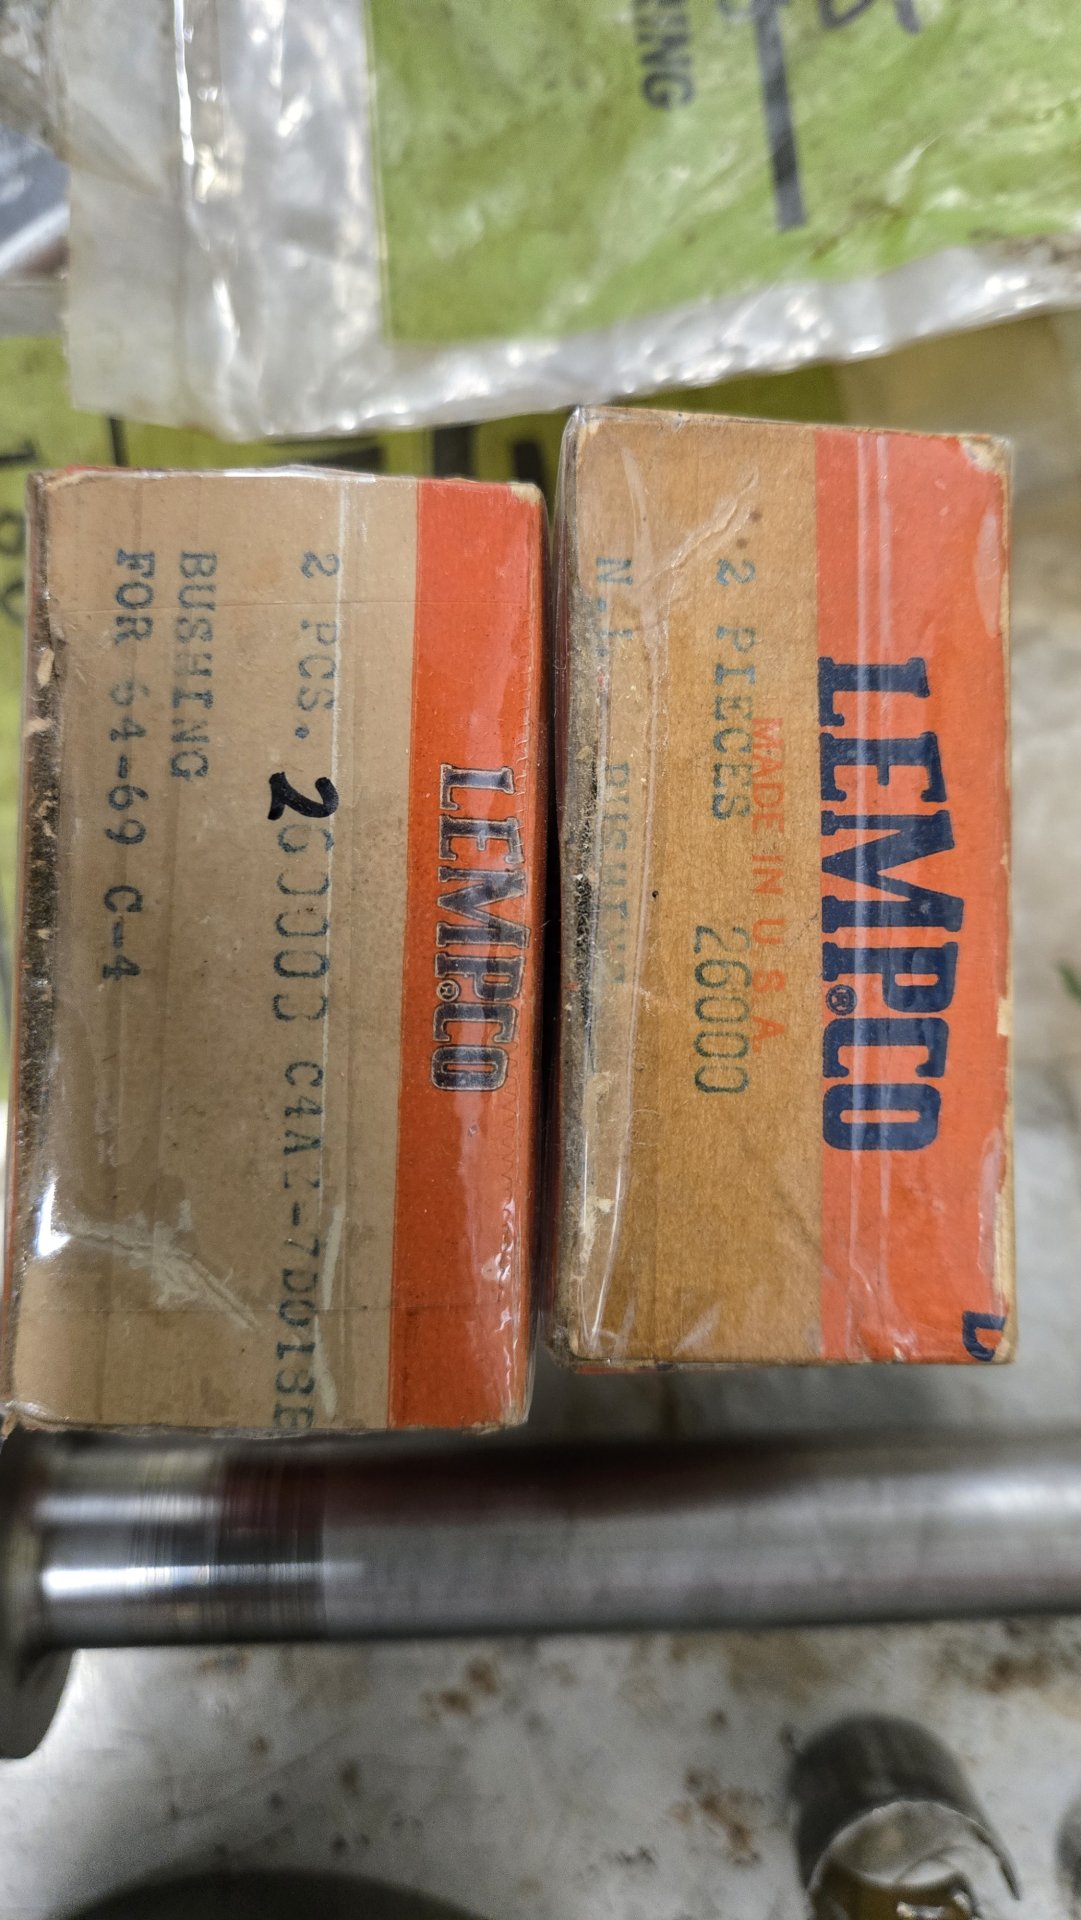
Yes, the bushing you show is really chowed up. It should be replaced as well as the front bushing too. I can't tell from the photo if your input shaft is chowed too. Here's where things get tricky. There's a serial number break where older units use different bushings, input shaft (Owatonna calls it a pinion shaft), than the newer units. The year split from Ford is 1967 or 1968. The early pumps use a 0.788-inch 24-spline input shaft, which was upgraded in the late 60s to 26-spline and 0.839-inch shaft. My skid steer is a 1972 but still used the old style shaft/bushings. The change in Owatonna Mustang serial number is 14949. If you have the newer style, you're golden as those are the bushings are readily available and still used today. If you have the older style, like mine, I found them very hard to find. Most web sites show them as "out of stick" (list prices were ridiculously expensive). I searched for months looking for the bushings and finally scored them on eBay for just a few dollars. The sleeve kit in your picture likely does not include the two bushings you need. In all the bushing kits I looked at, the fine print said, "does not include input shaft (pump stator) bushings". Note the torque convertor is also a match to your corresponding serial number so as to match the spline count and shaft diameter.

I'll start another reply with details on the charge pump and adapter.
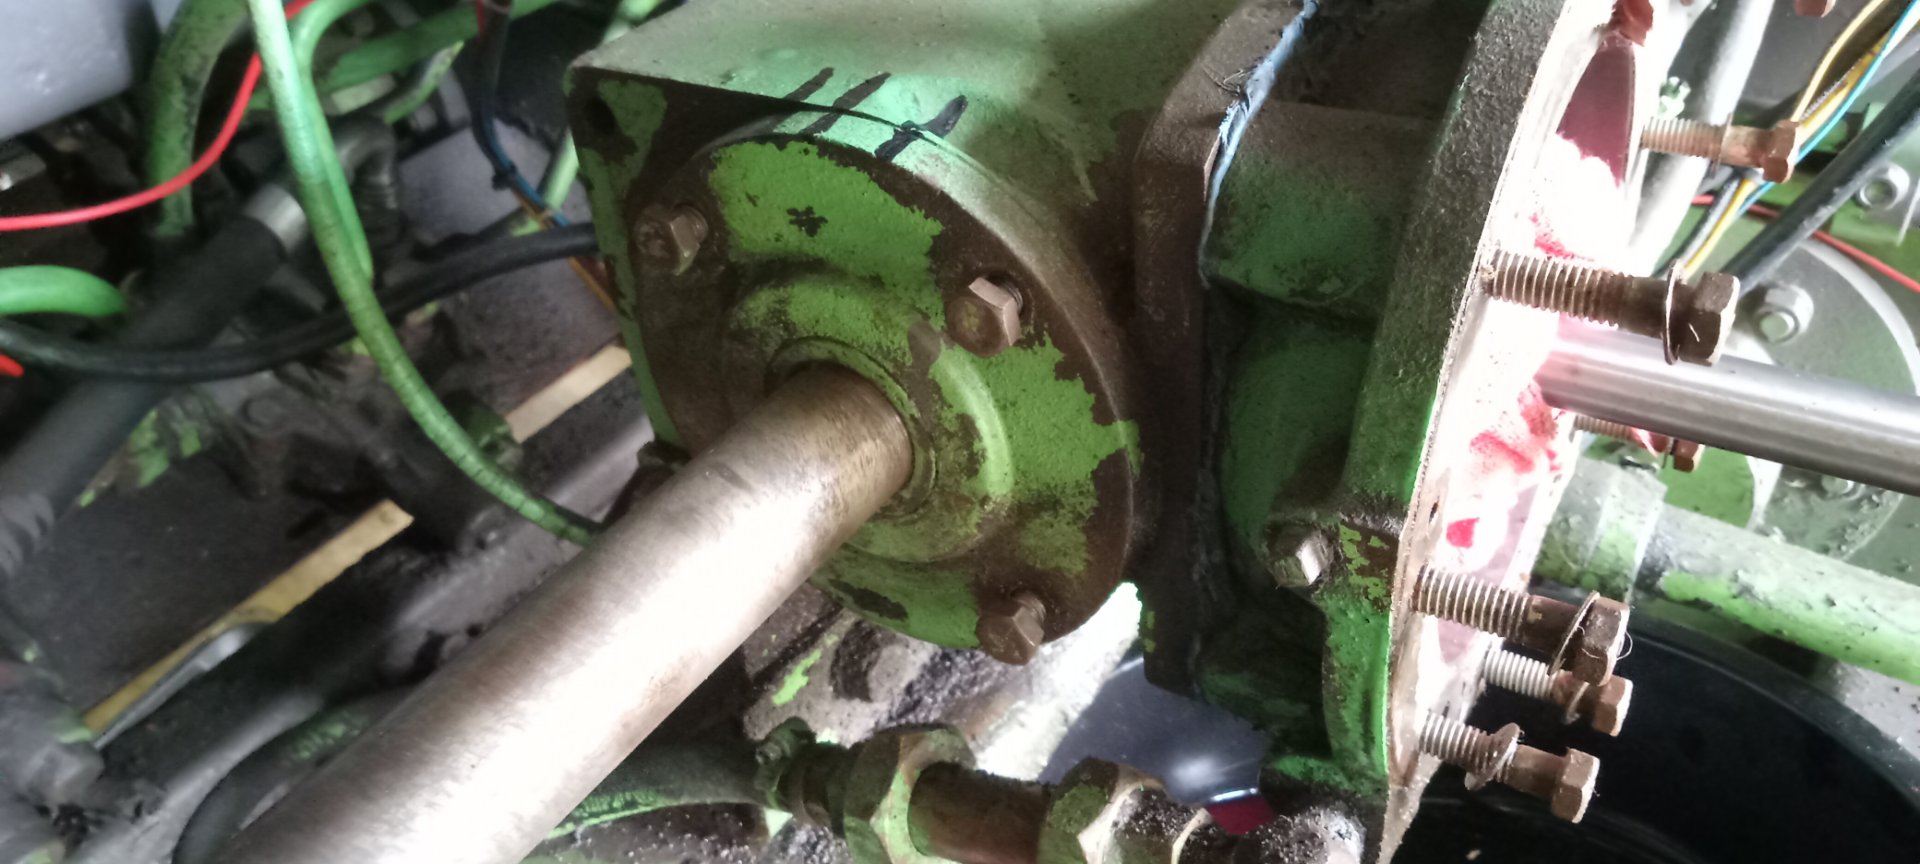
 
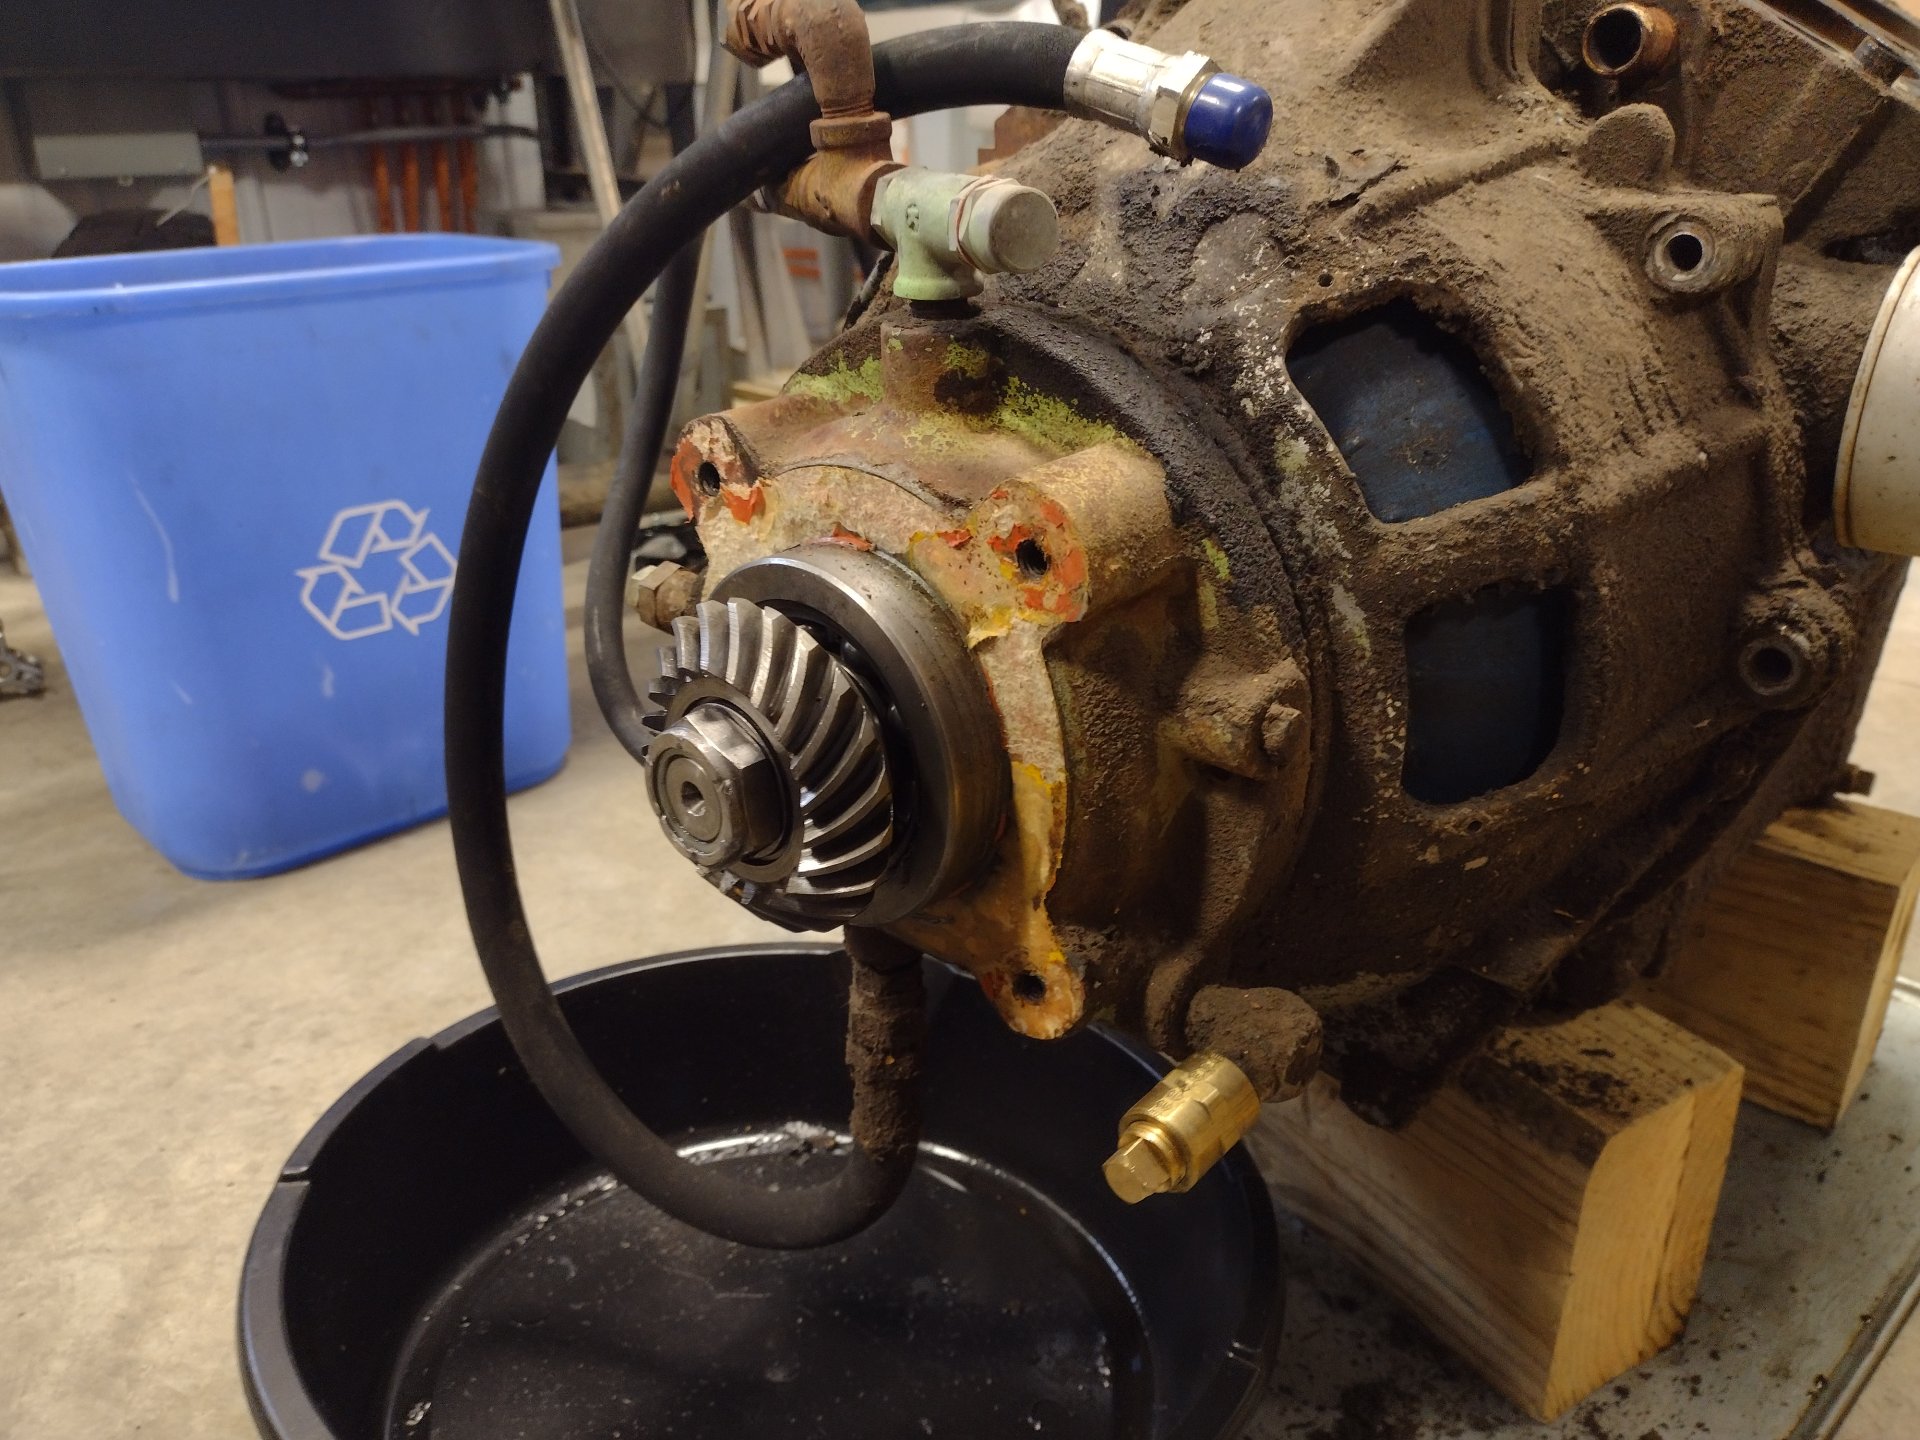
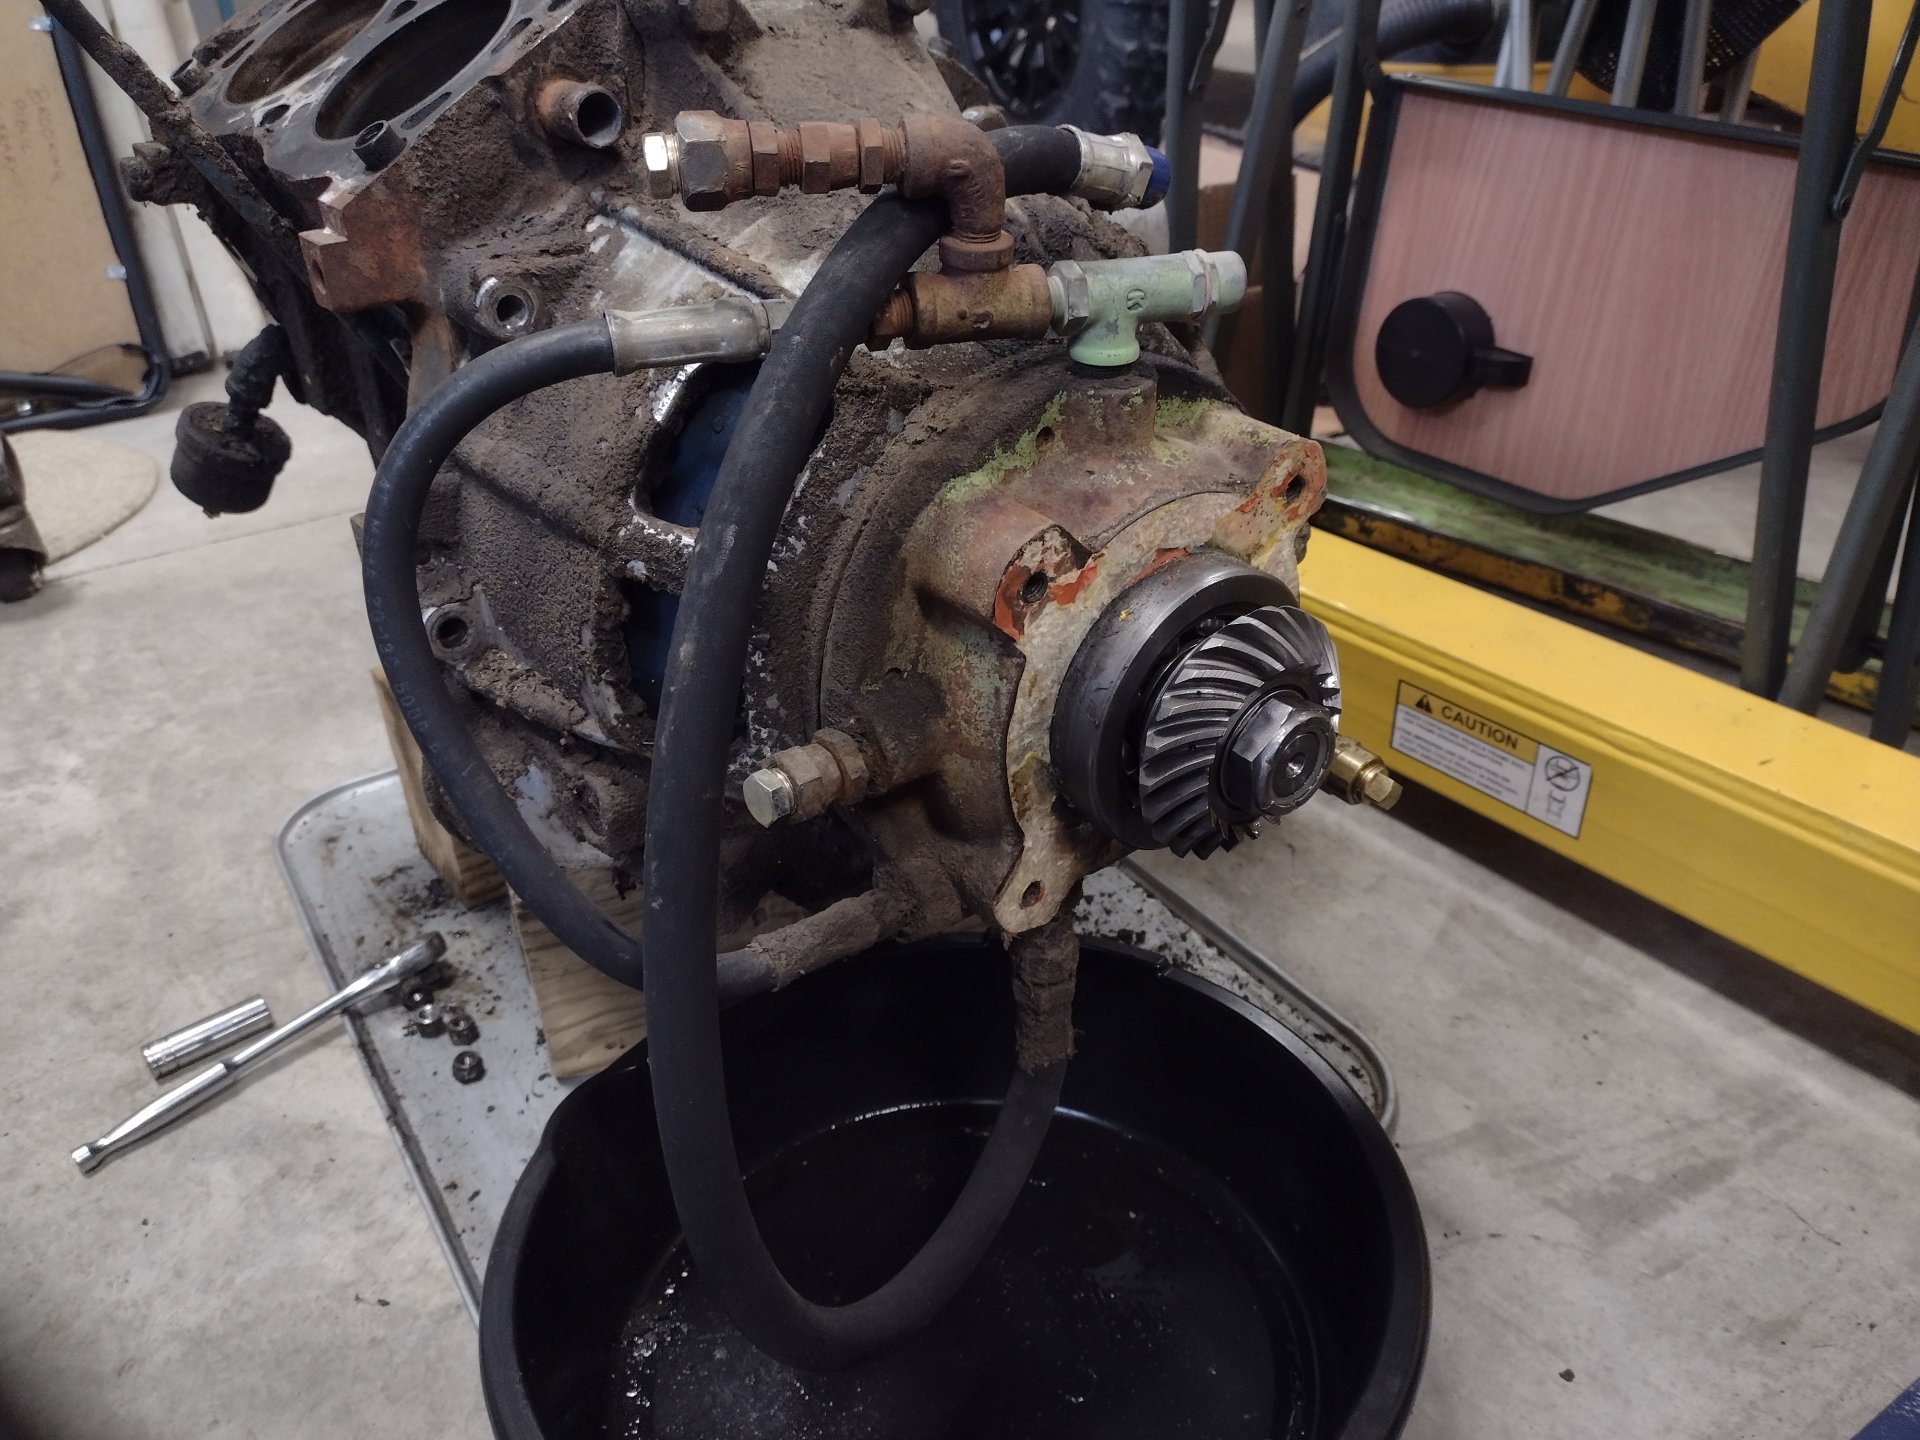
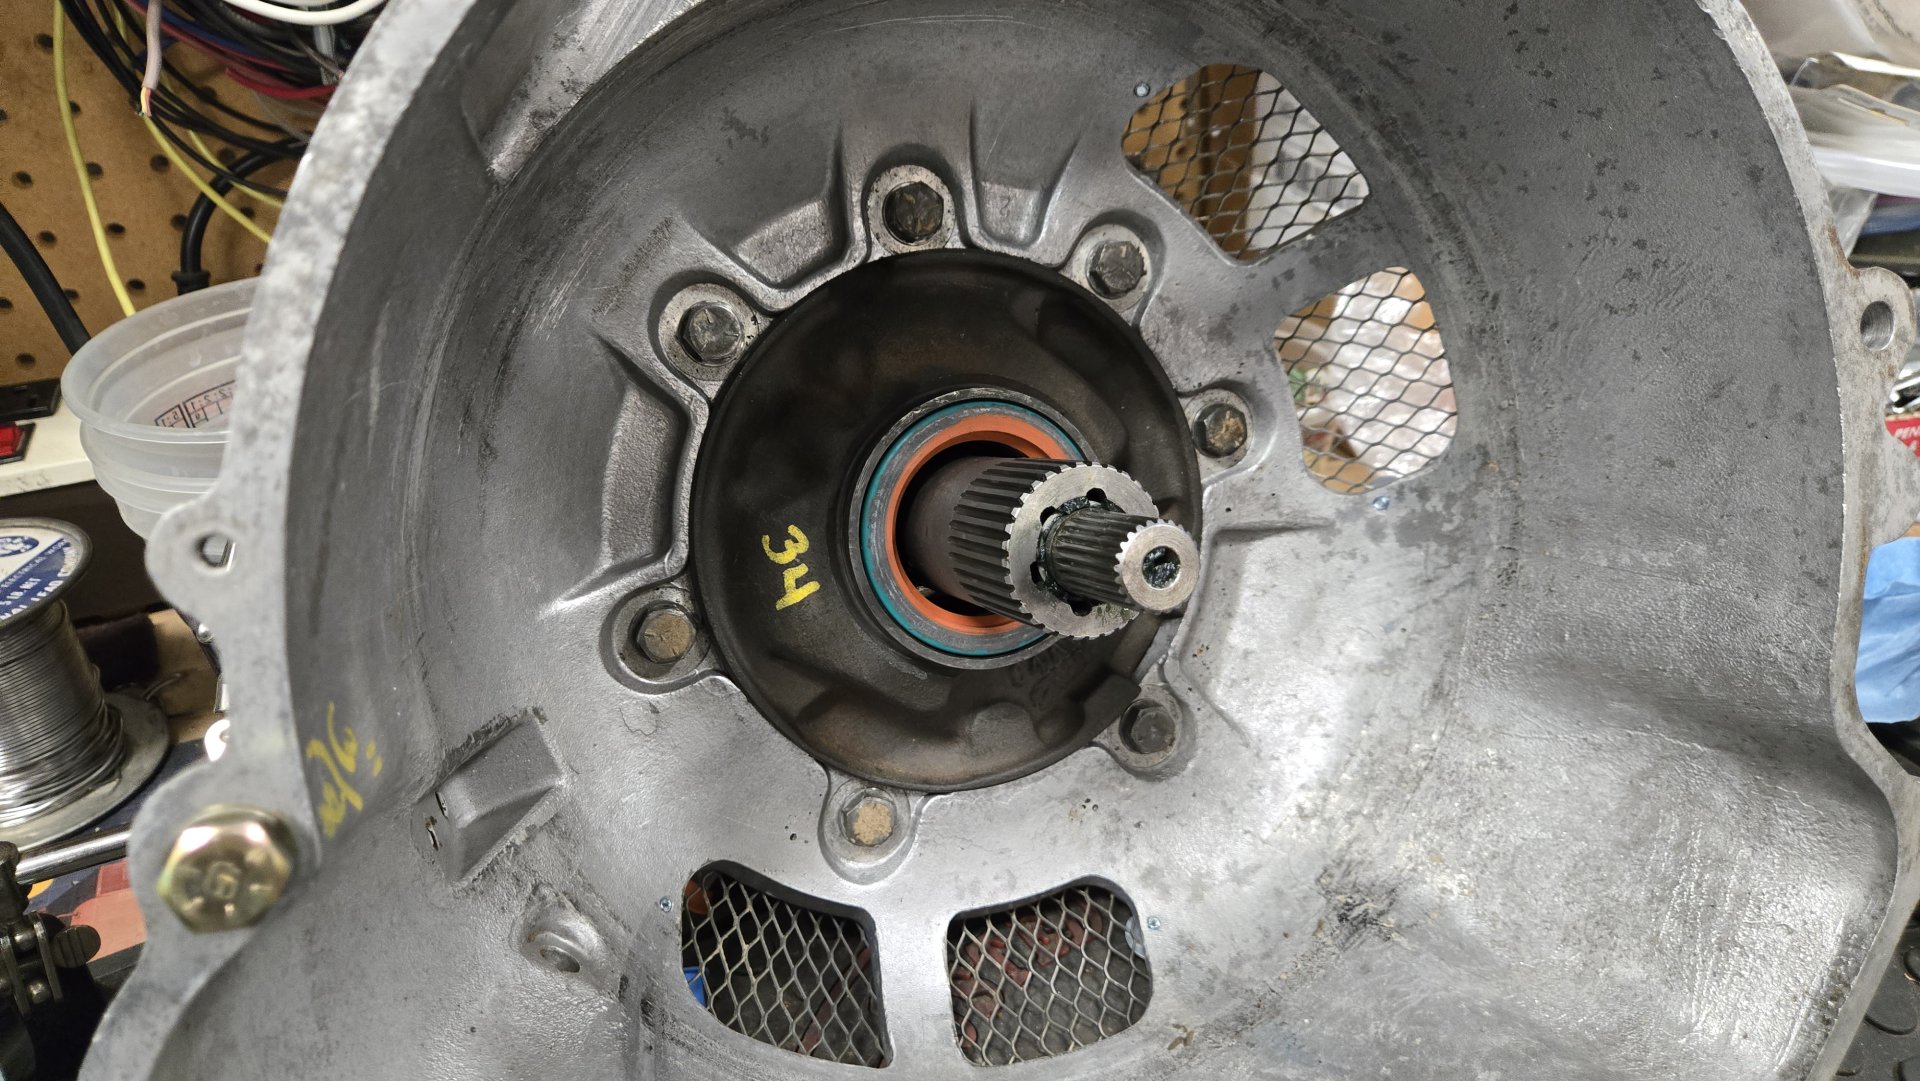
Ok thanks good info. I'll check my serial number. I'm assuming that I can just use a brass punch to get those out. Also I want to replace the seals in transmission shaft as they leak a little see pic. I already loosened the bolts but did not remove, thought I would as for advice first. I do wonder if i need to remove gear case from mount or i can get shaft to come out from side. Steve
 

Attachments

  • 20250920_131349.jpg
    20250920_131349.jpg
    223.9 KB
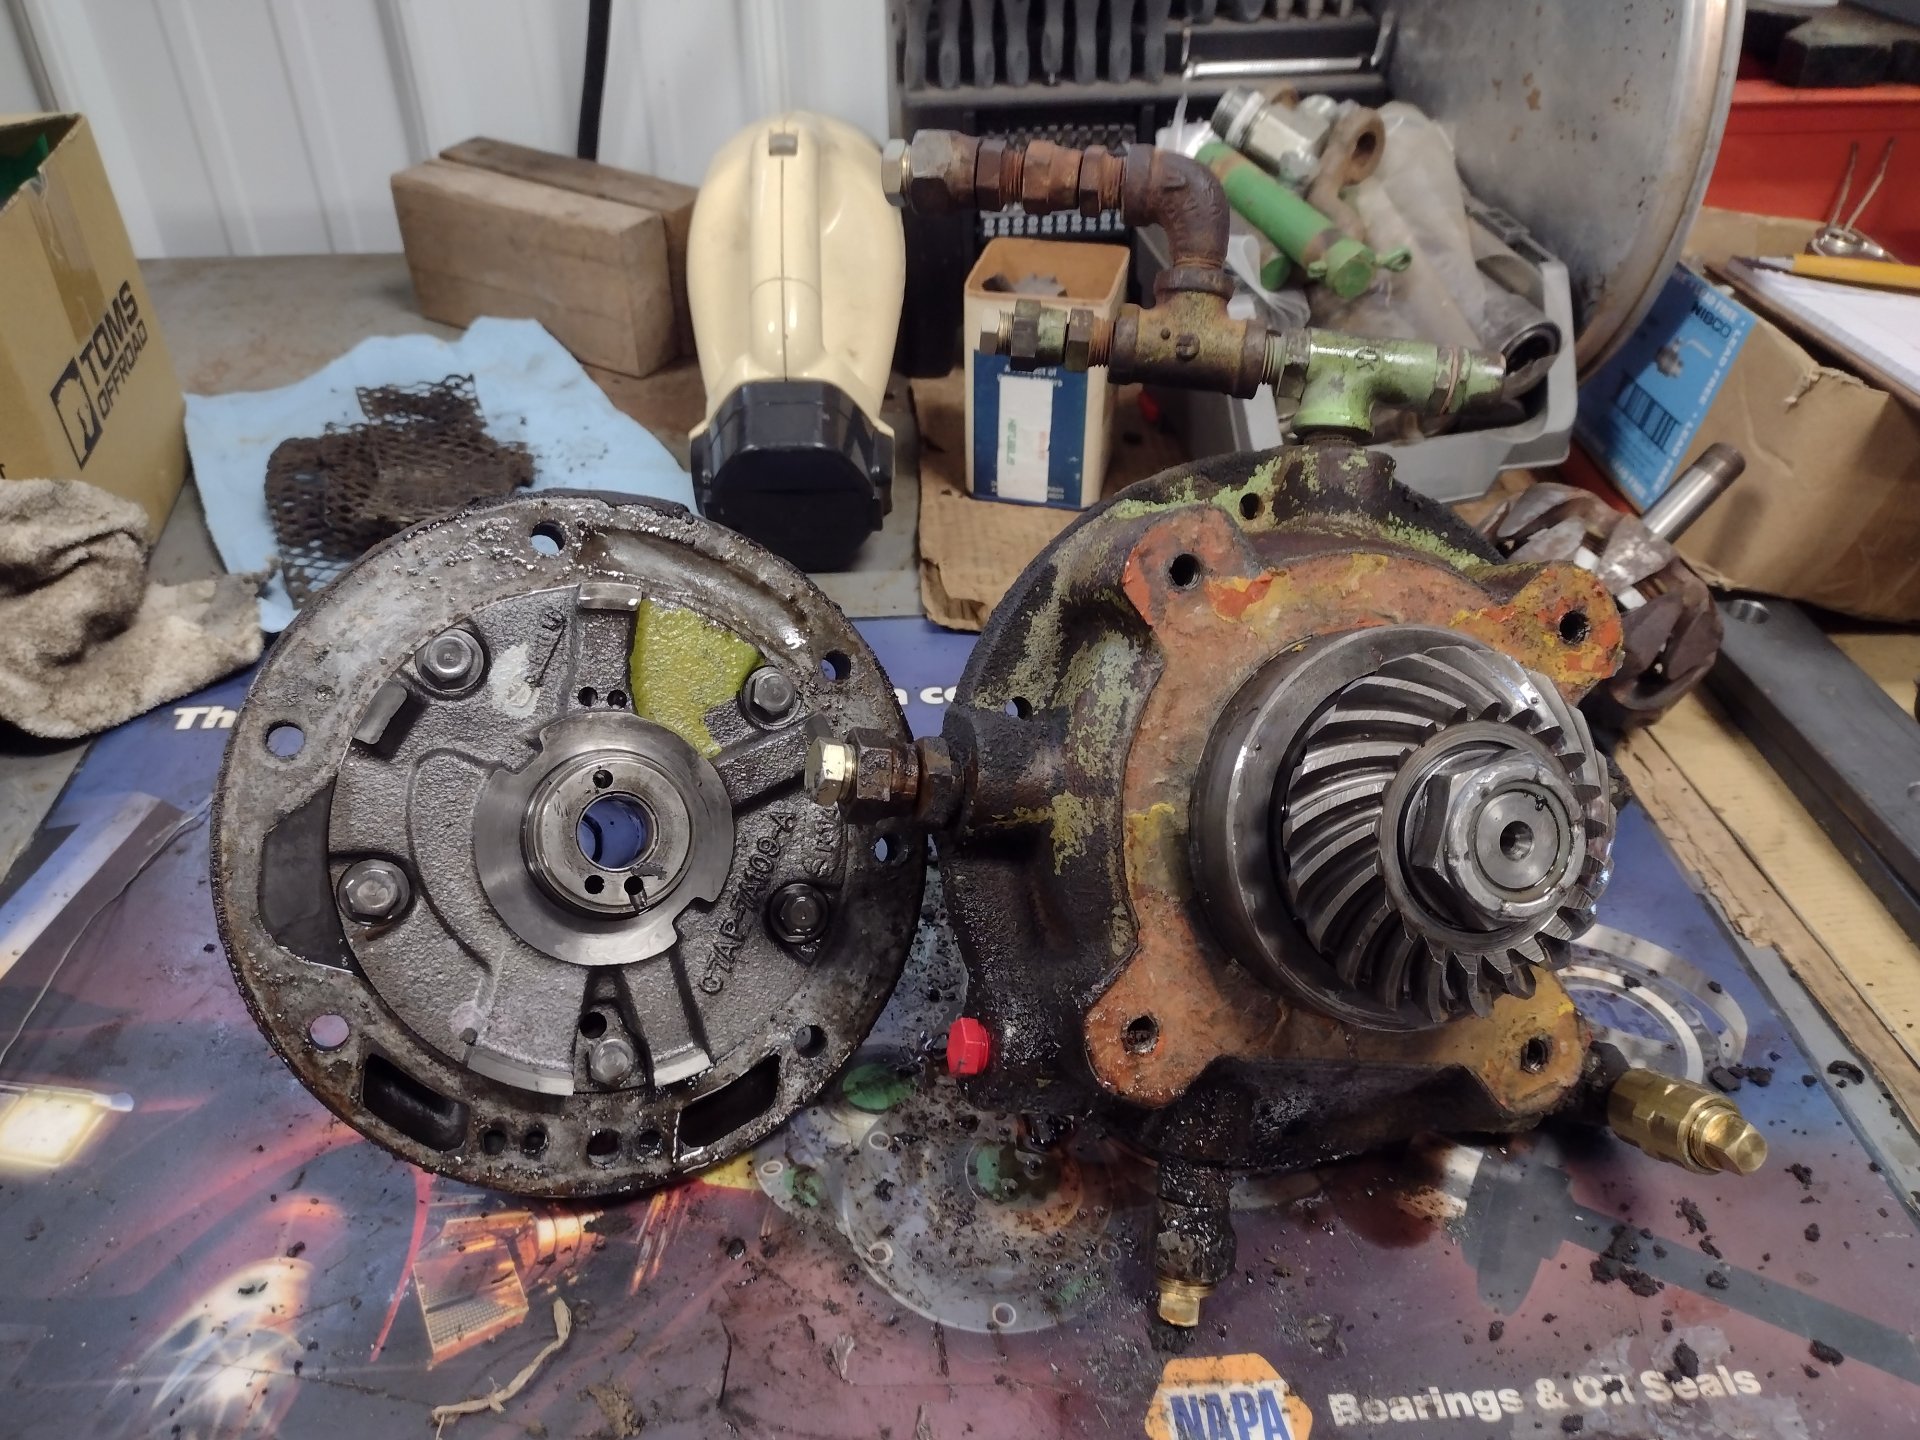
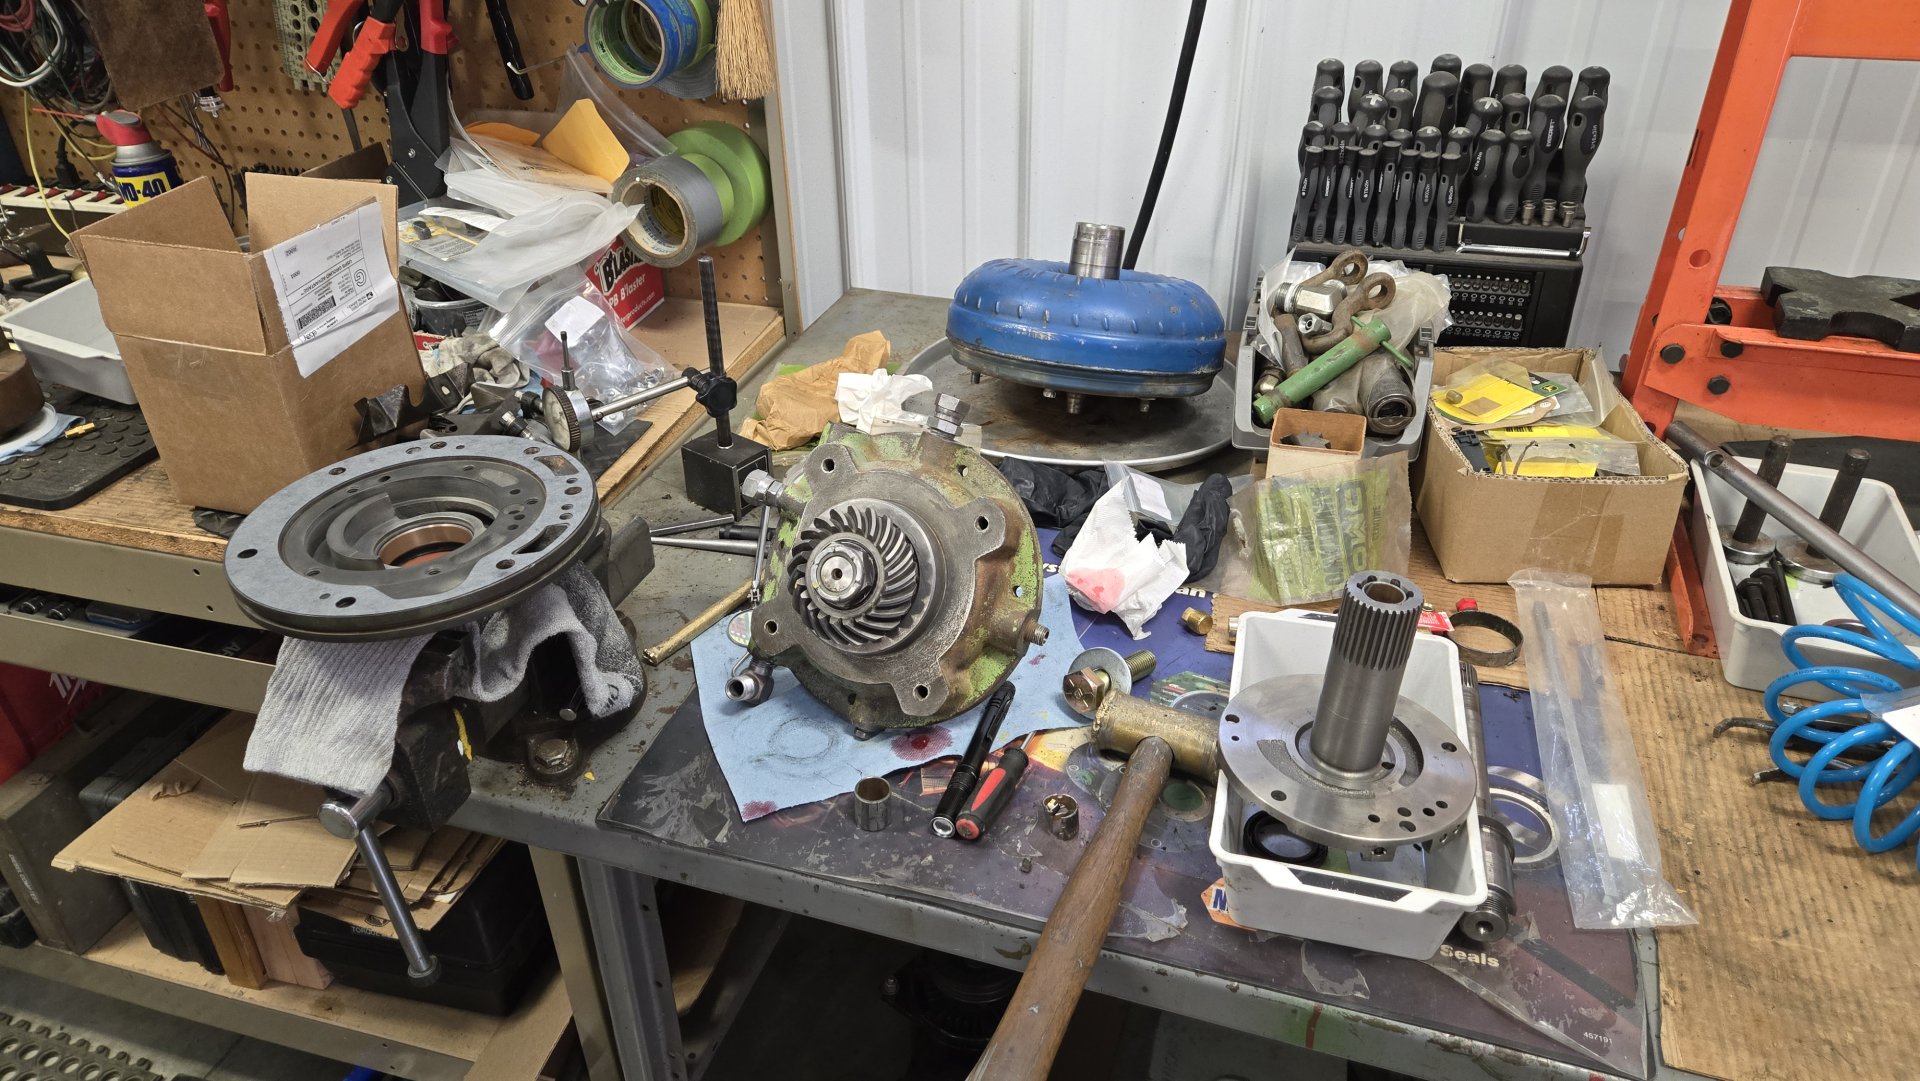
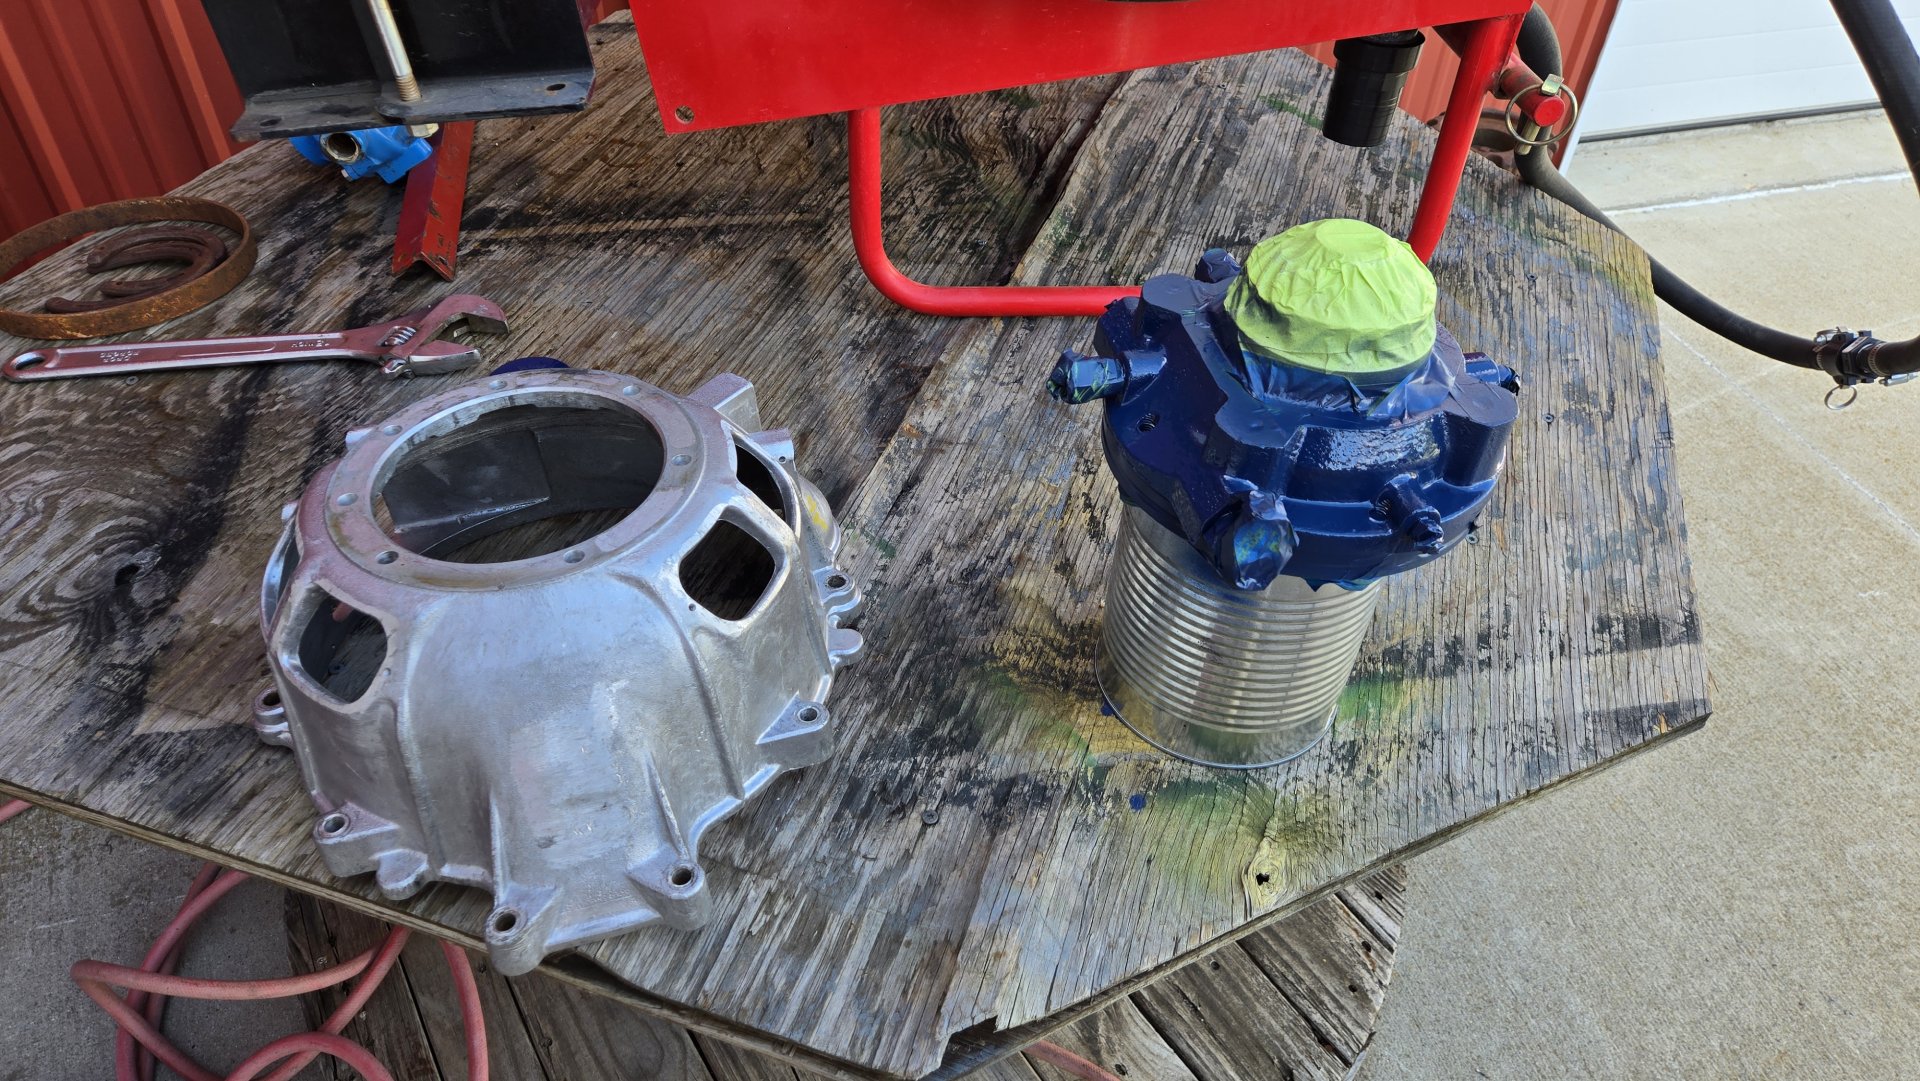
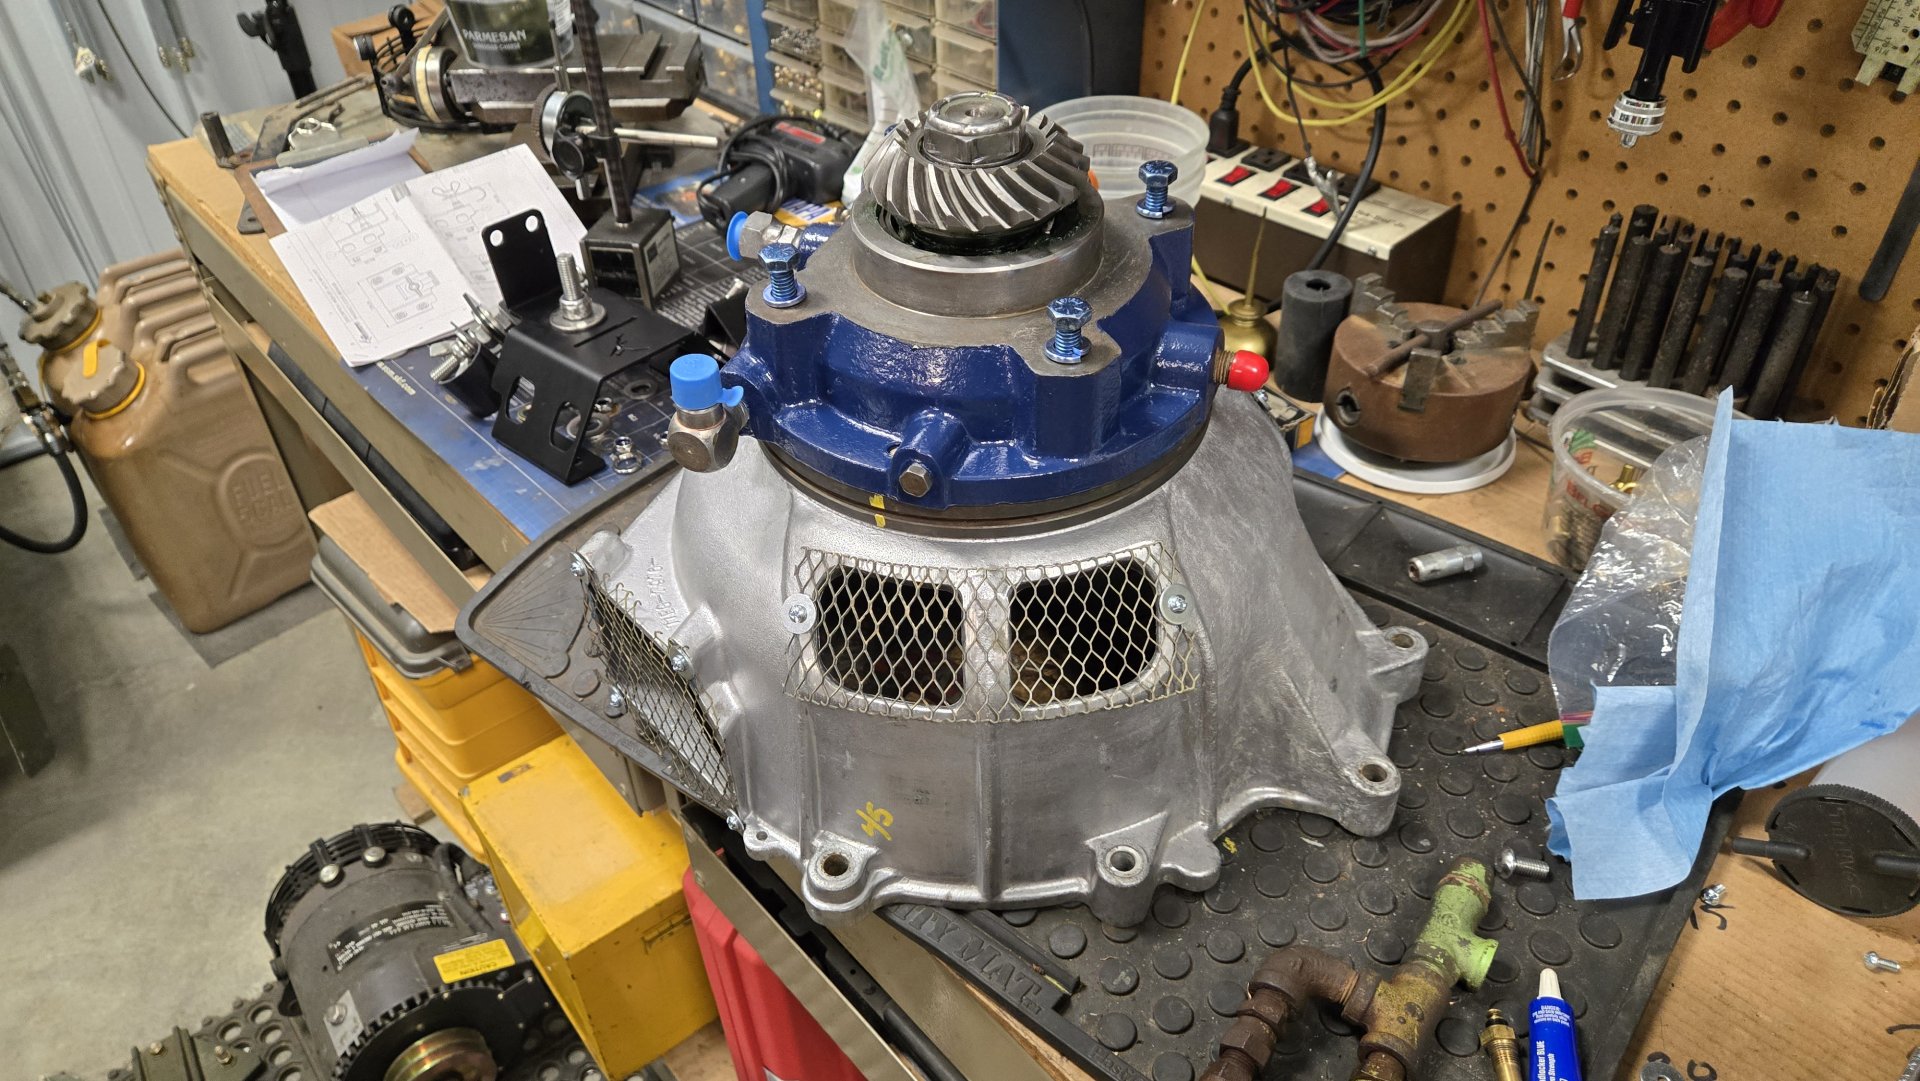
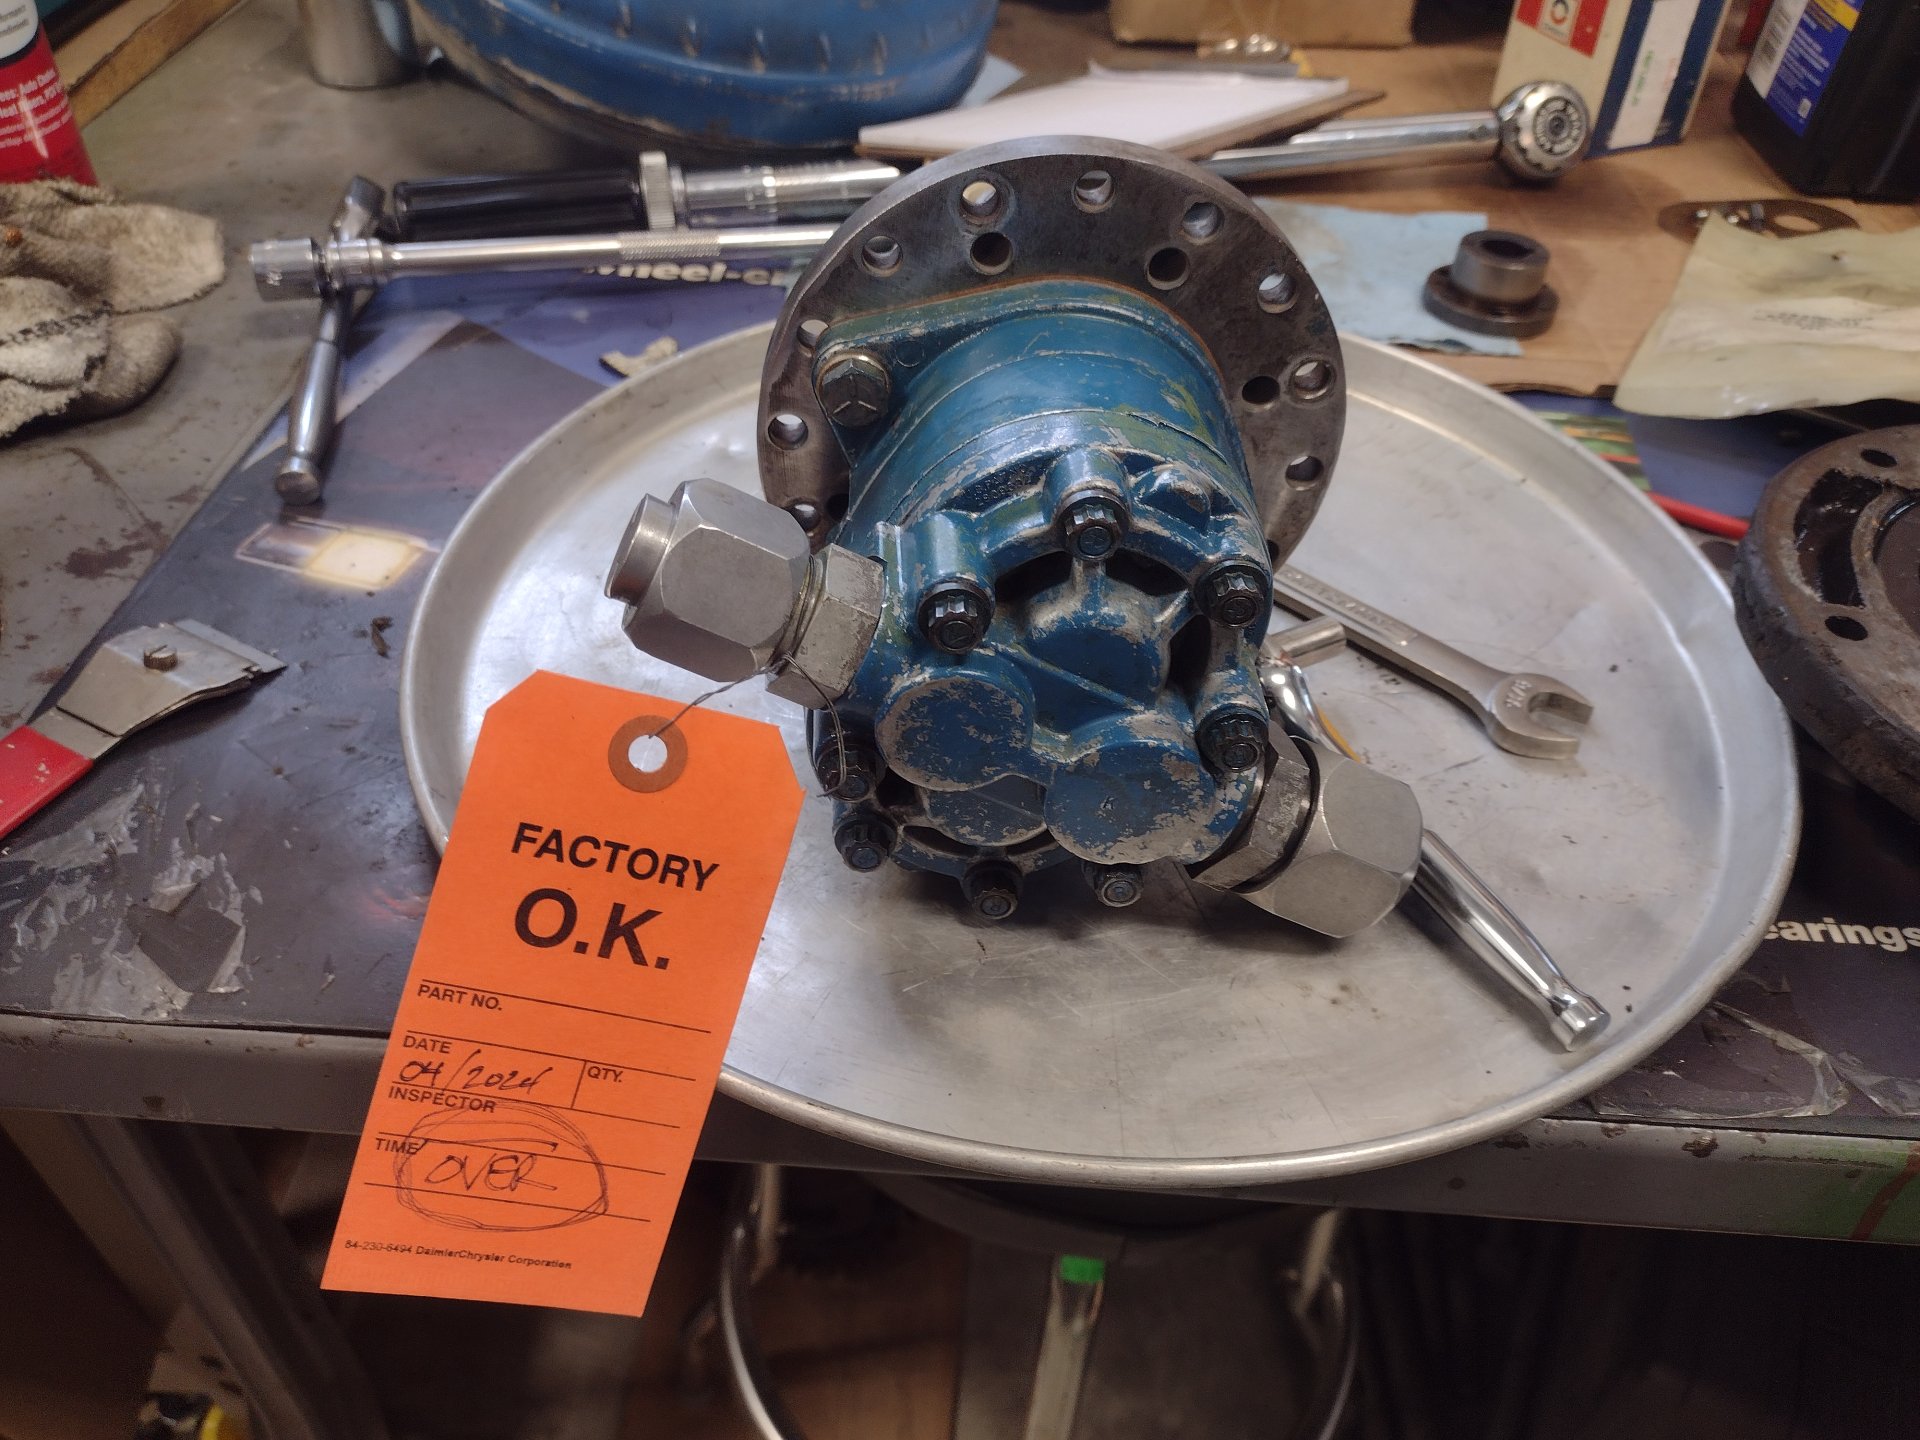
This post is all about units that use a Ford torque convertor to drive the gear box. I think it's far superior to the variable drive, however it probably cost a lot more when new. The drive consists of a torque convertor and bell housing, a charge pump and an adapter (with a bunch of oil passages) to mate to the gear box. The adapter holds a large bearing, and pinion shaft and pinion to drive the gear box. The charge pump is a Ford C4 transmission pump. Everything varies by serial number splits at 9251 and 14949. This post applies to units between 9251 and 14949. I can't speak to units prior to 9251.

I'm calling from the engine flex plate to the pinion, the input drive system.

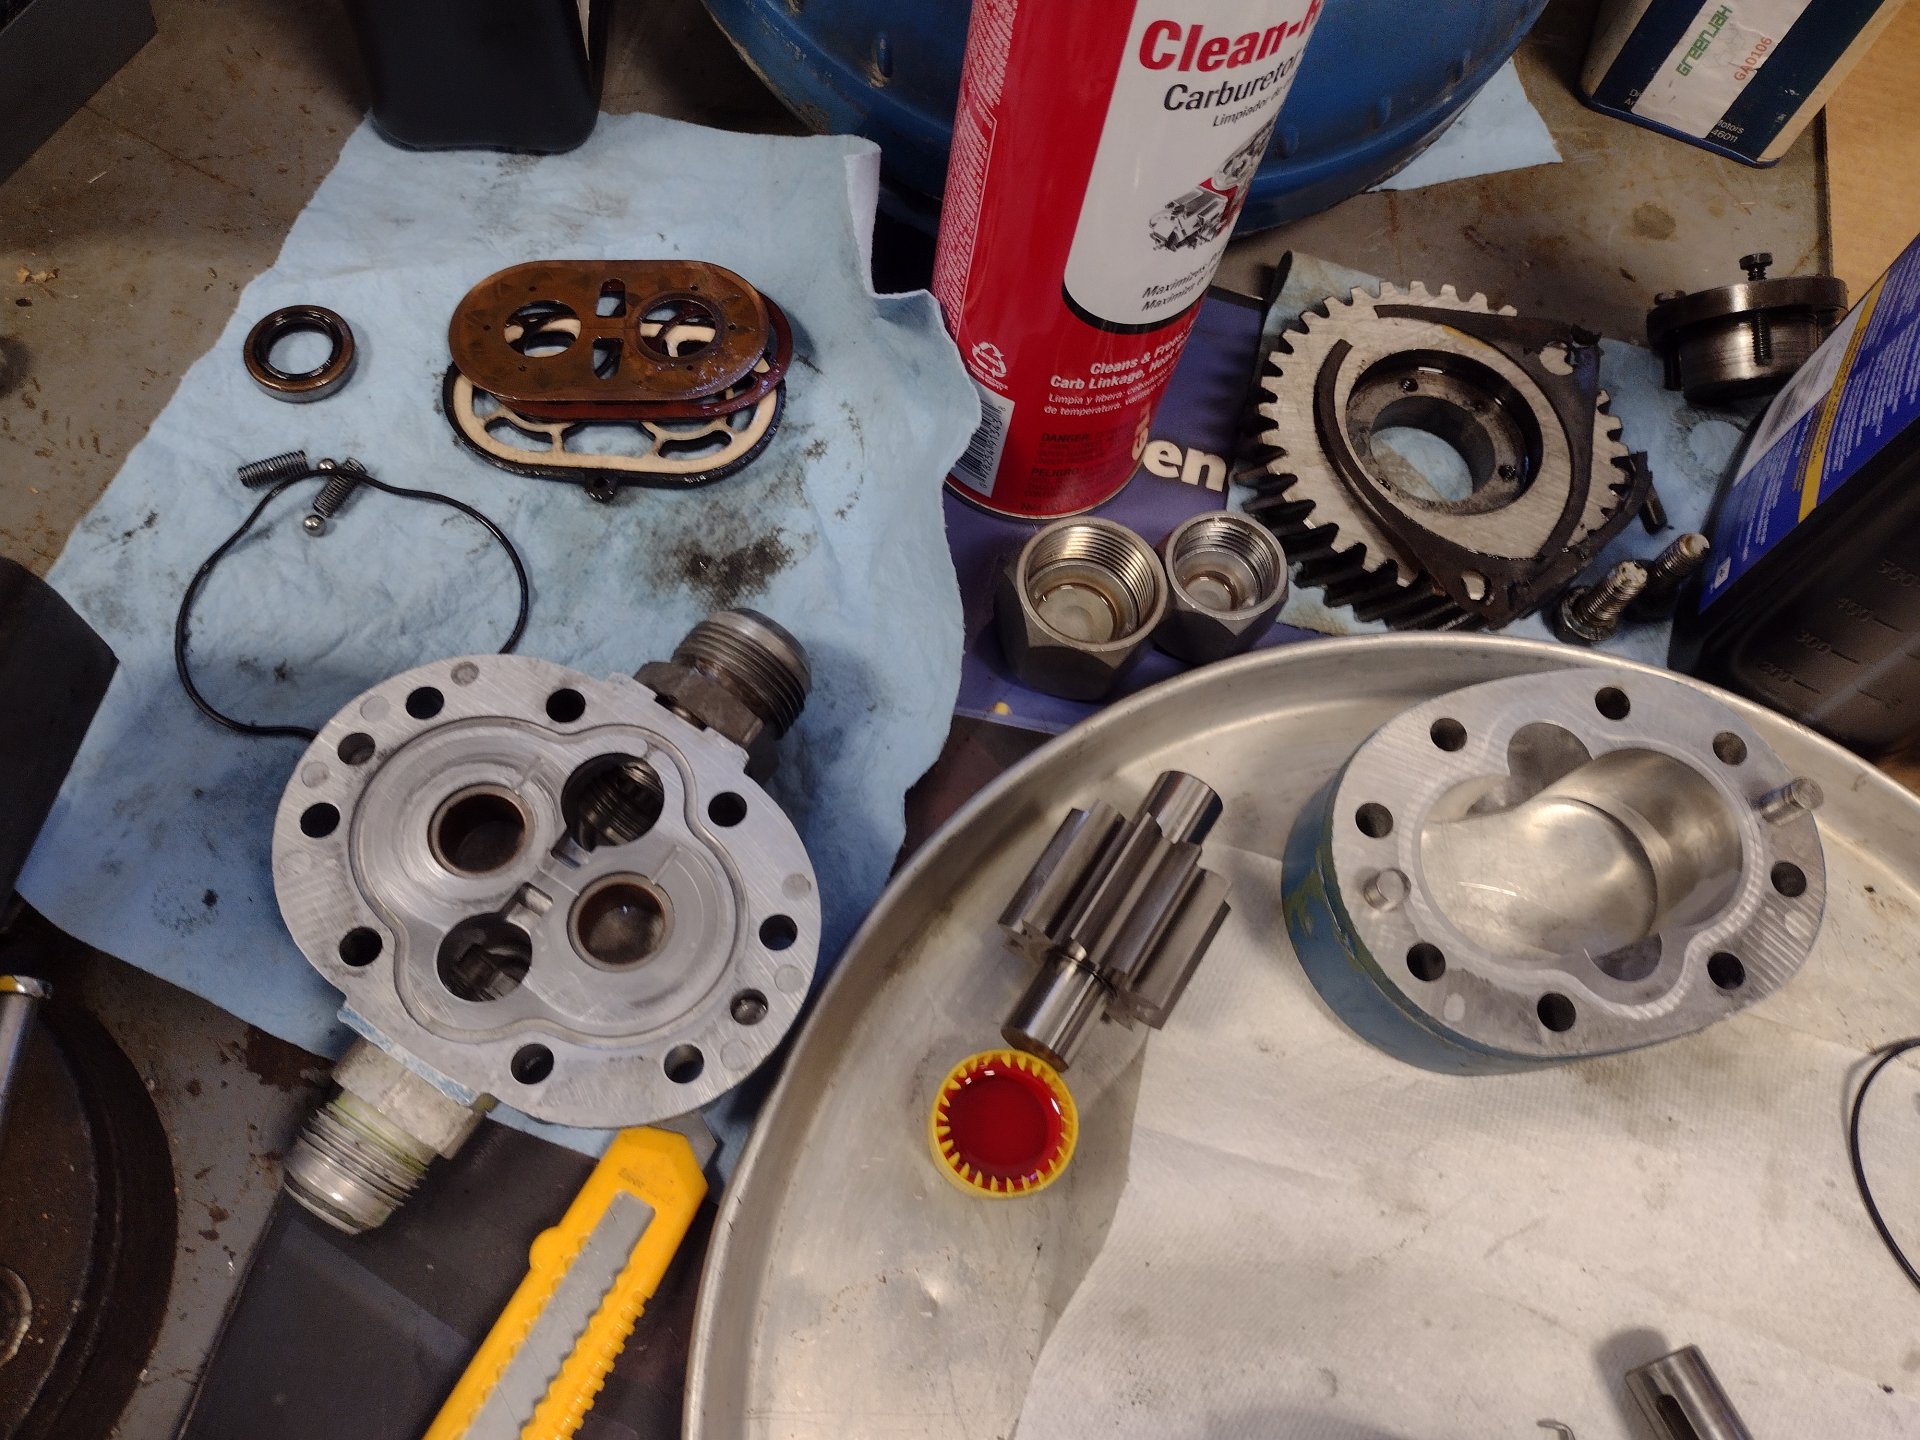
Here are several views. I opted to pull the adapter too as I was concerned the gears might be chowed. As you can see, the pinion is in excellent shape.

009a.jpg
008.jpg
021.jpg


Steve, this is what my bushings looked like. It may look good but if you look at the wear pattern, it was cracked. I think it was installed incorrectly. The second photo is the front bushing. Note the rear bushing requires alignment with the oil passages.

015.jpg
018.jpg


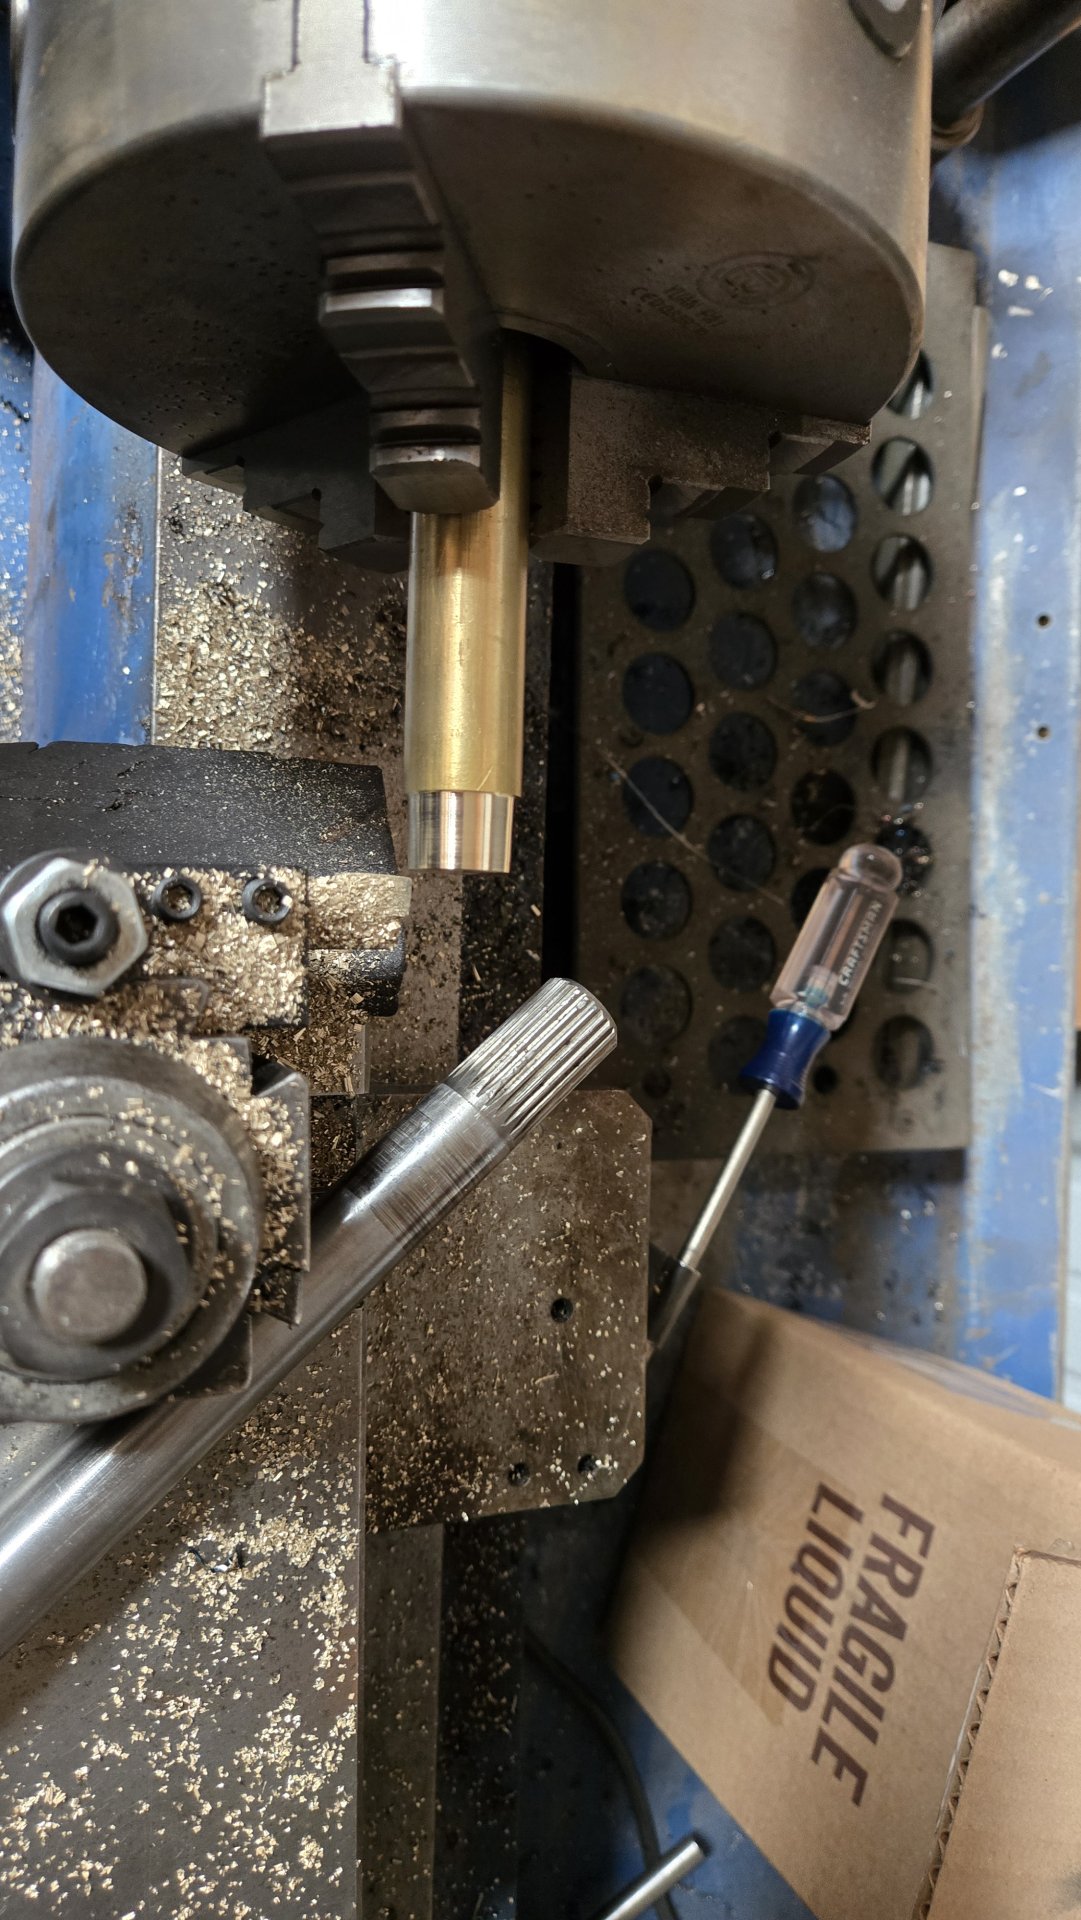
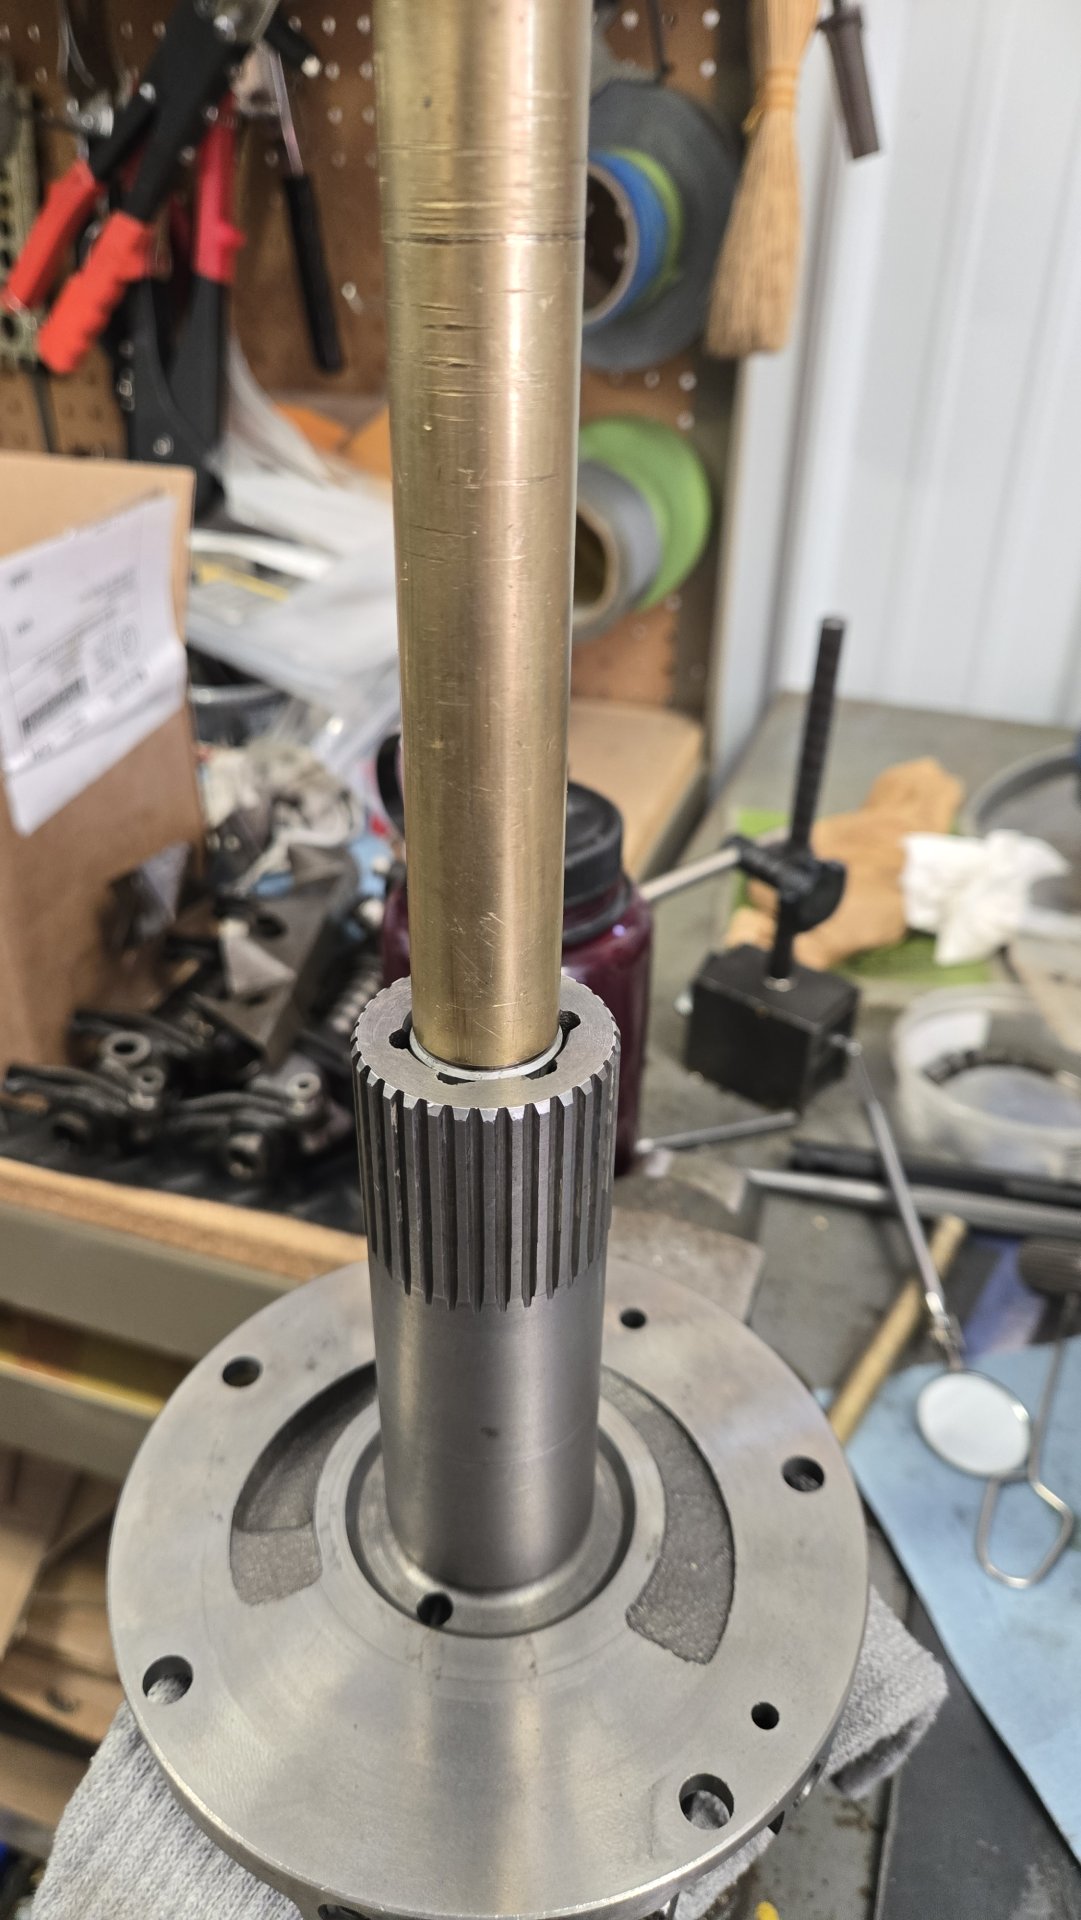
I spun up a brass tool on the lathe to press the bushings in.

20250412_152827.jpg
20250412_152933.jpg


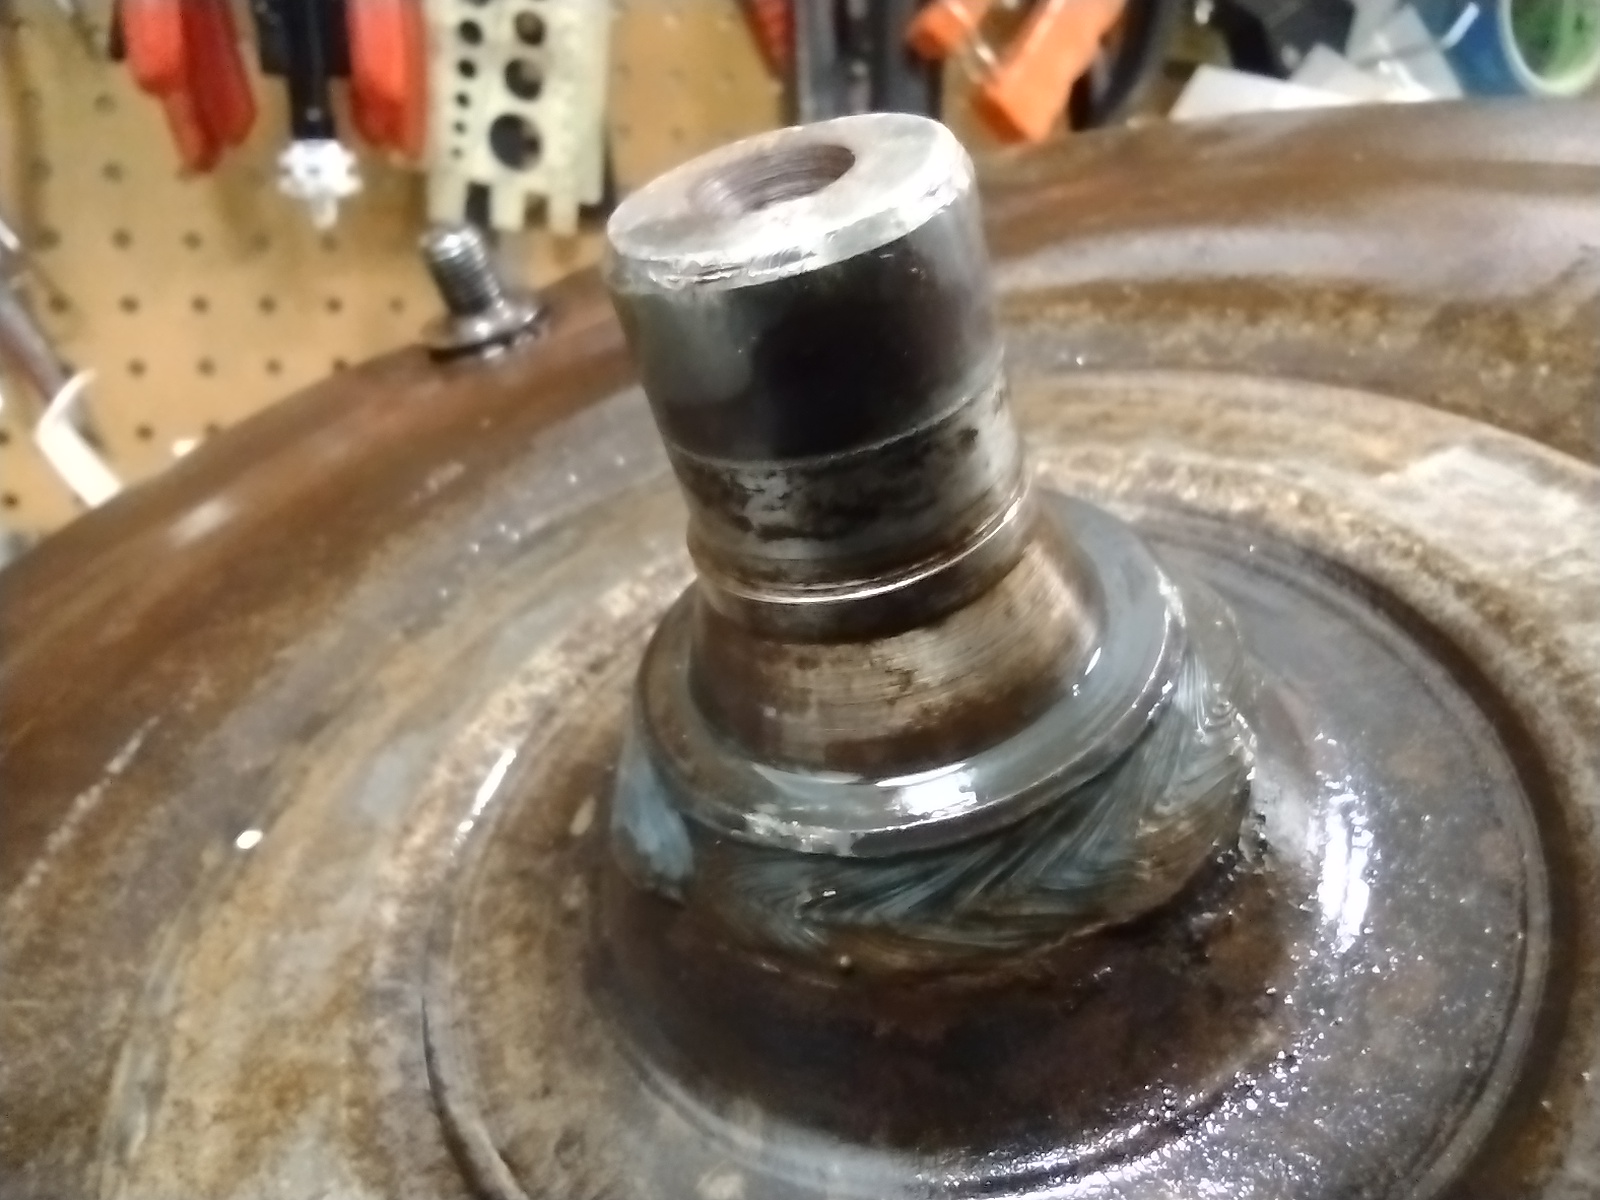
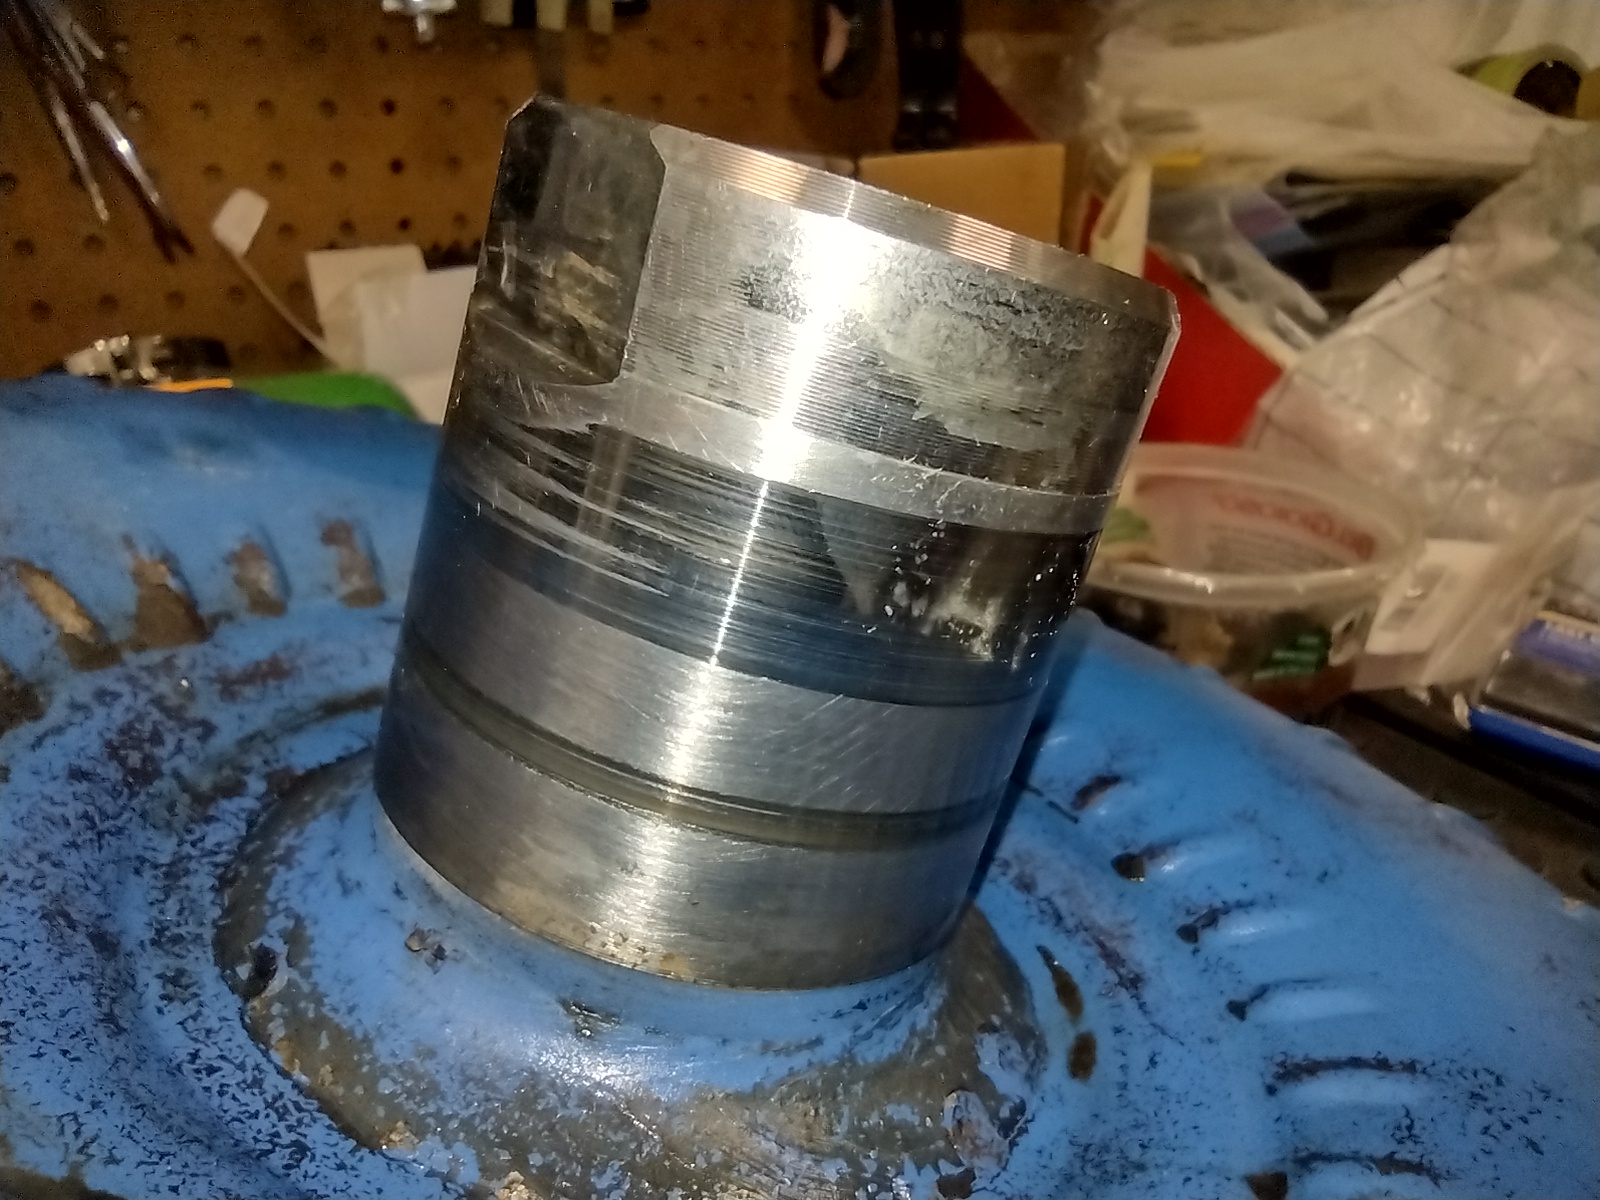
My torque convertor was all torn up - loose flex plate bolts. The input sleeve was heavily grooved and the nub that mates with the crankshaft was destroyed. The torque convertor was also installed too far out of the pump, therefore the wear on the stator sleeve was excessive. I'm still in paralysis by analysis as the whether to have it overhauled or go with an NOS convertor I found.

034.jpg
030.jpg


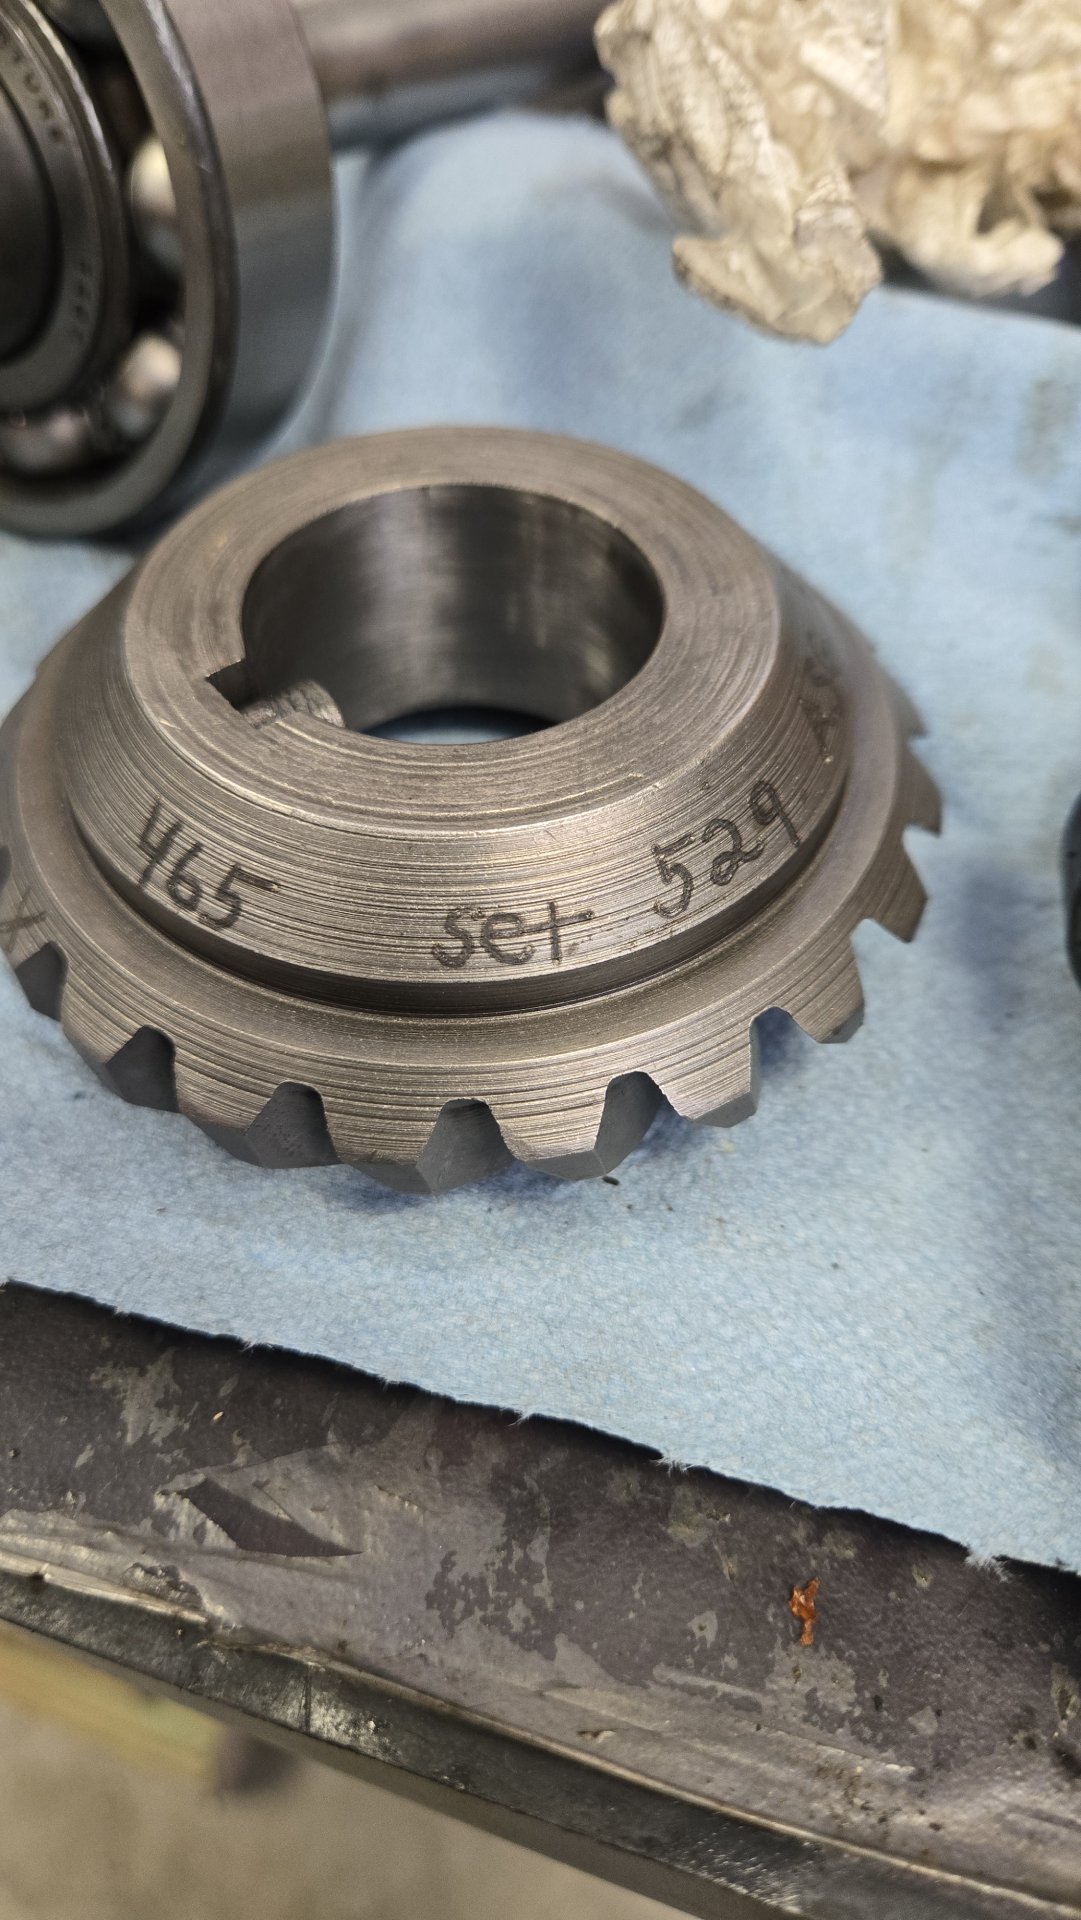
I'm going to be turning up the motor a hair or 10, so I decided to replace the pinion shaft and bearing while it was all apart. I also replaced the pump gears and the 50 psi relief valve.

20250327_140439.jpg


I'm at my picture limit, see next post.
 
Last edited:
Re: Clutches burning up on a long uphill climb. The clutches should only be slipping when you begin the drive forward or backwards. Having the proper fluid (atf for my model 1700) is essential for any skidsteer. Early on the Mustang (bought around '84) had overheating/vapor locking issues after running for about 30 minutes. I finally deduced it need premium fuel as it was a '71 engine. No stalling after that change. One I recently acquired was an old 610 Melroe. Some idiot had 80-90 wt gear oil in there and it would barely move on a flat surface. Oil too thick to allow disc contact. Lots of other stupidity found in my bringing that machine up to usable condition. Lots of basic mechanic incompetence had been at "work" on this 610.
 
Last edited:
Here are photos of it going back together.

20250327_135308.jpg
20250327_141937.jpg

20250412_160437.jpg


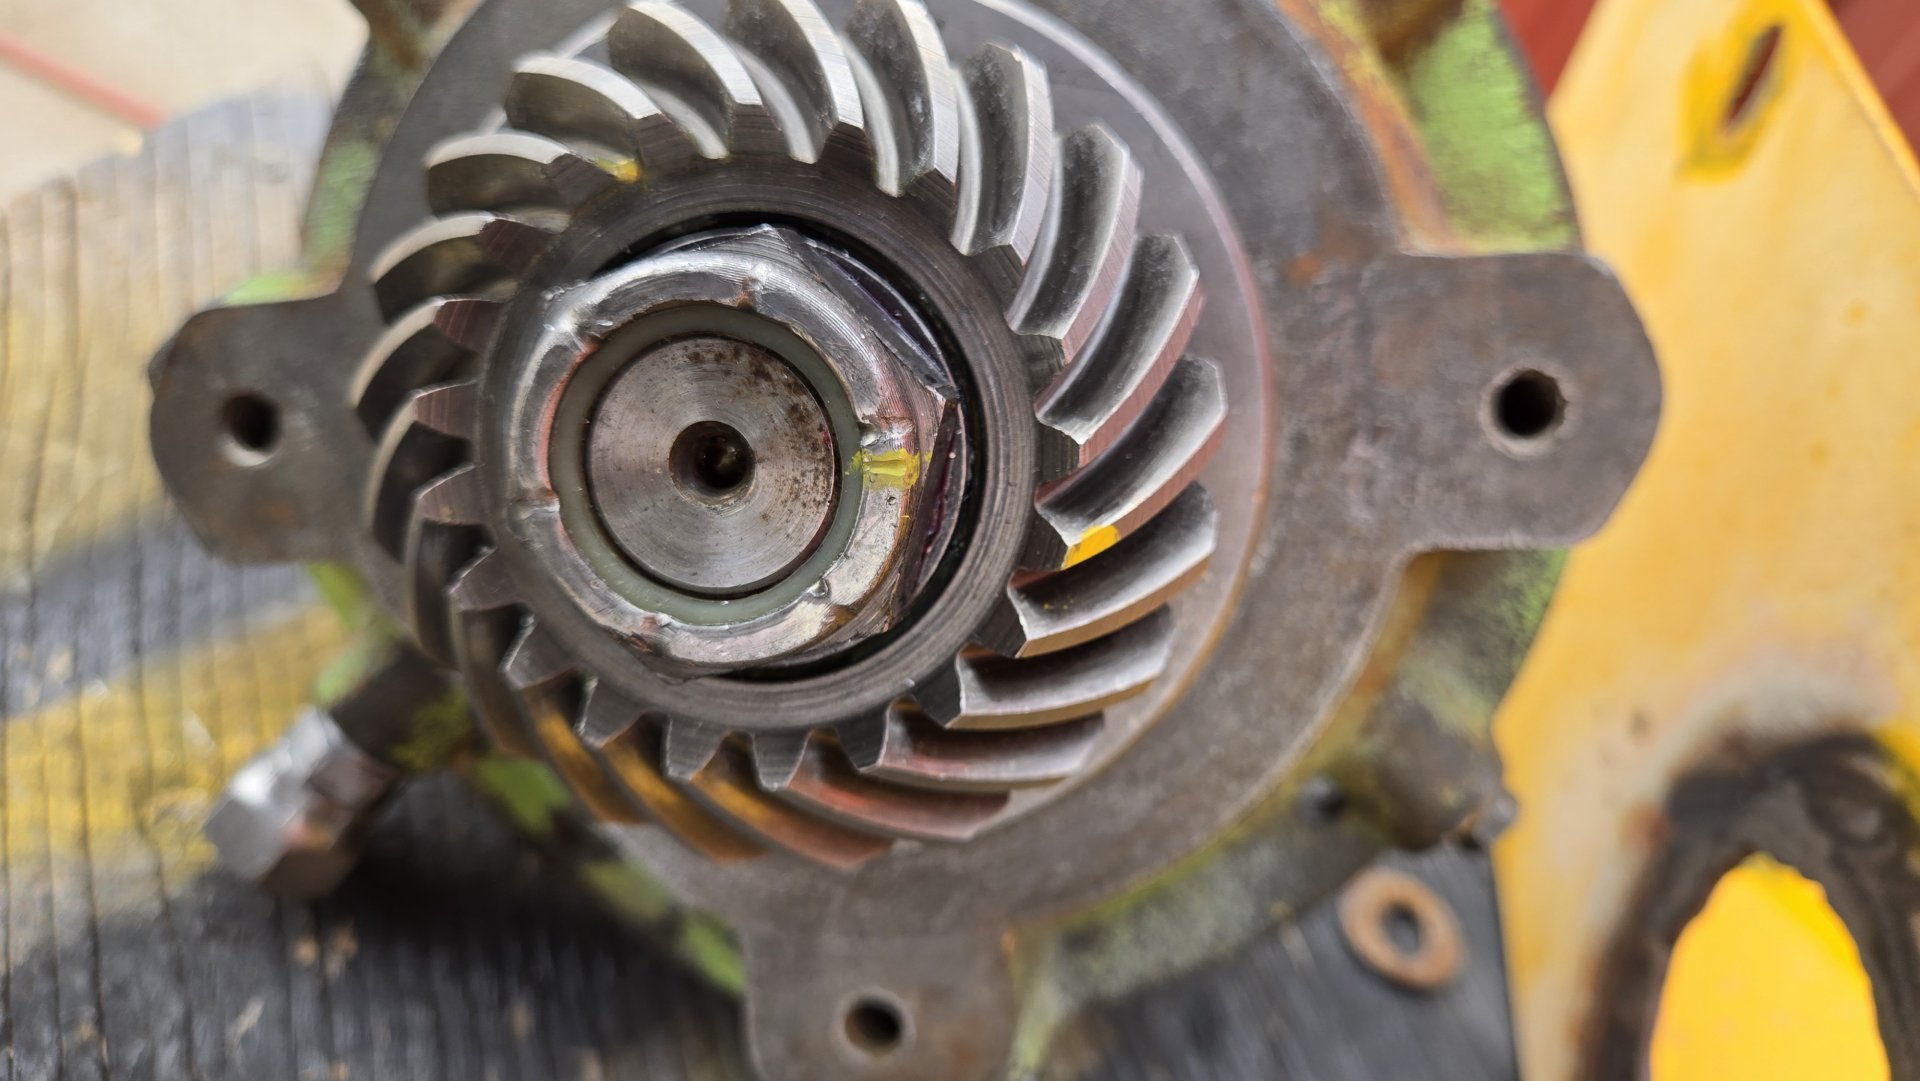
I couldn't find a new pinion nut. Stock is a nylock nut. That seemed wrong to me so I threadlockered the snot out of the old one to reuse it. I couldn't find a torque value for the nut - I sure pressured it but still couldn't get it as tight as my index marks (again, note I used a new pinion shaft).

20250412_144338.jpg


20250822_172730.jpg
20250826_172151.jpg


20250826_172427.jpg


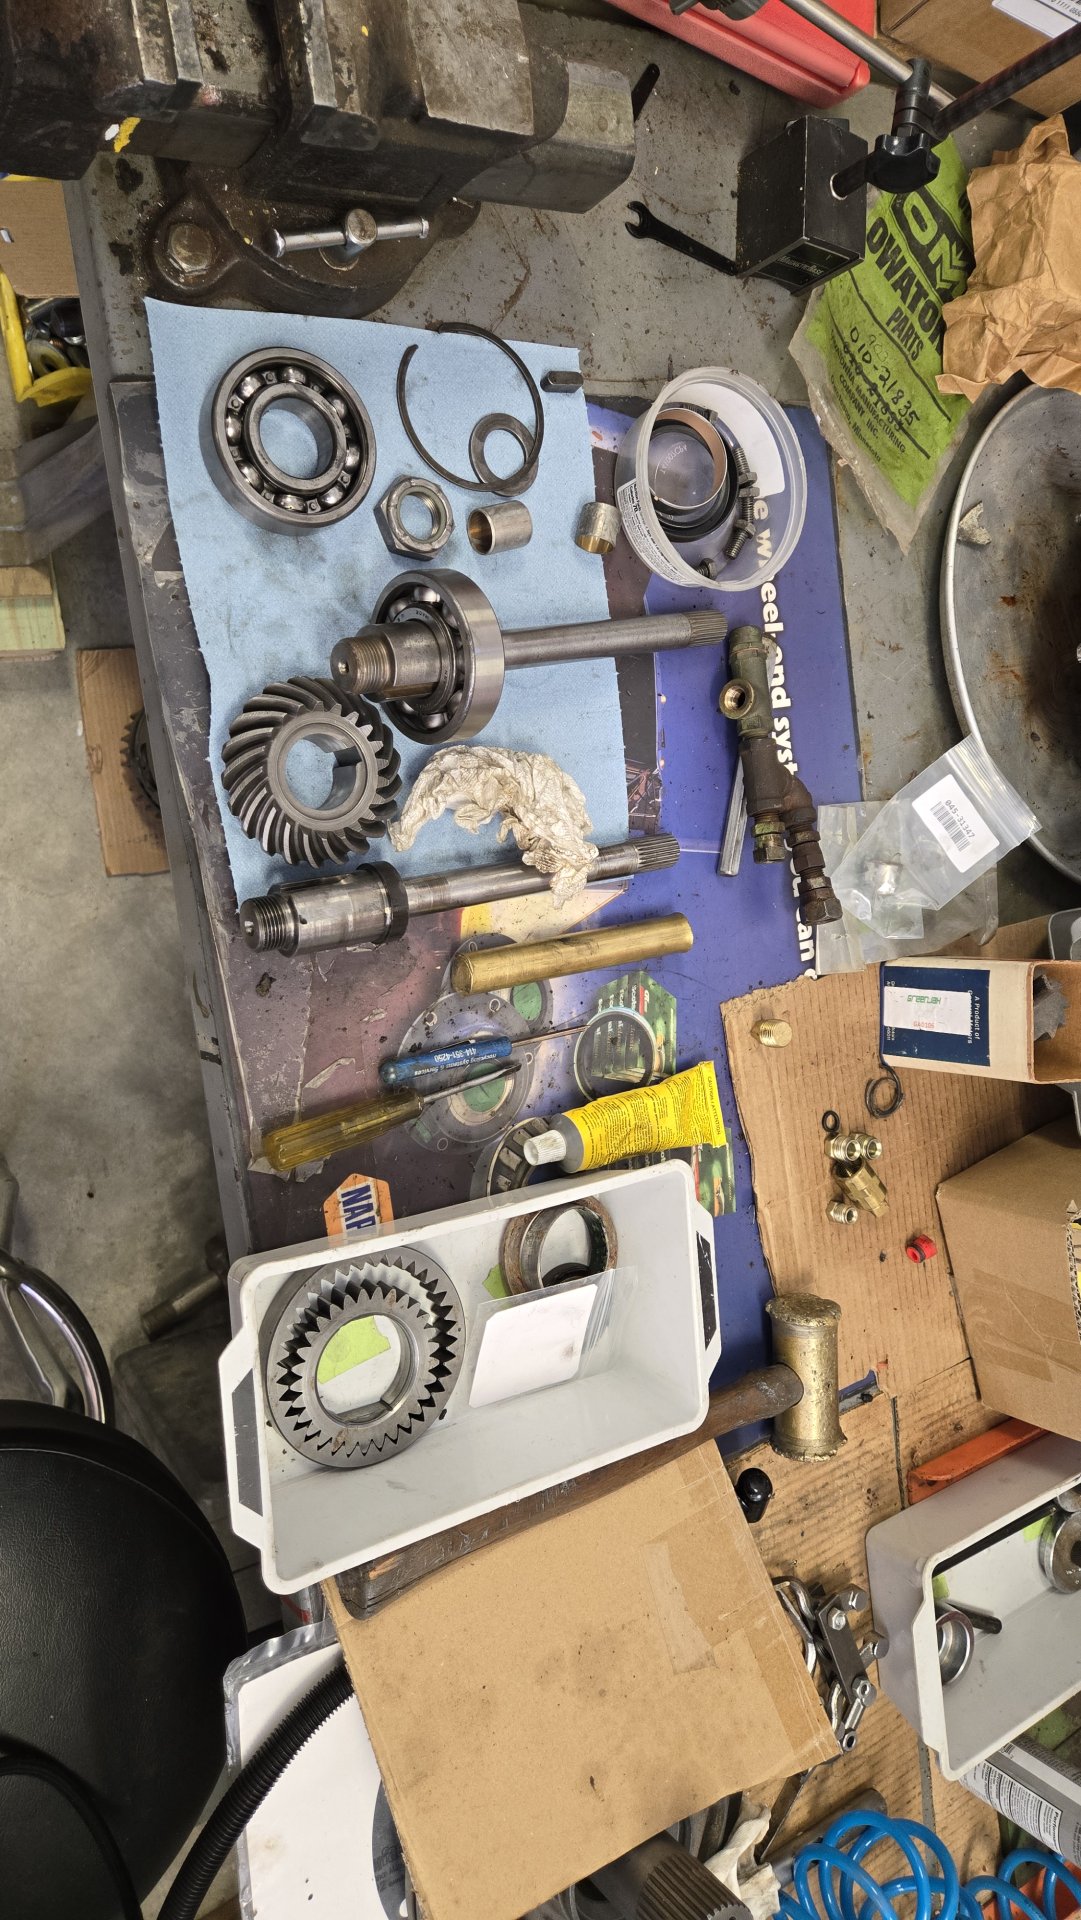
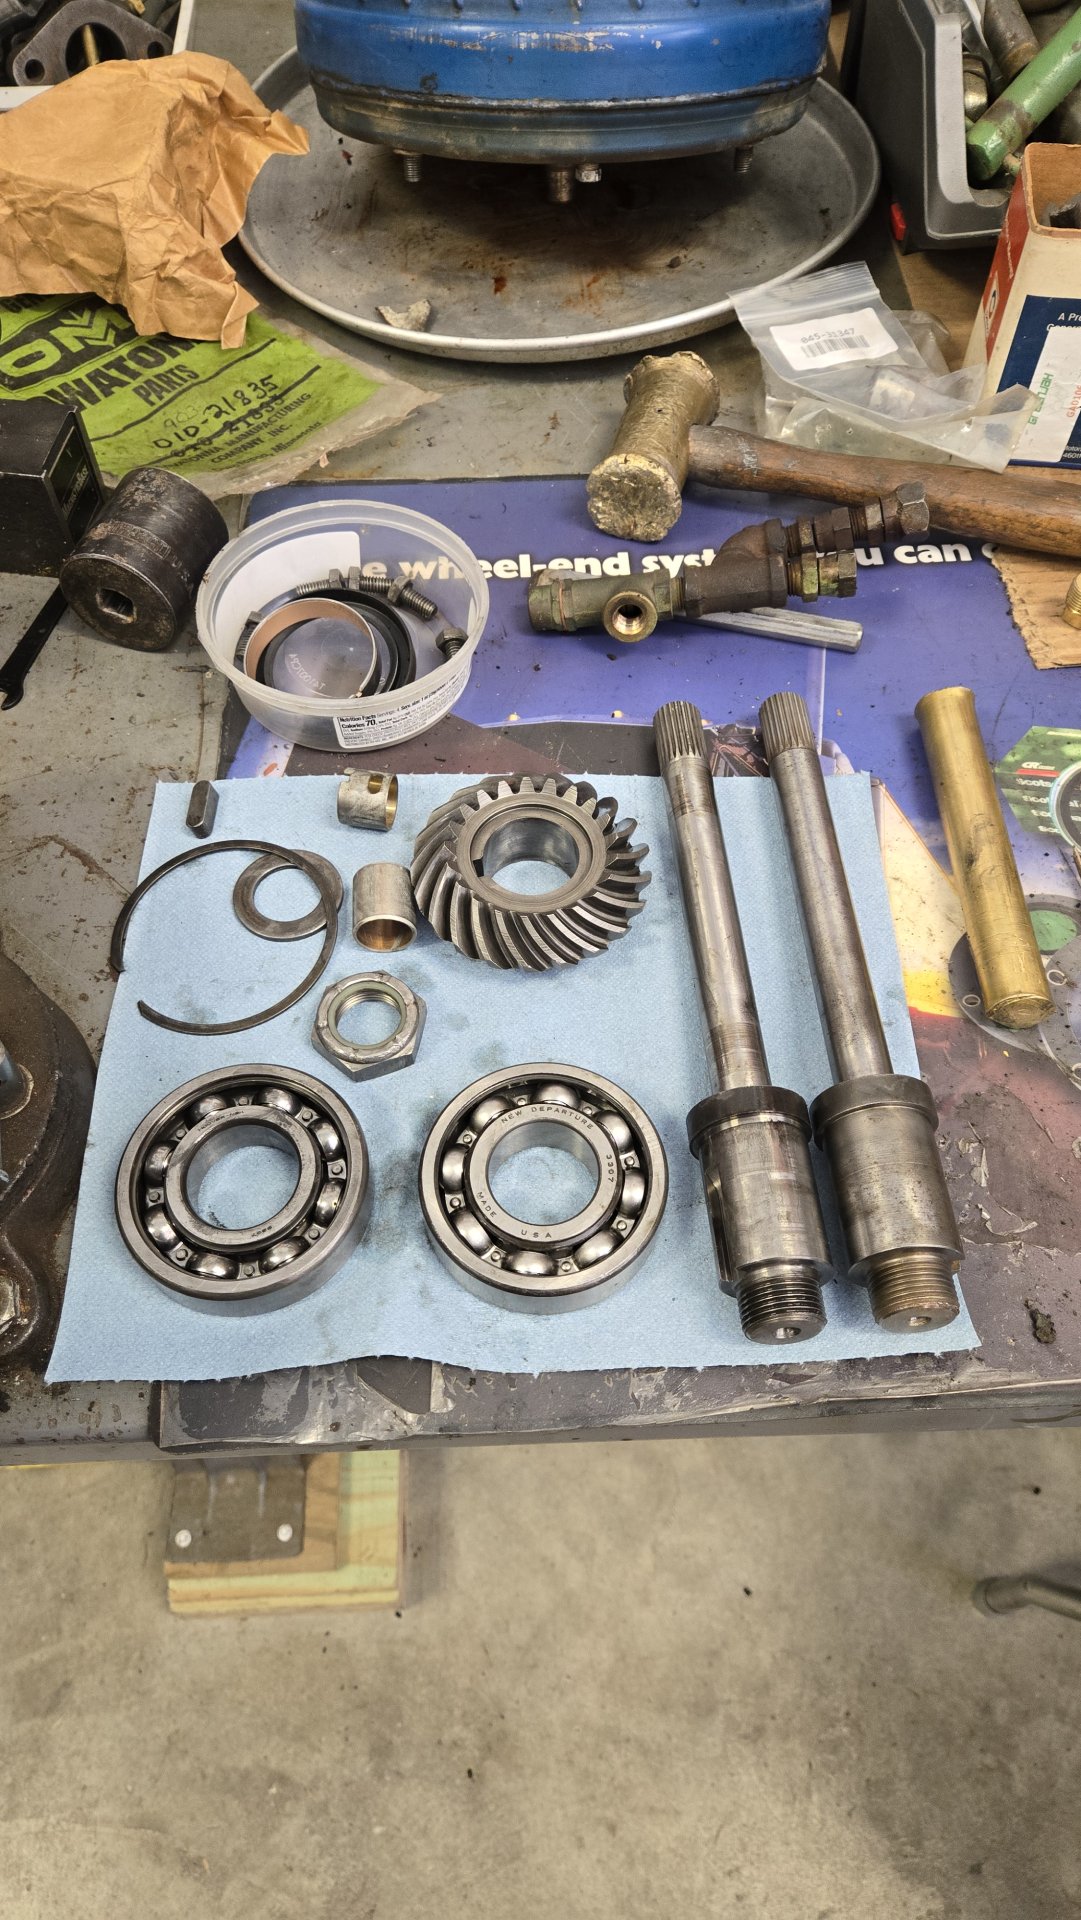
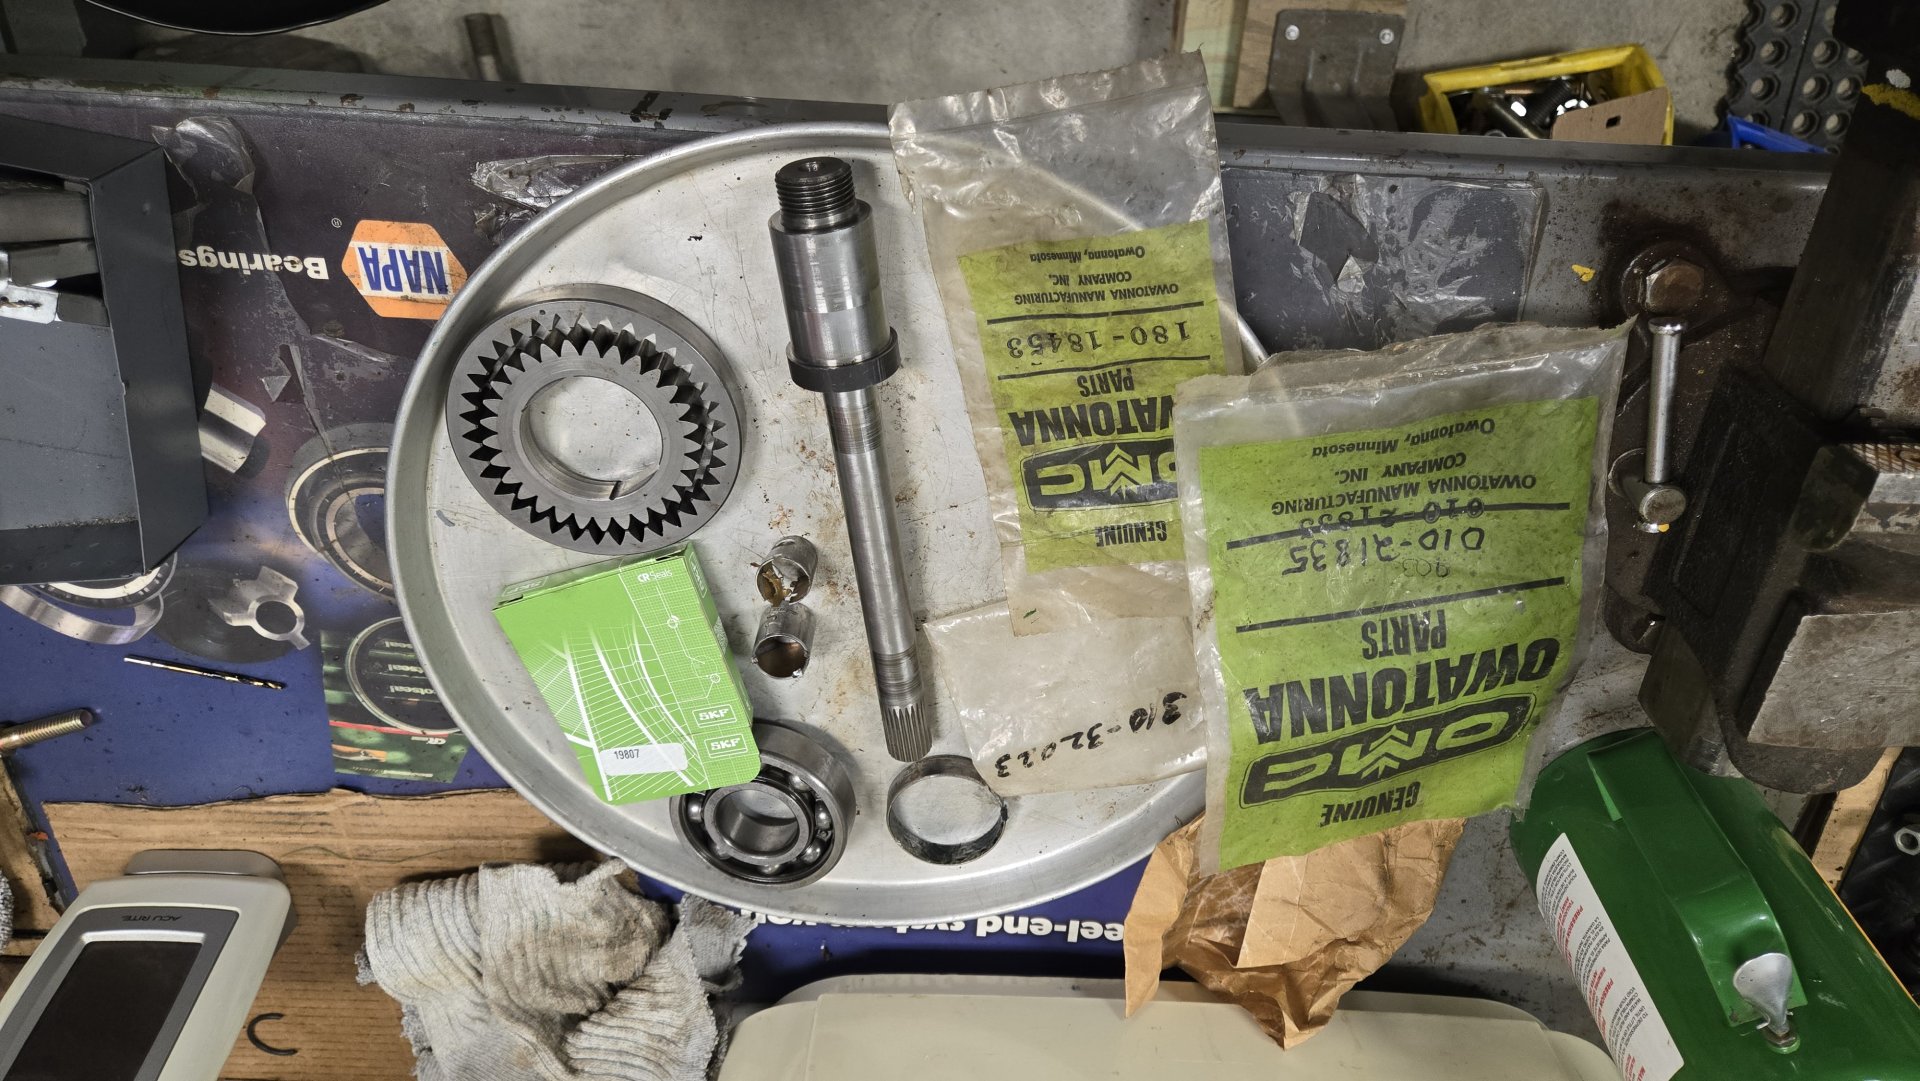
Here are the parts I replaced plus the part numbers for the bushings from Lempco.

20250920_130024.jpg
20250920_130140.jpg


20250920_130125.jpg


Suggestion: Look up the correct torque values for the pump/adapter. I misread the ones that sandwiches everything together and stripped two. The starter bolts in the bell housing were also stripped so I heli-coiled all of them to SAE (the starter bolts are supposed to be metric). I was so mad at myself, you can see I wrote the torque values on the unit.

Steve, if you need anything from the Owatonna or John Deere manuals, please let me know.

Al Jones
 
Ok thanks good info. I'll check my serial number. I'm assuming that I can just use a brass punch to get those out. Also I want to replace the seals in transmission shaft as they leak a little see pic. I already loosened the bolts but did not remove, thought I would as for advice first. I do wonder if i need to remove gear case from mount or i can get shaft to come out from side. Steve
Steve,

Depending on your serial number, removing the output shaft (what Owatonna calls them) can be real easy, or a nightmare. Prior to serial number 14949, the shaft is one piece from side to side and passes through the gear box. I think its a terrible design and I've been told everything has to come out to change seals. Note that I don't have direct experience with doing that. If after 14949, the shafts are split - remove the shaft coupler and its a piece of cake. If you have an early unit and do replace the seal, please share your experience here. I'd like to know if it's as bad as everyone says. Again, if you need any pictures from the parts manual, I'm glad to post for you. I looked at the Deere parts book and it shows a solid shaft too. Deere only offered the variable drive setup.

Good luck!

Al Jones
 
As an Amazon Associate we earn from qualifying purchases. Product prices and availability are accurate as of the date/time indicated and are subject to change.
Re: Clutches burning up on a long uphill climb. The clutches should only be slipping when you begin the drive forward or backwards. Having the proper fluid (atf for my model 1700) is essential for any skidsteer. Early on the Mustang had overheating/vapor locking issues. I finally deduced it need premium fuel as it was a '71 engine. One I recently acquired was an old 610 Melroe. Some idiot had 80-90 wt gear oil in there and it would barely move on a flat surface. Lots of other stupidity found in my bringing that machine up to usable condition. Lots of basic mechanic incompetence had been at "work" on this 610.
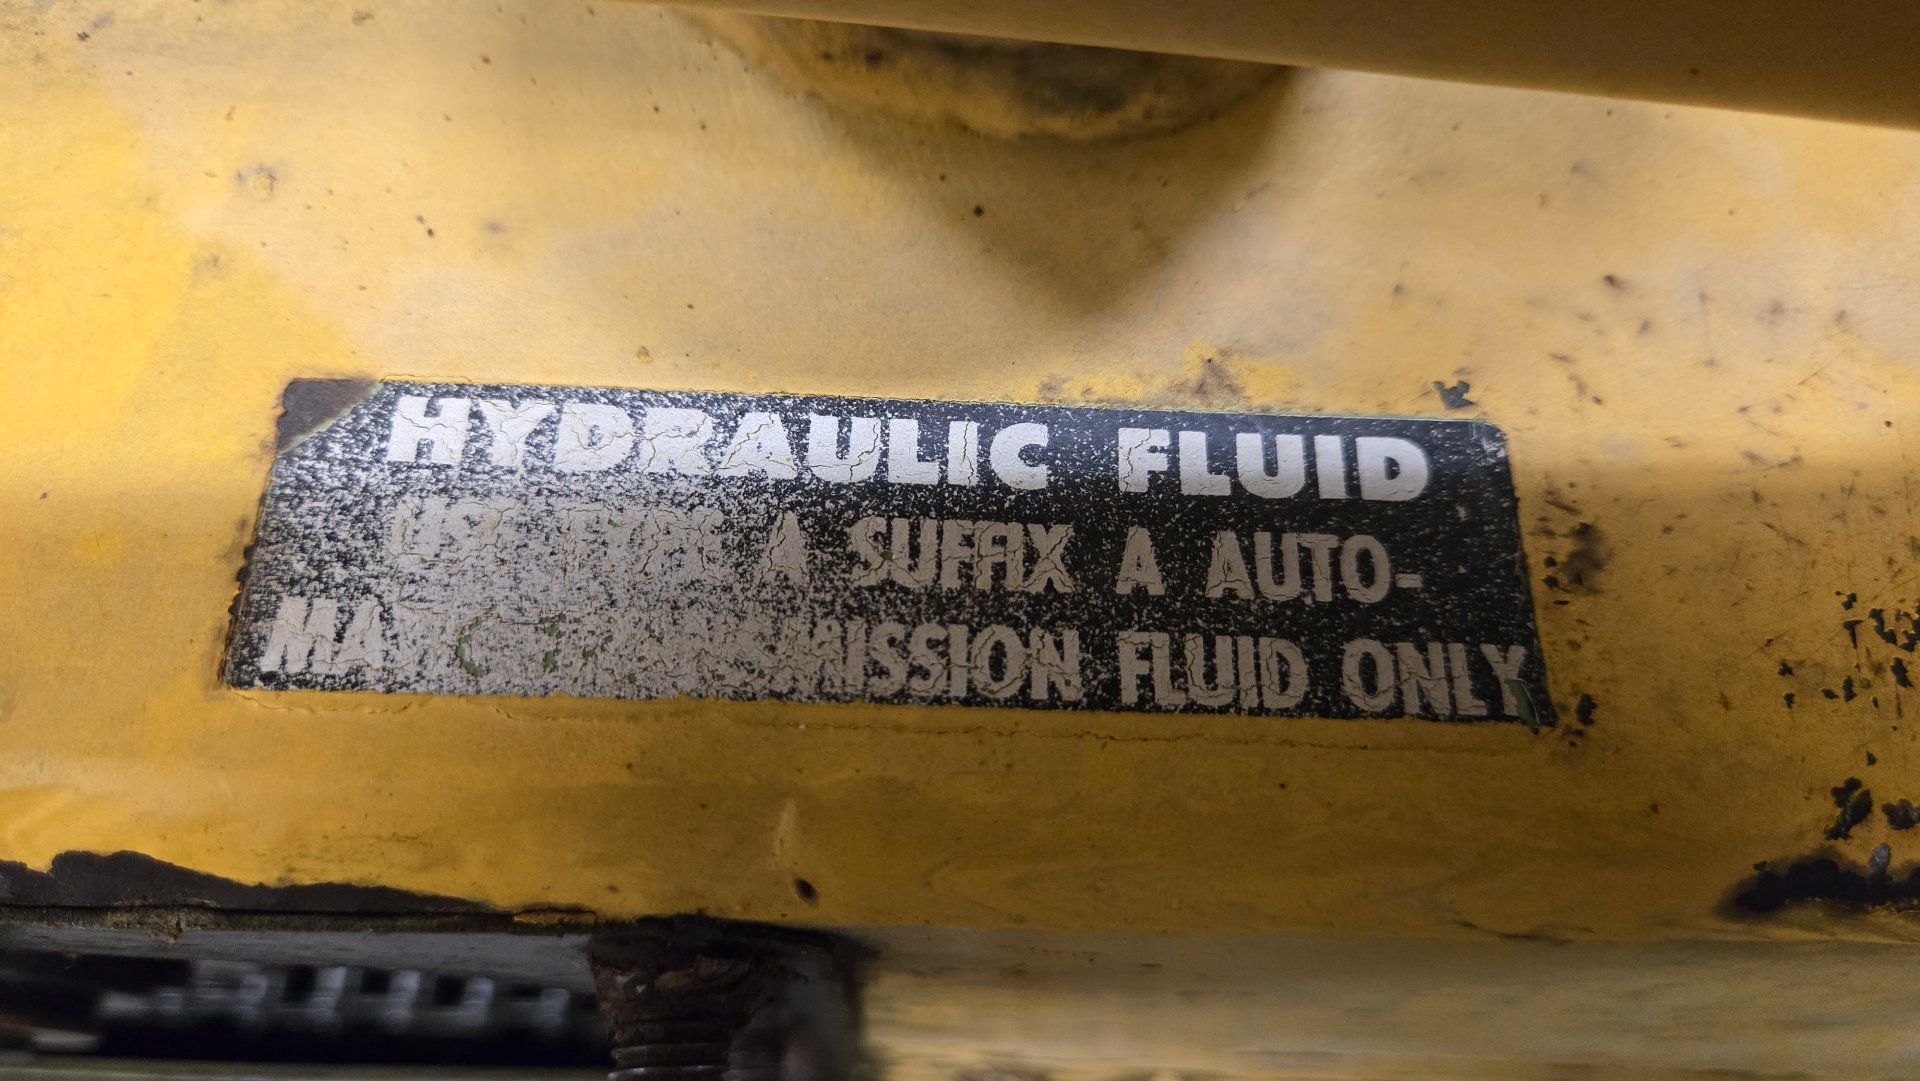
To clarify, Owatonna is specific that "Type A, Suffix A" ATF be used in the Mustang 1700. Dexron up to Type III (H) are the only ATFs that are backwards compatible with Type A, Suffix A ATF. Dexron VI (J) and up are not. Mercon is not compatible. The Type A, Suffix A was a mineral oil based lubricant. And I do think it's because of the clutch material used in the drives. For the aftermarket clutches out there, I can't speak to those.

20250920_135043.jpg


Al Jones
 
Last edited:
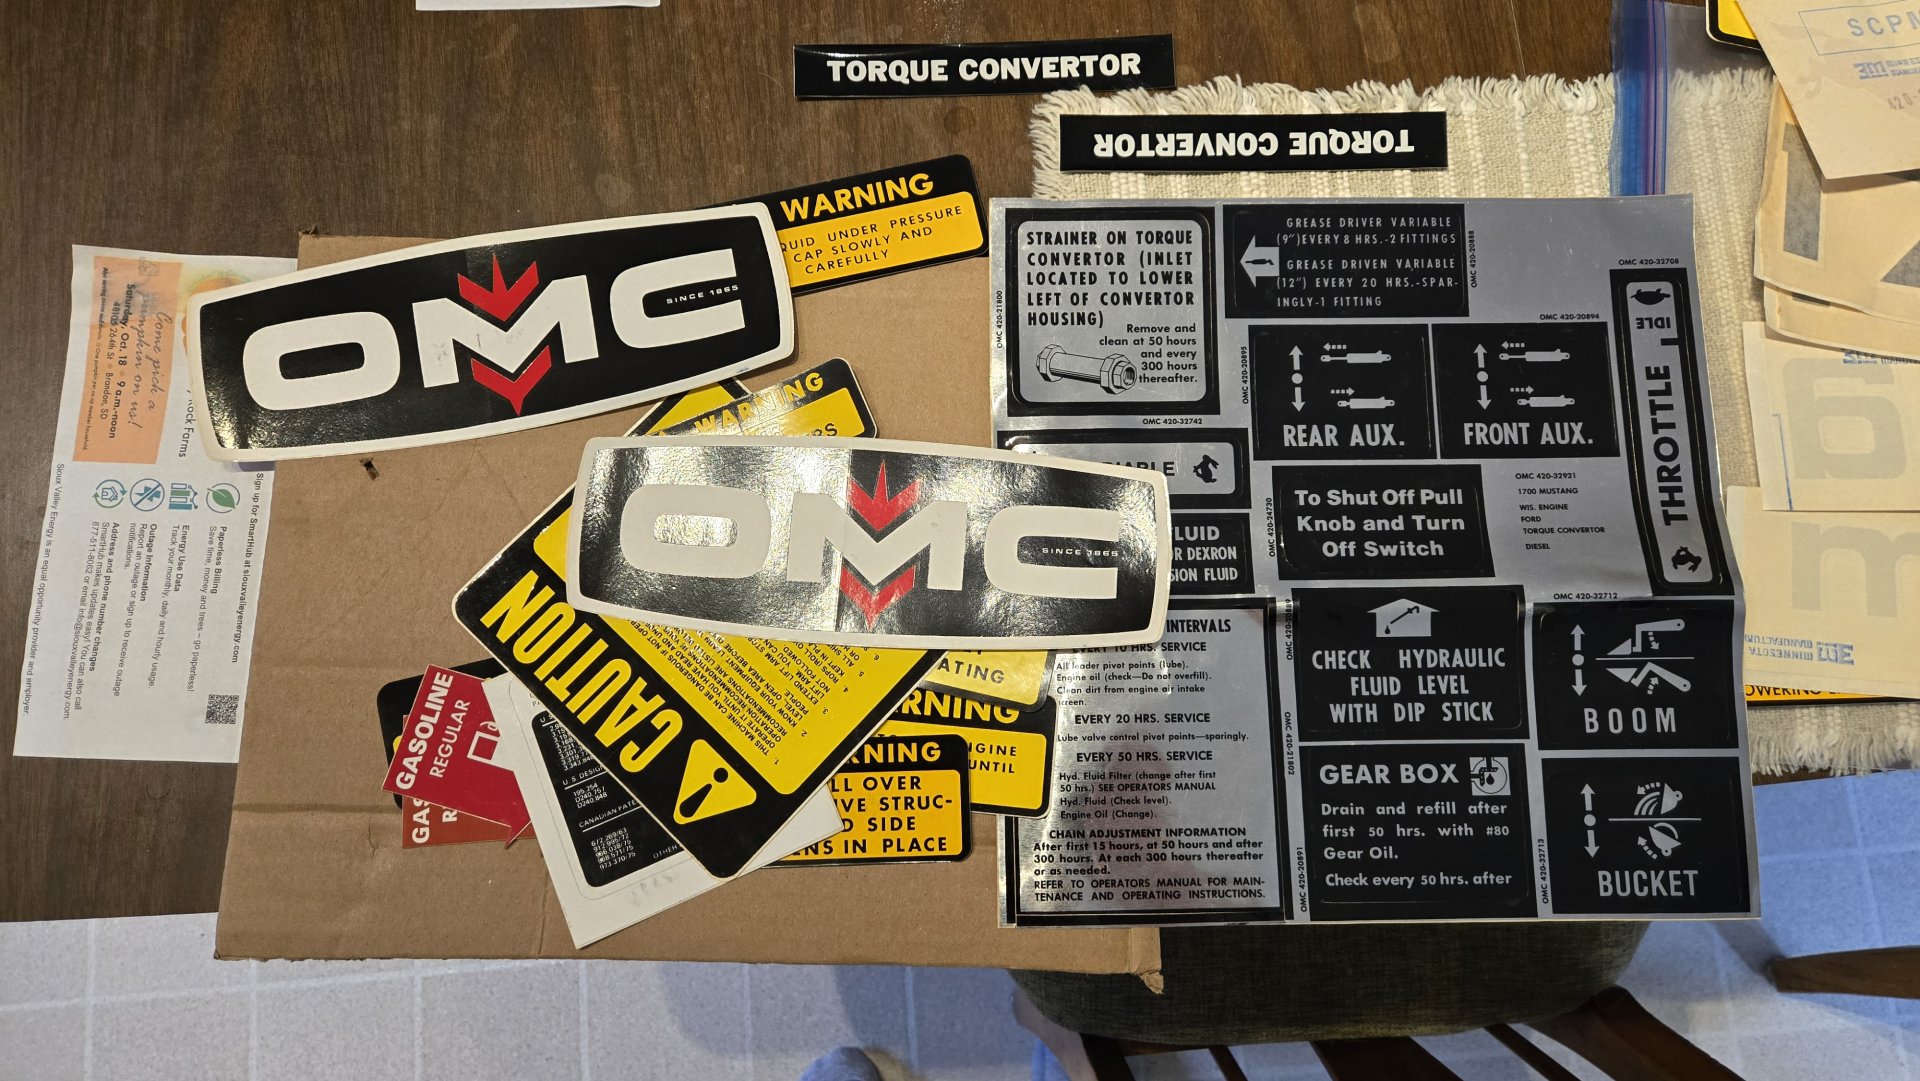
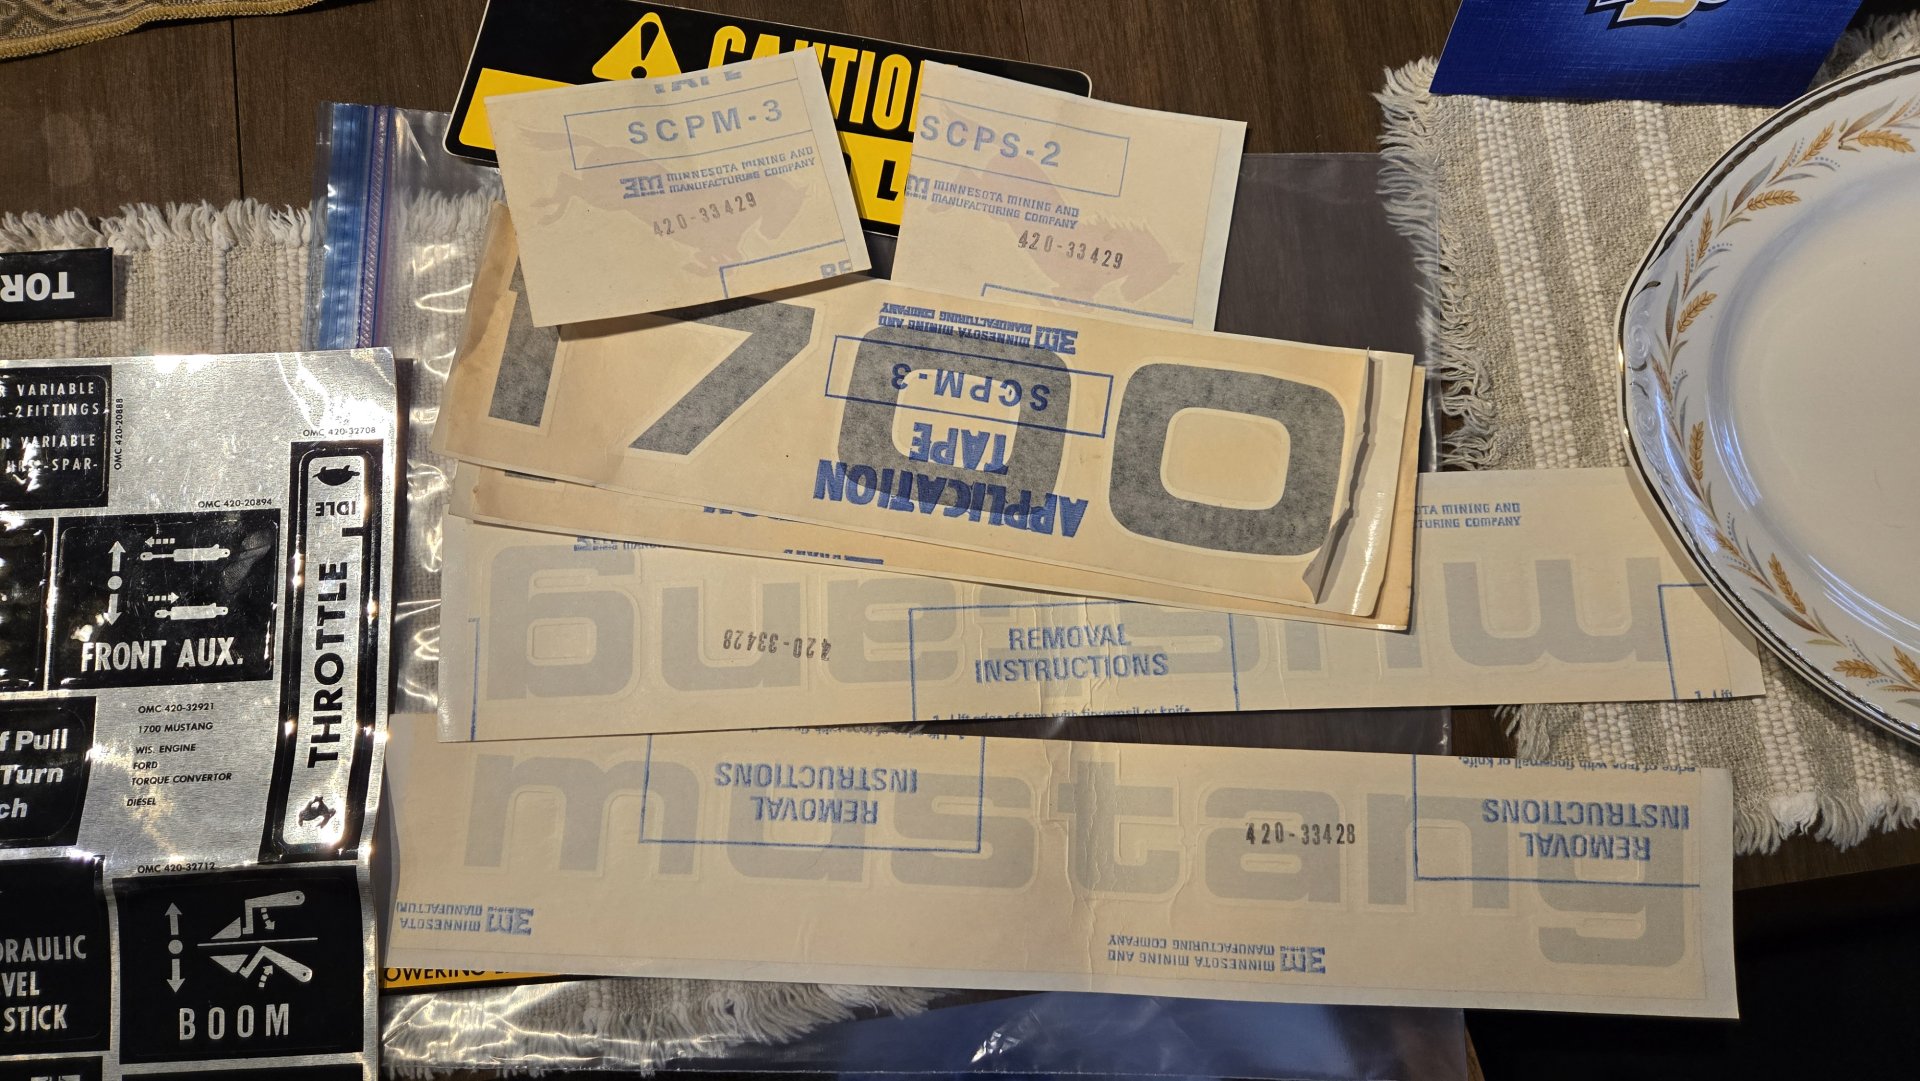
I was going to save this for later, but I'm a old, NOS parts junkie. This original, NOS, full decal kit for the Ford Torque Convertor, gasoline, 1700 model was my biggest parts score to date. It even has the red pony decals. I'm an old timer and we didn't get to play with stickers like younger folk get to now. So I have a soft spot for stickers and love 'em.

20250920_140223.jpg


20250920_140228.jpg


The title of this thread is now inaccurate. It should be a restoration, not a reset. I can't help myself. I'm still within the budget my wife set for me, but I'm way over the estimated time limit. I'm so glad she's patient.

Having fun,
Al Jones
 
While you are in there.......... Does it use the Cessna oil pump for hydraulics? My model is the variable drive pulley and has a 4 way gear box with the hydraulic pump on one side. Right after I got mine, the belt chunked out while I was working it. It was bumping like I was running over cinder blocks as I backed up, LOL! I had to drag it back to my shop. During this repair, as I was trying to lift the arms out of the way to access the drive better, the hydraulics failed! The key was chewed up in the pump drive. The keyway on the pump is also chewed out, but a new key fixed it. I still need to get that hardened input shaft to the pump machined with a new keyway to prevent a 3rd failure of that nature. Let's go push some dirt!
 
While you are in there.......... Does it use the Cessna oil pump for hydraulics?
Yes, it has the Cessna pump. If you sheared the key or chowed your keyway, I'd think there's something wrong elsewhere on your machine, perhaps the bypass valve on the front foot valve? Unless your pump seized.

I was going to post this later, but now that you mentioned it...

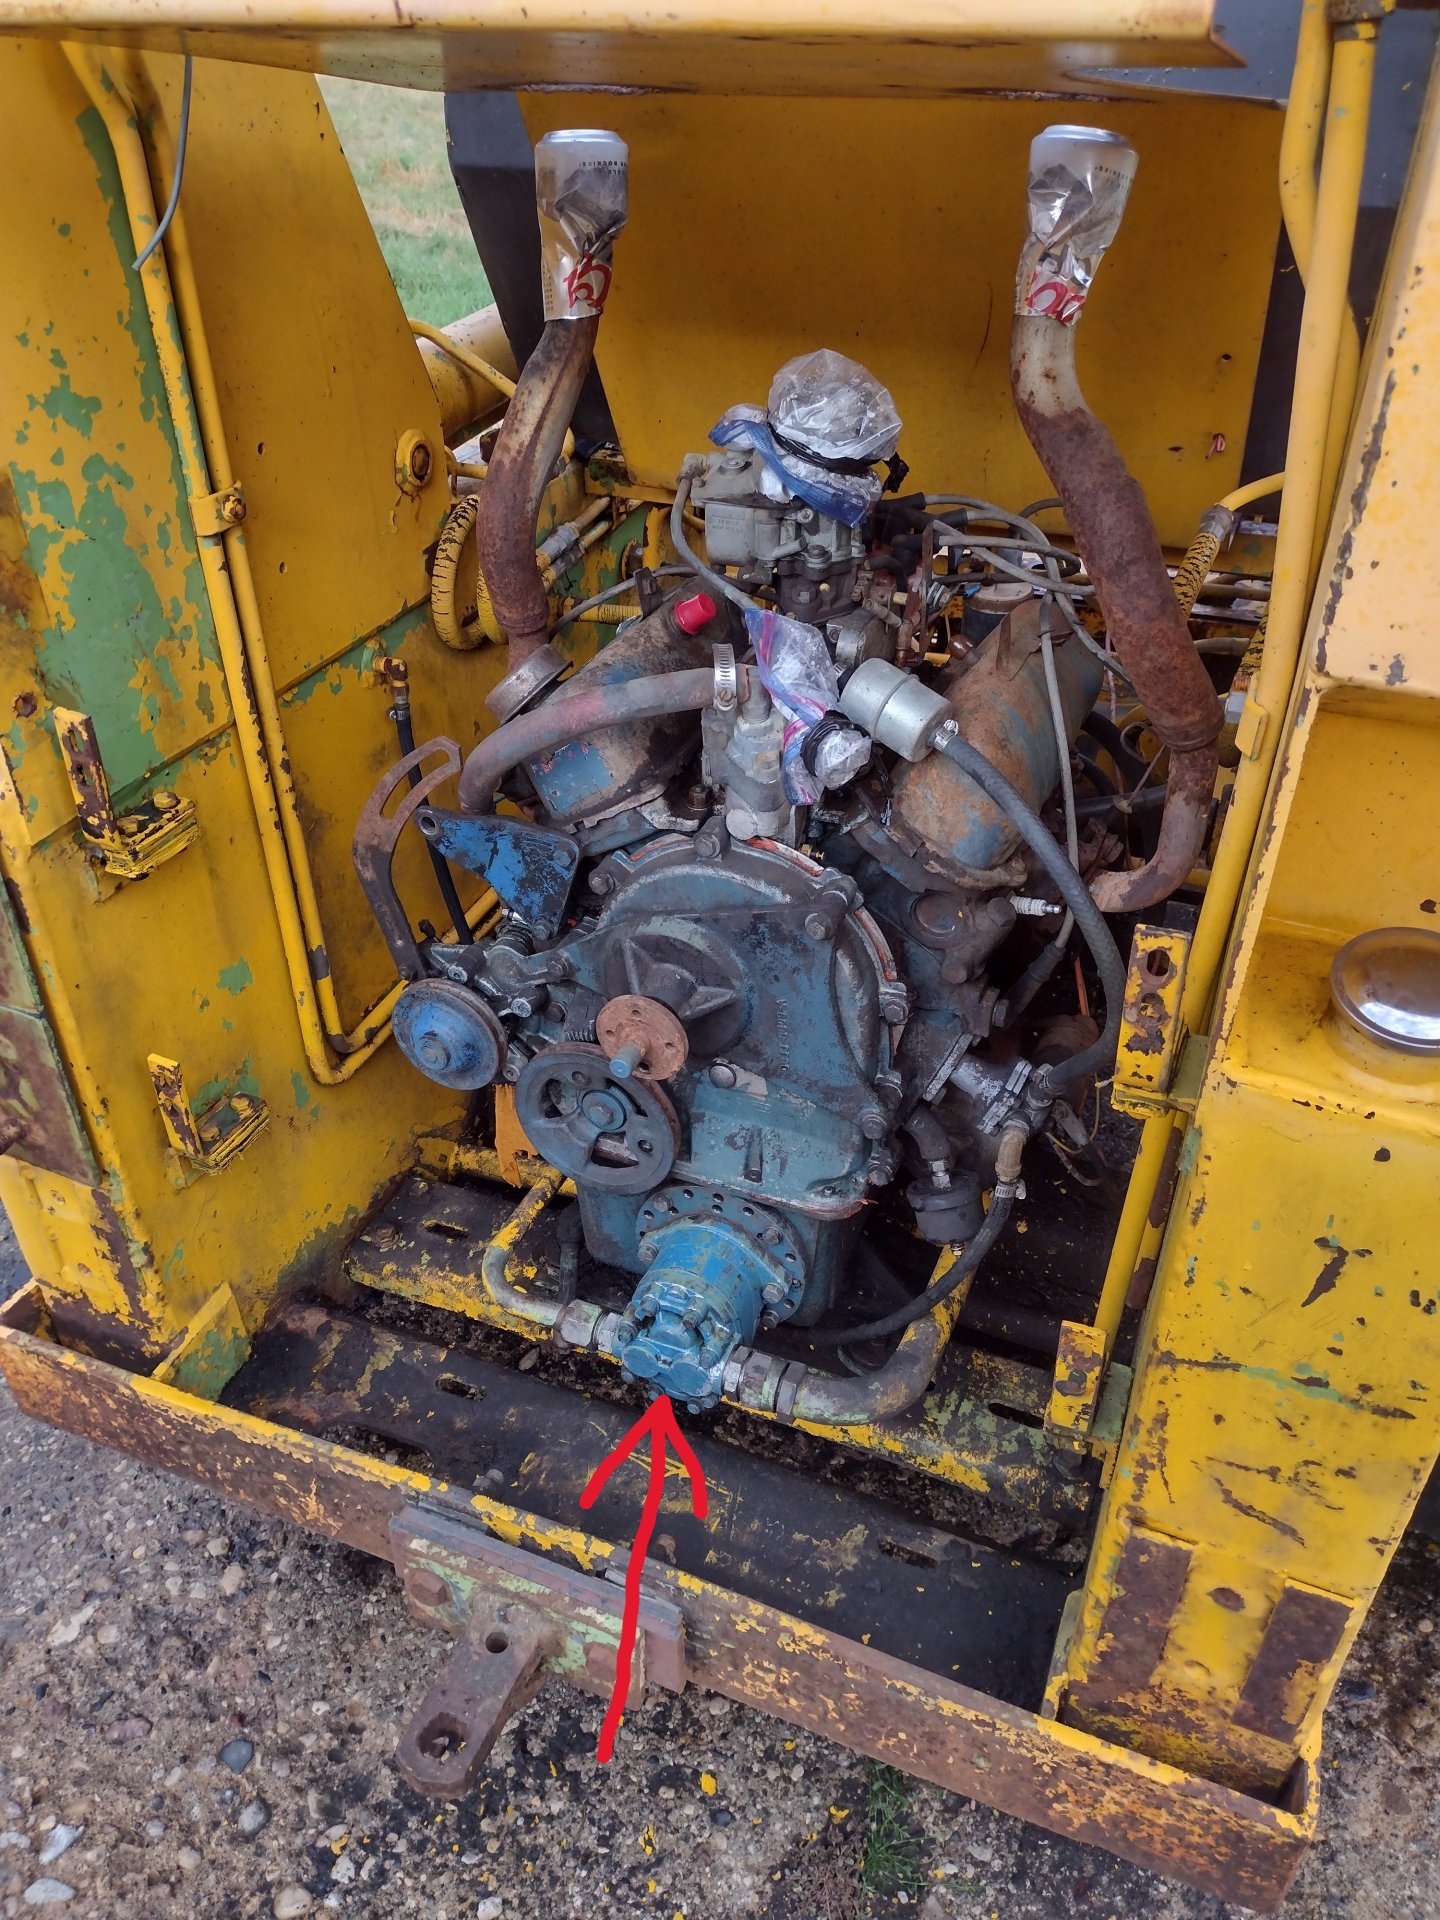
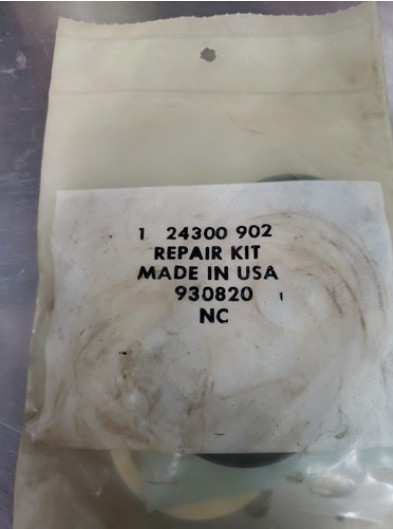
Parts for your pump are still available, as well as complete units. It's a 24300 series Cessna gear pump. The Cessna Fluid Power Division was purchased by Eaton awhile back and then (maybe) by Danfoss. The one for the Ford V4 is Cessna part number 24308 RAJ. I picked up the overhaul kit for about $50 on ePay. Jobbers are asking about 150 bucks for it. Mine is gear driven off the crankshaft of the Ford V4 engine.

IMG_20230925_173556554_HDR.jpg
2025-09-21 102717.jpg
2025-09-21 103112.jpg


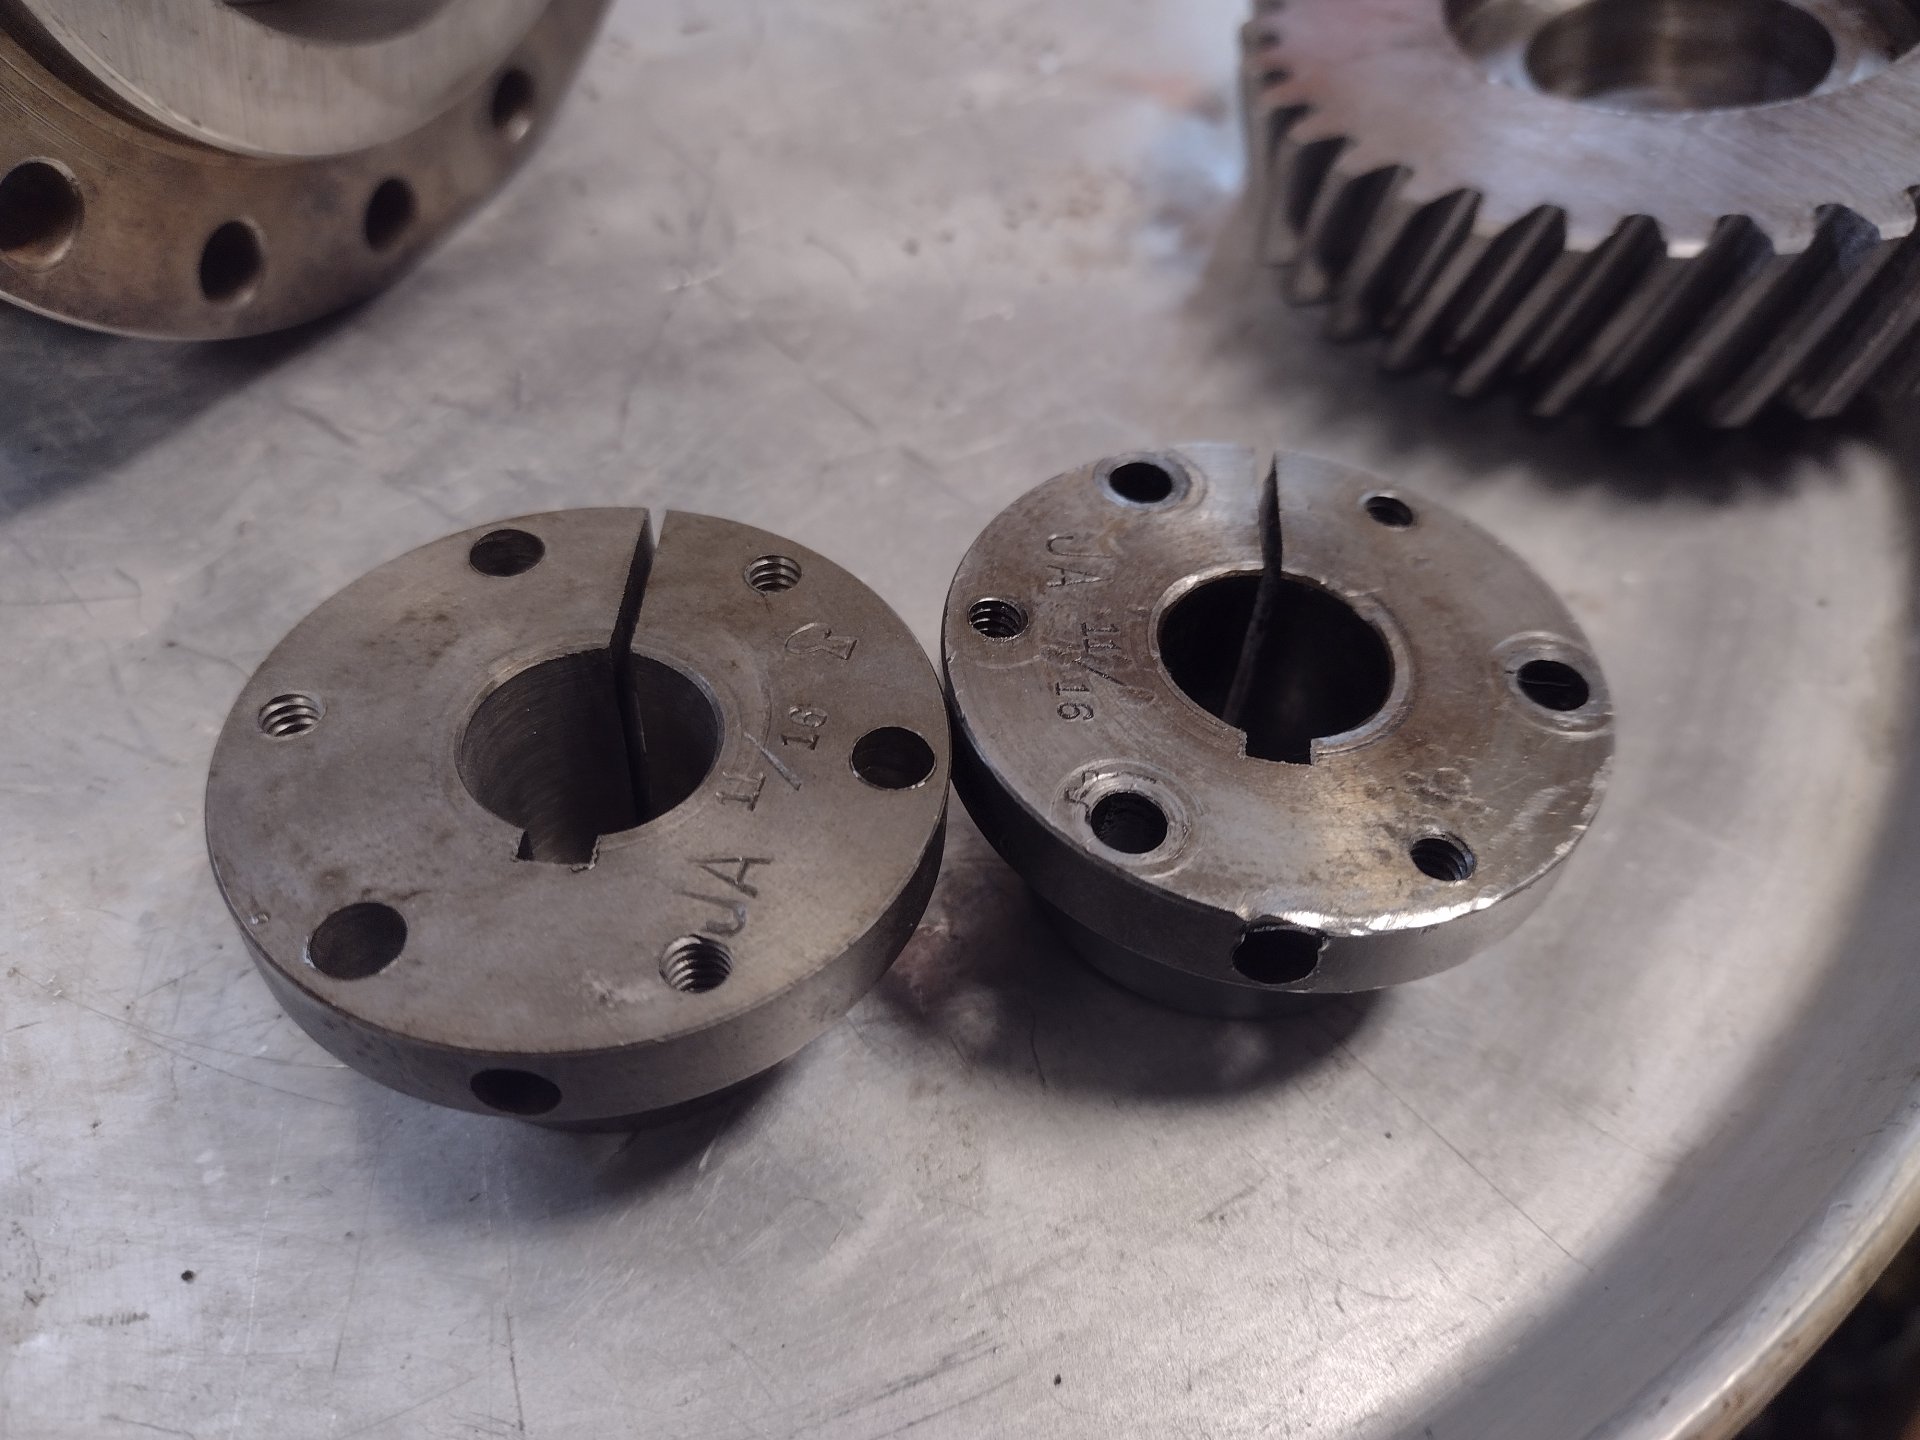
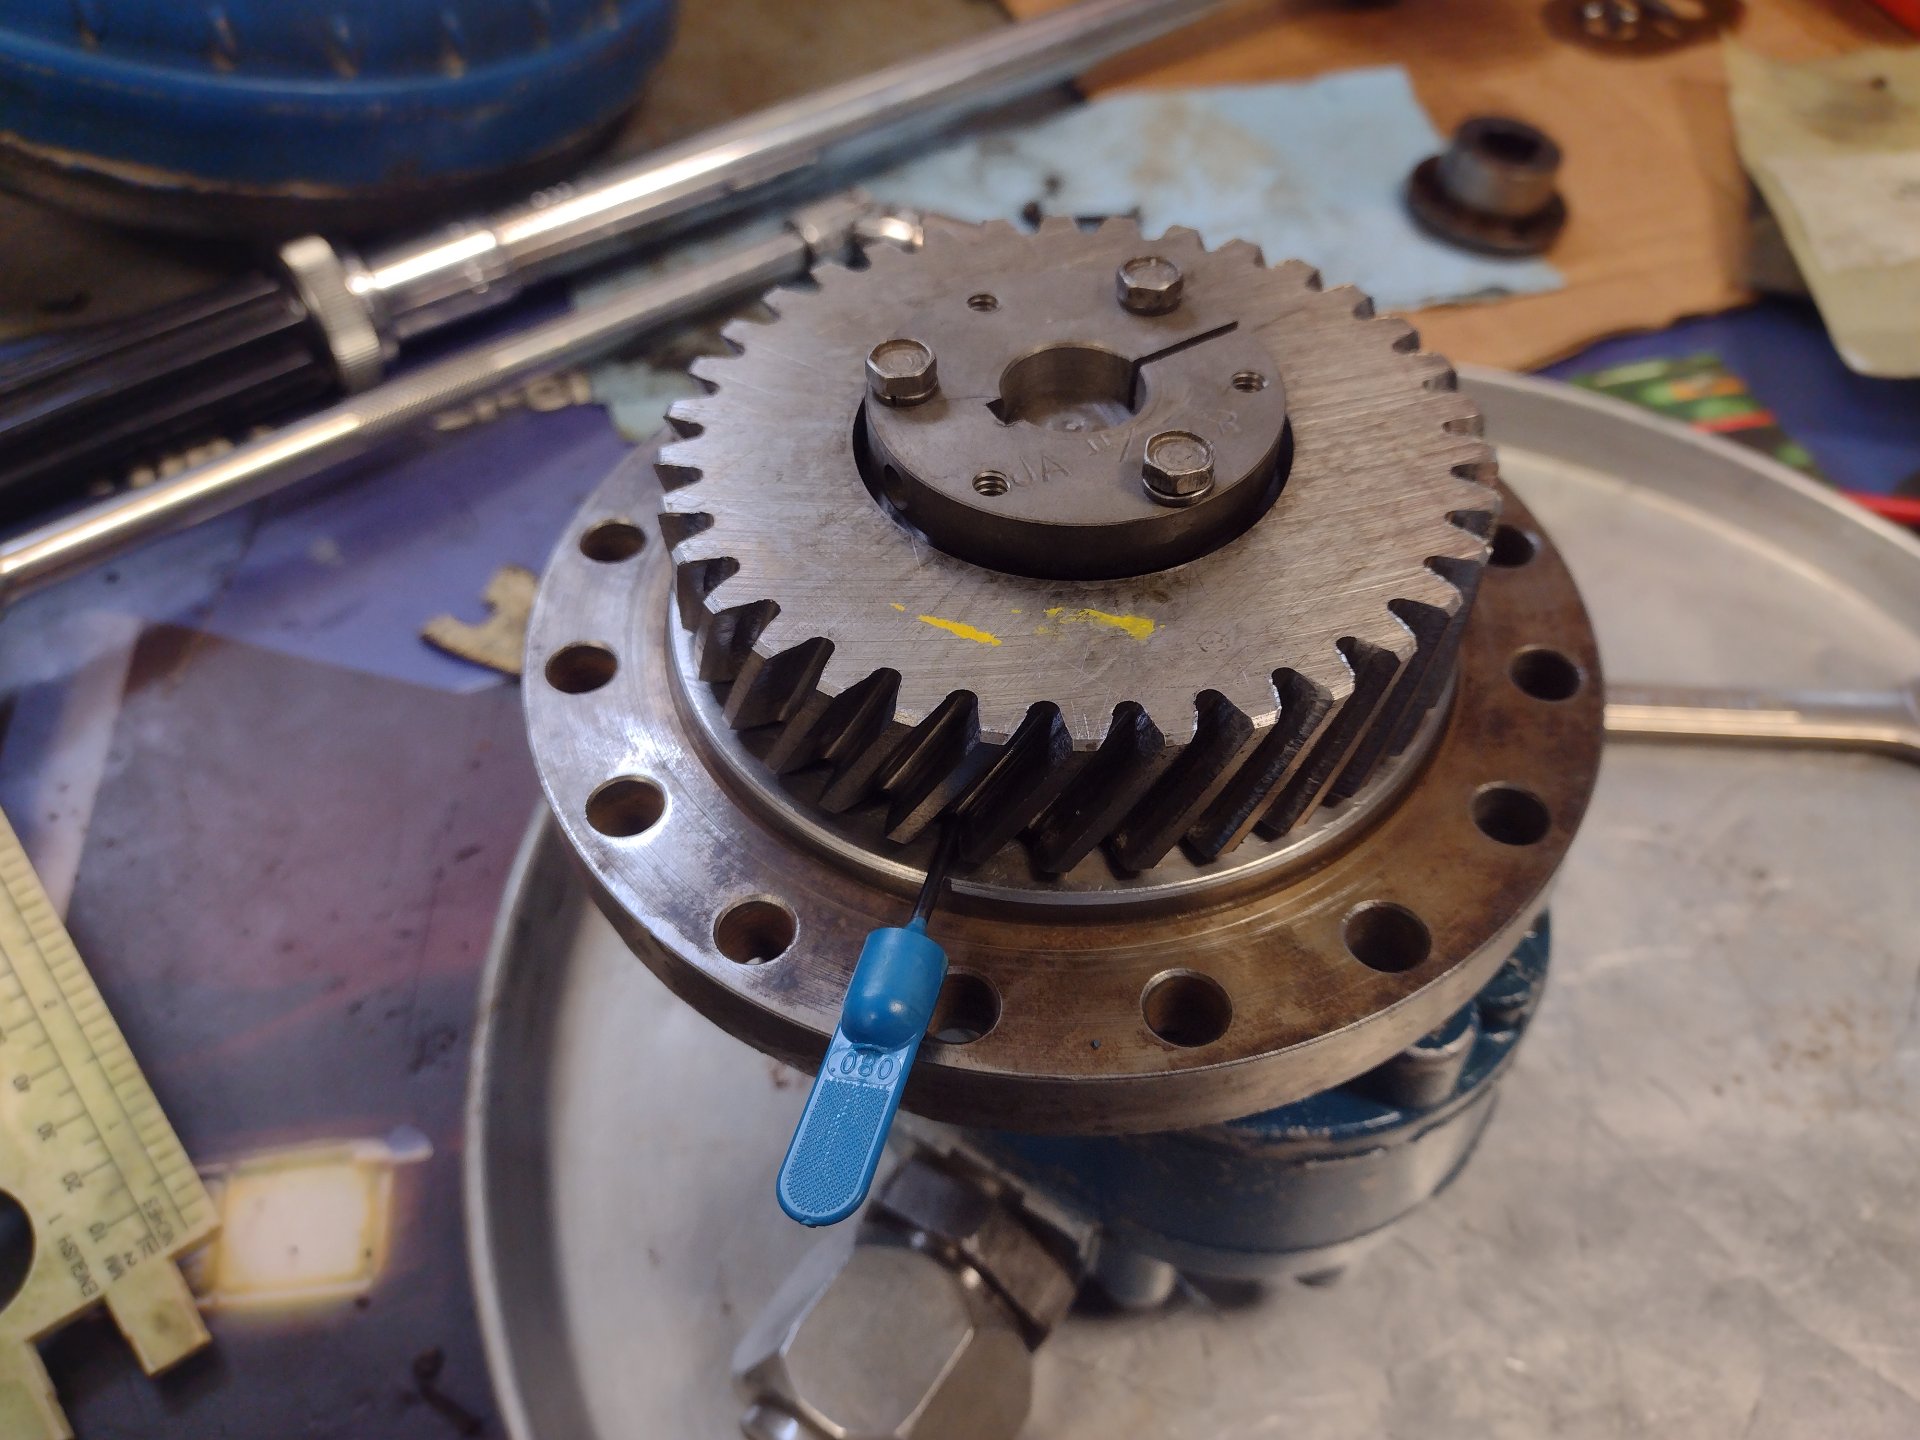
My only advice is to follow the service manual exactly in verifying the various clearances and the final torque values. Also, be sure you measure the clearance between the gear and pump for reassembly IF you think it *was* correct. My gear retainer was beat by a gorilla so I purchased a new one (they are inexpensive) and set up the gear spacing per the Owatonna Operators Manual (in the back of it). You can see from the picture that my spacing was 0.080". The last picture shows the overhauled pump with the adapter for the engine.

007.jpg
008.jpg
009.jpg


Happy wrenching,
Al Jones
 
Last edited:
Mine mounts directly to one output of a 4 way gearbox. I think my model is around '70-72. It was said to have been used in a chicken house for cleanout duties. No roll cage, no teeth on the bucket. That roll cage was the first thing I put on it as my use was landscaping and my property was steep. The neighbors said I almost gave them a heart attack when pushing the dirt out and got stuck in the soft berm, having to just surf down the front of the pile on the bucket and coming back up around the rough part of the yard. It has been a workhorse for me. I used it removing tree stumps commercially after '89 Hurricane Hugo. I rebuilt the engine 2 years ago and it's still running well.
 
Last edited:
So now I have returned to yesteryear when a posted picture is turned upside down by whatever computer troll is hiding under the keyboard. Sorry for my confusion. I've already deleted the beginning valve cover atrocious crud accumulation photos from existence. Just know that they were as bad as any you have ever seen. My machine did sit exposed to the elements for a few years and only occasional starting. Humidity seeps in thru the bullet muffler and does it's damage. A note on the reassembly and new parts, I dropped one of the new spark plugs and when I checked it, the gap was about .010" I didn't think it hit the floor THAT hard, but corrected it. Upon start up it ran terribly. Sounded like a full race camshaft. During the trouble shooting of all the ignition possibilities I finally got around to checking the plugs and ALL of them had the .010 gap from the factory inside the boxes except the one I dropped and corrected. WTH!? I've never seen that anywhere in my automotive experiences. Never assume, check EVERYTHING when putting it together. Best of luck to you guys beginning the rebuilding projects.
 
I've been asked about the brakes for the 1700. Here's what I have.

Operators Manual:

View attachment 7688 View attachment 7689

Parts Manual:

View attachment 7690 View attachment 7691

View attachment 7692 View attachment 7693

Photos of brake system on axle:

View attachment 7694 View attachment 7695


View attachment 7696 View attachment 7697

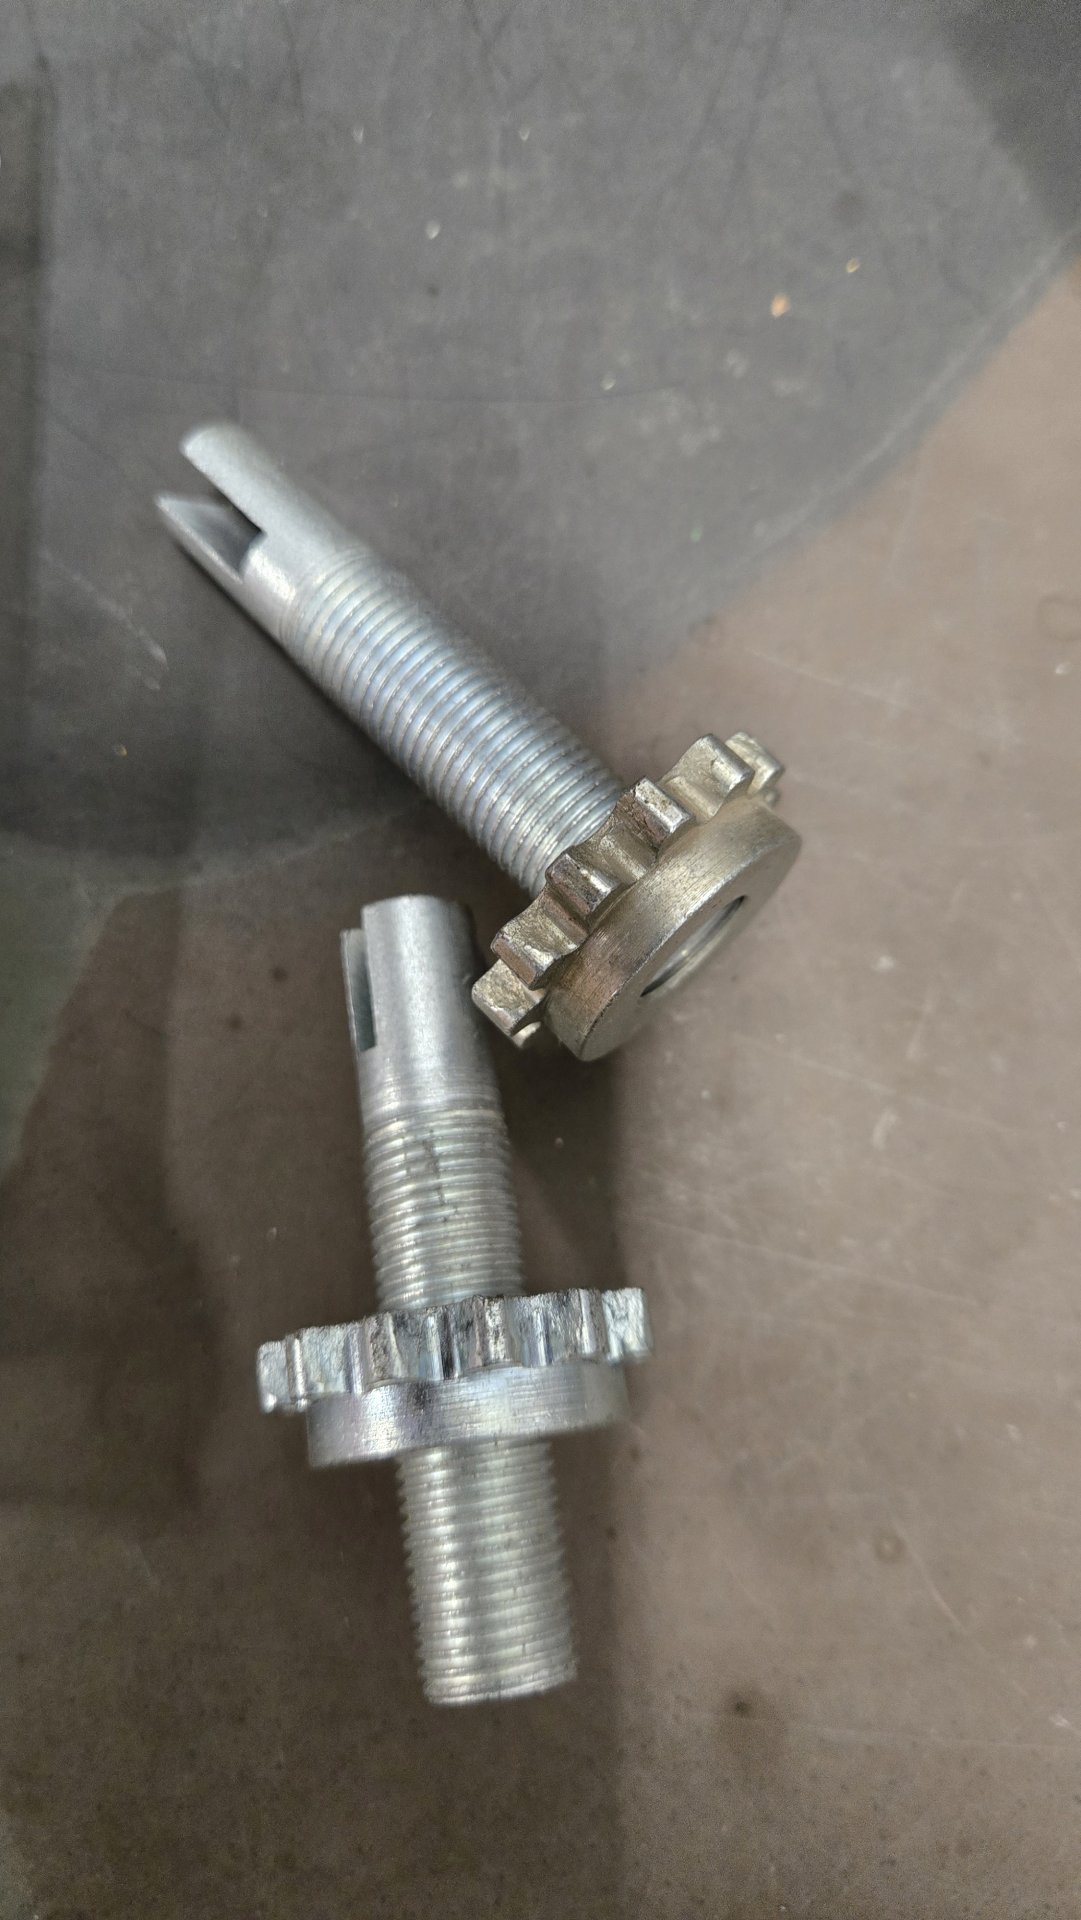
I installed the zirk fitting on the adjuster holder. That was so froze up, I drilled and tapped the hole, and then used my grease gun to force the adjusters out, and then left the zirk in. Doesn't hurt anything. I bathed, showered, drowned the adjusters in anti-seize.

More photos in next post (limited to 10 per post, I guess?).

Al Jones
Im curious to know if you have the part number for the wheel cylinders, im trying to fix my brakes but no luck on finding them
 
Back in "the day", a knowledgeable parts man could look at it and tell you what would interchange. A Napa sales clerk asked what the part I was hunting was for. When I said "Austin Healey", he said, "we don't have it". I went across the street, the clerk there brought out a bucket of correct size brake cylinder seals and asked, "how many do you want?" It will probably be an off the shelf from Ford, GM, Mopar(?). I worked in industry and we were rebuilding the safety brake on a rubber mill in 1975. It was a brake drum assembly from a 2 ton Ford truck, 1955. We finally found a set after the parts house searched the U.S.A.
 
Im curious to know if you have the part number for the wheel cylinders, im trying to fix my brakes but no luck on finding them
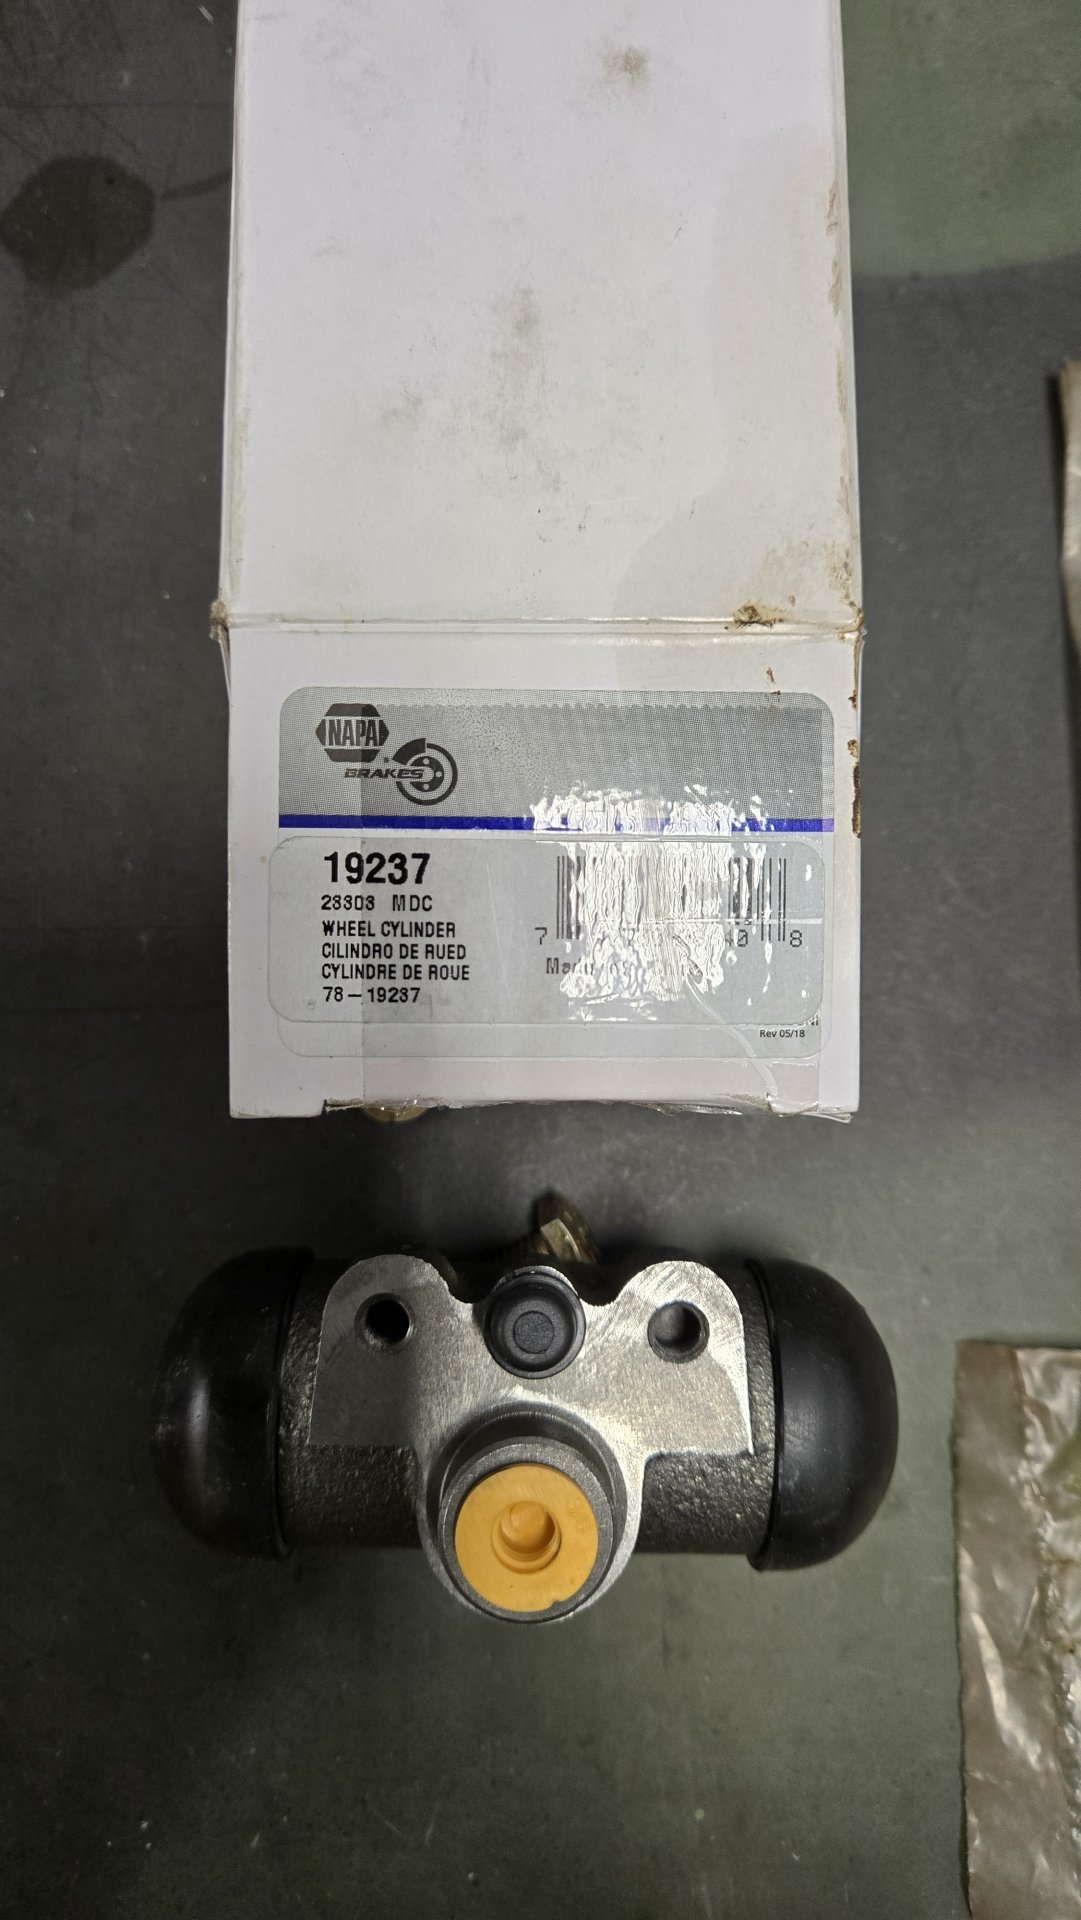
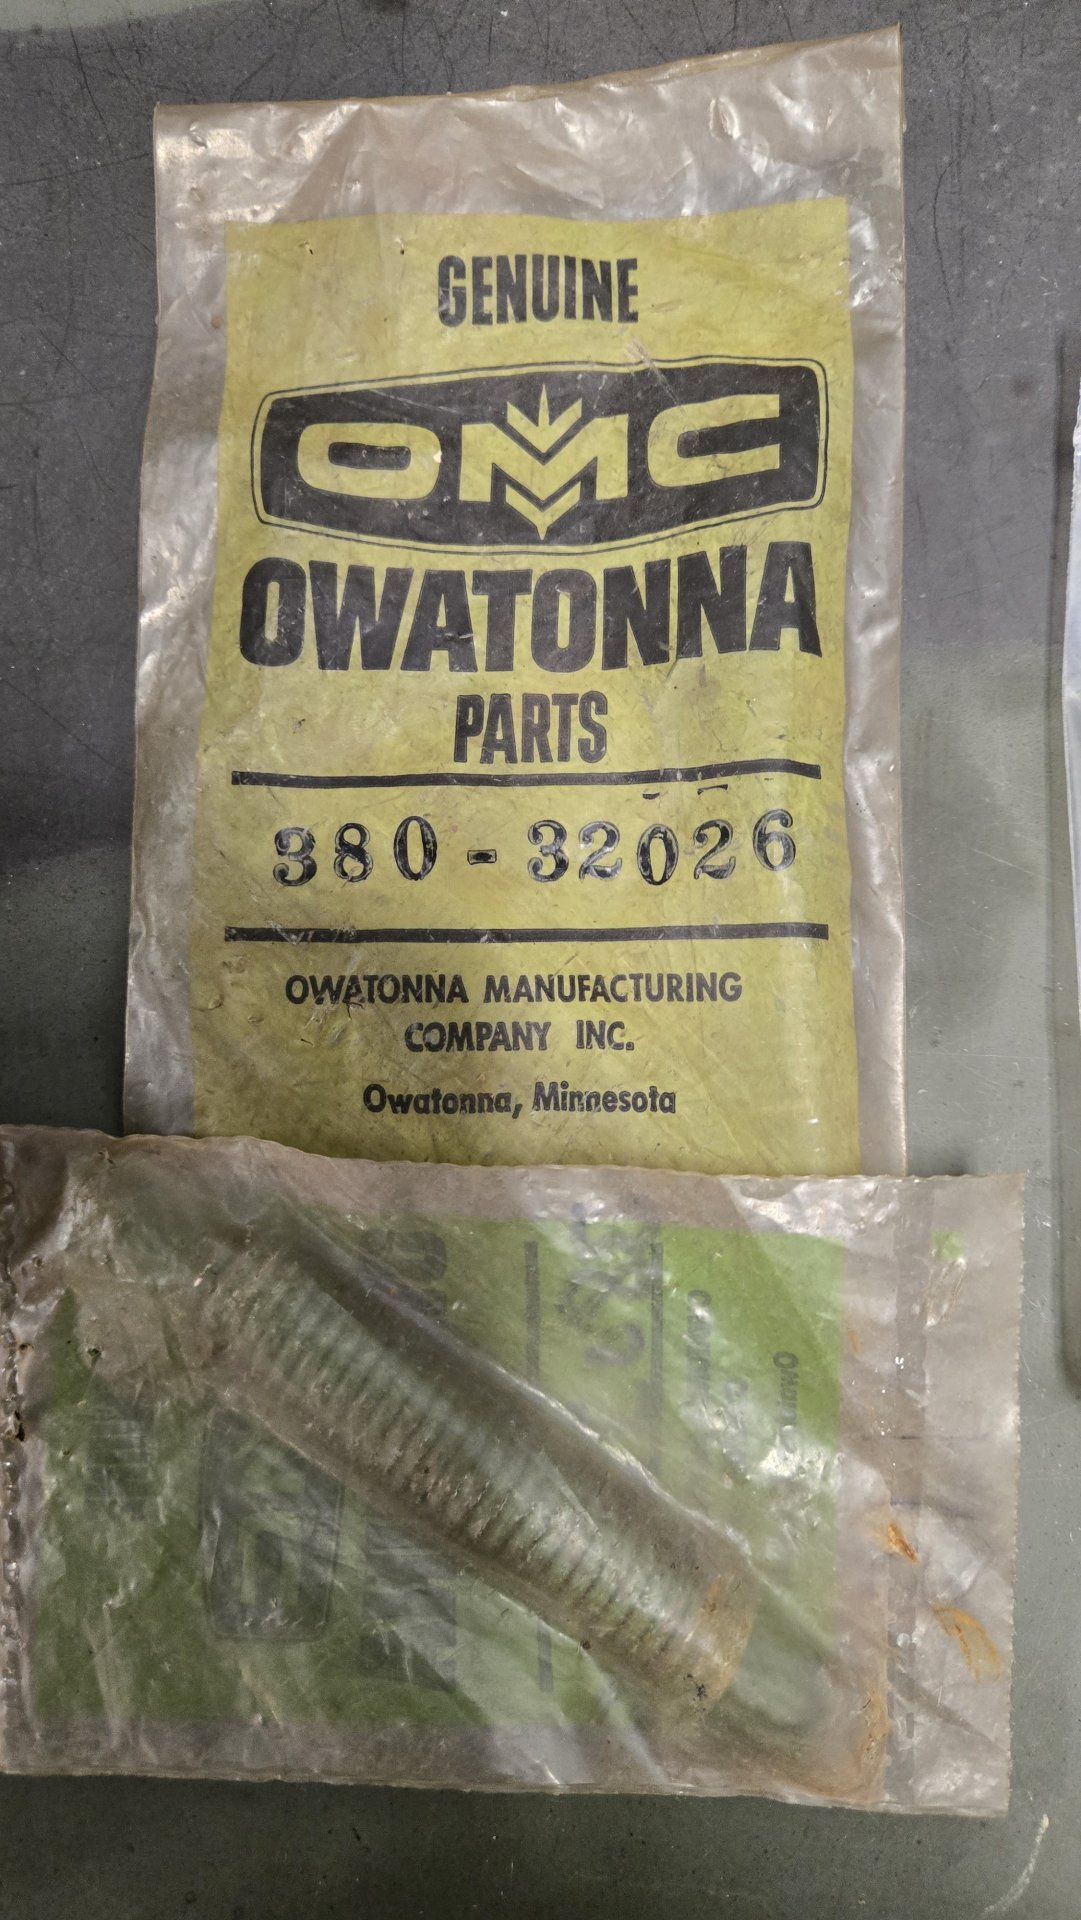
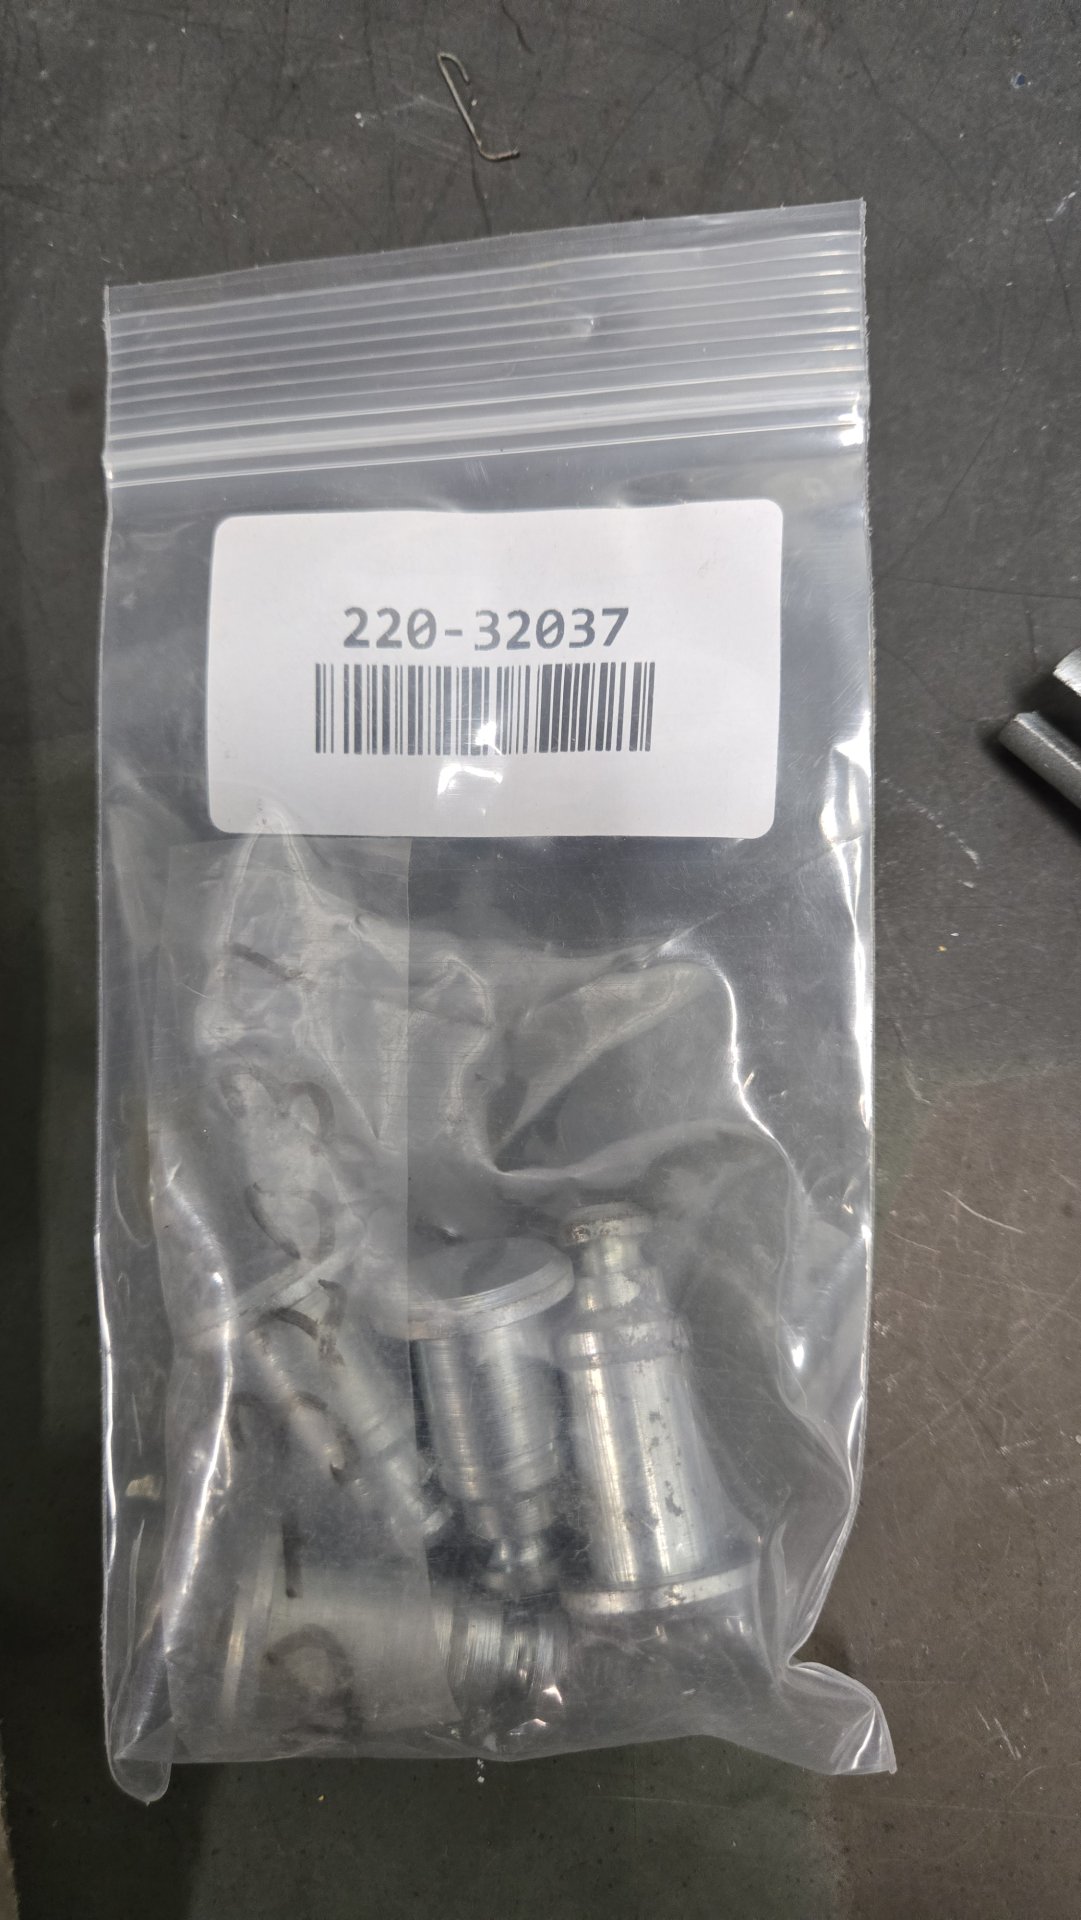
Here you go. Part number for slaves from Napa you can cross from, and part numbers for the springs, pins and adjusters are all original Owatonna/Gehl/Manitou numbers. The master cylinder number is above in this thread. I've narrowed the brake parts down to early to mid 60s Studebaker and late 50s to early 60s Checker.

20250924_122510.jpg
20250924_122513.jpg
20250924_122517.jpg
20250924_122519.jpg


I hope that helps.

Al Jones
 
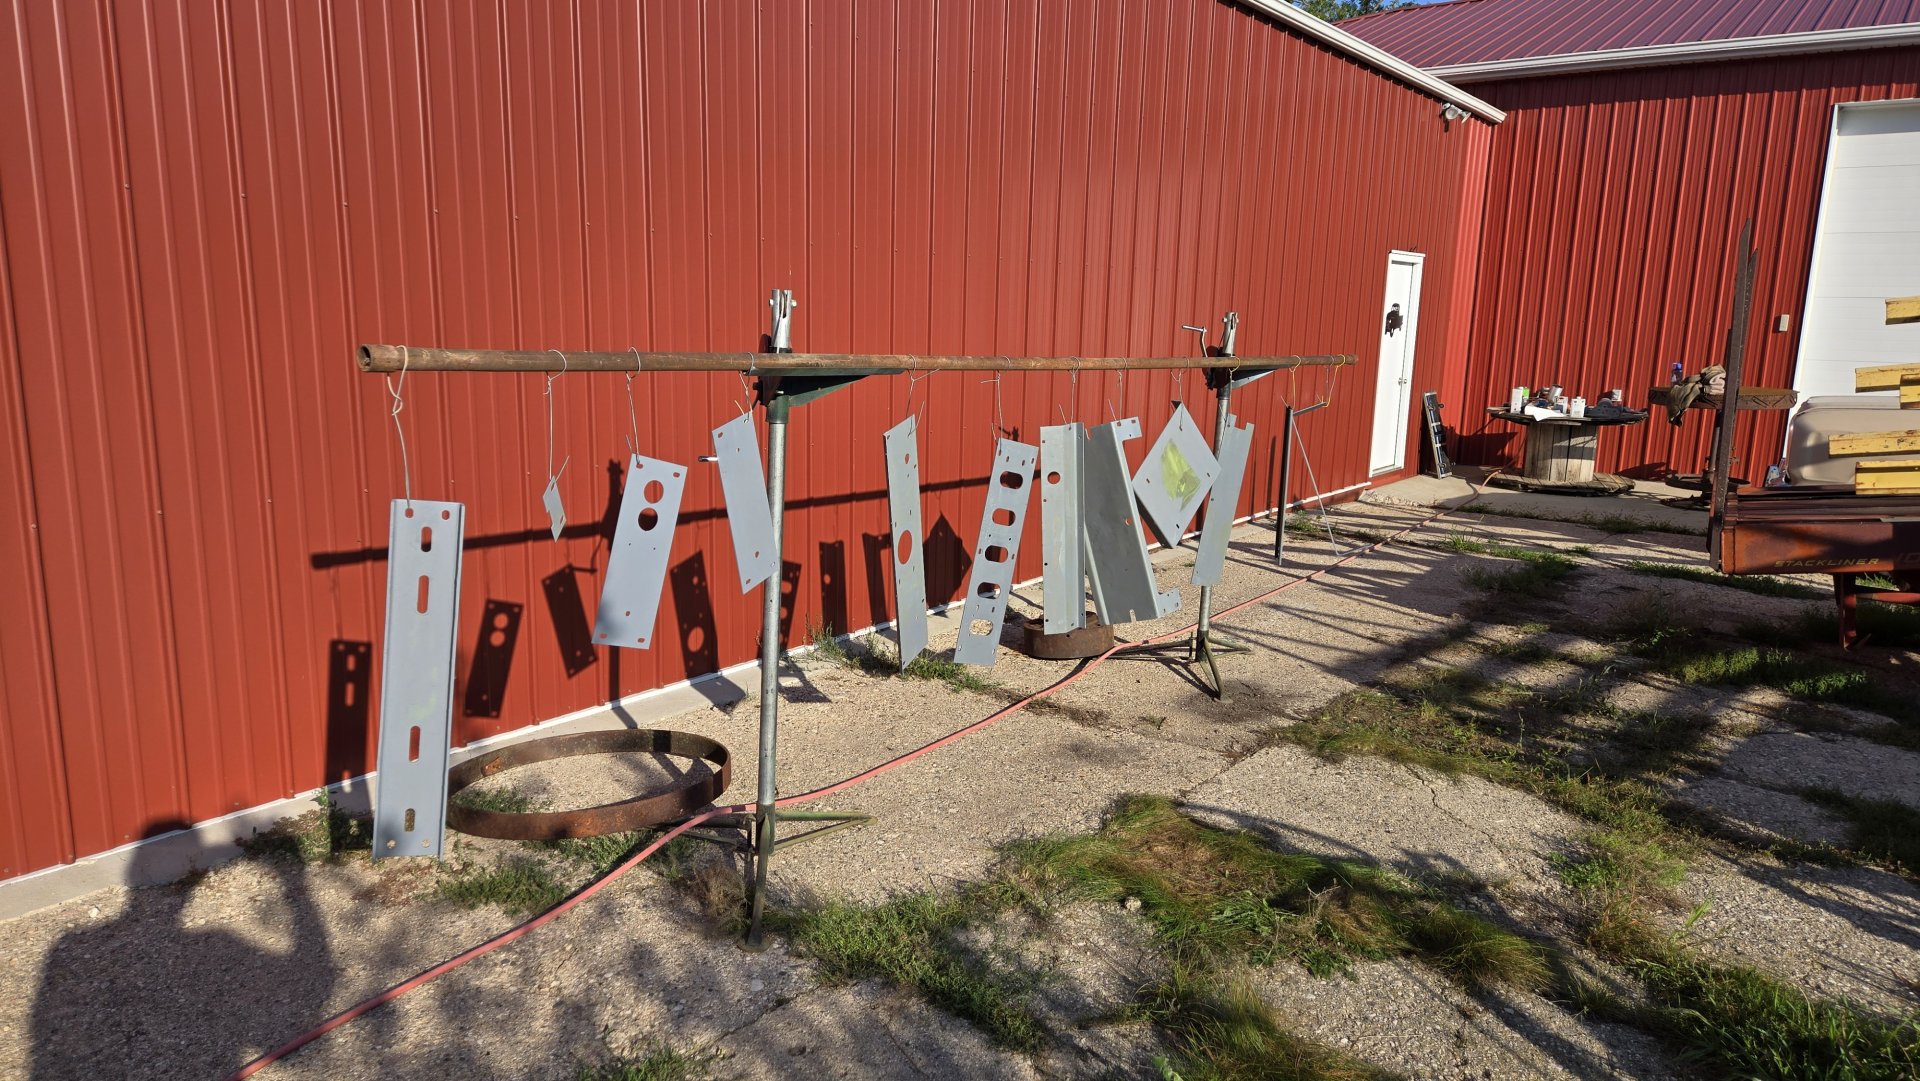
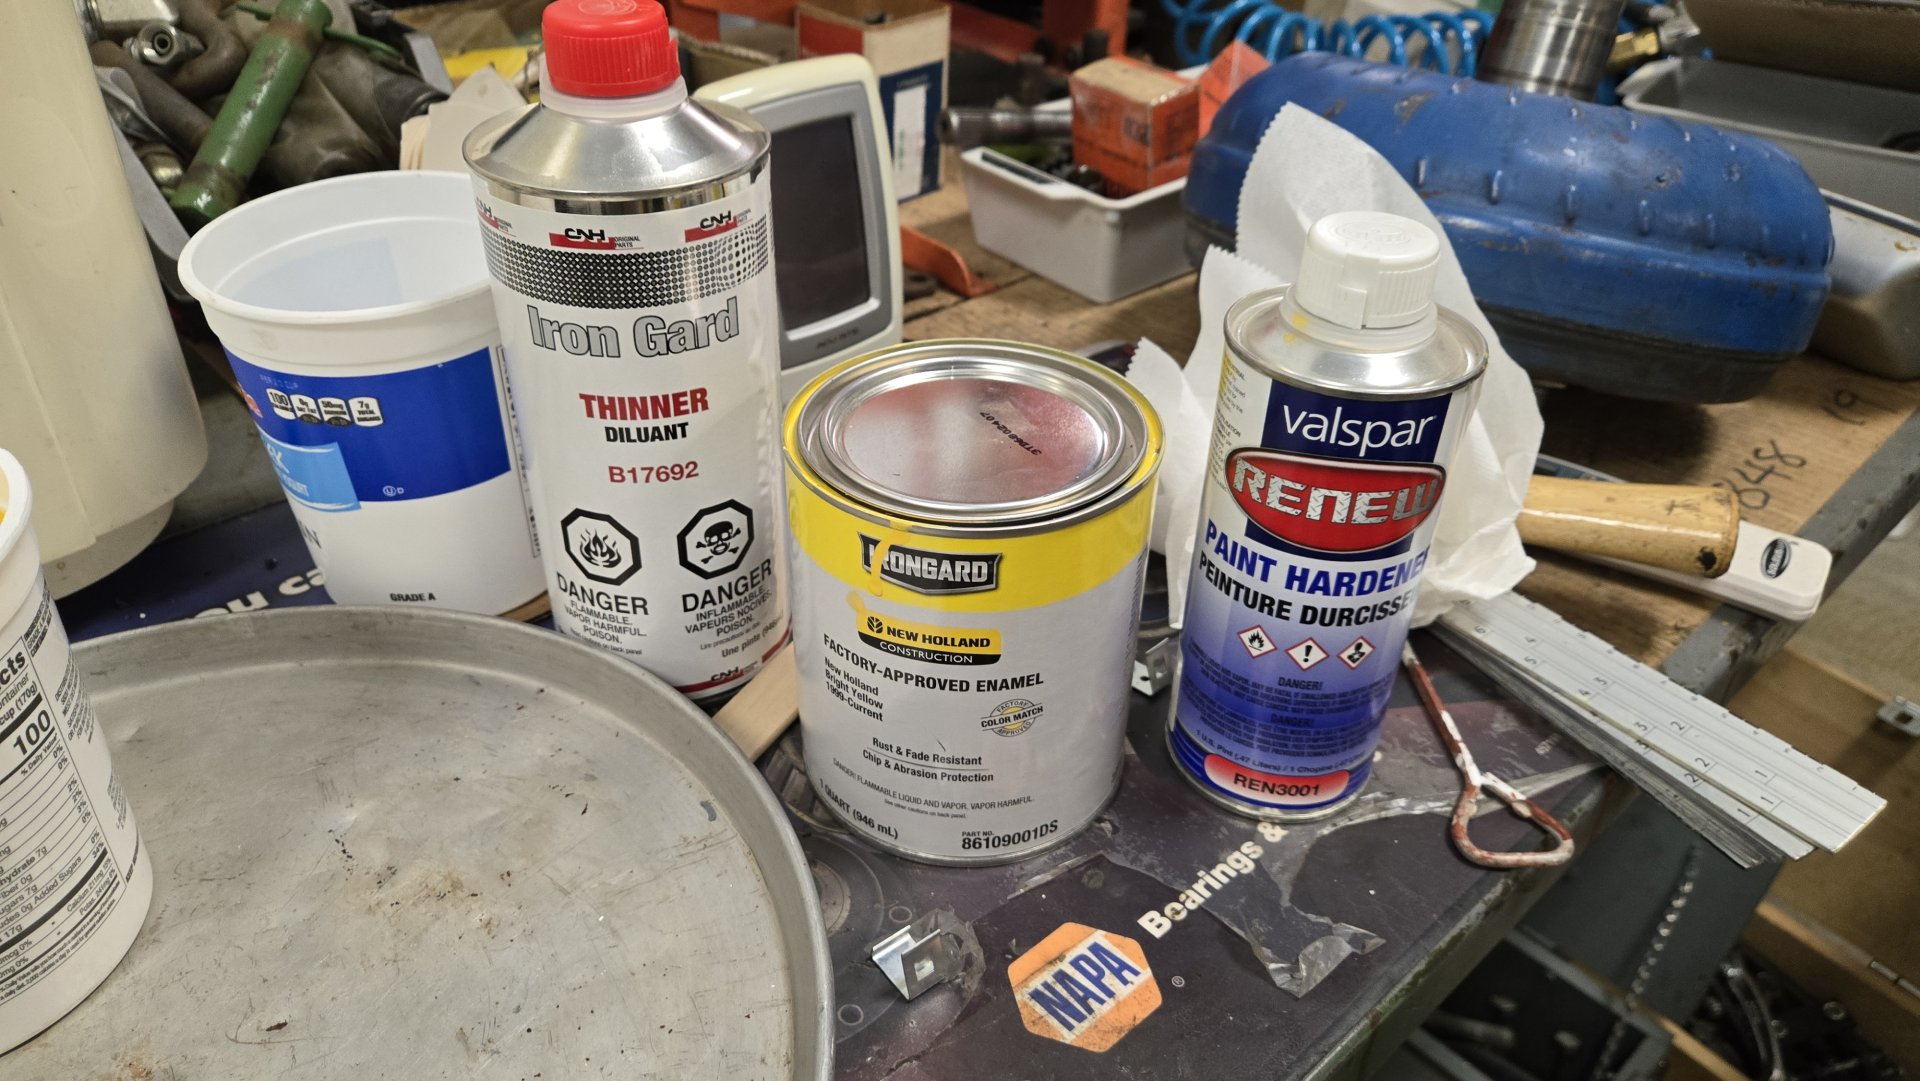
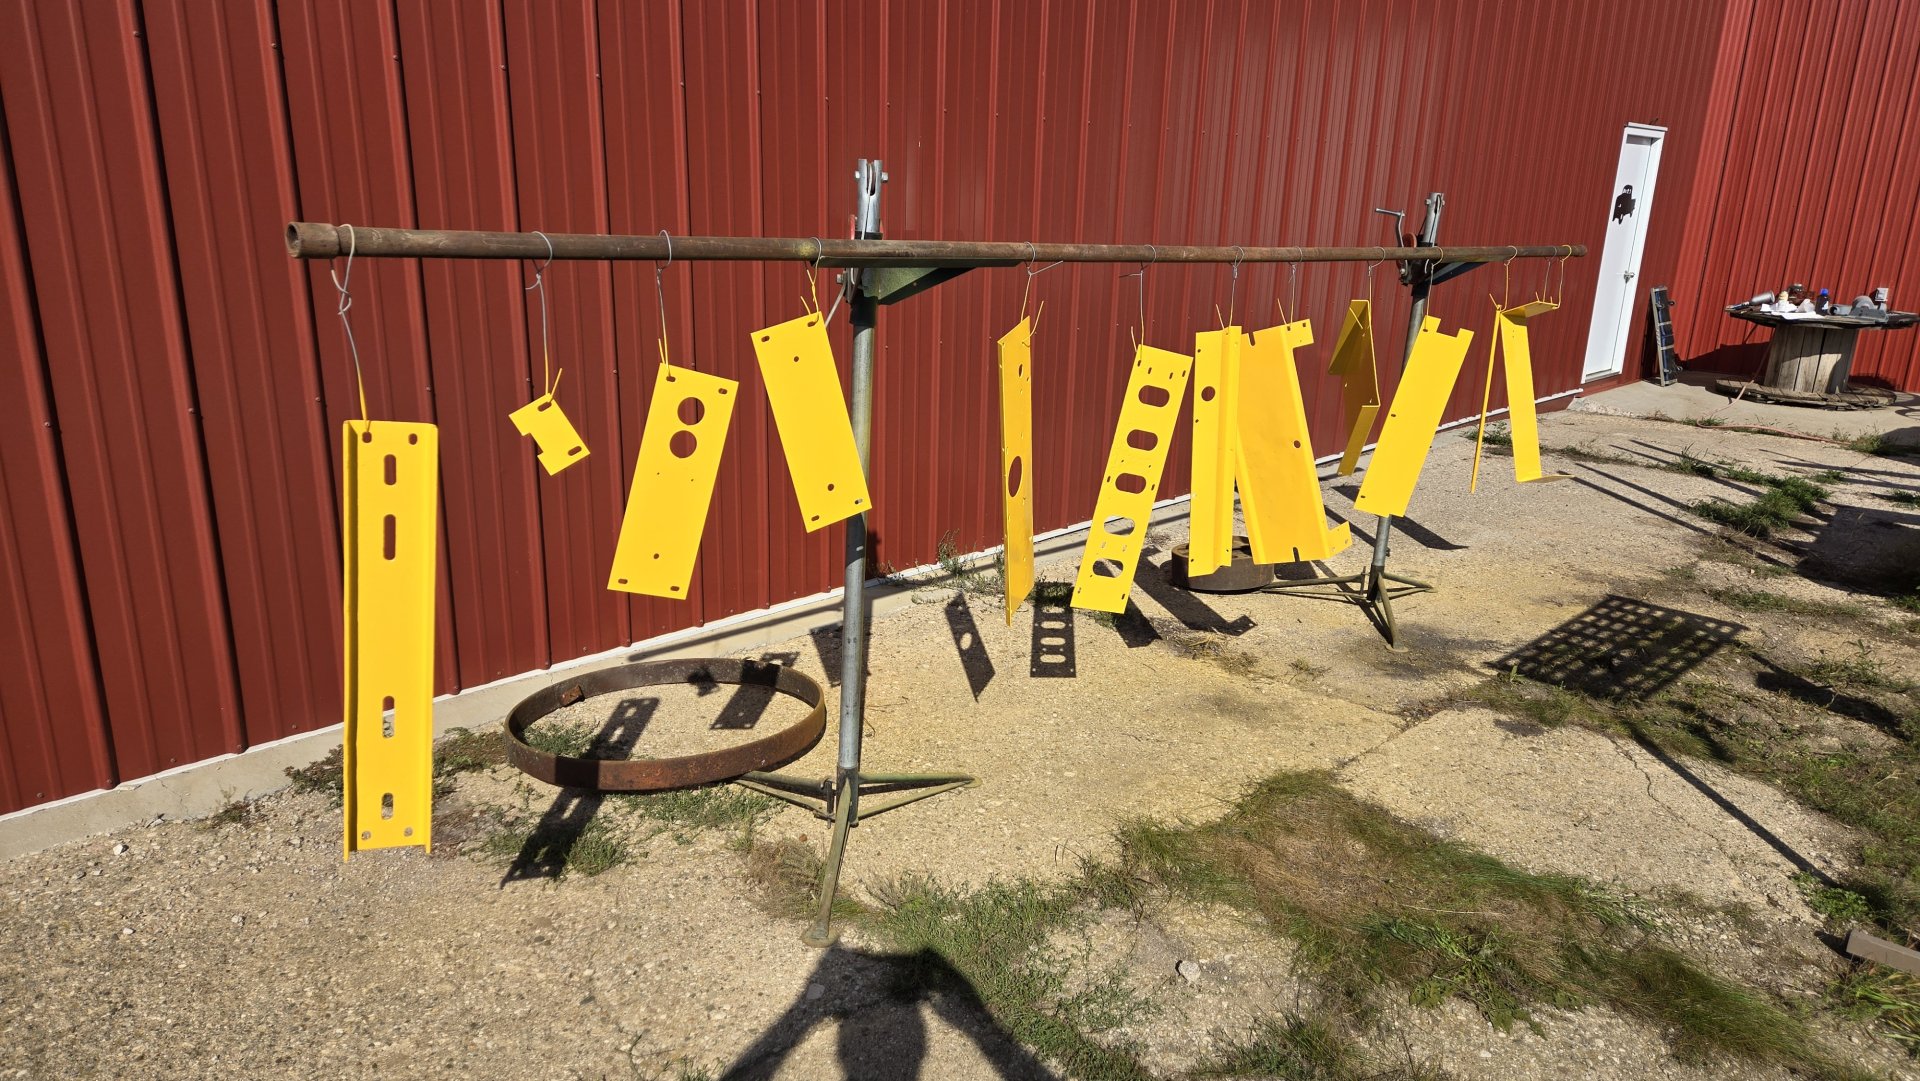
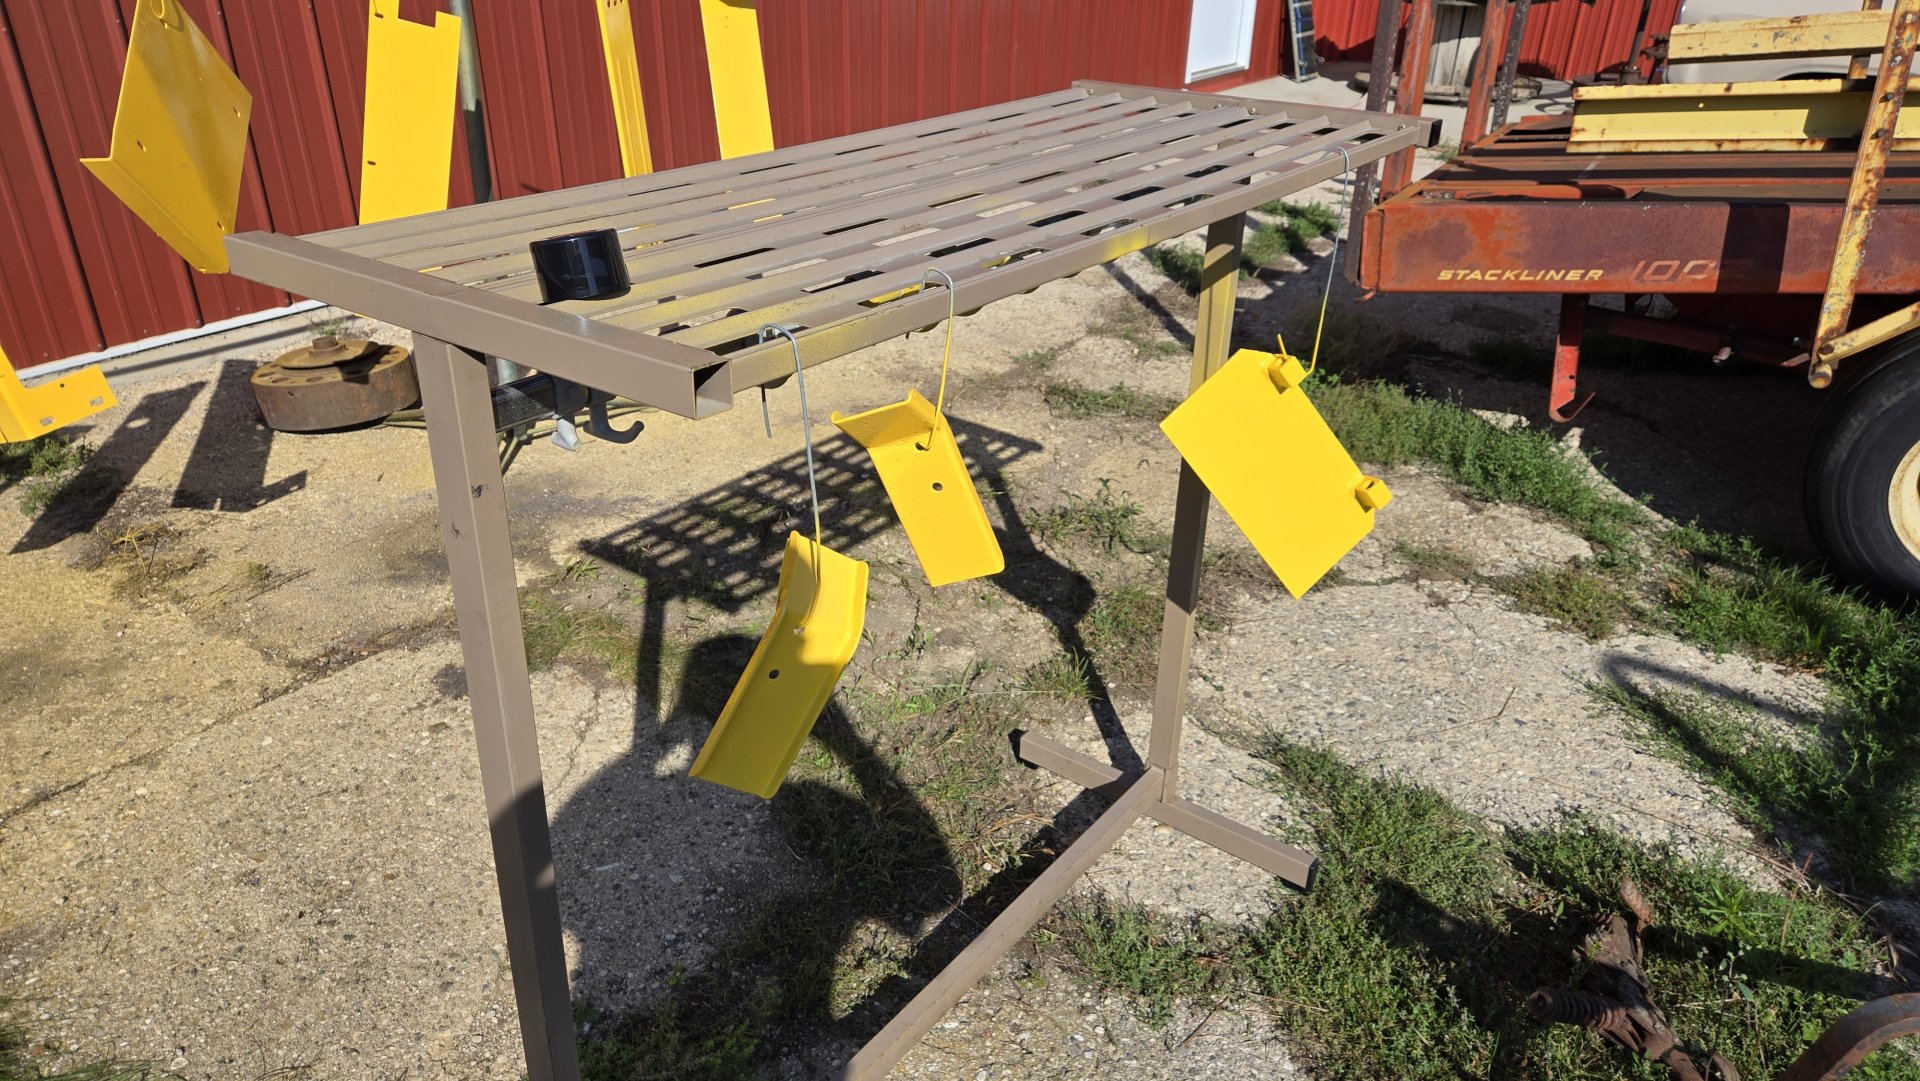
A big step this morning. Although I considered the original light green, I went with the closest **production** yellow to the Mustang yellow as I could find. I wanted the ability to buy paint off the shelf to avoid having it mixed. I'm a big Valspar/Irongard fan from my John Deere days anyway. You can see I went with New Holland Bright Yellow 1999-Current. There is absolutely nothing on the internet from Valspar on mixing ratios, but there are certainly lots of opinions. The information is on the dang product label, so I read the instructions on all three products. I mixed 8 color to 1 reducer (thinner) to 1 hardener. The can says only 1 to 2 parts reducer maximum if needed. It went on a little dry, so I will probably go to 1.5 parts reducer when I paint the hull given I'm painting outside and in the sun. The inside of all the panels got 2 coats, and the outside got 3 coats. Those are camper jacks and a pipe supporting the parts by fencing wire. The other is a coat rack I scrounged somewhere. Oh, and the gray primer is an etch primer. I like to use etch primer to bite into the old paint and bare metal.

20250924_092323.jpg
20250924_094005.jpg


20250924_104658.jpg
20250924_104704.jpg


I hadn't sprayed HVLP in over 20 years...? I'm glad I started on the panels, I have a lot of technique to figure out. I'm hoping to paint the hull next week. I started prepping the cab to paint and will post that separate given it's black.

Here's my last Irongard encounter... from over 20 years ago:

468394760_10103869483946116_1619376350962027436_n.jpg


Happy painting,
Al Jones
 
Last edited:

Latest posts

Back
Top