SkidRoe
Well-known member
- Joined
- Dec 10, 2009
- Messages
- 1,885
We made a bit of progress yesterday. We didn't get started until the afternoon as the morning was spent swapping the tires on Mother's Durango.
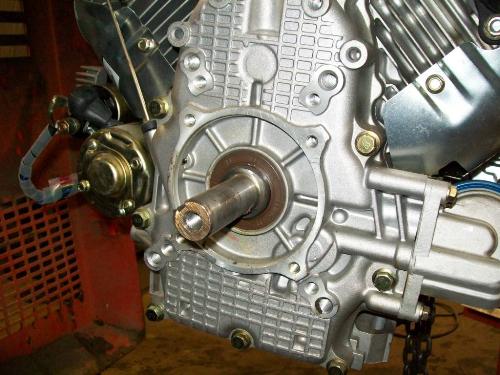
Here are some pictures of the 20hp Launtop LT620 that will be going in to replace the worn out 18hp Kohler Magnum:
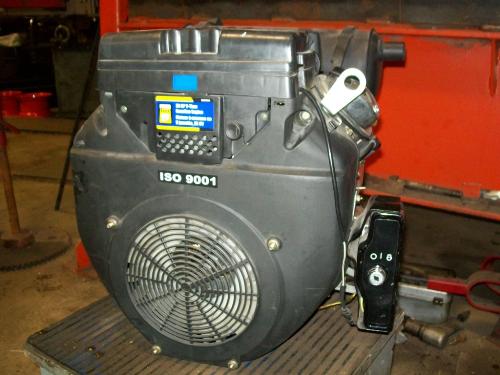
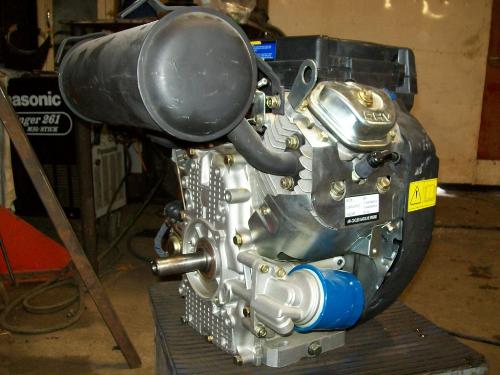
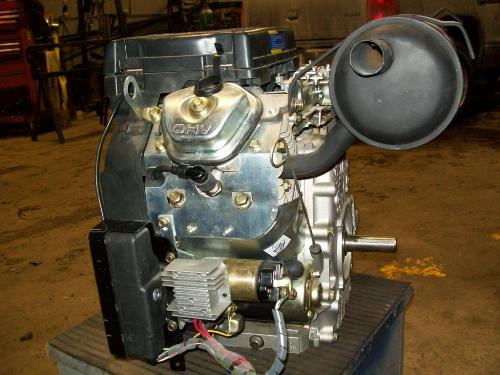
The stock ignition box will have to go (not needed) and the oil filter will have to be remote mounted.
The patient:
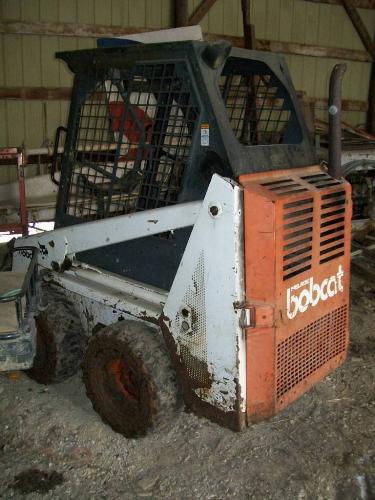
Who said moving a dead skidsteer was hard?? : )
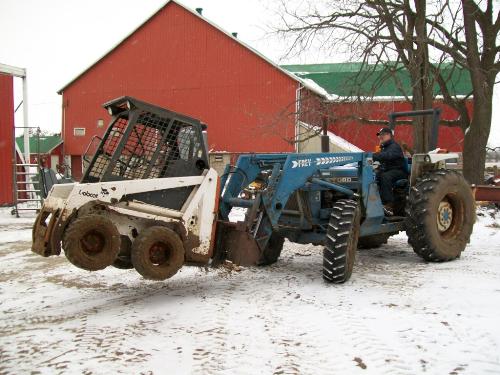
We would have used the 773, but we got to build some pallate forks for it (next project).
It is always nice to work on something when you don't have to bend over to do it:

Here is what the stock engine room looks like:
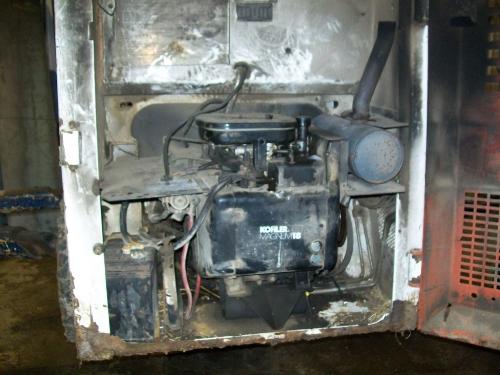
Kohler out:
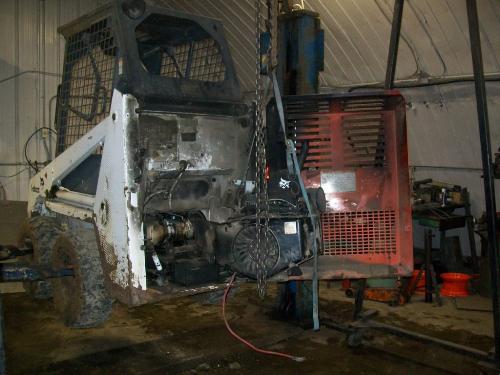
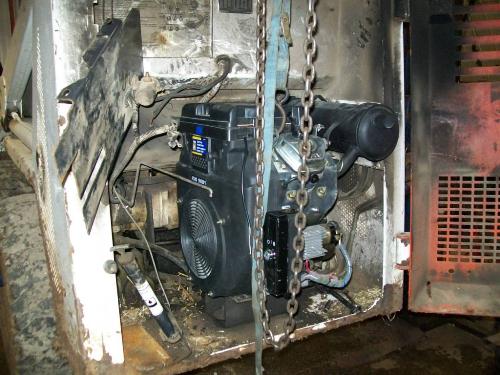
First test fit of the V-twin:
Yes, I know, the engine bay needs a bath!! Once the fabrication is complete, she's got a date with the pressure washer.
The old engine had a 1.125" shaft, the new one is a 1", so I will be picking up a new taper-lock pulley for it. The crank shaft sits about 1" lower, none of the pump plate holes align and only the right rear base mounting hole will be useable (surprise, surprise).
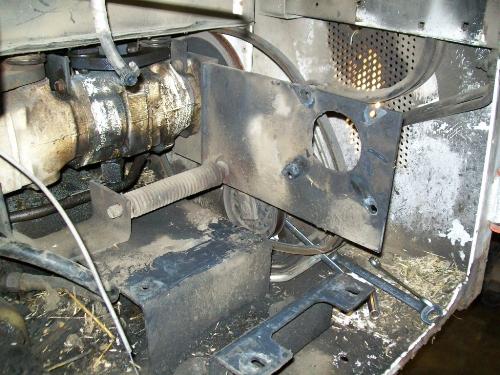
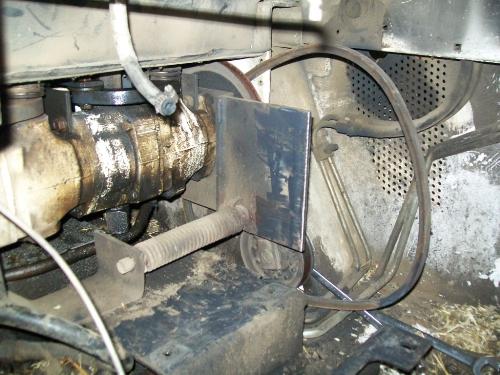
With the engine in position, the main mounting face sits about 1/4" of of the pump plate, so the decision was made to cut off the tail end of the pump plate and make a new one from 1/4" plate. The new plate will lap over the original and bolt to it.
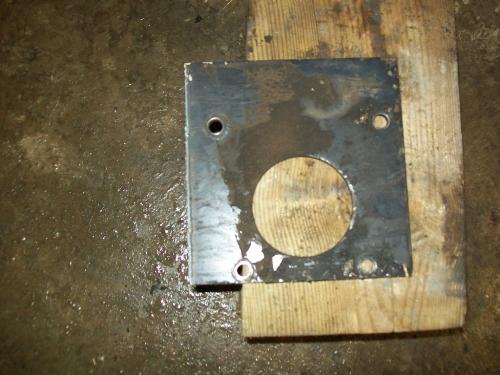
The removed piece (you have to love plasma cutters):
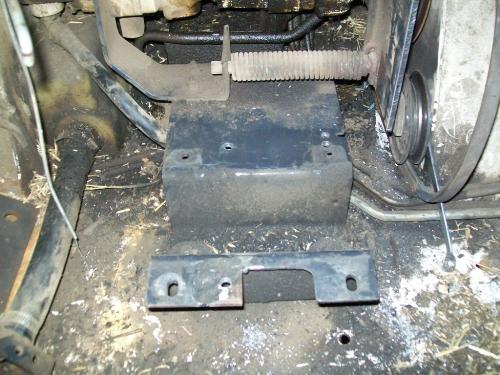
As stated, new holes were required for the base as well. The new engines base is narrower than the original, so a tab had to be welded on for the left rear mounting bolt:
Before:
After:
Engine test fit number 2, to check the new mounting bolt hole locations. Seems to fit:
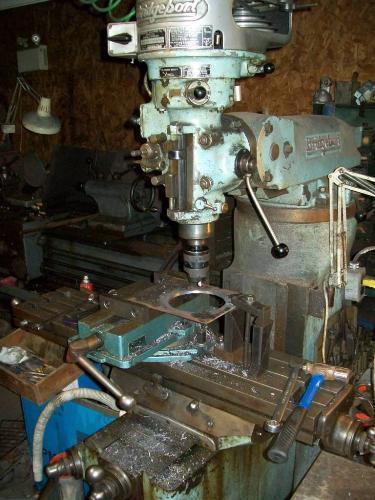
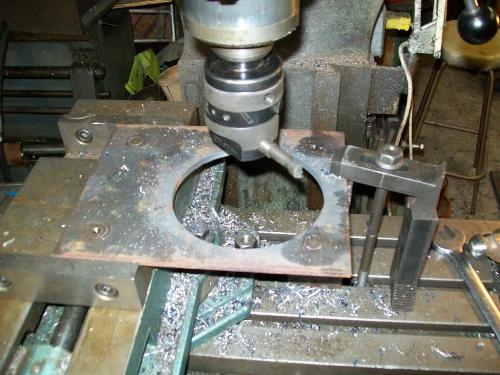
The new pump mounting plate will locate off of a 5.75" pilot on the rear of the engine, and utilize the 4 largest holes. Here is the plate under construction:
That's about as far as we got. So far, the only thing that I don't have figured out is the throttle connection, it will probably involve a cable I'm thinking. I am also thinking of seriously simplifying the exhaust, by cutting a hole in the back door and just letting it blast out the rear.
More to come.
Derek
Here are some pictures of the 20hp Launtop LT620 that will be going in to replace the worn out 18hp Kohler Magnum:
The stock ignition box will have to go (not needed) and the oil filter will have to be remote mounted.
The patient:
Who said moving a dead skidsteer was hard?? : )
We would have used the 773, but we got to build some pallate forks for it (next project).
It is always nice to work on something when you don't have to bend over to do it:
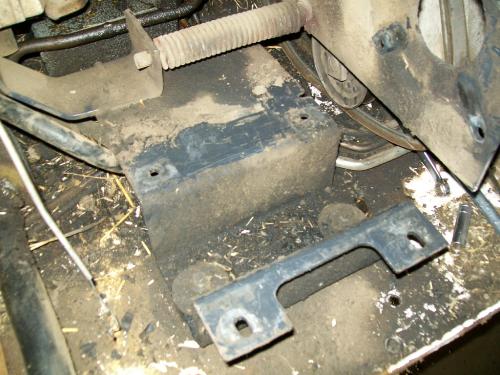
Here is what the stock engine room looks like:
Kohler out:
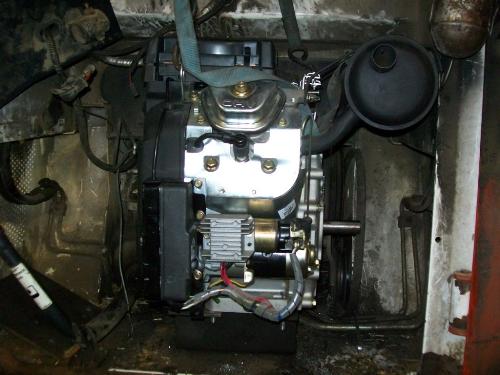
First test fit of the V-twin:
Yes, I know, the engine bay needs a bath!! Once the fabrication is complete, she's got a date with the pressure washer.
The old engine had a 1.125" shaft, the new one is a 1", so I will be picking up a new taper-lock pulley for it. The crank shaft sits about 1" lower, none of the pump plate holes align and only the right rear base mounting hole will be useable (surprise, surprise).
With the engine in position, the main mounting face sits about 1/4" of of the pump plate, so the decision was made to cut off the tail end of the pump plate and make a new one from 1/4" plate. The new plate will lap over the original and bolt to it.
The removed piece (you have to love plasma cutters):
As stated, new holes were required for the base as well. The new engines base is narrower than the original, so a tab had to be welded on for the left rear mounting bolt:
Before:
After:
Engine test fit number 2, to check the new mounting bolt hole locations. Seems to fit:
The new pump mounting plate will locate off of a 5.75" pilot on the rear of the engine, and utilize the 4 largest holes. Here is the plate under construction:
That's about as far as we got. So far, the only thing that I don't have figured out is the throttle connection, it will probably involve a cable I'm thinking. I am also thinking of seriously simplifying the exhaust, by cutting a hole in the back door and just letting it blast out the rear.
More to come.
Derek


