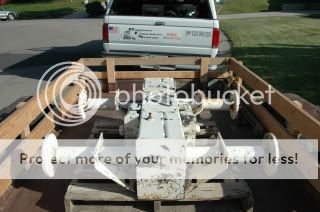
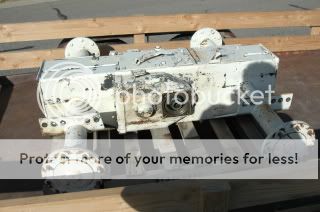
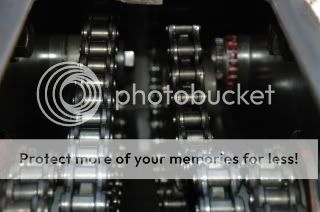
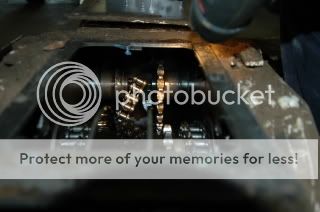
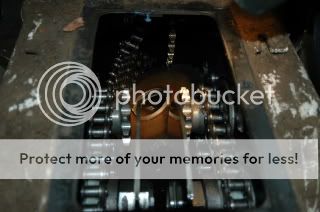
The tool, i have worked on these before and how you have it rite now is pefect to work on. I have pictures of a gutted chain case if you need any info just let me know!
The biggest tip i can give you for assembly is to stand it on its end, as you know the chains and sprockets are heavy let gravity do the work, hang the chain off the small double sprocket inside the chaincase then lower the sprocket on to the chain, let it hang and take the weight.
A small note, don't think you are being smart by installing the sprocket to the axle and think the chain will go on still aftwewards, i know from experience it does NOT work that way. Don't make my mistake

The main problem was the seal and bearings were seated and i was worried when i pulled them i'd damage something but they seperated and worked just fine.
You may want to replace or at least silicone the gear boxes to the chain case. I made the mistake of not doing it on one machine and it leaked, drove me crazy i was kicking myself for not doing it afterwards.
I'm sure i speak for everyone, we want, no we demand pictures

Well, I've rebuilt a few chaincases, but it's been a while. I am stiff and sore. And that's a good tip about standing it on end, never thought of that. Didn't have much in the way of lifting on this job, but I'll remember that if I'm ever crazy enough to do this again any time soon...=).
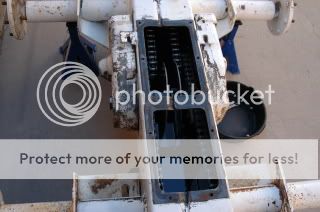
The reason I went for this chaincase is because it had be worked before, the gaskets looked relatively new, it was bone dry on the outside, and when I opened it, the chains looked pretty new and the oil was clean.
I figured drain the oil and clean it out, change out the axle seals and gearbox seals and cover gasket, fill 'er up and call it good.
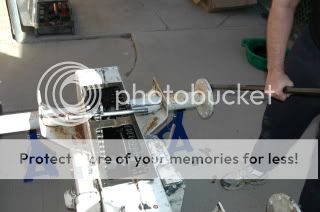
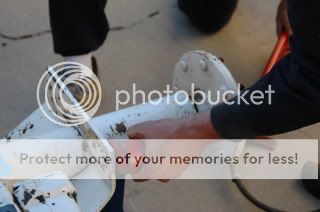
We started in the back, but here we are breaking loose the sprocket bolt with a bar through the studs, box-end wrench on the bolt.
After we got all the guts out except for the front chains, we ladled and suction all the old oil out, tipped it front down and let it set overnight, then finished wipe-up the next day before reassembly.
One of my rear outside bearings came apart on removal, I decided to replace all four rear cone bearings. Axles were already sleeved.
Remove the axle/hub with a porta-power.
This is looking back into the rear axles, so the left side here is actually the right side of the machine, already finished. All chains are set on the sprocket, the axle is pushed in just enough to grab the bearing. I put some sticky grease on the cone to help keep it in place, it likes to slide out and fall to the bottom of the chaincase when you're trying to catch splines. Makes me cuss.
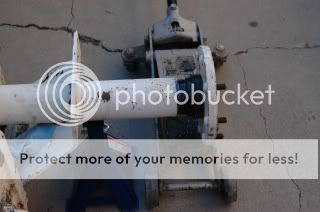
Seal installer in place, permatex around the outside of the seal, a little grease on the bearing to help it along until it gets washed in oil. I like to get it as straight as I can with a jack under the hub to help me catch splines squarely inside.

When you catch splines, very light taps with a hammer on the hub will drive the axle into the sprocket. You can feel it movving in with a finger in the hole where the bolt goes. Don't get crazy with the hammer, or you'll have it apart again filing burrs on the splines. When you can start the bolt, do so. Put a wrench on it and turn the hub until your seal comes up against the axle tube. Make sure it starts squarely into the tube, THEN have at it with the hammer. I had access to the special installers, but Tazza's idea with the split cone race and hose clamp is outstanding. Oh yeah, when you start wailing on it with the hammer, your wrench falls off. Put it back on and finish snugging up the bolt to bottom out the bearings. I also failed to mention that on my broken bearing, the inner race was cracked, so I use it as an installer for the outer bearings, driven on after the seal is installed. Shoulda took a pic of that....=).
Anyway, that was the axle seals. I also drained and cleaned the gearboxes, and changes those seals. I'll post more later.
