Here is a picture of what I will use to torque the axle bolts. I plan to weld that socket to the center of the 1/4" strap.any pics brah>?

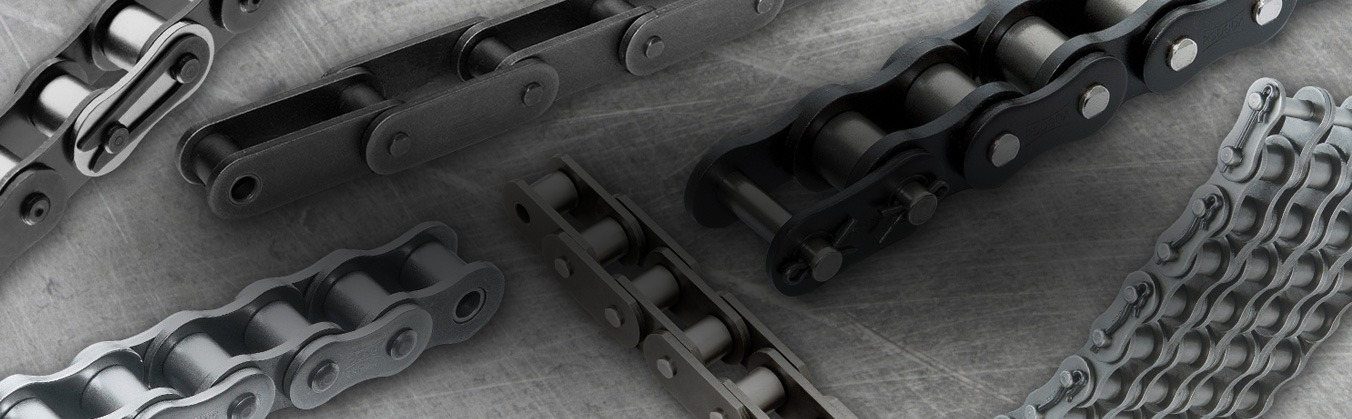
Here are some pics of the debris field in the chain case and the chains. All chains are being replaced with heavy duty chains.


This is a pic of the new chain for the left rear. The bulk chain will be the same quality.

This is the front chain guide on the right side. They will get replaced also

These are pictures of the damaged right rear chain. The left chain got lodged under the right chain after it broke.

This is the damaged driven gear on the left rear.

")