Rebuilding the driven variable sheave

Skidsteer Forum - Bobcat, New Holland, Case, John Deere

Help Support Skidsteer:

T-rustyfix

Well-known member
Joined
Aug 27, 2022
Messages
88
City & State/Province
Upstate, NY
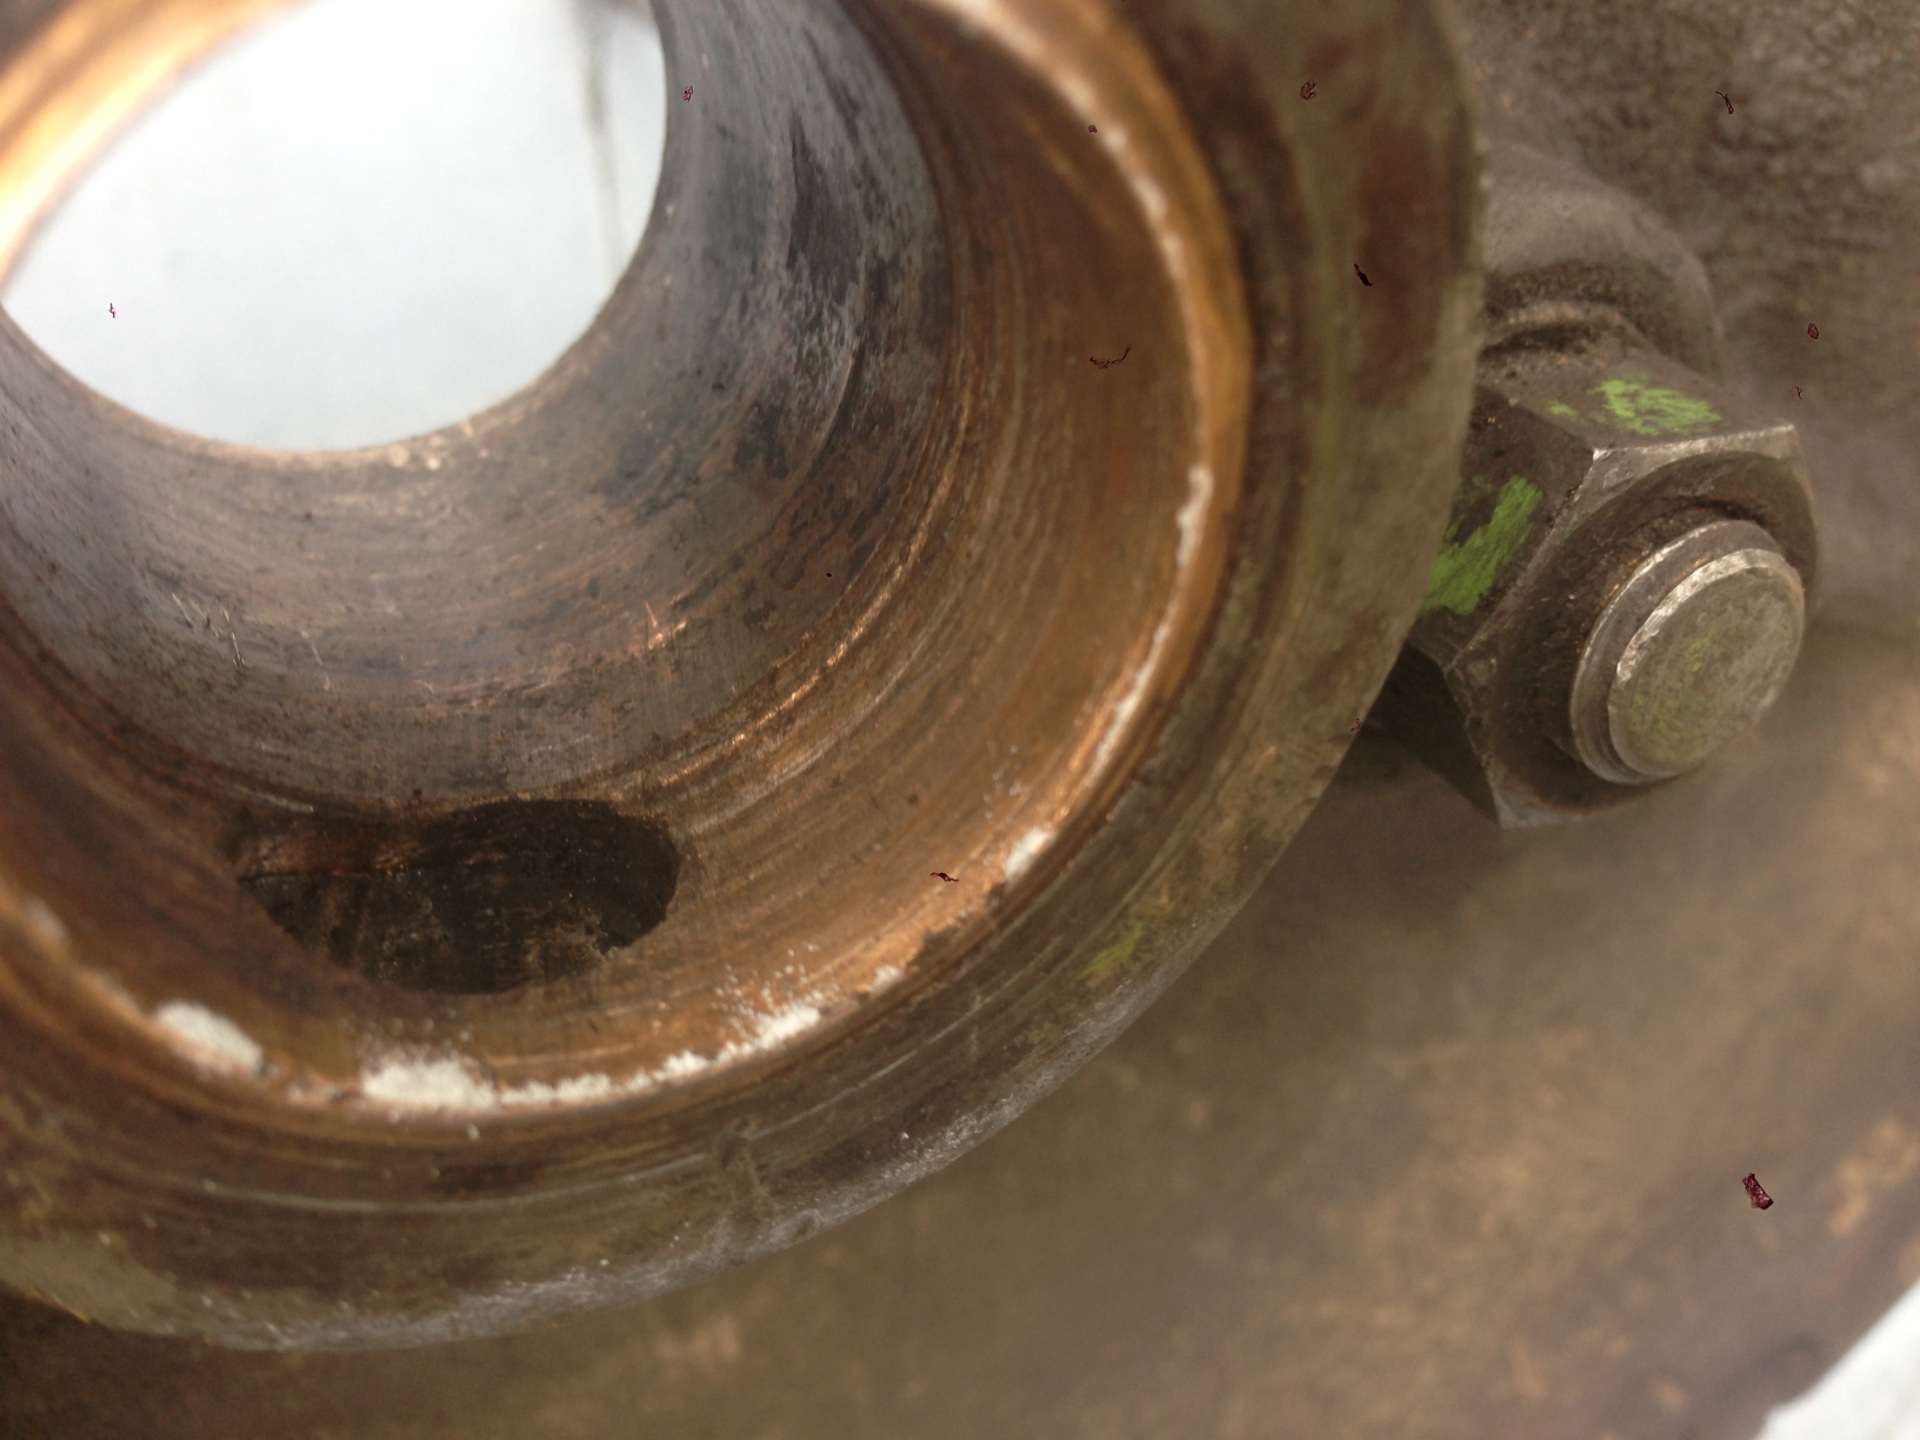
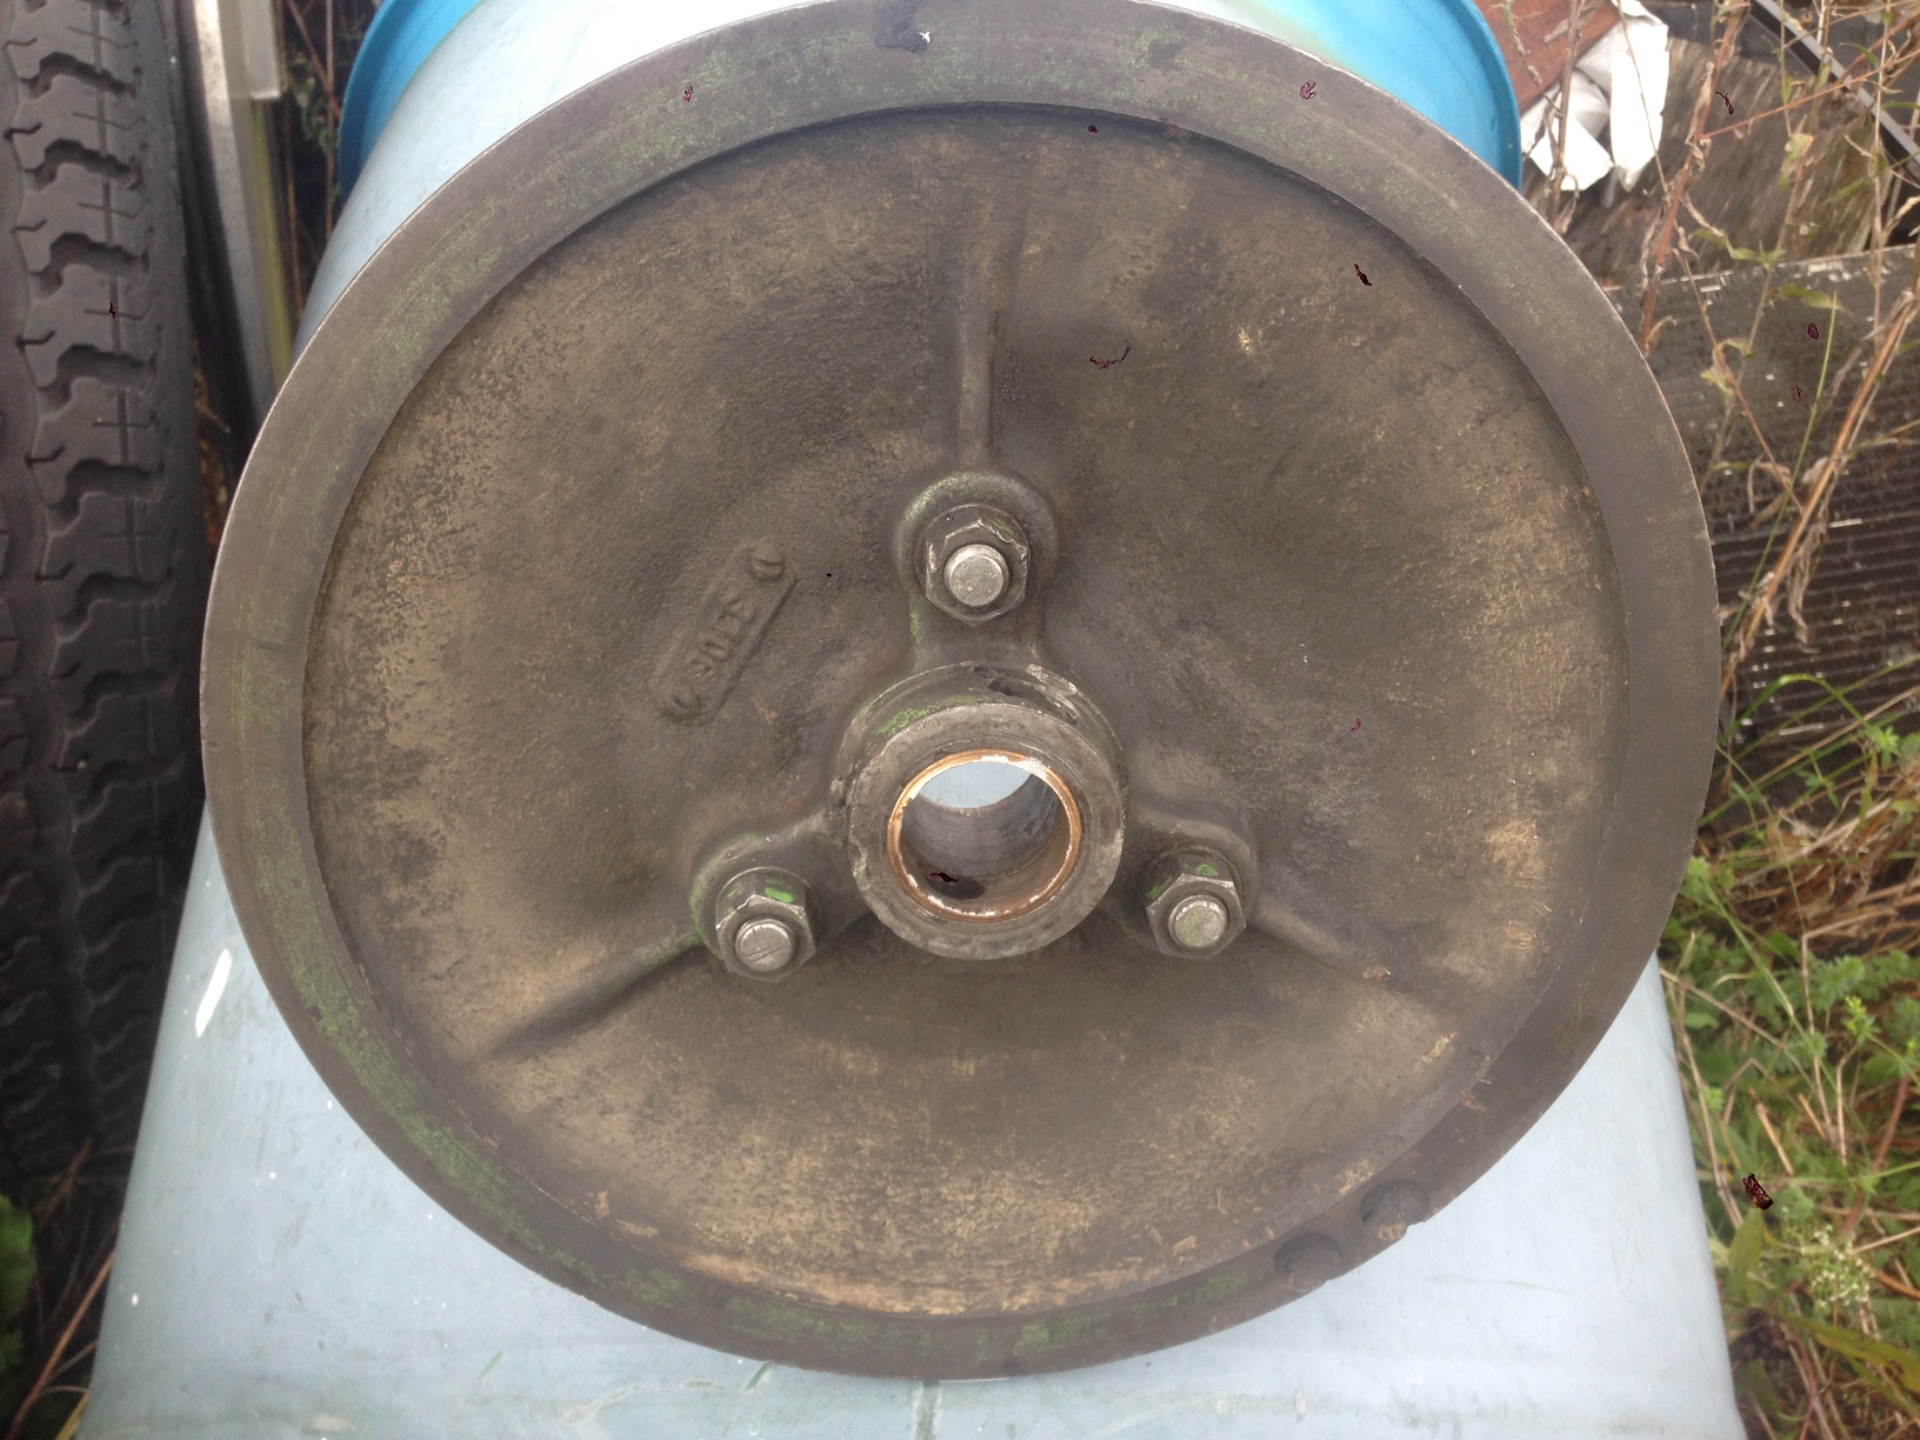
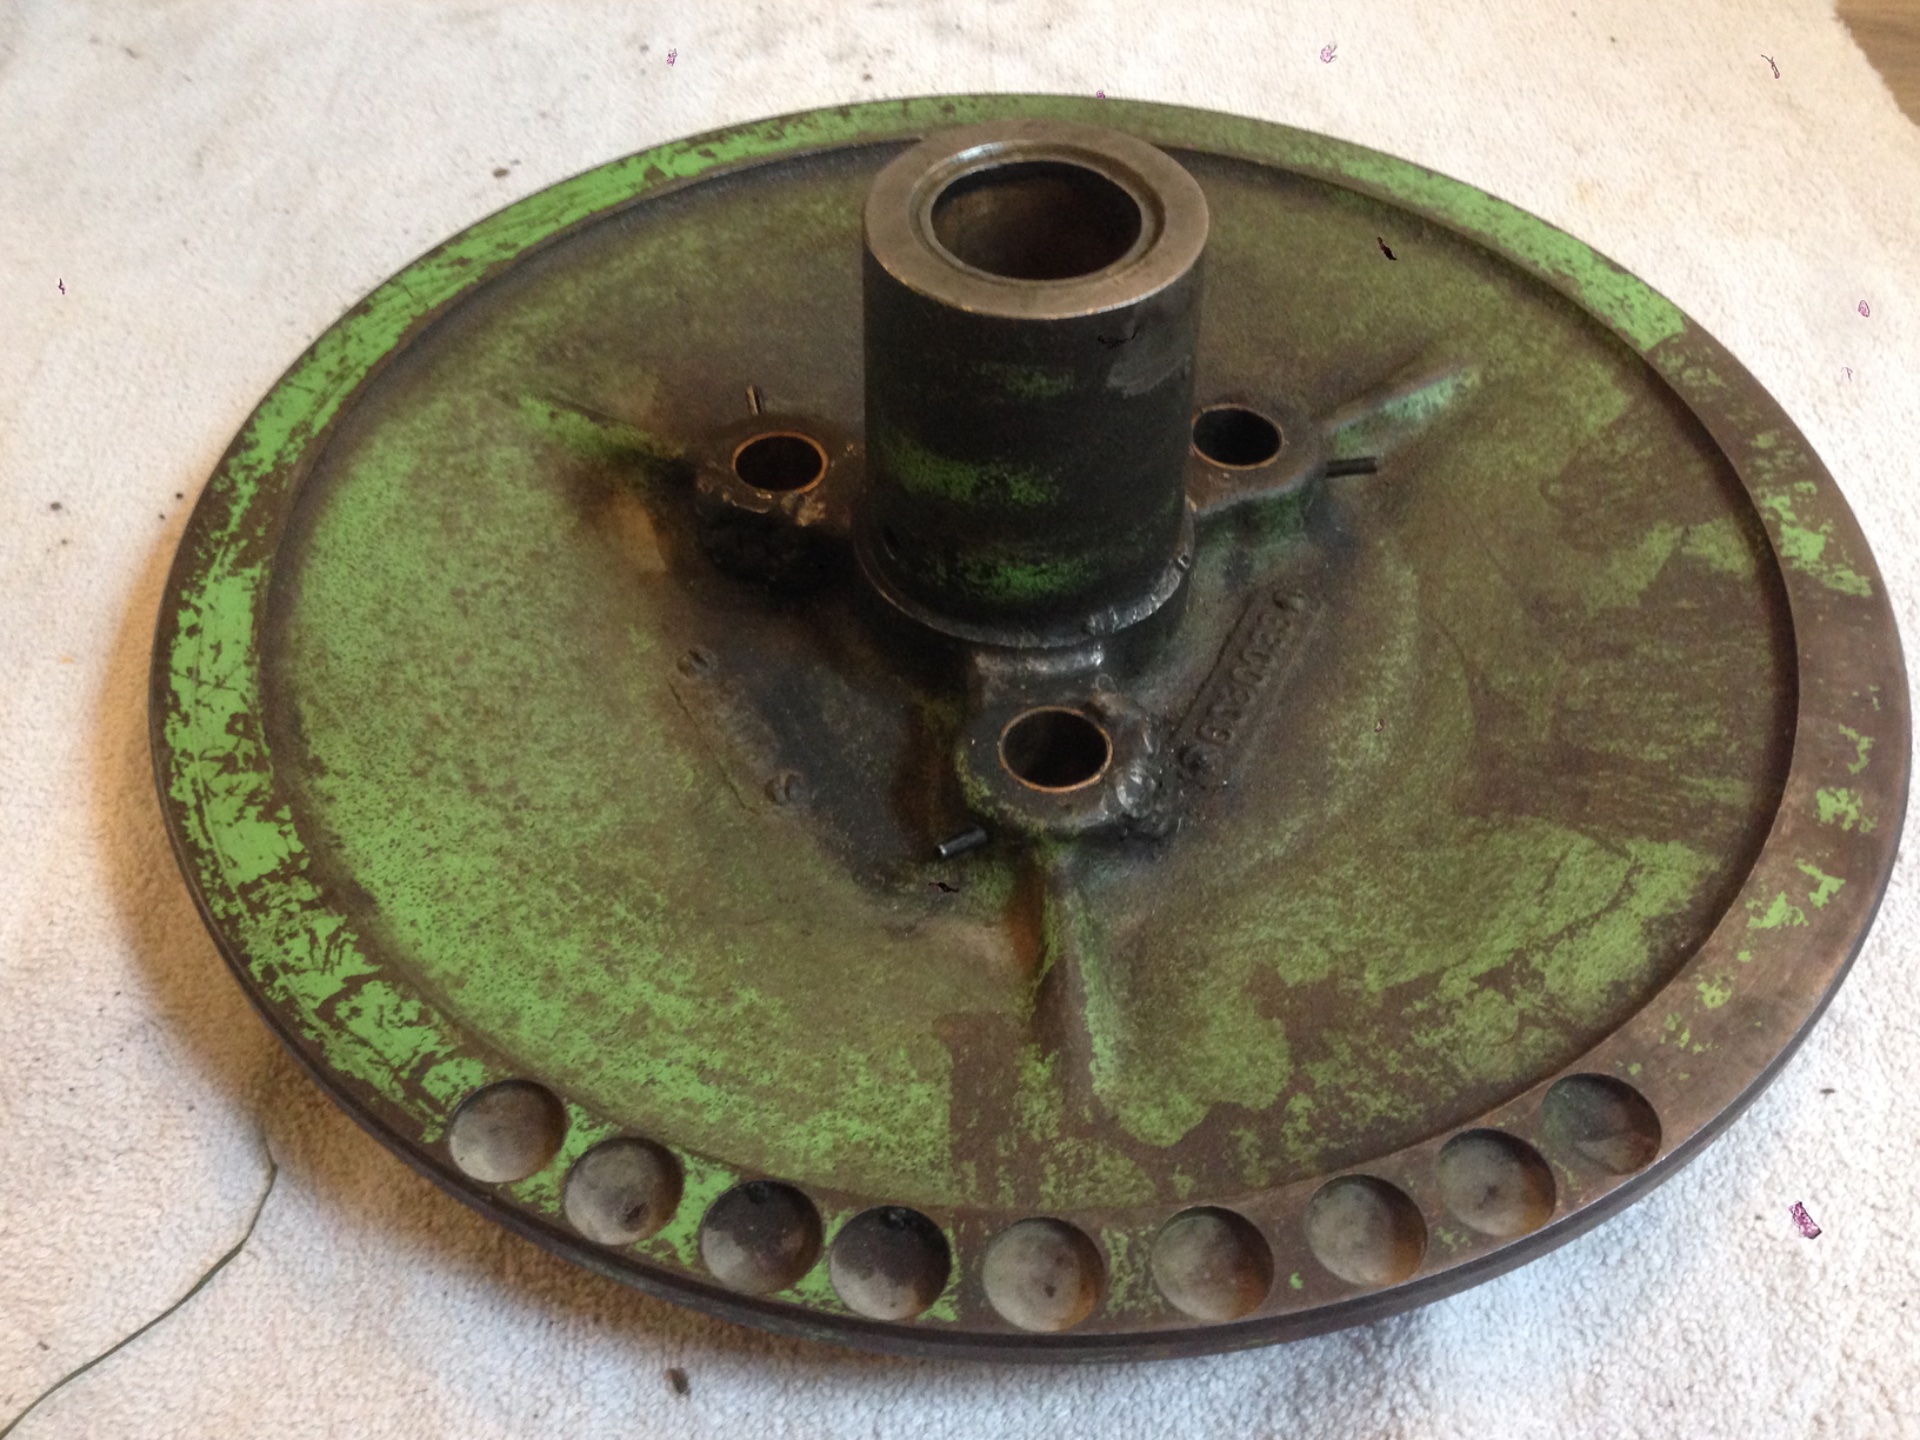
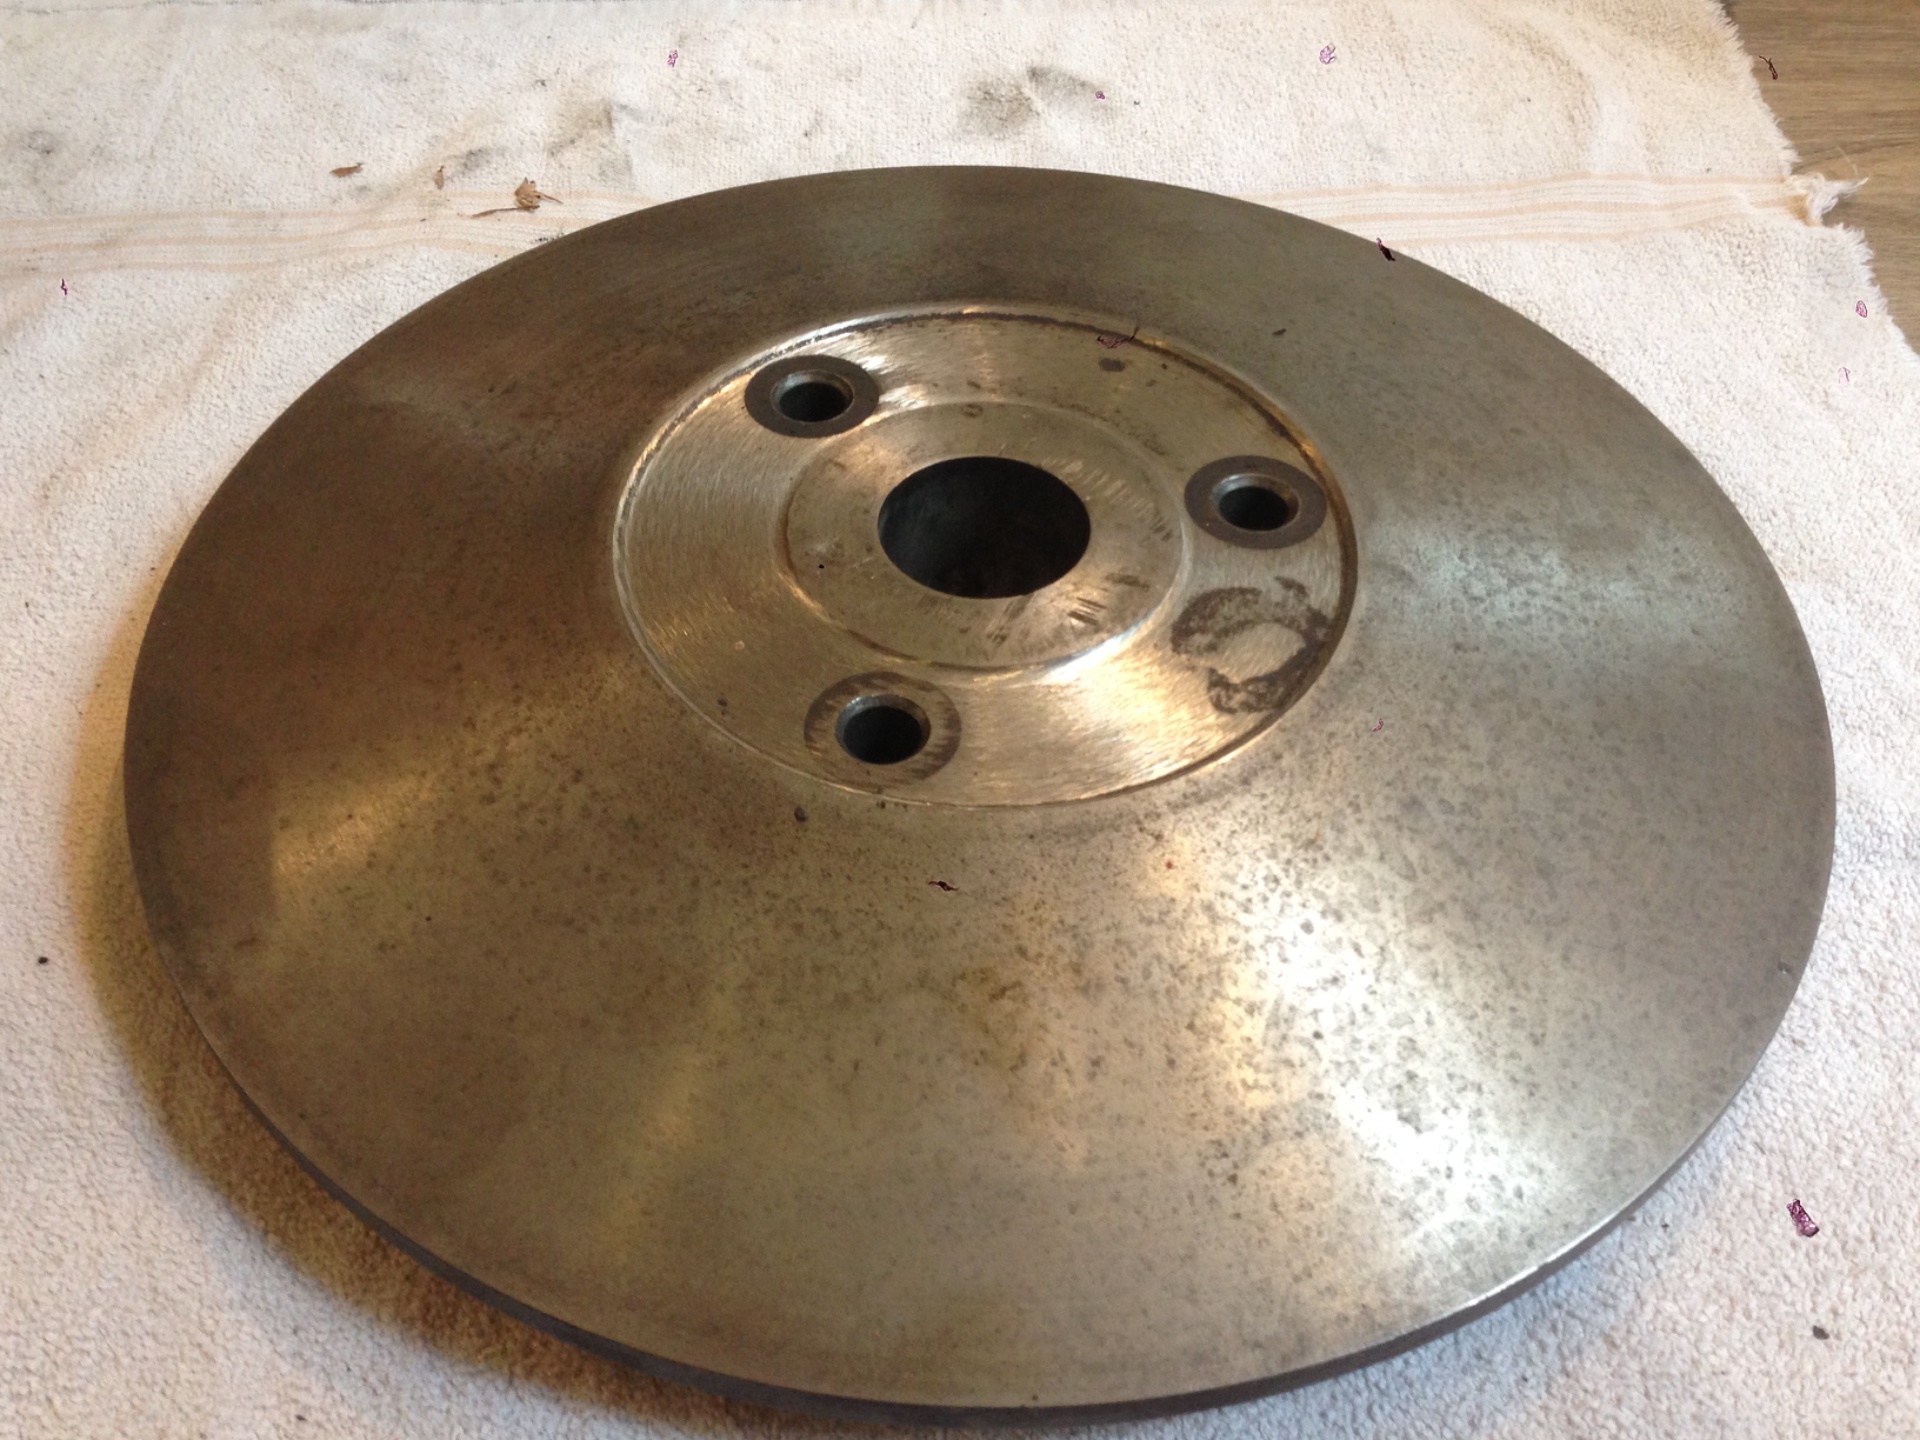
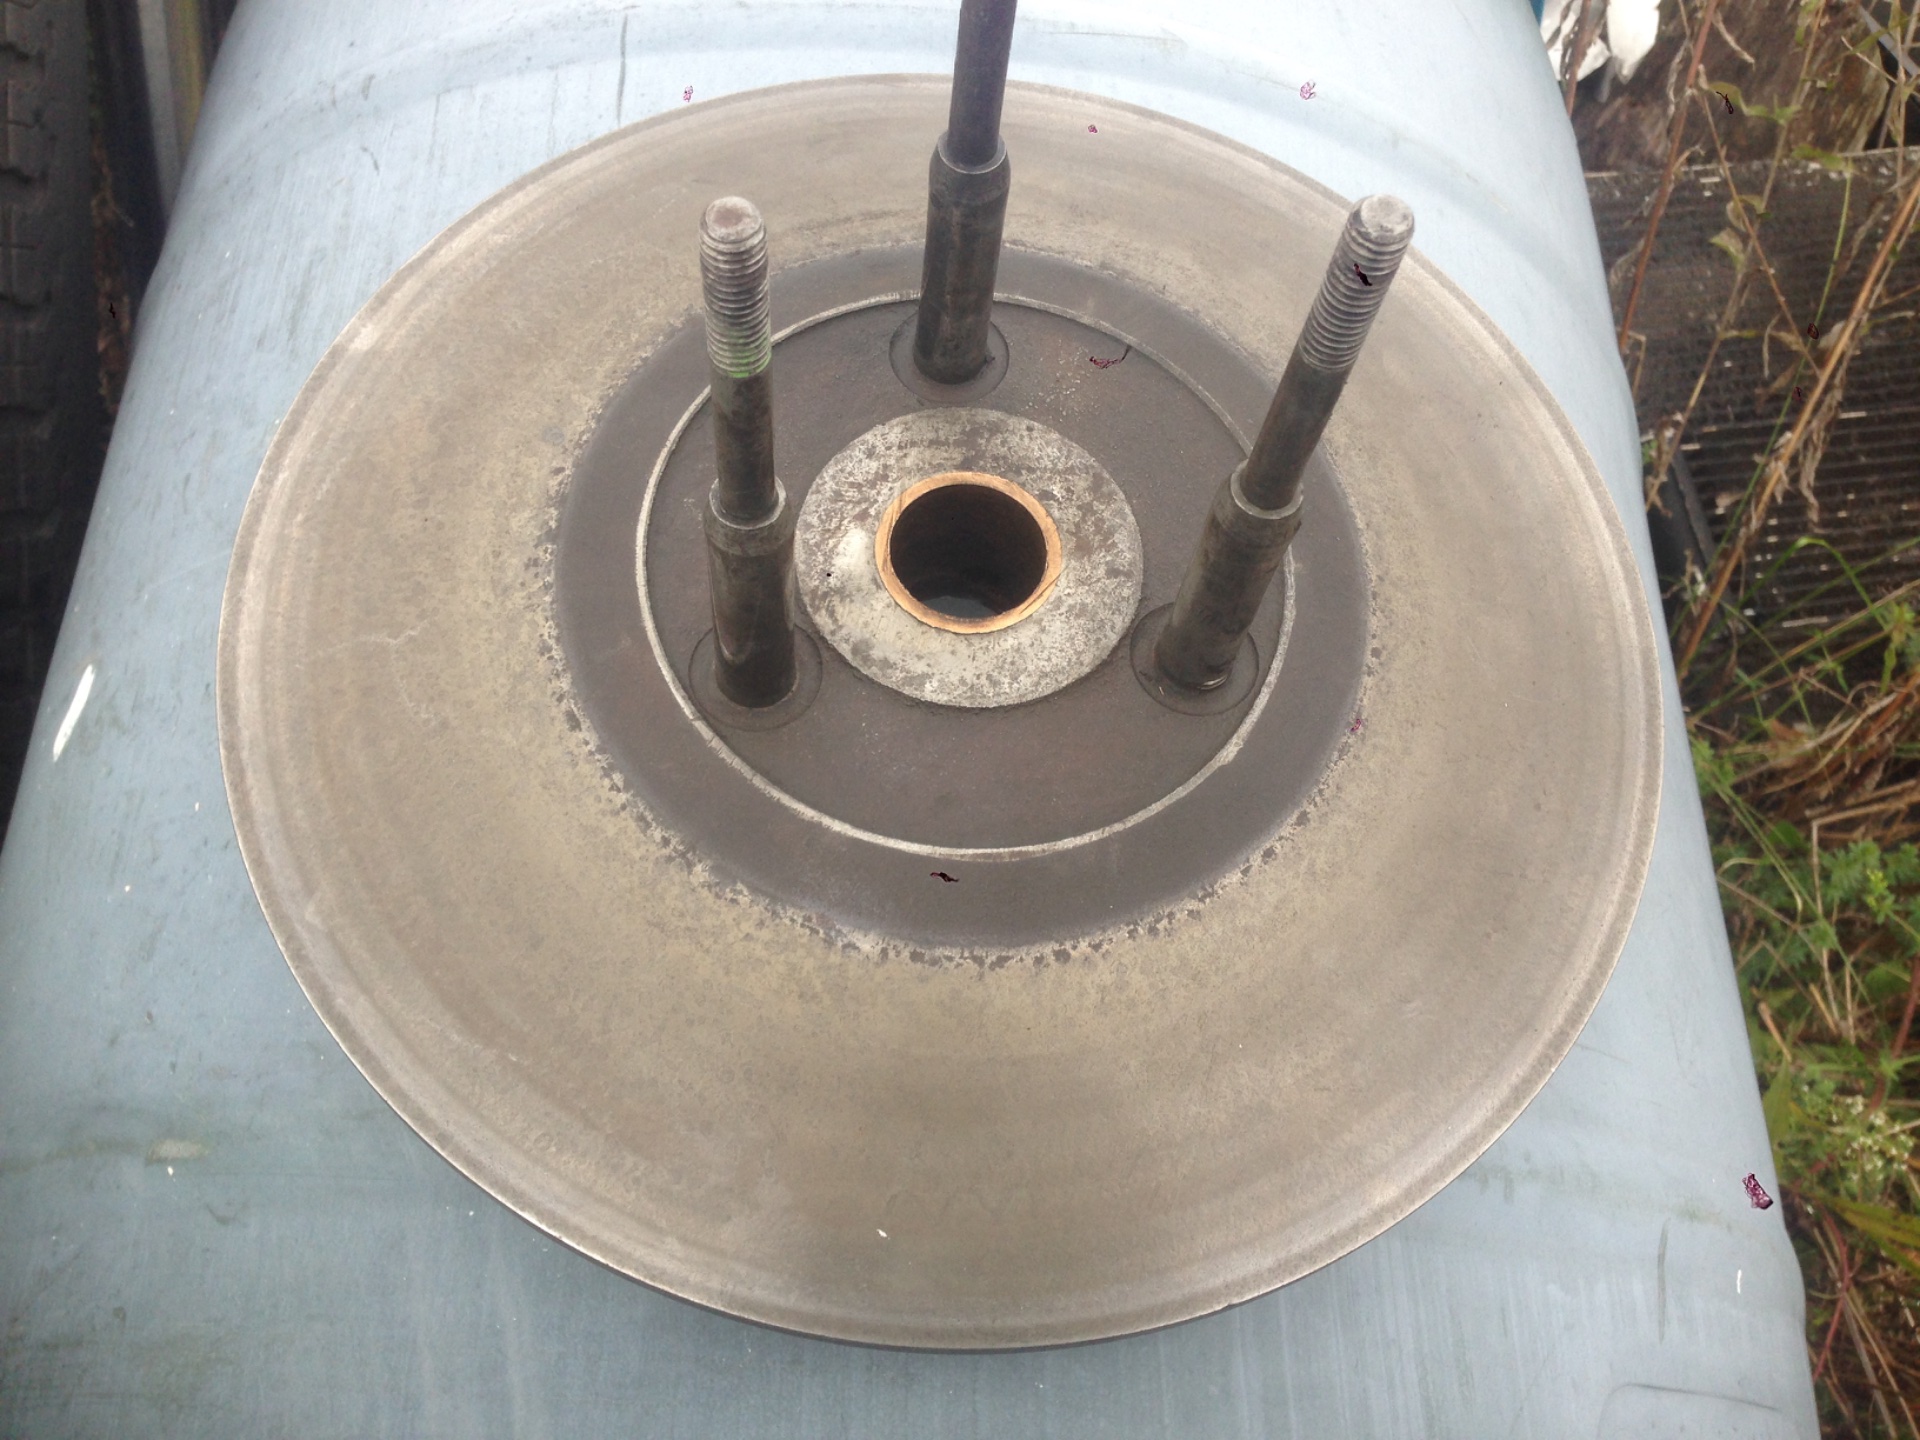
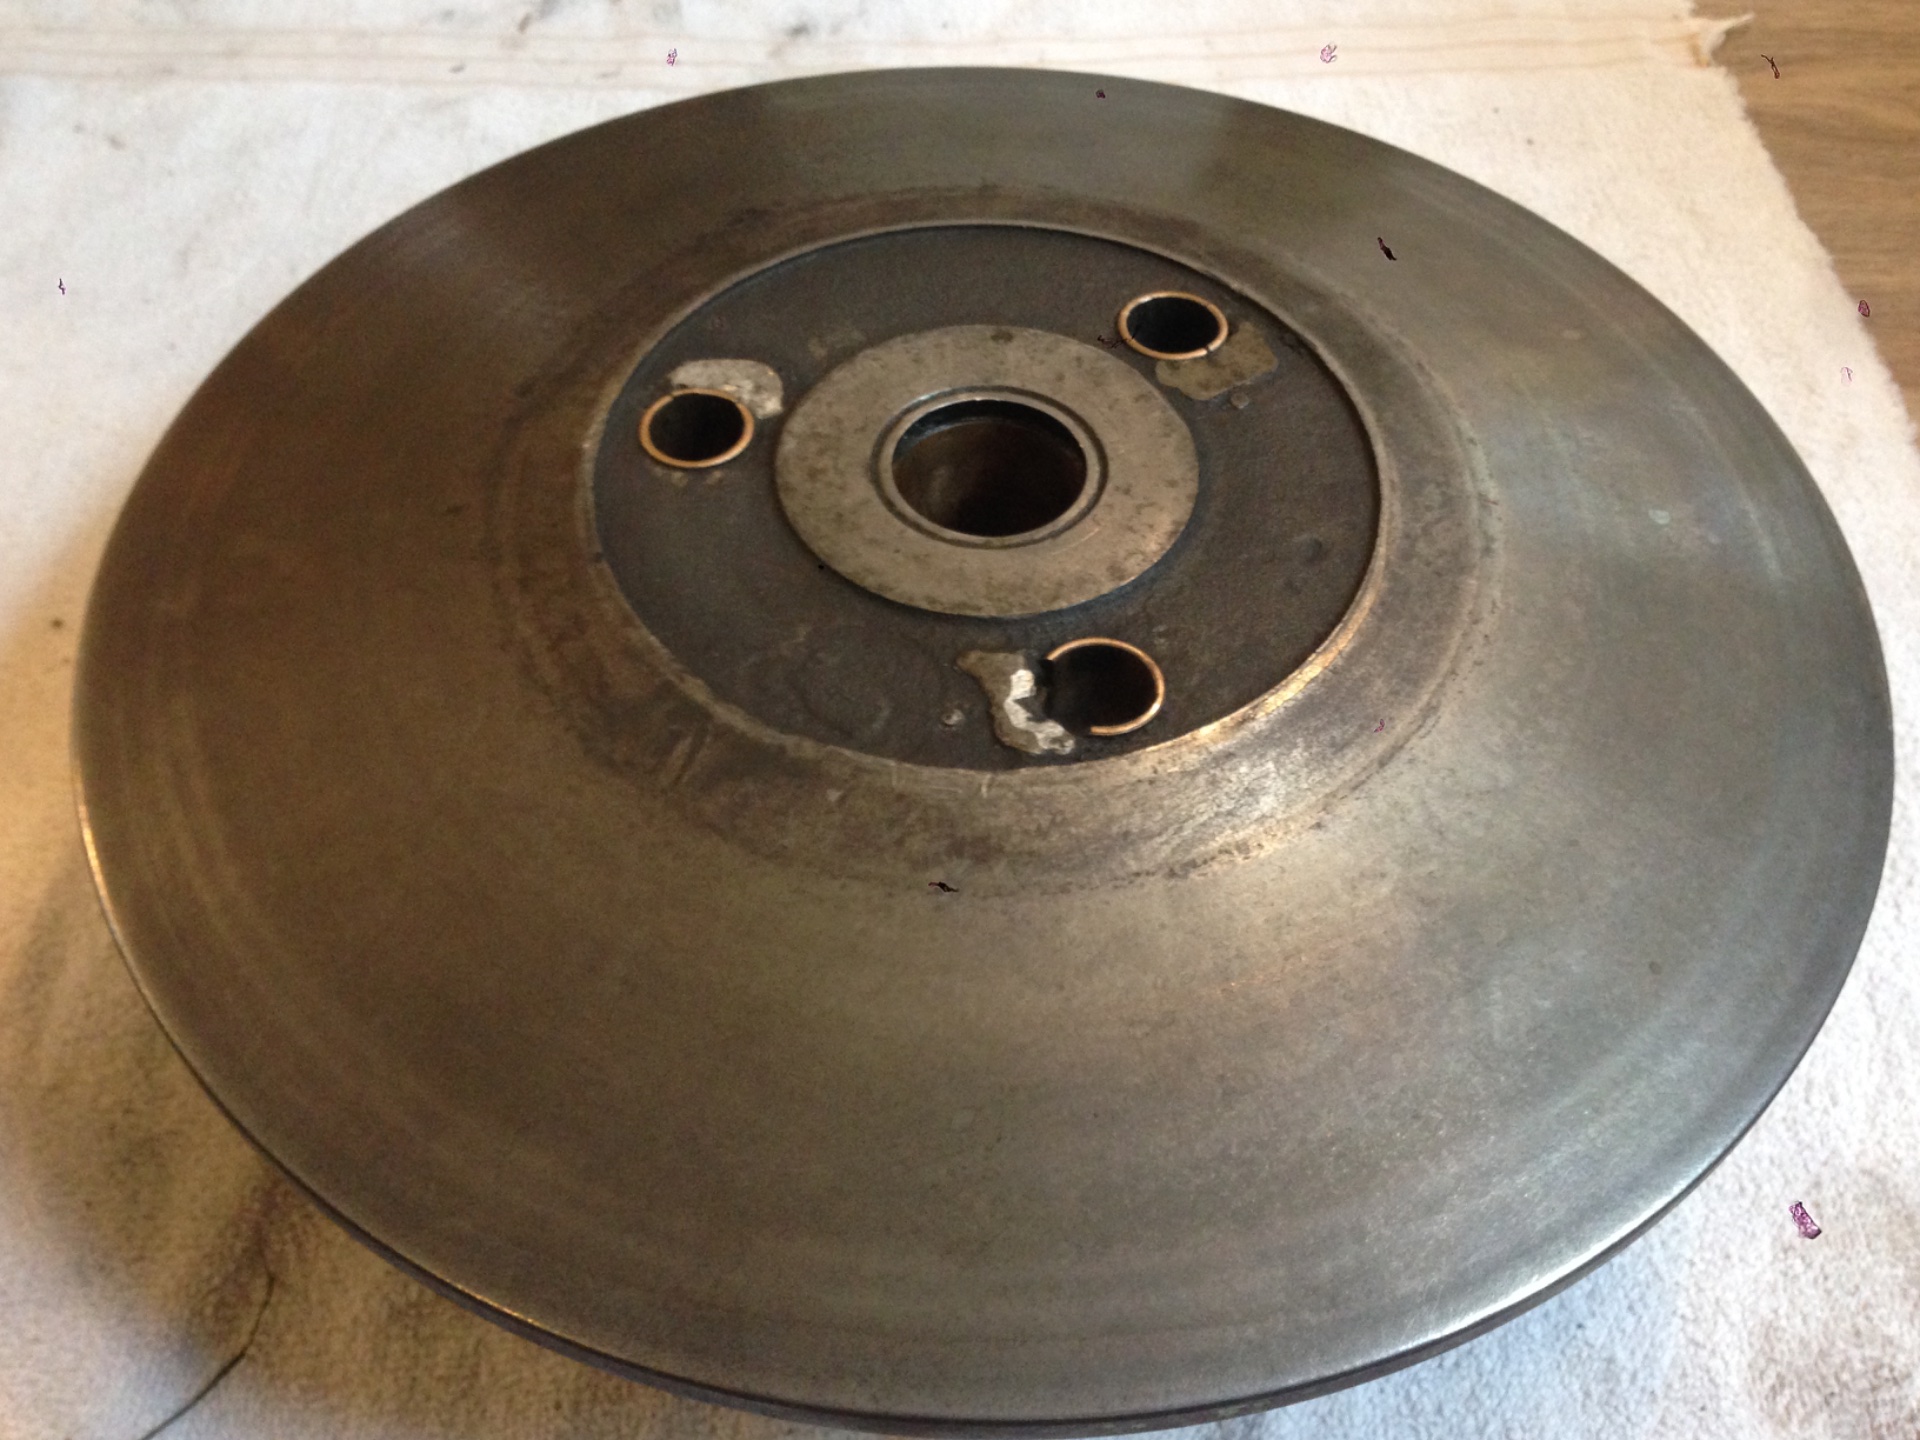
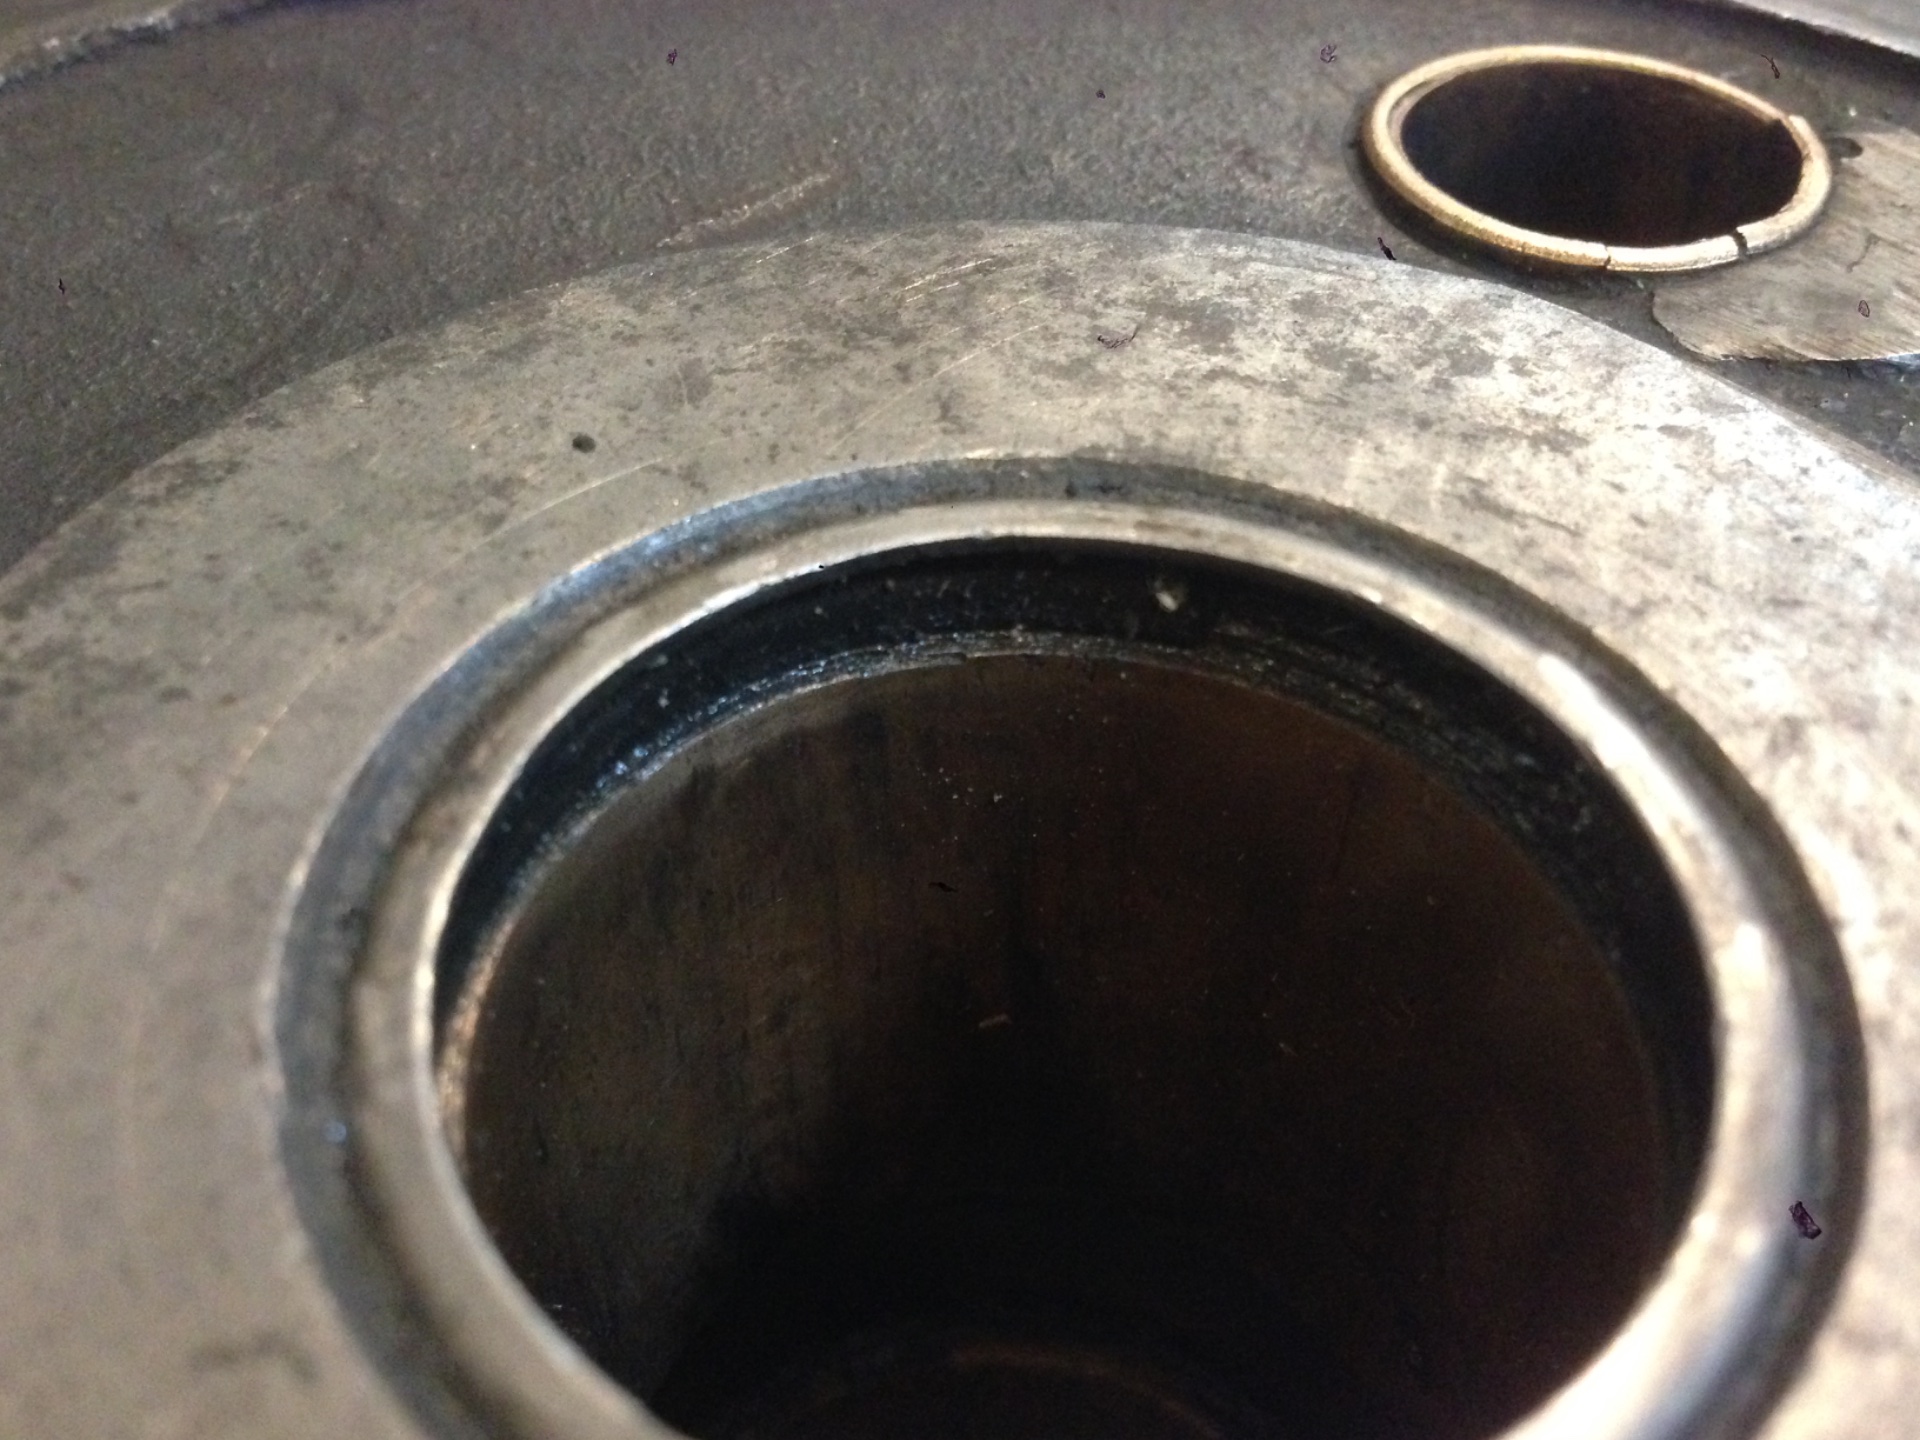
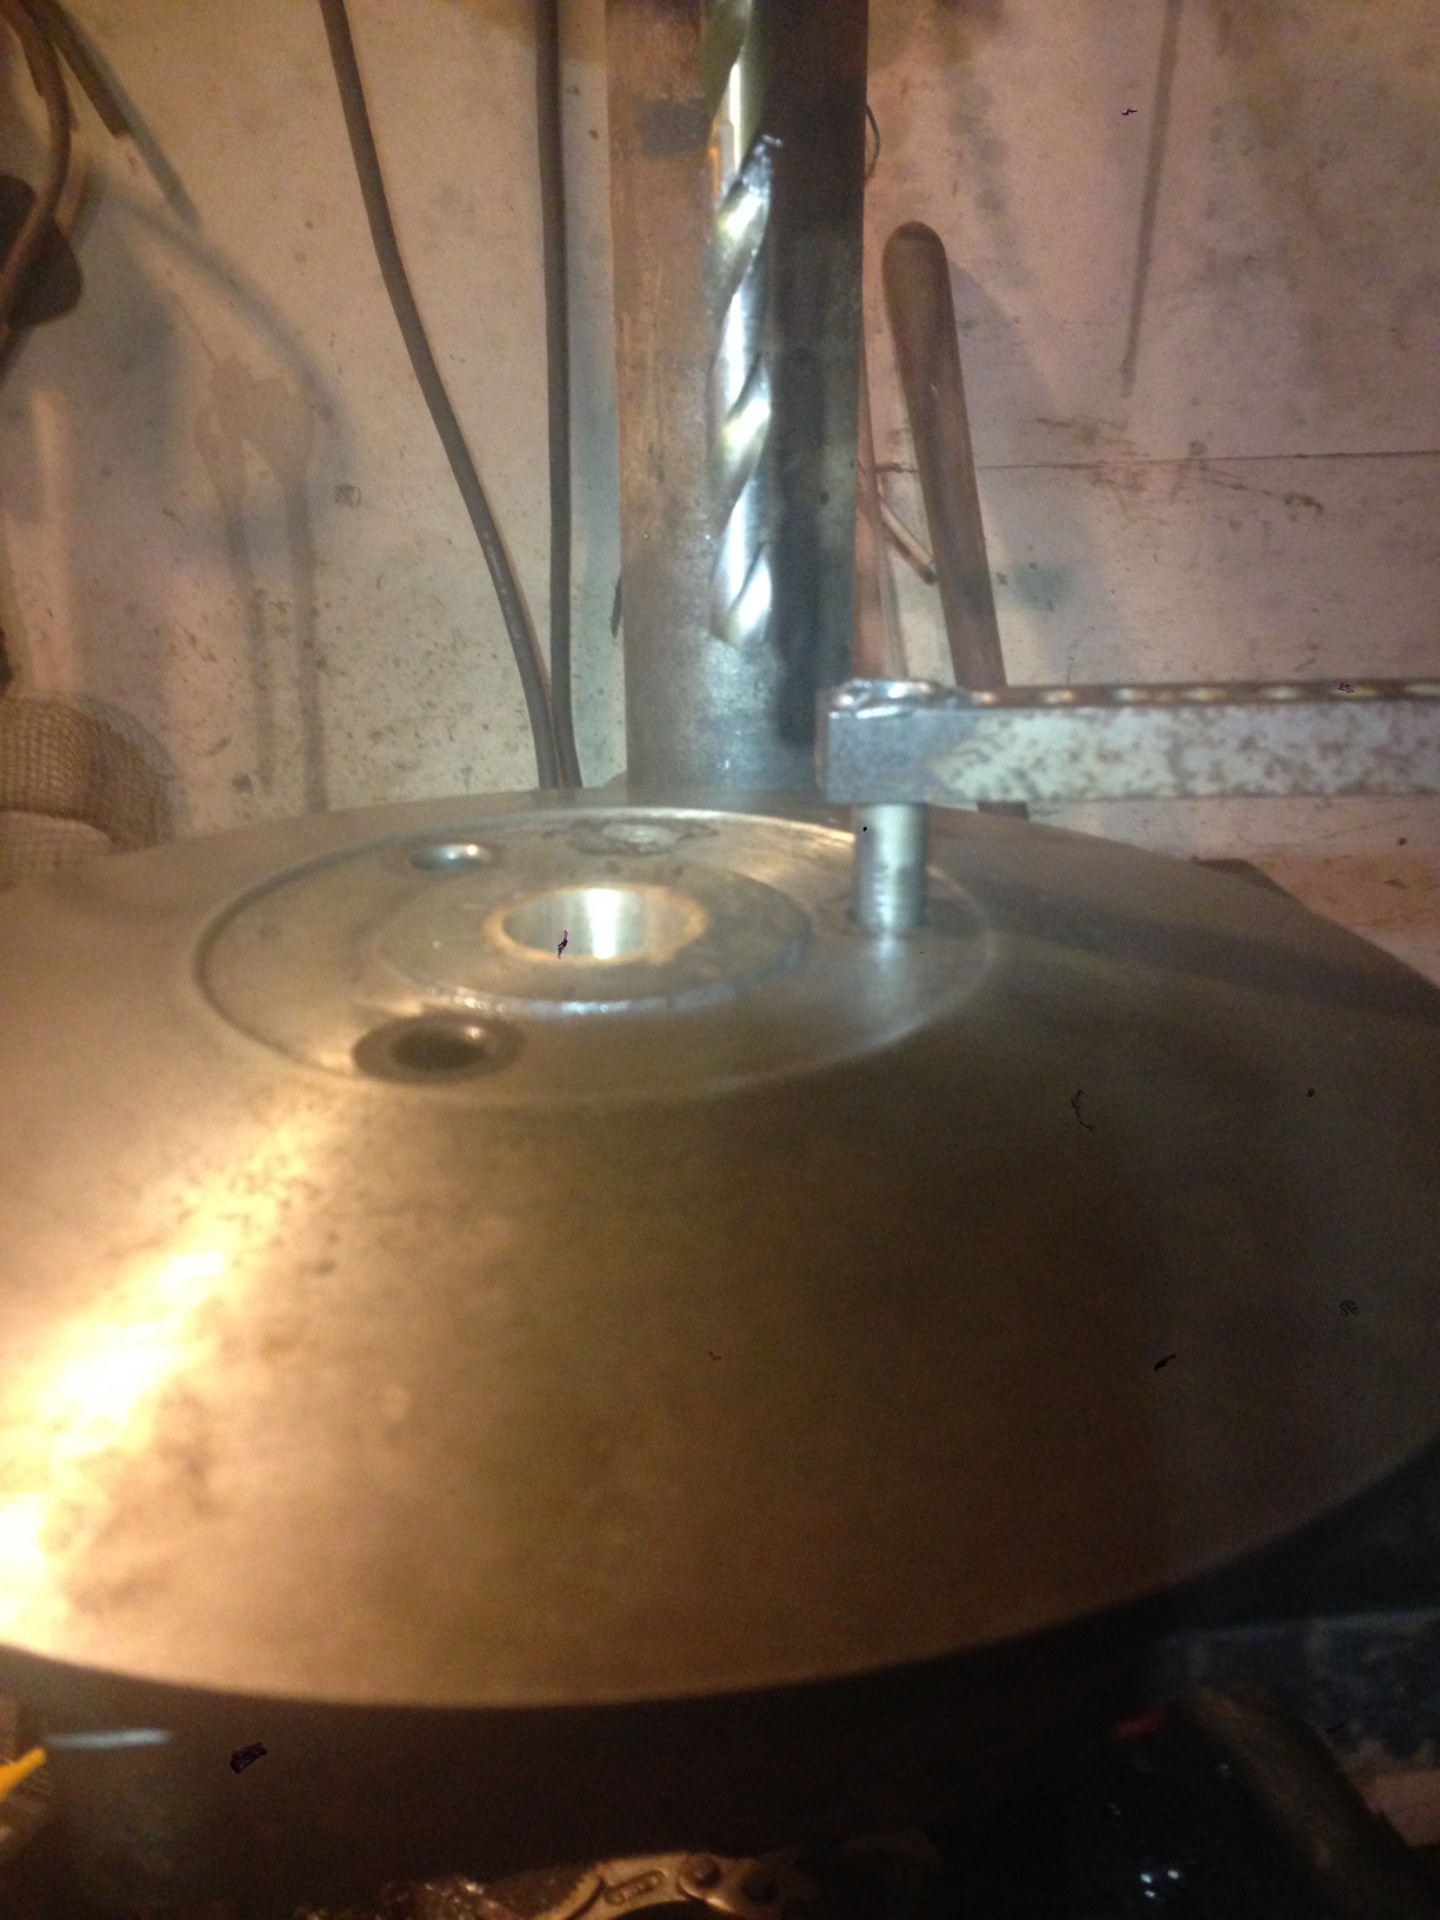
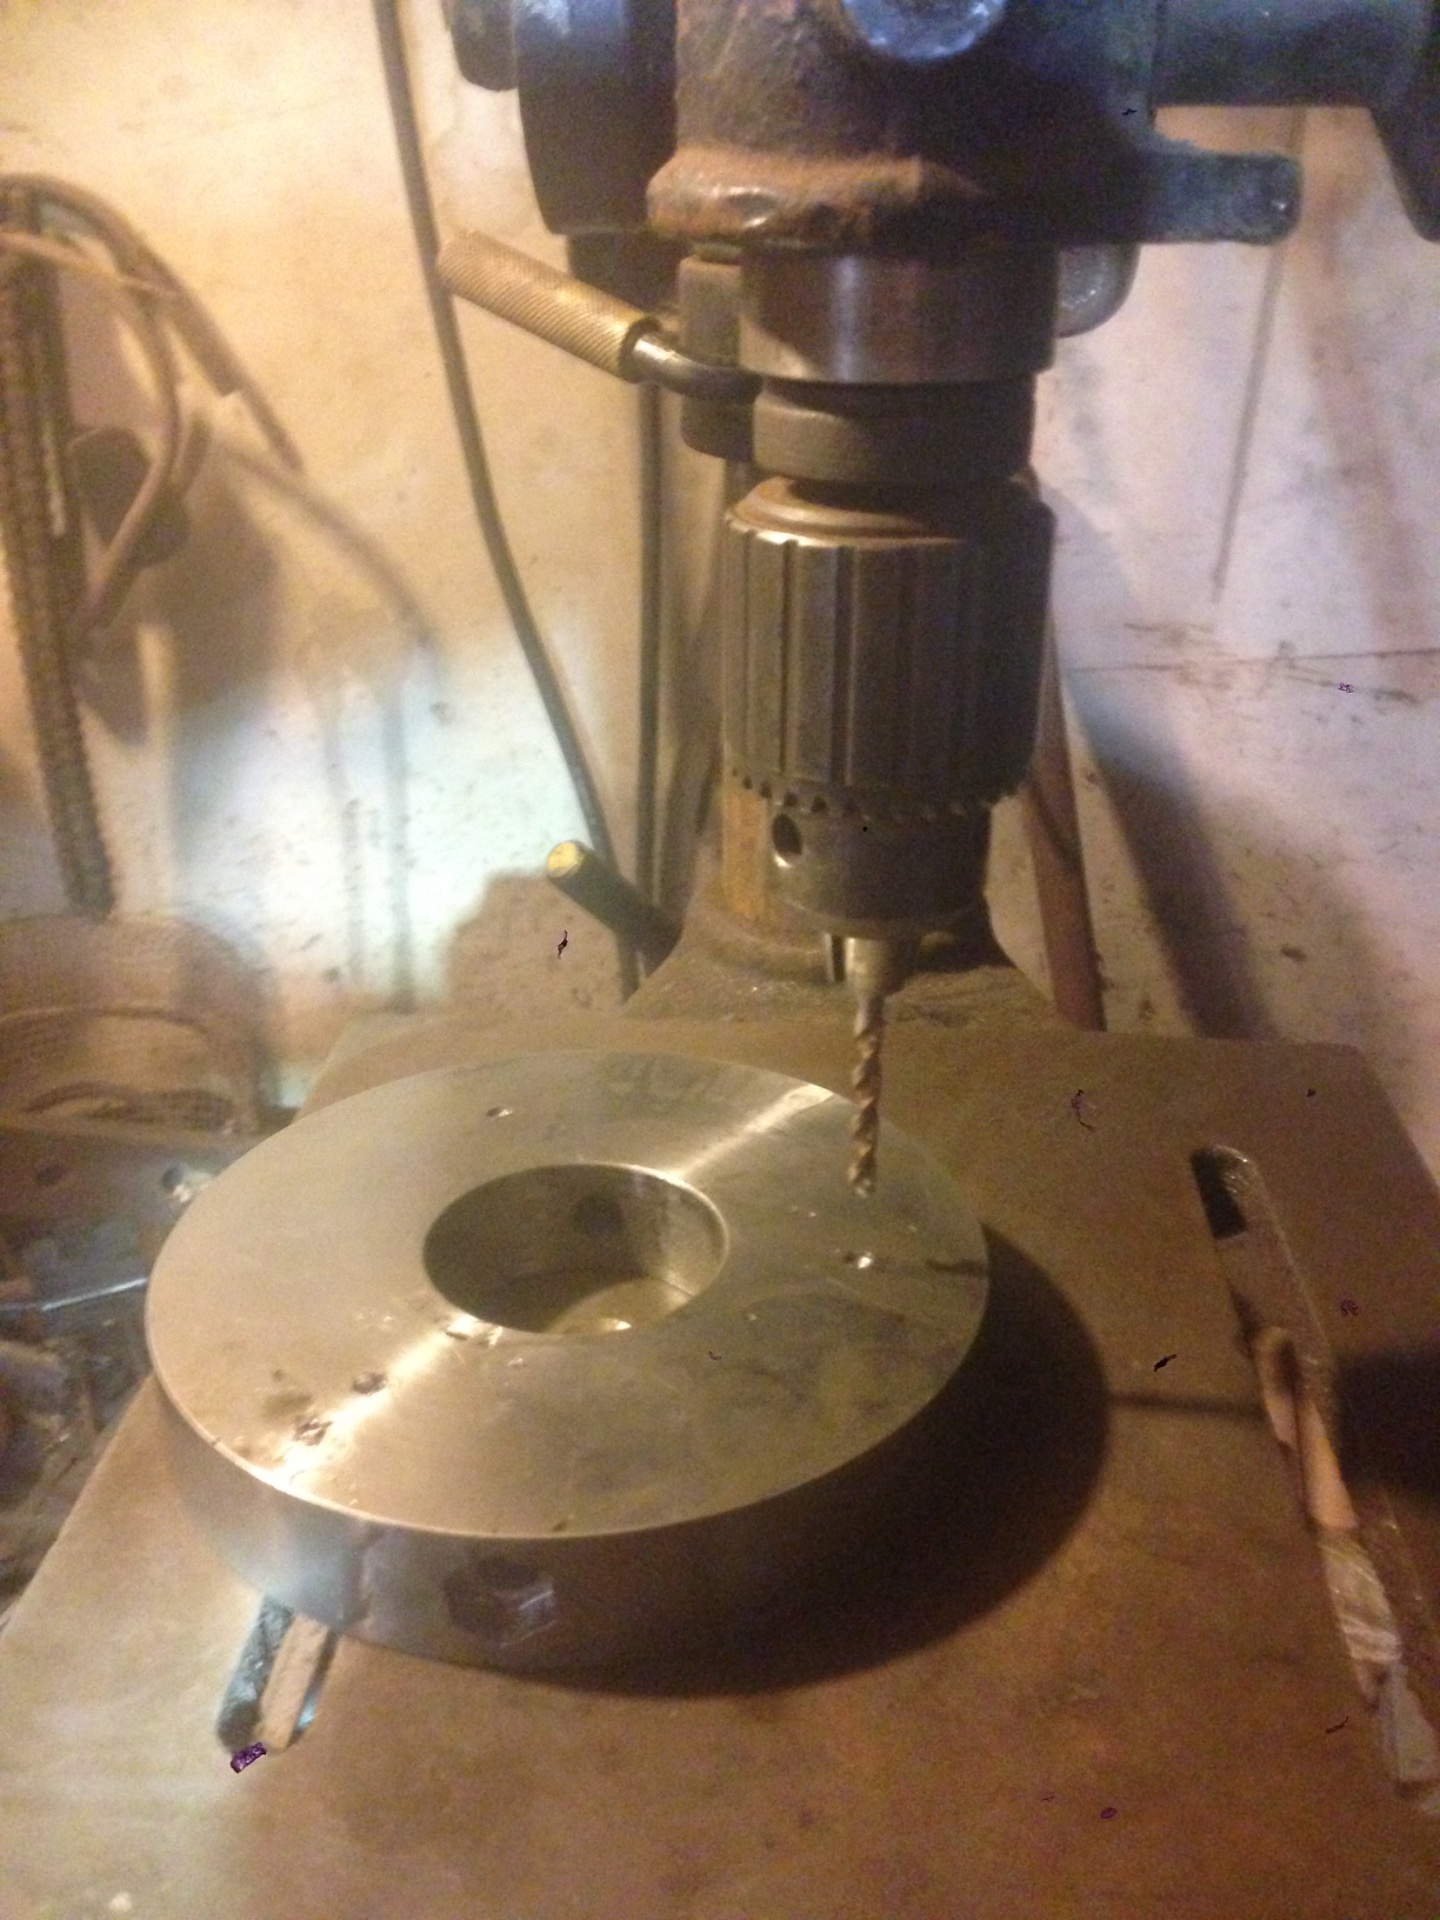
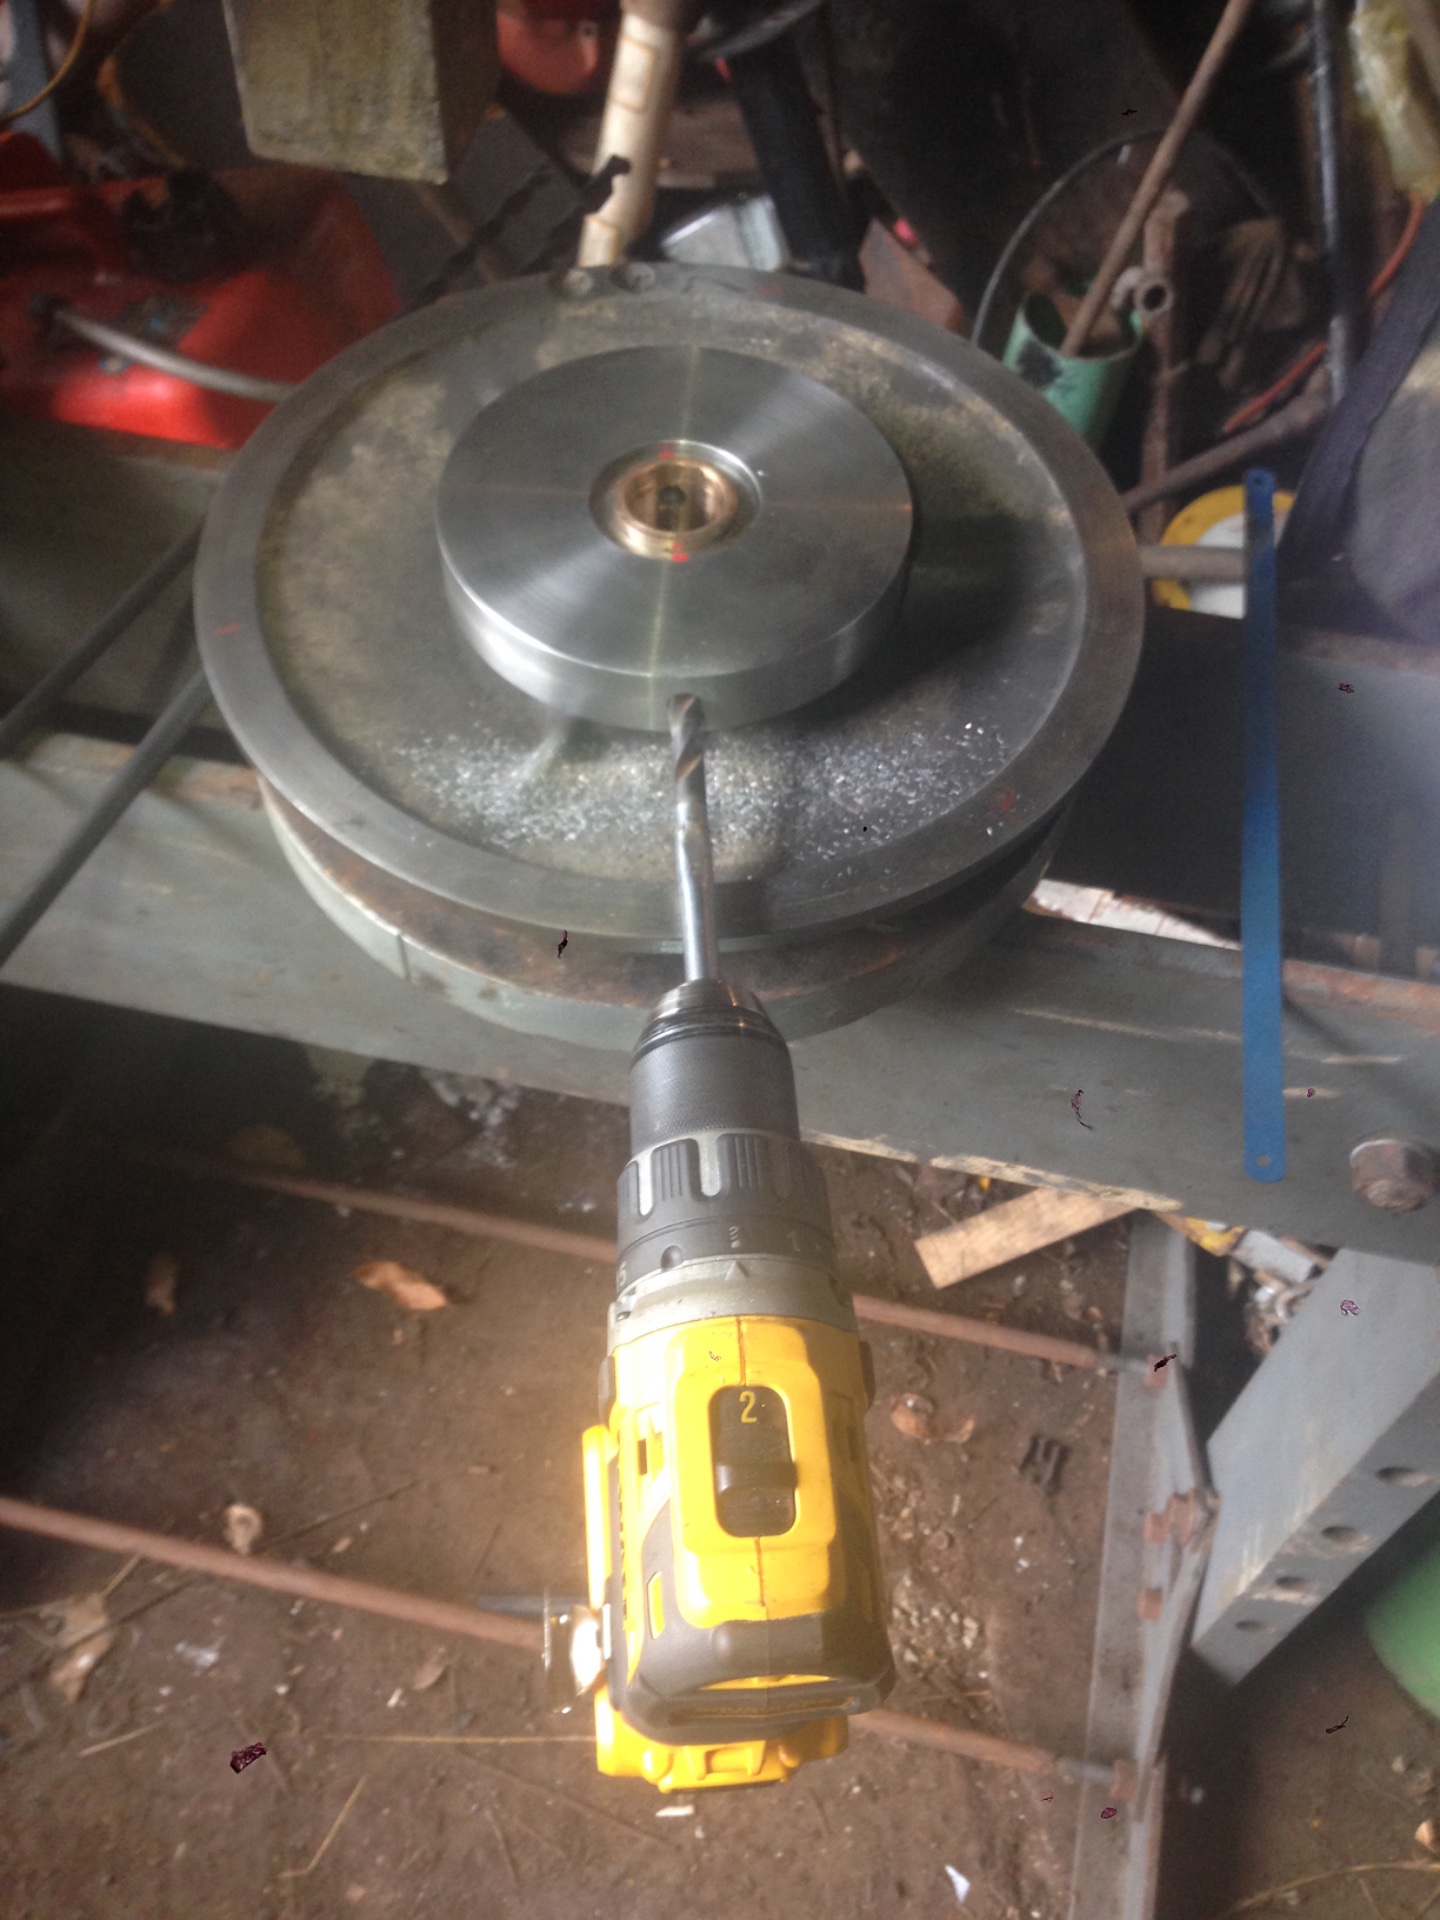
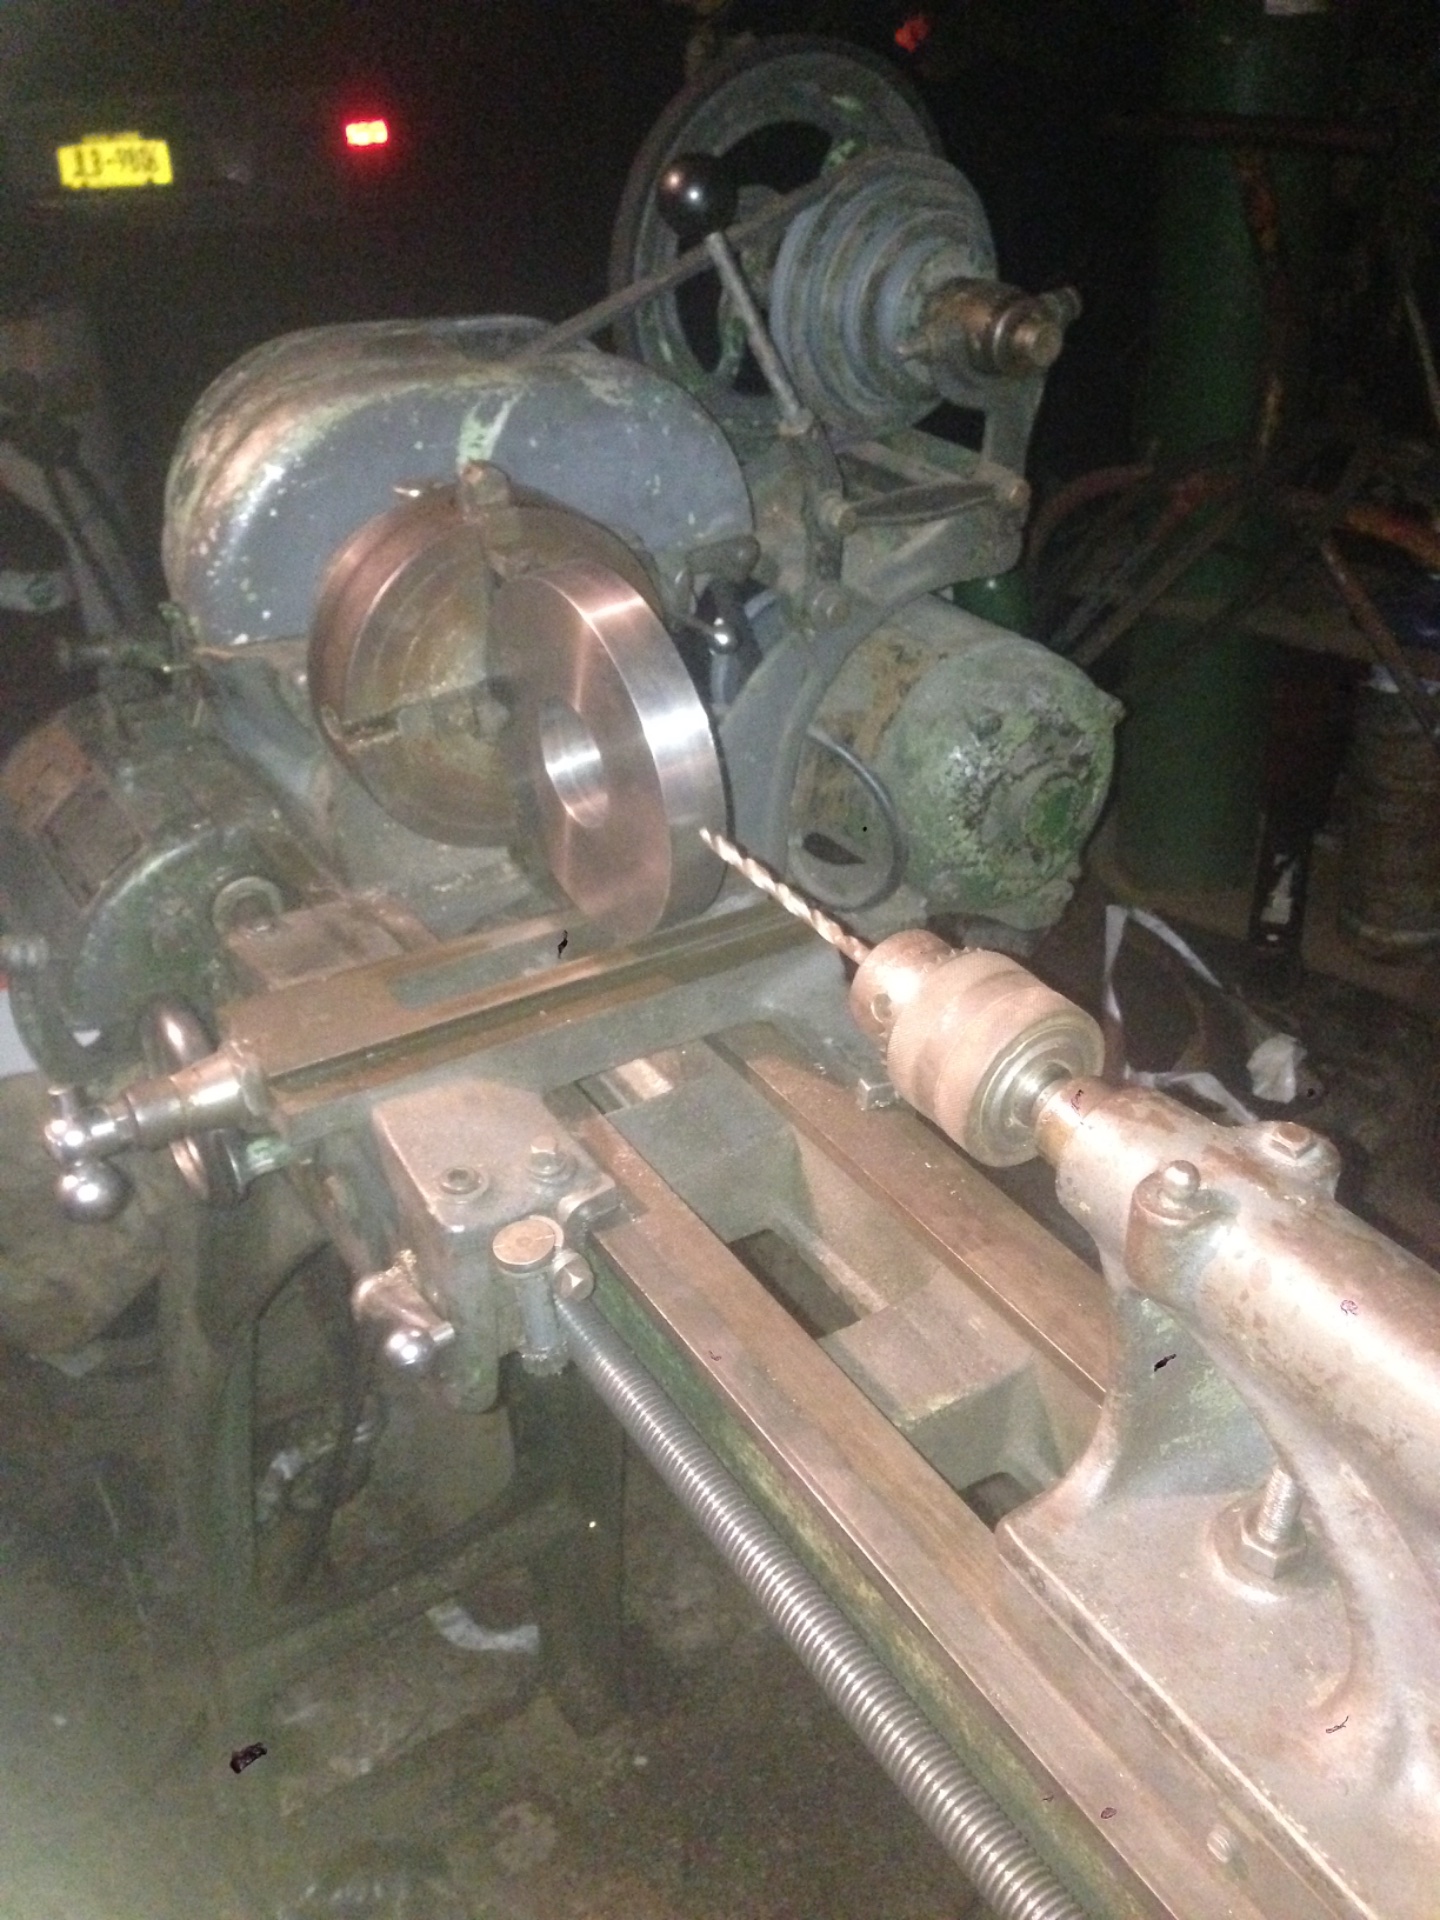
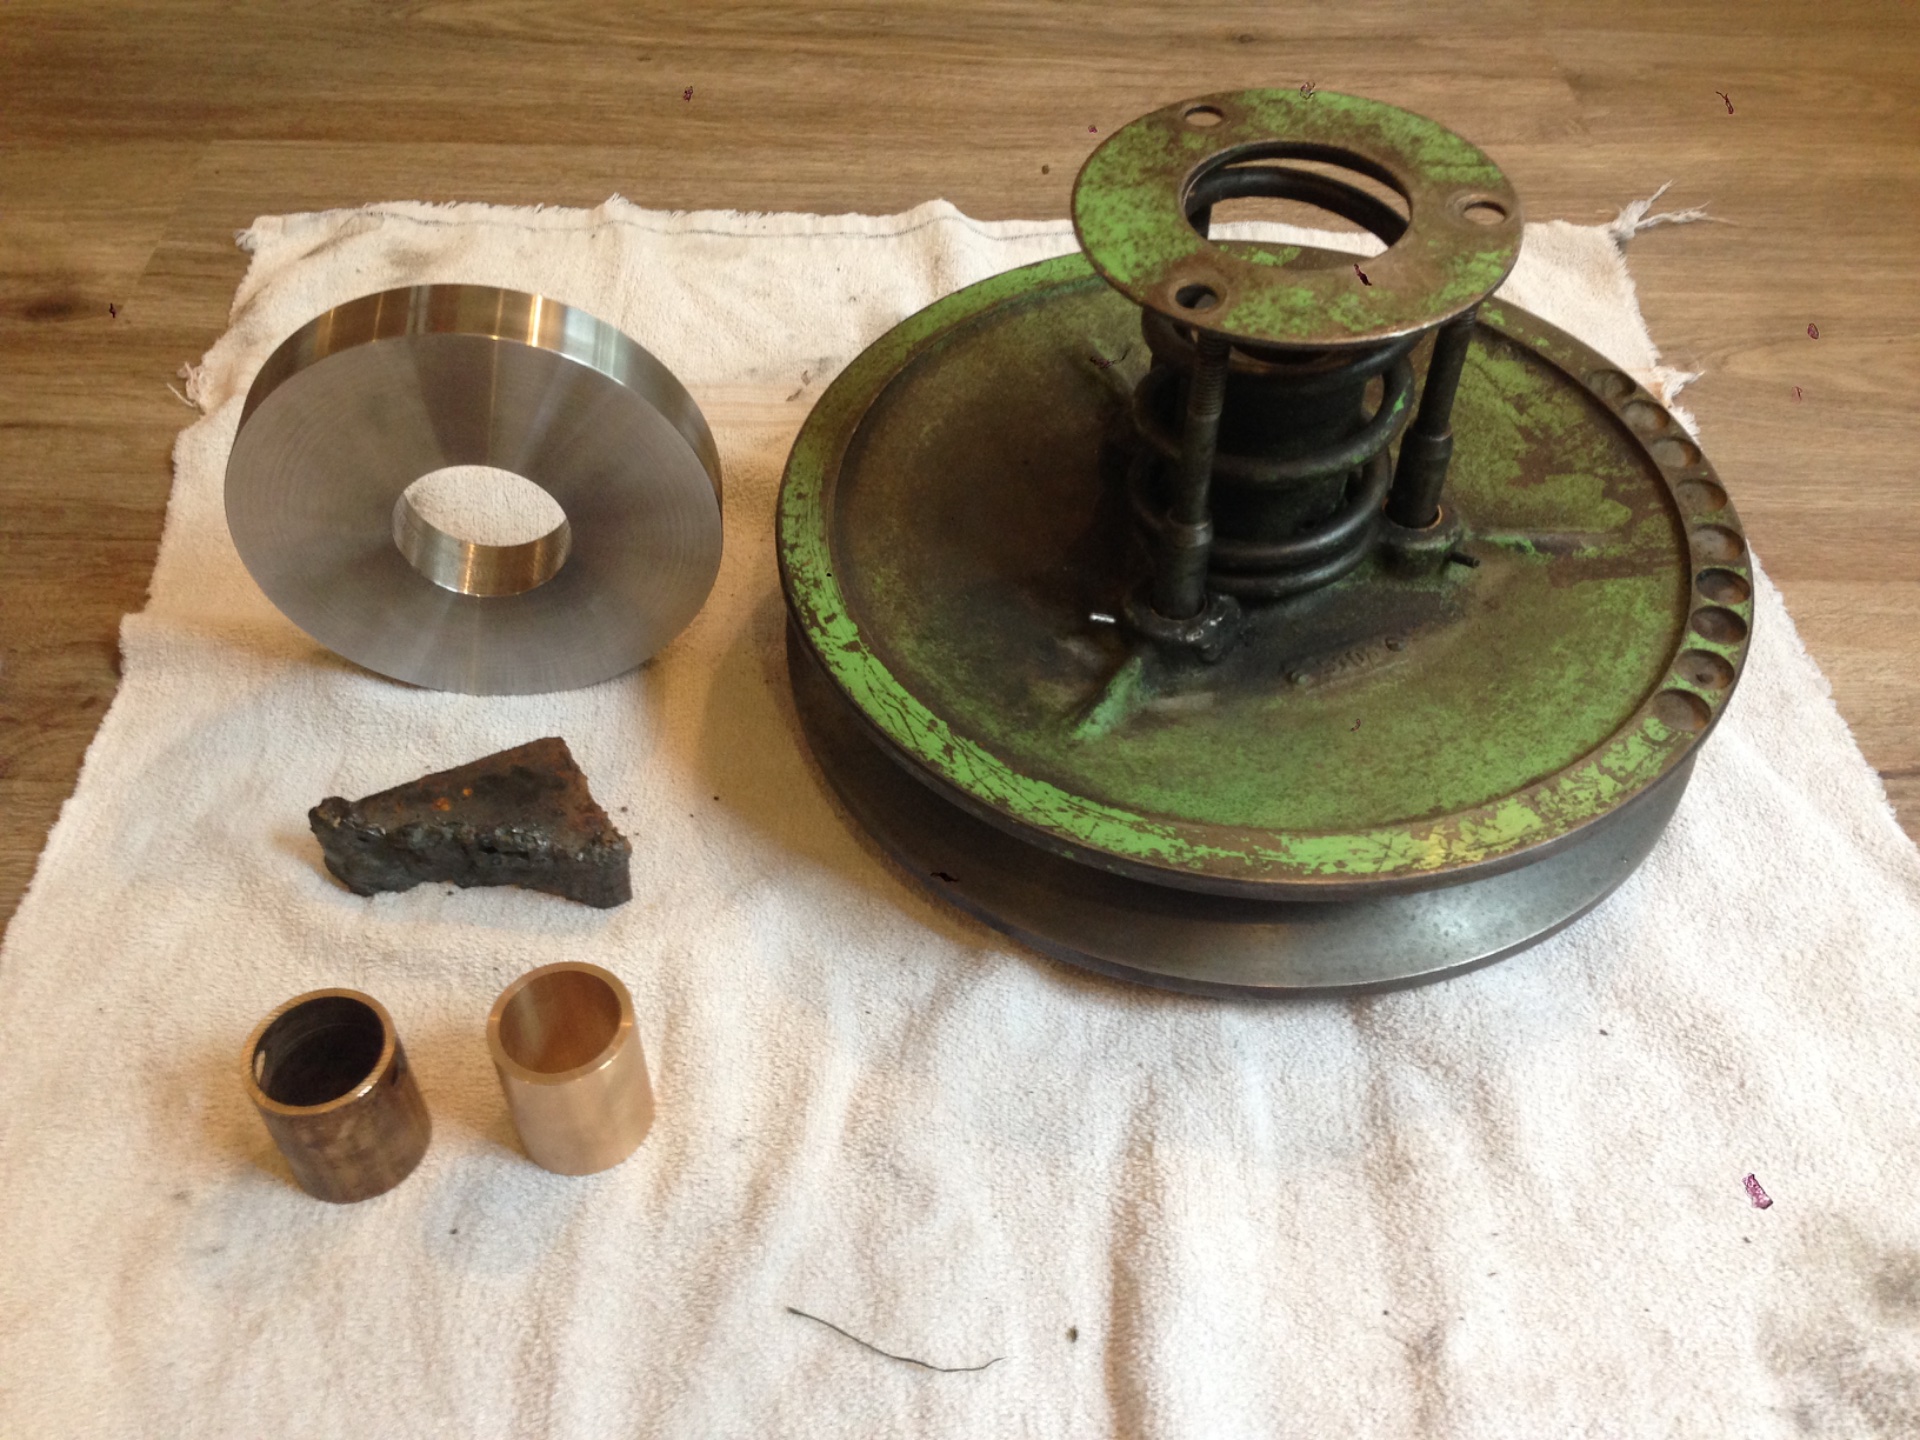
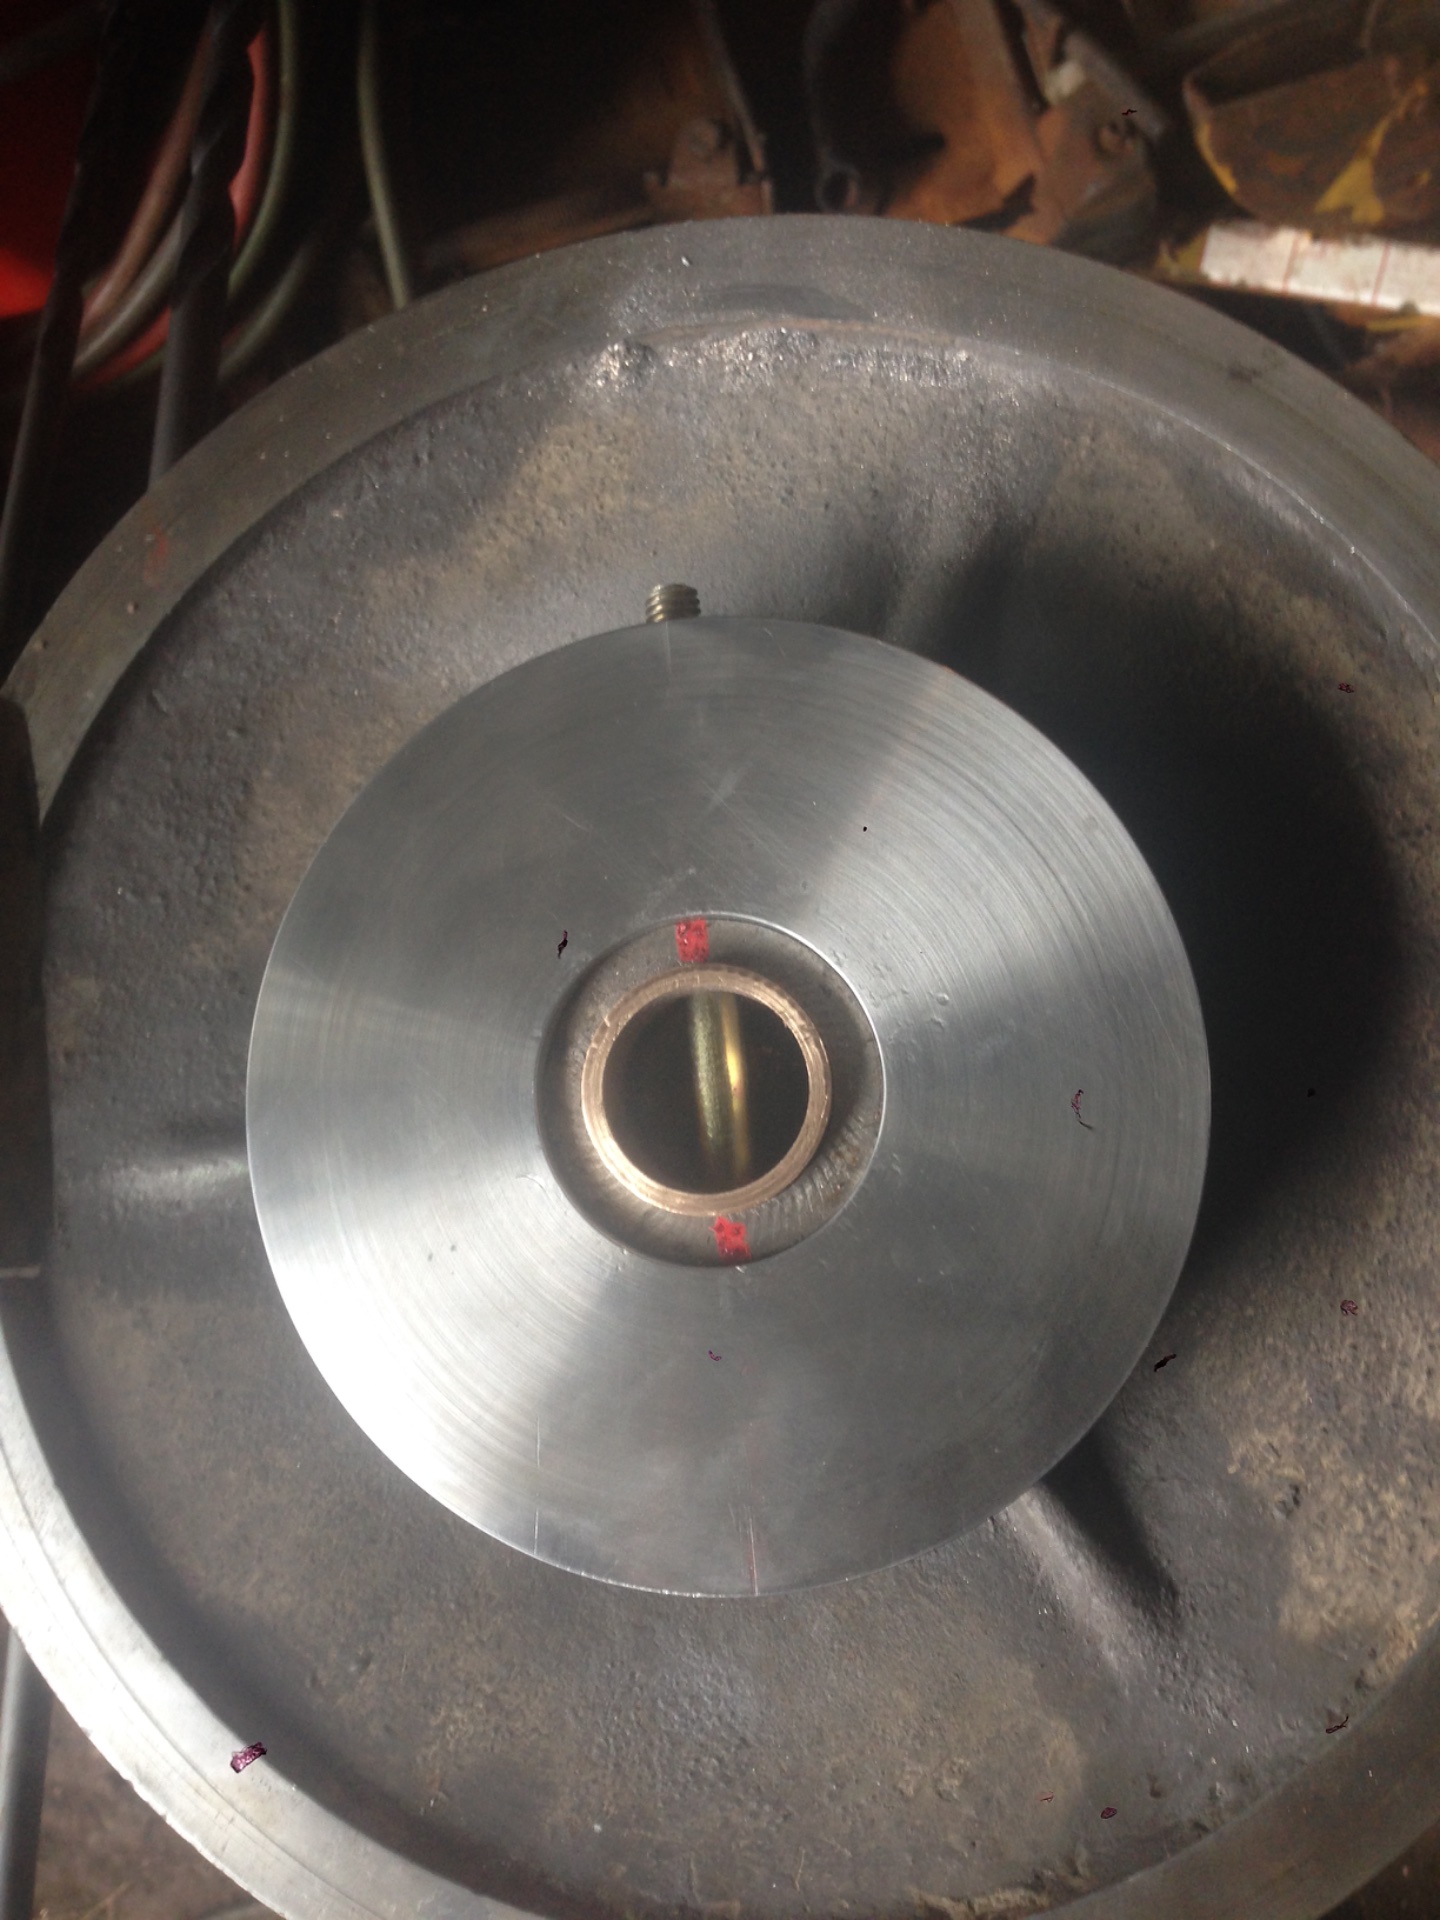
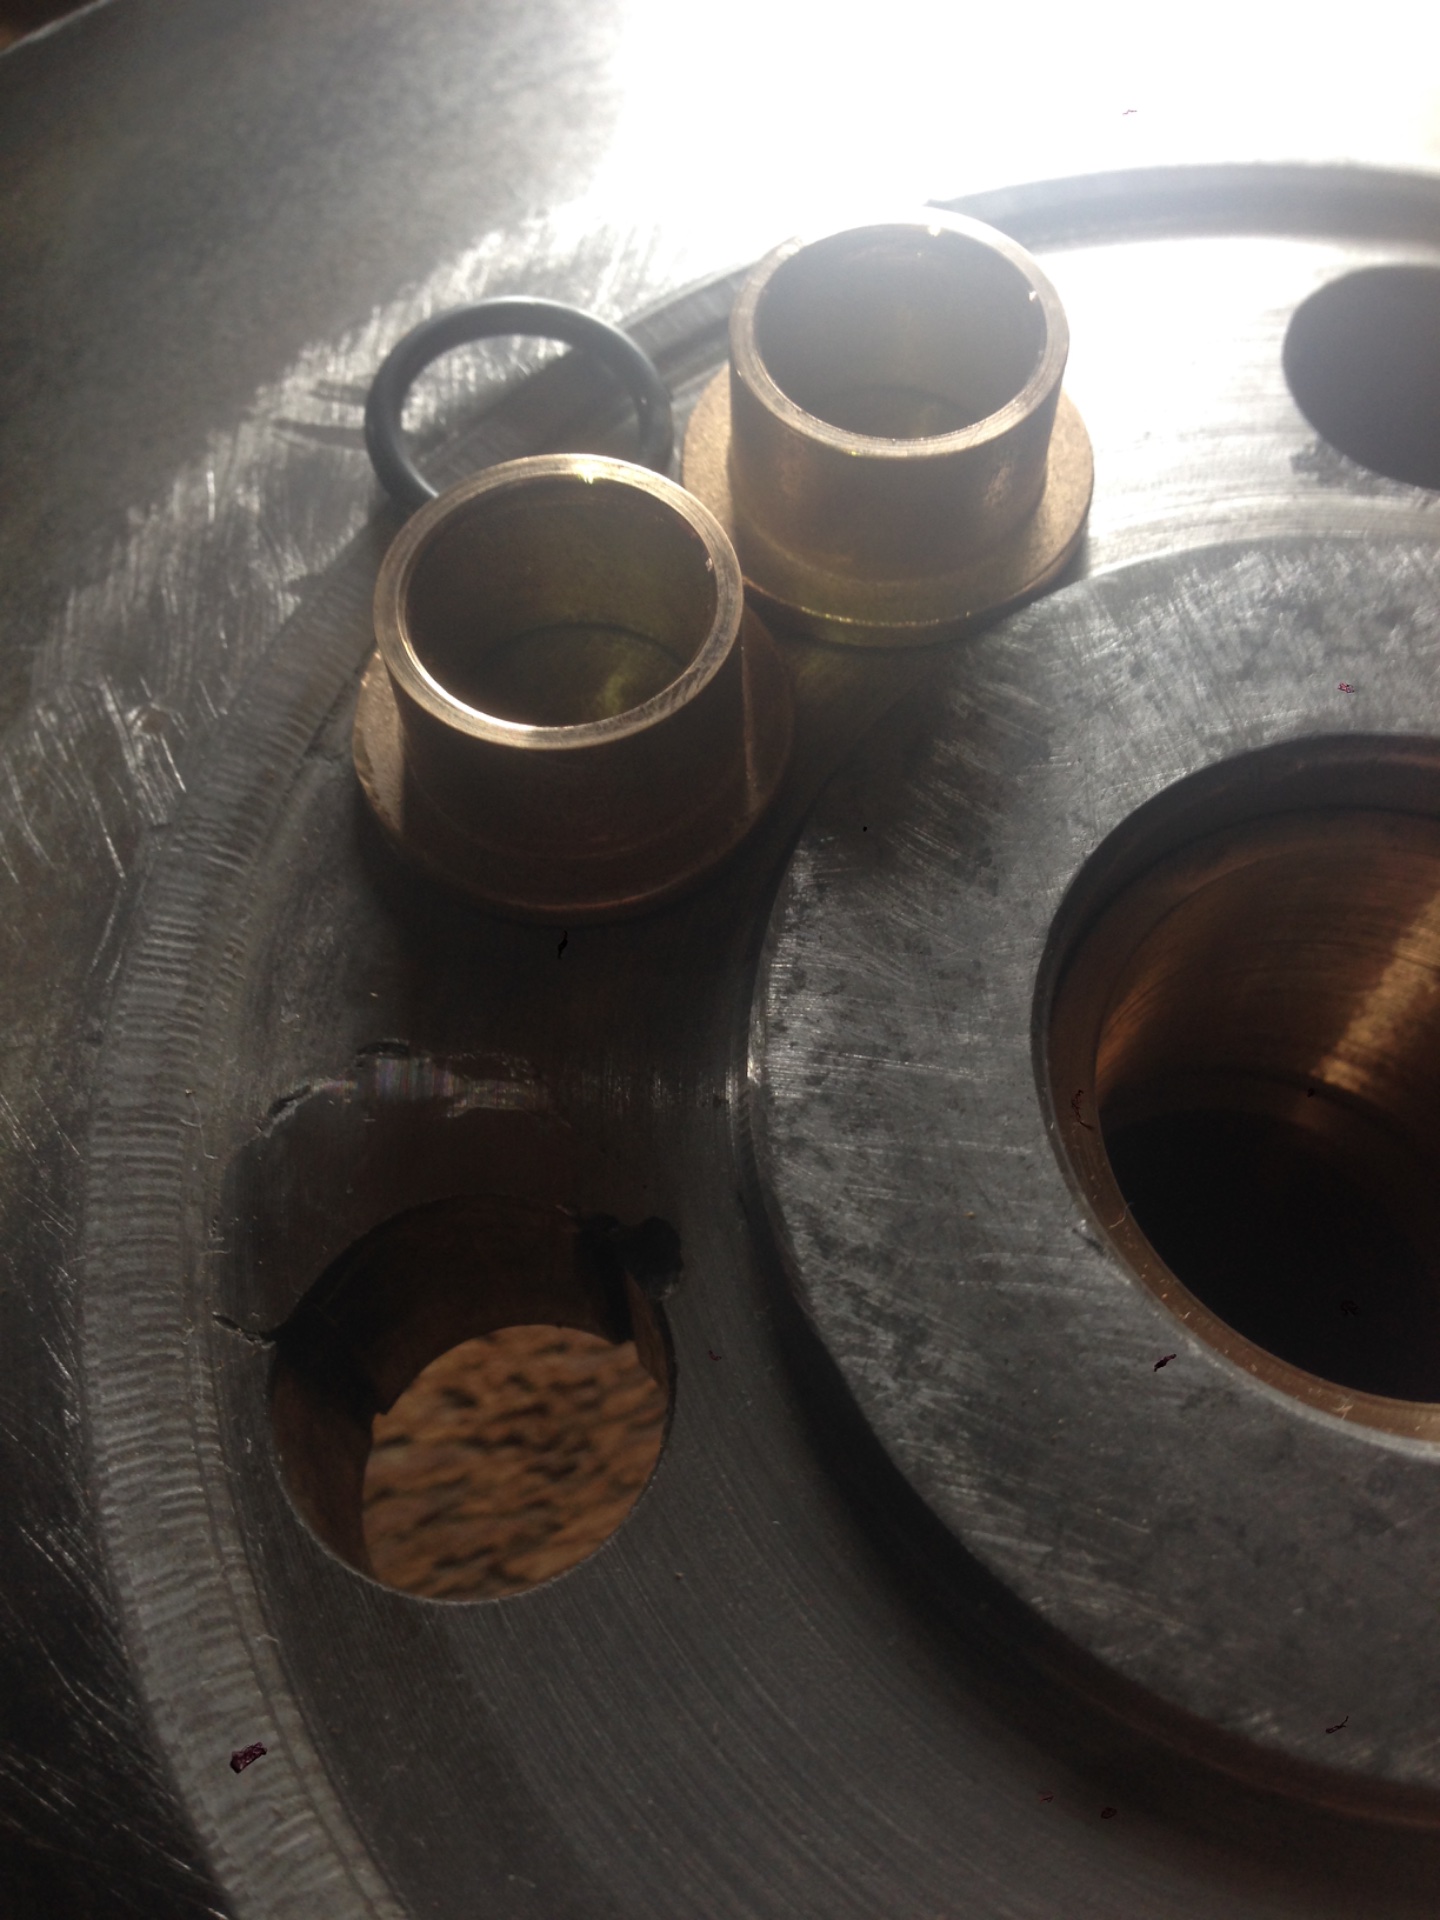
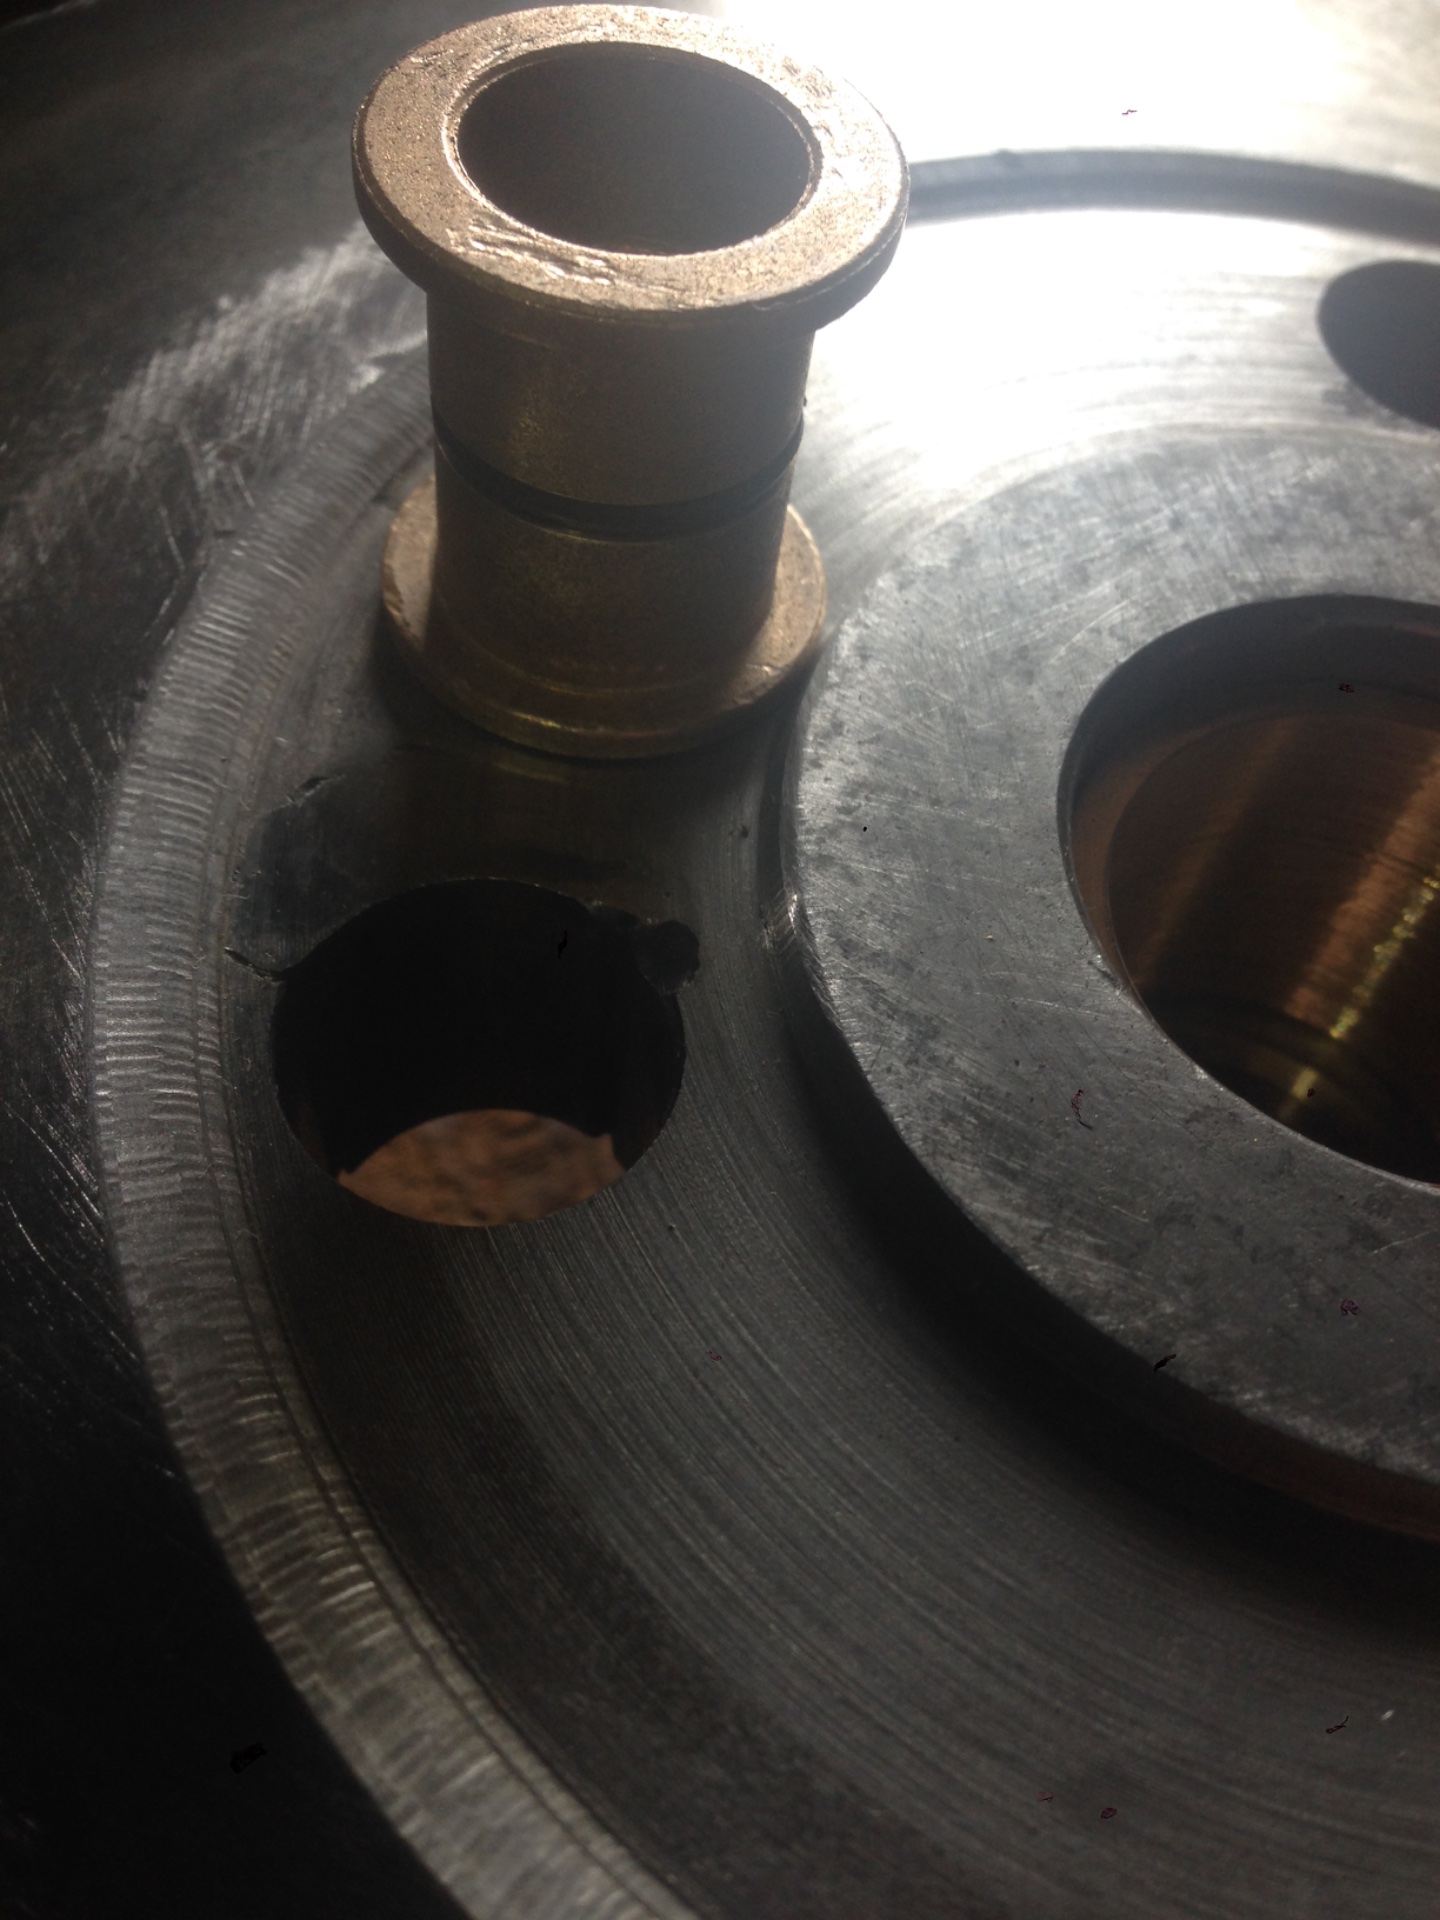
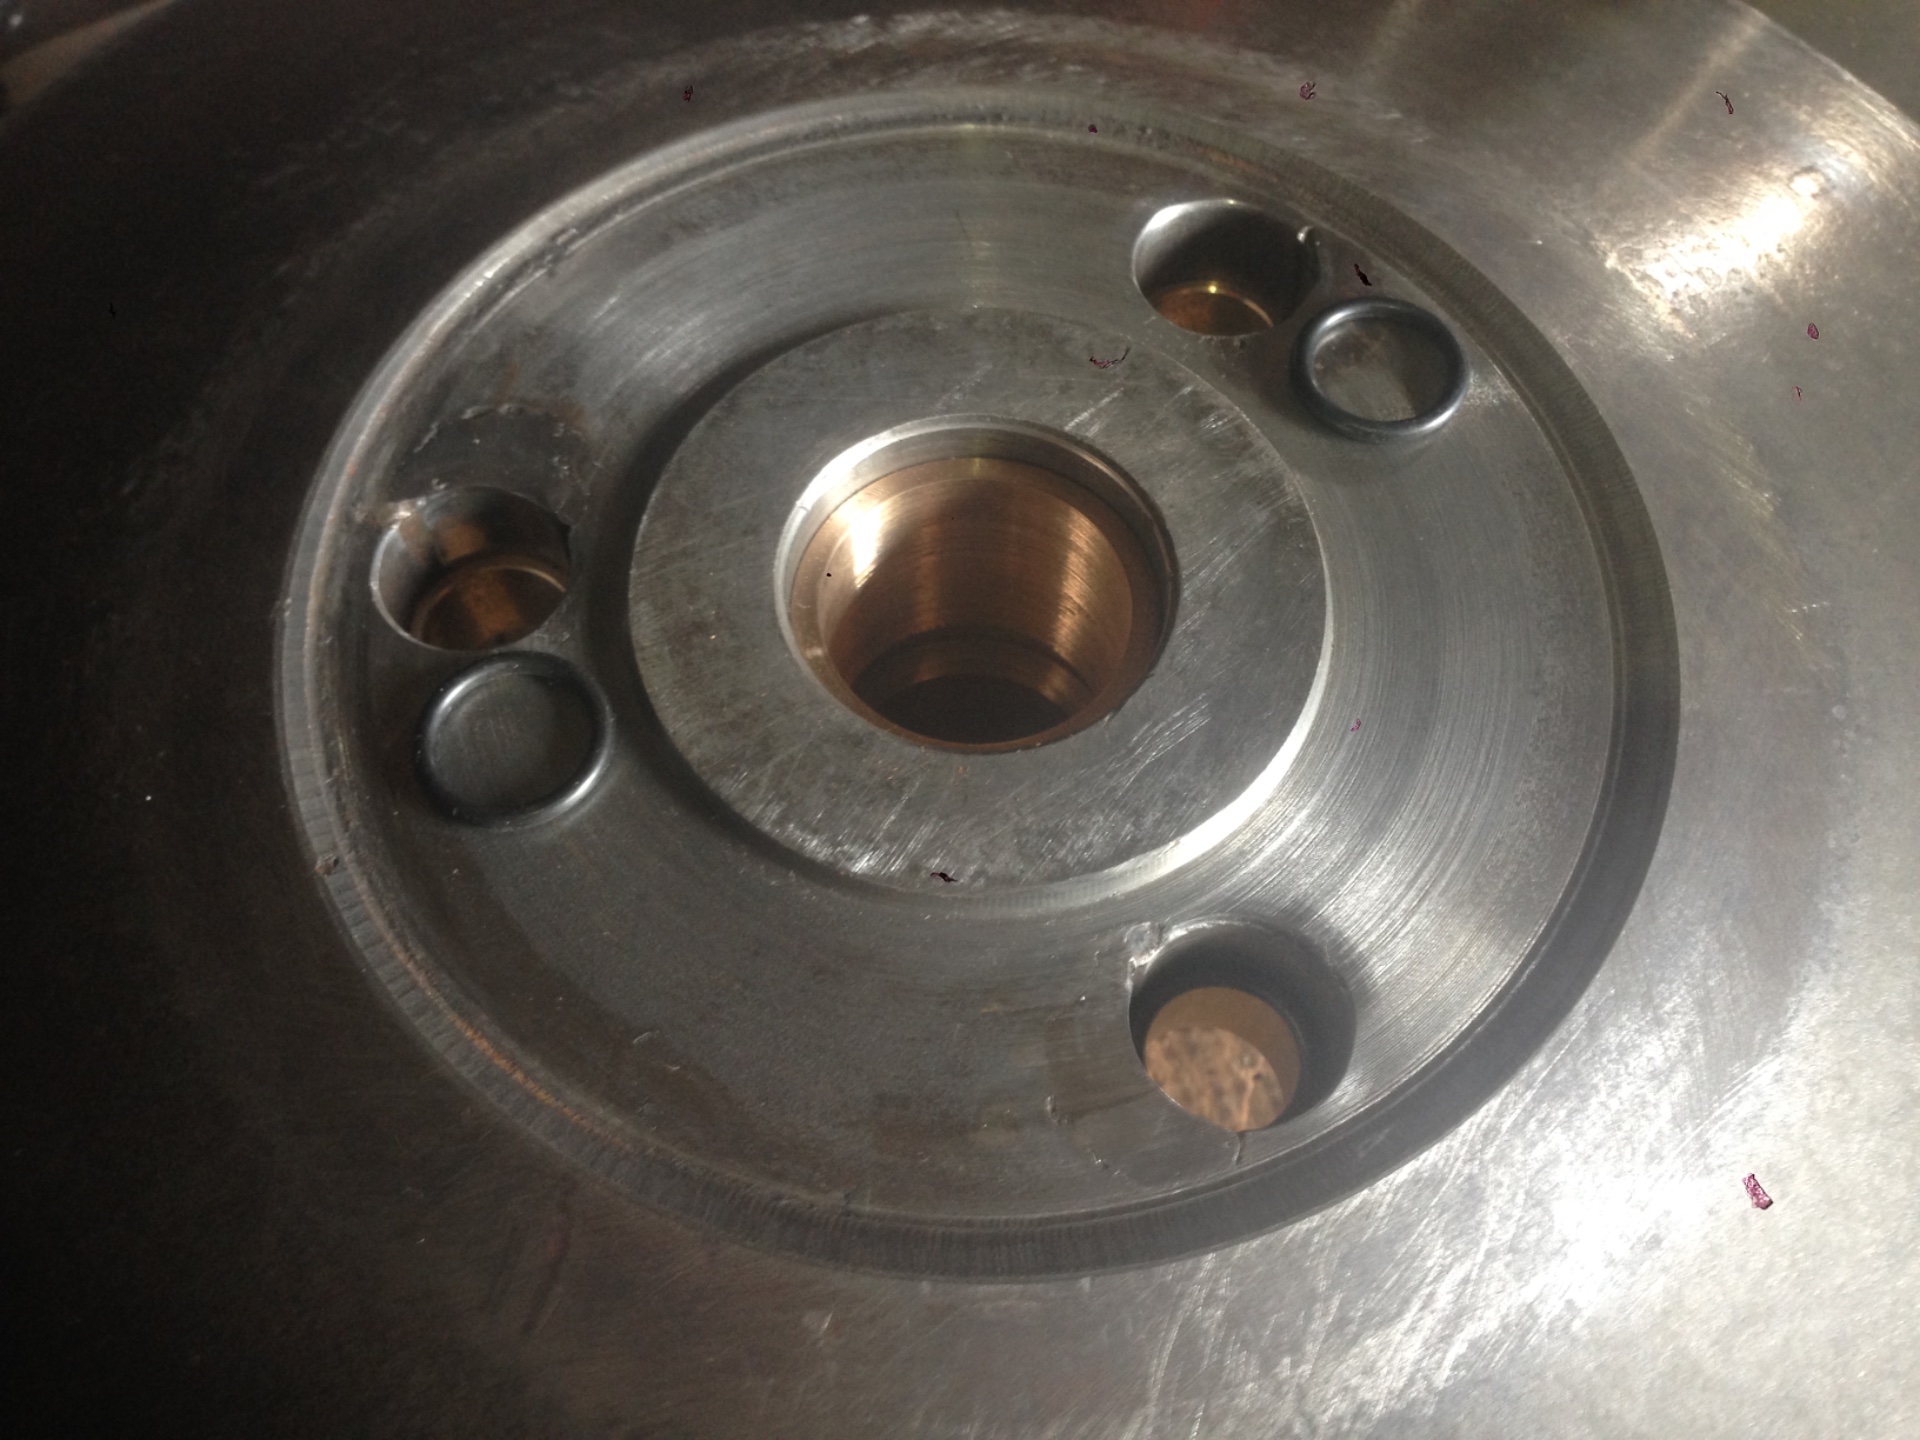
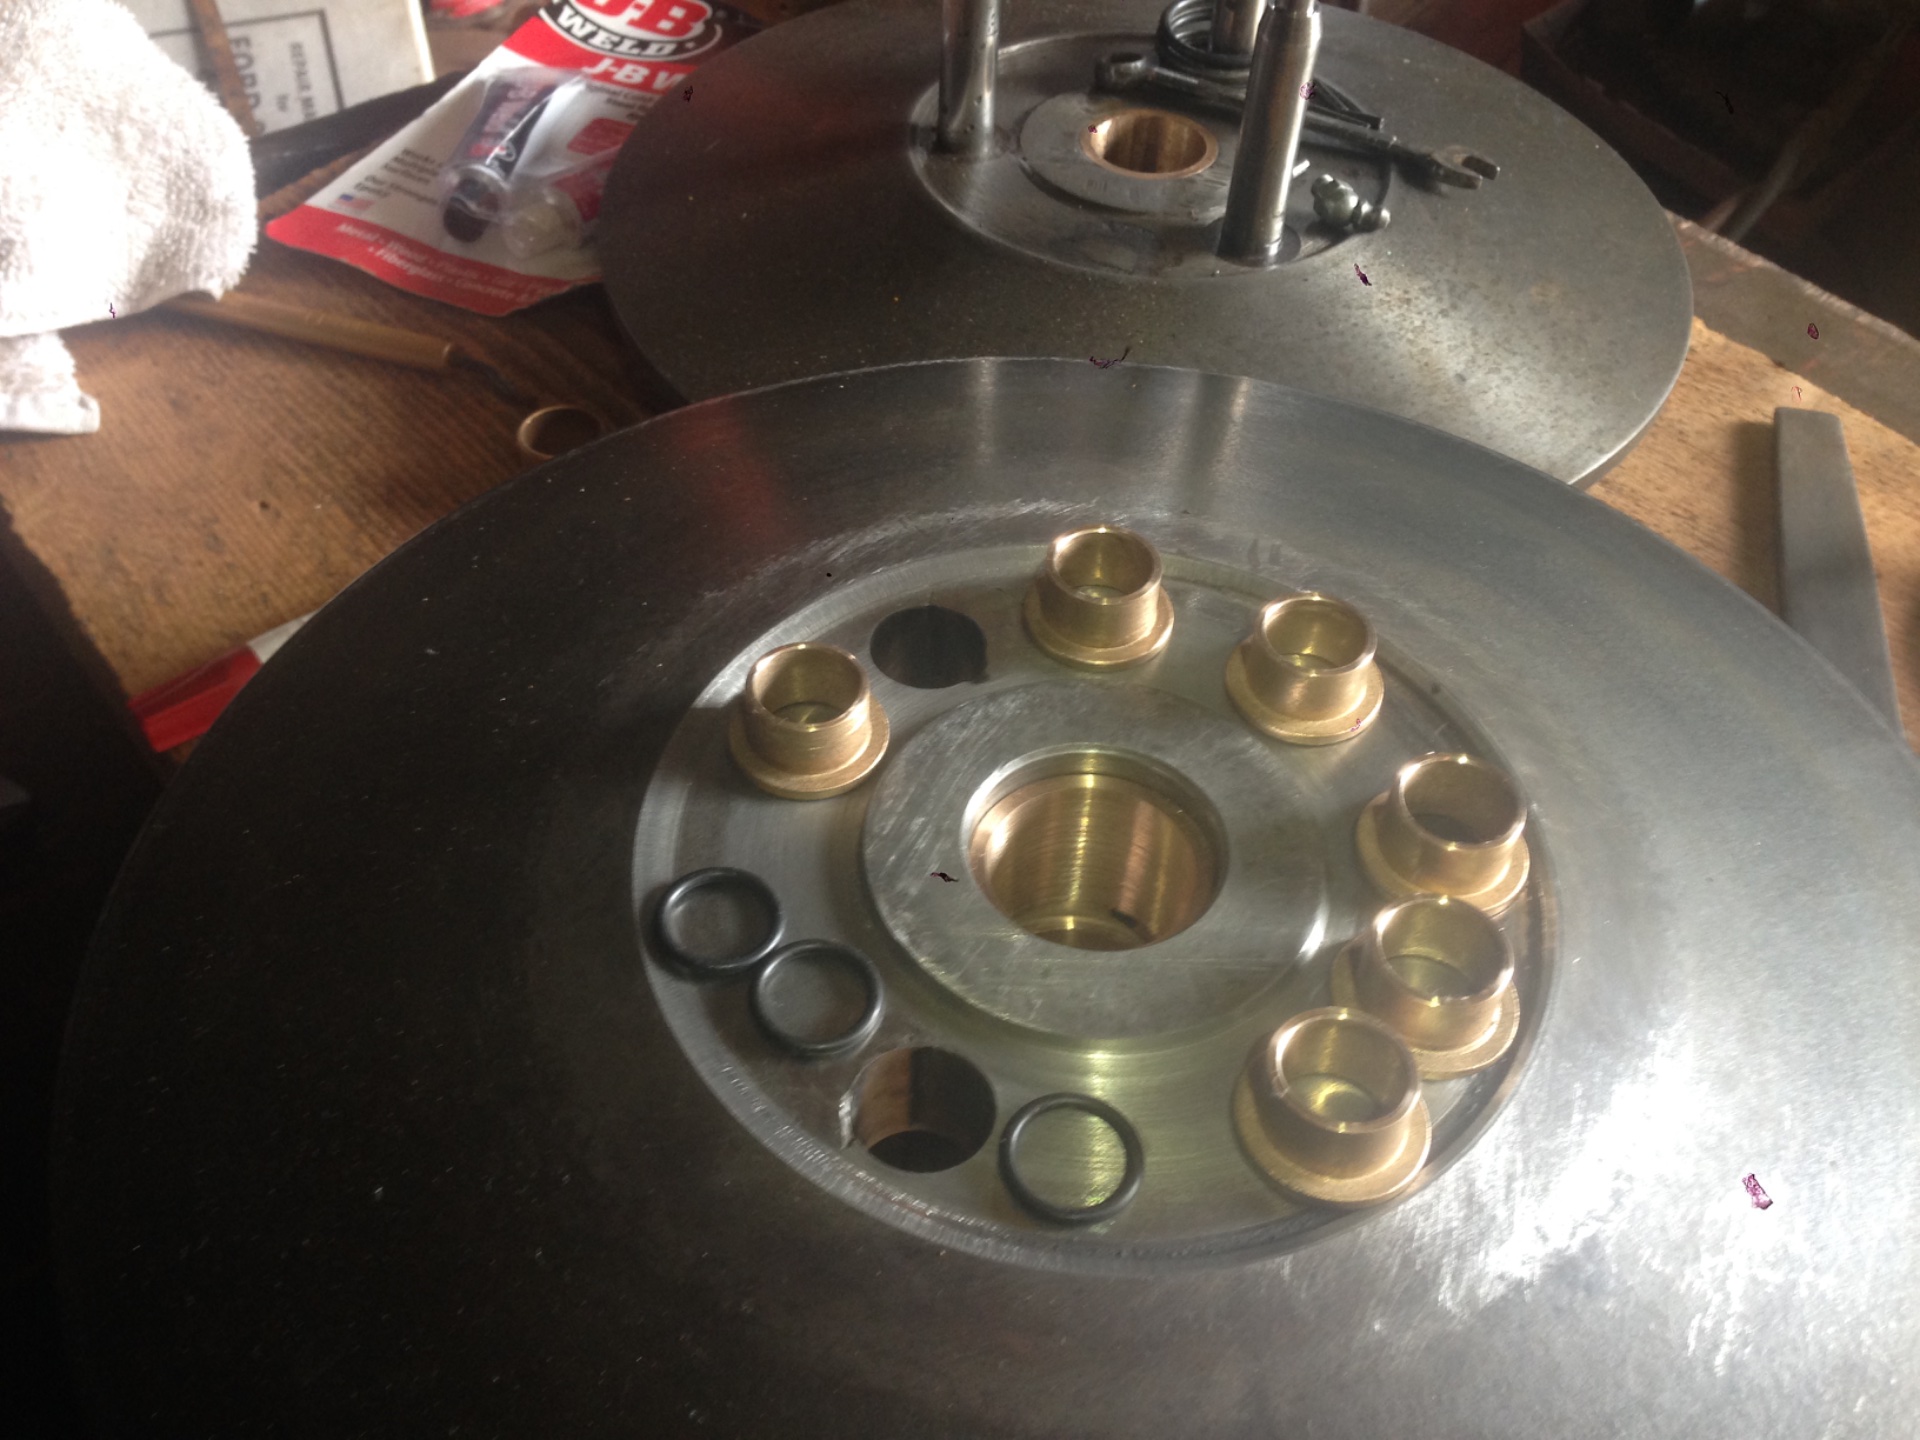
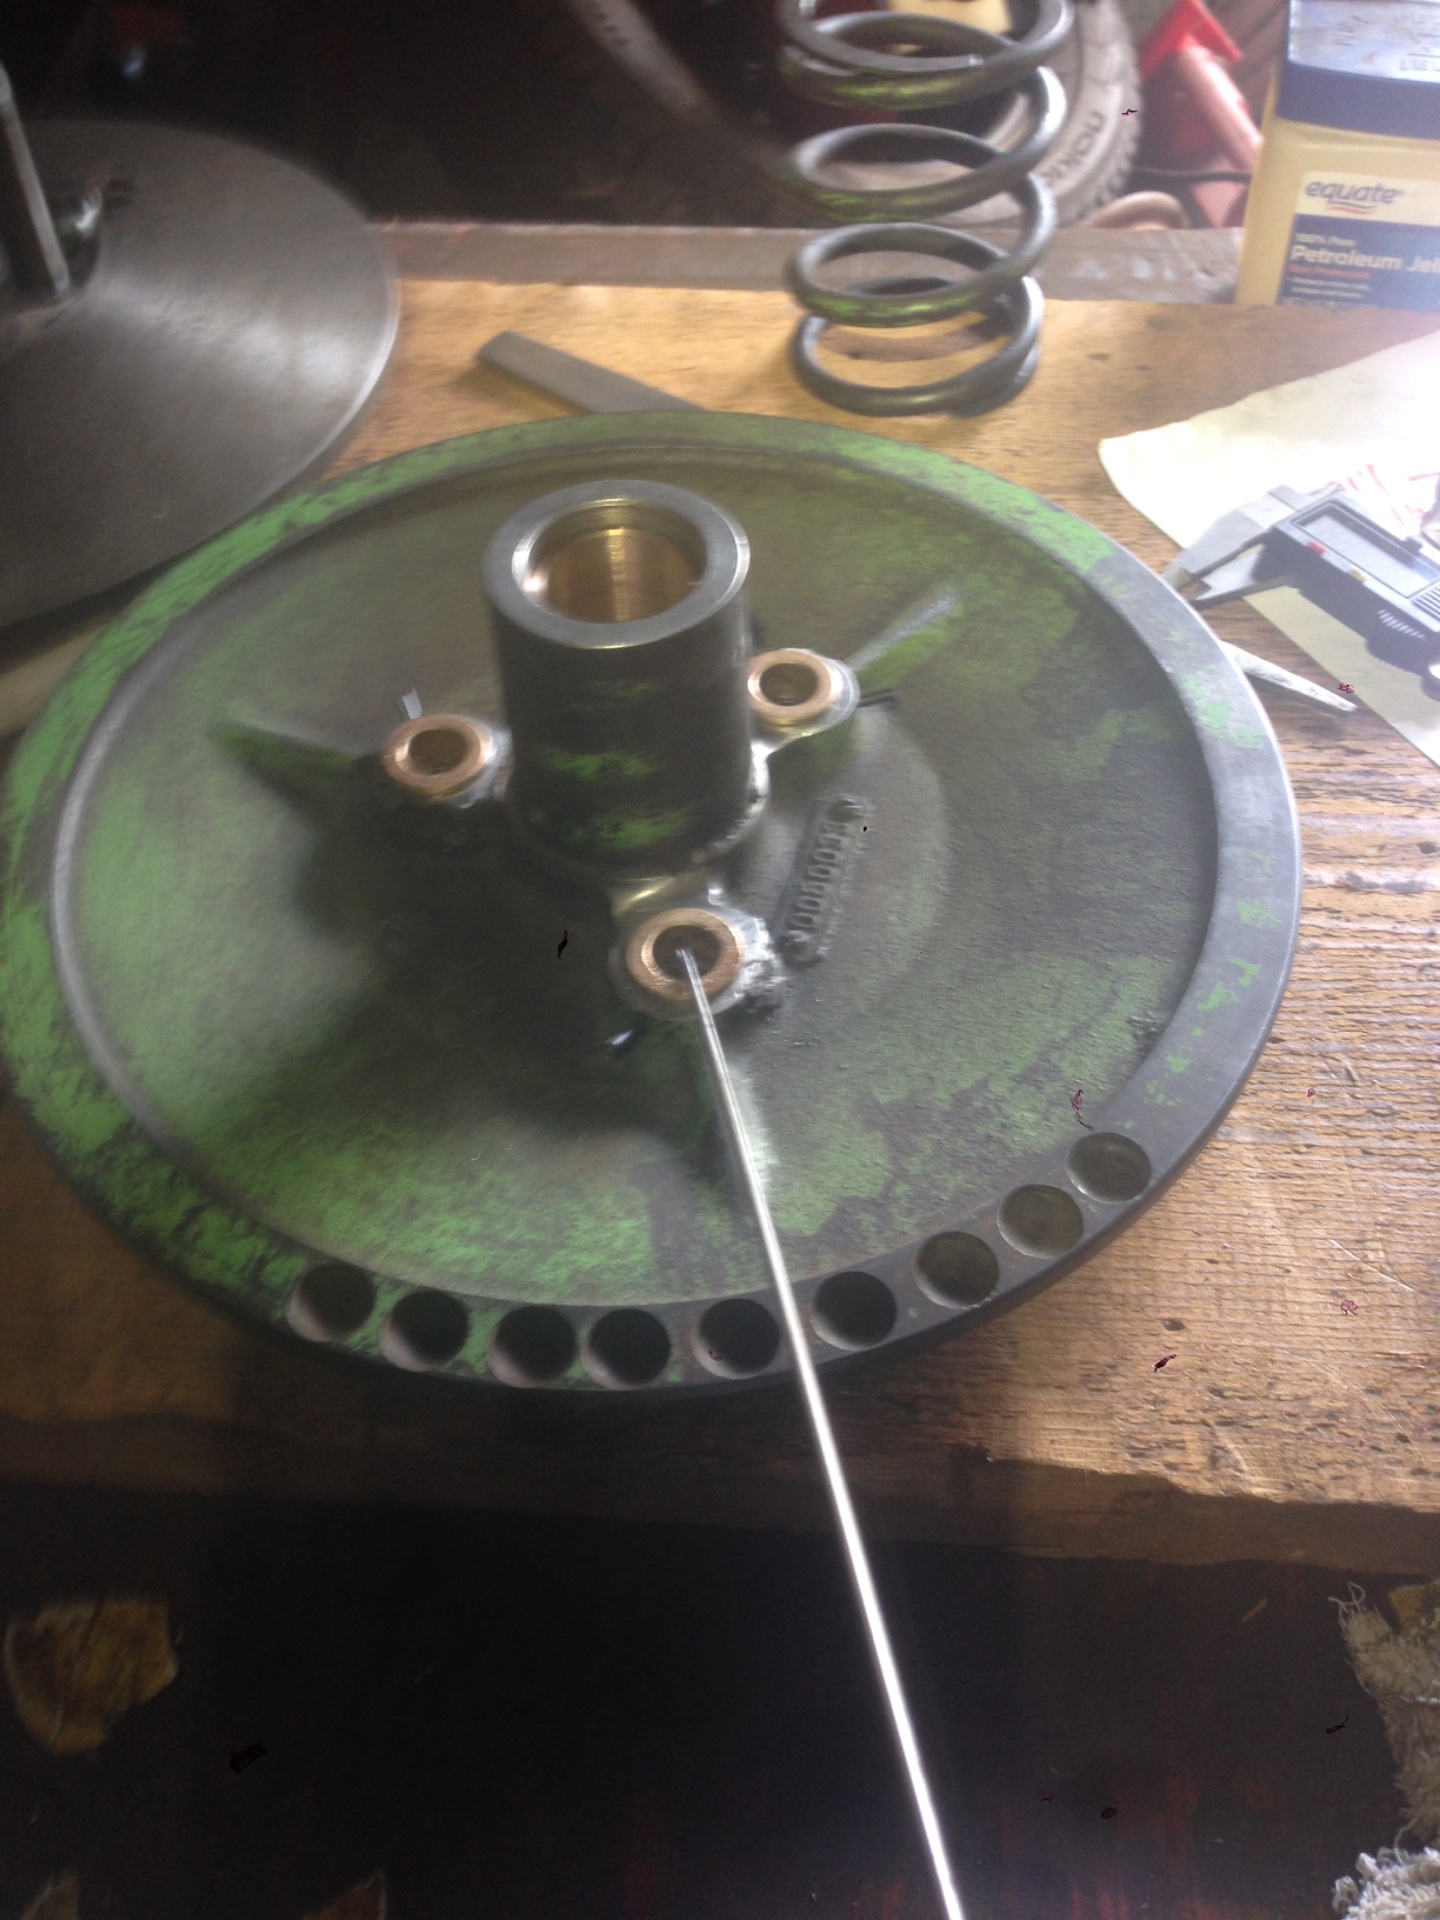
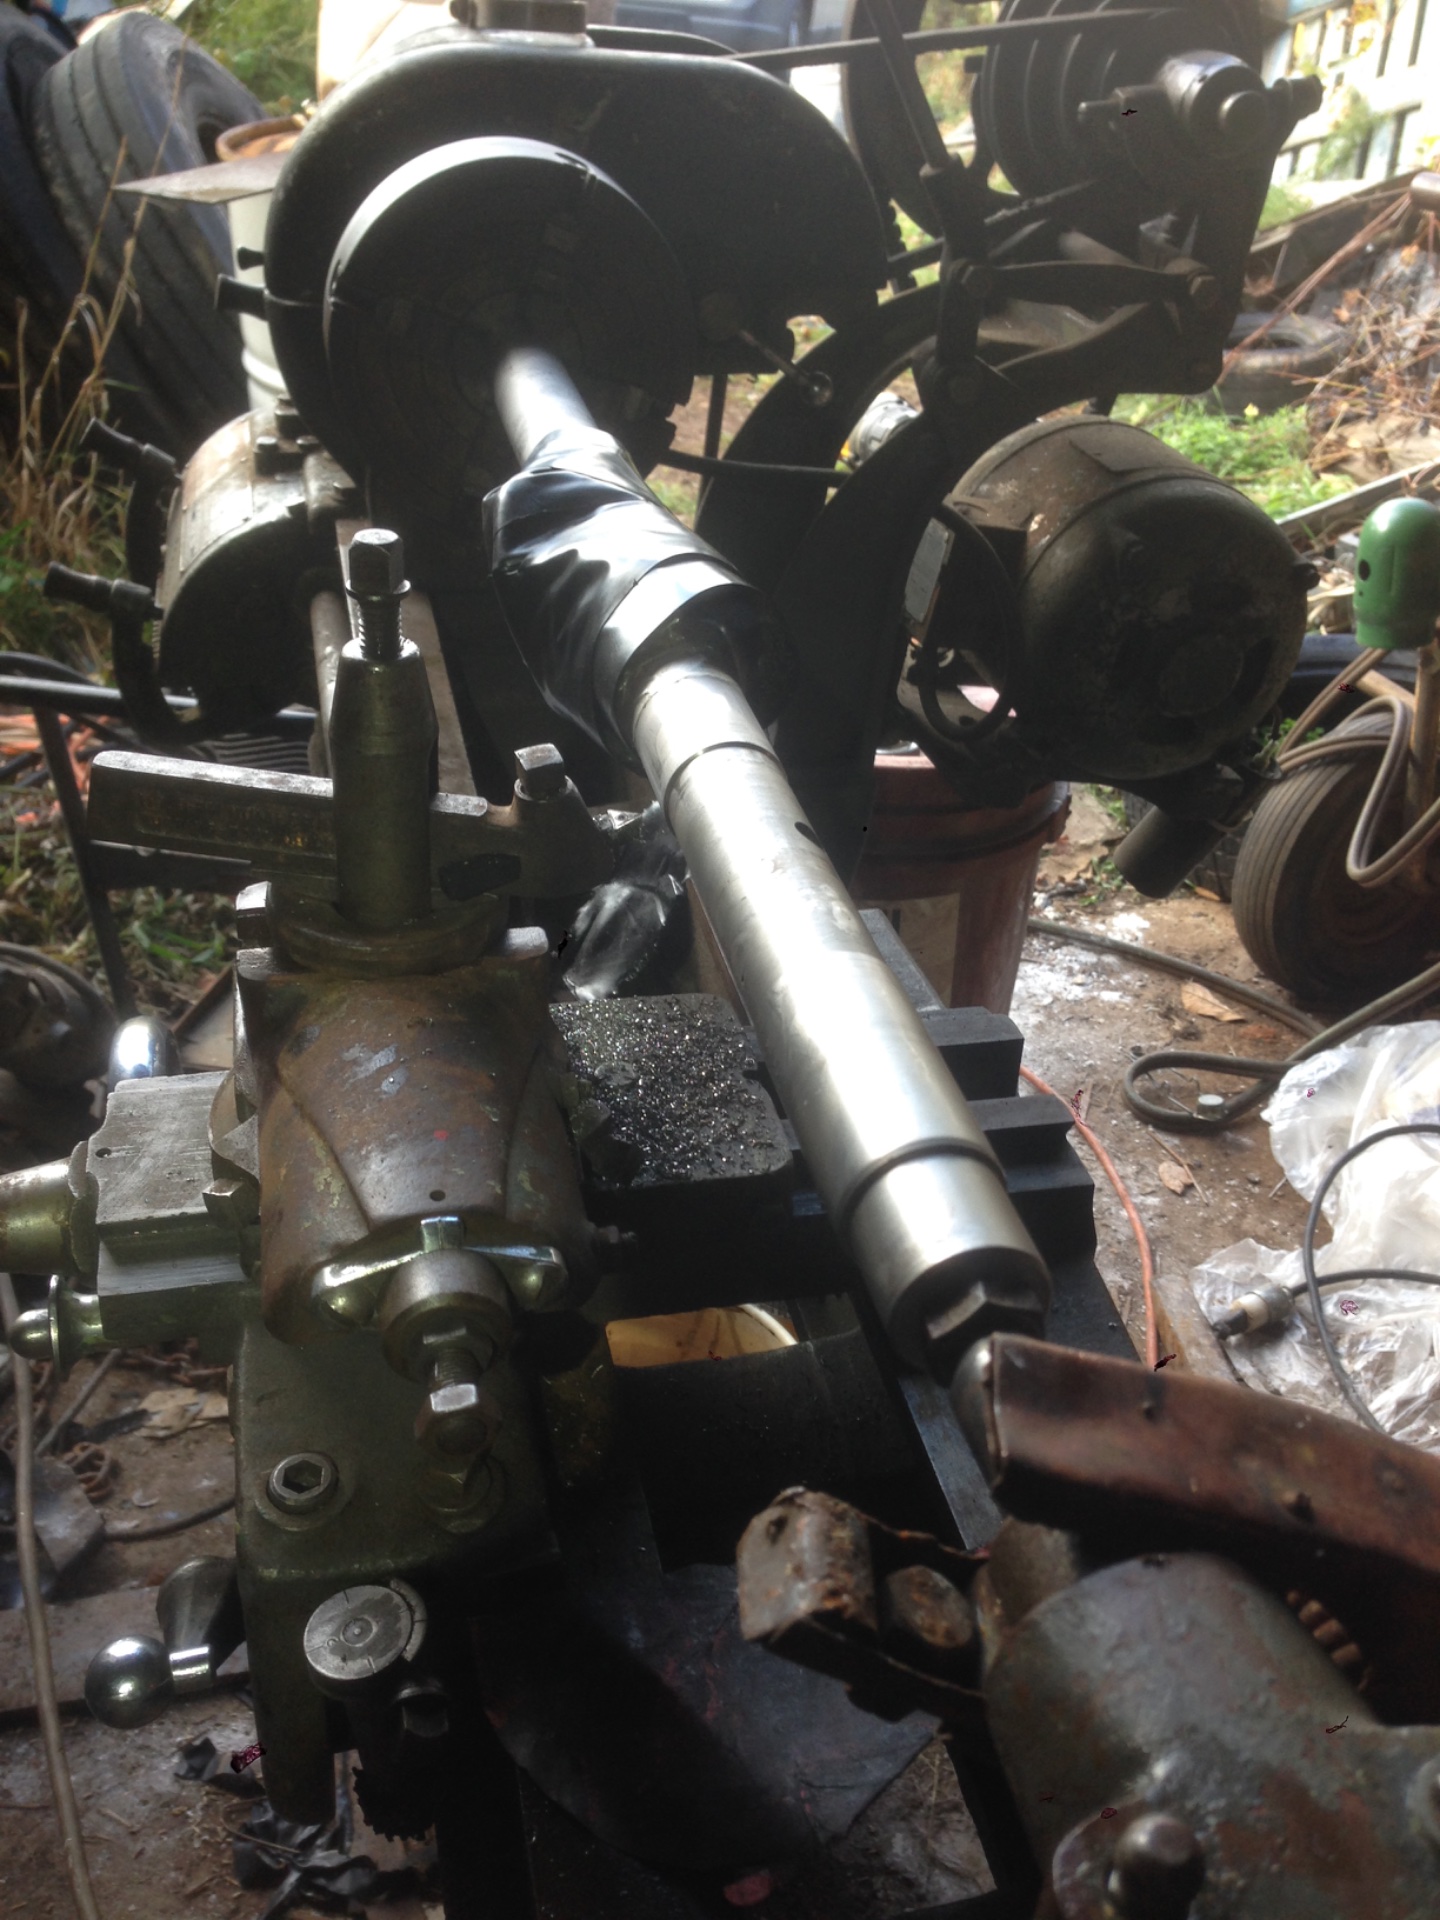
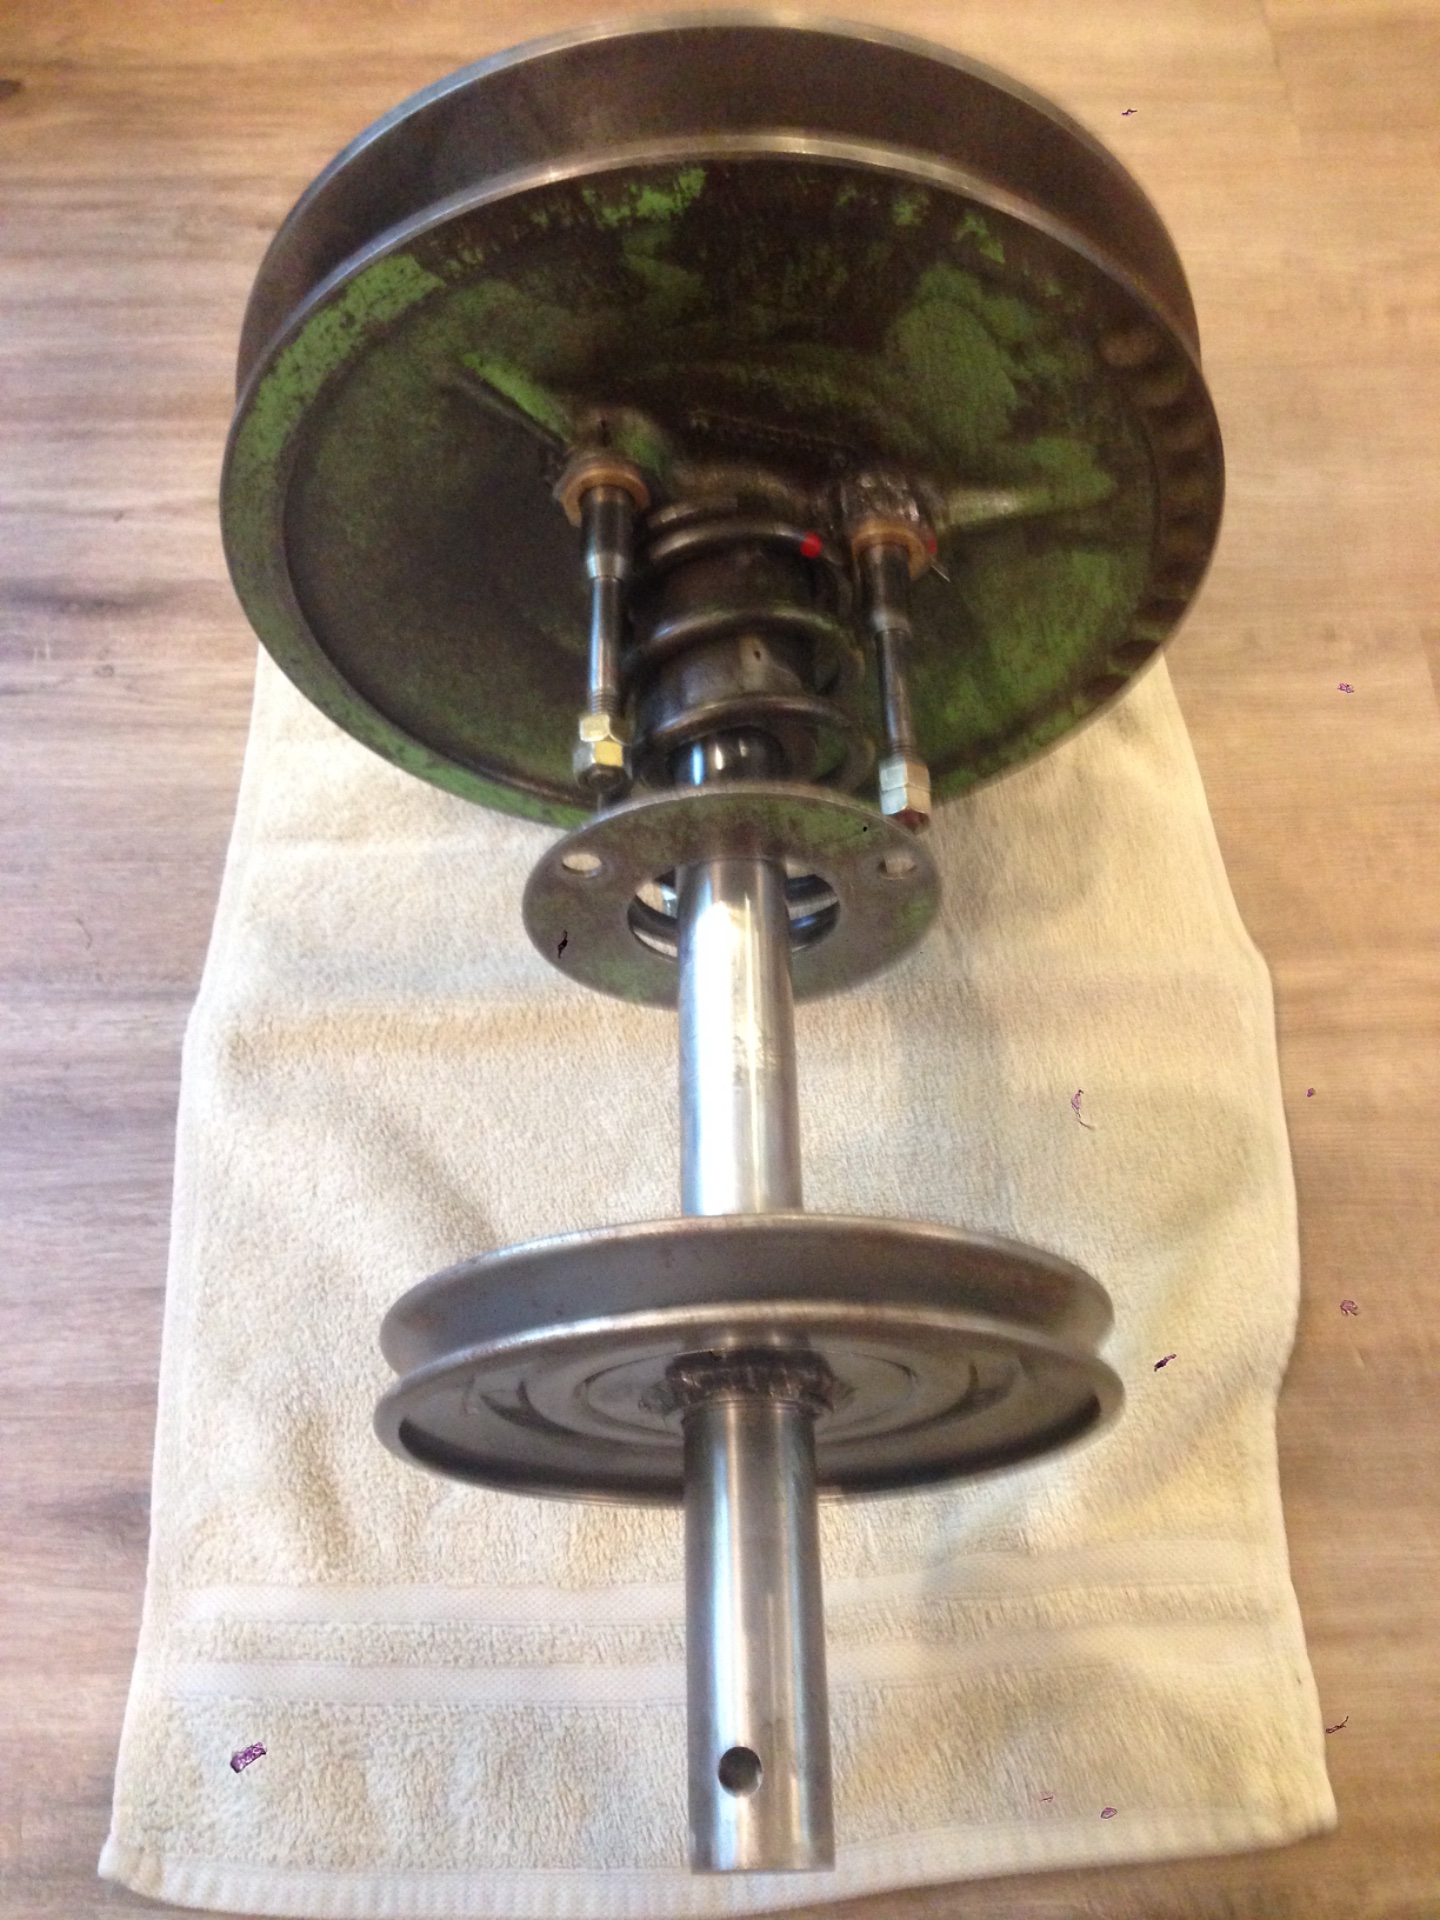
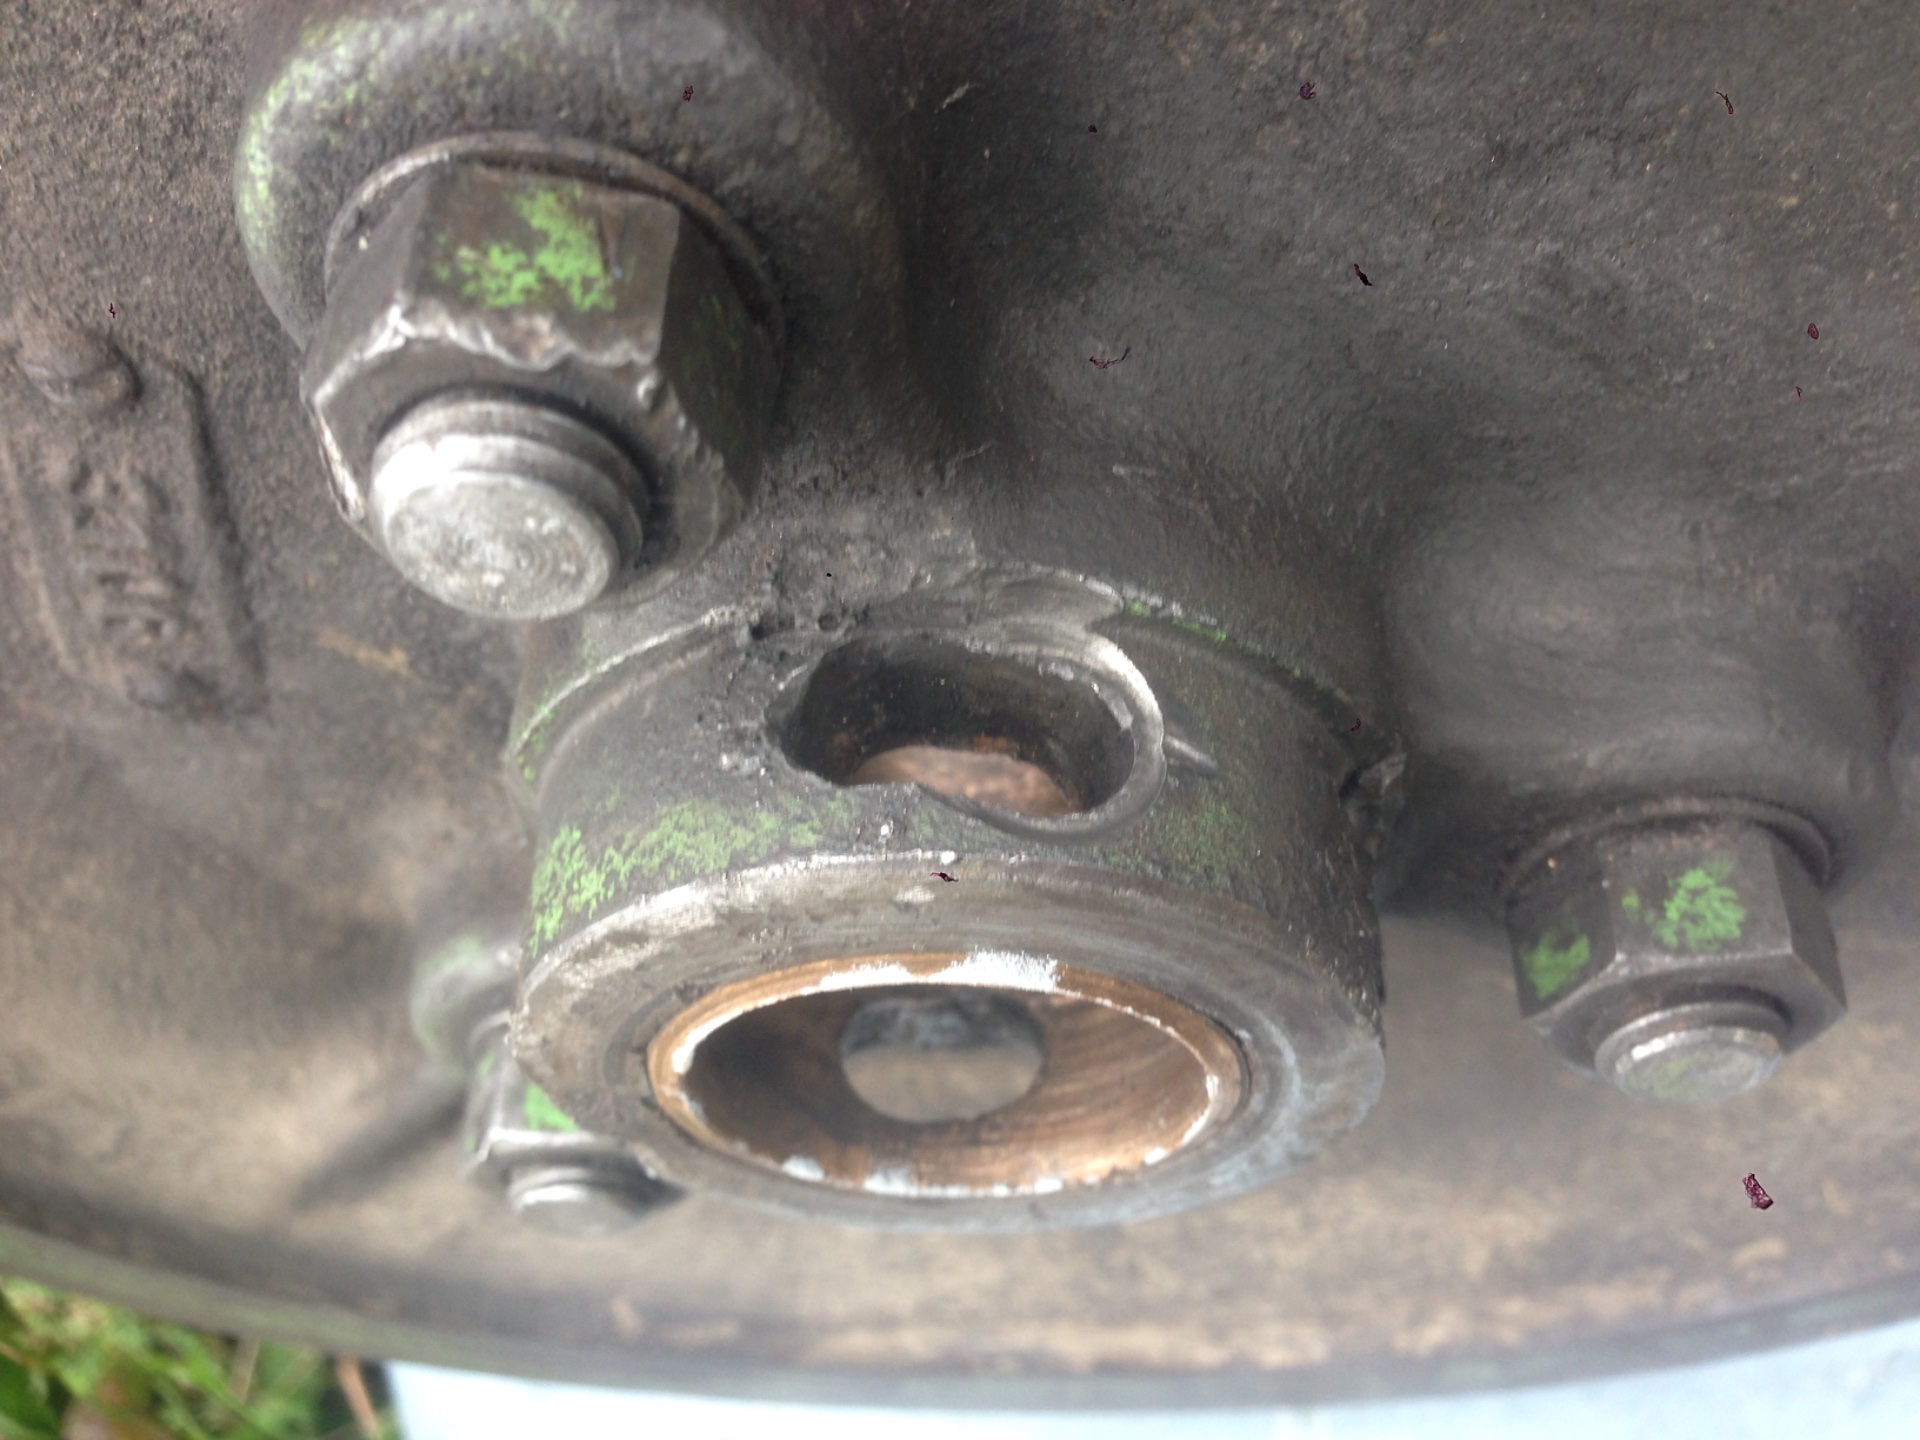
In October of 2021, the driven sheave on my ‘73 1200 sheared off its drive lock pin. I replaced it several times, and those also broke. The sheave was wobbling on the shaft and the play around the pin from the cast iron was slamming the pin ends until they broke off. It was clear that it needed attention. I was in the middle of a foundation dig, but she went up on blocks anyway and I took her sheave out. For two weeks, I used my friend’s abandoned shop and junkyard to put together a plan and engineer an improvement for this component. He had an old 14” metal lathe and a smaller 6” lathe and enough tooling laying around to get the job done. A decent portion of my time was spent wading around in his piles of “useful items”, and searching the junk yard for this or that. Recently, here on the forum there has been a discussion regarding this issue, do I decided to start a thread on the details of this repair. Thankfully, I took pictures to share what I was doing with my kids, so here you go.
 

Attachments

  • IMG_9173.jpeg
    IMG_9173.jpeg
    566.2 KB
  • IMG_9174.jpeg
    IMG_9174.jpeg
    497.2 KB
  • IMG_9172.jpeg
    IMG_9172.jpeg
    697.6 KB
  • IMG_9211.jpeg
    IMG_9211.jpeg
    749.9 KB
  • IMG_9208.jpeg
    IMG_9208.jpeg
    709.9 KB
  • IMG_9168.jpeg
    IMG_9168.jpeg
    670.6 KB
  • IMG_9212.jpeg
    IMG_9212.jpeg
    617.3 KB
  • IMG_9213.jpeg
    IMG_9213.jpeg
    614.4 KB
  • IMG_9214.jpeg
    IMG_9214.jpeg
    647.2 KB
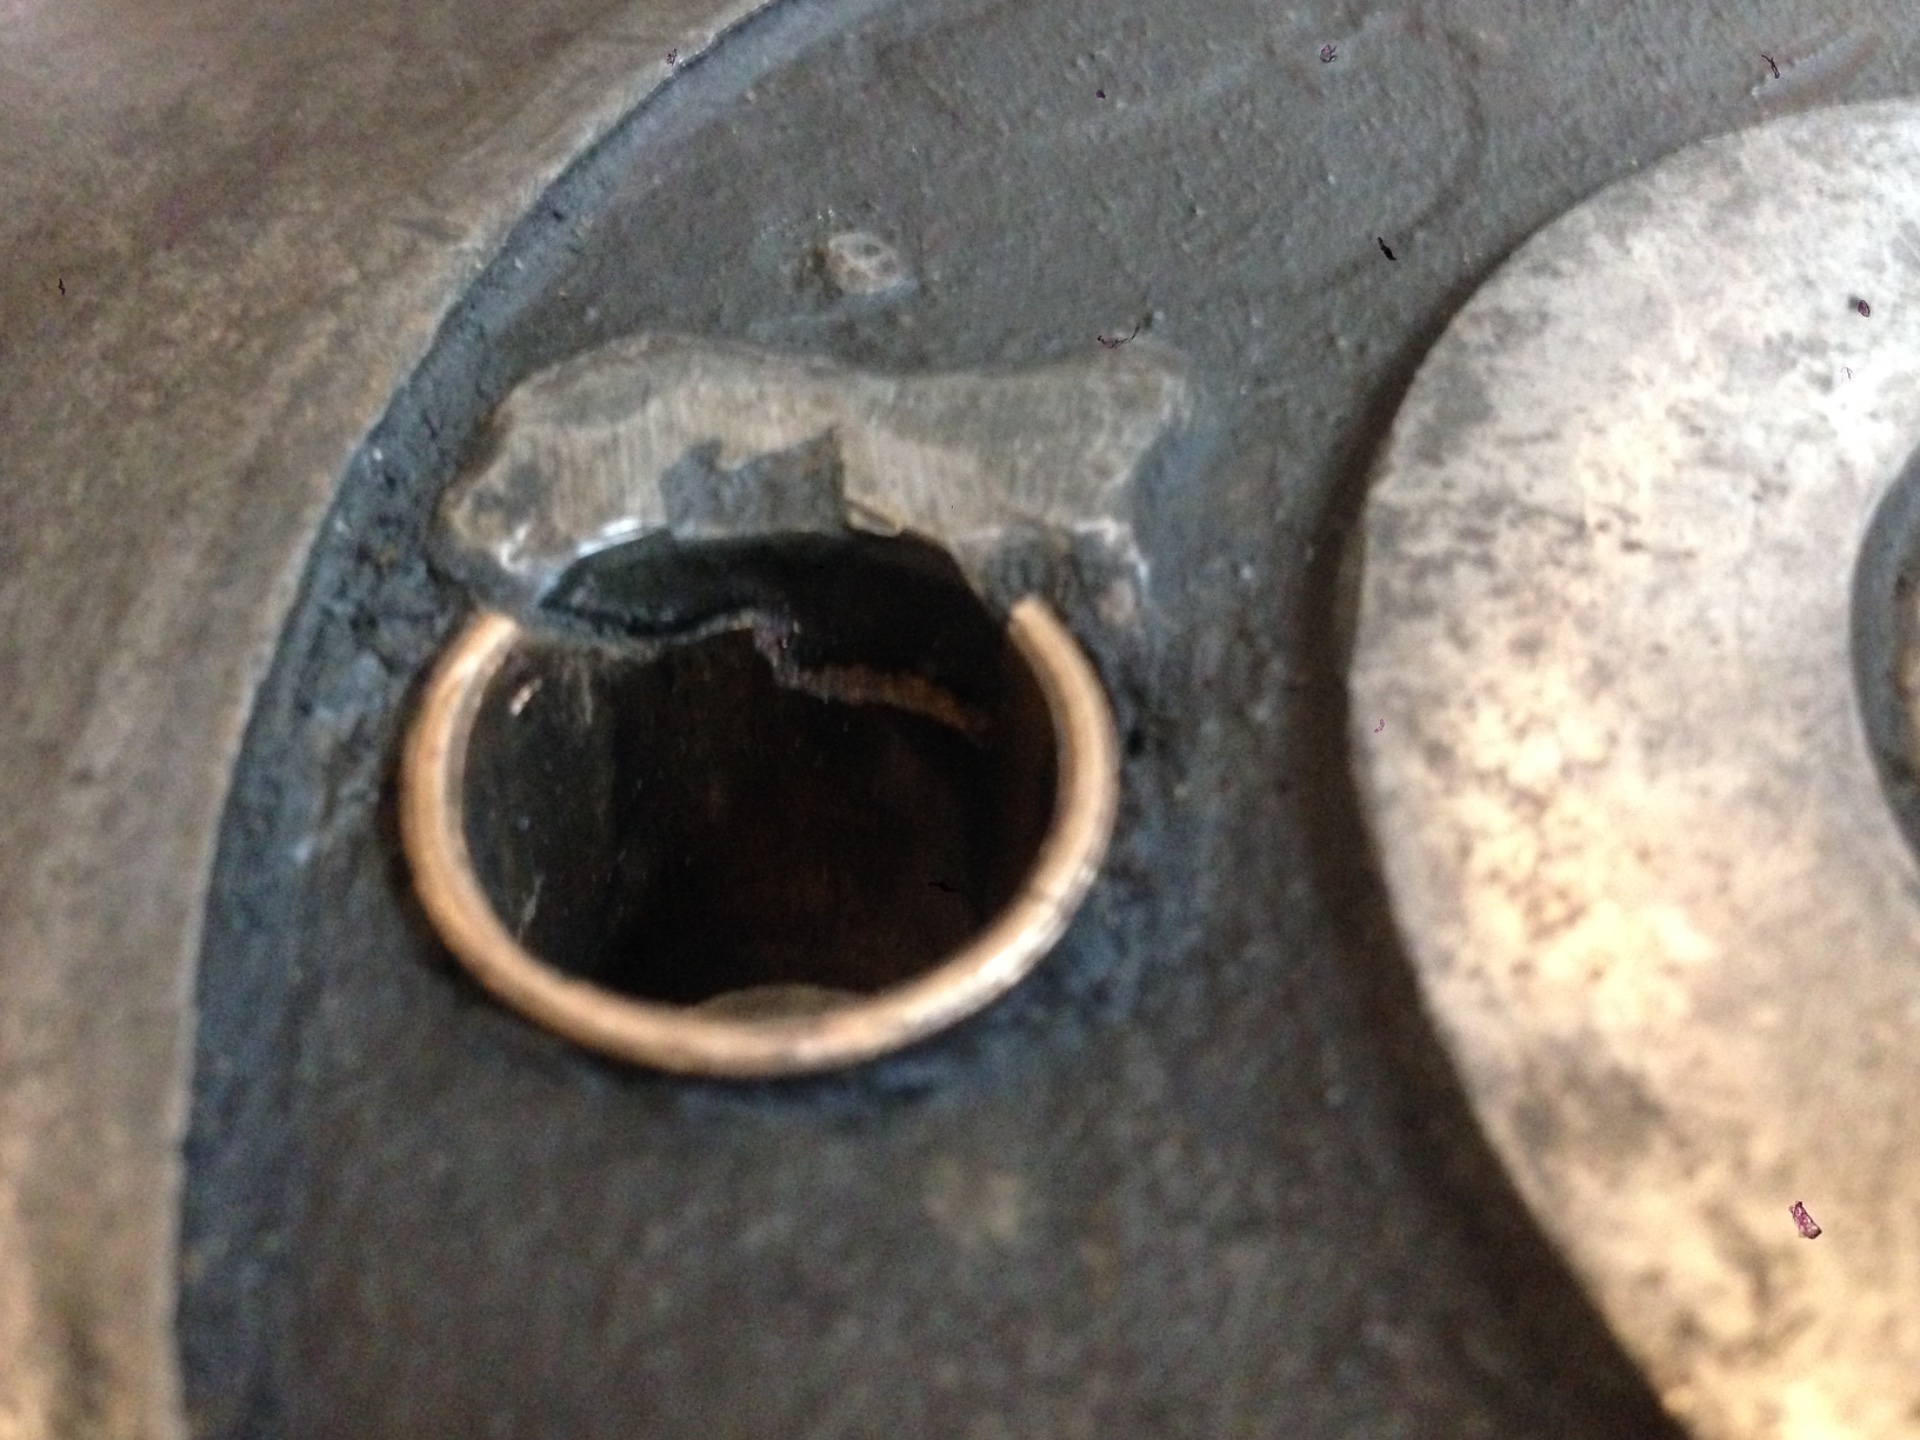
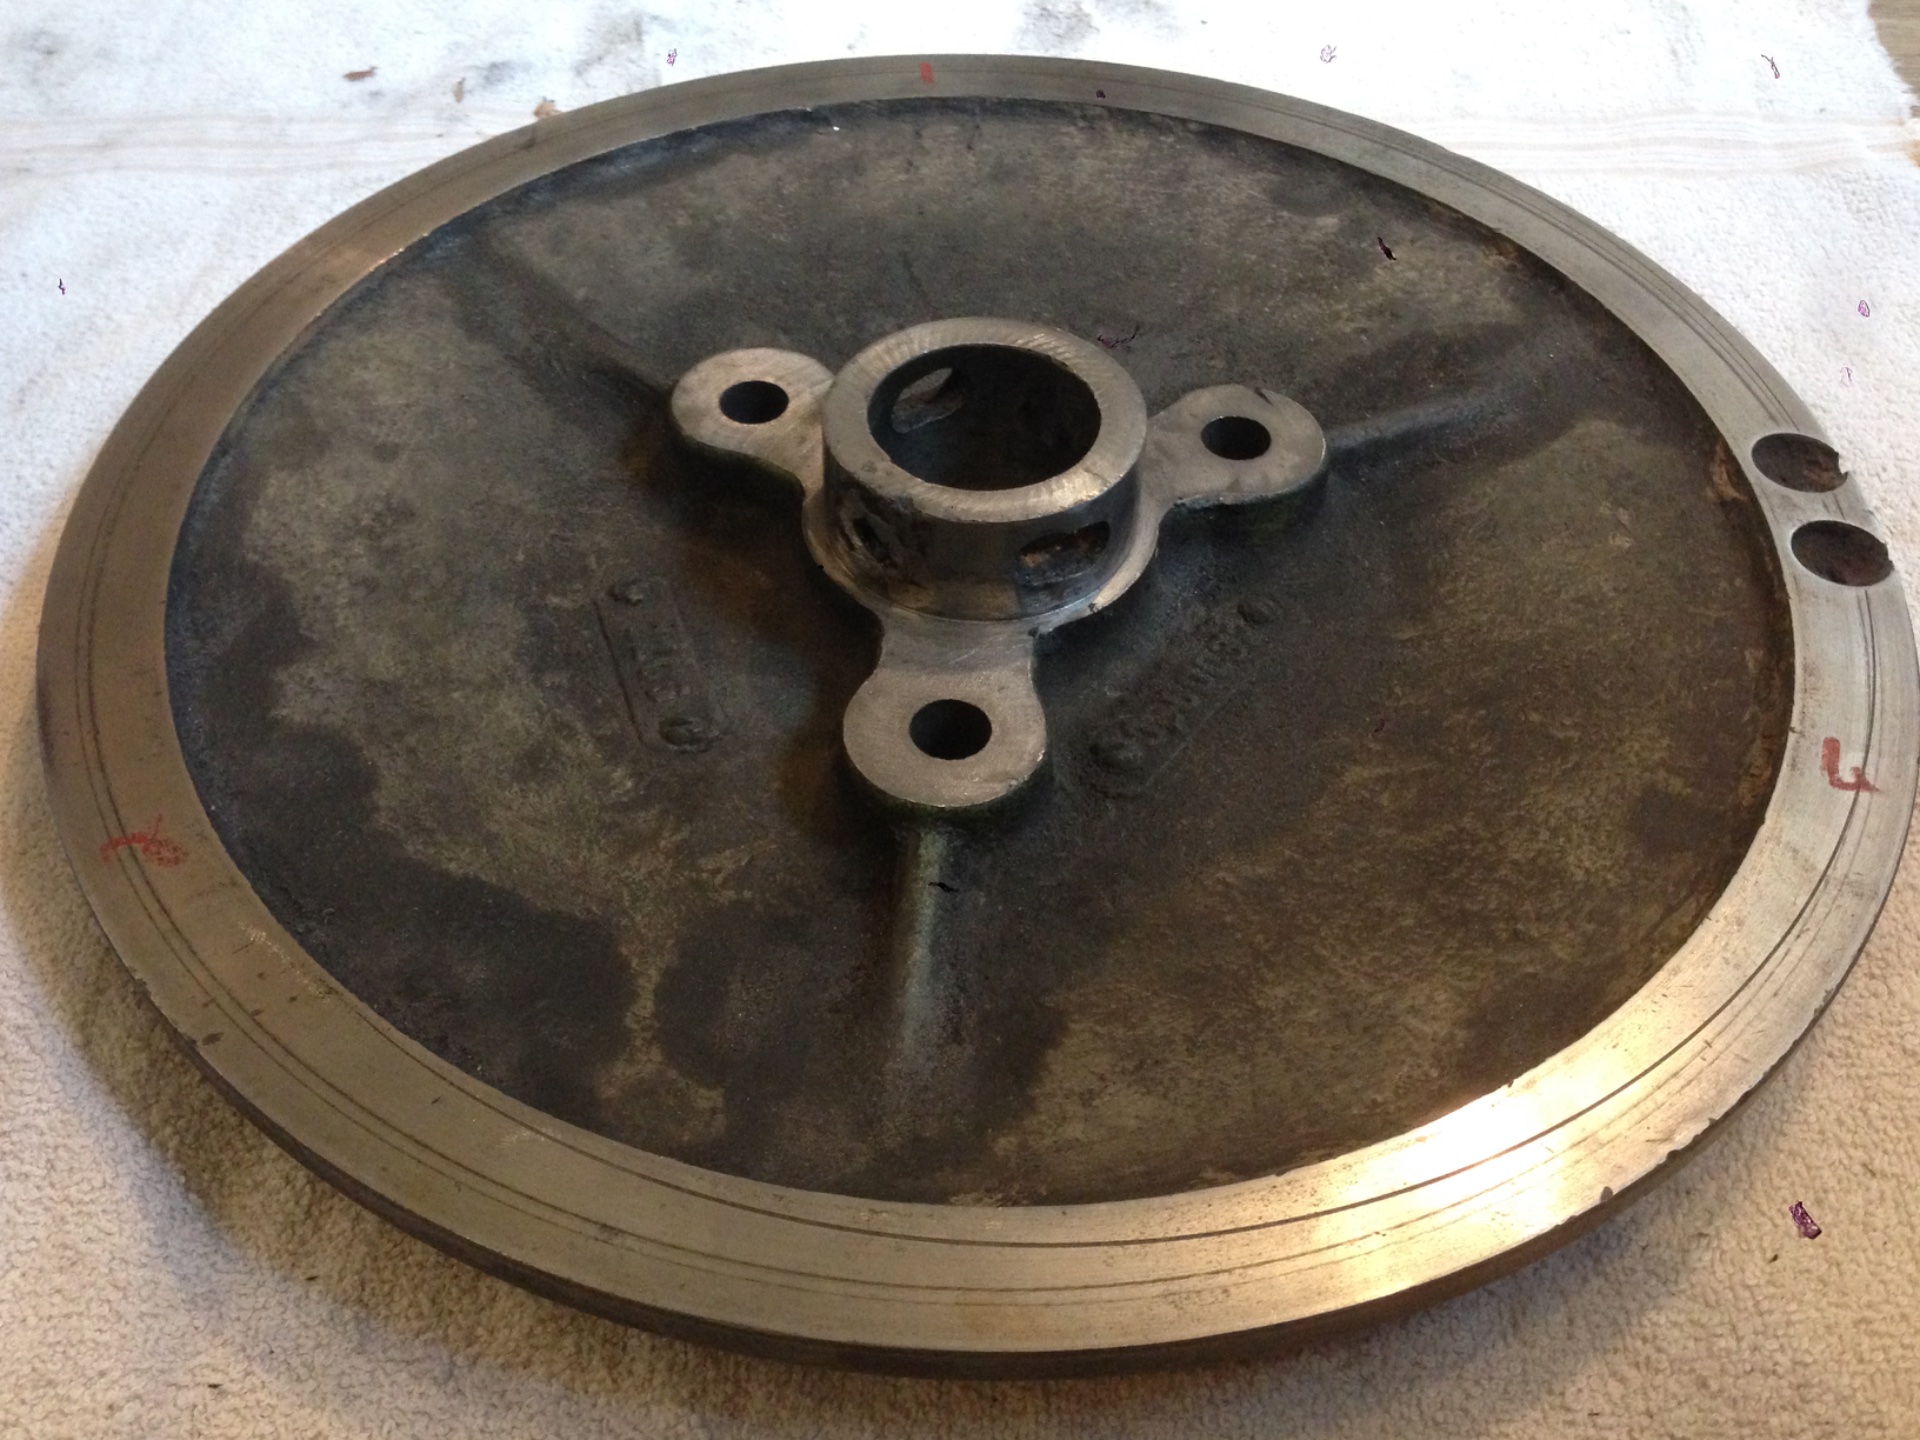
Previous repairs had been attempted by my father, as the welds on the cast next to the drive studs show. A small amount of grease in the zerk on the sheave next to the spring was part of our daily maintenance. A greasy belt often caused slippage however, which I was determined to prevent during this repair.
 

Attachments

  • IMG_9245.jpeg
    IMG_9245.jpeg
    551.7 KB
  • IMG_9243.jpeg
    IMG_9243.jpeg
    647.6 KB
  • IMG_9240.jpeg
    IMG_9240.jpeg
    559.4 KB
  • IMG_9239.jpeg
    IMG_9239.jpeg
    688.6 KB
  • IMG_9205.jpeg
    IMG_9205.jpeg
    753 KB
  • IMG_9207.jpeg
    IMG_9207.jpeg
    647.2 KB
  • IMG_9206.jpeg
    IMG_9206.jpeg
    724.6 KB
  • IMG_9209.jpeg
    IMG_9209.jpeg
    705.4 KB
  • IMG_9242.jpeg
    IMG_9242.jpeg
    551 KB
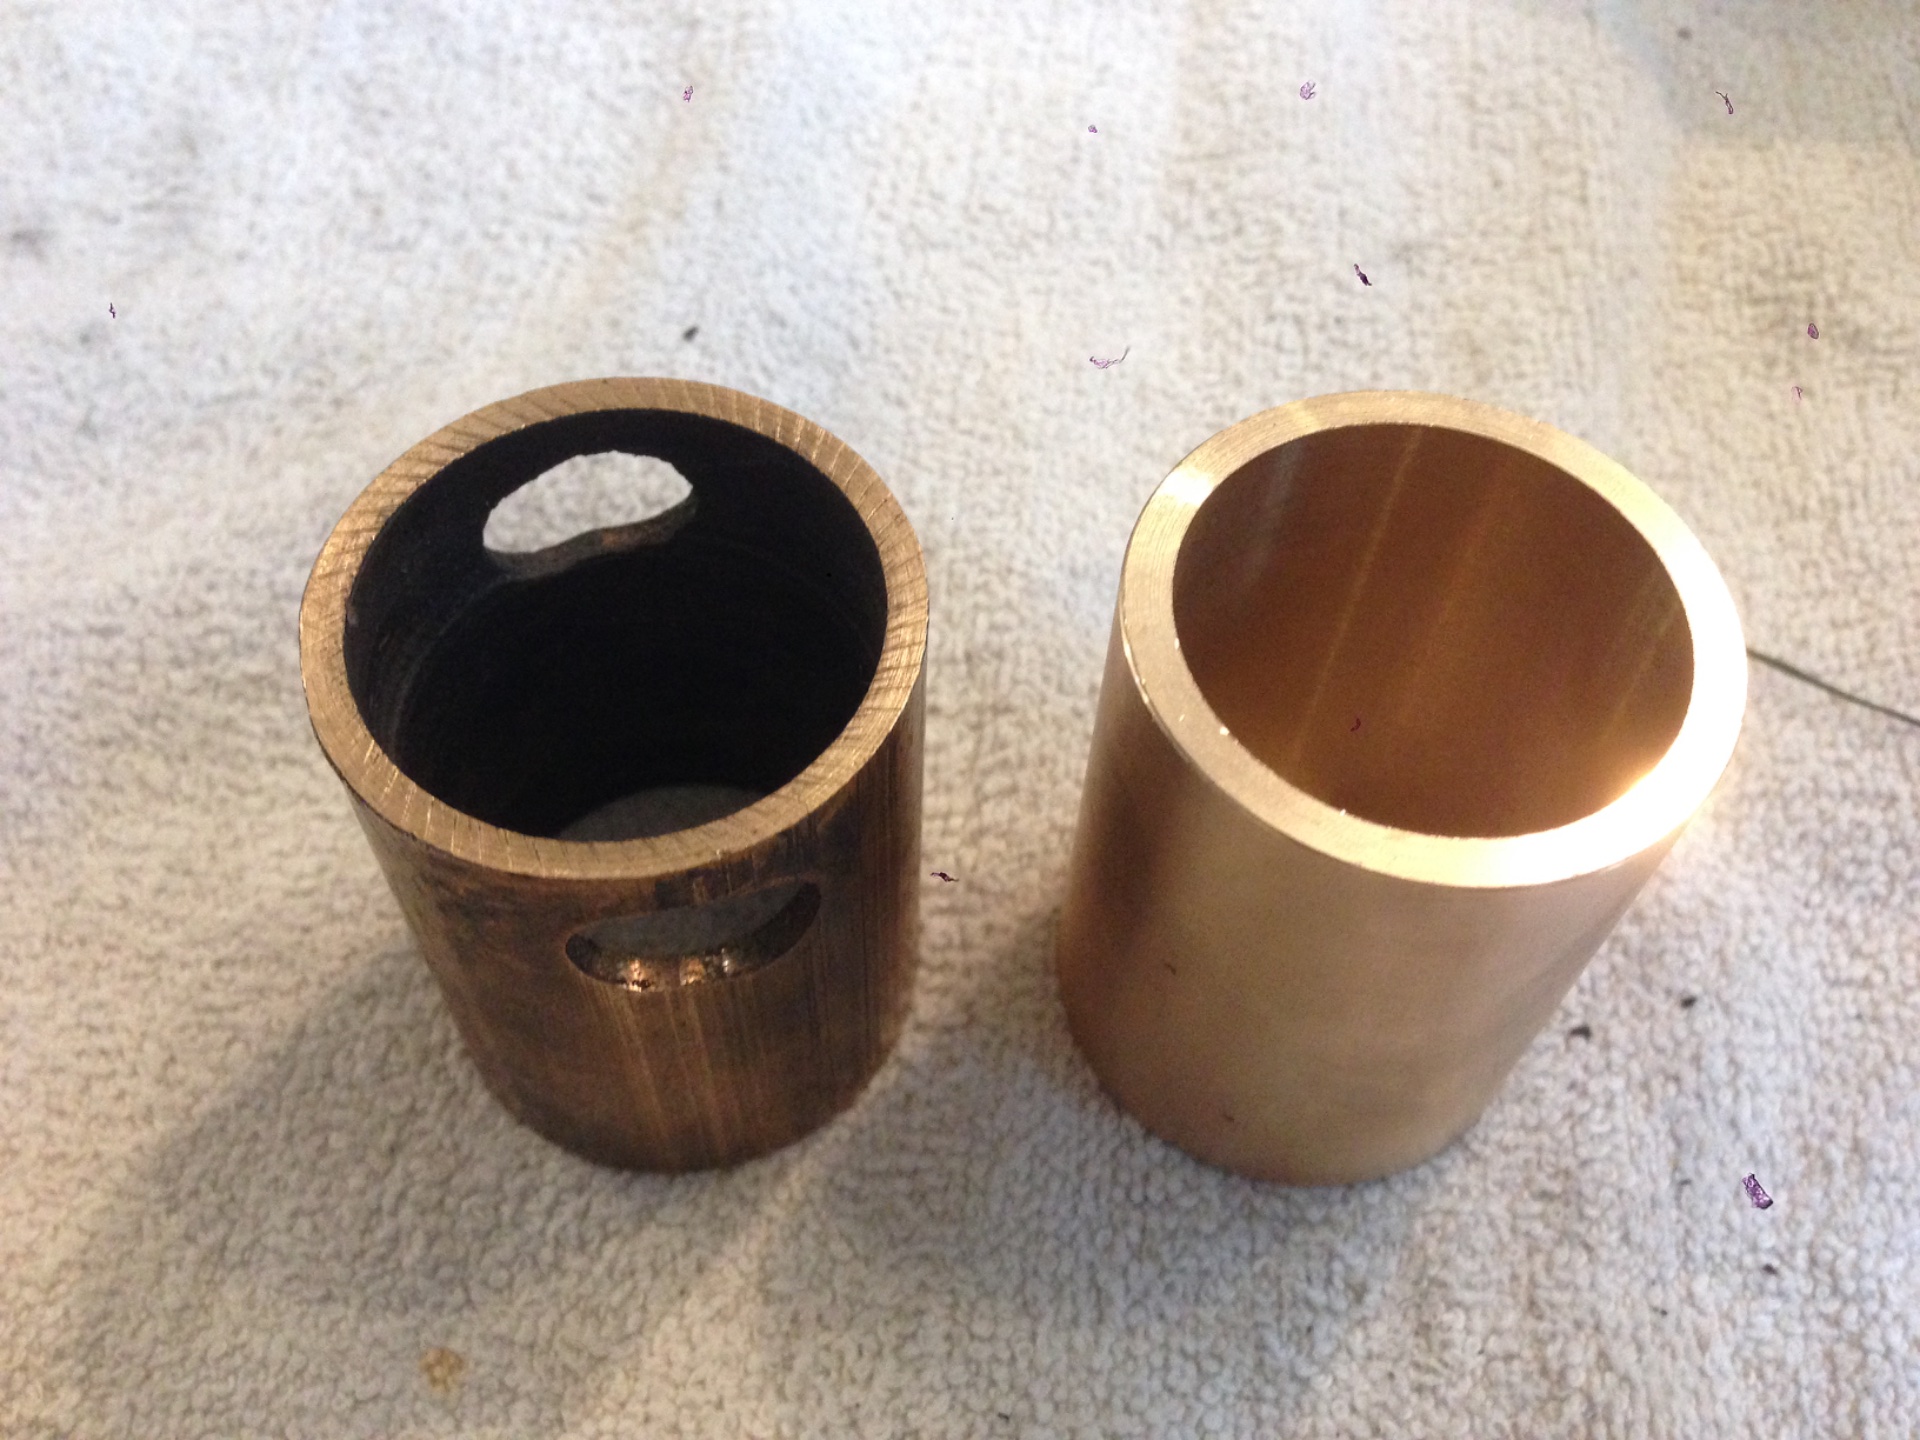
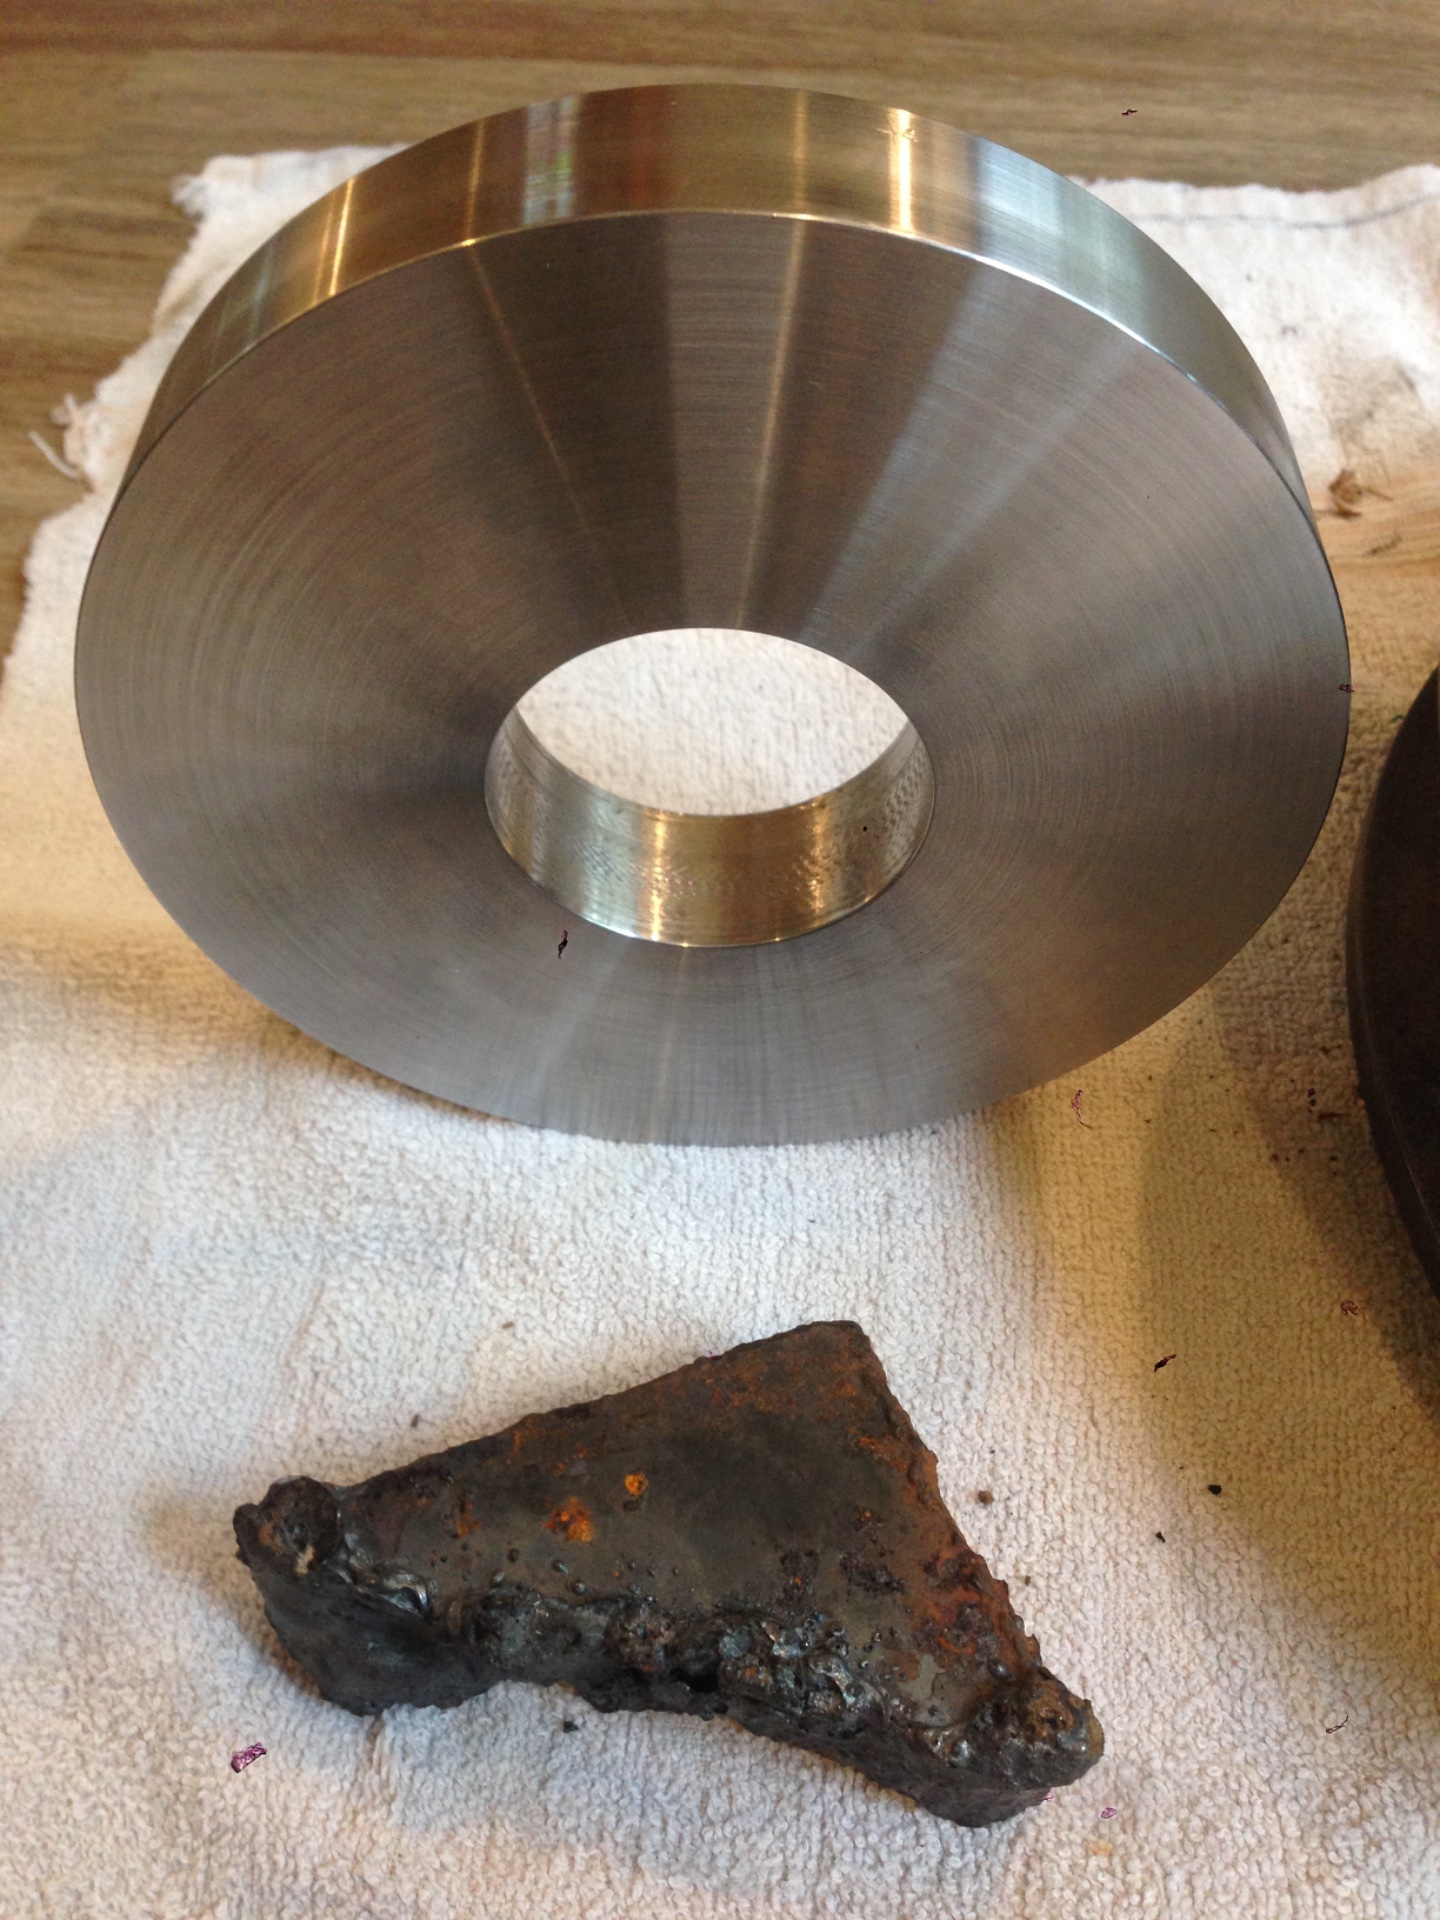
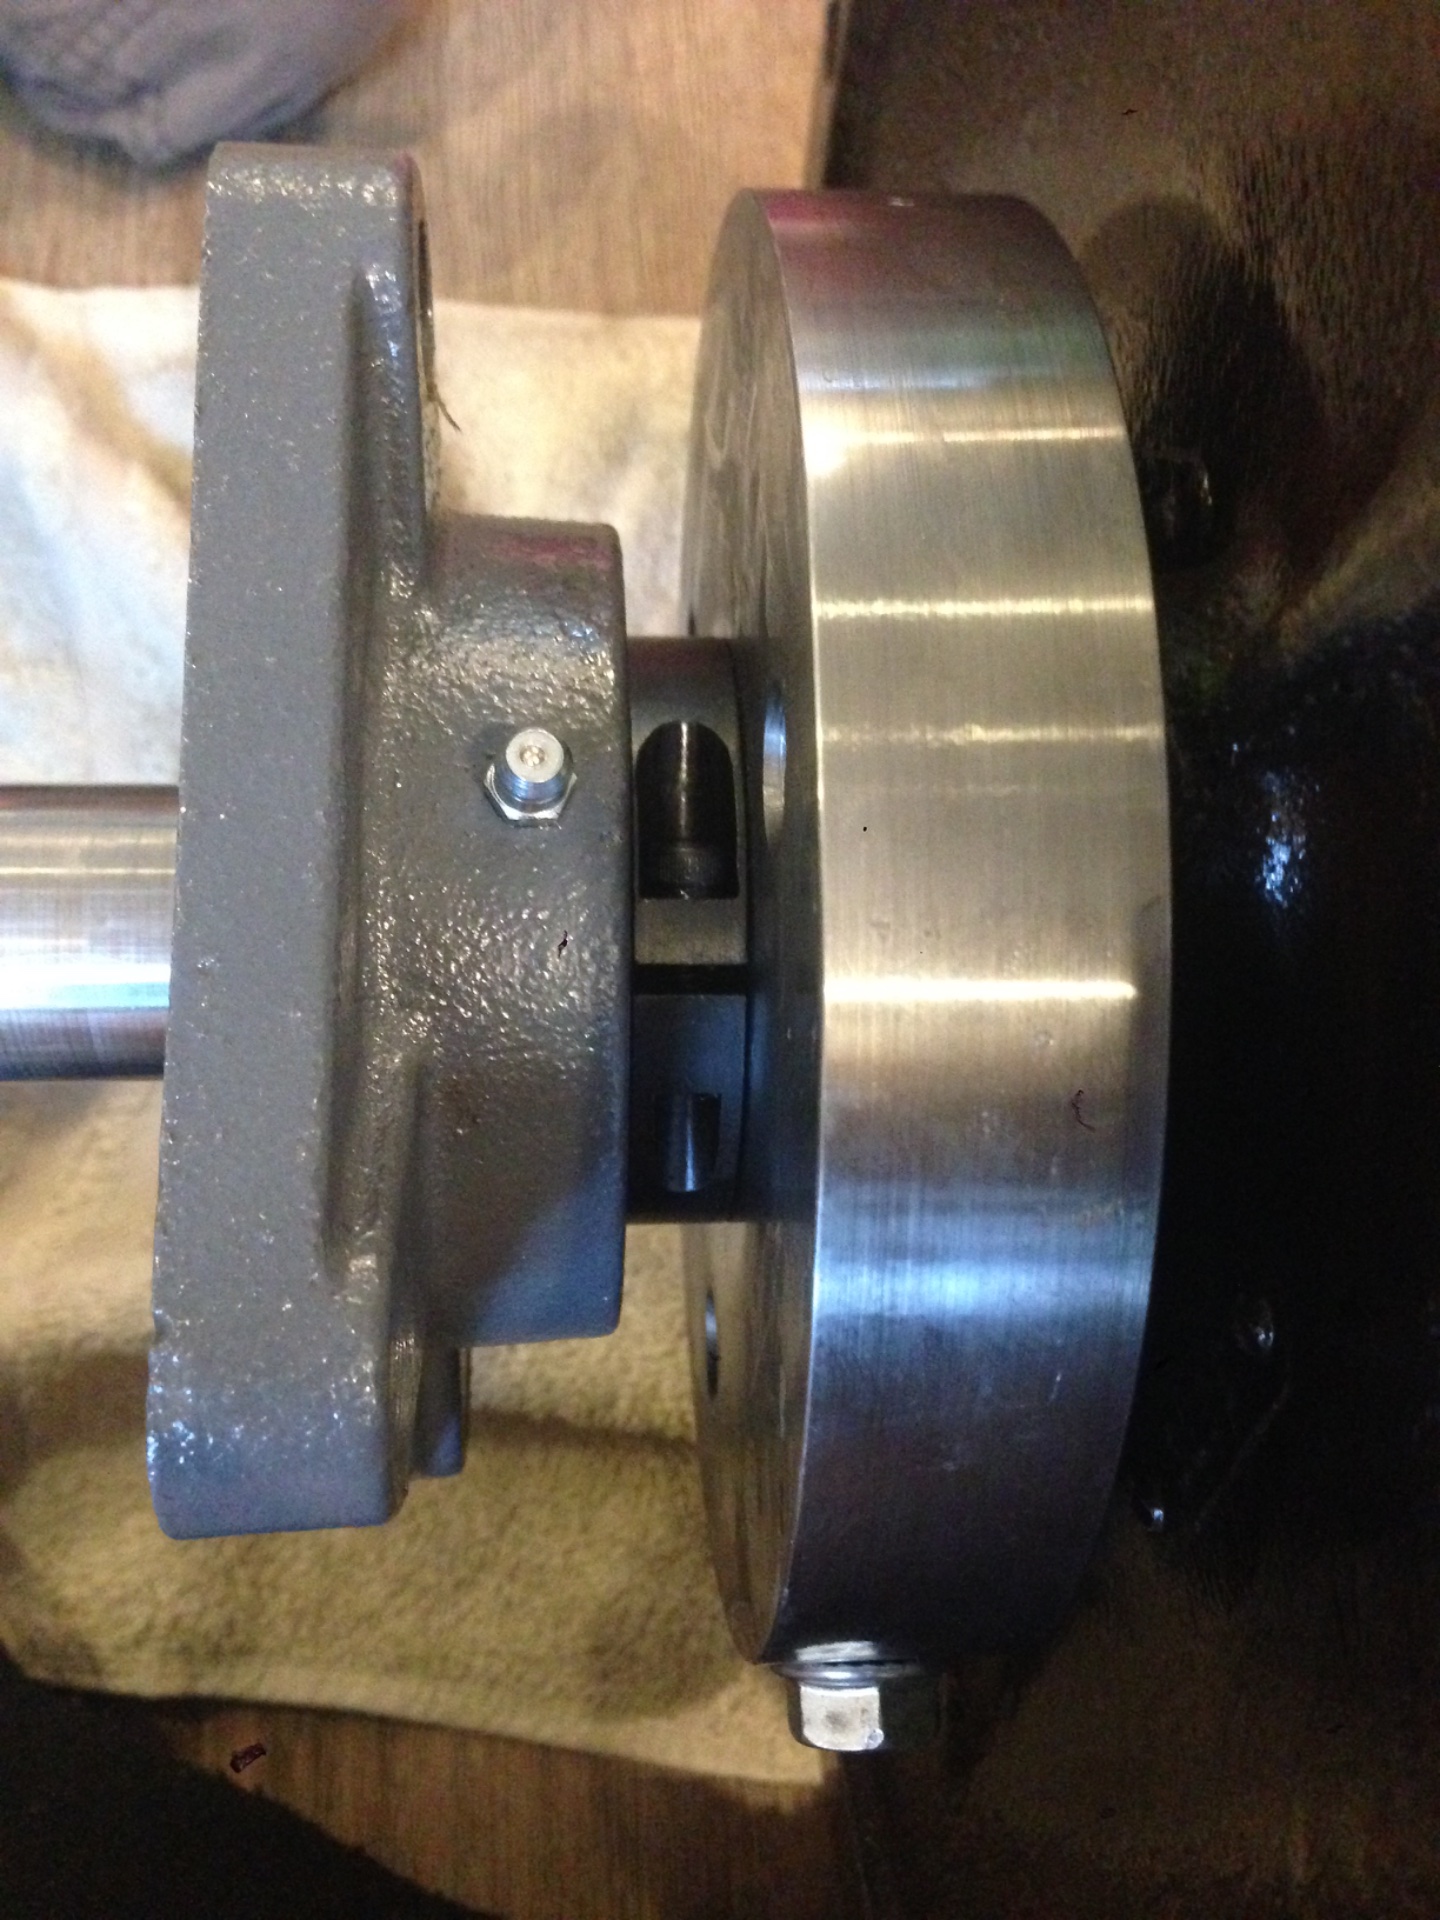
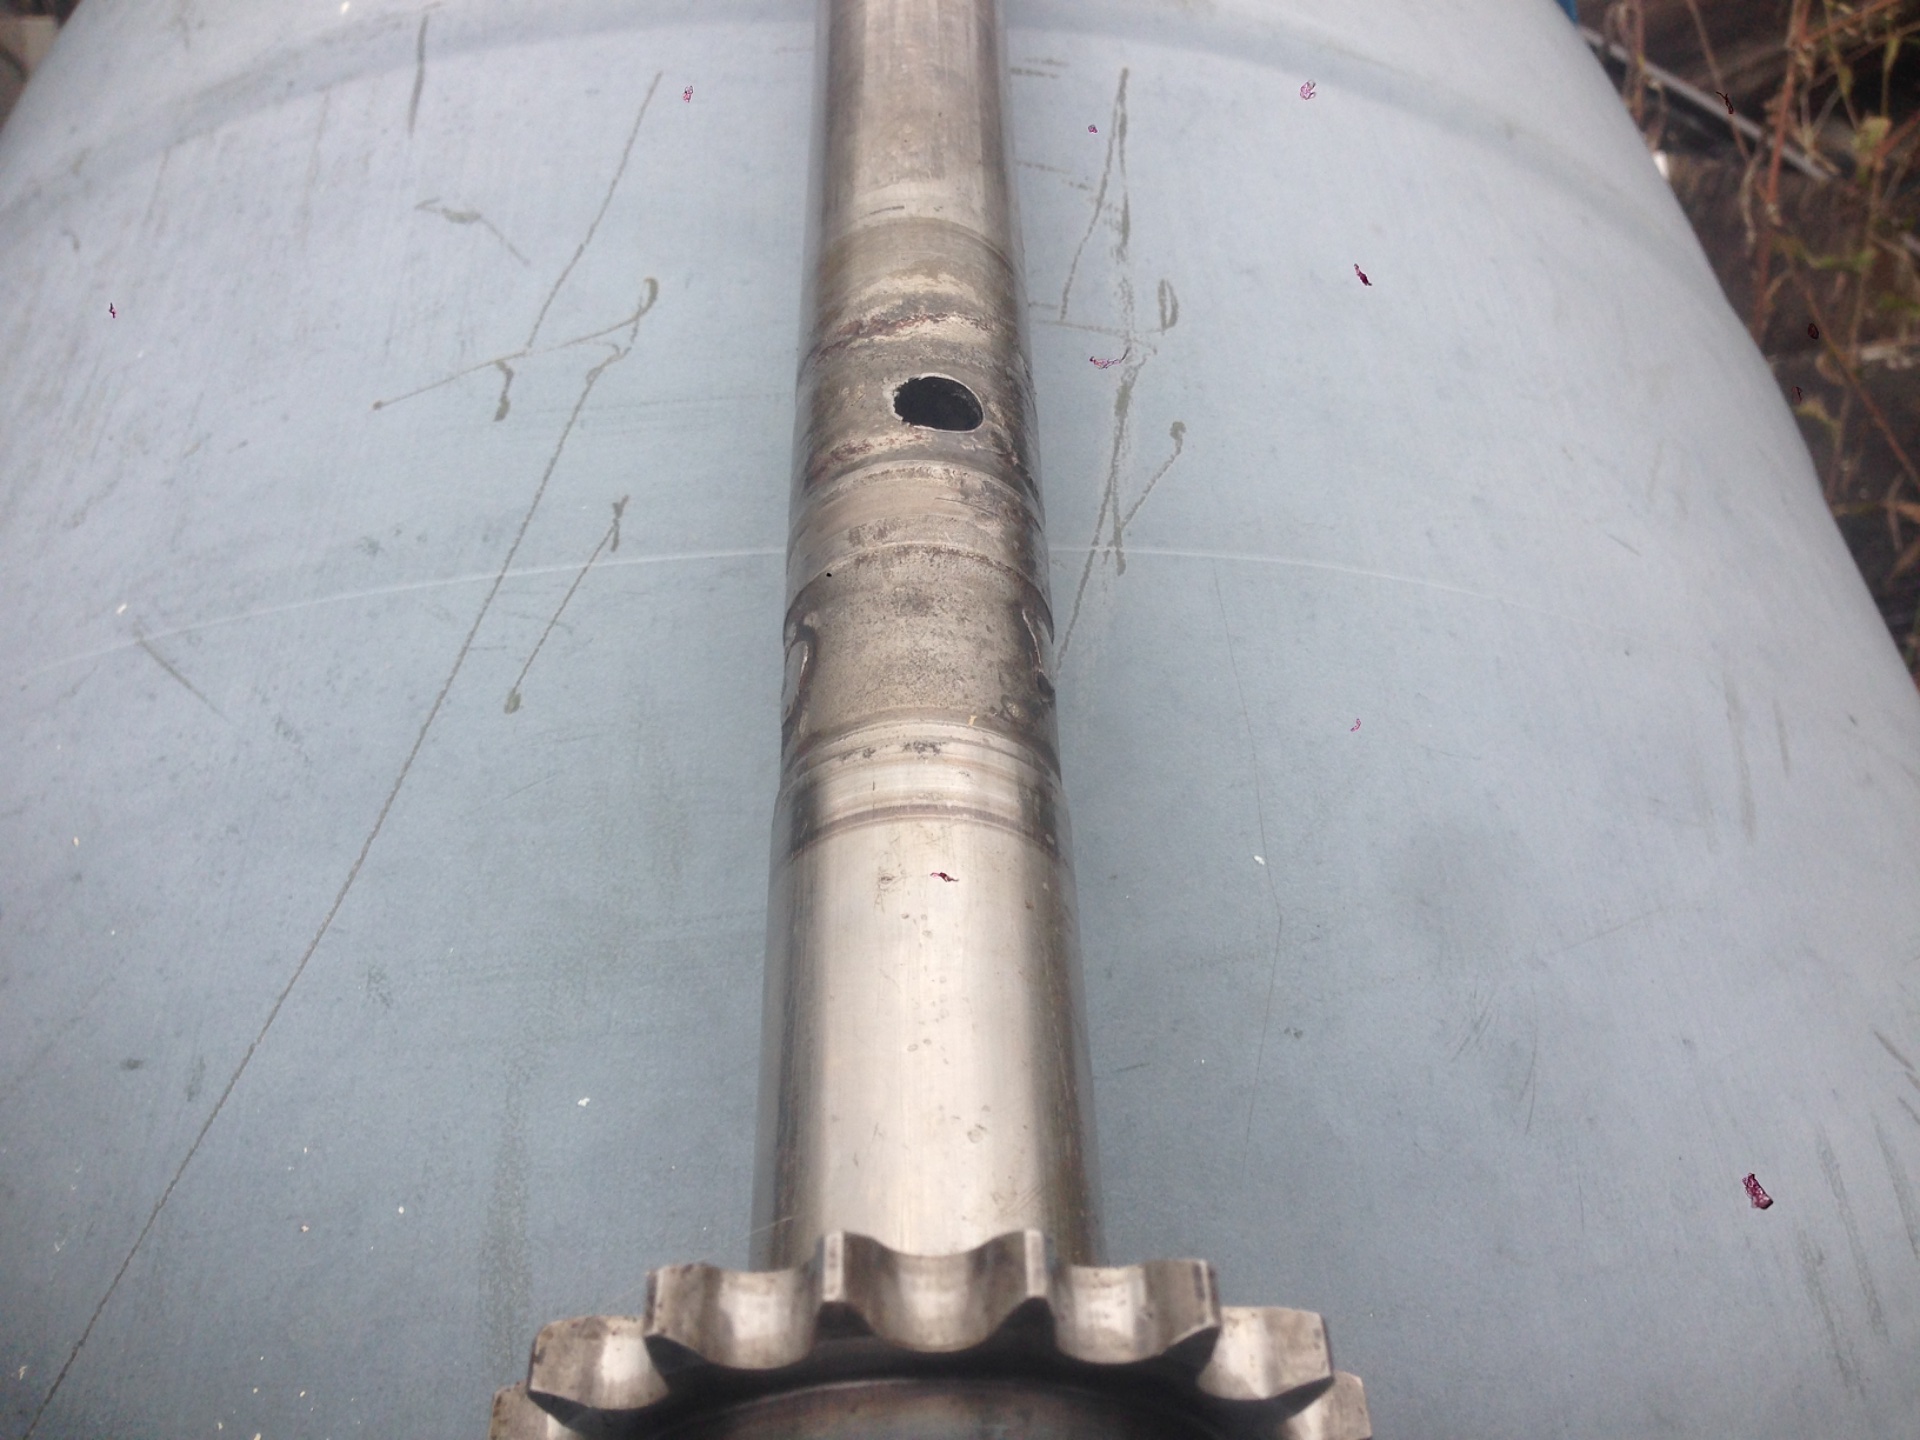
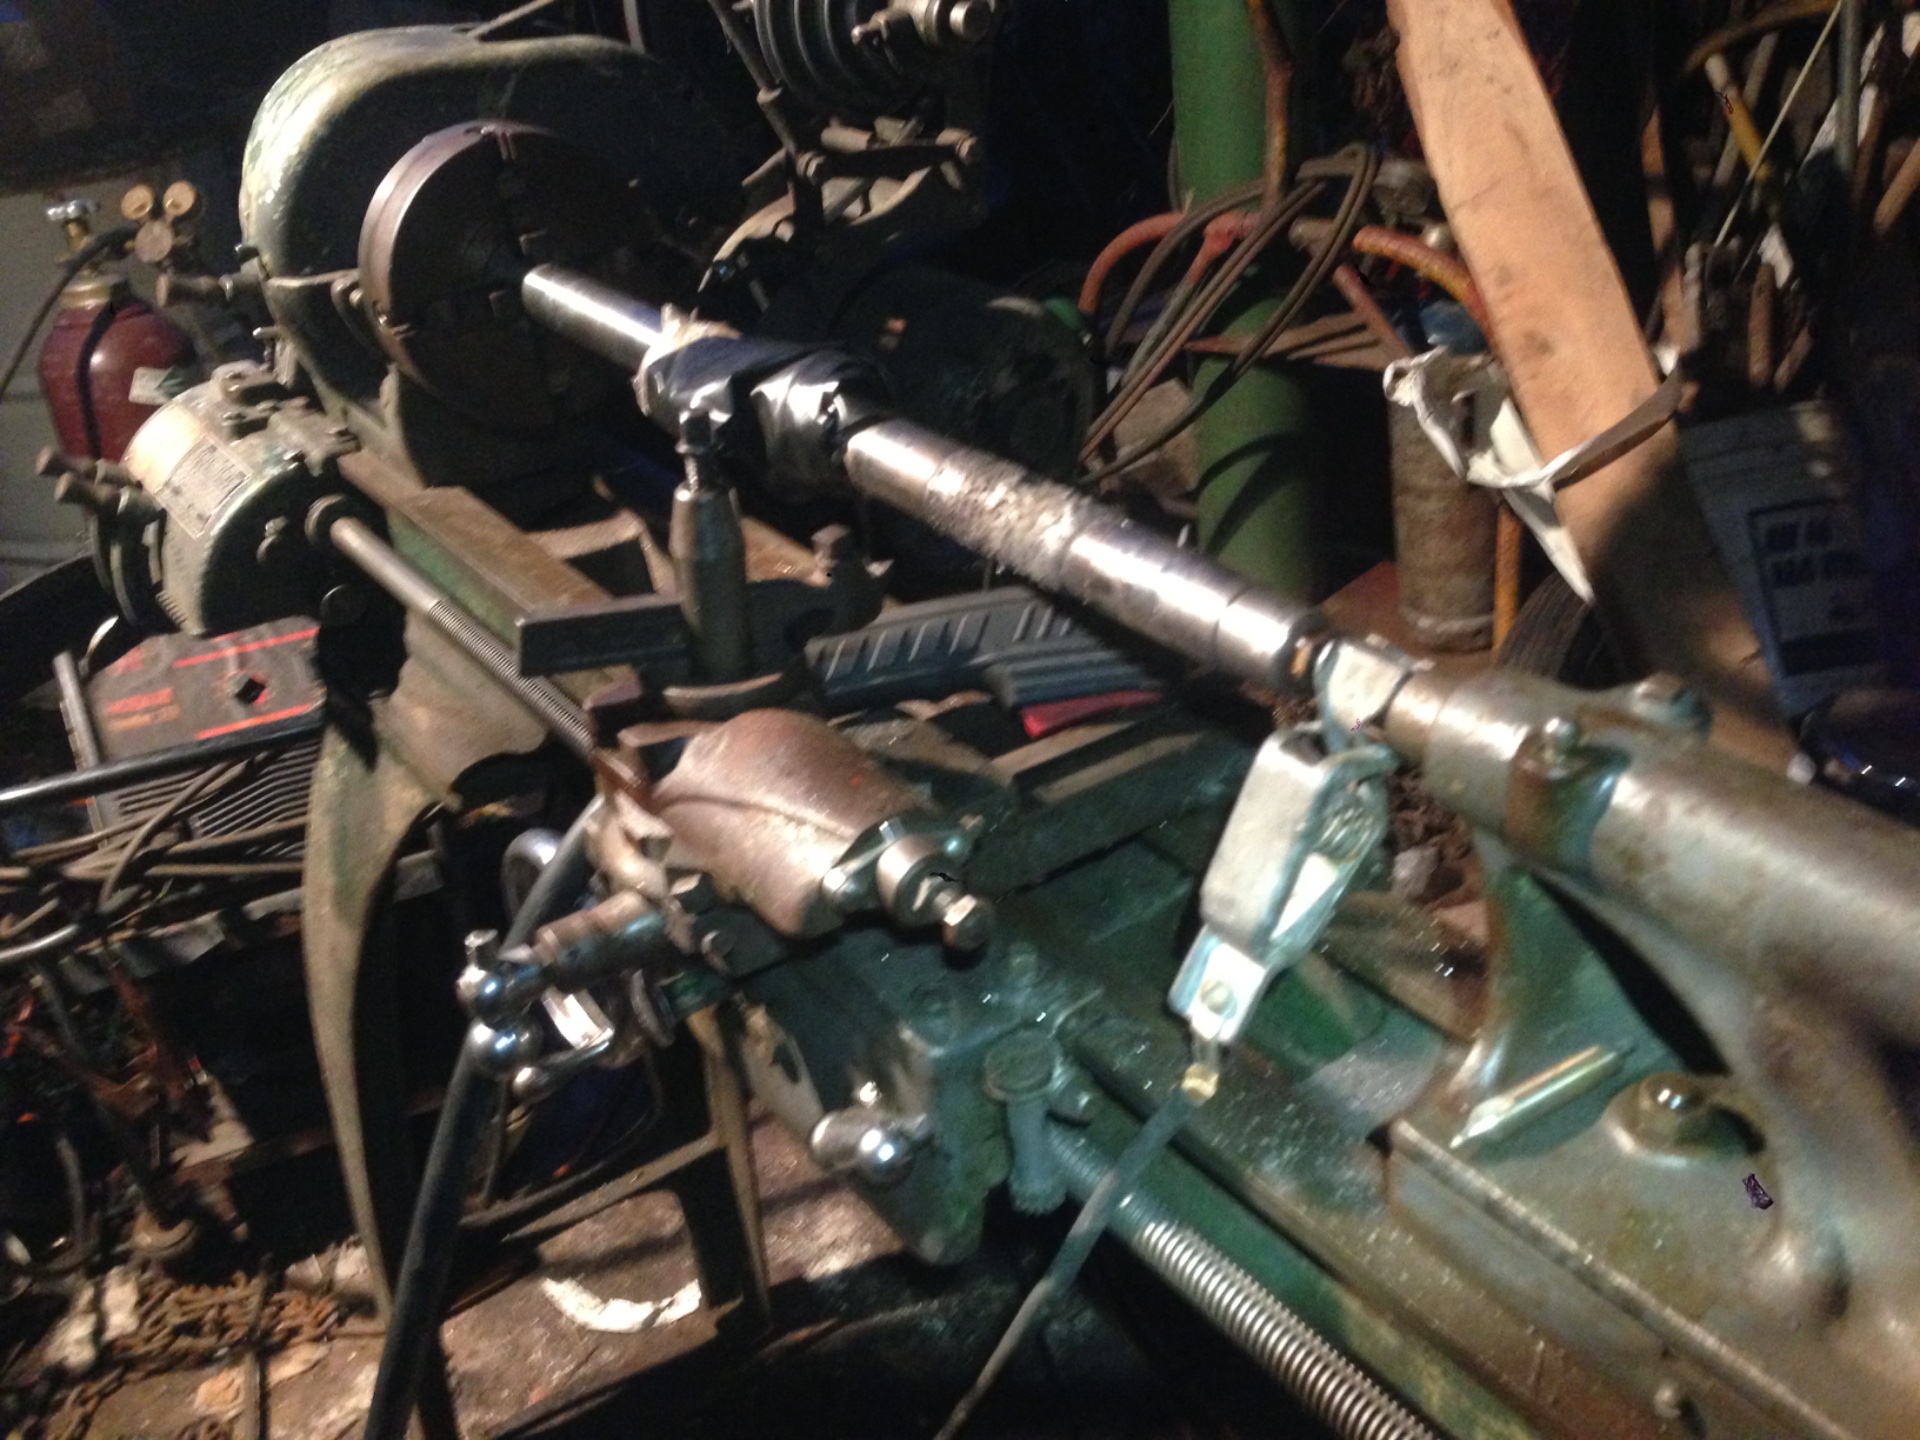
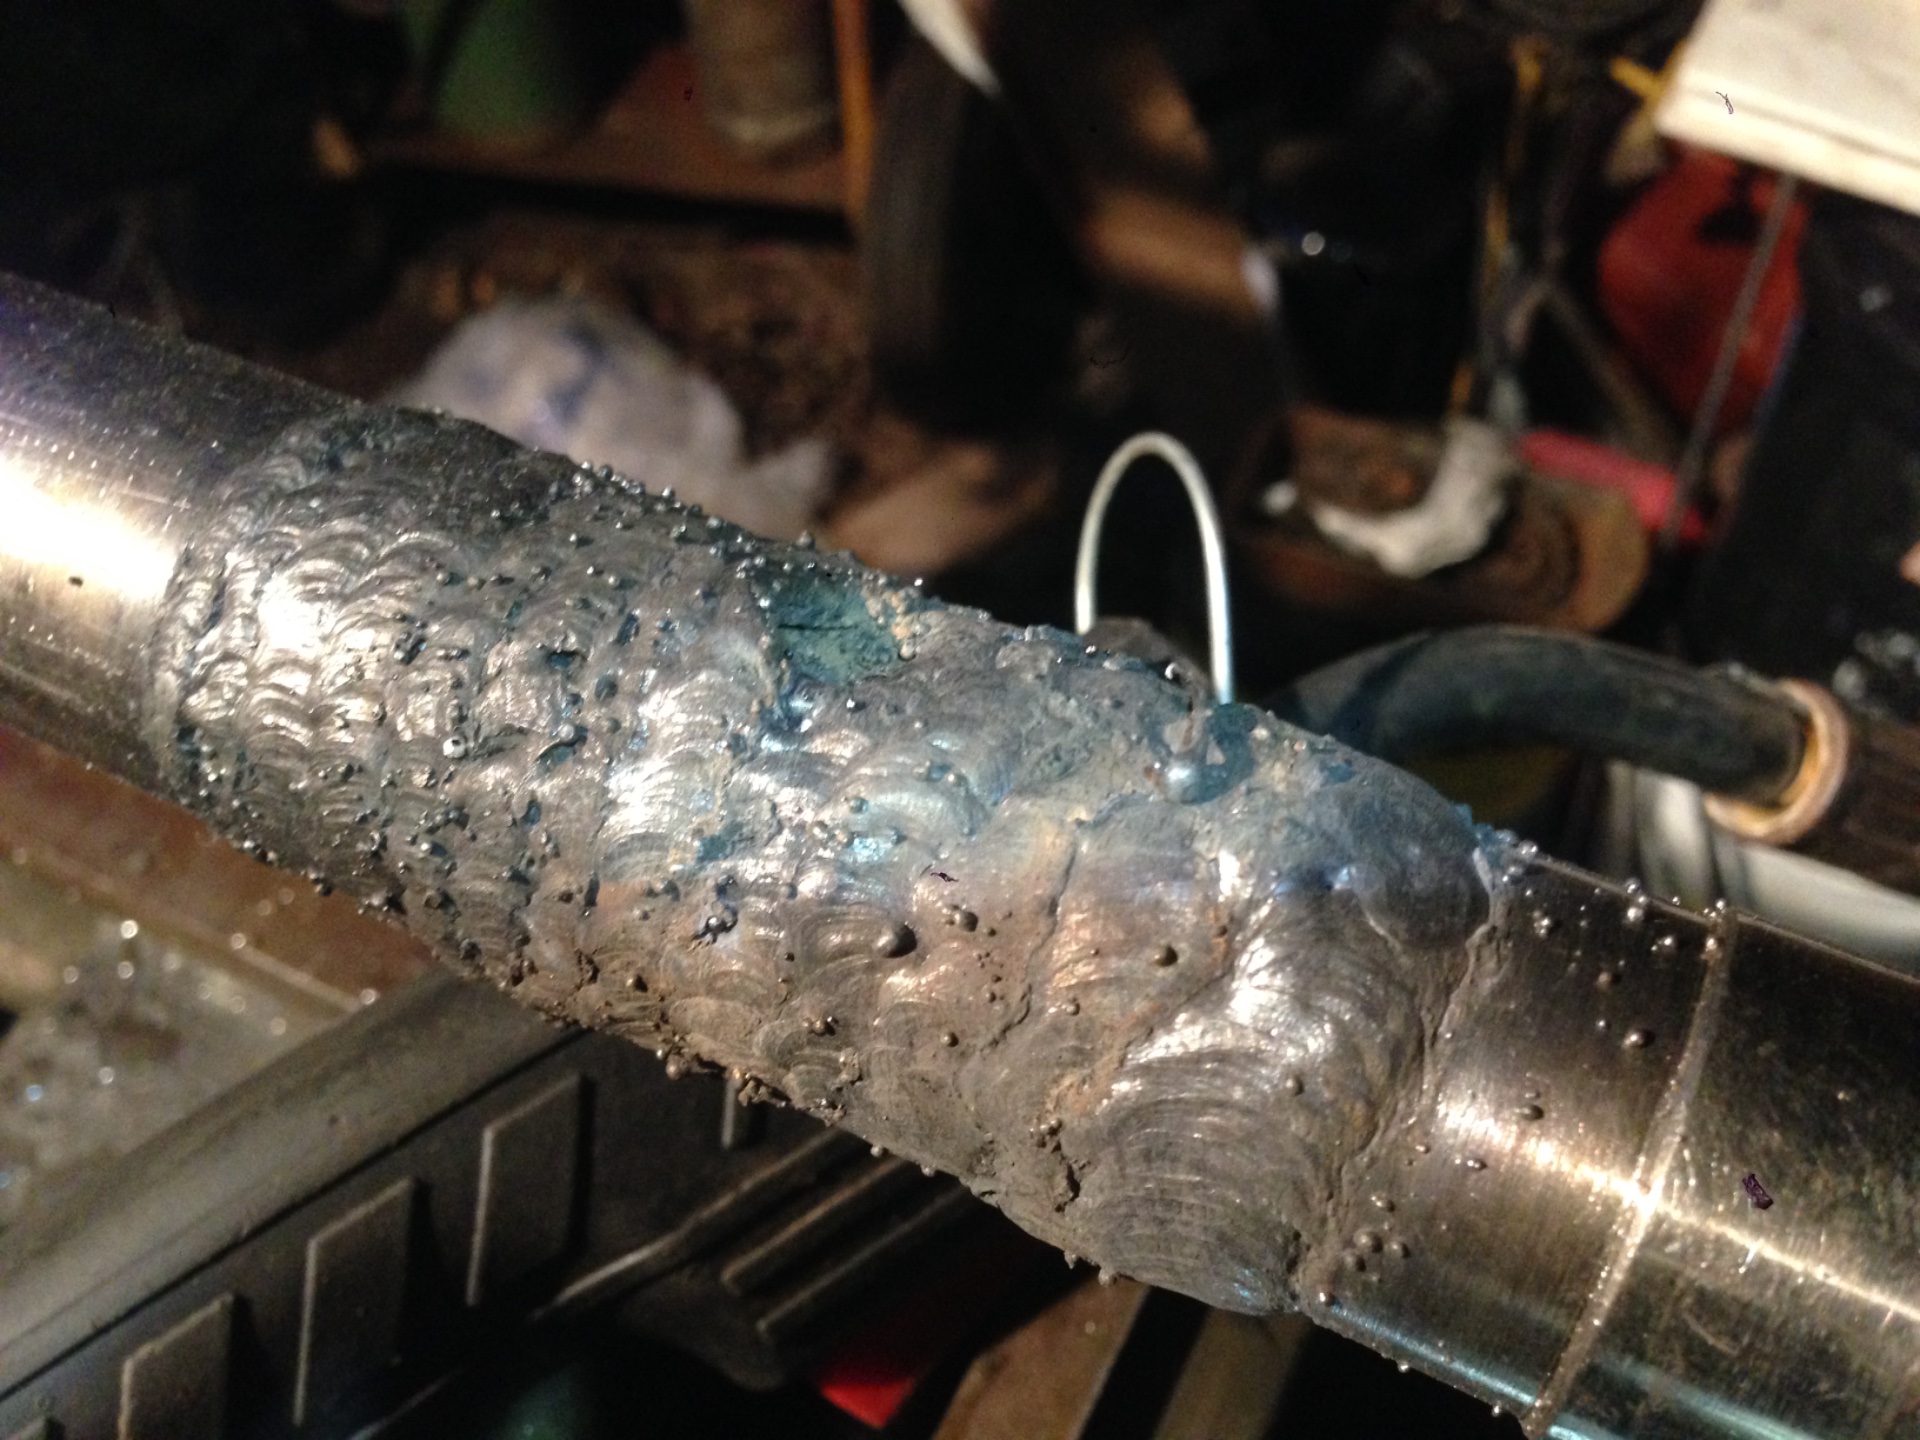
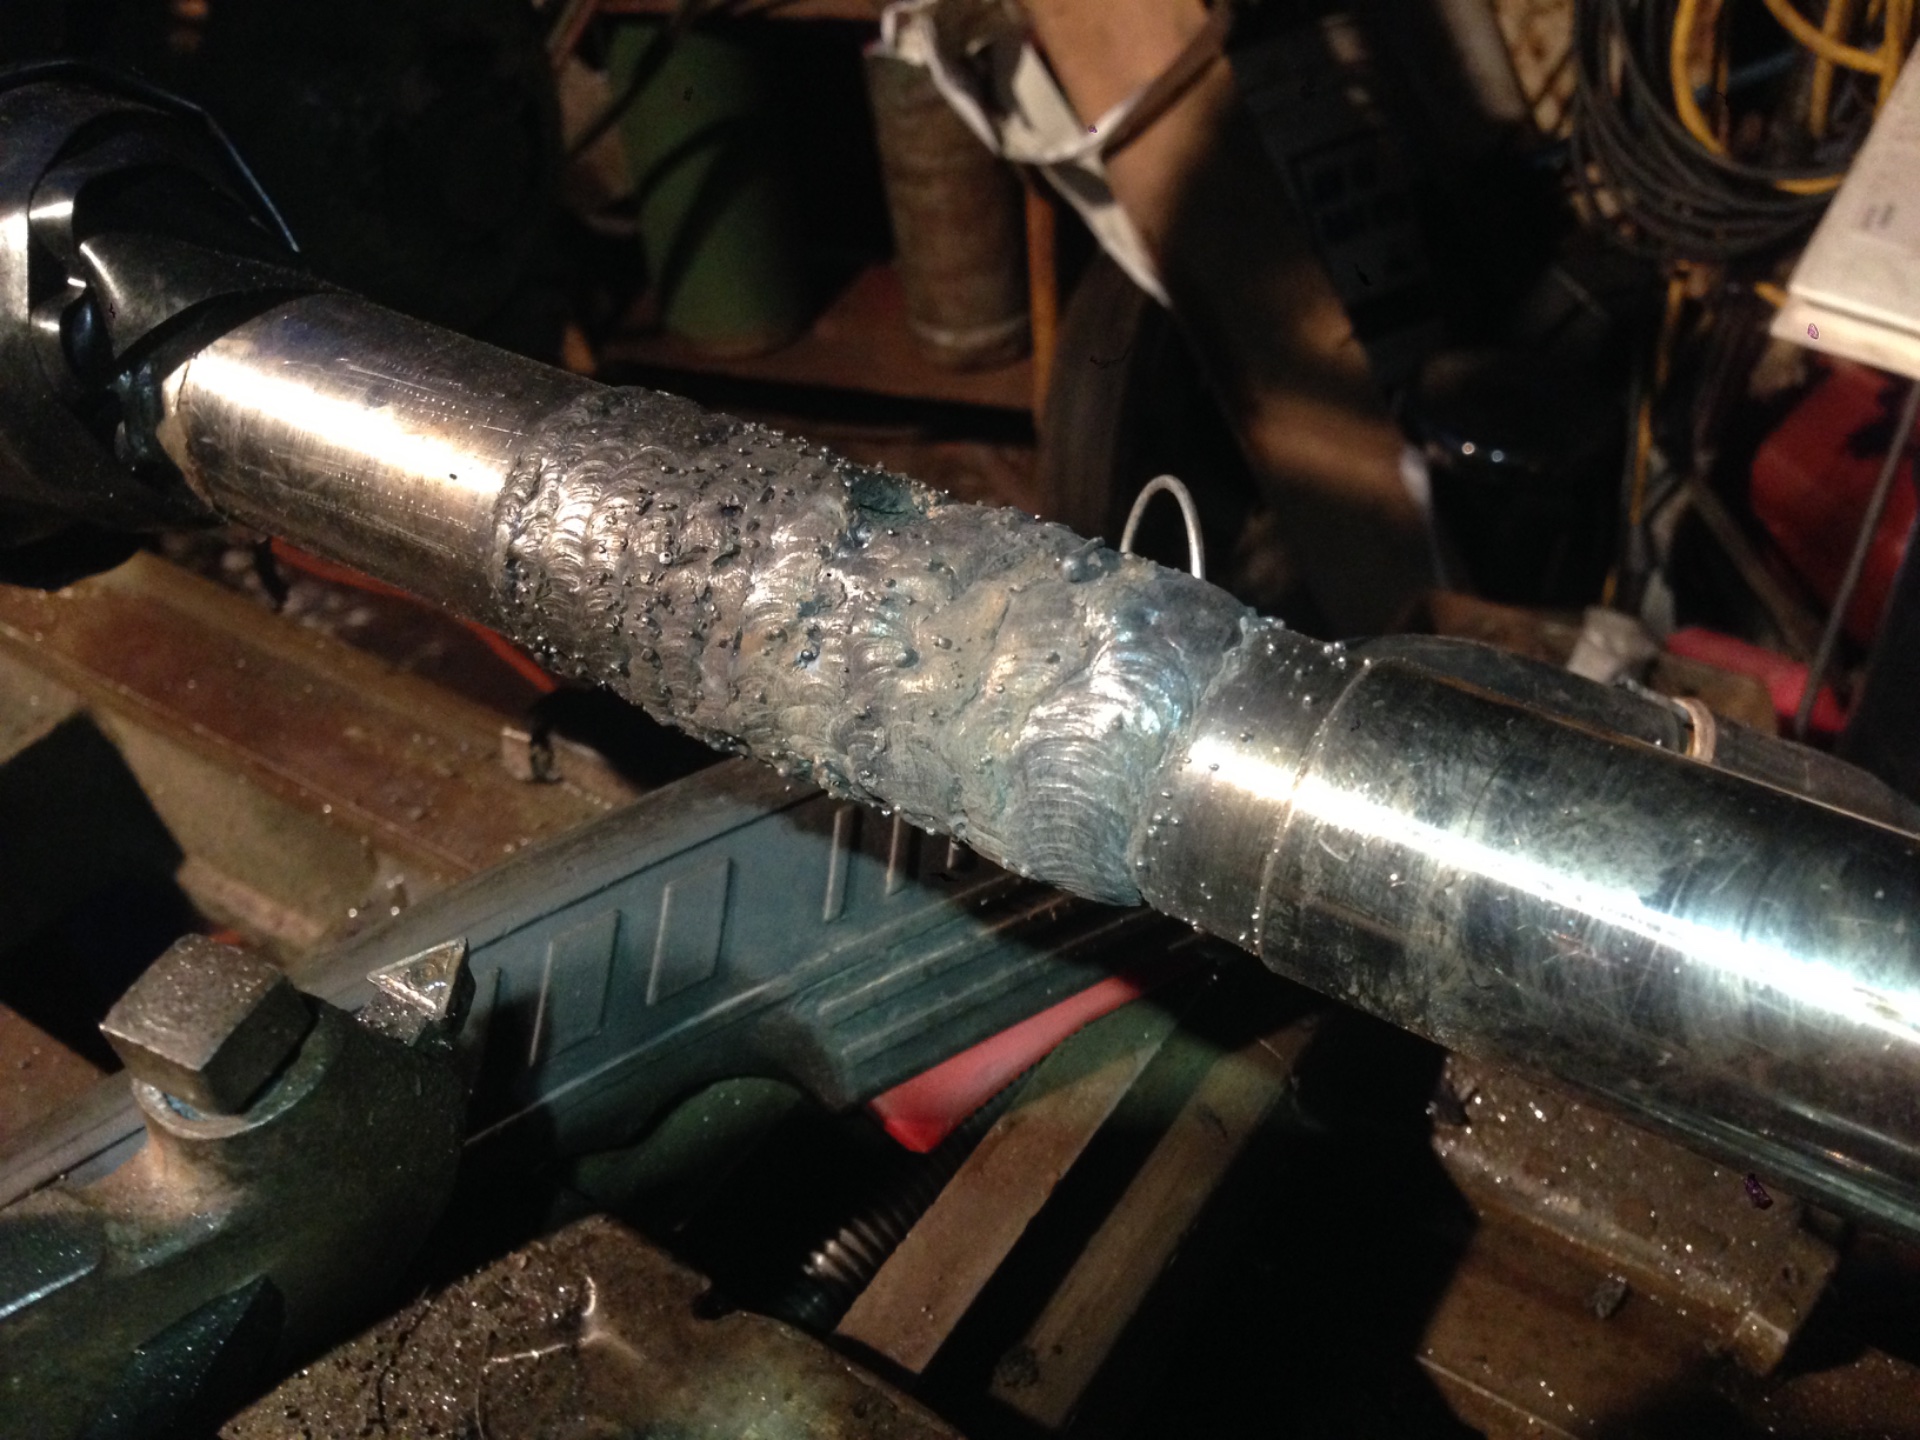
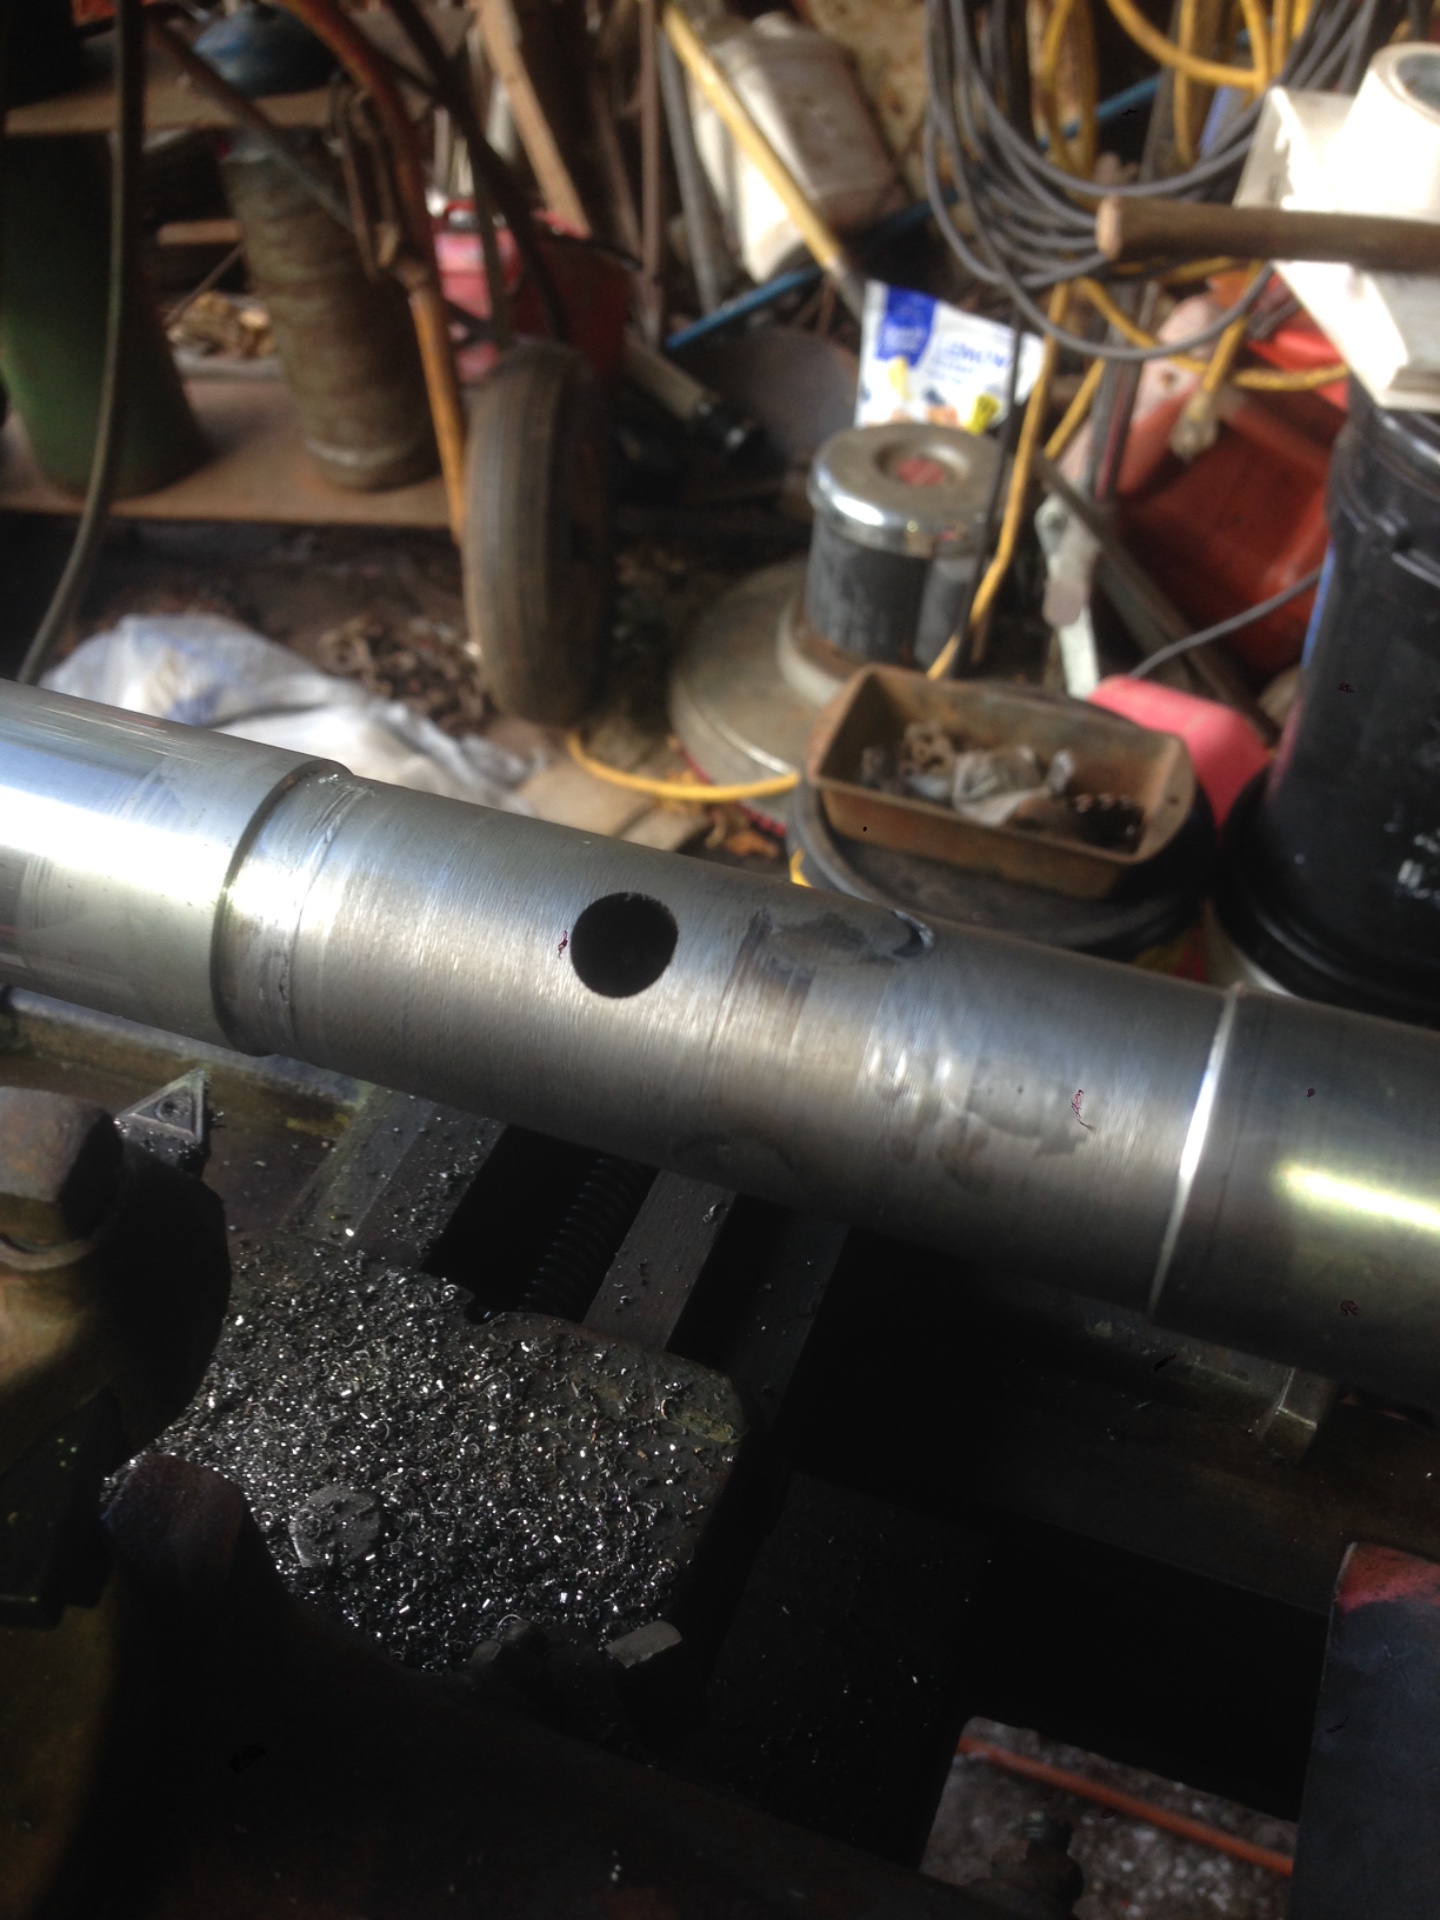
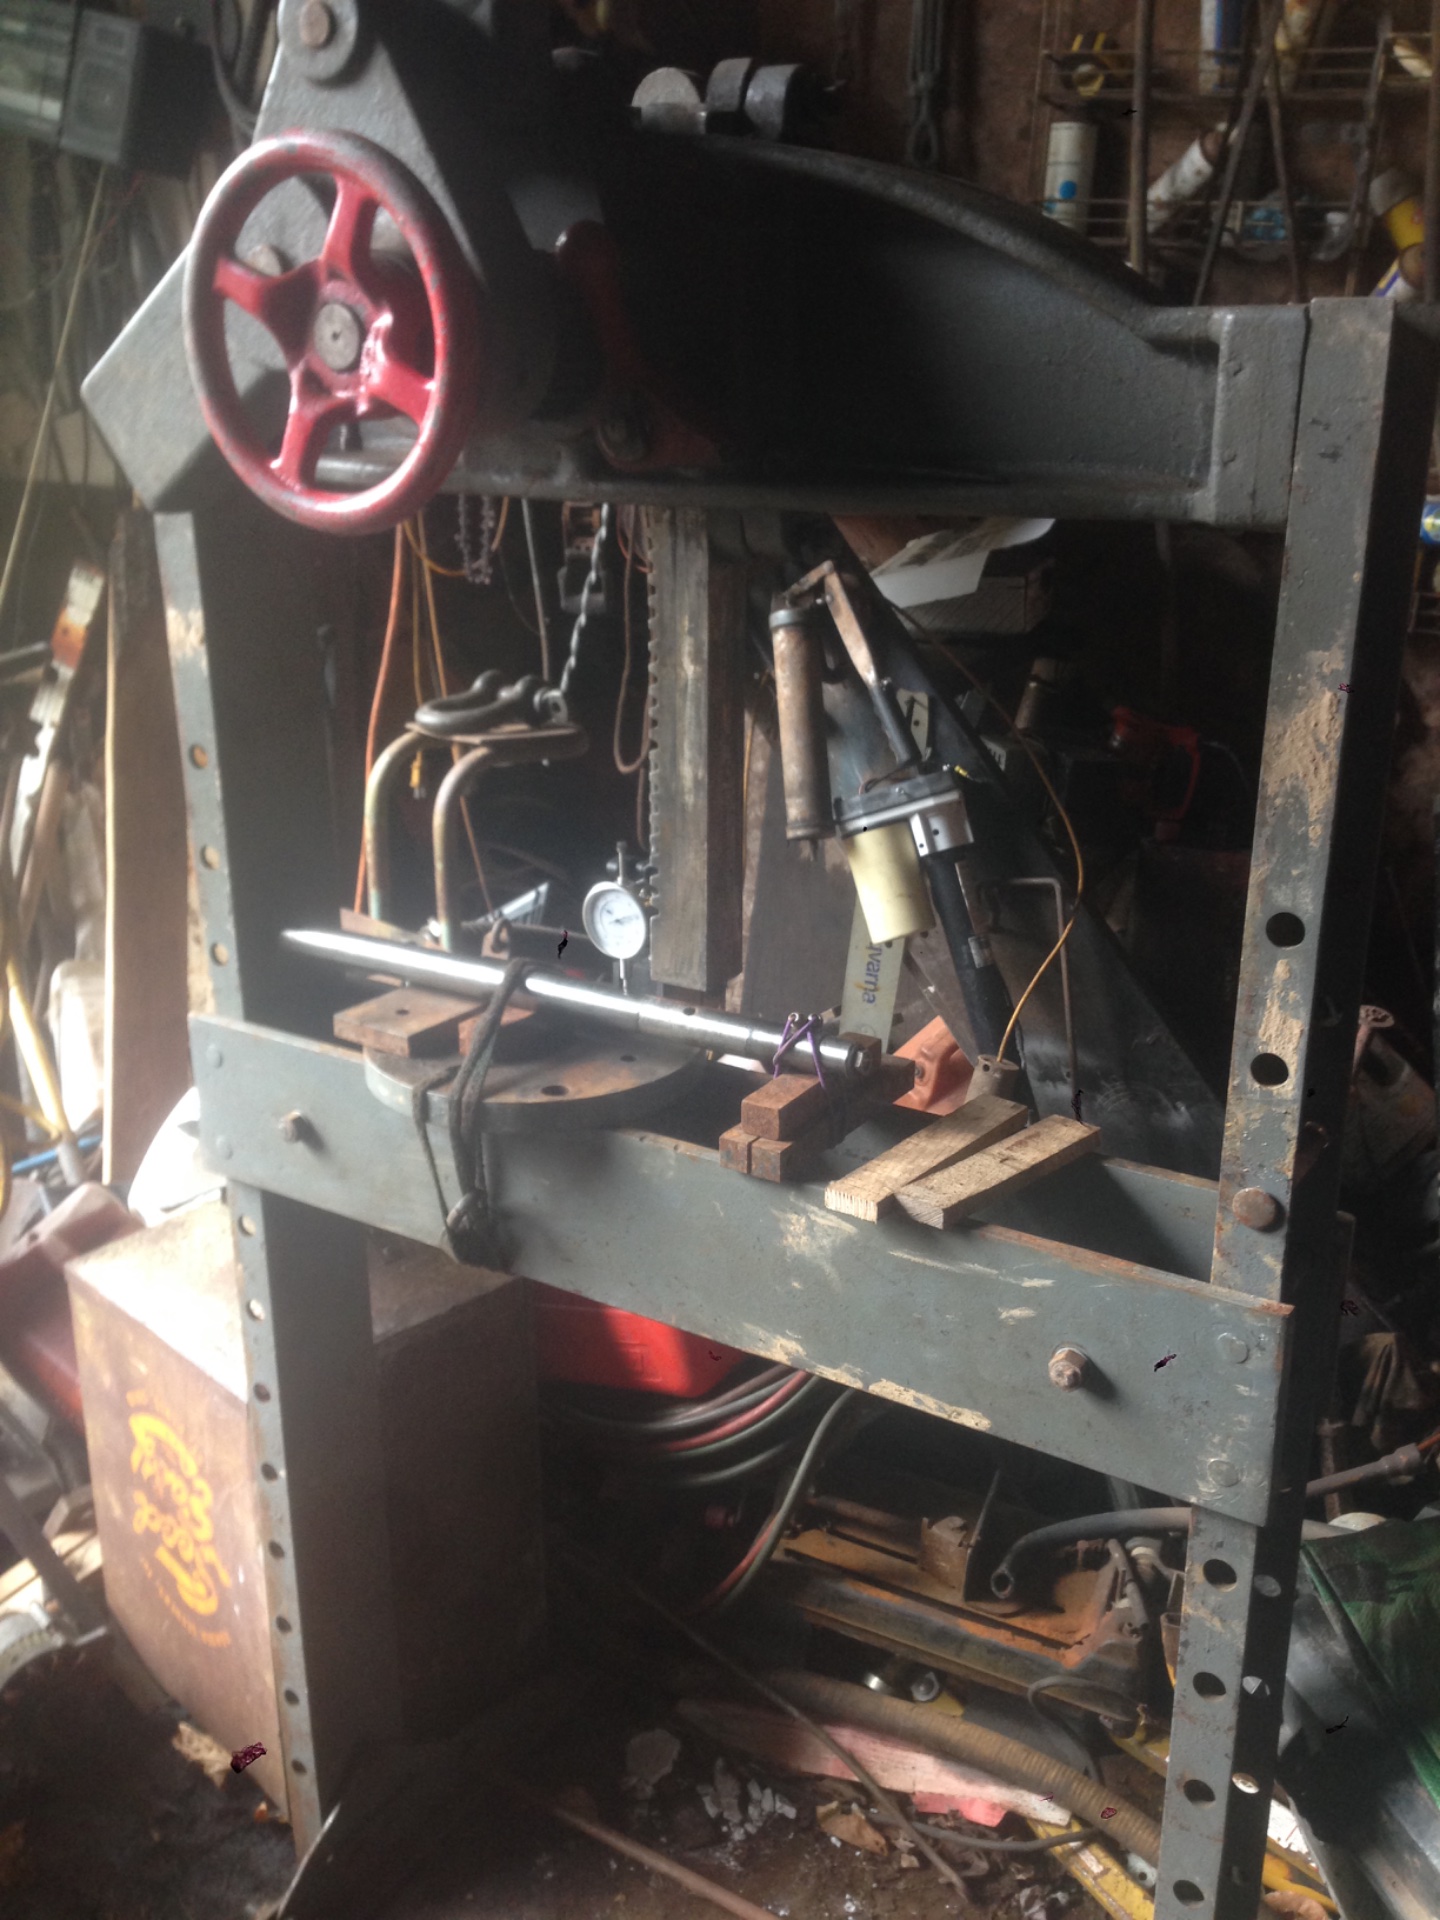
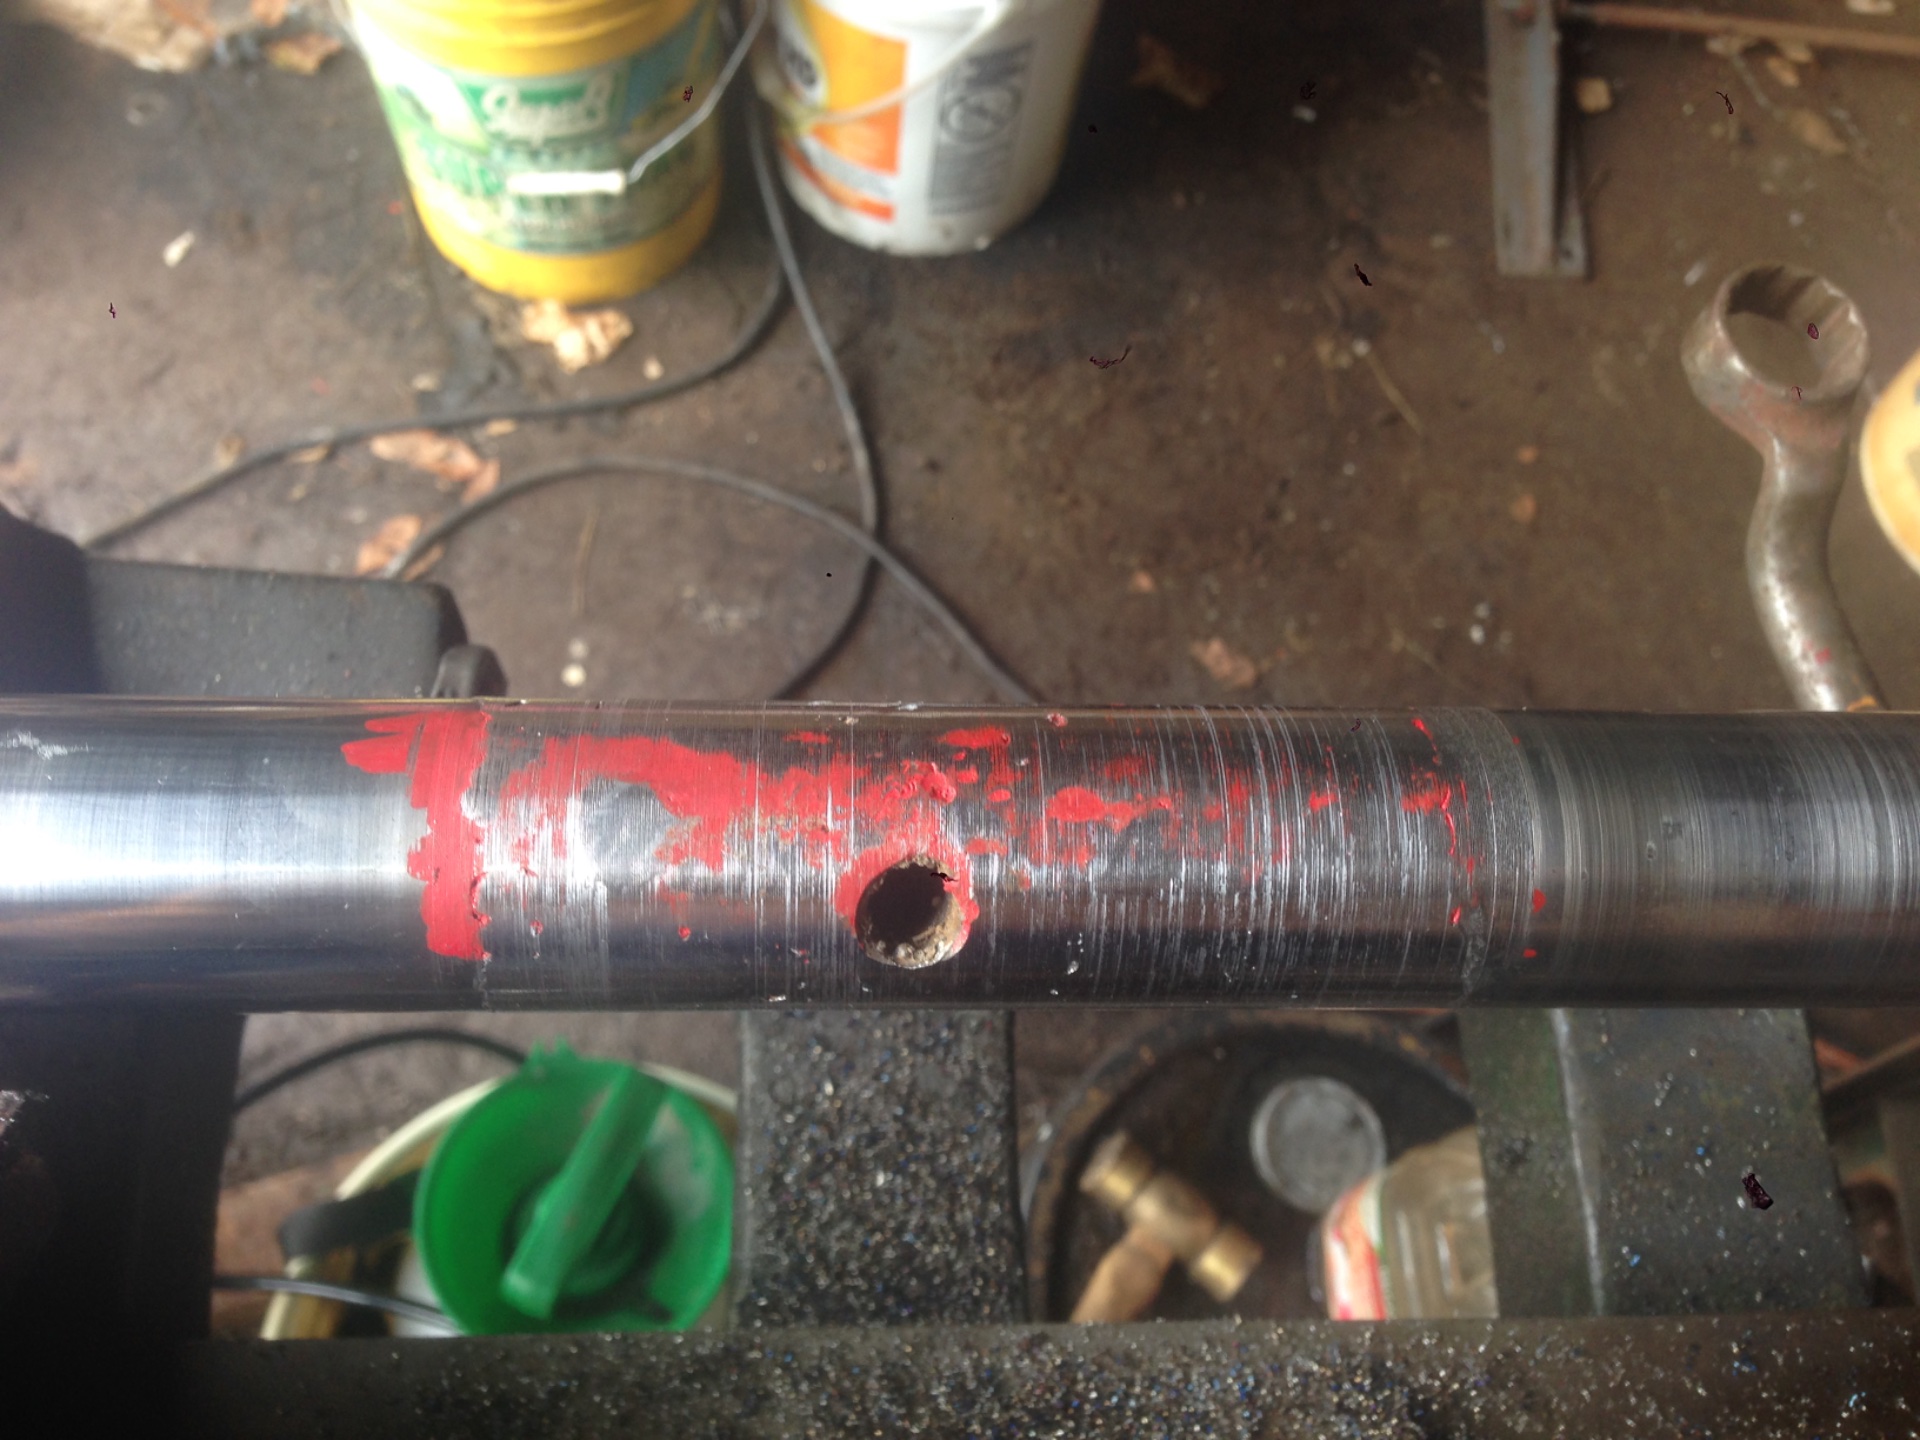
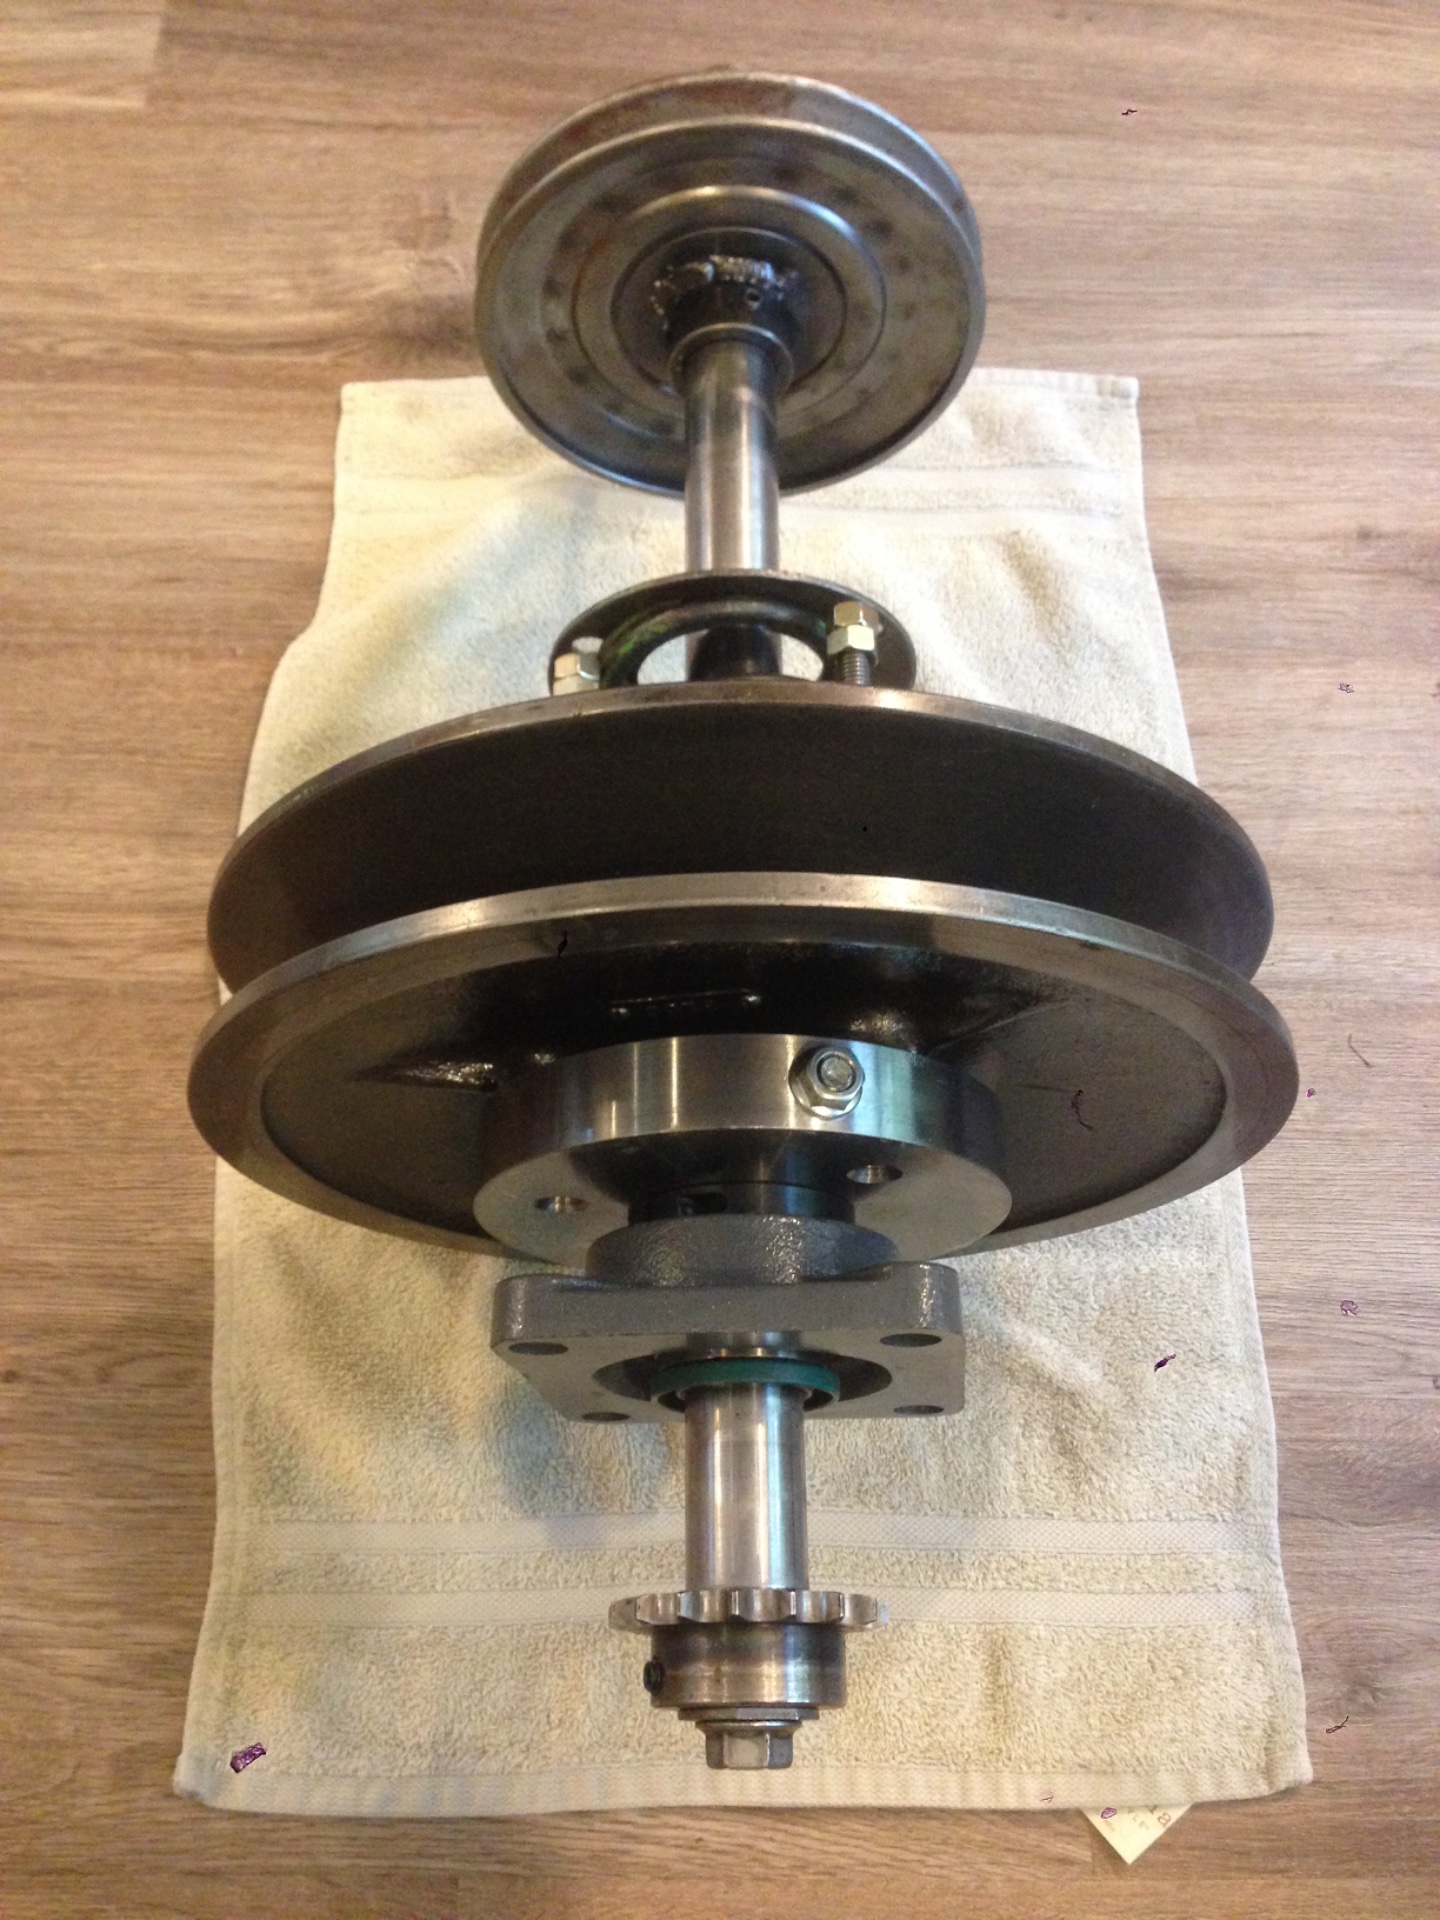
I used a piece of 1” thick steel sheet to make a 6” “donut drive” this transferred the power directly from the shaft to the drive studs. The pin is replaced with a hardened 6” bolt The shaft was bent and eaten up, so I used a press to bring it straight again and welded more material to build it up and smooth it off. In hindsight, I should have just bought a piece of 1.25” round and drilled a hole in one end and a key way on the other. I made custom bushings and installed o-rings to prevent grease from going to the inside of the unit and getting it on the belt. I also drilled journals to supply grease to the drive studs from the center shaft.
 

Attachments

  • IMG_9249.jpeg
    IMG_9249.jpeg
    473.3 KB
  • IMG_9250.jpeg
    IMG_9250.jpeg
    500.1 KB
  • IMG_9253.jpeg
    IMG_9253.jpeg
    576.5 KB
  • IMG_9252.jpeg
    IMG_9252.jpeg
    529.5 KB
  • IMG_9255.jpeg
    IMG_9255.jpeg
    557.6 KB
  • IMG_9258.jpeg
    IMG_9258.jpeg
    627.1 KB
Last edited:
Here is the shaft repair. The shaft must be smooth to keep the grease in between the shaft o-rings on the sliding half of the sheave.
 

Attachments

  • IMG_9176.jpeg
    IMG_9176.jpeg
    539.7 KB
  • IMG_9231.jpeg
    IMG_9231.jpeg
    687.6 KB
  • IMG_9230.jpeg
    IMG_9230.jpeg
    665.9 KB
  • IMG_9229.jpeg
    IMG_9229.jpeg
    611.4 KB
  • IMG_9178.jpeg
    IMG_9178.jpeg
    515.3 KB
  • IMG_9177.jpeg
    IMG_9177.jpeg
    616.7 KB
  • IMG_9232.jpeg
    IMG_9232.jpeg
    580.3 KB
  • IMG_9235.jpeg
    IMG_9235.jpeg
    572.9 KB
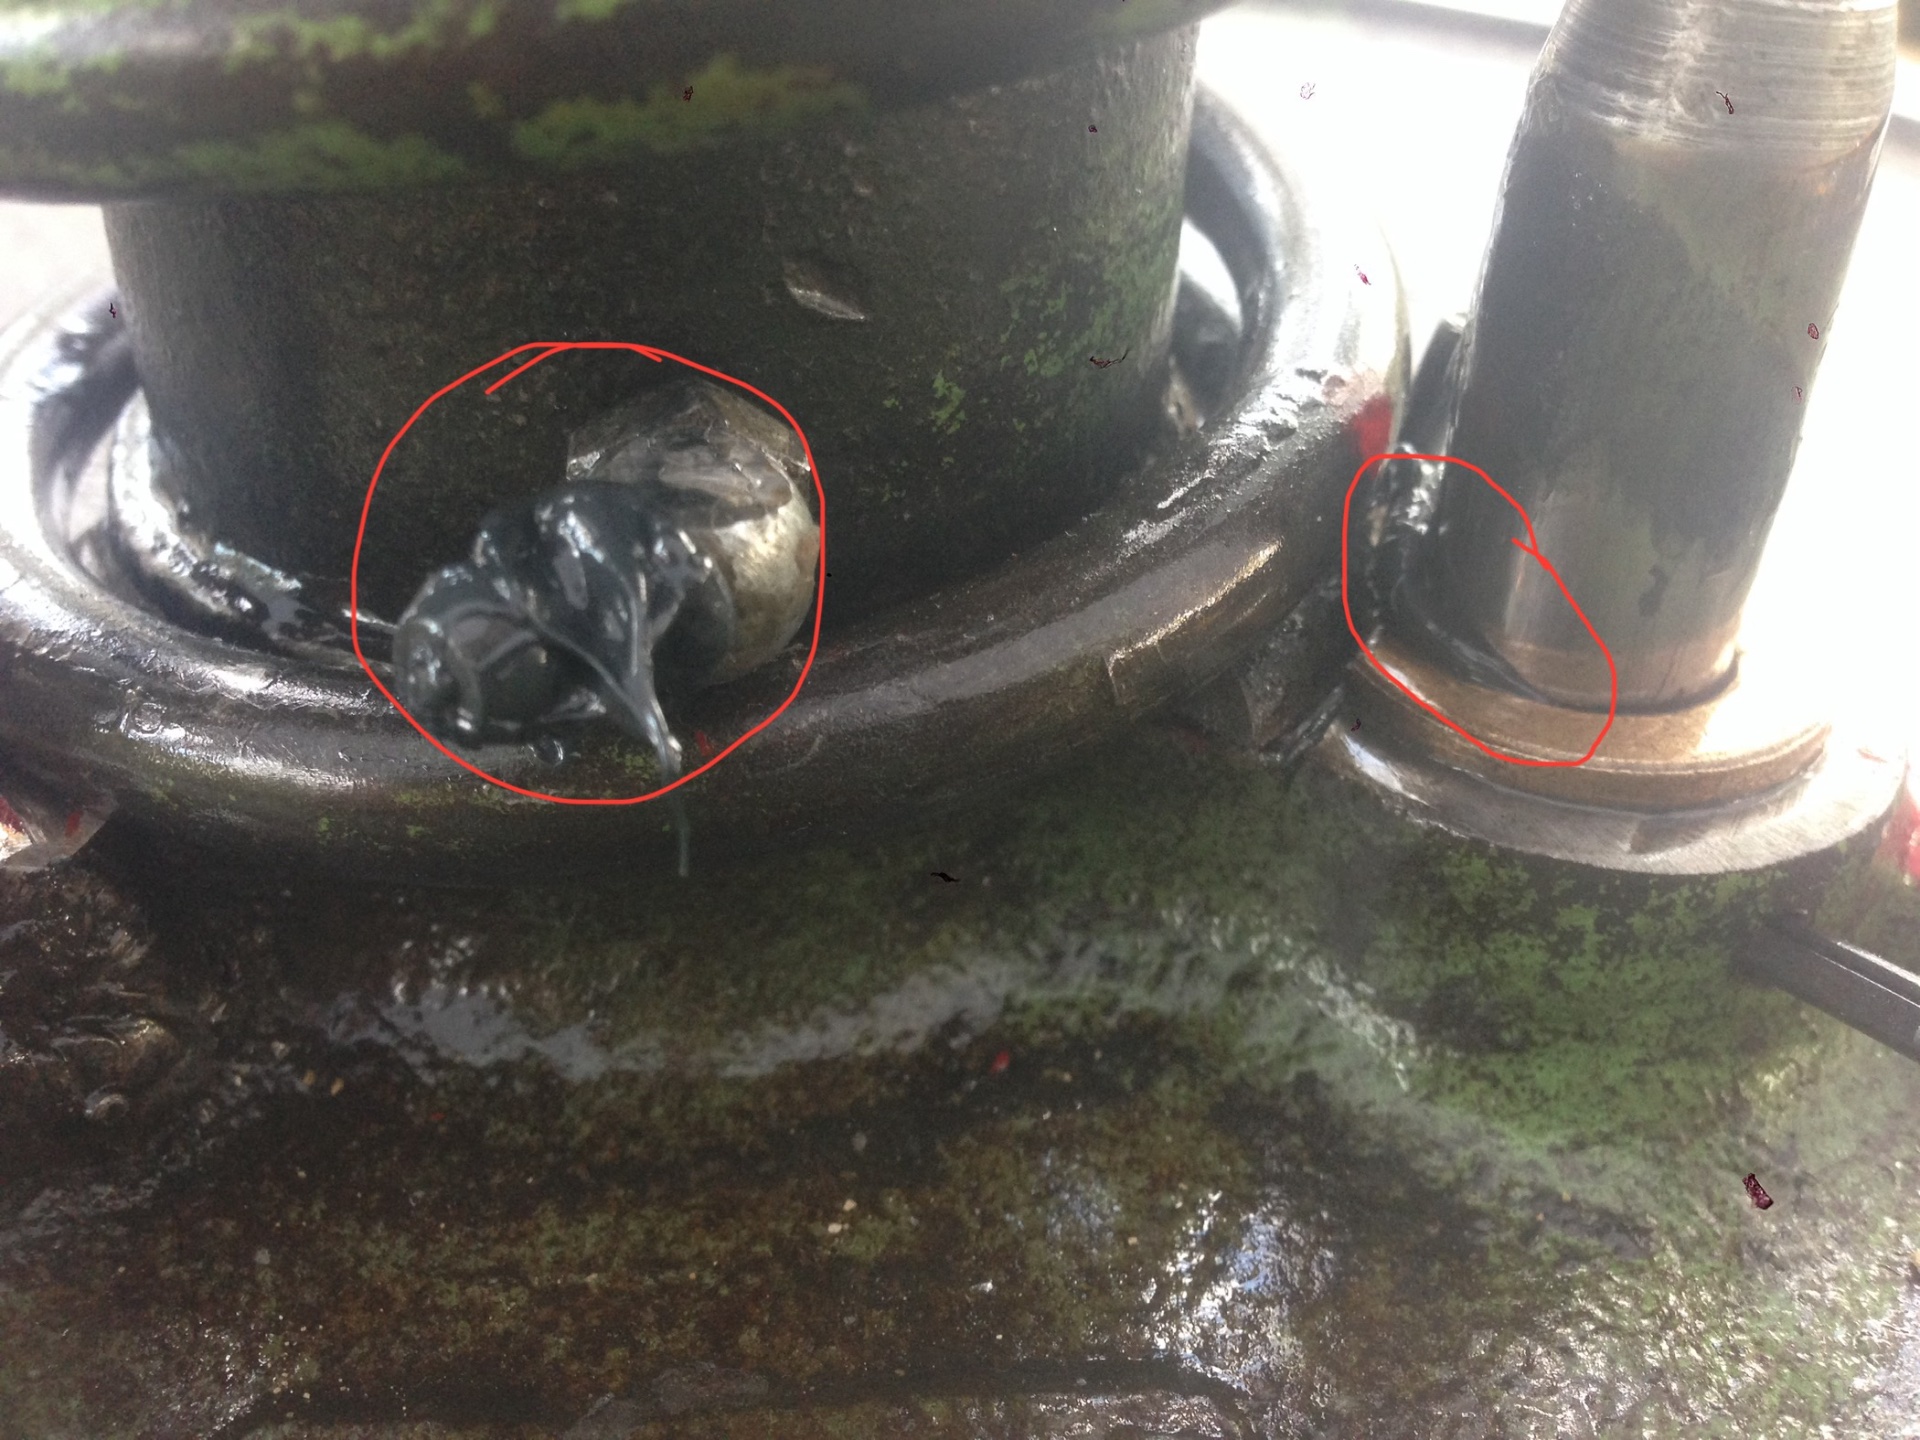
The final product. Note the grease coming to the exterior from the drive stud.
 

Attachments

  • IMG_9256.jpeg
    IMG_9256.jpeg
    747.9 KB
  • IMG_9257.jpeg
    IMG_9257.jpeg
    708 KB
  • IMG_9263.jpeg
    IMG_9263.jpeg
    712.6 KB
As an Amazon Associate we earn from qualifying purchases. Product prices and availability are accurate as of the date/time indicated and are subject to change.

Latest posts

Back
Top