If you are having problems viewing my pictures (hosted by photobucket); I would recommend downloading this plug in for Google Chrome, it will "fix" the Chrome browser and start showing you pictures from Photobucket again.
Photobucket Embedded Image Fix
Another year lost... But I am still working on it.
Ever so slowly...
As always, I had other projects that were priority so this one got put on the back burner, again.
But as of a couple weeks ago I decided that this is going to be a priority to get running and mobile under its own power, nothing re-ignites fire for a project like one that can actually DO something.
A couple weeks ago, I removed all the stuff that I was storing on top of it and got back to work.
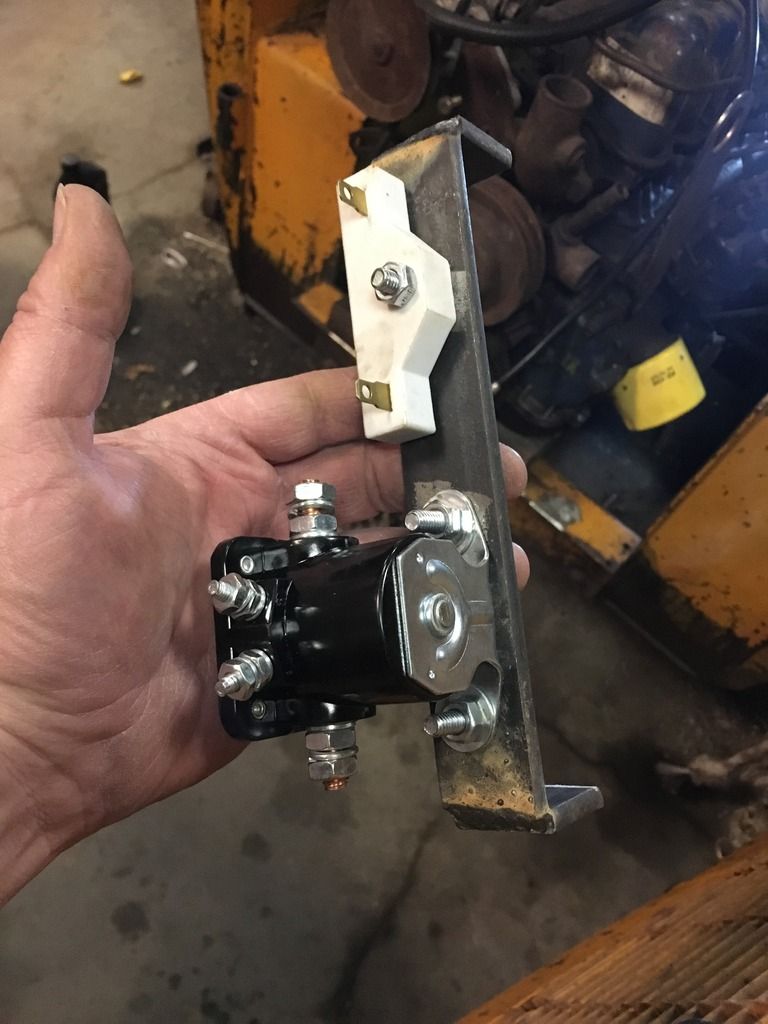
I started by making a small bracket to mount a Ford style starter solenoid and an ignition resistor block onto.
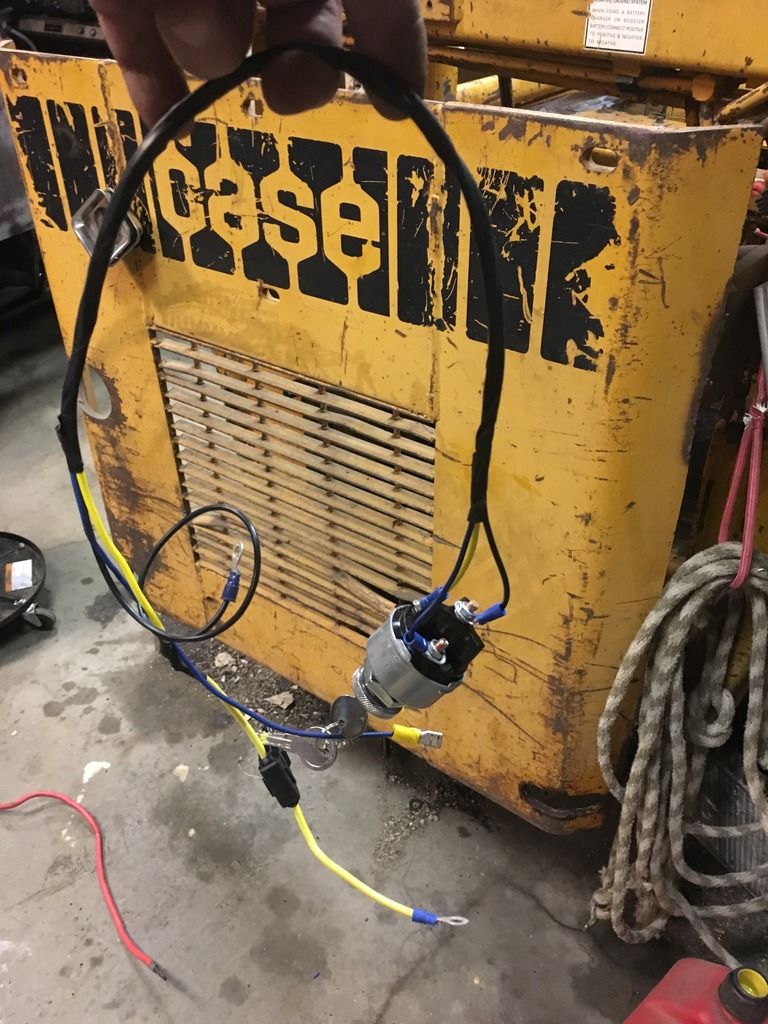
And a small ignition wiring harness, completely bypassing and replacing all the other junk that the previous owner left behind. There is a 20amp blade type fuse (ATC I think) in that fuse holder.
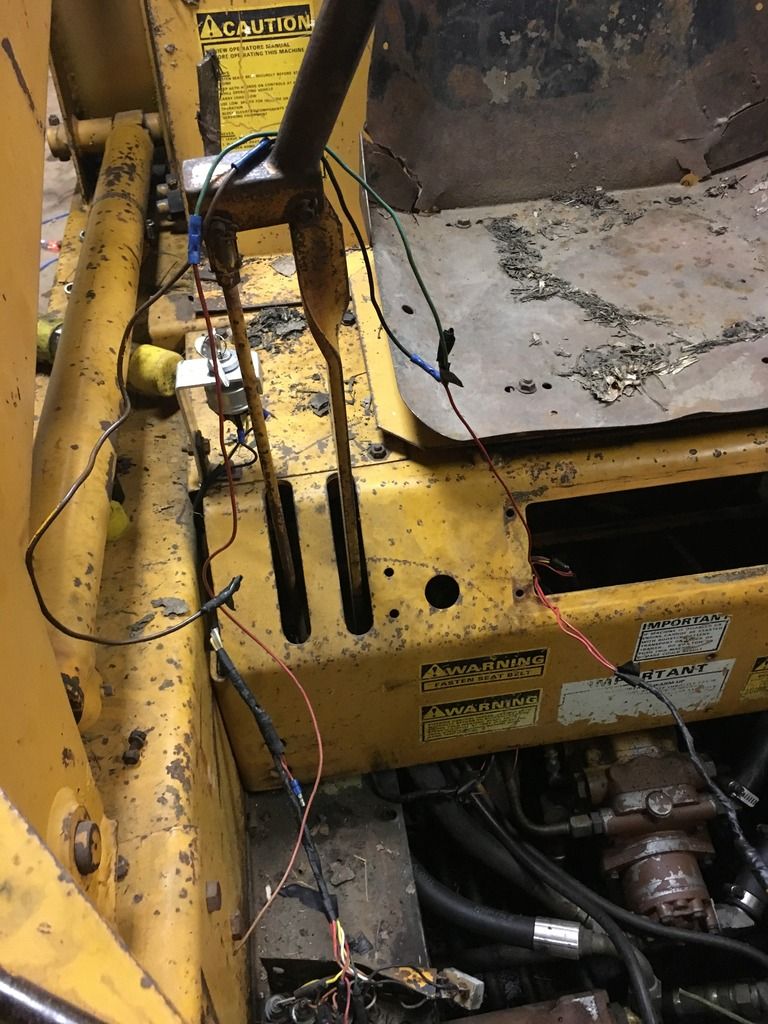
Here I made a small aluminum bracket and mounted a new ignition switch into place behind the right side control arm. The arm does not get anywhere close to the ignition switch.
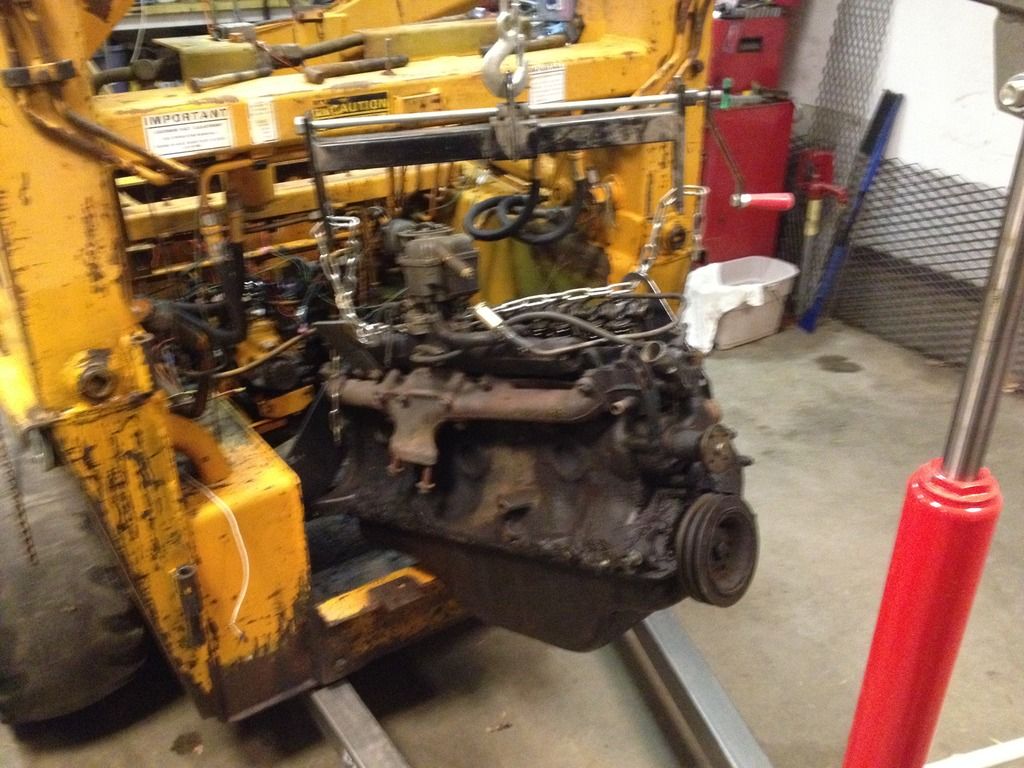
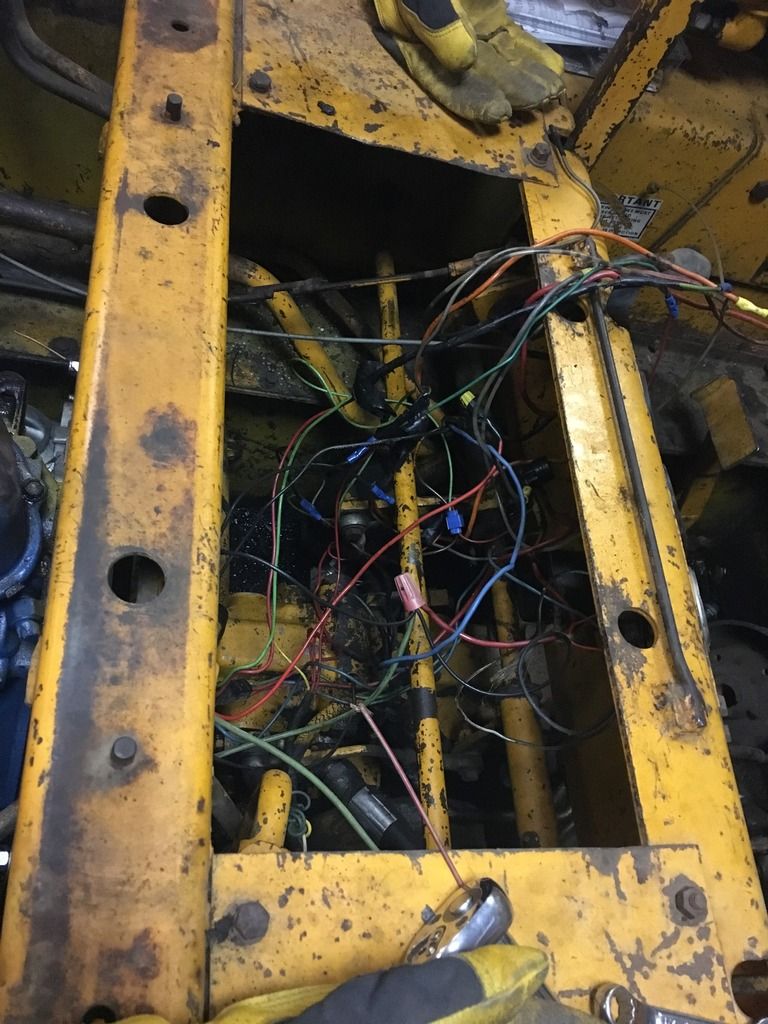
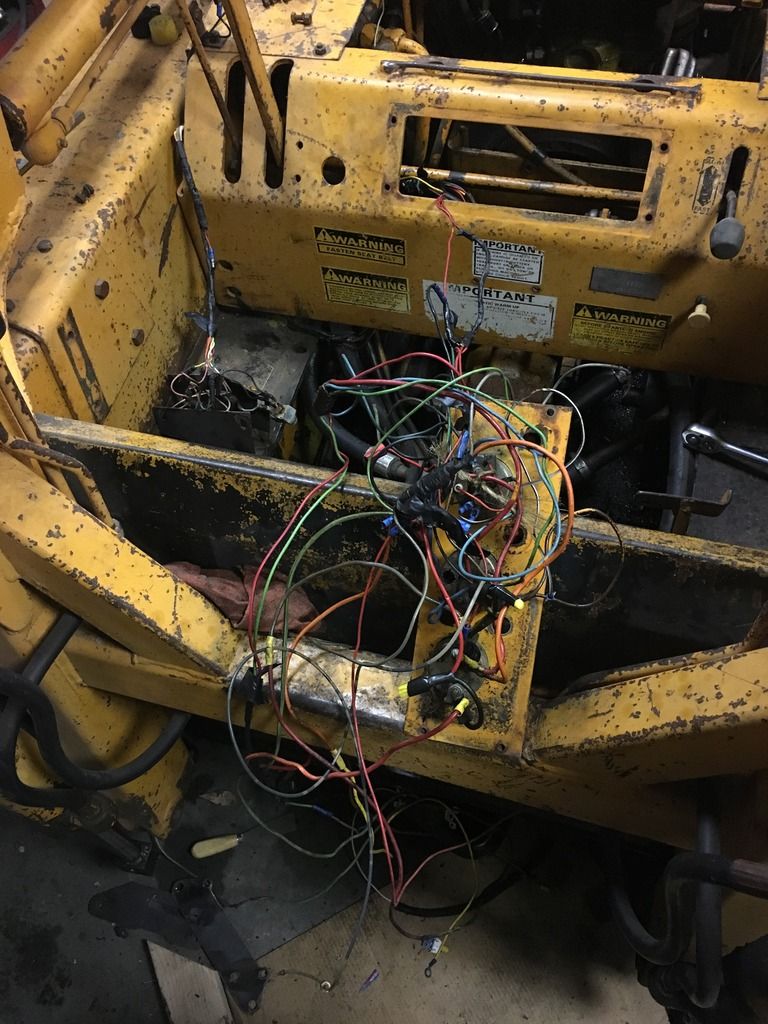
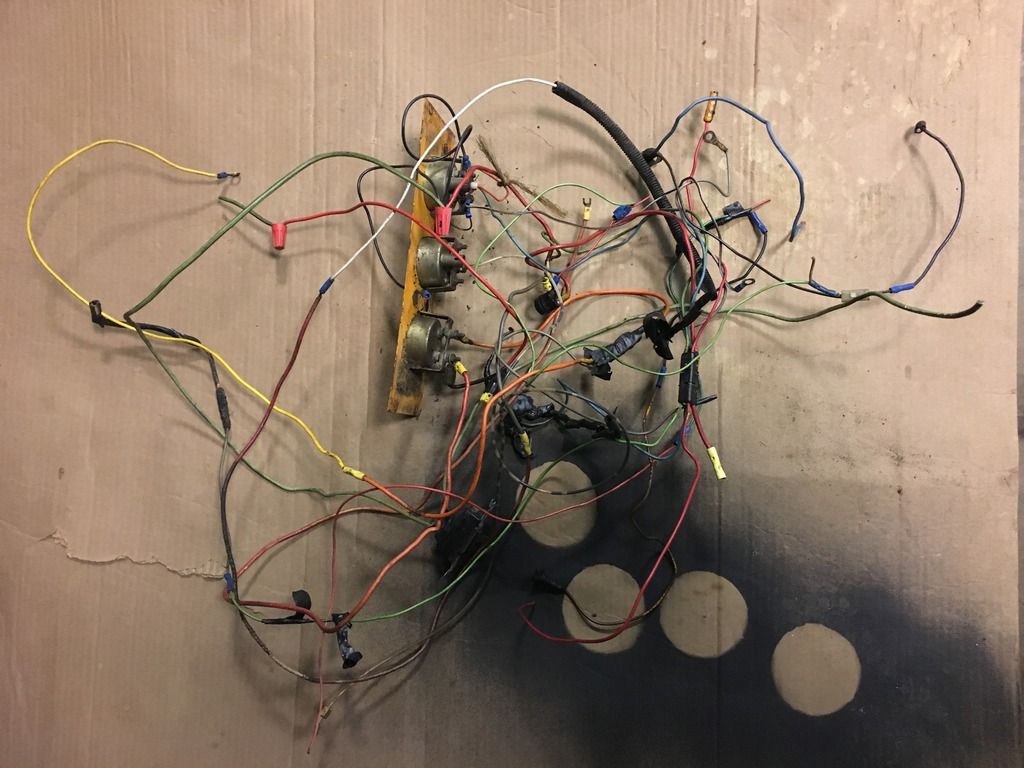
I got tired of looking at this mess, and honestly thinking about troubleshooting this was depressing. So I pulled it all out. Amazingly there were only (3) small red wires that came out of this rats nest that went back to anything on the skidsteer. And even those red wires weren't hooked to anything. There was literally NOTHING in this mess that was doing anything, and this was all for the gauge set.
Here is almost all of the original wiring, no pulled out of the skidsteer. egad what a nightmare. I think the previous owner grabbed whatever connector and whatever piece of wire he could find laying on the shop workbench when he was assembling this mess. Its hard to see, but there is a 110v light switch in there somewhere.
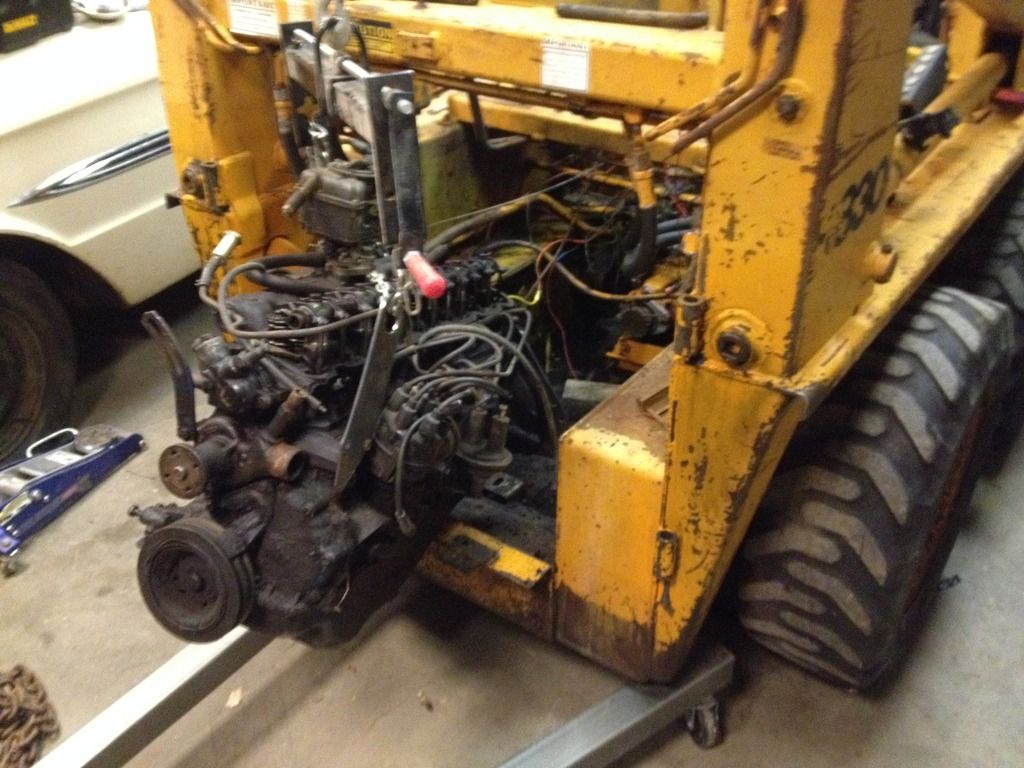
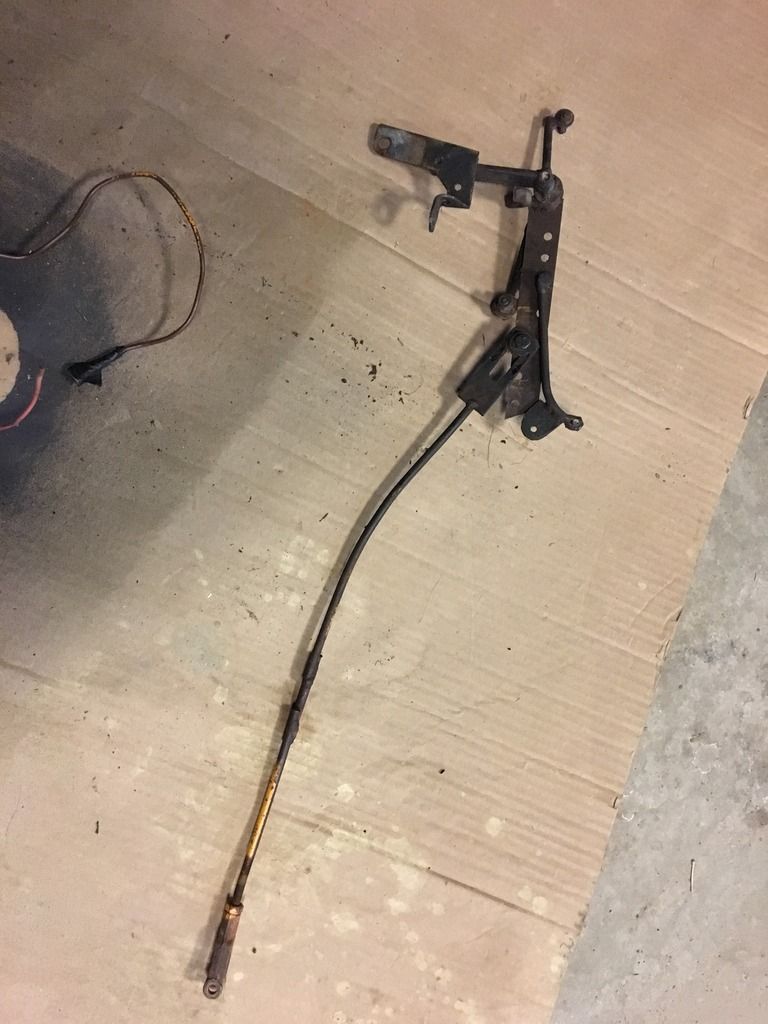
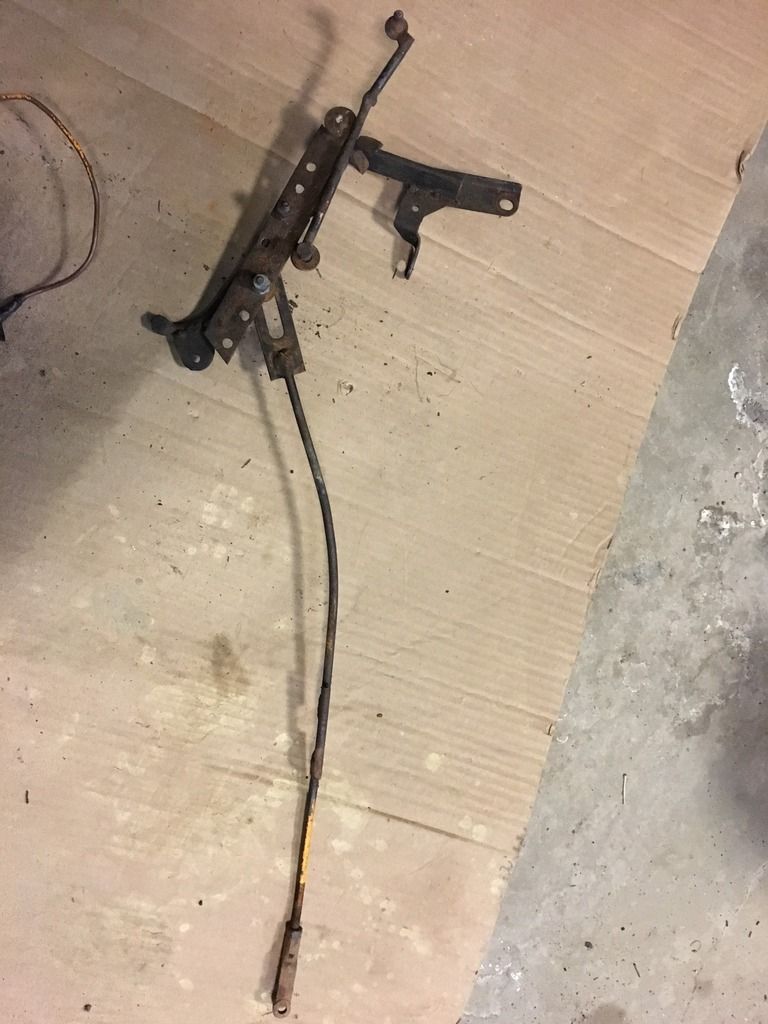
The governor that I installed a while back uses a cable pull. So I won't be using the previous owners 'custom built' throttle linkage, out it came!
I don't know why its bent like that.
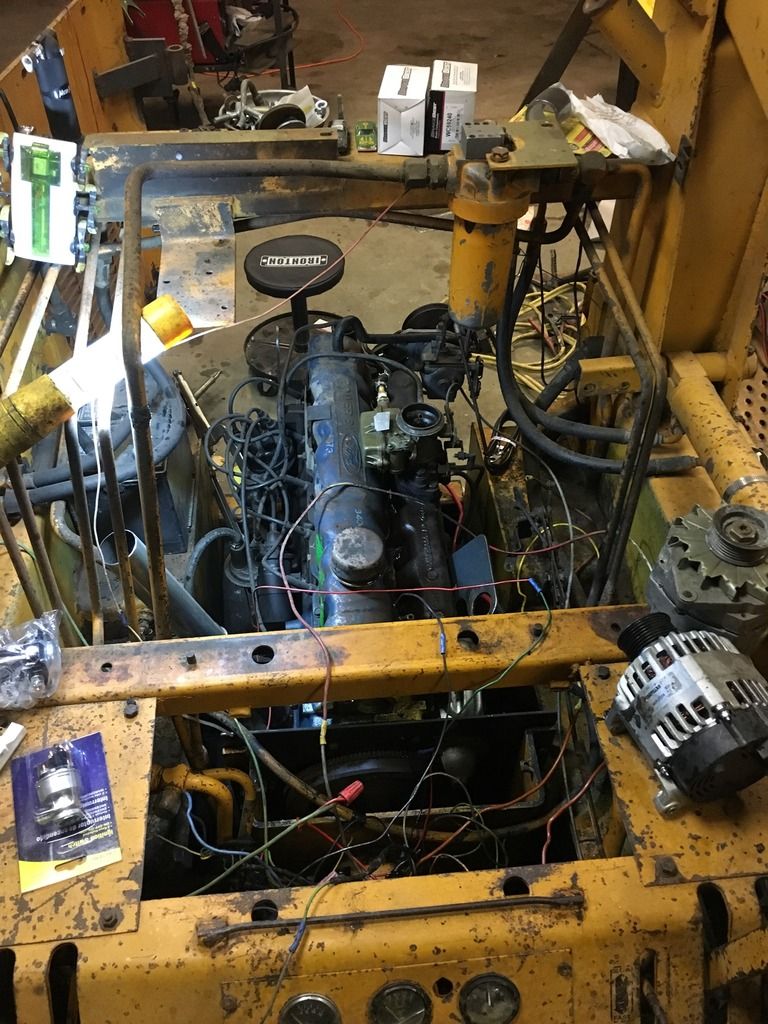
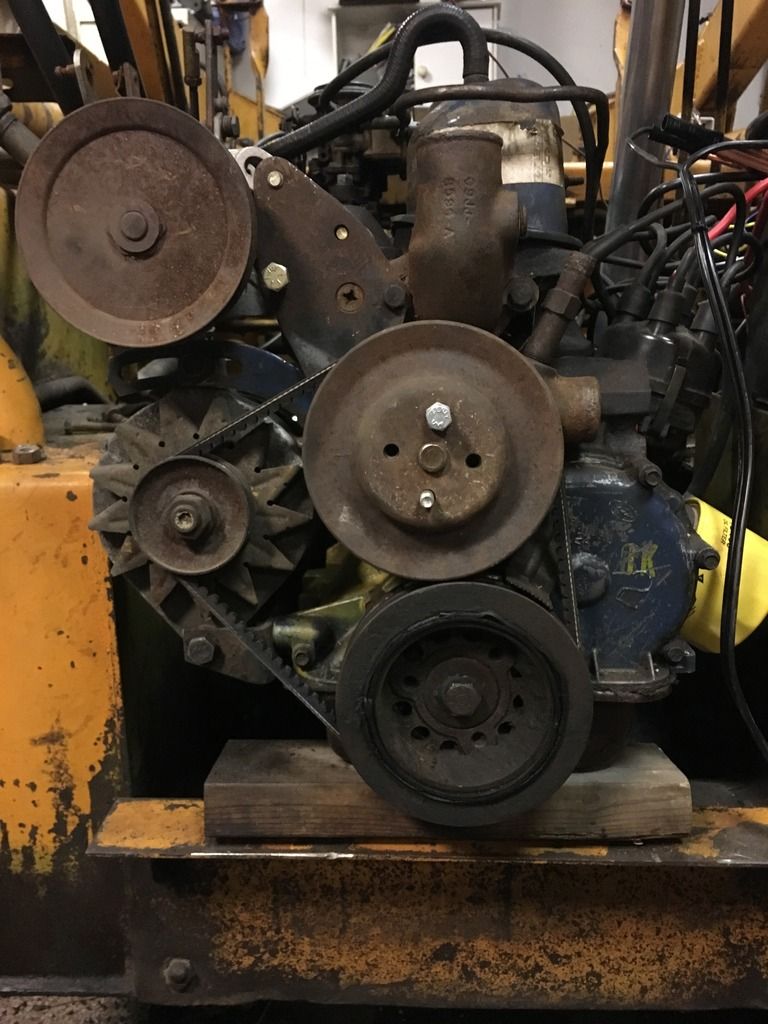
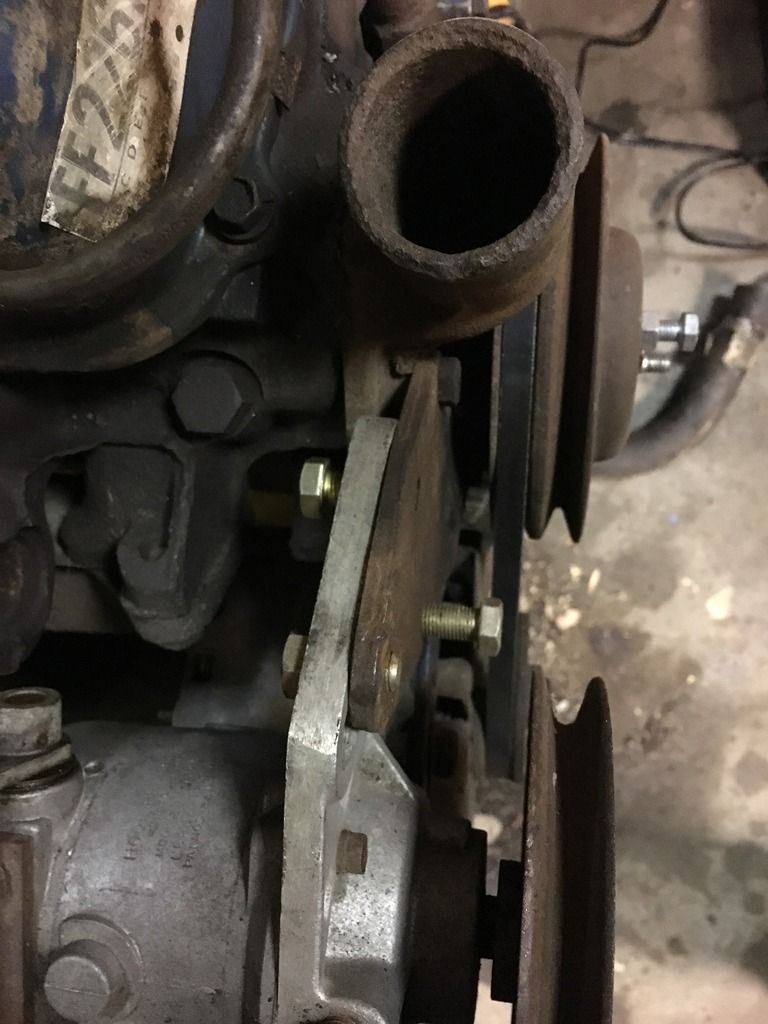
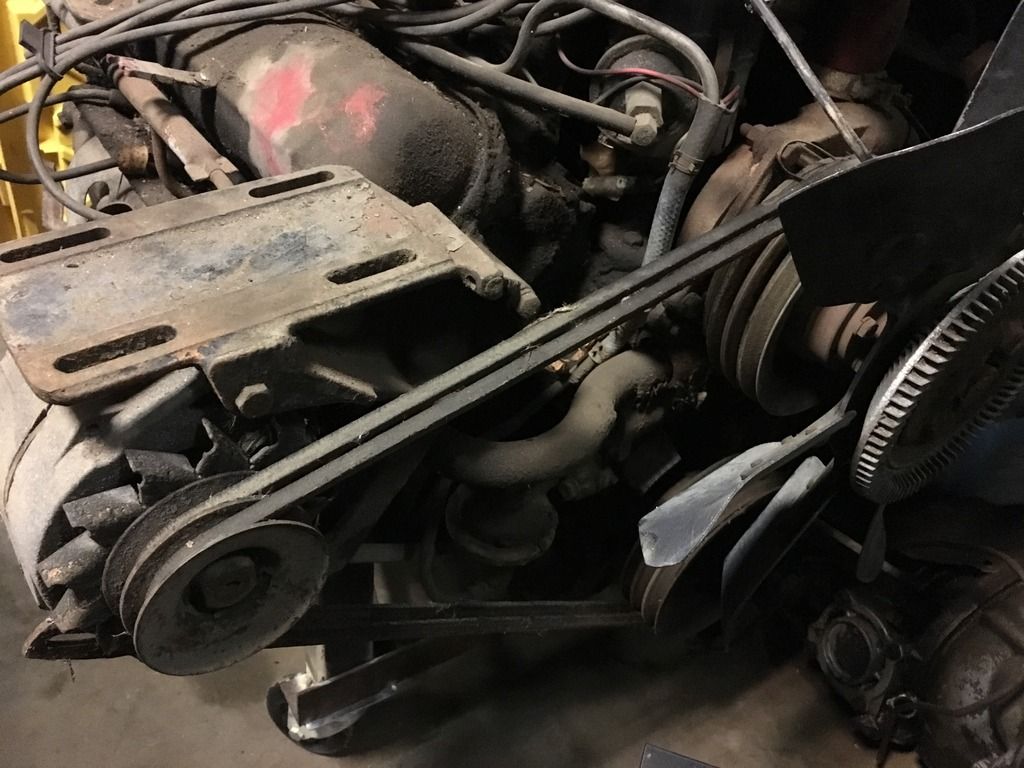
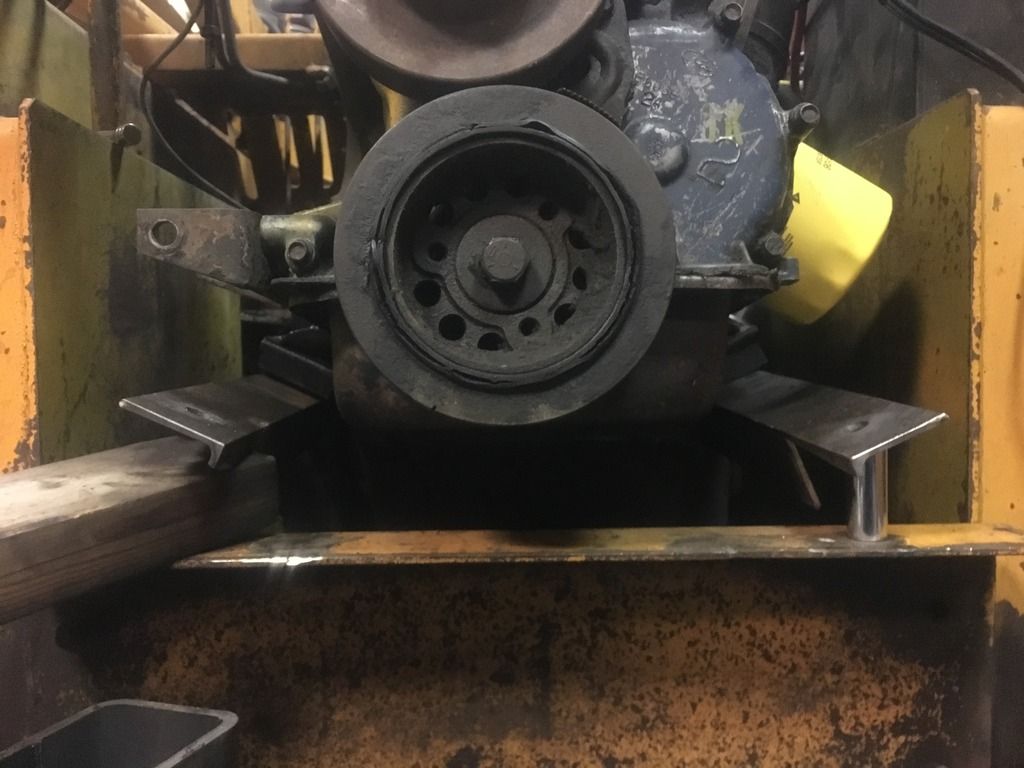
I started worrying about belt alignment and how to get everything to spin.
I need to decide if I am going to run the governor off the waterpump, it looks like it would line up nicely.
Or if I should use a double groove pulley on the alternator and either run a second long belt around everything, or a short belt between the alternator and governor as was done on the industrial 300 pictured earlier.
I've got an IH 345 v8 sitting on the shop floor that I could borrow the double groove pulley from, or I found another Ford alternator at Dad's house a week ago that has one. So either option is a possibility.
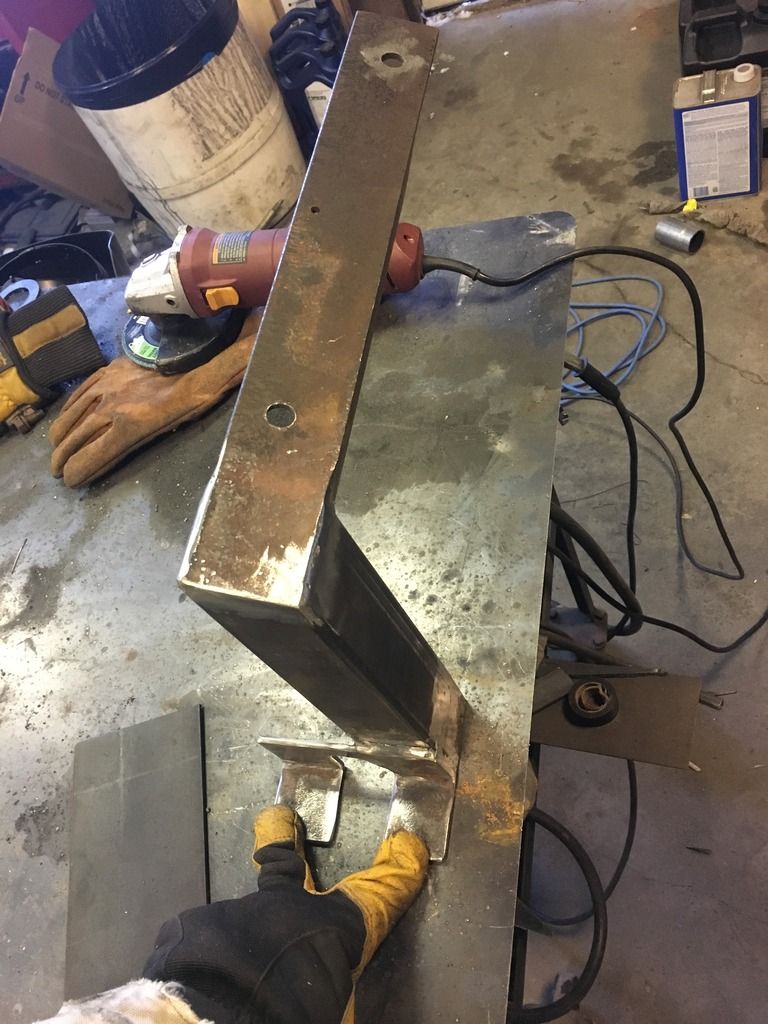
I started making motor mounts, finally.
I set the vertical uprights about 1/2" behind the gas tank and used the motor mounts to determine the angle for the inclination of the top angle iron (top angle iron is 2"x2", uprights are 2"x2"). I decided that since I could not create a vertical mount directly from the lower deck to the motor mount locations, that I would extend the 2" angle iron to the rear most bracket, and there I will add some heavy wall steel spacer tubing with 7/16" bolts.
Left Side.
Right Side
Looking from the rear, the angle iron will be in approximately this orientation. There is a socket on the right side approximating what the steel spacers will look like once I cut them.
And this all was looking good. Except.
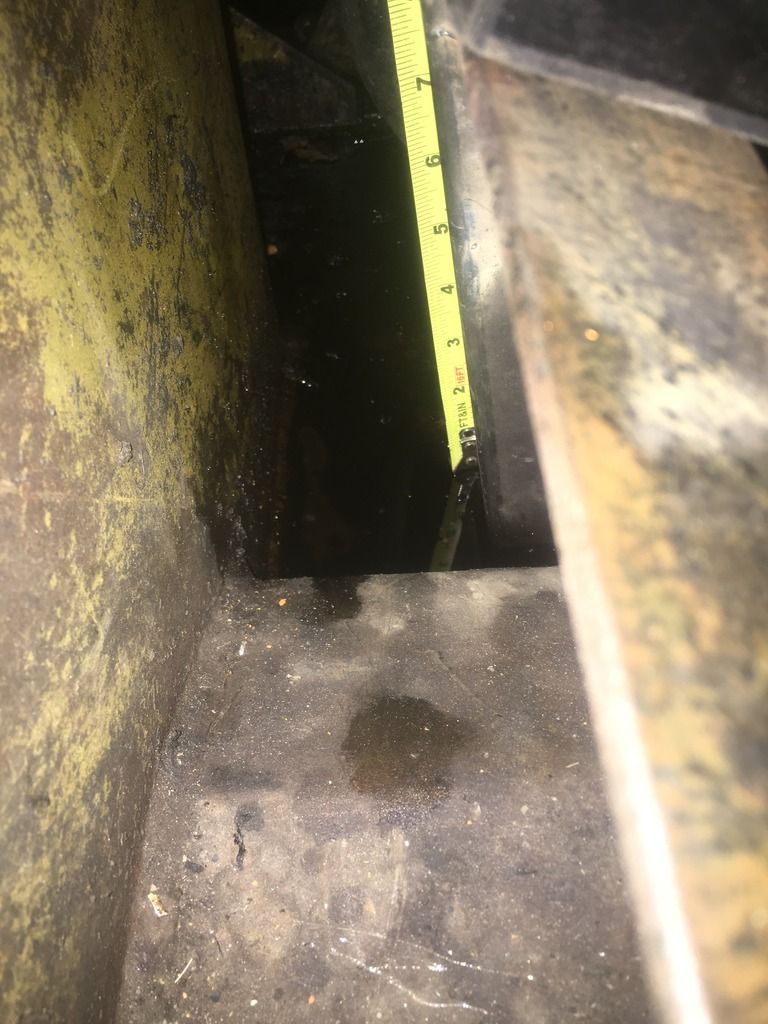
They need to be at least an inch taller for oil pan to gas tank clearance. I built these under the false assumption that I could lower the engine at least an inch after I took out the 2x4 block. However once I take out that block, the motor drops about 1/2" and the oil pan directly contacts the original motor mount brace that is welded to the gas tank. Not Good.
This the right side vertical support is way to close to the fuel line for my comfort.
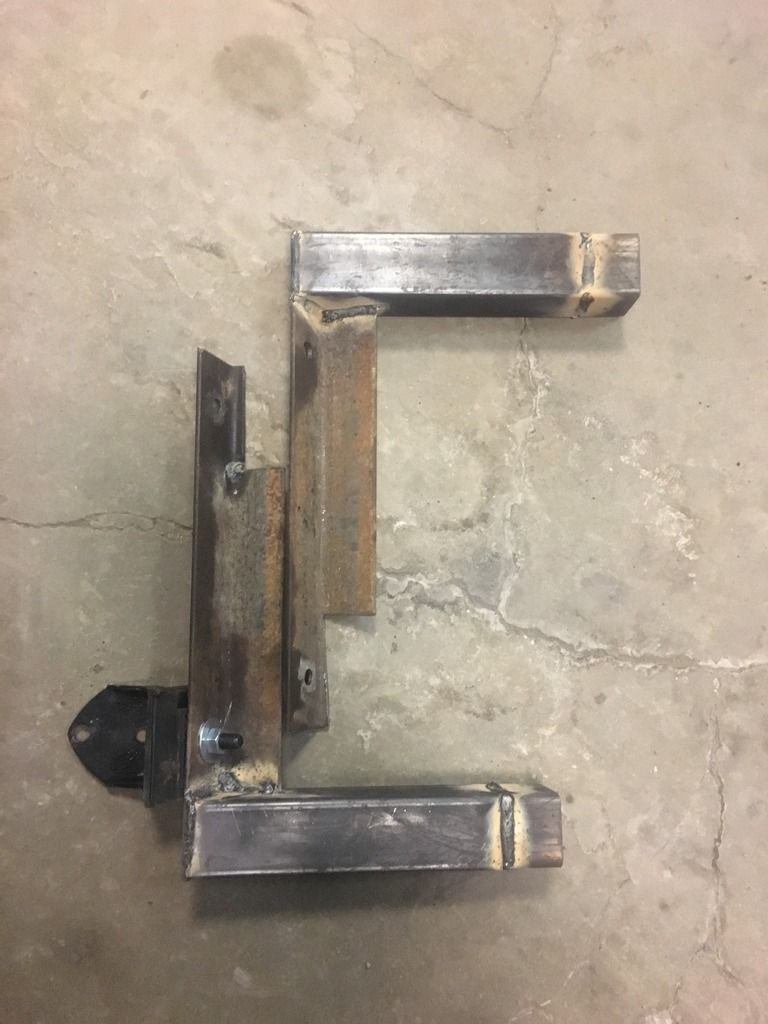
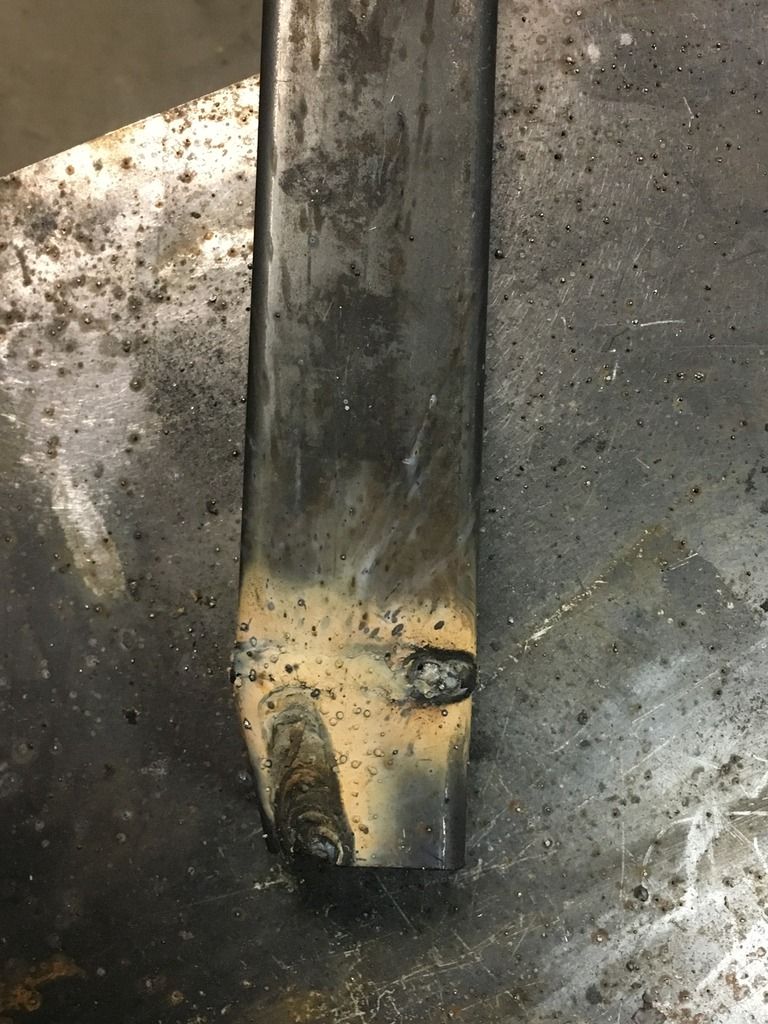
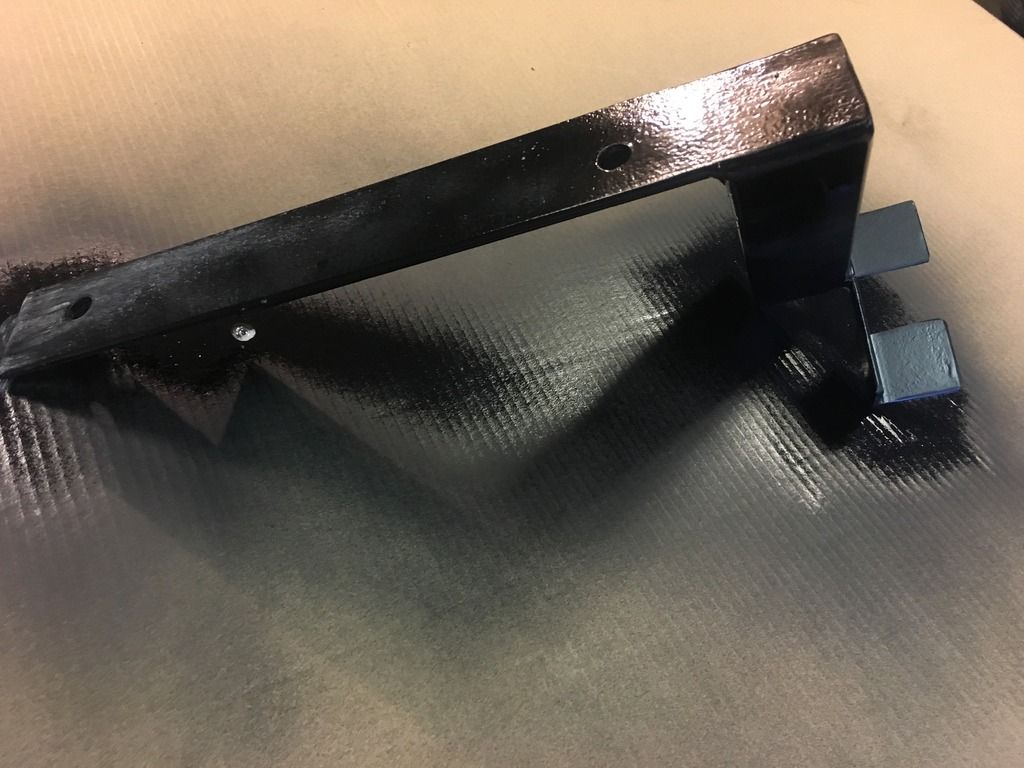
So out they came, and I added 1.25" to the bottom of each upright.
To address the right side upright being too close to the fuel line, I cut a wedge out of the bottom of in, so that it recessed about 1/2".
And I welded it back together.
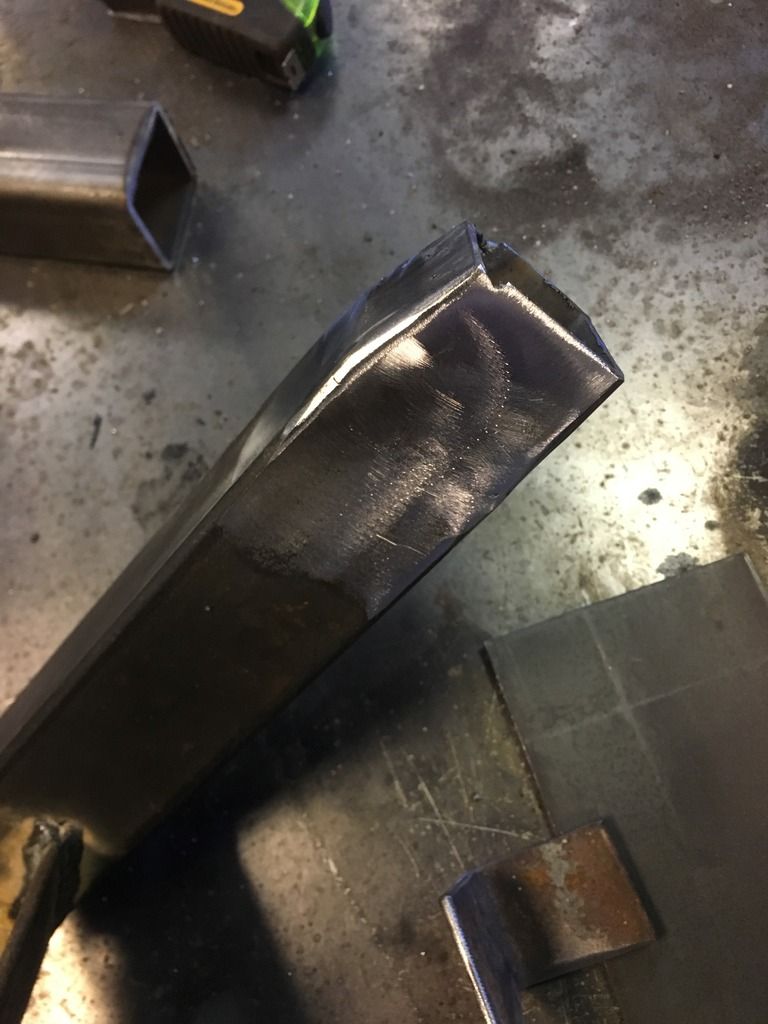
A little cleanup with a grinder and a flap wheel. It is looking much better.
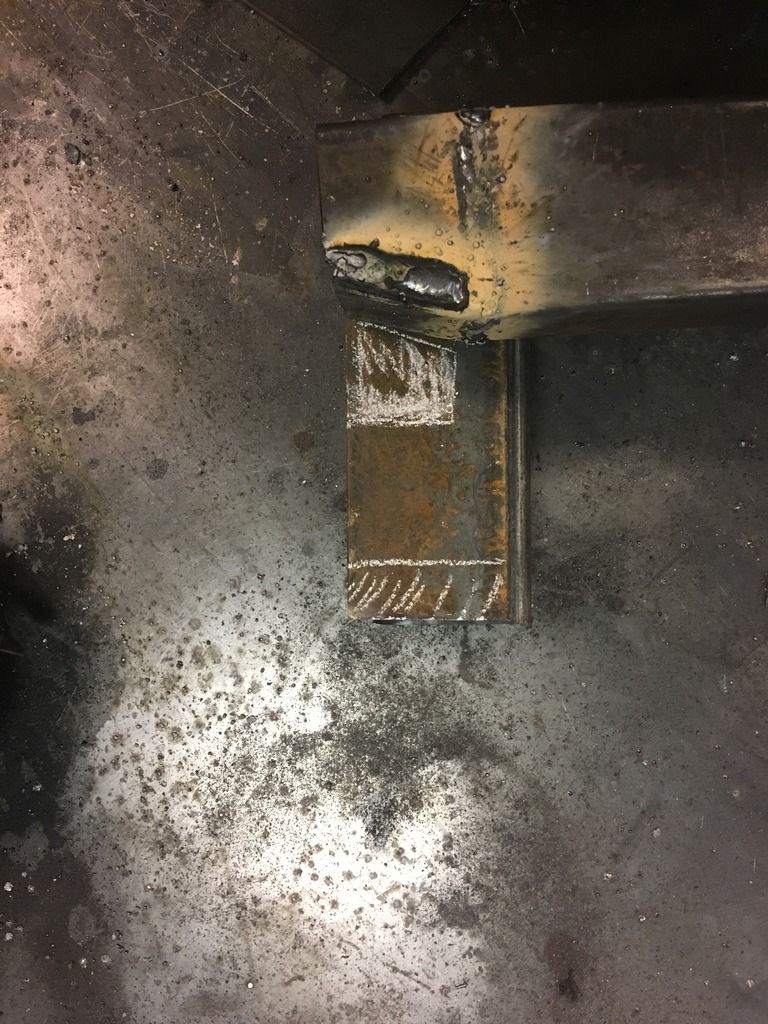
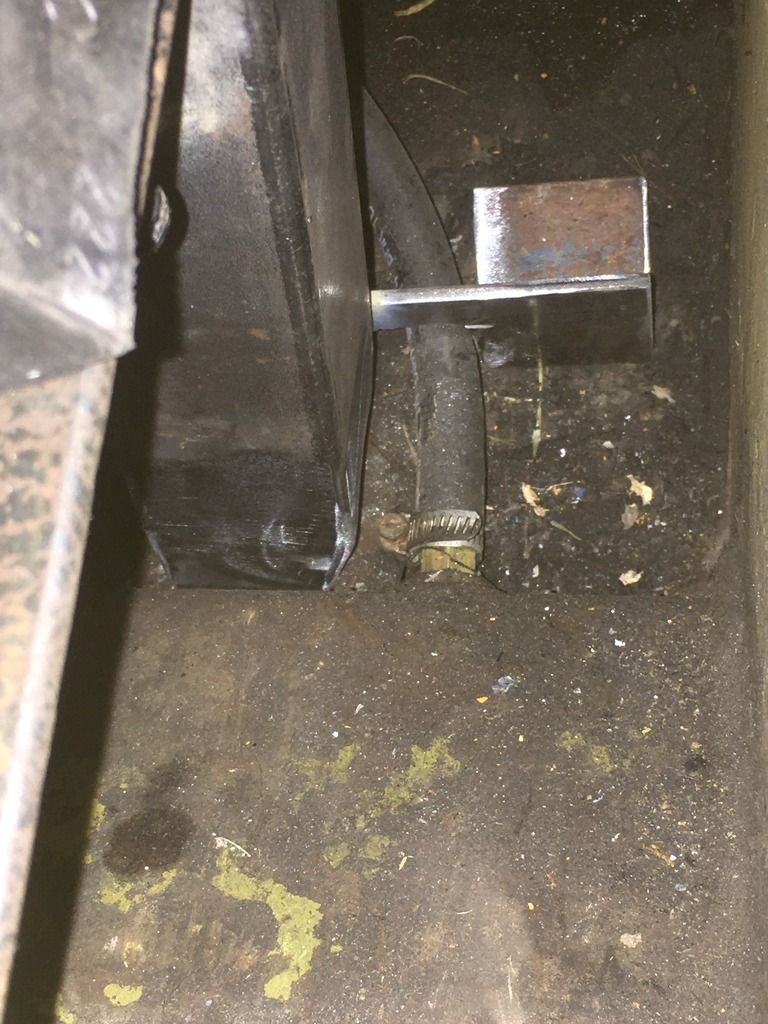
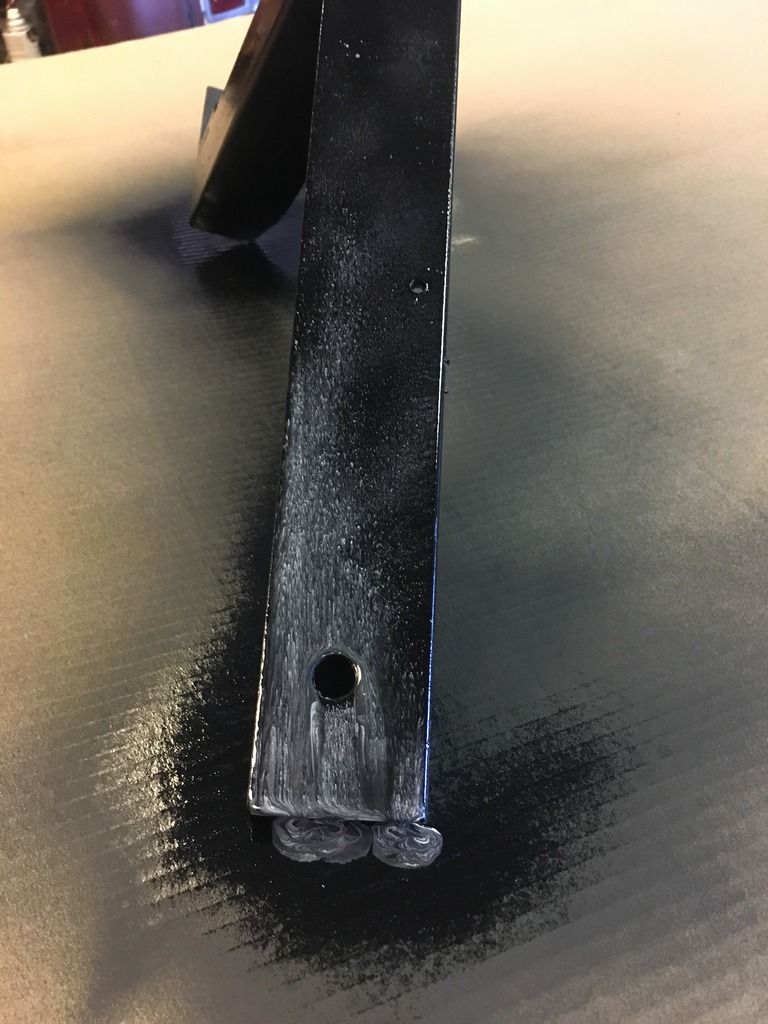
I also made a 2"x2" foot for the upright, it has a port window for the fuel line to pass through and this will be bolted directly to the floor once I get around to drilling more holes. The white parts will be cut away.
Looking much better by the fuel line now. Once its bolted, I won't have to worry about damaging the fitting.
Using the power of the internet, I finished welding it and ground down the welds to make a decent surface to paint.
A couple coats of primer and black paint.. and it is looking pretty good to me.
FYI, don't try painting things at 40f and rushing the job. Bad things happen. The paint just sort of oozed off the end. I fixed this later.
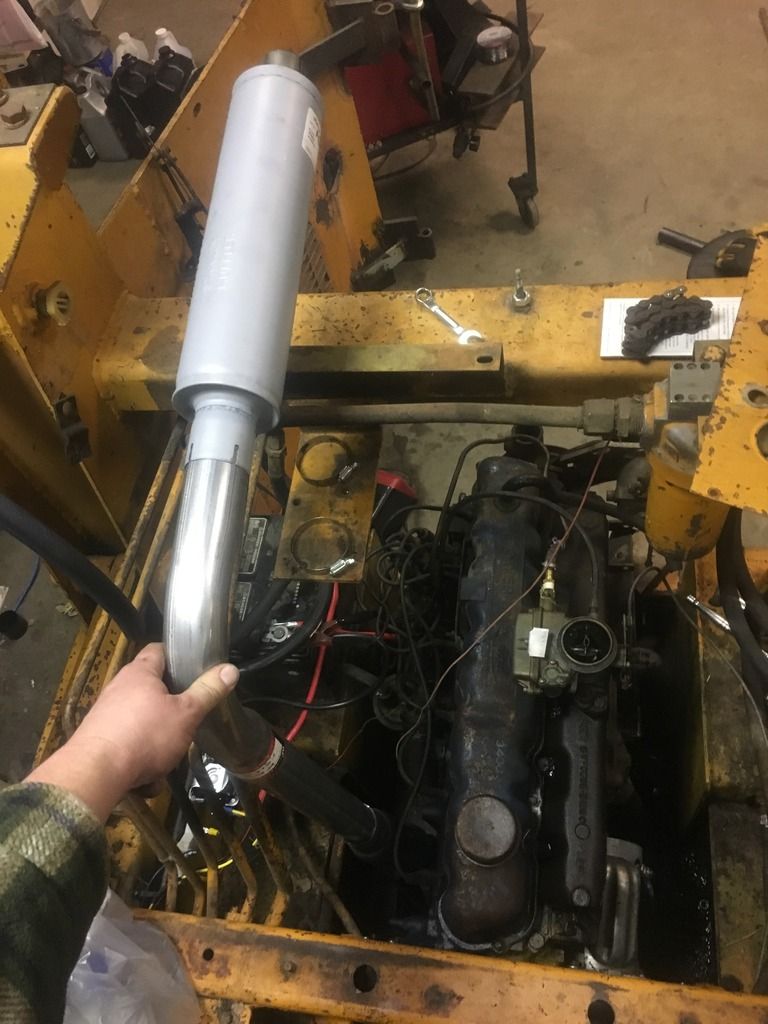
I finally picked up a piece of flexible exhaust tubing to help with my bad angle.
And a muffler
The motor starts and idles nice, but without a radiator or good motor mounts, I haven't ran it very long, nor have I hooked up the coupler chain for the hydraulic pumps.
A couple videos of it starting and idling.
https://youtu.be/Hw9OnCOpniw
https://youtu.be/dwrG1ce5NA8
And now you are all caught up. Next I need to finish the left side frame/motor bracket. Then figure out how to support the engine to hydraulic pump "box". Then I'll be in good shape to get a radiator in it and finally try moving it under its own power.


")