Operation 763 rebuild

Help Support SkidSteer Forum:

Tazza

Moderator
Staff member
Joined
Dec 7, 2004
Messages
16,836
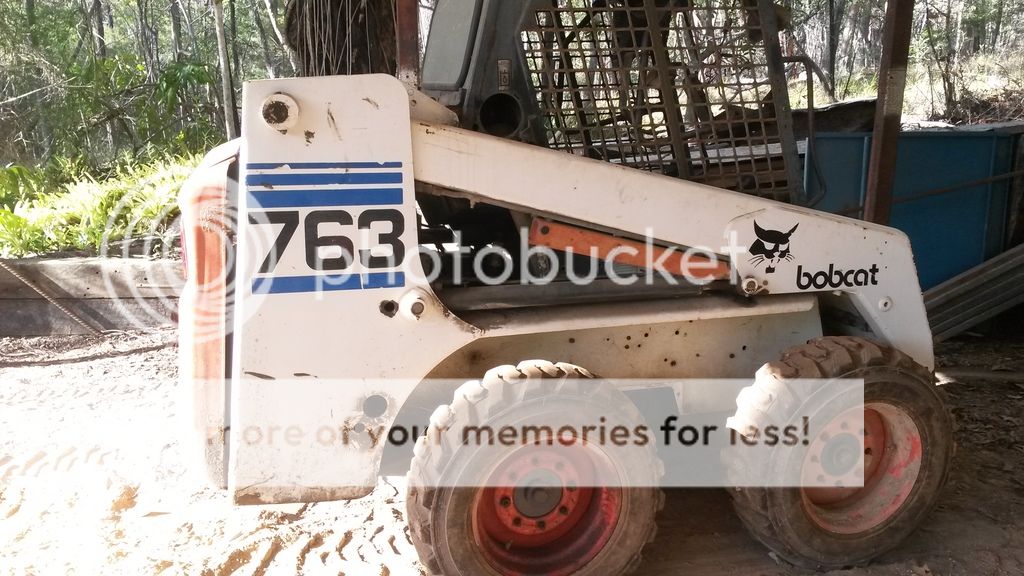
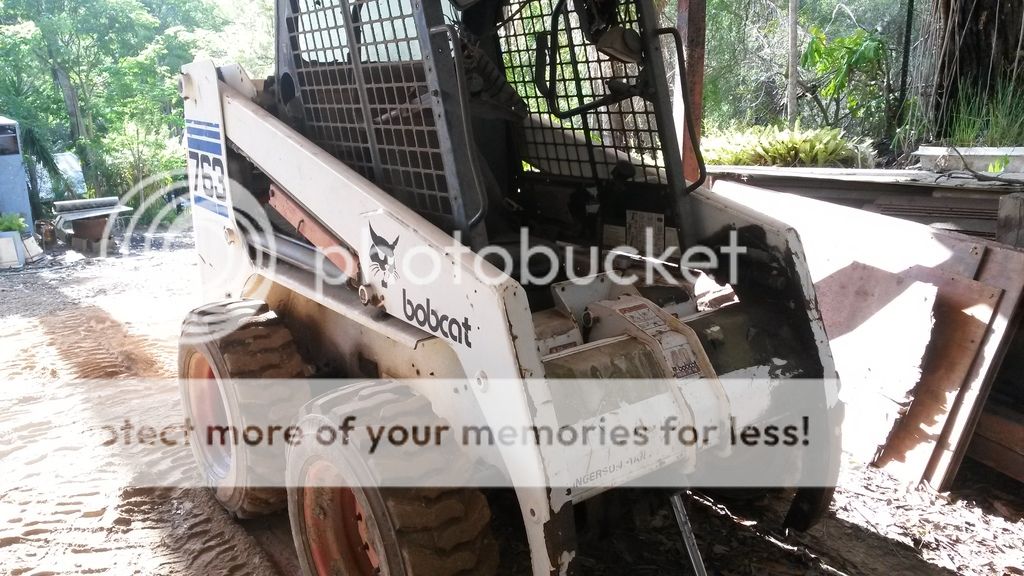
Ok, so i have been lazy for the last 10 or so years. I got a machine that had a small engine bay fire and the pump/engine were removed by the previous owner.
FINALLY the day/week/months have come to actually get it going again.
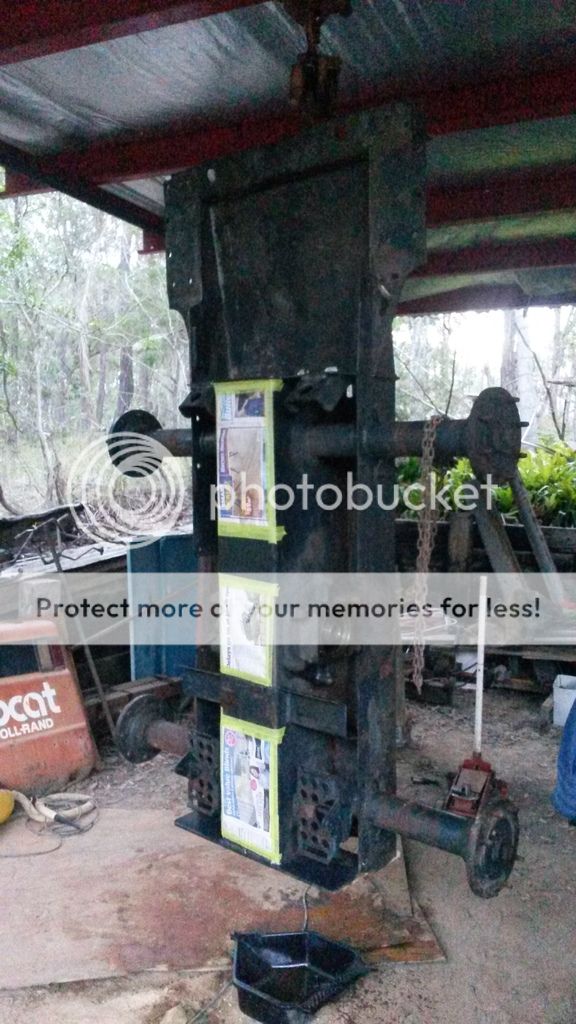
Sadly i didn't take as many pictures of current progress as i should have. I had the chain case hung up by my S250 so i could blas it with a pressure washer. The tag line was going to be, how do you wash your skid steer? but sadly the picture was not taken, oh well.
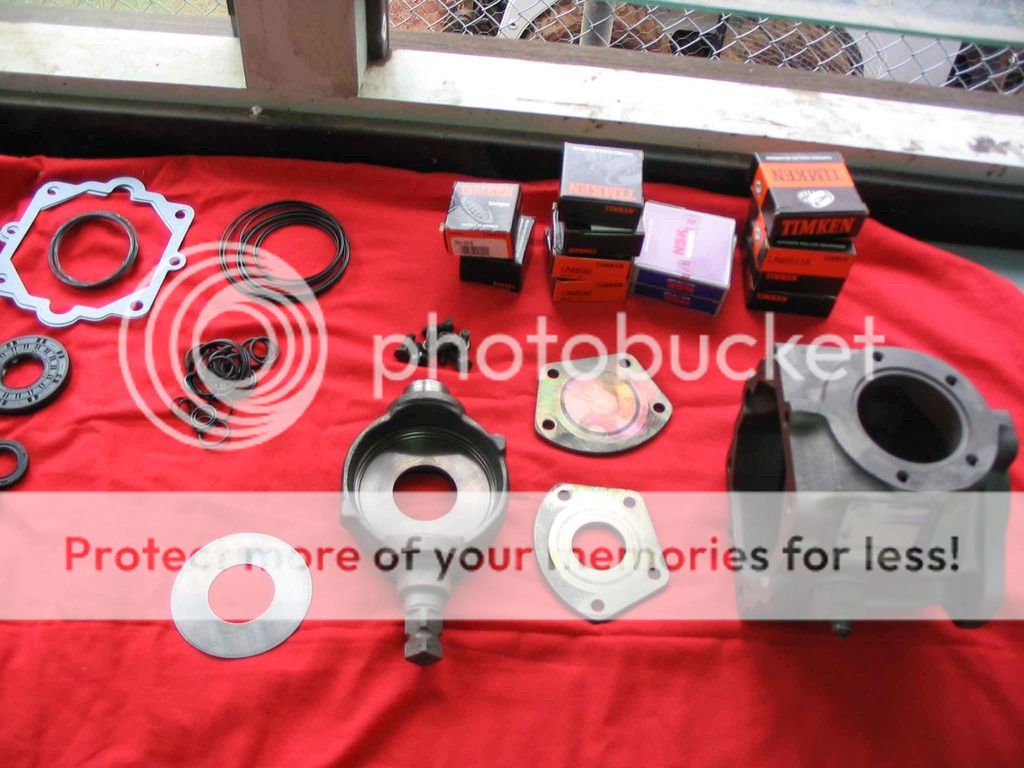
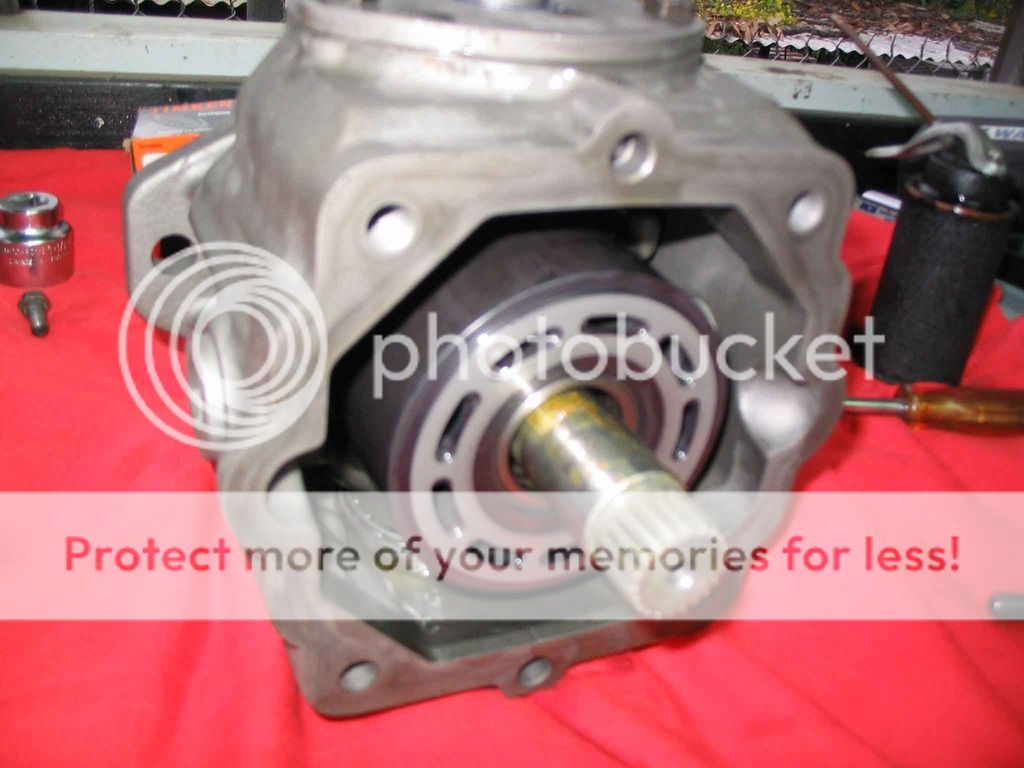
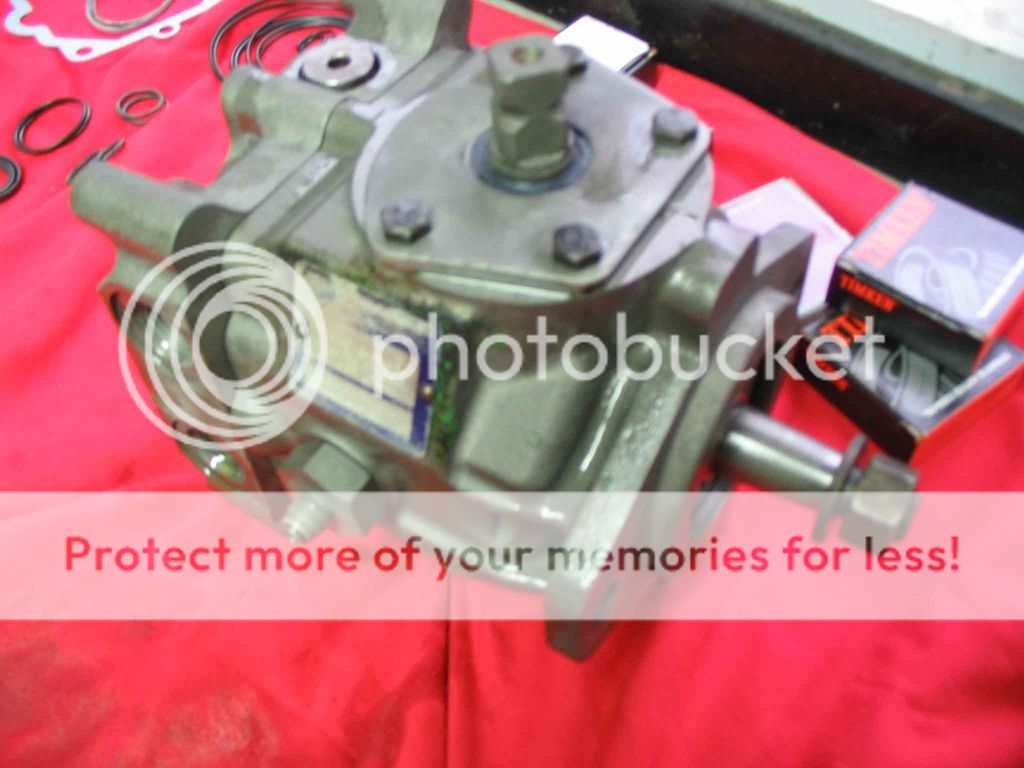
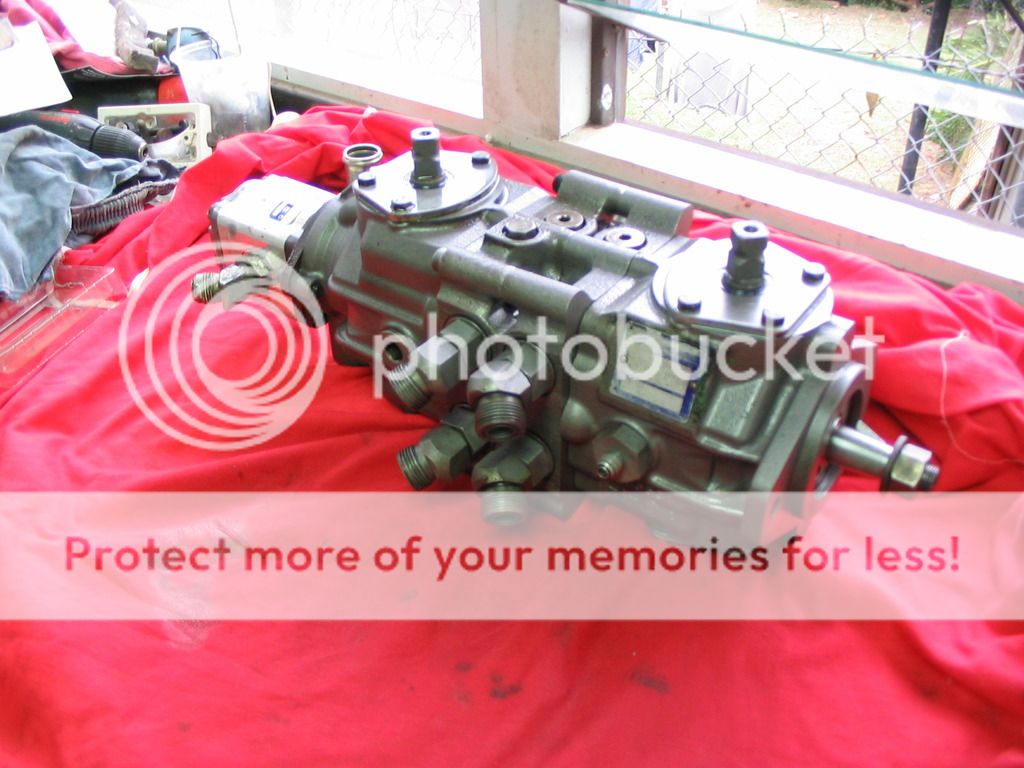
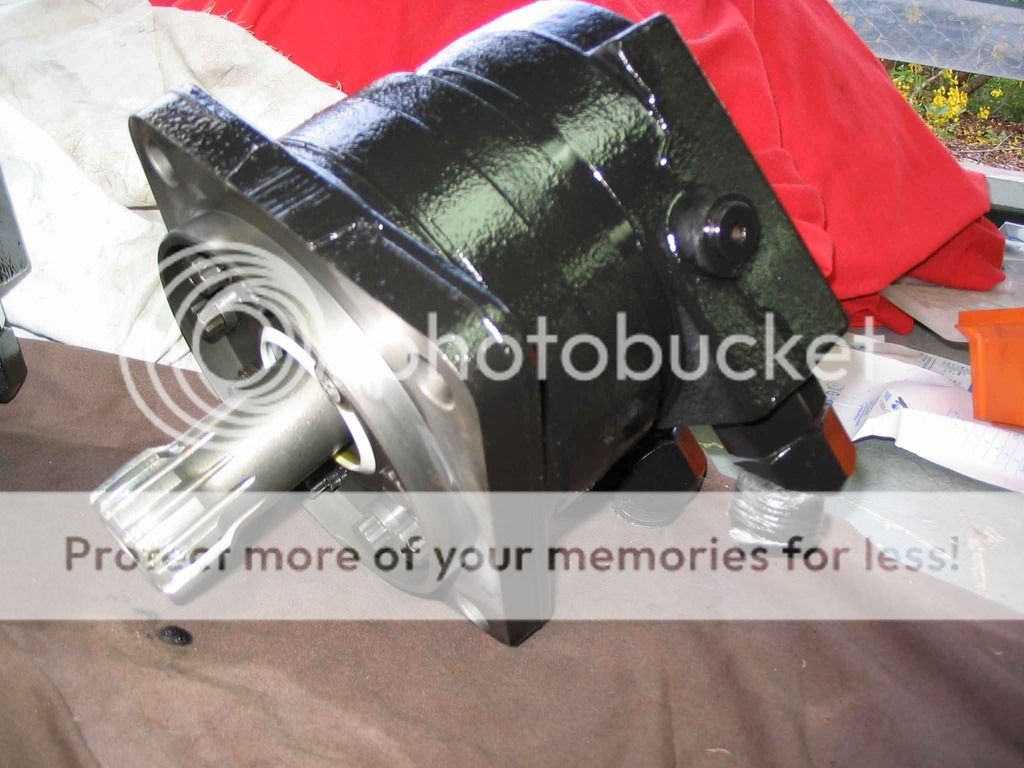
Back to the build, as the engine/pump was was out when i got it, the pump ports were not plugged up. I didn't notice this till it was home and i could see brown fuzz inside the fittings, after opening it up, the rotating groups were toast. I have pictures of the pump that i will dig out too.
Now, for current progress:
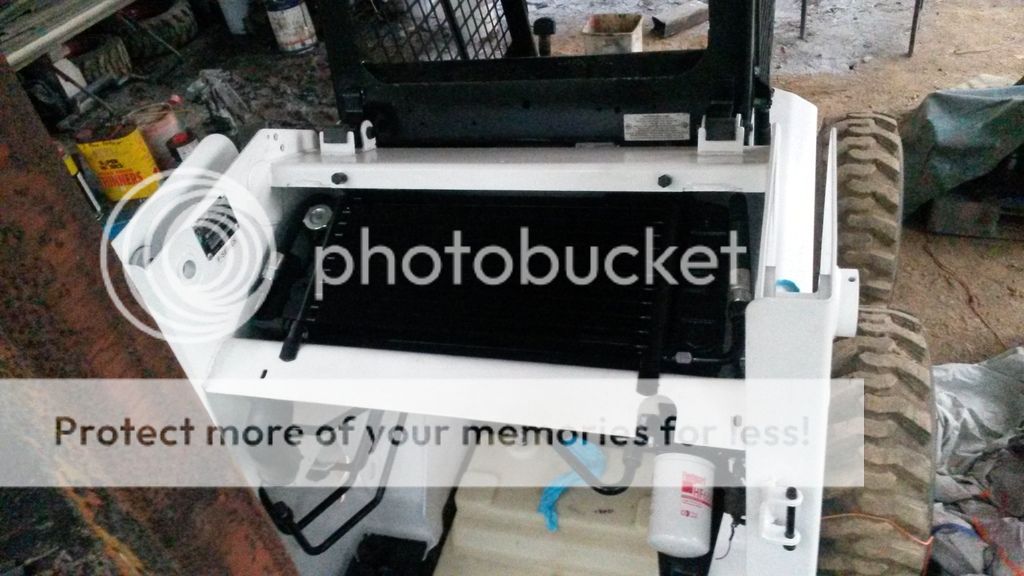
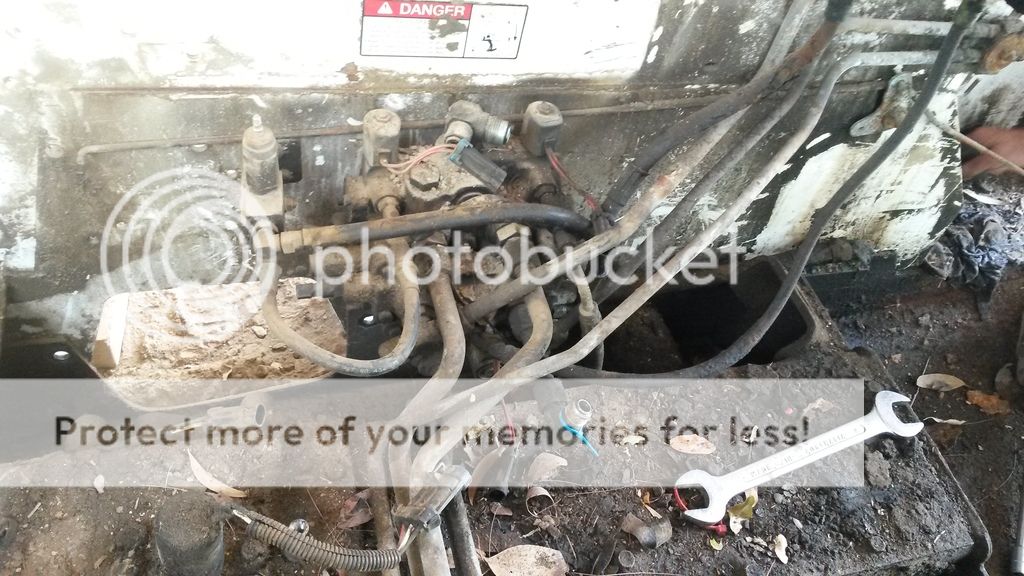
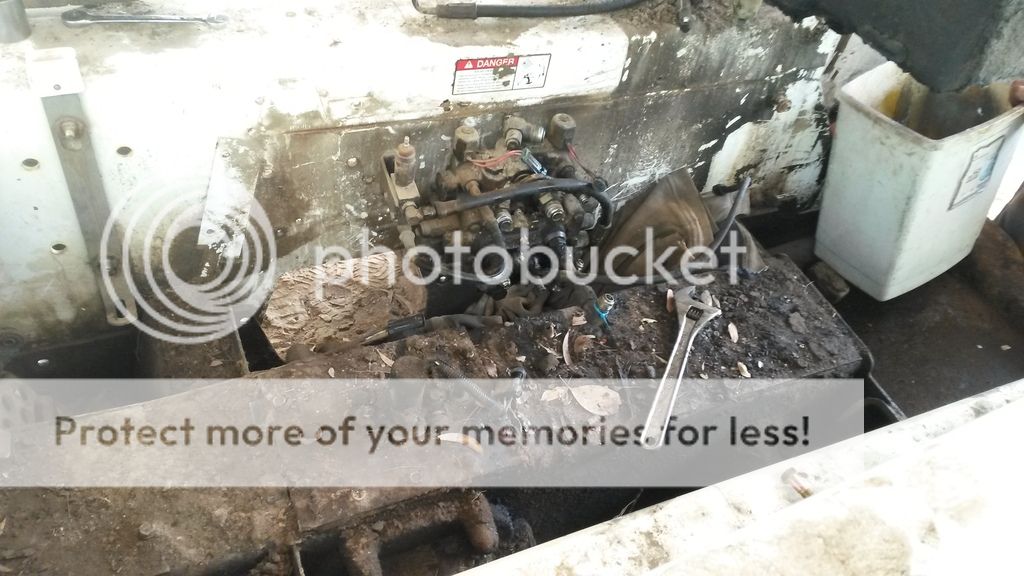
20170302_073824.jpg

20170302_073838.jpg

Removing tube lines
20170302_103531.jpg

20170302_113254.jpg

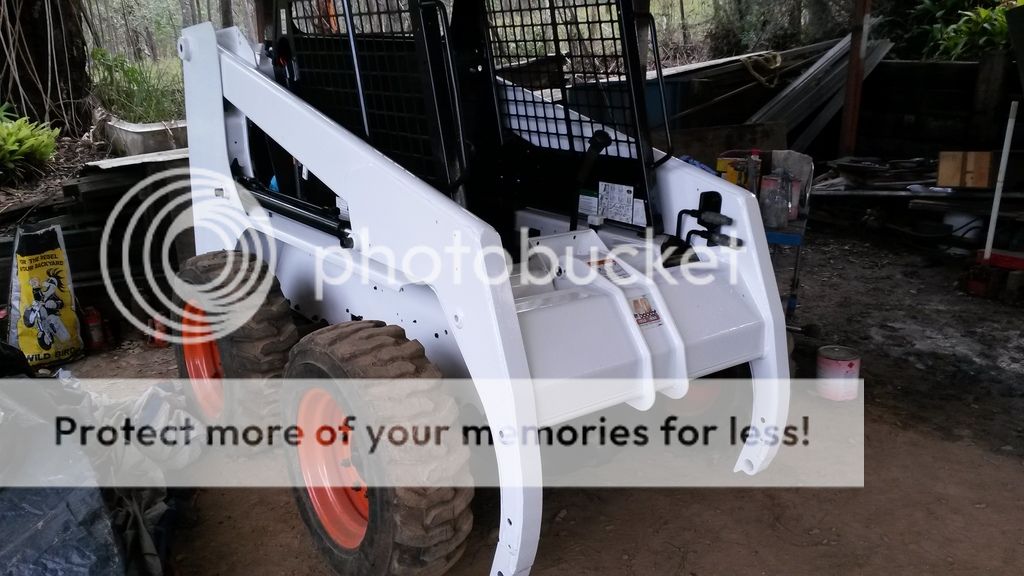
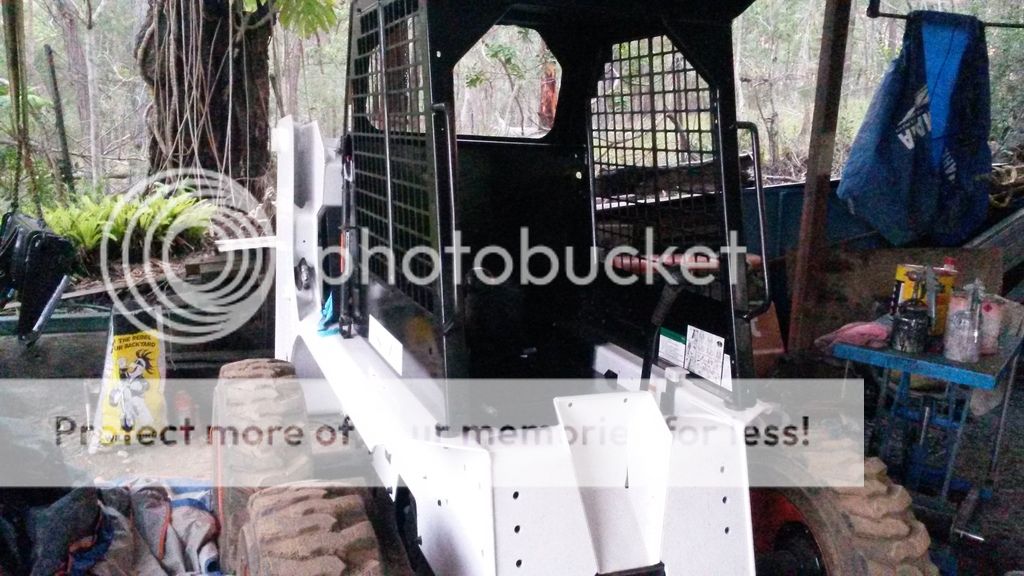
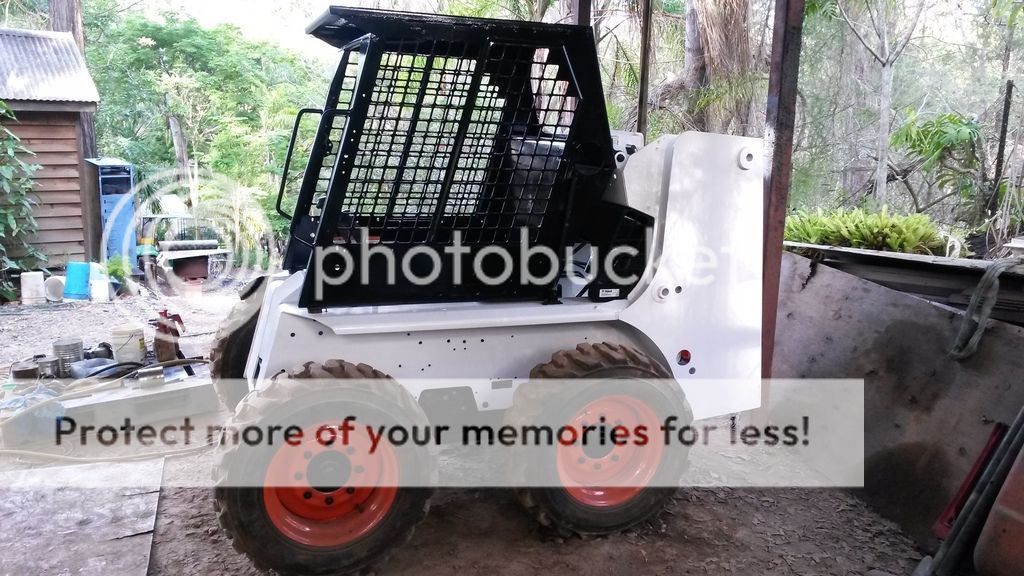
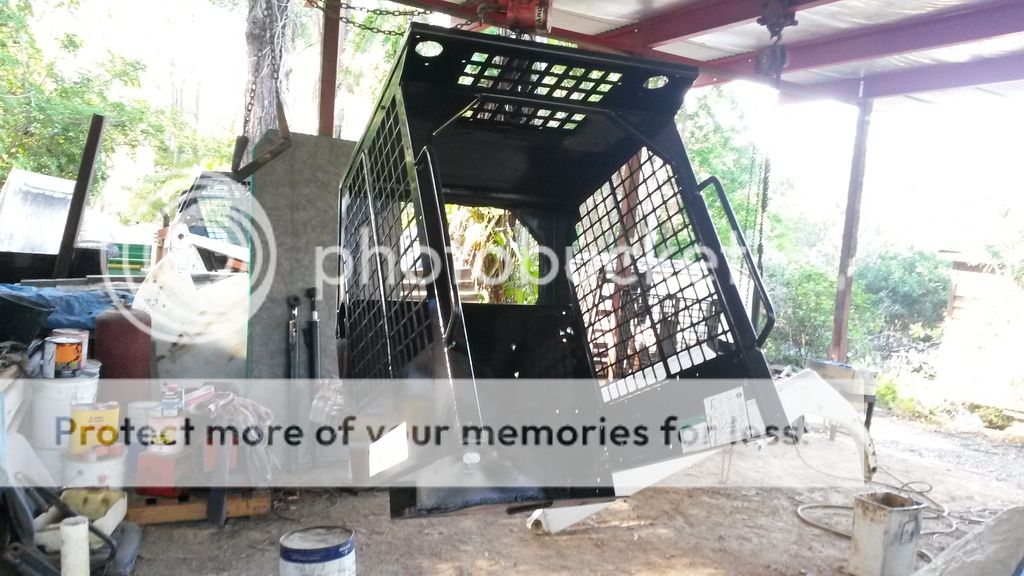
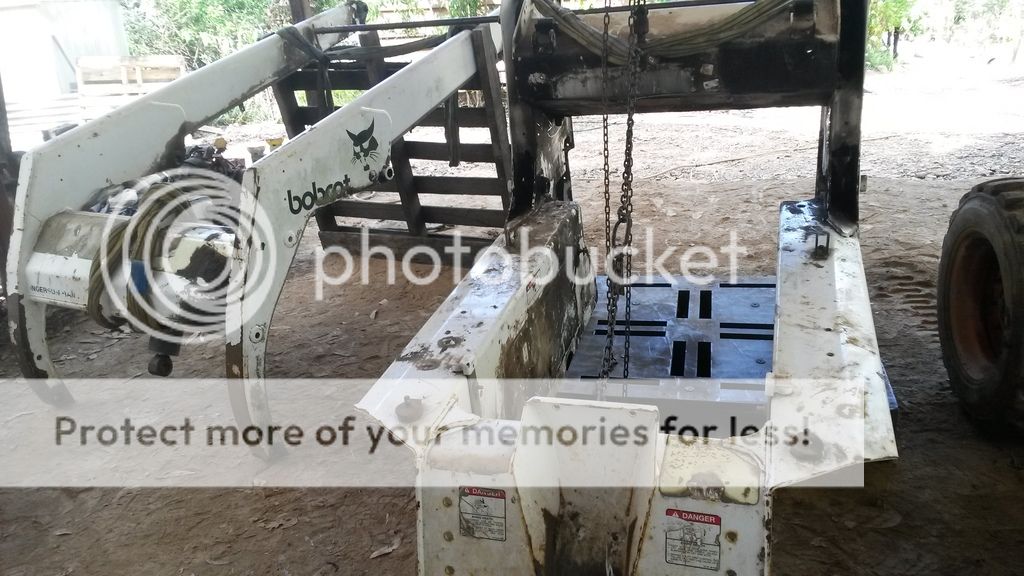
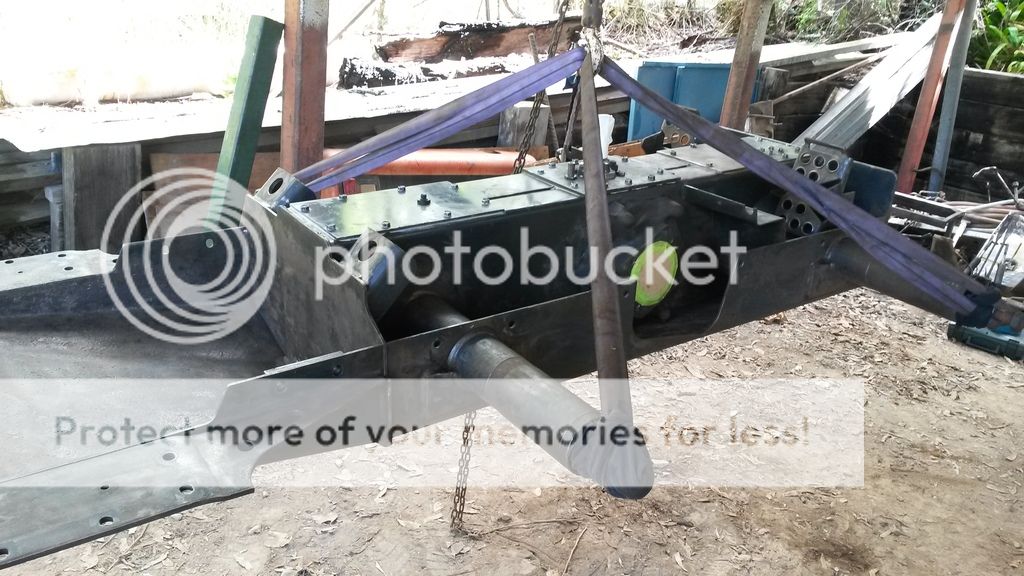
Cab and chassis off, leaving bare chain case.
20170302_140638.jpg

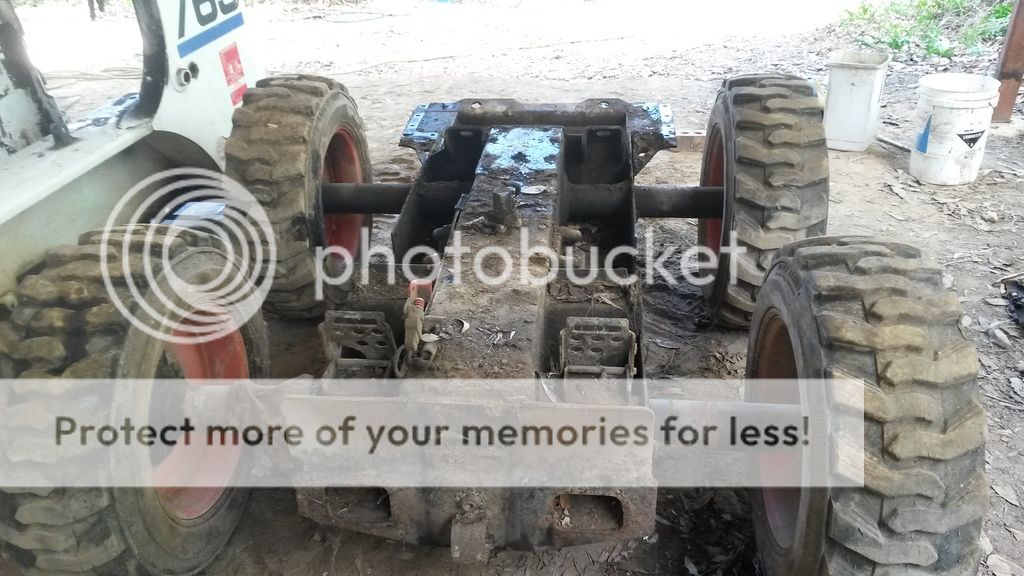
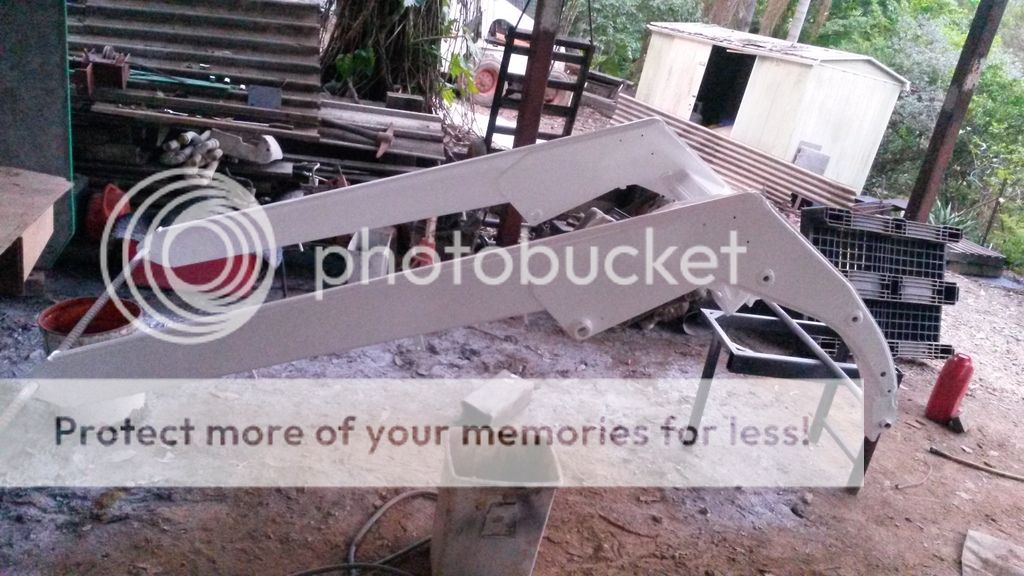
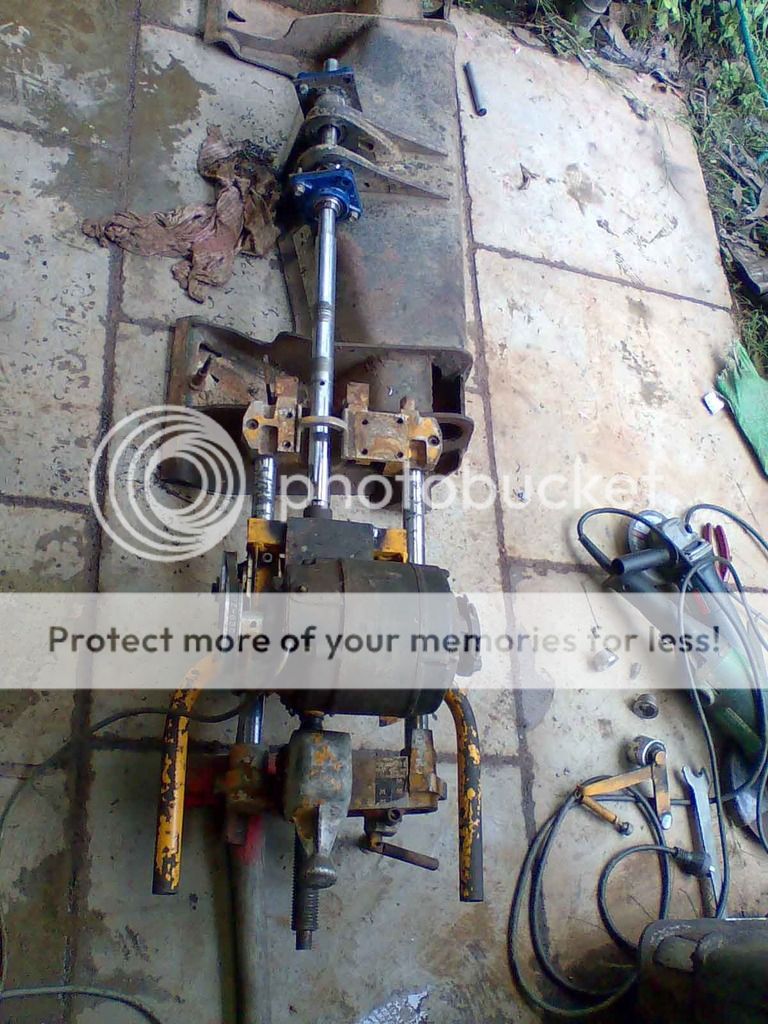
Chassis and arms off
20170302_140643.jpg

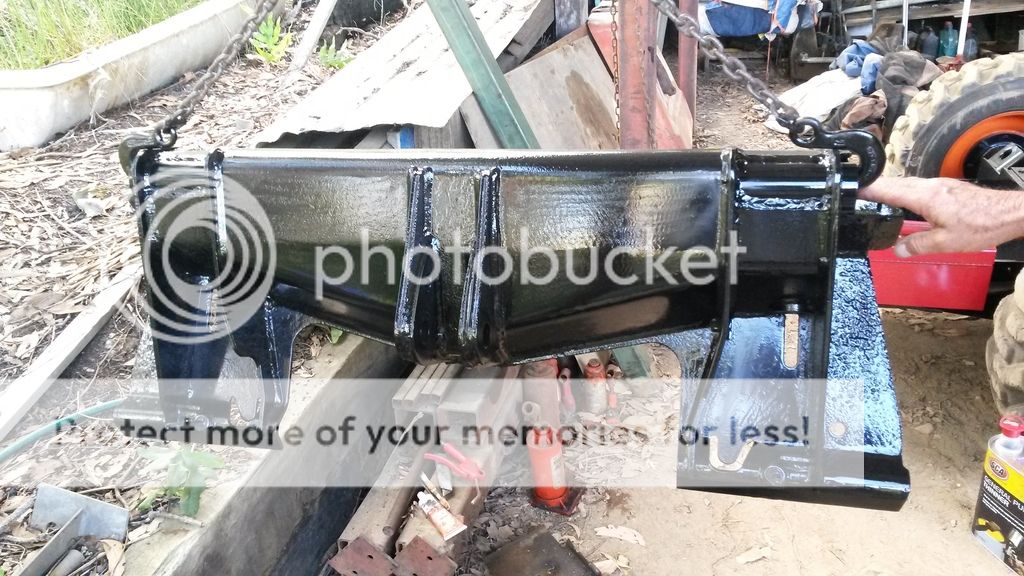
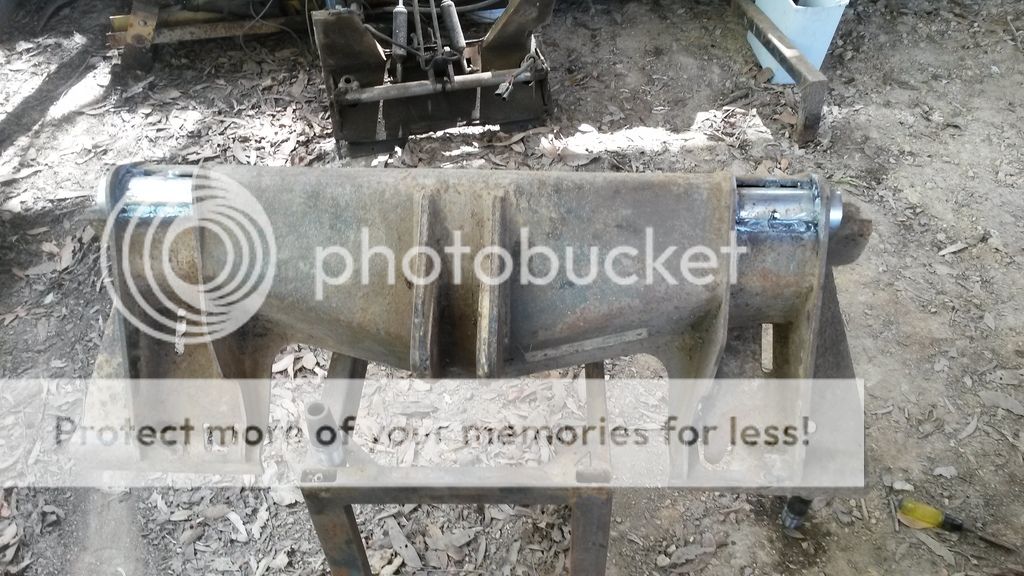
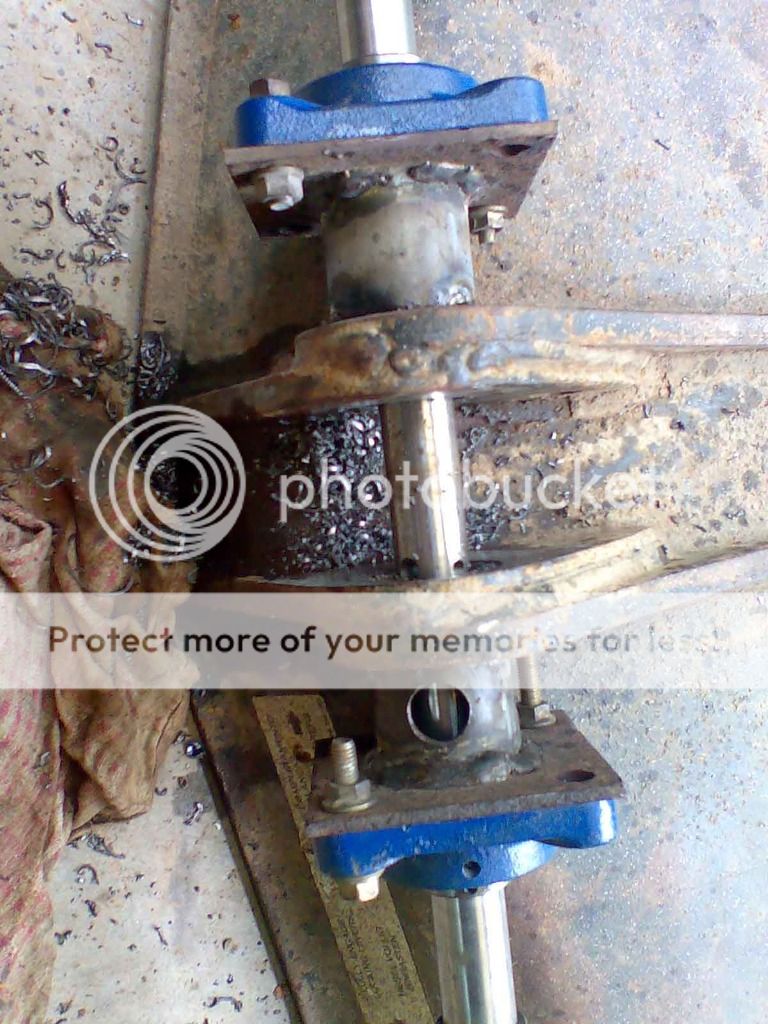
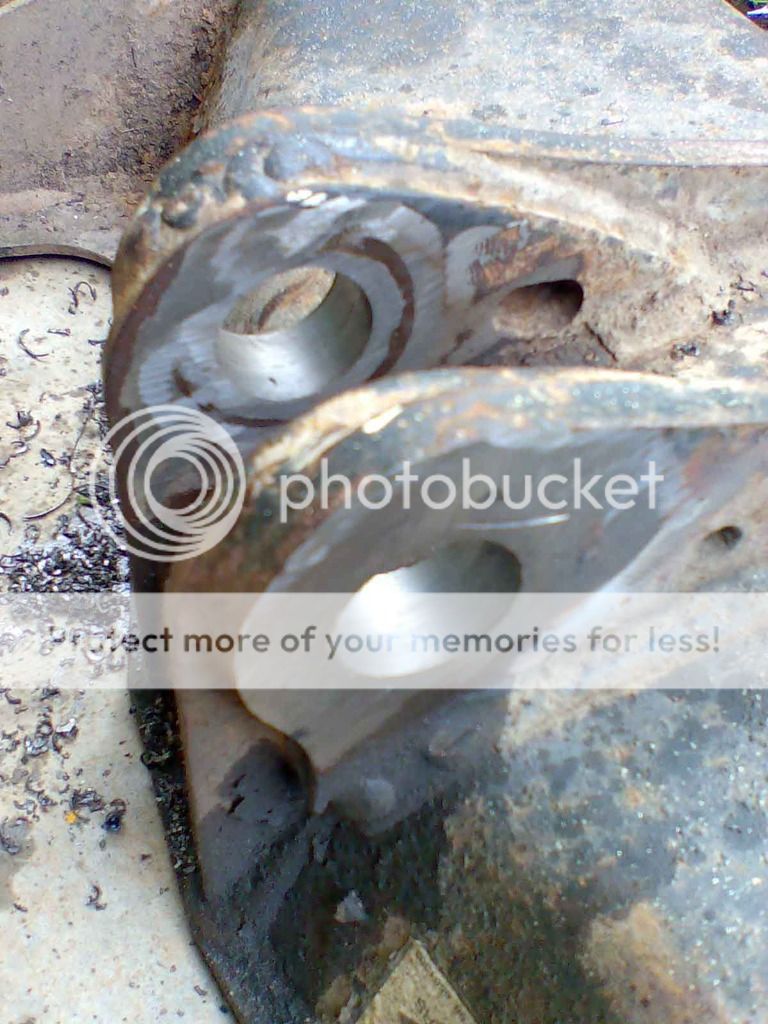
Bobtach with new bosses welded in. I line bored the pivot point for the tilt ram years ago.
20170302_140711.jpg

Draining chain case, trying to keep some crud out
20170302_181126.jpg

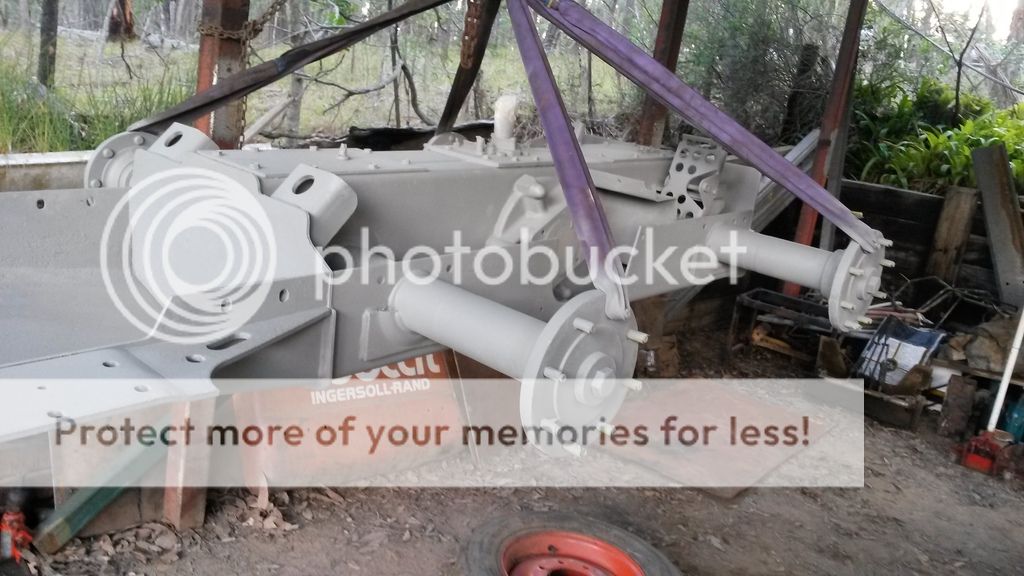
Cleaned with wire wheel, new axle seals and drive motor carrier seals in. Sorry i didn't get pictures of removing the hubs or seals. I use a bottle jack behind the hub, twist the bolt out a few turns and hit the bolt head to crack the seal. It can take a bit of work, but they will go. To remove seals, drill a hole in the outer part of the seal, as close to the side as you can and use a self tapping screw. Use pliers to pull the seals out. Installing them, i actually made a tool years ago that you put the seal on the axle and use the bolt for the hub to pull the seal in nice and square. Took minutes to grease up the new seals and pull them into place.
20170303_135808.jpg

Hubs on and tightened to some insane torque (of course to spec that a 6' pipe gives) and primed.
20170303_171119.jpg

I did paint it black and the bobtach on Saturday, i don't have pictures yet. You know how it goes, you get busy and can't be bothered with taking pictures.
More updates as thngs progress. If you look up a direct link, you can see these images in photobucket: http://s903.photobucket.com/user/tazza_/library/Bobcat 763 rebuild
 
OP
OP
T

Tazza

Moderator
Staff member
Joined
Dec 7, 2004
Messages
16,836
Pump in parts after being sand blasted to remove rust, was even inside the casing....
100_0081.jpg

100_0086.jpg

100_0091.jpg

101_0102.jpg


Drive motors:
101_0103.jpg

101_0105.jpg

101_0107.jpg

101_0115.jpg


Bobtach line boring.
Image088.jpg

Image086.jpg

Image089.jpg
 

SkidRoe

Well-known member
Joined
Dec 10, 2009
Messages
1,885
Pump in parts after being sand blasted to remove rust, was even inside the casing....


Drive motors:


Bobtach line boring.
Looking good, Tazza!! Nice project, look forward to seeing more pictures as you go.
Cheers - SR
 

wings5j

Well-known member
Joined
Jan 7, 2008
Messages
190
Hopefully i'll do better with taking pictures from now on :)
Hey Tazza, Thanks for taking time to post this story and all the great pictures. What a job to tackle but it looks like you will have a new machine when you are done. Looking forward to seeing more. John
 

7LBSSMALLIE

Well-known member
Joined
Feb 2, 2012
Messages
1,294
Hey Tazza, Thanks for taking time to post this story and all the great pictures. What a job to tackle but it looks like you will have a new machine when you are done. Looking forward to seeing more. John
shes going to be sweet. youre d0ing all the right things and than some and yes I see the value in restoring a 763 f. you cant buy one anymore. and as a workhorse. none beter.. best o luck with youre project. If you do happen to question yourself on repair. please post it.i might have a trick or two, doubt t though you seem to have things well in hand. makes me feel old, go young jedi's makeke us old dudes proud,
 
OP
OP
T

Tazza

Moderator
Staff member
Joined
Dec 7, 2004
Messages
16,836
shes going to be sweet. youre d0ing all the right things and than some and yes I see the value in restoring a 763 f. you cant buy one anymore. and as a workhorse. none beter.. best o luck with youre project. If you do happen to question yourself on repair. please post it.i might have a trick or two, doubt t though you seem to have things well in hand. makes me feel old, go young jedi's makeke us old dudes proud,
I have done this to multiple 743s before, but i had the advantage of a working machine to be there for me to use as a reference to get the tube lines in the right places, hopefully my dad's system of cable ties will work to get them in the right places and order to put them back in :) Pretty sure i can work it out if that system didn't work, it just means there may be a little more swear words.
I really thought i was out of my depth with a 751 i did too, the wiring was burnt up, i got new harnesses, but one was missing, that i managed to cobble up with the old partially burnt harness, still working years after it went to it's new home. I got a call a few weeks back to repair a leaking lift cylinder, it's still looking good too.
I'm making sure i get it done right, i don't want to do the job again. It's hopefully for a guy that wants a machine that is reliable, so i'm doing mybest to make sure it lasts. I bought the parts years ago, so i may as well use them hey?
7LBSSMALLIE i may take you up on that offer, hopefully it will all go without any issues, but we all know things like this do not always go to plan. I hope to get the chassis painted tomorrow or Friday and installed Saturday. With a bit of luck the control block and tube lines will go in too (after being re-sealed).
So far there have been no real issues, just remove, clean and paint. The parts i know that needed repair, have been done already. Yet i do need to work on the blower, but that shouldn't be a really big job.
My dad and I cleaned up the chassis best we could yesterday afternoon with waste petrol/diesel fuel, it needs hanging and pressure washing to get the last bits of grime off, then using some bog on the rusted parts that have pitting, then it's ready to paint.
 

mmsllc

Well-known member
Joined
Dec 29, 2015
Messages
715
I have done this to multiple 743s before, but i had the advantage of a working machine to be there for me to use as a reference to get the tube lines in the right places, hopefully my dad's system of cable ties will work to get them in the right places and order to put them back in :) Pretty sure i can work it out if that system didn't work, it just means there may be a little more swear words.
I really thought i was out of my depth with a 751 i did too, the wiring was burnt up, i got new harnesses, but one was missing, that i managed to cobble up with the old partially burnt harness, still working years after it went to it's new home. I got a call a few weeks back to repair a leaking lift cylinder, it's still looking good too.
I'm making sure i get it done right, i don't want to do the job again. It's hopefully for a guy that wants a machine that is reliable, so i'm doing mybest to make sure it lasts. I bought the parts years ago, so i may as well use them hey?
7LBSSMALLIE i may take you up on that offer, hopefully it will all go without any issues, but we all know things like this do not always go to plan. I hope to get the chassis painted tomorrow or Friday and installed Saturday. With a bit of luck the control block and tube lines will go in too (after being re-sealed).
So far there have been no real issues, just remove, clean and paint. The parts i know that needed repair, have been done already. Yet i do need to work on the blower, but that shouldn't be a really big job.
My dad and I cleaned up the chassis best we could yesterday afternoon with waste petrol/diesel fuel, it needs hanging and pressure washing to get the last bits of grime off, then using some bog on the rusted parts that have pitting, then it's ready to paint.
That looks really, really good. I bet it will look awesome once it is done.
 
OP
OP
T

Tazza

Moderator
Staff member
Joined
Dec 7, 2004
Messages
16,836
Thanks Tazza…..I love watching these projects.
Thanks for the encouragement guys. Hopefully it's not too far from being done.
Sadly it's not as pretty as it was, putting it together with moving the tube lines into place has marked the paint, but it was always going to happen. Nothing a touch up can't fix at the end though.
Hopefully more updates in the next few days. The chassis is on, control block and tube lines are in.
 
OP
OP
T

Tazza

Moderator
Staff member
Joined
Dec 7, 2004
Messages
16,836
Thanks for the encouragement guys. Hopefully it's not too far from being done.
Sadly it's not as pretty as it was, putting it together with moving the tube lines into place has marked the paint, but it was always going to happen. Nothing a touch up can't fix at the end though.
Hopefully more updates in the next few days. The chassis is on, control block and tube lines are in.
The next hold up is rebuilding the blower, as it was damaged by the fire, it's getting new bearings and seals. It wasn't easy to get apart, hopefully i can get it ack together and it will work again.
I need to get the blower in place so i can mount the oil tank to hook up some hydraulic lines and a case drain filter. The usual stuff, things are not finished that are required to be installed before the parts that have been cleaned/painted already.
I thought the muffler was in a bad way when i last moved it, i dug it out uesterday and it's rather rotten, so i may be attempting to build one. I haven't gotten a price from my local dealer recently, but last time i did, it was an insane price. I did see a post somewhere of a uy that bult his own. My plan is to get some exhaust tubing and make the inner and outer parts from it. Time will tell if it actually works, but i see no reason why not.
 

lesgawlik

Well-known member
Joined
Aug 5, 2010
Messages
355
The next hold up is rebuilding the blower, as it was damaged by the fire, it's getting new bearings and seals. It wasn't easy to get apart, hopefully i can get it ack together and it will work again.
I need to get the blower in place so i can mount the oil tank to hook up some hydraulic lines and a case drain filter. The usual stuff, things are not finished that are required to be installed before the parts that have been cleaned/painted already.
I thought the muffler was in a bad way when i last moved it, i dug it out uesterday and it's rather rotten, so i may be attempting to build one. I haven't gotten a price from my local dealer recently, but last time i did, it was an insane price. I did see a post somewhere of a uy that bult his own. My plan is to get some exhaust tubing and make the inner and outer parts from it. Time will tell if it actually works, but i see no reason why not.
Tell me a little more about your Dad's method of using cable ties. I think I can figure it out, but any details would be appreciated.
 
OP
OP
T

Tazza

Moderator
Staff member
Joined
Dec 7, 2004
Messages
16,836
Tell me a little more about your Dad's method of using cable ties. I think I can figure it out, but any details would be appreciated.
He bought a pack of cable ties that had multiple colours, so he put matching colours at the fitting and tube line. But as there were more lines than colours of ties, you just have to add another different colour tie to the line/fitting.
Previously, i have used a centre punch to number fittings and lines. There are lots of options with a centre punch you can do lines of dots, triangles, circles, just different matching patterns. We just figured ties would be quick and easy :)
 

lesgawlik

Well-known member
Joined
Aug 5, 2010
Messages
355
He bought a pack of cable ties that had multiple colours, so he put matching colours at the fitting and tube line. But as there were more lines than colours of ties, you just have to add another different colour tie to the line/fitting.
Previously, i have used a centre punch to number fittings and lines. There are lots of options with a centre punch you can do lines of dots, triangles, circles, just different matching patterns. We just figured ties would be quick and easy :)
Thanks, Tazza. I don't see colored cable ties very often, but I will pick some up the next time I find them.
 

wbecker

Well-known member
Joined
Oct 21, 2013
Messages
131
Thanks, Tazza. I don't see colored cable ties very often, but I will pick some up the next time I find them.
Tazza, great work, looks like that 763 will be a new 763 when you are done with it. Love all the pictures, post more as you go, wish I new how to post pics. It would be great to have a picture of you and your dad by the 763. Bill B
 
OP
OP
T

Tazza

Moderator
Staff member
Joined
Dec 7, 2004
Messages
16,836
Tazza, great work, looks like that 763 will be a new 763 when you are done with it. Love all the pictures, post more as you go, wish I new how to post pics. It would be great to have a picture of you and your dad by the 763. Bill B
What if i said we were in witness protection and unable to post pictures online, does that sound legit? or do i need to think of somethng better? :)
As for pictures, it's not that hard. Upload them to a hosting site on the net, like photobucket. Open the image up, right click/copy then right click/paste to your message.
 
OP
OP
T

Tazza

Moderator
Staff member
Joined
Dec 7, 2004
Messages
16,836
What if i said we were in witness protection and unable to post pictures online, does that sound legit? or do i need to think of somethng better? :)
As for pictures, it's not that hard. Upload them to a hosting site on the net, like photobucket. Open the image up, right click/copy then right click/paste to your message.
Sadly there haven't been any updates. Things have been progressing, but slowly. I am only getting a few hours in the afternoons and some times, only one day on the weekends to do anything.
I had a minor set back with the blower gear box, it was burnt so it needed rebuilding. My dad arranged new Bearings and seals, i had the great idea of leaving the bearing seals in place as what harm could it do? it will prevent oil getting to the right andgle gears is what it will do, the only way i worked that out was that the joint was leaking between the two housing as i didn't use sealant (use sealant on thses parts people!). I fixed the seal issue and sealed the two parts, no leaks so far.
Now to the progress. Cab is on, arms are on, lift rams are in and plumbed up. Radiator and oil cooler is in.
Not sure what is next, i have wiring to do, i'm not looking forward to that, i'm sure i can work it all out though. Having issues testing the alternator. I did rebuild it years ago, but unsure if i tested it, the voltage regulator may be bad, i'm not sure.
Engine is still to go in, but i'd like to have the alternator done before that, access is much better outside the machine.
20170402_163026.jpg

20170401_173642.jpg

20170401_173550.jpg

20170401_173529.jpg

20170328_163325.jpg

20170328_163242.jpg

20170328_151414.jpg

Broken tilt spool spring...
20170311_135158.jpg

20170309_155105.jpg
 
OP
OP
T

Tazza

Moderator
Staff member
Joined
Dec 7, 2004
Messages
16,836
Sadly there haven't been any updates. Things have been progressing, but slowly. I am only getting a few hours in the afternoons and some times, only one day on the weekends to do anything.
I had a minor set back with the blower gear box, it was burnt so it needed rebuilding. My dad arranged new Bearings and seals, i had the great idea of leaving the bearing seals in place as what harm could it do? it will prevent oil getting to the right andgle gears is what it will do, the only way i worked that out was that the joint was leaking between the two housing as i didn't use sealant (use sealant on thses parts people!). I fixed the seal issue and sealed the two parts, no leaks so far.
Now to the progress. Cab is on, arms are on, lift rams are in and plumbed up. Radiator and oil cooler is in.
Not sure what is next, i have wiring to do, i'm not looking forward to that, i'm sure i can work it all out though. Having issues testing the alternator. I did rebuild it years ago, but unsure if i tested it, the voltage regulator may be bad, i'm not sure.
Engine is still to go in, but i'd like to have the alternator done before that, access is much better outside the machine.


Broken tilt spool spring...
Engine went in on the weekend, all hosed up. Fired it up, push the steerling levers forward, guess what direction the wheels turned? yep... BACKWARDS *shakes fist* it wasn't fun swapping hoses over when covered in oil, but i got it done.
The issue i had was the drive had no power, i could stop it turning with one hand. My dad asked about oil, i put in about 8 litres, thinking it will do for just a test, oh boy i was wrong. Another 20 litres of oil and the tank still isn't full, but now i have power to the wheels and it runs well.
Still have the wiring to hook up and the tilt cylinder lines/hoses, but it's very close now.
 
Top