Looks Great! I too was wondering what the cost to build was. I am always looking online at one make or the other and can't spend as much as they want for one. SR I am interested in more information on what happened to the Bob tach. The Bob tach plates I have made were copied after the ones from Bobcat. I built them out of ¼" plate and had the metal supplier bend them to match the U profile of the original Bob tach plates, then cut them to match with a plasma cuter weld on the top plate and wedge. For anything I have built they seem as strong as is needed but with the pressure of digging with a backhoe pulling on the lower horizontal pins I can see how an issue might happen. I was thinking if the boom is in the middle it might put less stress on the pins. Anyway it looks good and would love to hear how well it dug for you.
It was partly my own fault. I did not have a piece of 1/4" plate big enough in the shop to make the bobtach plate, so I used 3/16" (I am not convinced that even 1/4" would have been enough). Anyway, I added what I though were adequate gussets (1.5x1/4" bar accros the bottom), based on other attachments that I have built. Wrong!!
Two things happened: 1) the lower pins tore out through the 3/16" material (I should have seen this one coming), and 2) the gussets tore off of the main boom tube. And, of course, I bent the main bobtach plate
To fix it, first off I strightened the main plate the best I could (come-along, torch, sledgehammer, clamps, etc.). Then I added one continuous piece of 3 x 3/8" flat bar as a stiffener all the way across the bottom of the main plate below the boom, welding it to both the boom and the plate. I then plasma cut out the area where the torn out windows were in the side flanges. I made new window plates out of more 3x 3/8" bar, and extended them forward to the lower 3x3/8" stiffener. Before welding in the stiffener, I sheared a 1.5" 45° chamfer on each corner. The ends of the window plates where formed to conform to these chamfers, so they completely tie in to the stiffener. I then added two 45° gussets, made out of 4" x 1/4" flat stock to further tie the lower stiffener to the boom (one on either side). It is not going to break again!!!
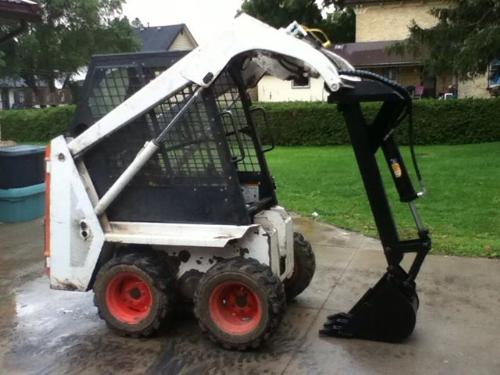
I hope you can follow this. I guess I should post a picture....
I did do some thinking before hand on the posistion of the boom on the bobtach plate. I elected to mount it lower, so that I had more mechanical advantage from the bucket cylinder to move the stick. I don't know if it matters too much, you can't really achieve much digging force from purely moving the stick.
Also, I don't think that moving it up higher on the plate will remove much stress from the lower pins. The action of curling the bucket to fill it puts a lot of load on the lower pins; the bobtach plate definitely needs to be stout in that area.
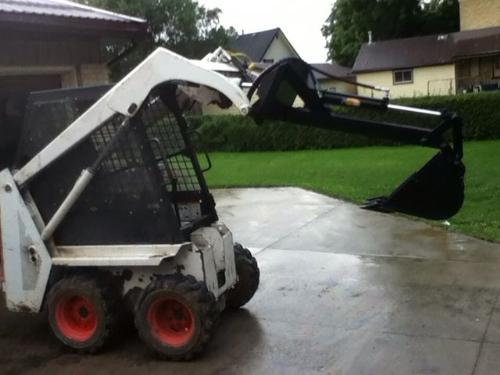
As far as digging goes, it is not too bad. I am still perfecting my technique. It requires a lot more finesse and planning when compared to operating an mini-ex - you cannot just power through the ground. The most digging action comes from curling the bucket, followed by lifting the boom. The angle of attack of the bucket is also important, since you have limited down pressure. The lack of stick pressure can be compensated for some what by simply backing up the machine.
It is still fun to use, way better than a shovel, and the level of control/precision that you can achieve is fantastic. I was able to dig a 6' trench, 2' deep in about a minute and a half, including digging through tree roots.
What I am really looking forward to is getting the unit that we built for the 773 up and running to see how it works.
Cheers - SR